II. Answer in detail
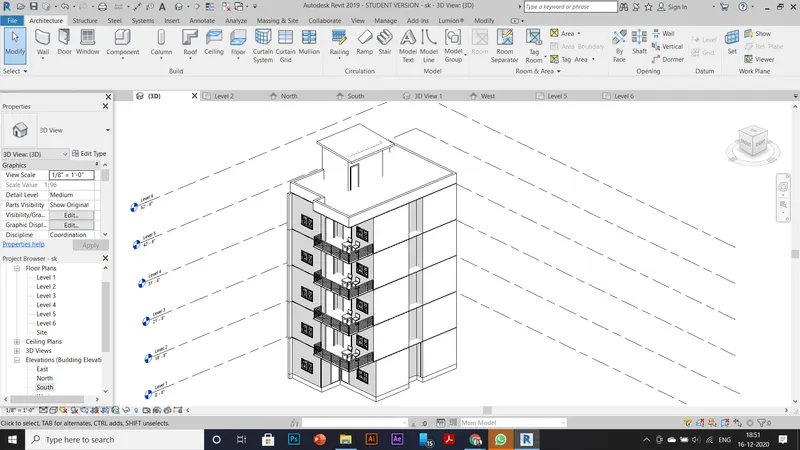
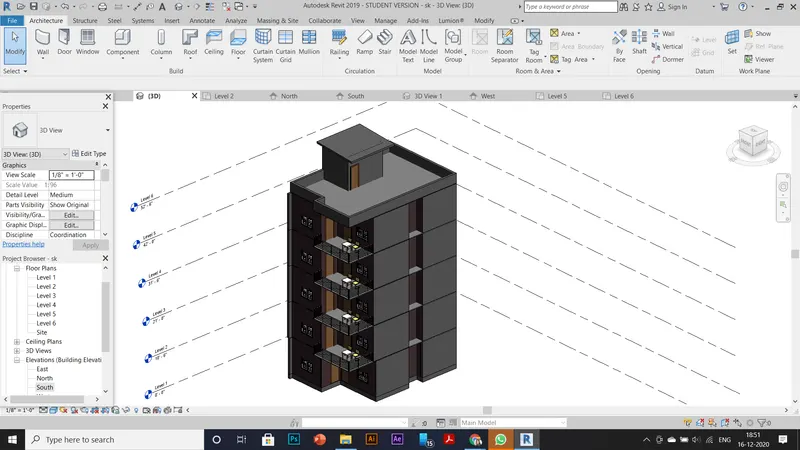
AIM : TO Create a G+4 Residential building as per NBC standards and TO make it a central model file.
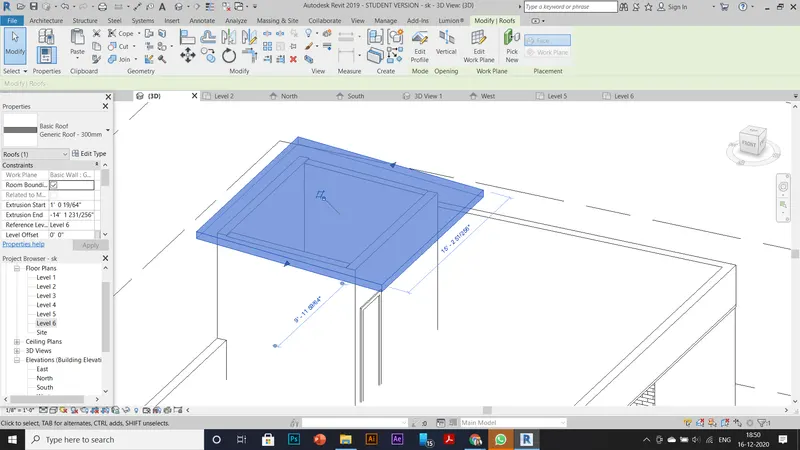
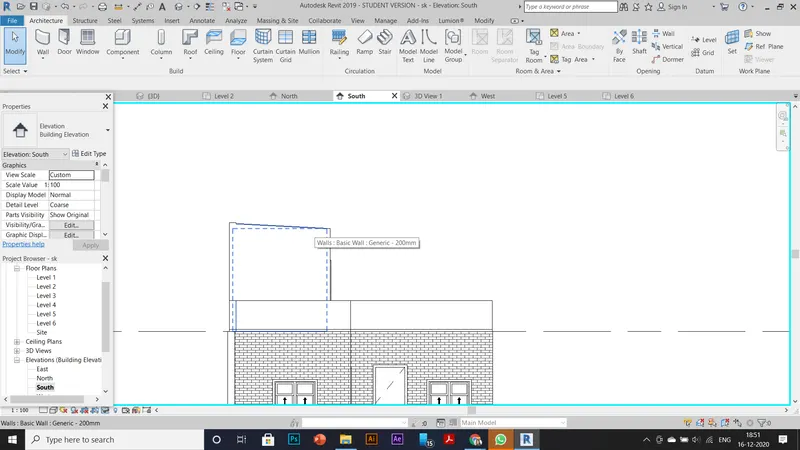
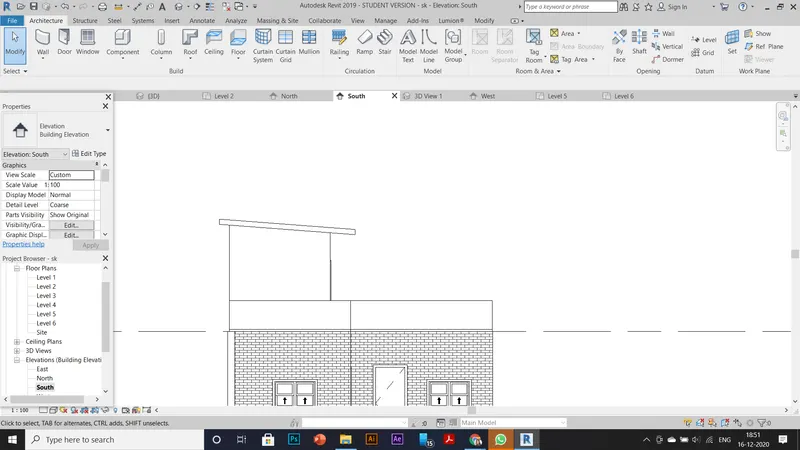
- The sloped roof at the top level of the building (10 degrees)
- Architectural components including furniture and home appliances
- Room tags and Annotations
- Section cut through each room either longitudinally or transversely
- Create a camera view on each room and add it in a sheet template.
Tools Used :
- architecture
- file
- collaborate
- manage
- view etc
procedure :
(1).
Setting the base levels :
- First the basic, open a required revit template and then set all the levels that are suitable for the requirement
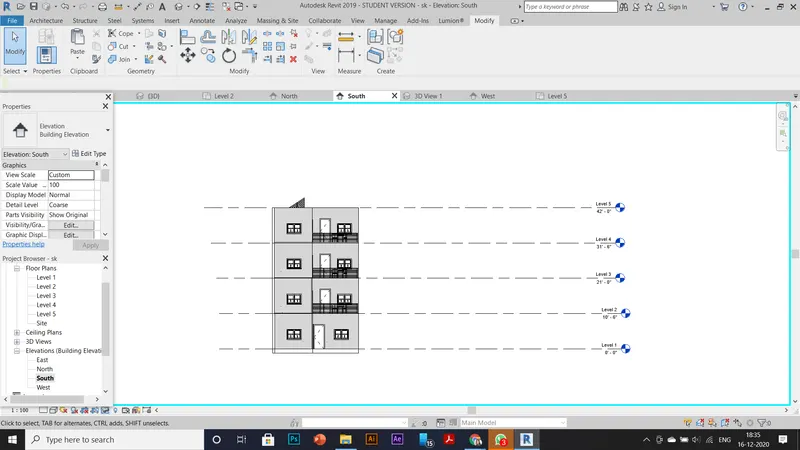
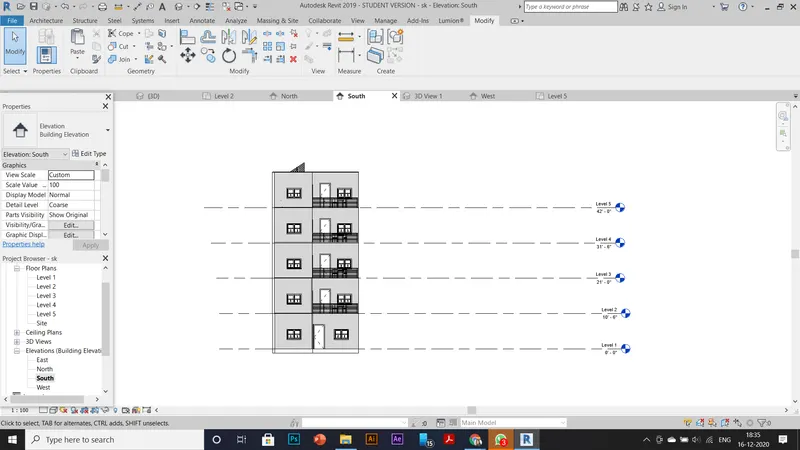
- Then go to the elevation and define all the levels that are required in the project
- Then set the Ground Zero level of the project and the other elevations are taken from that given level
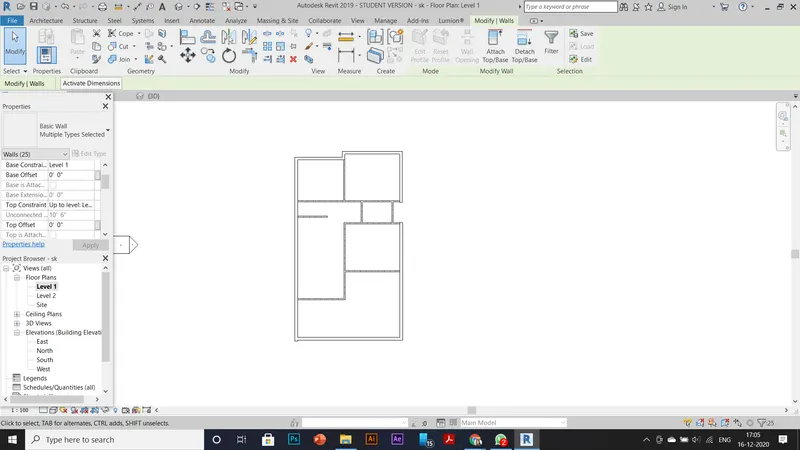
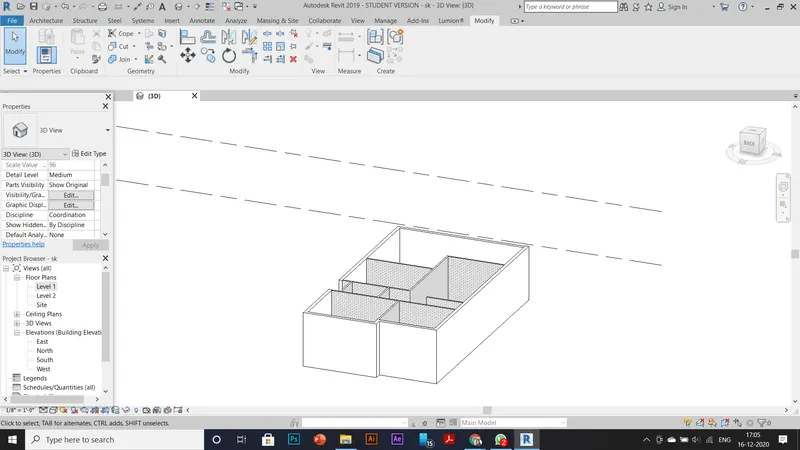
Building Walls:
- Go to the architecture tab of the Revit and then select the wall tools and then define all the required wall thickness that are required in the project
- Define and modify the existing the walls and define the walls that are required according to the project through the properties tab
- Go to the Ground level then draw all the walls that are there in the project
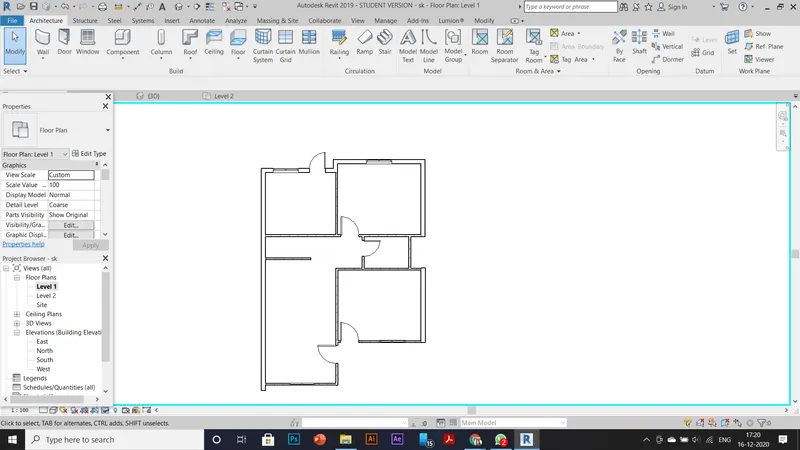
Doors and Windows:
- Now select the required Doors and Windows from the respective tabs in the architecture Tab and Place them in the file according to the given design
- If you cant find the required dimensions and type of the doors, then load them from the revit libraries
- And, then modify them according to the given scope of the project
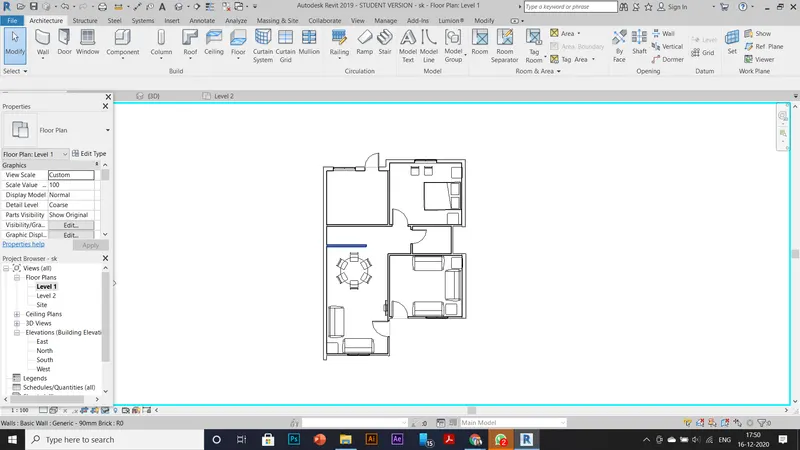
Placing Components:
- After completing the layout and room seperation, choose the insert tab.
- From that tab select the load family property.
- Their we can find many categorised family elements such as doors, windows, electronics, furniture and etc,.
- Choose the required components and place them accordingly in the obtained layout
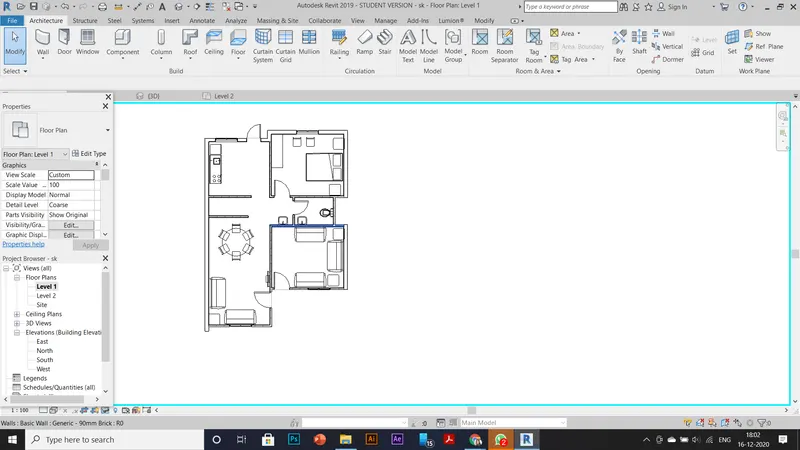
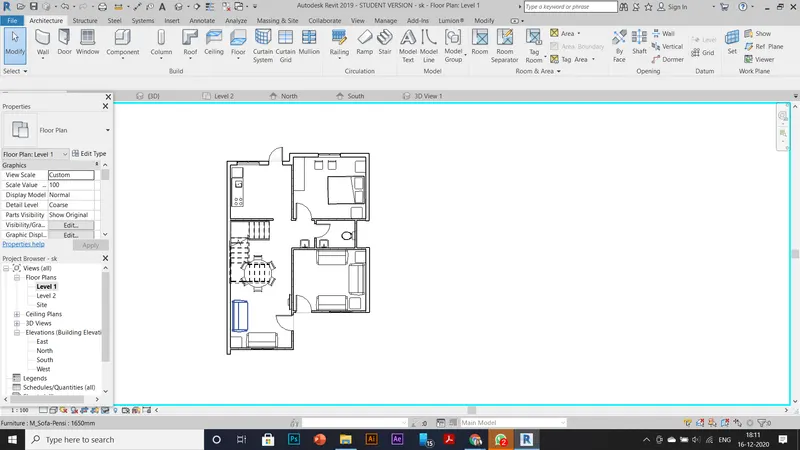
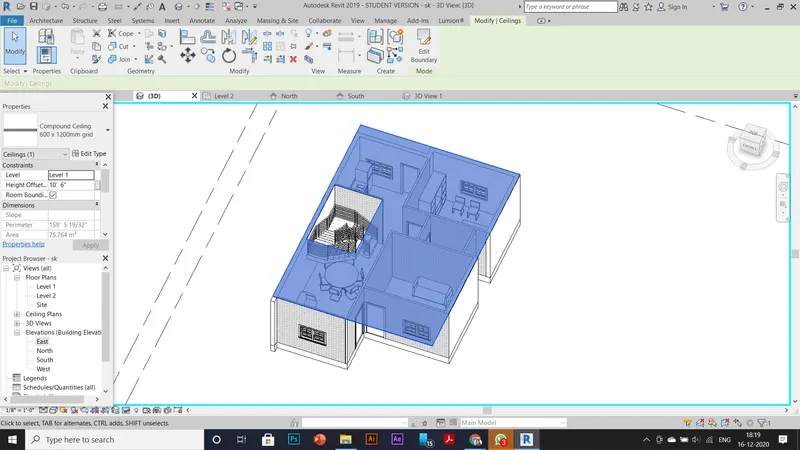
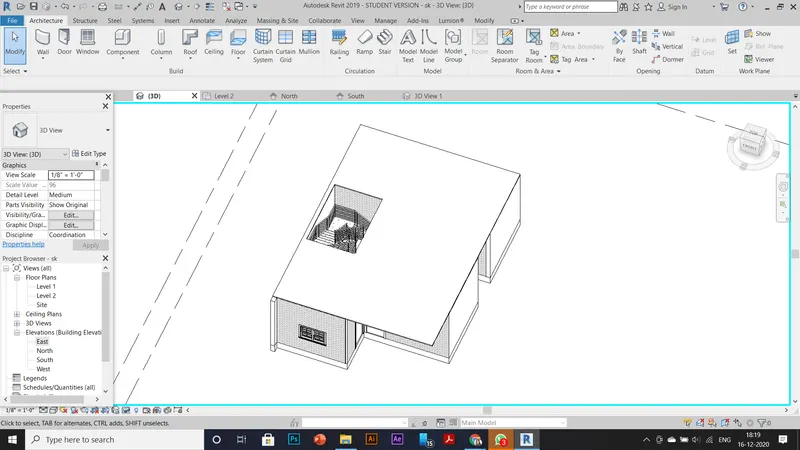
Ceiling :
- After successful completion of placing the elements/ components in the model, we might have to define the ceiling level of the project that we have set already at the beginning of the model making
- Choose the respective level that you wanna define the ceiling , then go to the ceiling tab and then draw the boundary that is supposed to be defined in the project
- And choose the physical properties of the slab/ ceiling from the properties tab in revit and also define the required thickness of the slab
- Then complete the modelling of the ceiling by checking the check box that is present in the modify tab in revit ribbon
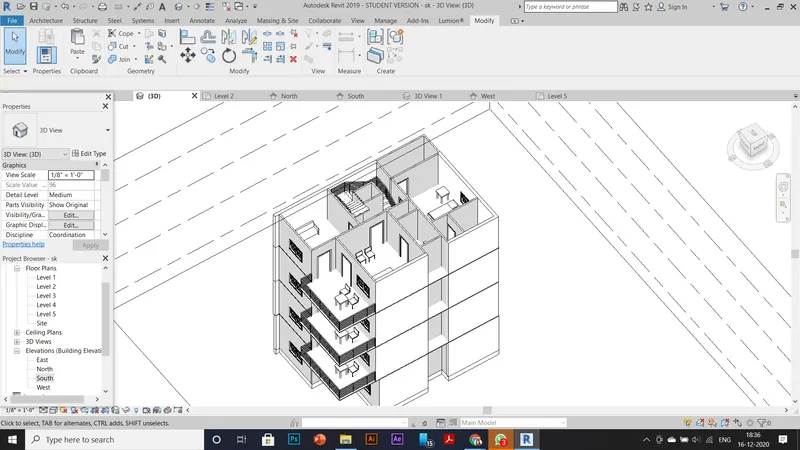
Repeat the same process for any given number of levels and we can obtain the number of floors in the revit and then we might get to model the required layout
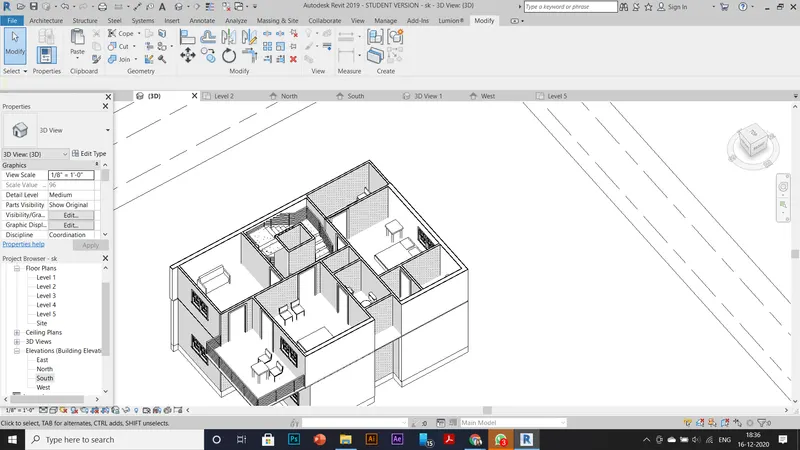
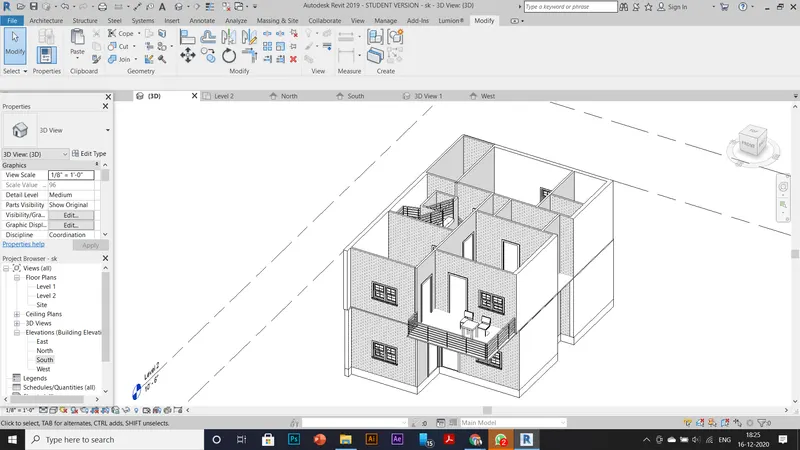
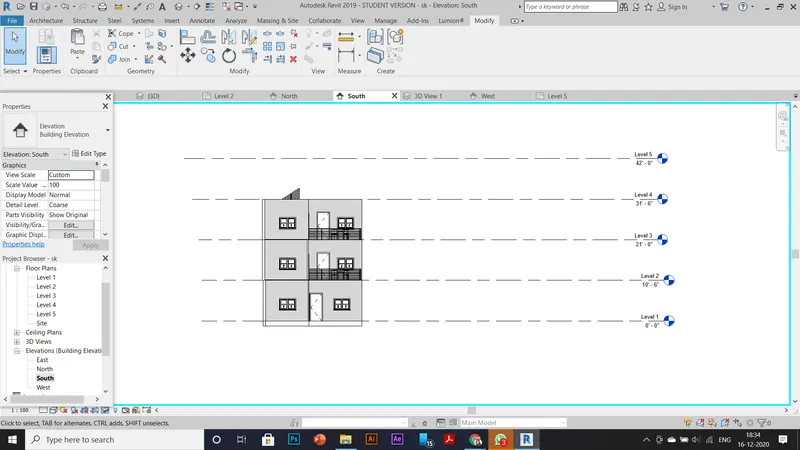
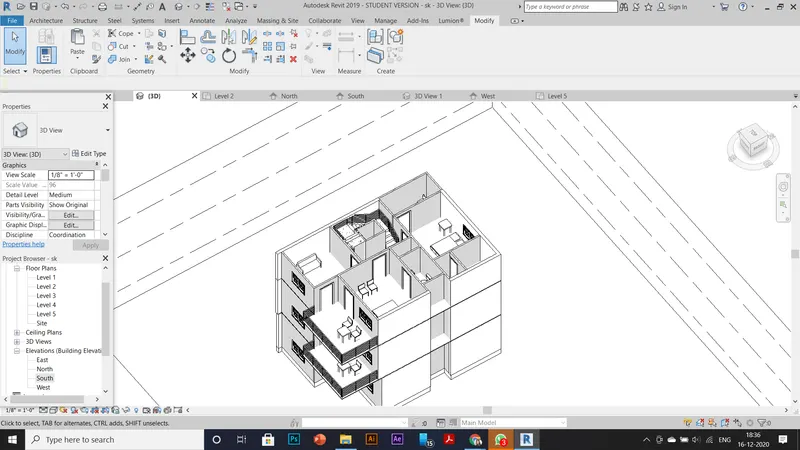
Room tags:
- procedure for (3)Room tags and Annotations:
- after drawing the room boundaries in the floor plan layout .
- select the architecture tab
- from that select the room property to seperate by the closed room regions
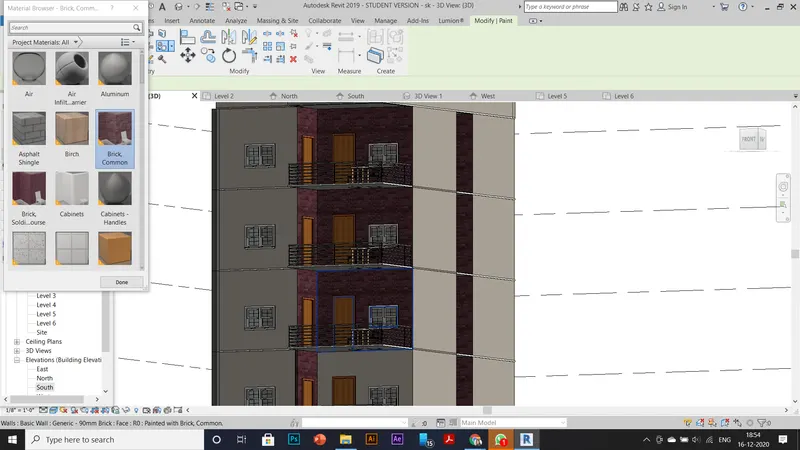
Work Sharing and Creating a Central Model:
- Enabling worksharing involves creating a master project model, known as a central model, from an existing model.
- The central model stores the current ownership information for all worksets and elements in the project, and acts as the distribution point for all changes made to the model. All users should save their own local copy of the central model, edit locally in this workspace, and then synchronize with central to publish changes to the central model so that other users can see their work.
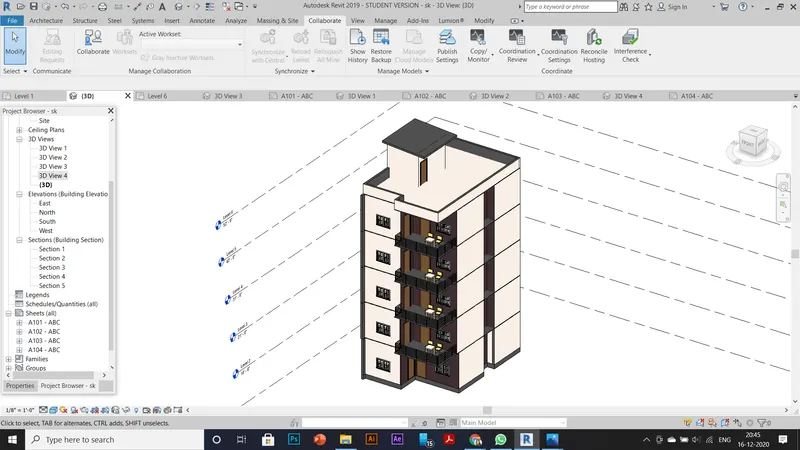
- To enable worksharing and create a central model
- Open the project file (RVT) to use as the central model
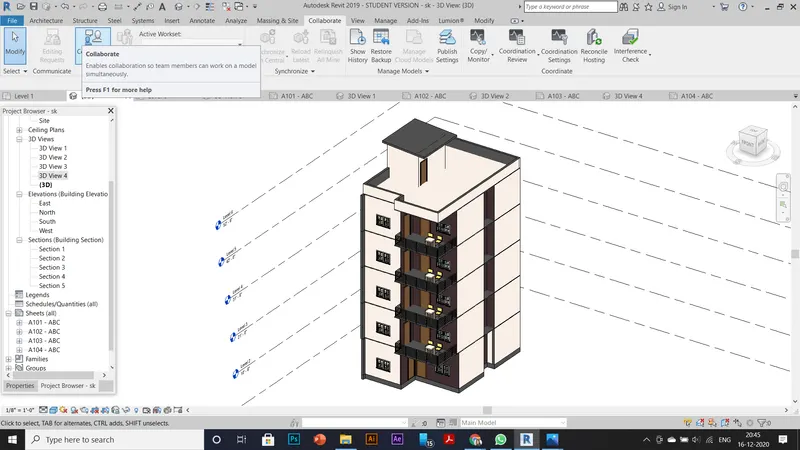
- Click Collaborate tabManage Collaboration panel(Worksets).
- Note: If you have installed the Revit Cloud Worksharing add-on, then:
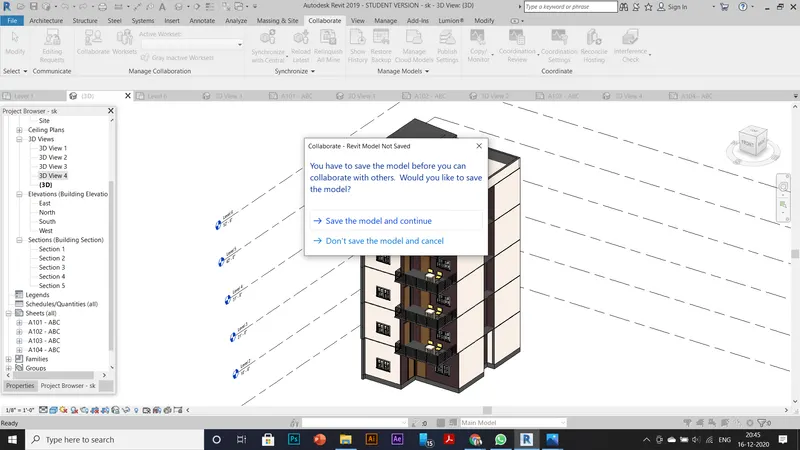
- Click Collaborate tabManage Collaboration panel click collaborate.
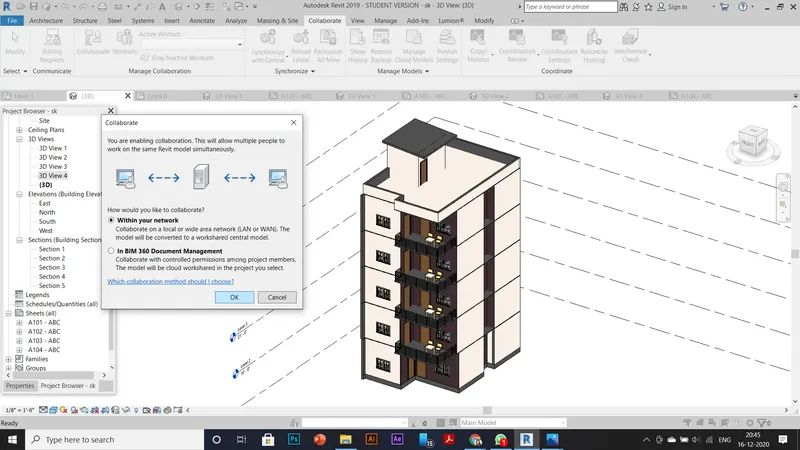
- In the Collaborate dialog, select Collaborate within your network and click OK.
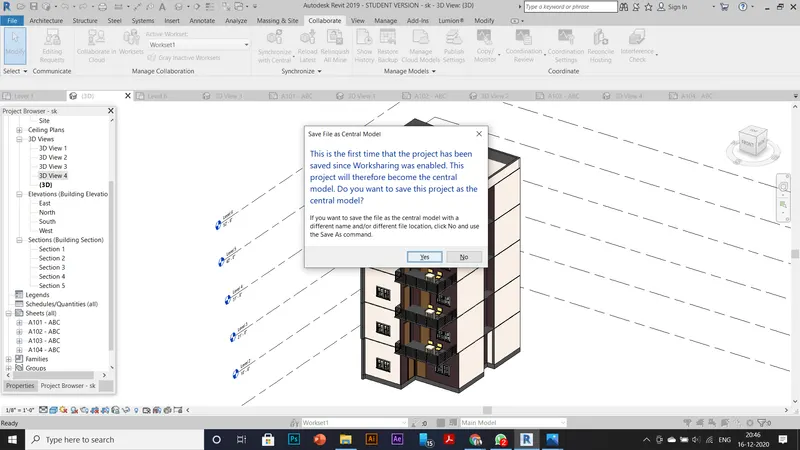
The Project is now a central model and hence our required model with all the given criteria is modelled.
4 and 5th
Creating Sections :
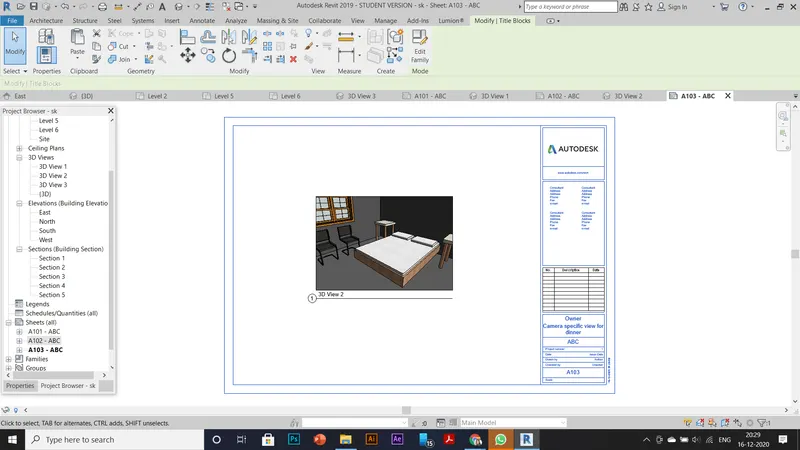
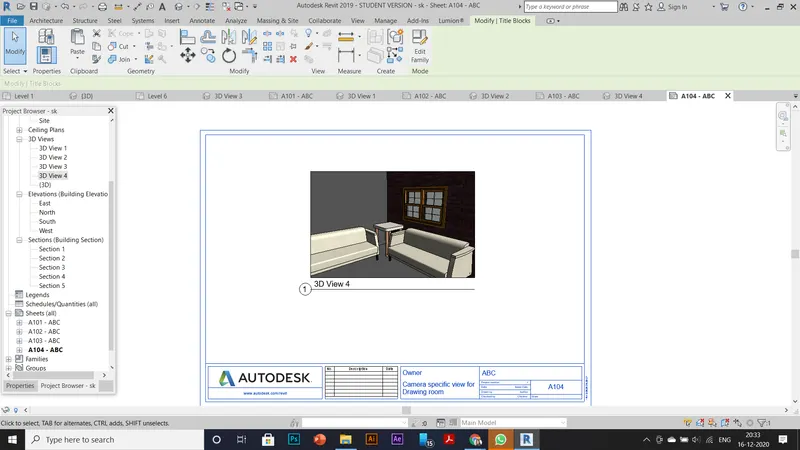
- procedure for create a camera view on each room and add it in a sheet template.
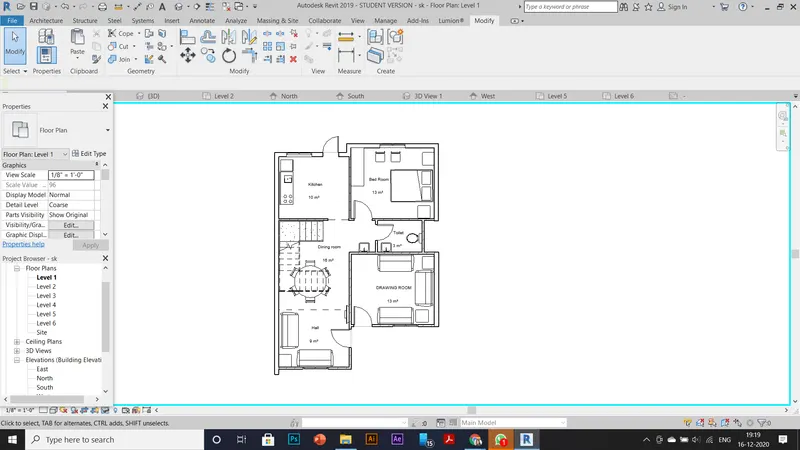
- From the view tab select the camera property.
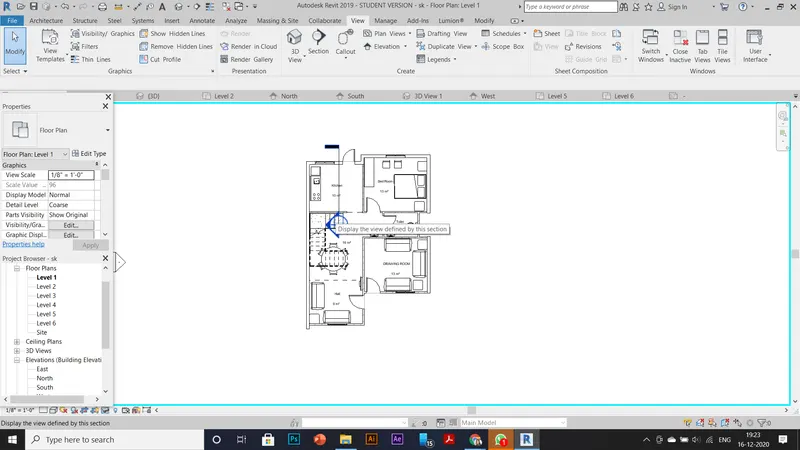
- And in the floor plan view adjust the coverage area of the camera properly to each room.
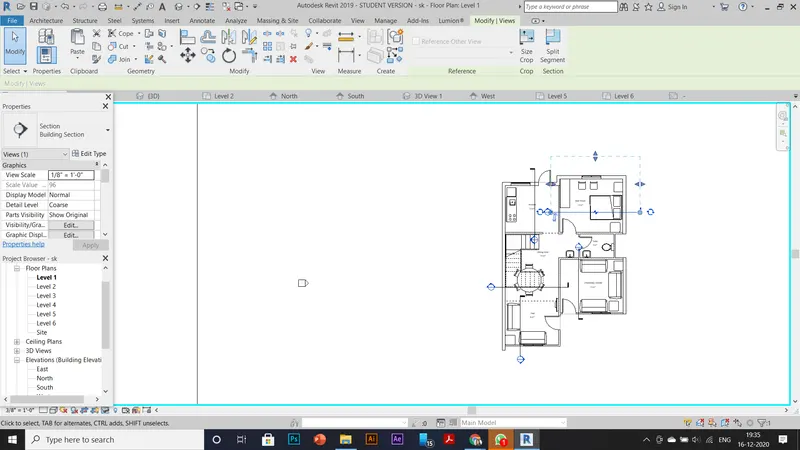
- Then camera specific view of each room will be created and change names of the views through project browser.
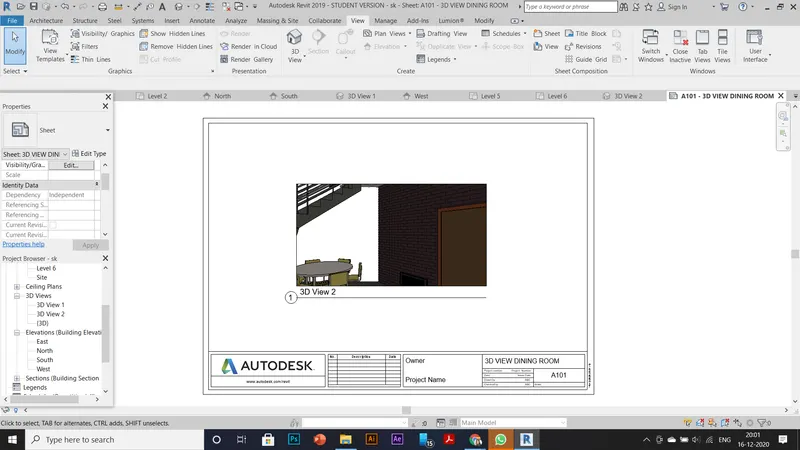
- Now open a sheet from the view tab and select the camera specific views and place them in the sheets .
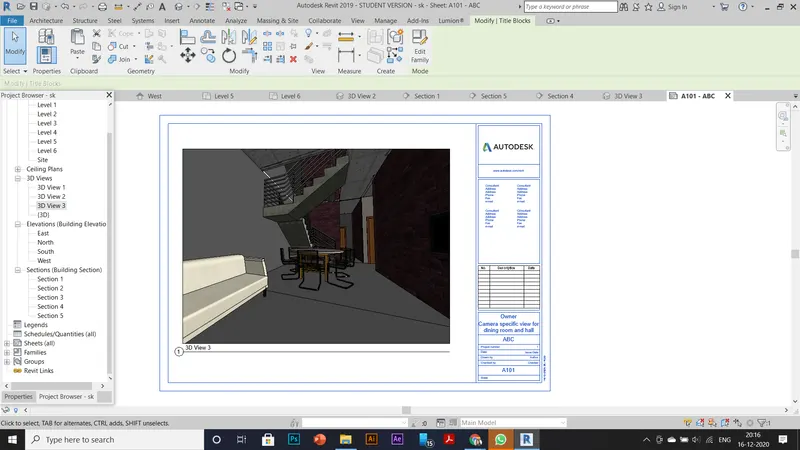
- Then change the properties of the sheets such as name an owner and etc.
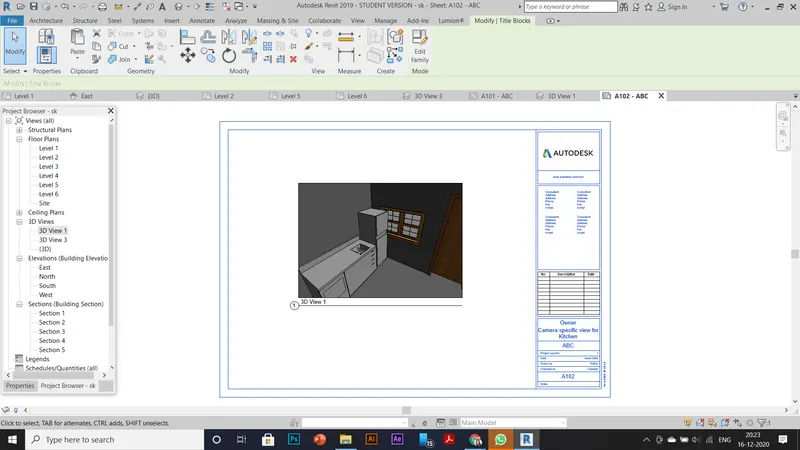
Result : The required g+4 residential building as per NBC standards and to make it a central model file and the challenges given are explained .