REVIT_Naviswork_Project- 4
1.
AIM: To export the Revit architecture and structure model to Navis work cache file following the export settings.
TOOLS/COMMANDS USED:
File
Export
3D view
PROCEDURE:
1: Open the architectural model that you have created previously.
2: Select 3D view from view tab to view in 3D.
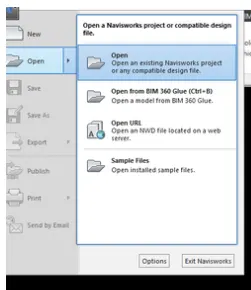
3: Go to file and export option in it.
4: Now select NWC from export option.
5: After clicking on NWC, the file you made converts to NWC format.
6: Now open the structural model of the project.
7: Repeat the same process for the structural model.
RESULT:
Exporting of Revit architecture and structure model to Navis work cache file and export settings has been done successfully.
2.
AIM: To use navigate tool to walk around the model and walk through the rooms created and to record the moving as animation in Navis works file.
TOOLS/COMMANDS USED:
Walls
Navis work
Viewpoint
PROCEDURE:
1: Open the architectural model and structural model that we have exported to Navis work earlier.
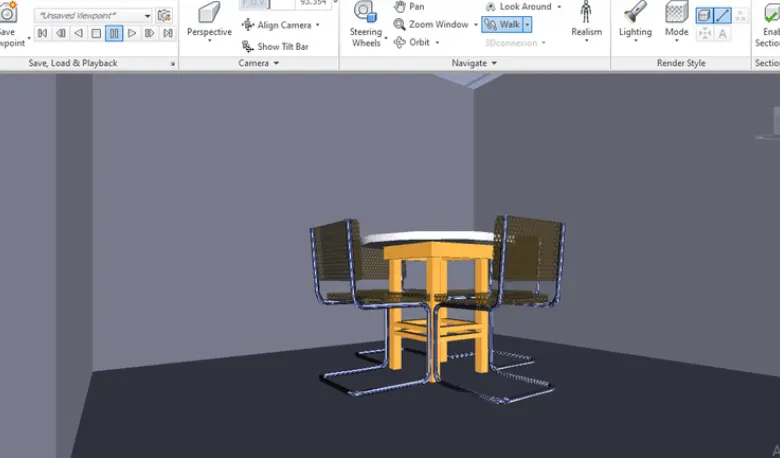
2: Click on the viewpoint and select the view from where you want to start.
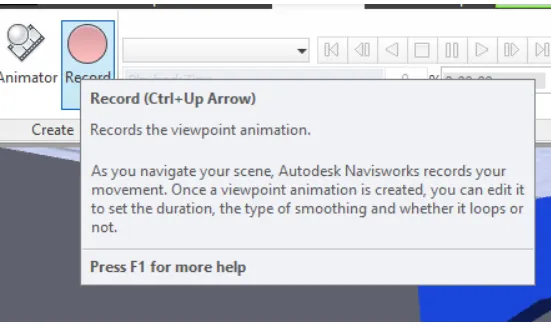
3: Select the record option from viewpoint and then select walk option in it.
4: Now walk through all the rooms.
5: Click stop option after finishing the walk of all rooms.
RESULT:
The animation in Navis work is recorded through walk through
Successfully.
3.
AIM: To use navigate tool to use realism feature to walk through the model and record moving as animation in Navis work.
TOOLS/COMMANDS USED:
Viewpoint
Realism
Record
PROCEDURE:
1: Open the architectural file in Navis work which was exported from Revit.
2: Click on viewpoint and select a view from where we want to start.
3: Click on record option from viewpoint.
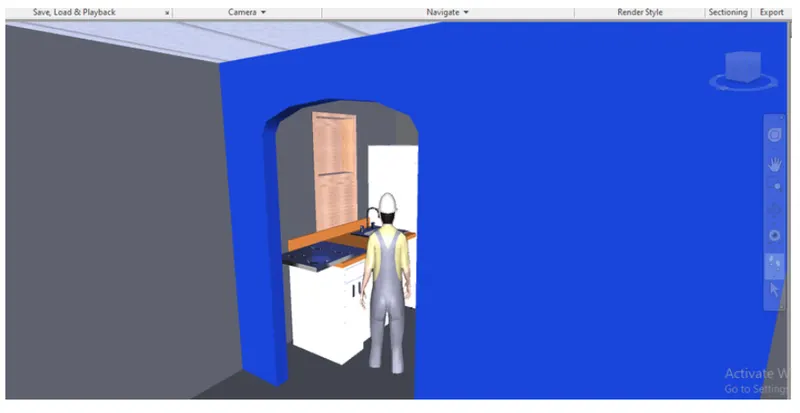
4: Now select the realism and click on third person option in top menu bar.
5: Click on record option and start walk operation.
6: Go to different rooms and click on stop after finishing.
RESULT:
Using navigation tool to use realism feature to walk through the model recording moving as animation is been done successfully.
4.
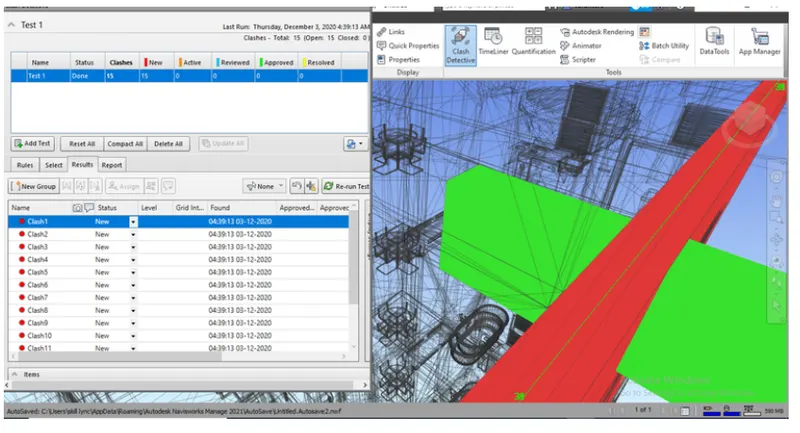
AIM: To embed architecture and structure*.nwc file to Navis work file and to create a clash detection test between two models and-
- Run the clash detection test.
- Study the clashes between the two models
- List which of the clashes could be approved.
- List which of the clashes could be neglected (will be taken care later).
- List which of the clashes can be resolved
- Save the results after colour coding the clashes to the Navis works file.
- In case of resolution annotate the clash and save the view to defined views in Navis work.
TOOLS/COMMANDS USED:
Navis work
Add test
Clash detective
PROCEDURE:
1: Open Navis work manage.
2: Now open architectural and structural model that we have exported to Navis work earlier.
3: Click on home tab and choose clash detective from the top menu bar.
4: Then a new tab will appear on the screen.
5: There are section A and section B appeared.
6: Now click on add test and rename it as architecture vs structure.
7: Now select the surfaces and then click on run test.
8: Different clashes will be appeared which has few details like status, level and found etc.
9: By clicking on each clash, image of that clash appears on the right side.
10: By default, the status of all clashes will be mentioned as new.
11: Now list which of clashes are perfect, perfect can be approved and which are not perfect or not necessary can be neglected.
12: Now list the clashes that can be resolved.
RESULT:
Embedding architecture and structure *.nwc file and creating a detecting test between two models has been successfully accomplished.
5.
AIM: To use the time liner feature in Navis work and to prepare and to prepare a schedule for the project developed earlier by adding reasonable assumptions for task start date and end date and to simulate the task completion as a visual simulation and record it and to save it to Navis work file.
TOOLS/COMMANDS USED:
Navis work
Add task
Time liner
PROCEDURE:
1: Open Navis work manage.
2: Open structural model that we have exported earlier.
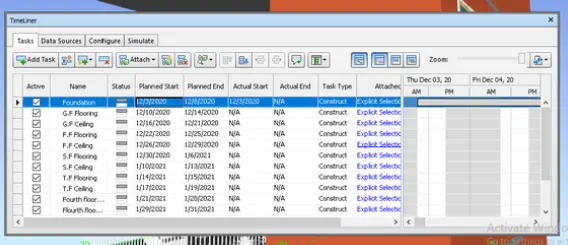
3: Click on home tab and choose time liner from available options in top menu bar.
4: A will be appeared on screen which has two columns.
5: At left corner, we can see selection tree, click on that after clicking selection tree, different components of model can be loaded.
6: Go to scheduling section, select add task in it.
7: Select a name section and give name of component which you want to start first.
8: Add next four columns consists of planned start, planned end, actual start and actual end.
9: The above four columns should be filled with dates.
10: Next column is task type where we can mention type of task.
11: Task type is of three types namely construct, demolish and temporary.
12: Start with foundations and go to levels, columns, floors, etc.
RESULT:
the time liner feature in Navis work and preparing a schedule for the project developed earlier by adding reasonable assumptions for a task date and end date and simulating the task completion as a visual simulation and recording it and to saving it to Navis work file has been accomplished successfully.