REVIT_Naviswork_Project- 4
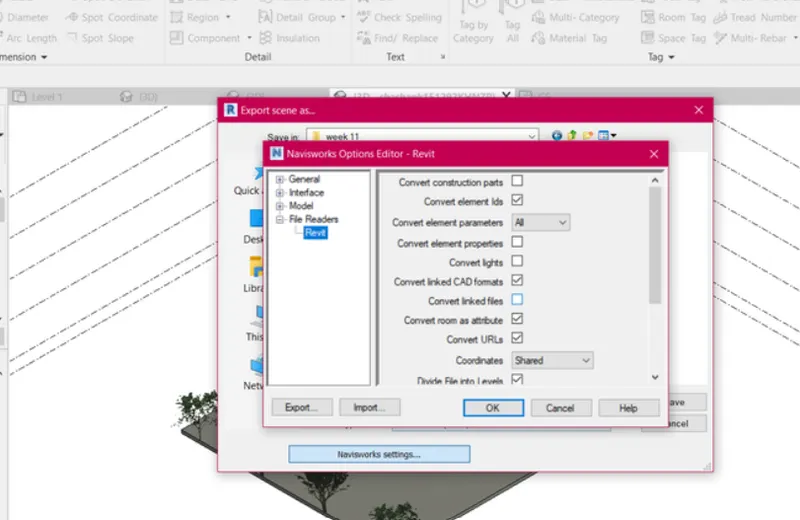
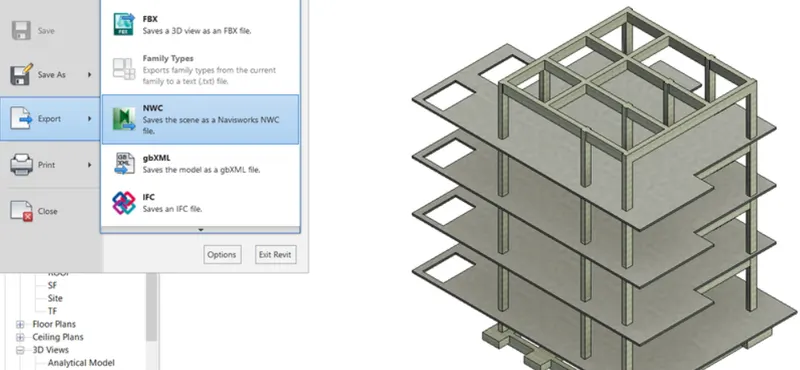
1) Use the Architecture/ Structure Project file developed by you in Week 6 to 8. Export the Revit architecture and structure model to Navisworks Cache file following the export settings discussed in class
AIM: To use architecture/structure project file and export it to navisworks cache file.
TOOLS REQUIRED: 1) file 2) NWC
PROCEDURE:
1) Open the revit file (architectural file)
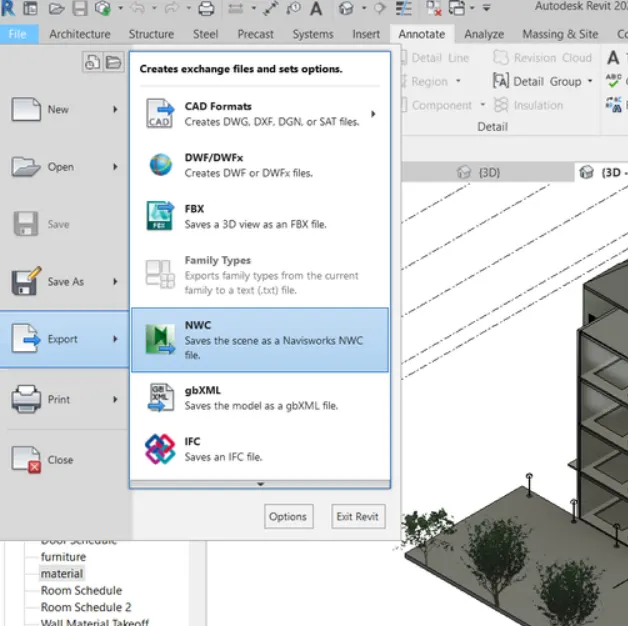
2) click on the file option in the top left corner
3) click on the export option in the file command
4) select the NWC option in the export option and the architectural file will be exported.
5) similarly, open the structural template and follow the same procedure.
6) when NWC option is selected, structural file is also exported to navisworks in NWC format.
RESULT:
2) Use Navigate Tool to walk around the model and walk through the rooms created and record your moving as animation in your Navisworks file
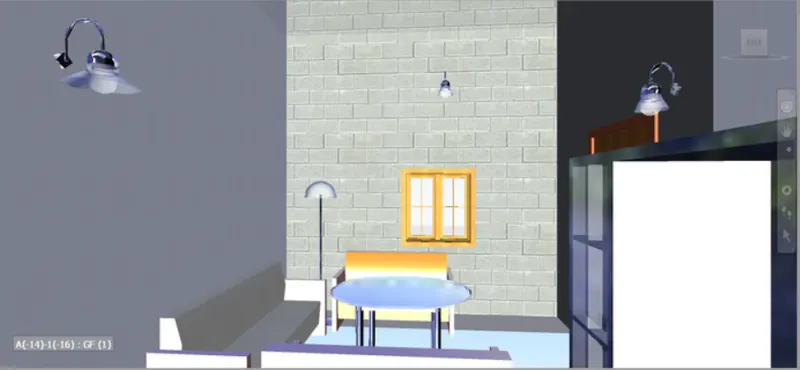
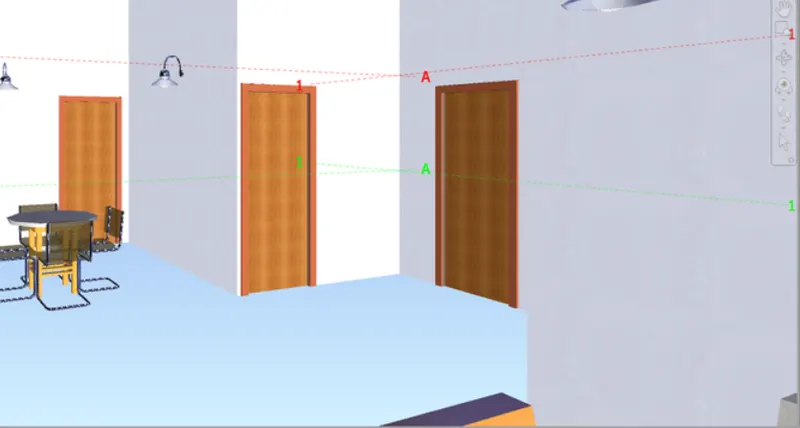
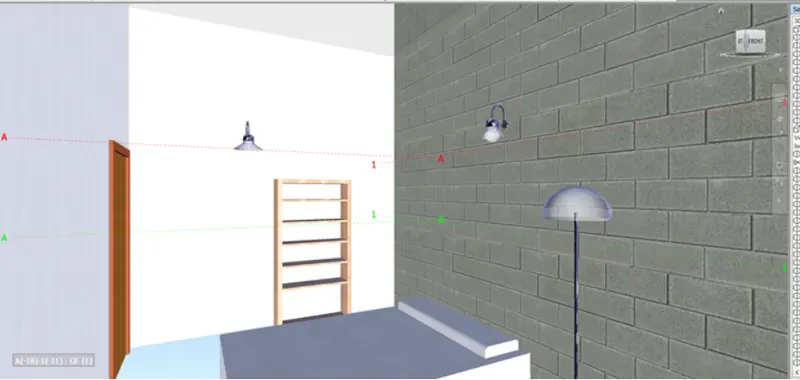
AIM: To use navigate tool to walk around the model and walk through the rooms created and record moving.
TOOLS REQUIRED:1) Navisworks 2) walk 3) record
PROCEDURE:
1) Open the exported architectural file in navisworks.
2) click on the viewpoint in the top left and click on the record option in the viewpoint
3) walk through the rooms
4) click on the stop option after complete.
5) animation is visible in the right side.
RESULT:
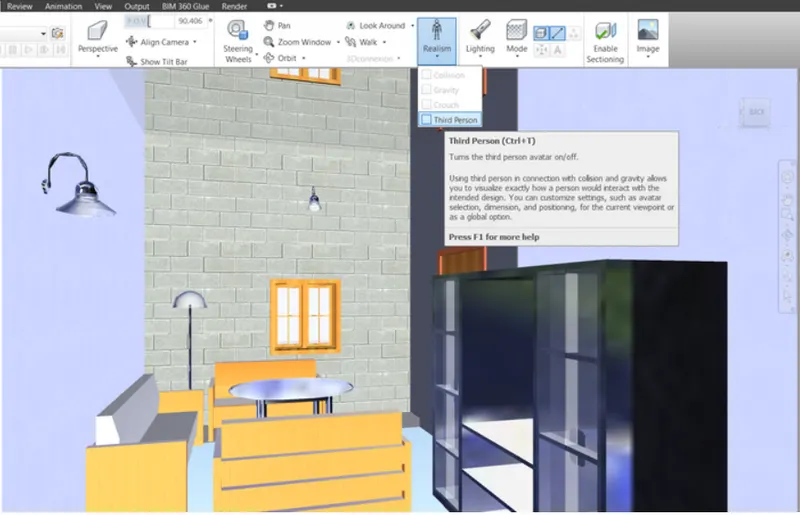
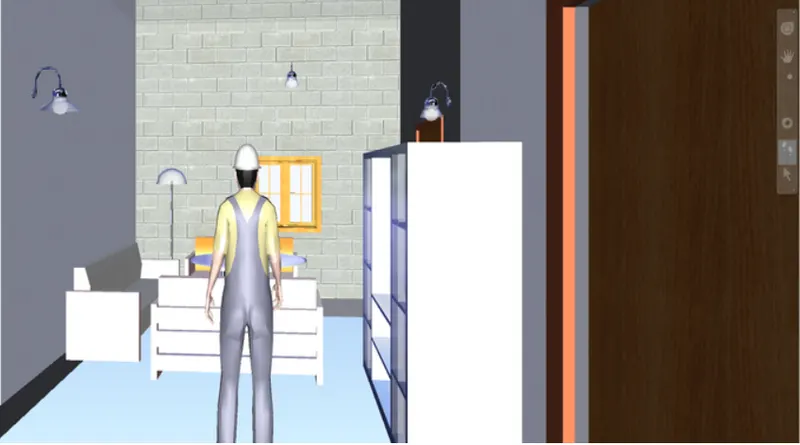
3) Use Navigate tool to use Realism feature to walk through the model and record your moving as animation in Navisworks file
AIM: To use navigate tool to use realism feature to walk through the model and record moving as animation.
TOOLS REQUIRED: 1) Realism 2) walk 3) stop 4) viewpoints
PROCEDURE:
1) Open the exported architectural file in navisworks.
2) click on the viewpoint in the top left and click on the record option in the viewpoint.
3) click on the realism option and then select the third person.
4) select the record option and walk through the rooms.
5) click on the stop and the animation will be created.
RESULT:
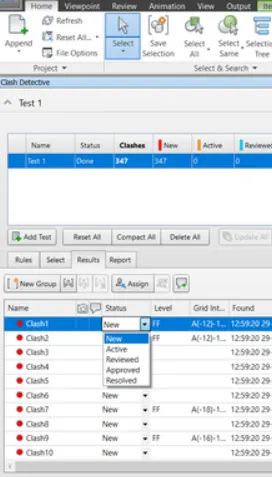
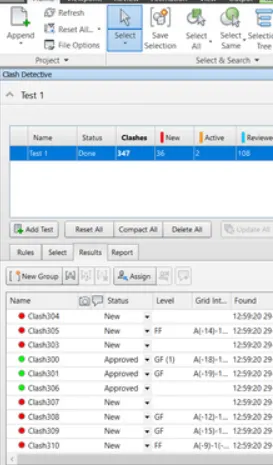
4) Embed both architecture and structure *.nwc file to your Navisworks file. Create a clash detection test between the two models
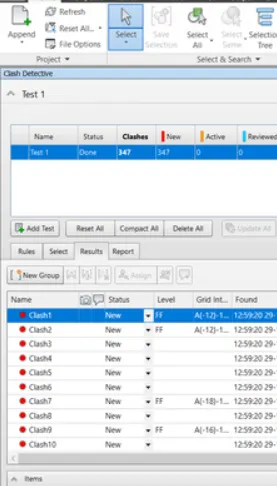
a. Run the Clash Detection Test
b. Study the clashes between the two models
c. List which of the clashes could be approved
d. List which of the clashes could be neglected ( will be taken care later)
e. List which of the clashes can be resolved
f. Save the results after color coding the clashes to the Navisworks file
g. In case of resolution annotate the clash and save the view to defined views in Navisworks
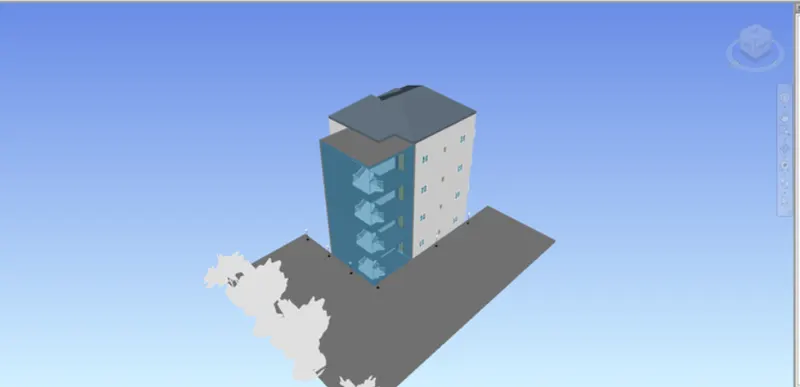
AIM: To embed both architectural and structure nwc file to navisworks file and create a clash detection test between the two models.
TOOLS REQUIRED: 1) Append 2) clash detection 3) run test
PROCEDURE:
1) Open the architectural templated which was exported to the navis work
2) click on the clash detective in the home tab and run the clash detection test.
3) look and analyse the clashes which could be approved, rejected, modified, or neglected(will be taken care later)
4) save the results after color coding the clashes to the naviswork.
RESULT:
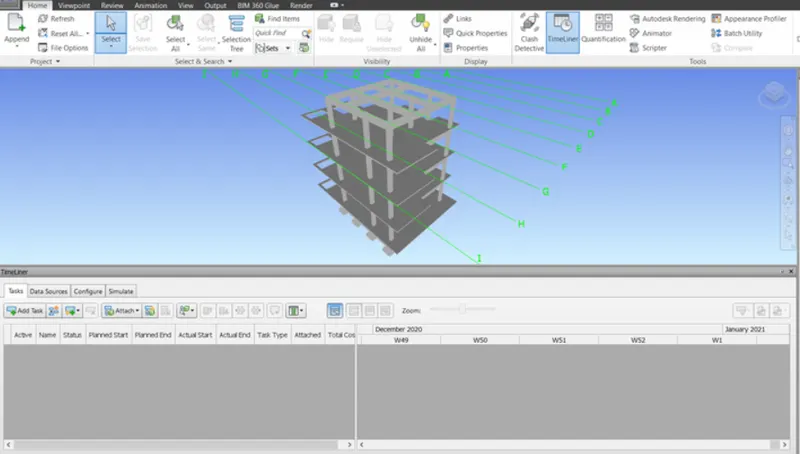
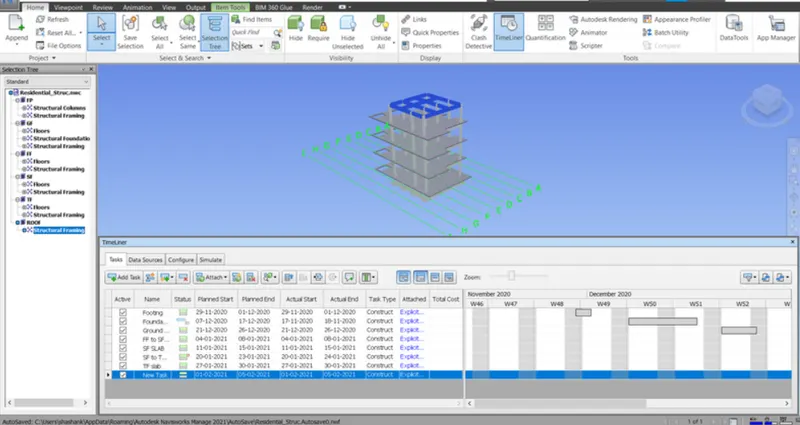
5) Using the Timeliner feature in Navisworks prepare a schedule for the project developed in week 6 to 8 by adding reasonable assumptions for task start date and end date and simulate the task completion as a visual simulation. Record it and save the timeline simulation to Navisworks file
AIM:To use the timeliner feature in navisworks and prepare a schedule for the project developed by adding reasonable assumptions for task start date and end date and simulate the task completion as a visual simulation.
TOOLS REQUIRED: 1) Time liner 2) attach materials 3) add task
PROCEDURE:
1) open the structural template which was exported from the revit.
2) in the home tab, select the timeliner.
3) add and attach the tasks in it
4) insert the start and end dates to the task.
5) continue to do it for the complete building.
6) select the stimulate option to play the recorded task and save the project.
RESULT: