Radar Mast & Final Assembly of Yacht
Project: Modelling a Yacht in Solidworks.
Objective: To learn blueprint setup and surface modeling
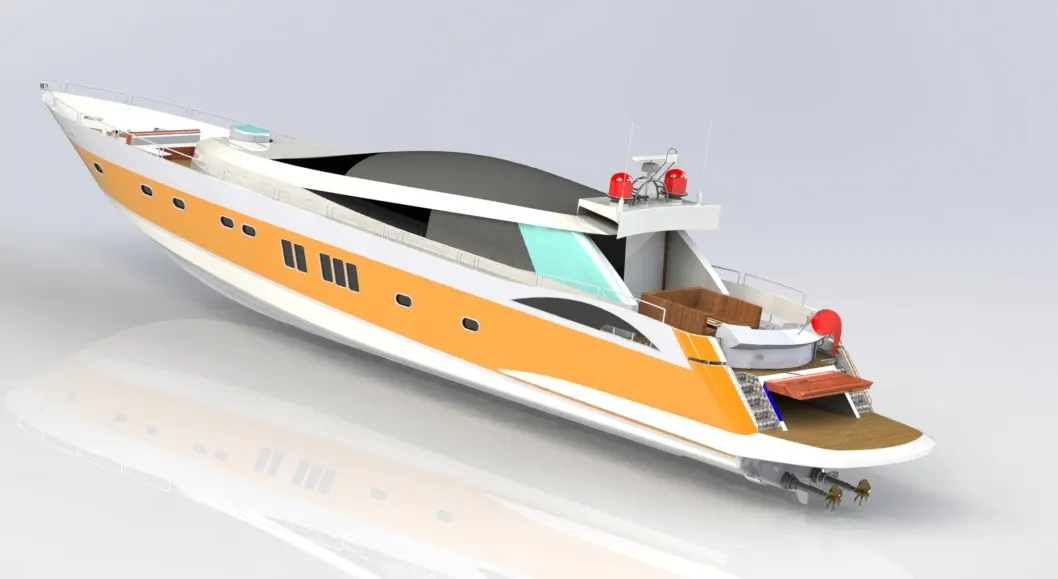
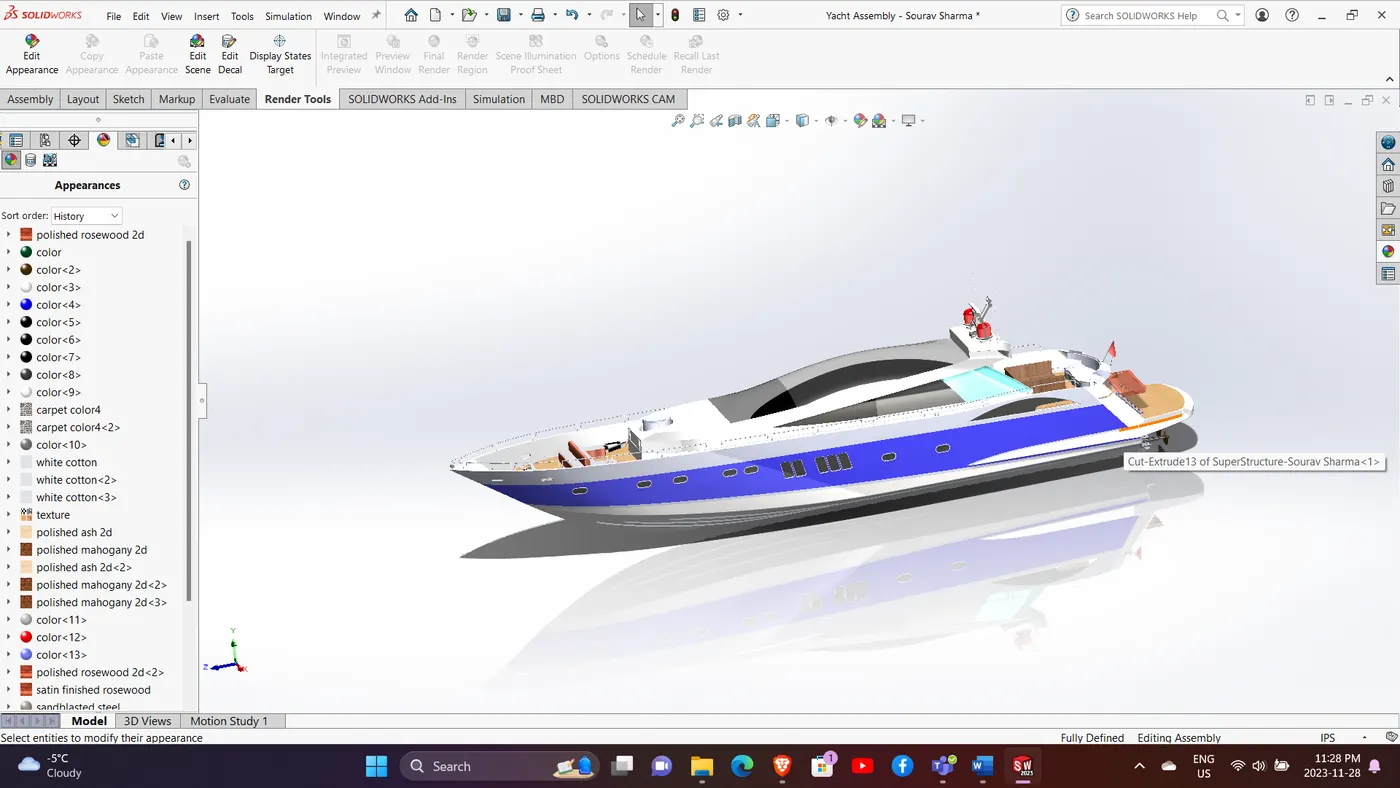
Introduction: The American Predator Yacht was used as a conceptual model for this project to grasp better the solid and surface modeling techniques used in 3D modeling. Unlike other learners, I chose a different approach to modeling. I made a multi-body part with most of the components on the base of the hull and then assembled it with a minimal number of parts in the assembly. Also, I didn’t copy the steps and tried making it my own way. I used the blueprints to get the idea; after that, all the sketches and features were my brainchild. That is why this yacht looks different from the original Sunseeker Predator Yacht. Next, the rendered image of the yacht was generated in a photo-realistic style.
Design Methodology:
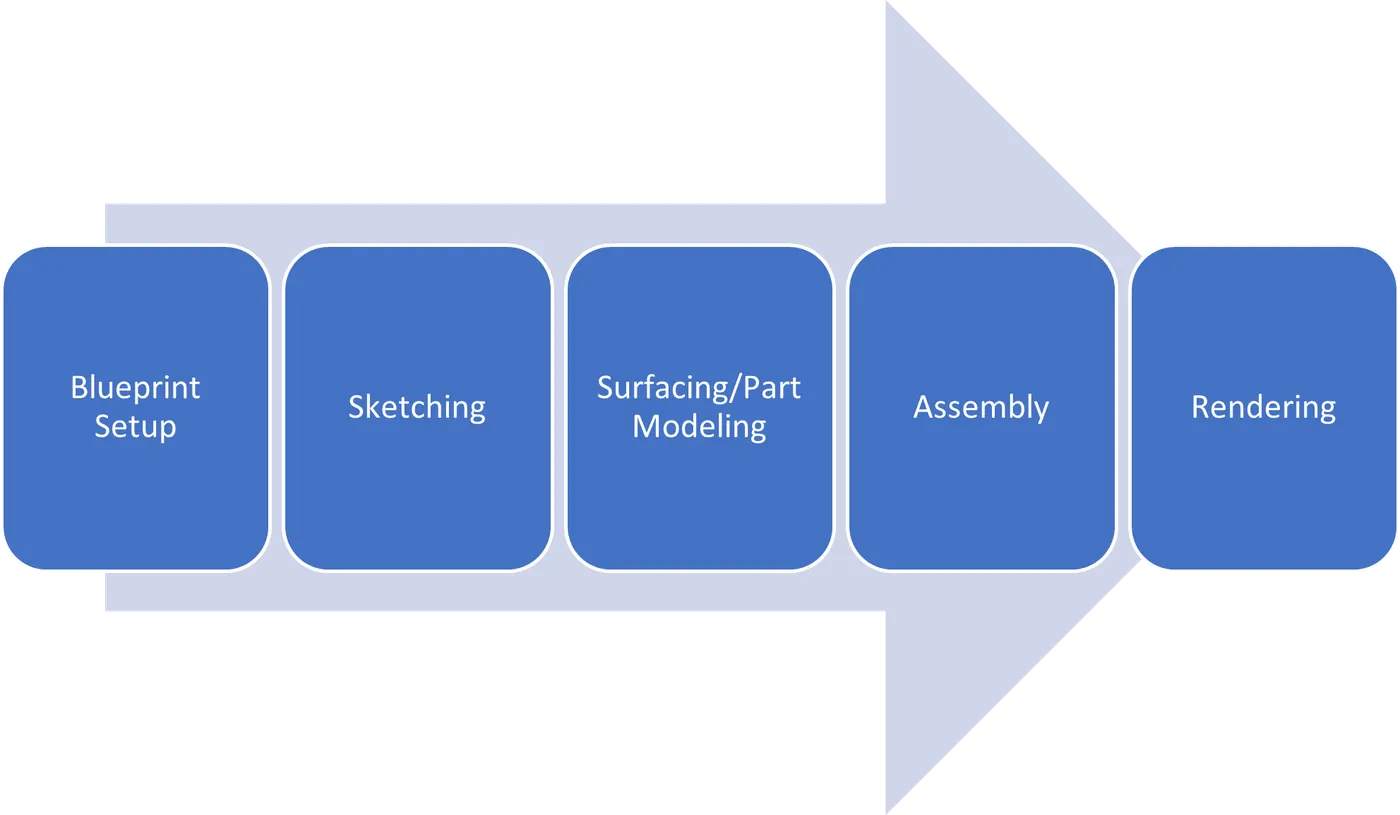
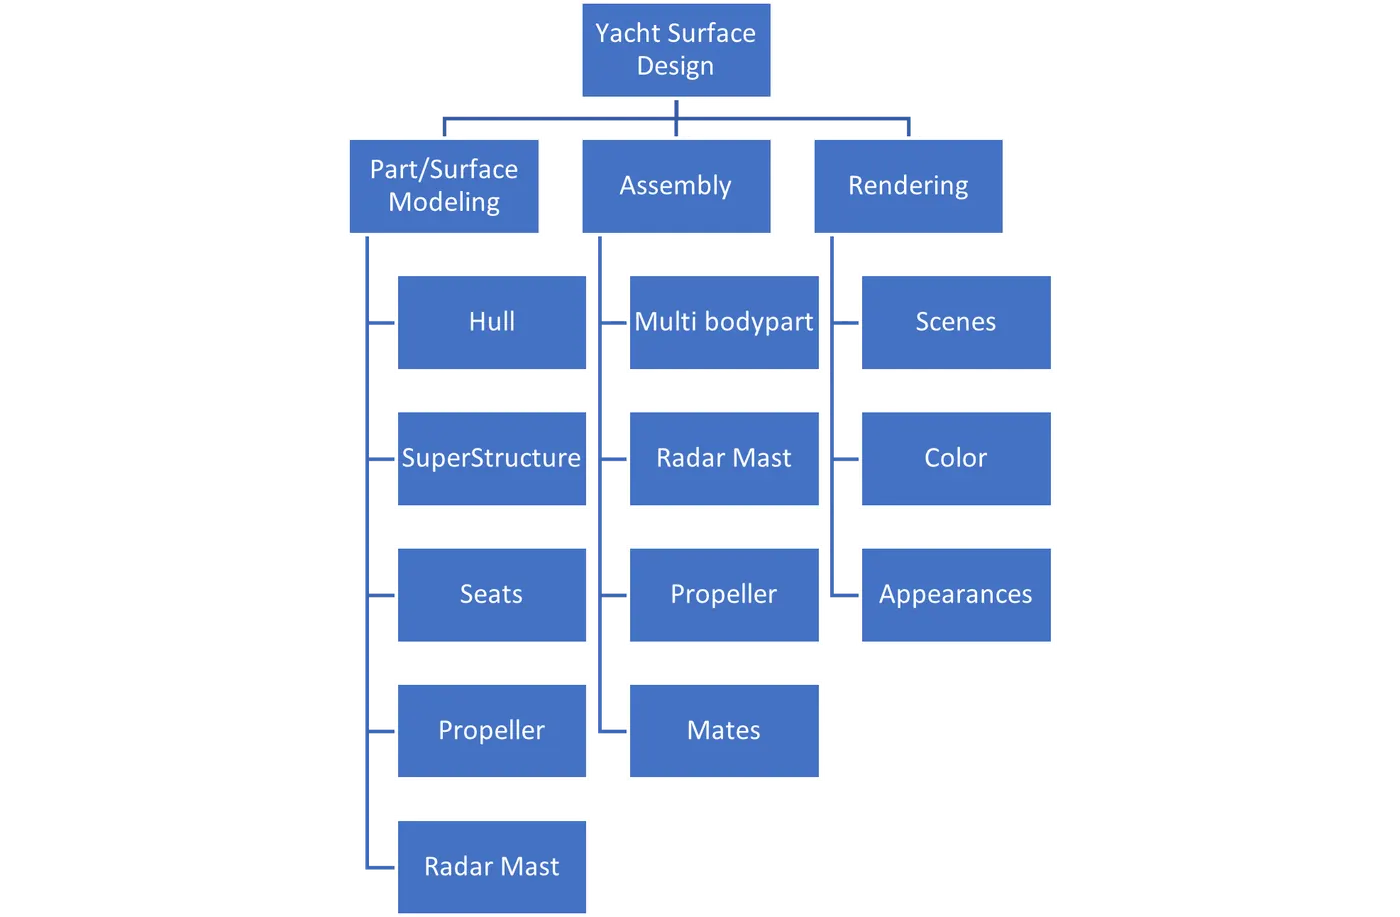
Description:
1. Blueprint Setup: A blueprint is an engineering or technical drawing replicated using a contact print method on light-sensitive paper. A blueprint is an easily followable design or pattern that serves as a guide while creating something. They were quicker to manufacture and more straightforward to read. In our project, the blueprint is a setup of stenciled images from all angles. These will work as references to sketch the parts.
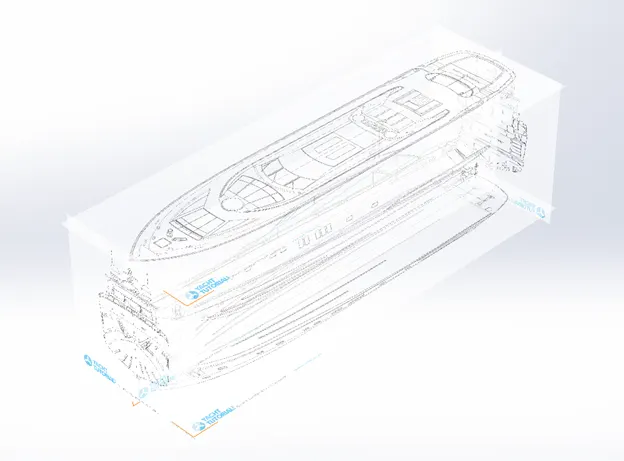
Hull: Two projected curves on the right and top plane are drawn using the spline tool by tracing the blueprint.
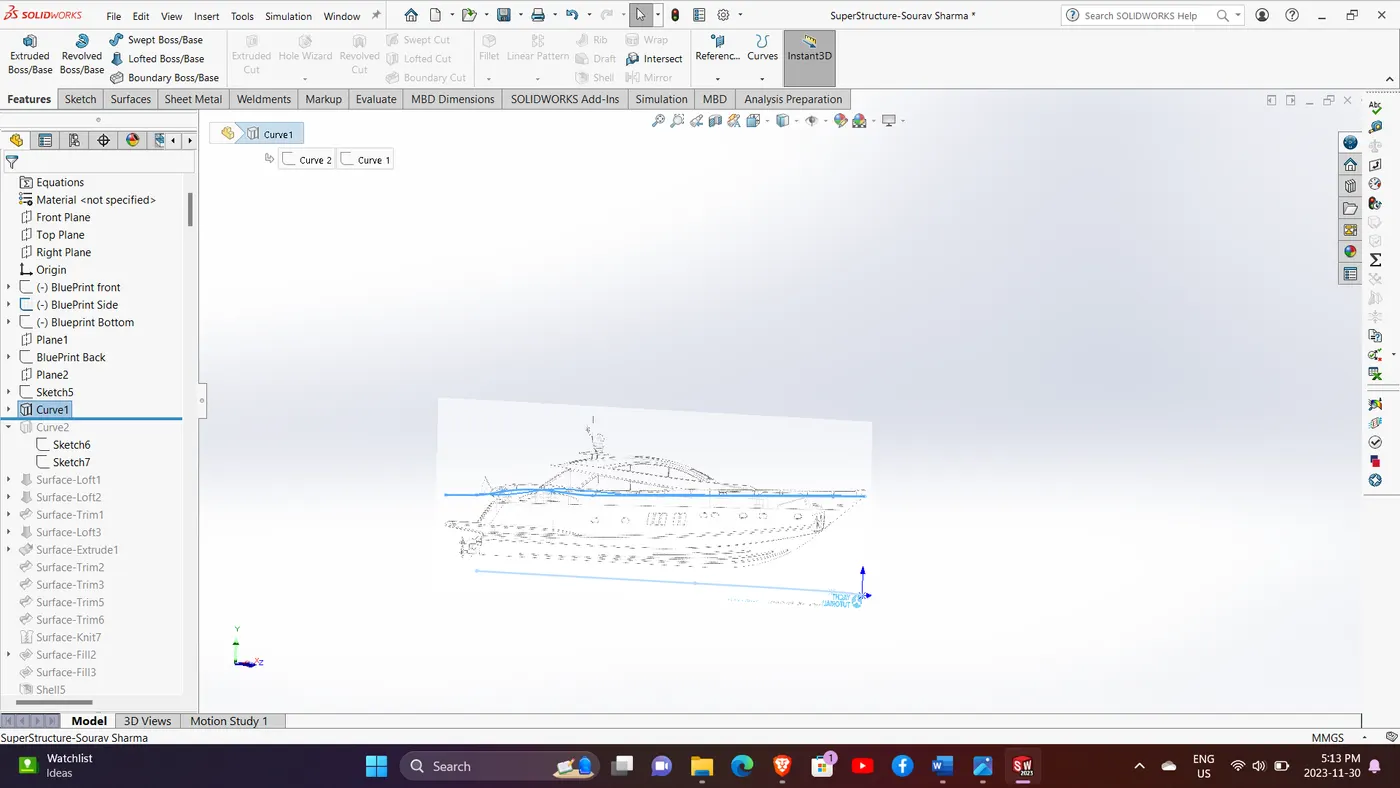
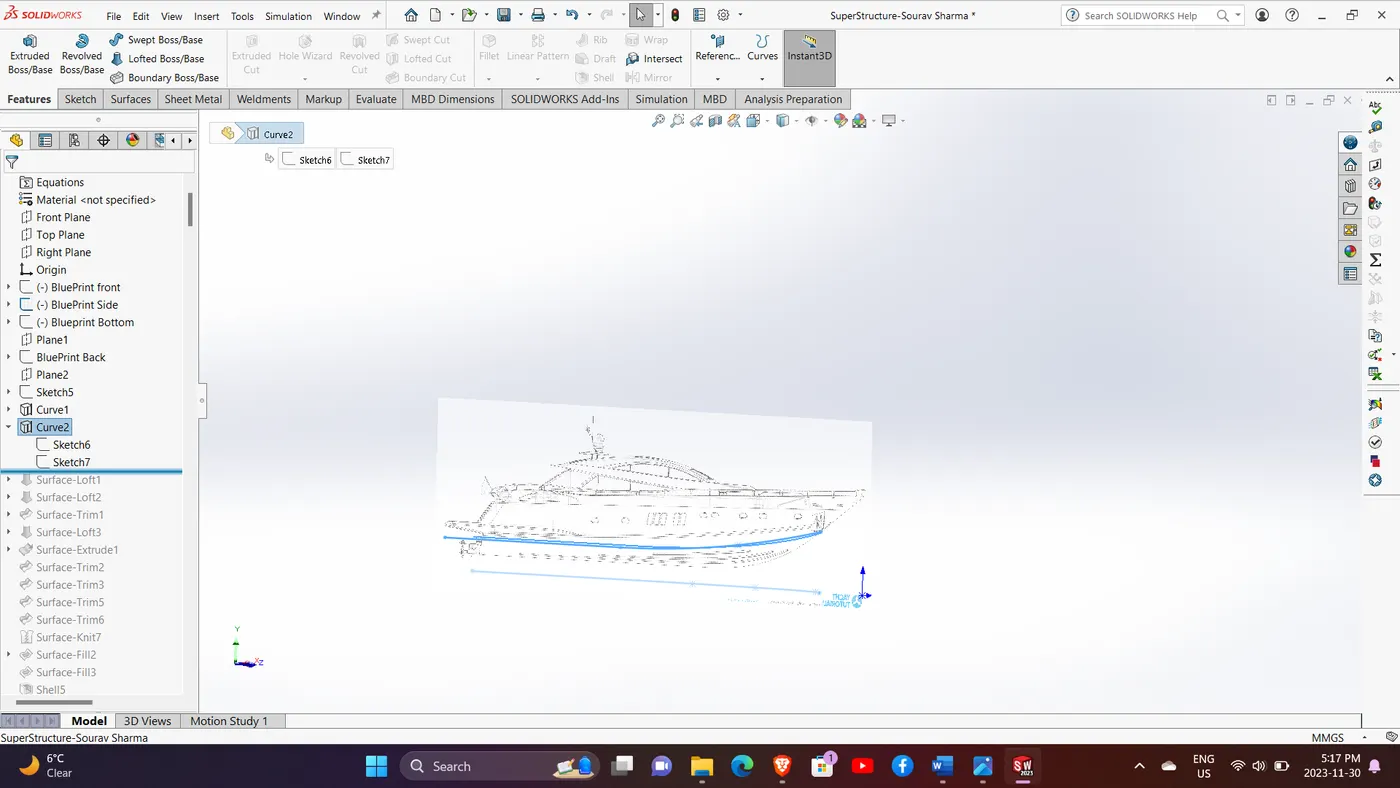
The Surface was lofted by using these two curves as profiles.
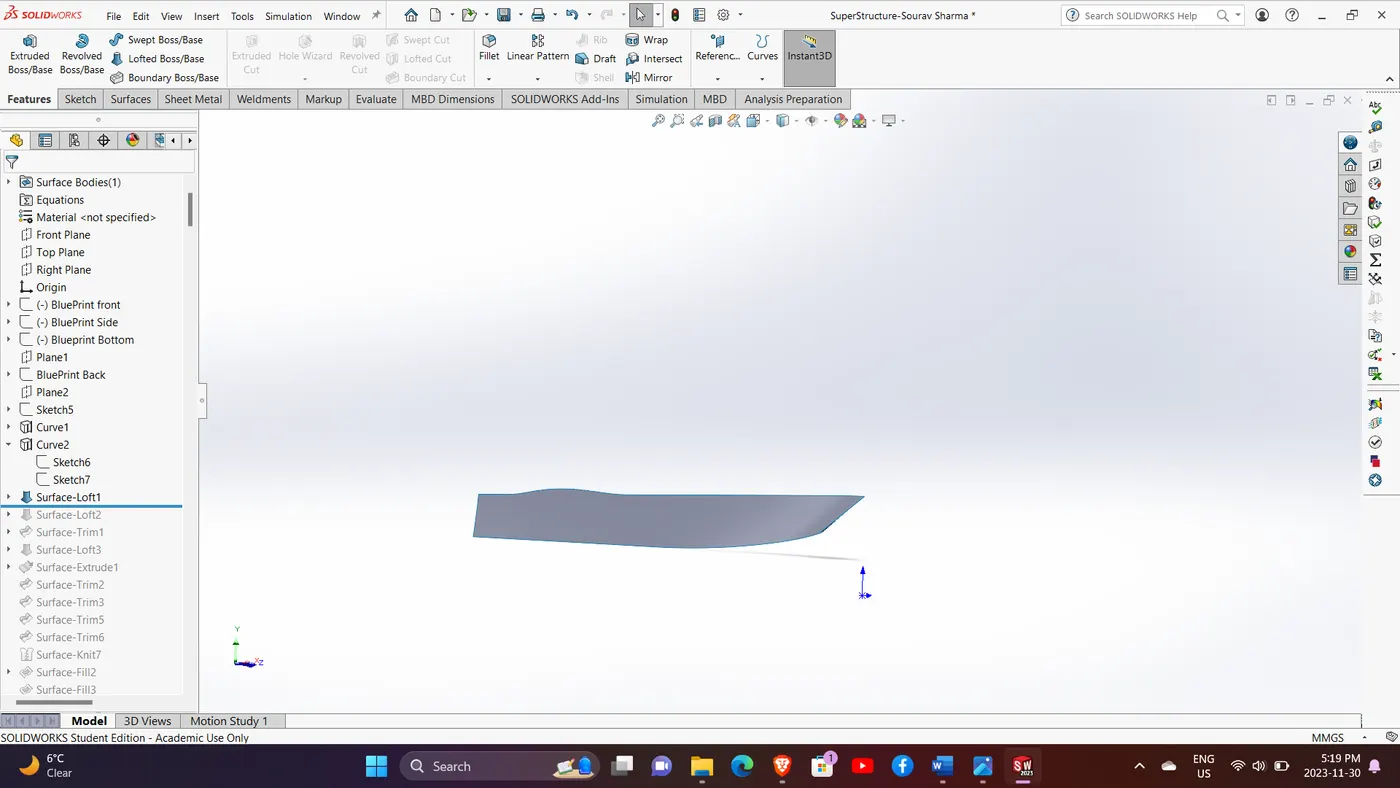
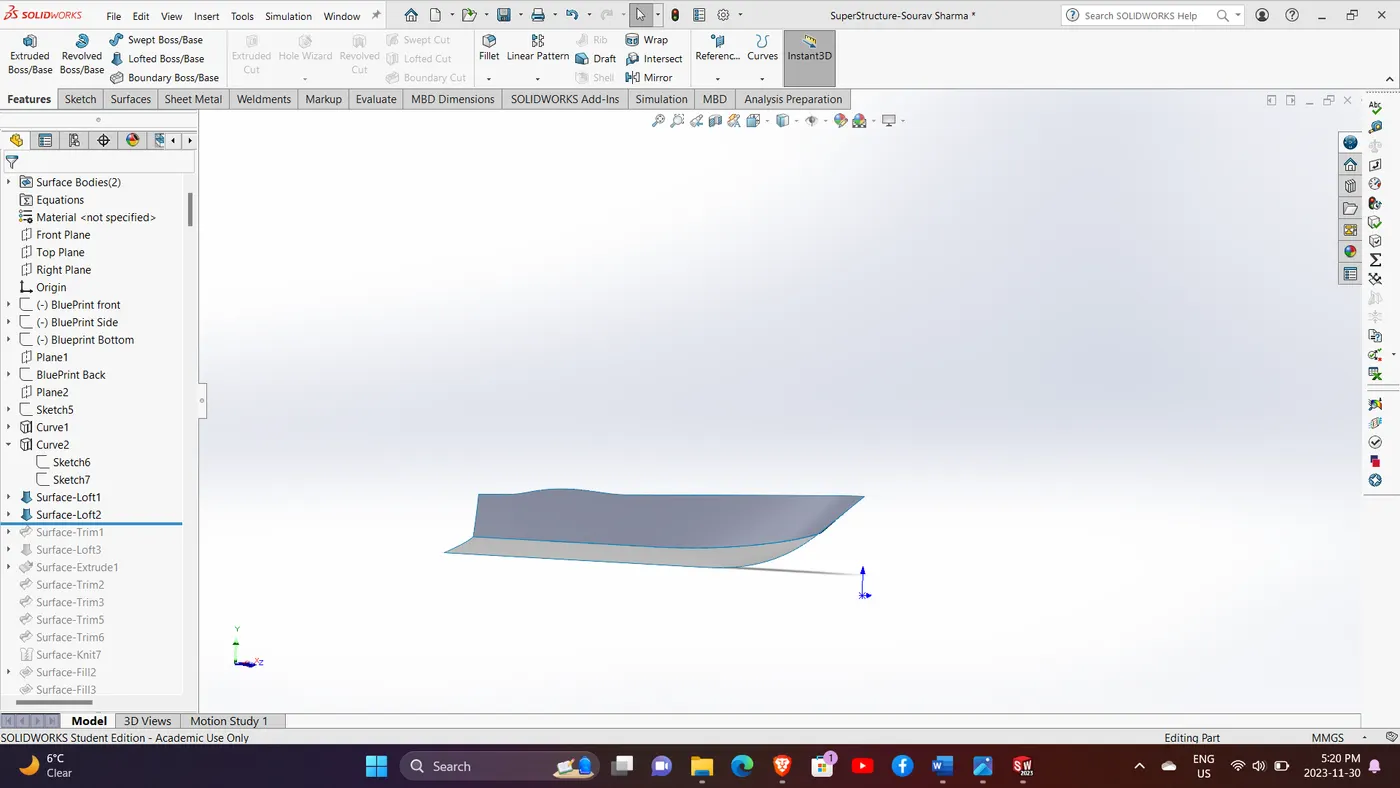
Trimmed the back side of the lofted surface using the sketch as shown
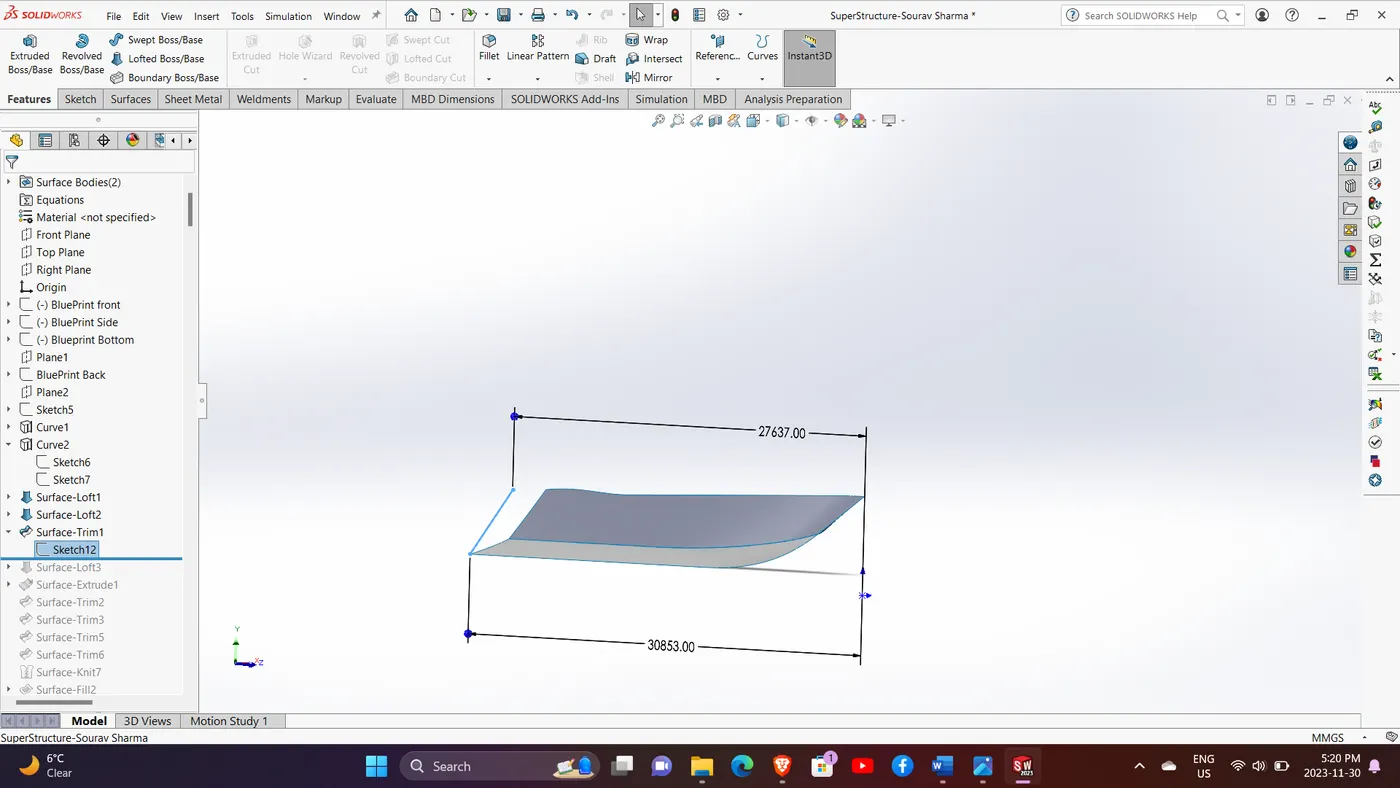
Lofted the surface using a sketch as shown
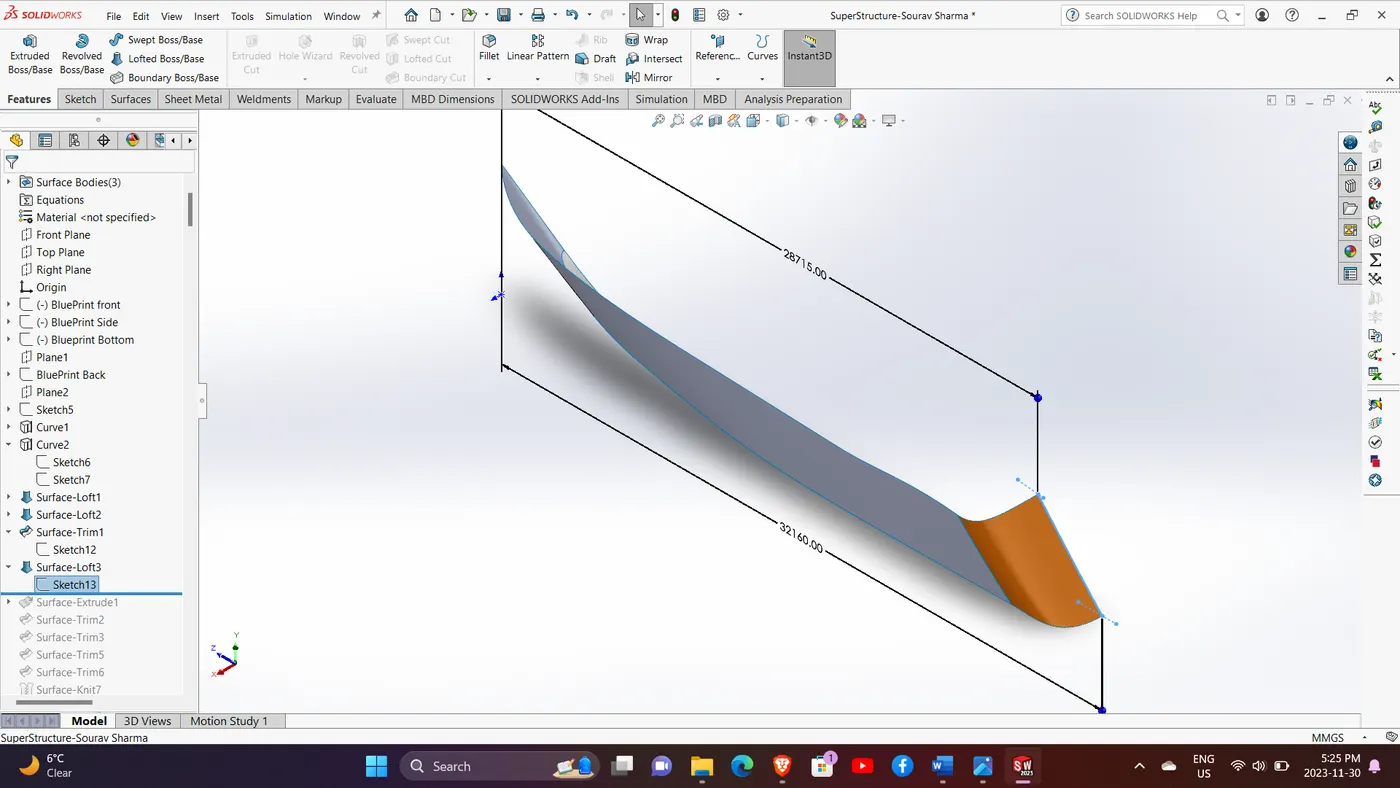
Extruded a surface as shown
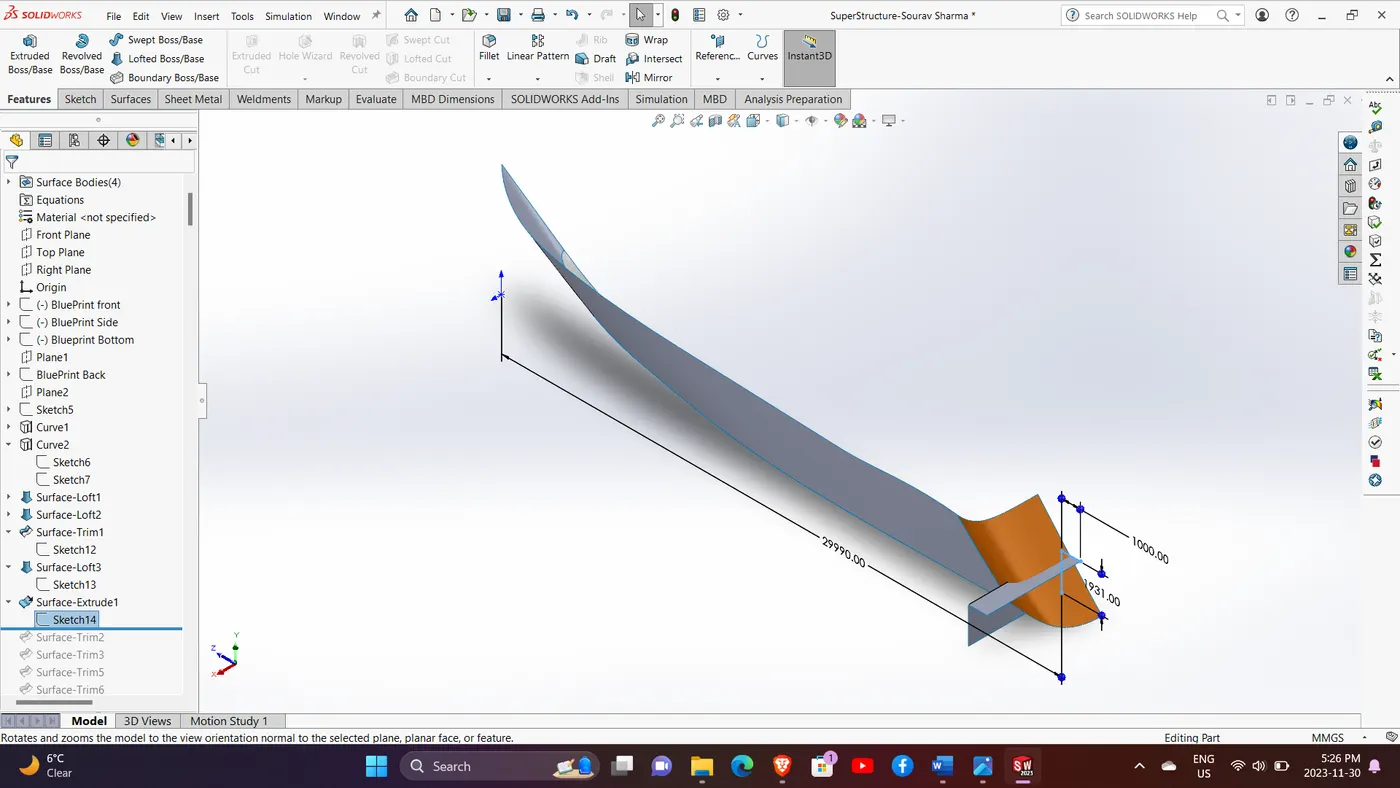
Trimmed down the exterior of both surfaces to get the shown surface shape and then knitted the surface by gap control option on.
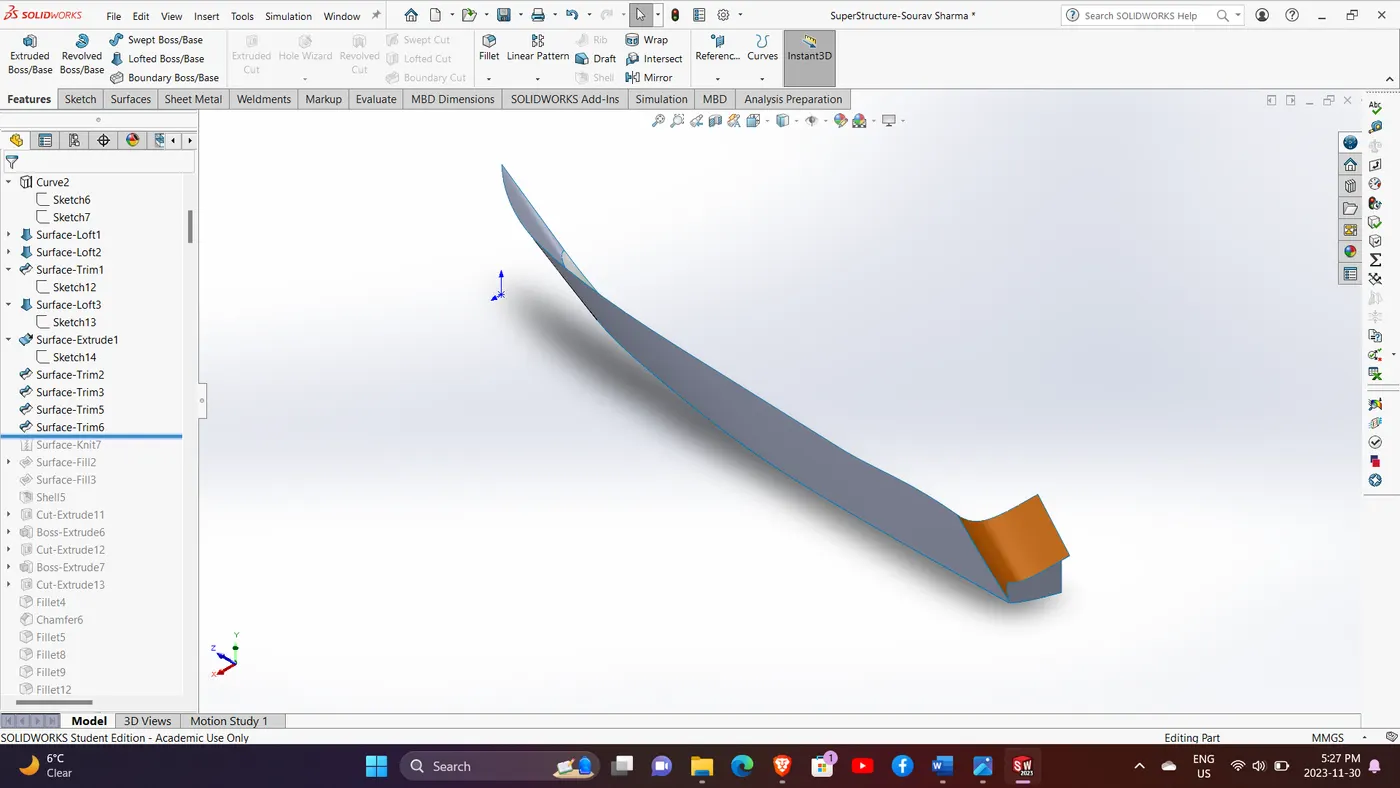
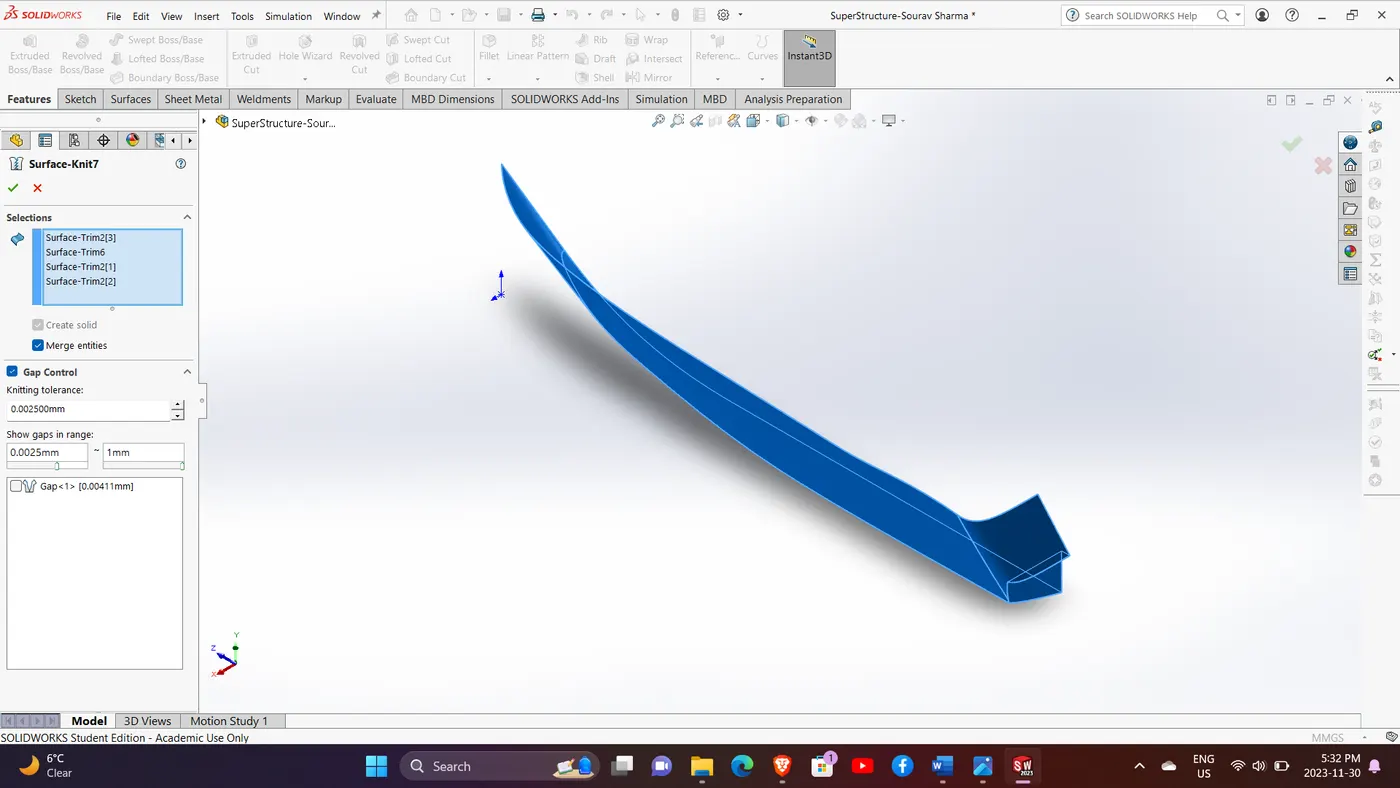
Used the filled surface command with a sketch on the right plane
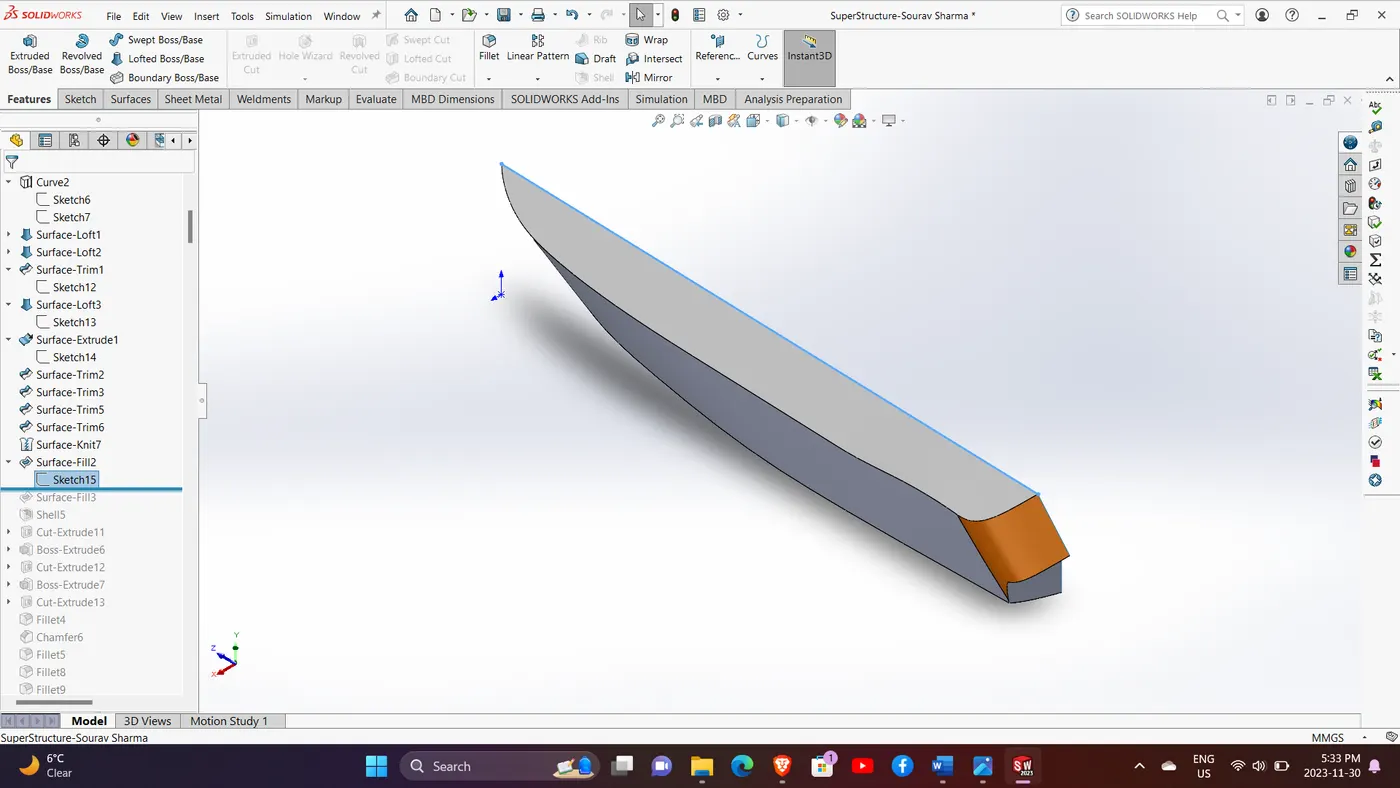
Used a surface fill command to close the structure on the side of the right plane.
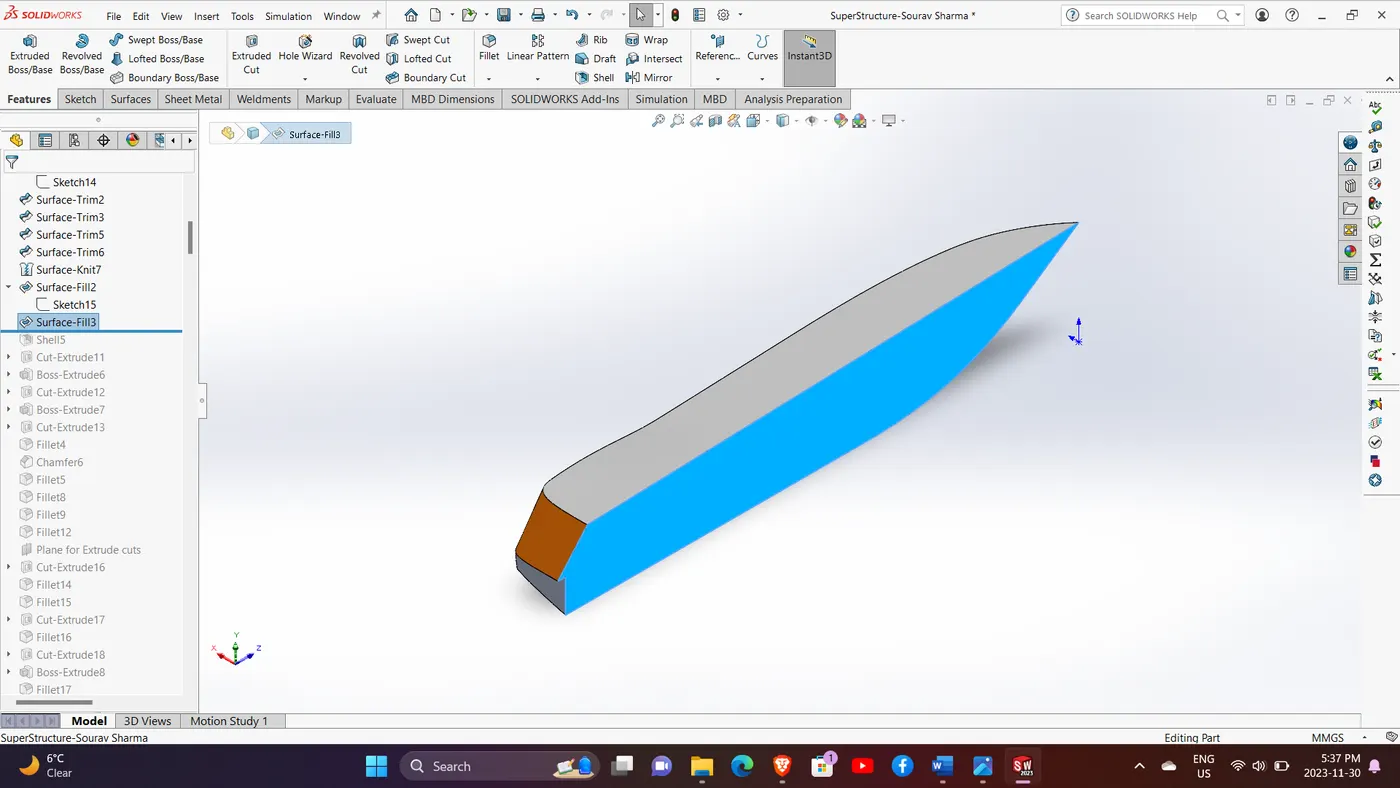
Used shell command on the top surface to make the structure hollow.
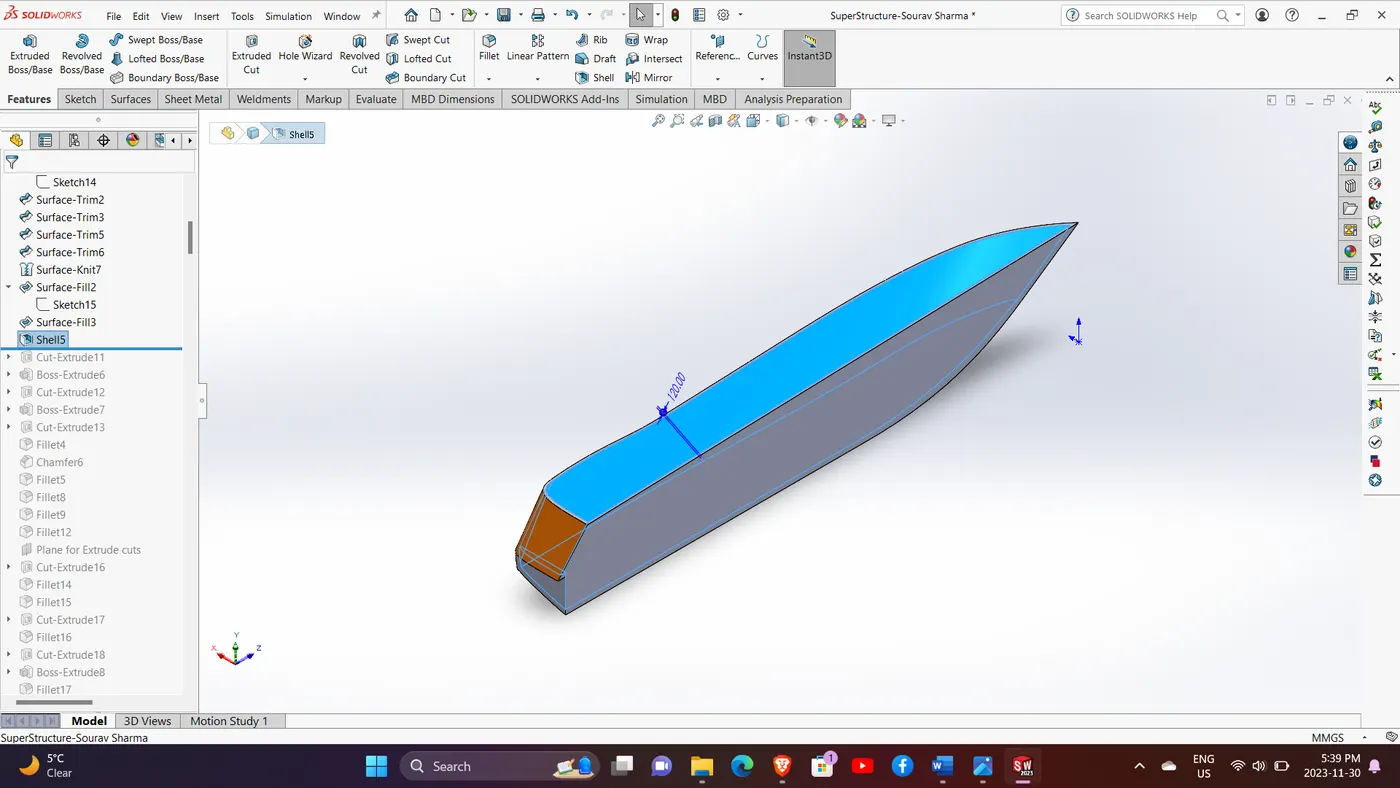
Used cut extrude command to cut the surface on the right plane.
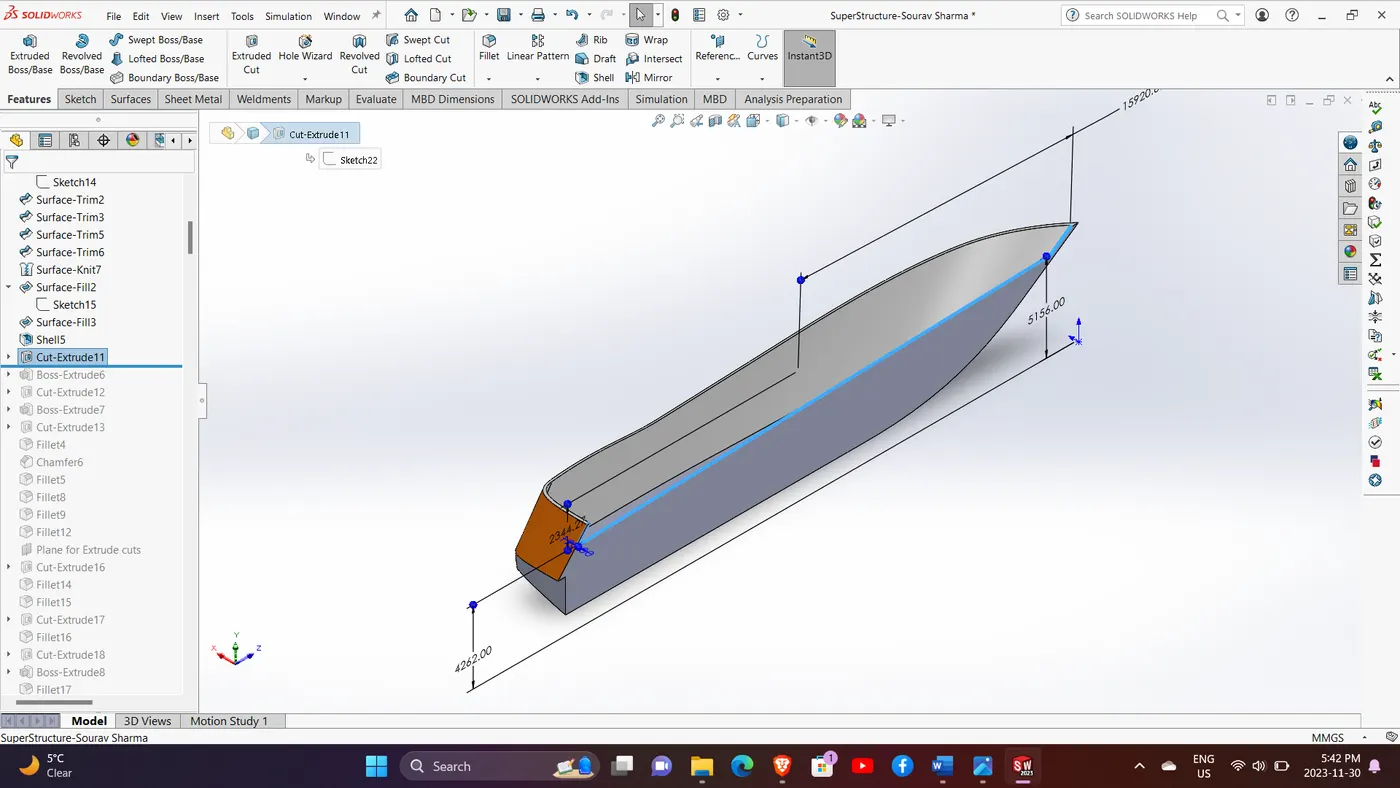
Extruded the surface as shown to make the floor of the hull and applied the appearance on the surface as shown.
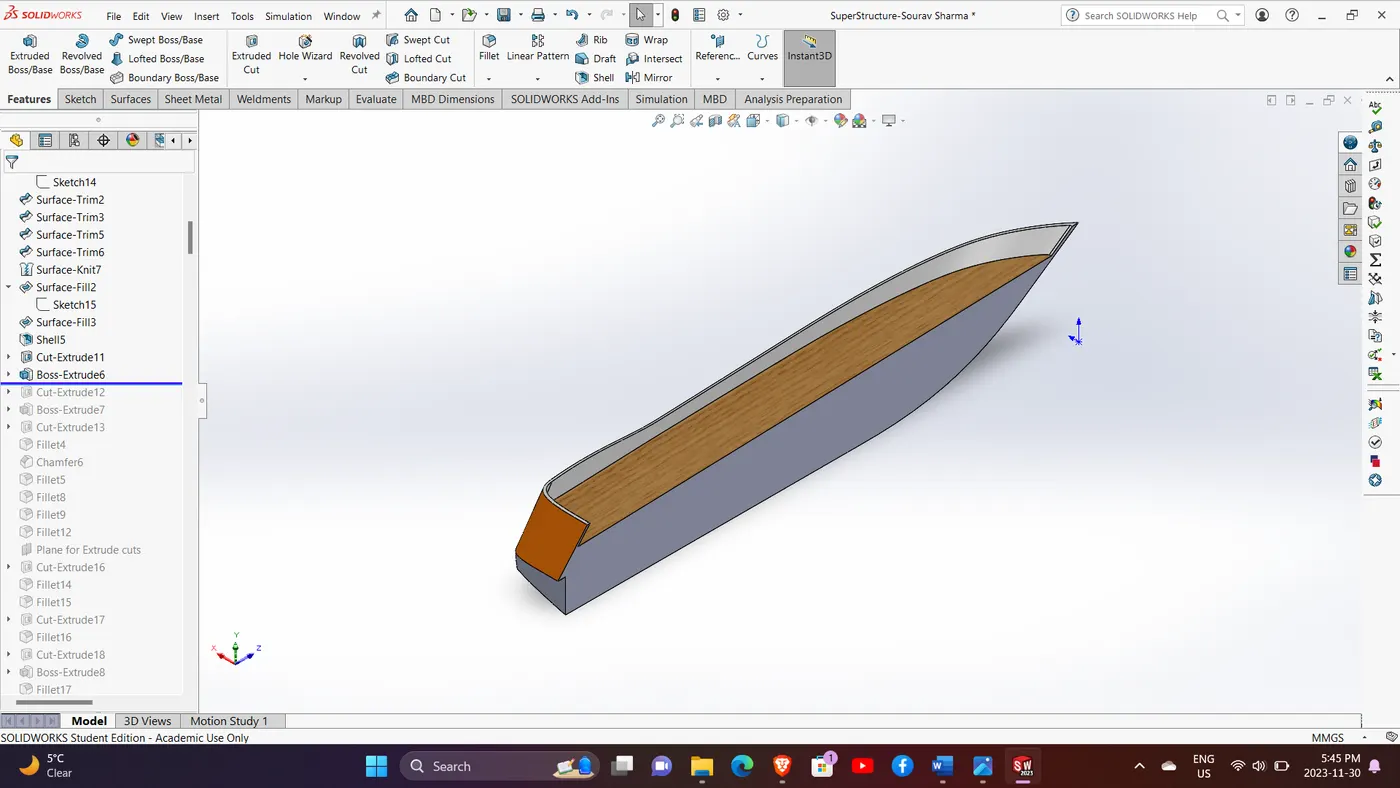
Boss extruded the lower floor of the hull, as shown.
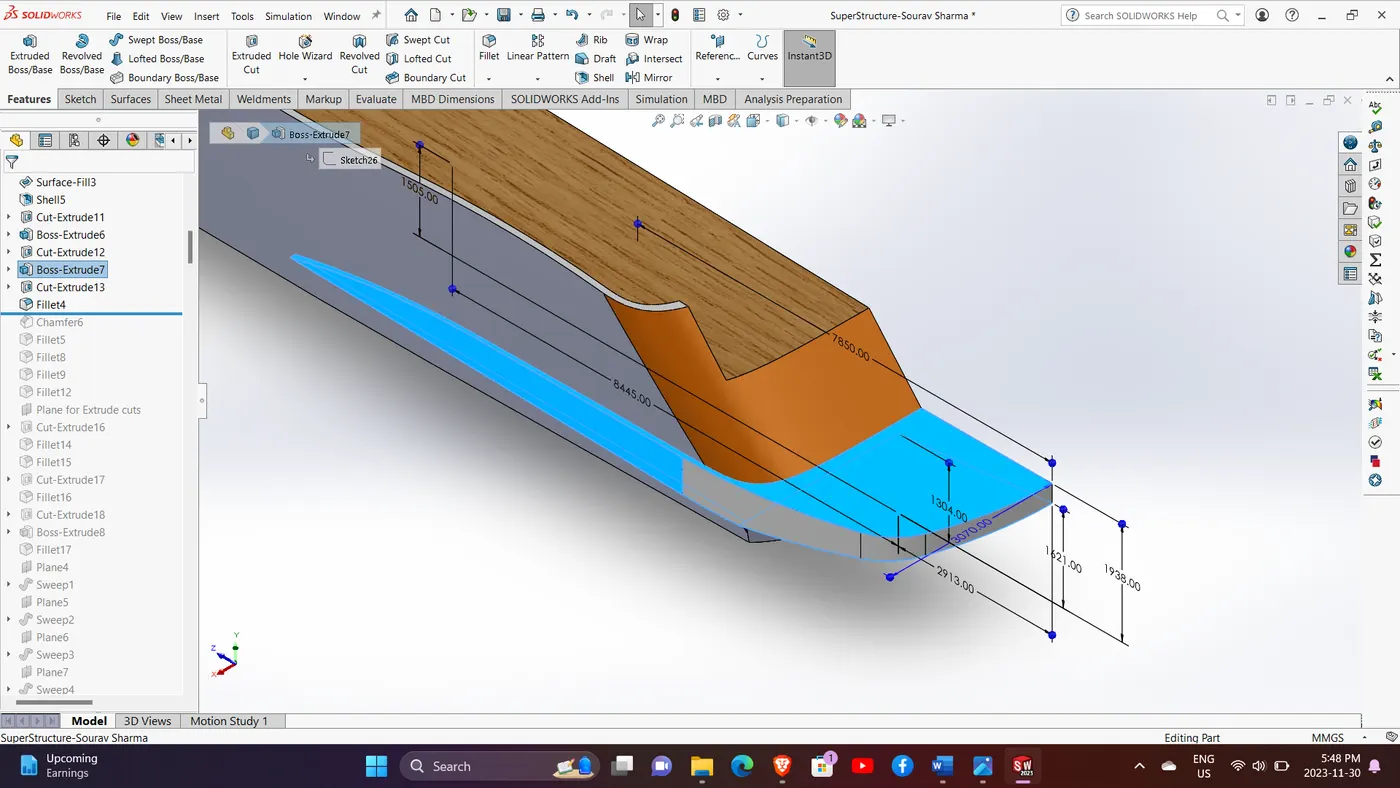
Used cut extrude command to make the cut-outs from the surface
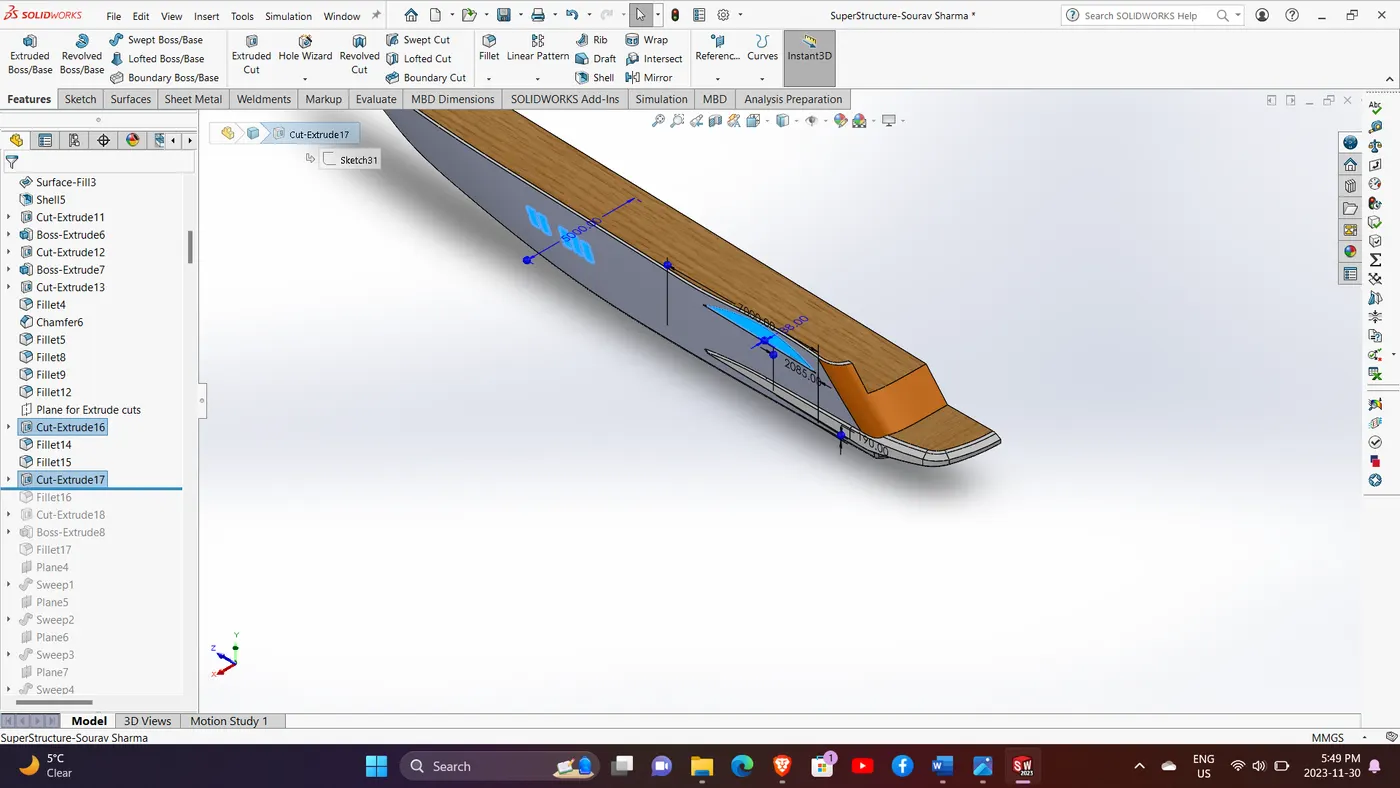
Used Revolve and Boss Extrude commands to make the features on the floor of the hull
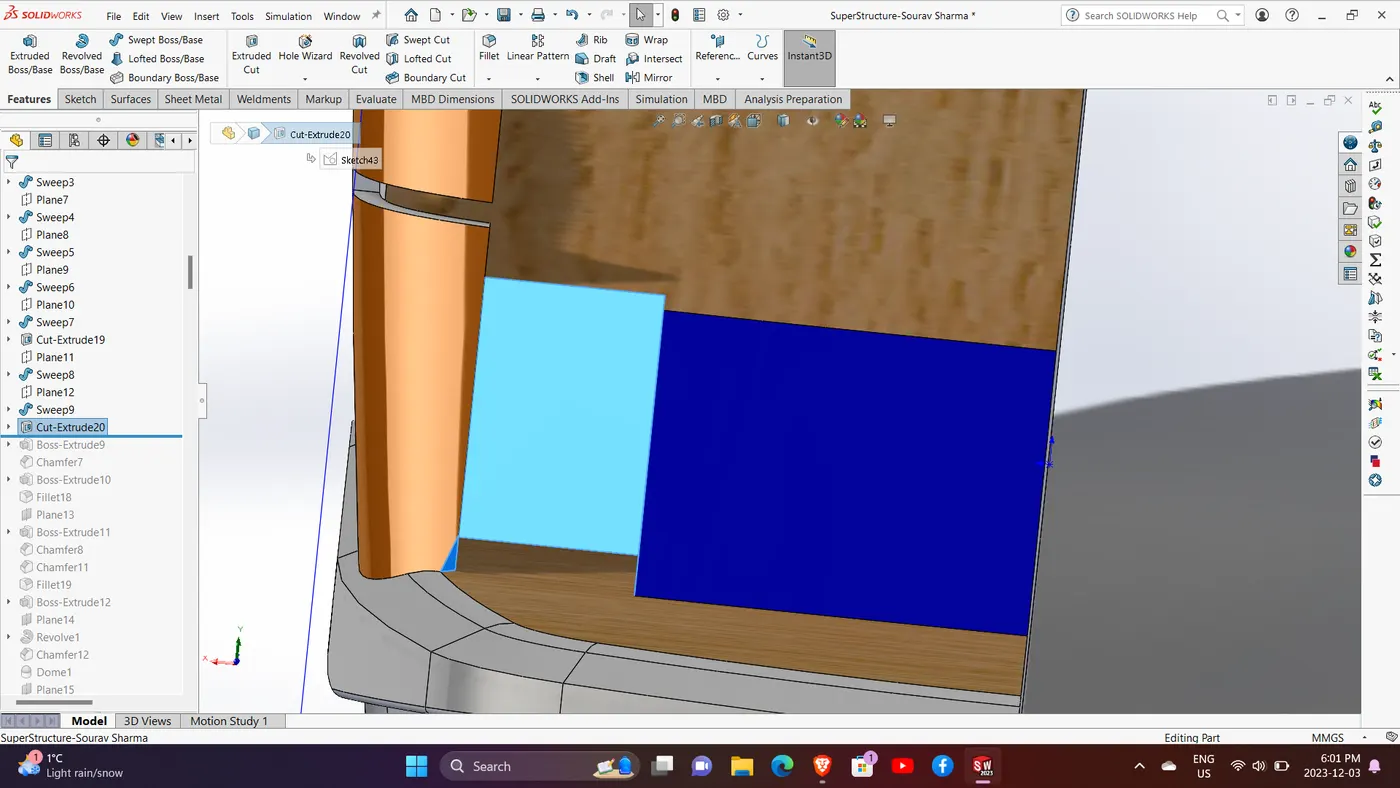
Used the Extrude cut feature to create space for rear stairs.
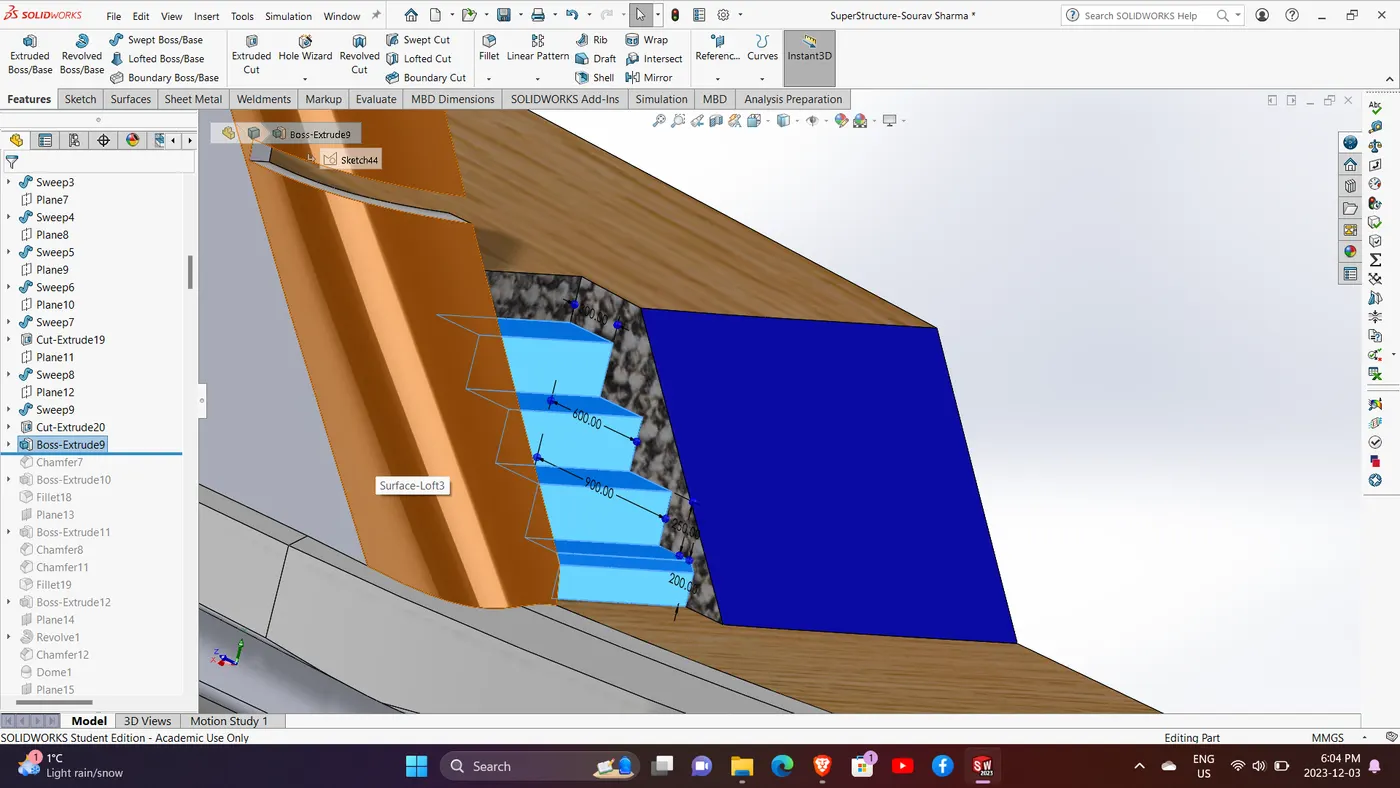
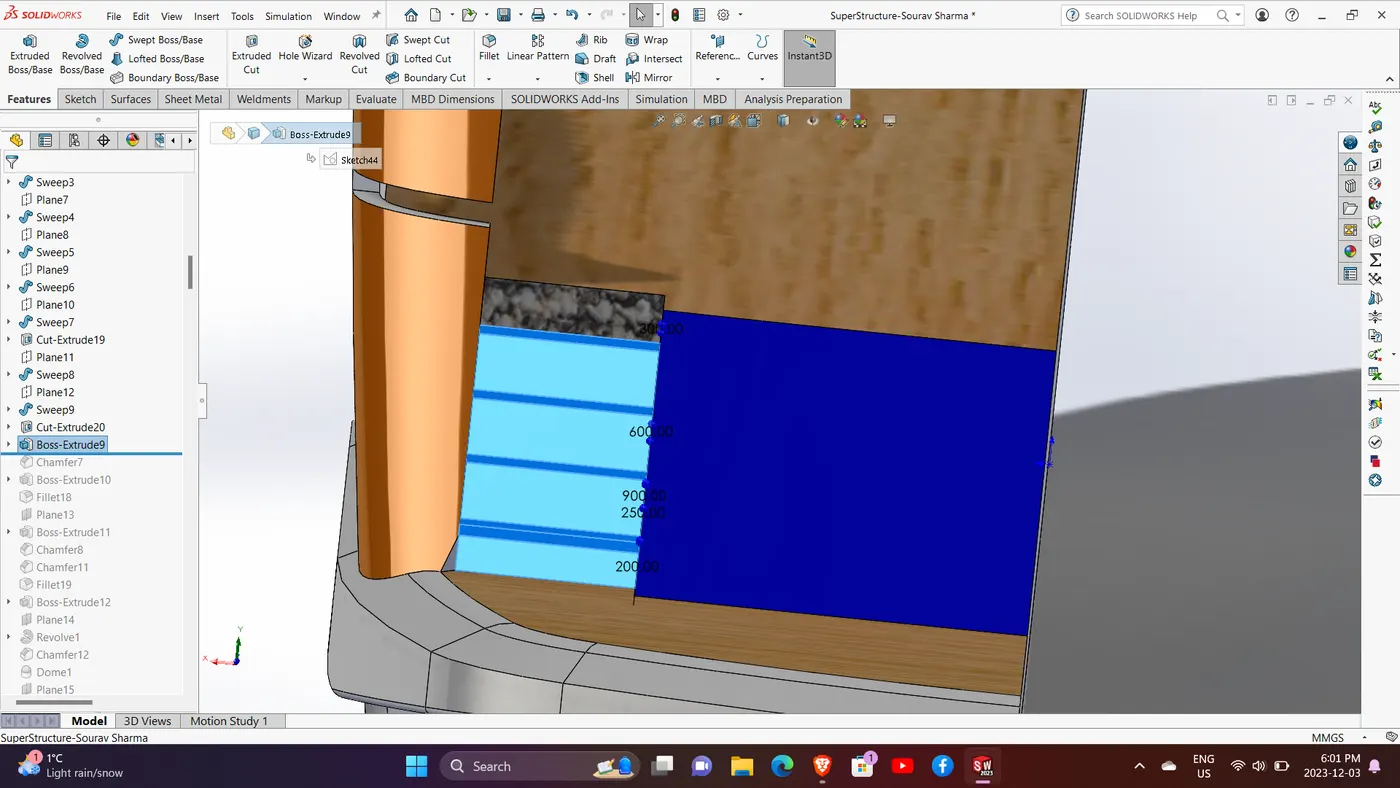
Sketched on the face as shown and extruded to make the stair structure.
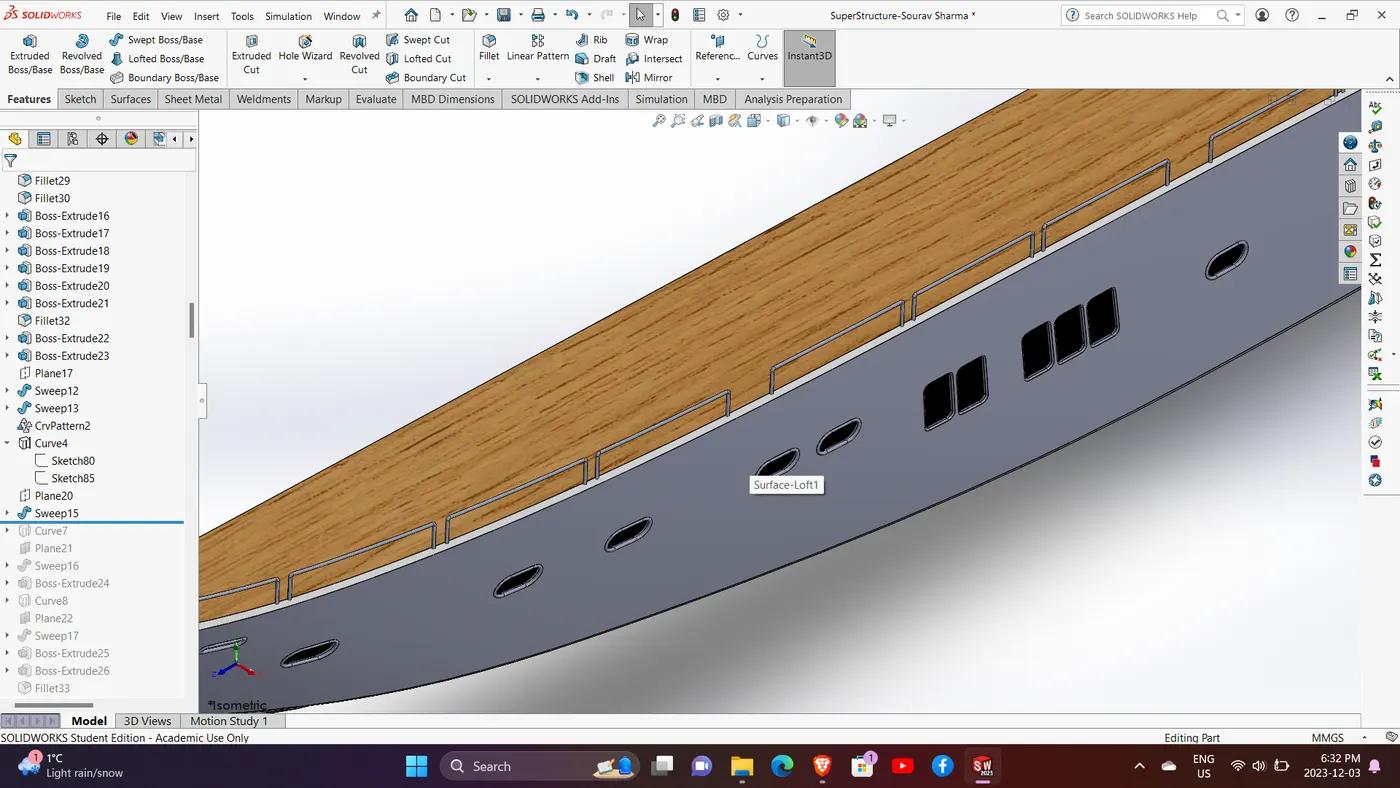
Used a reference plane offset at 10mm, created a sketch for the railing, and swept it with a circular profile.
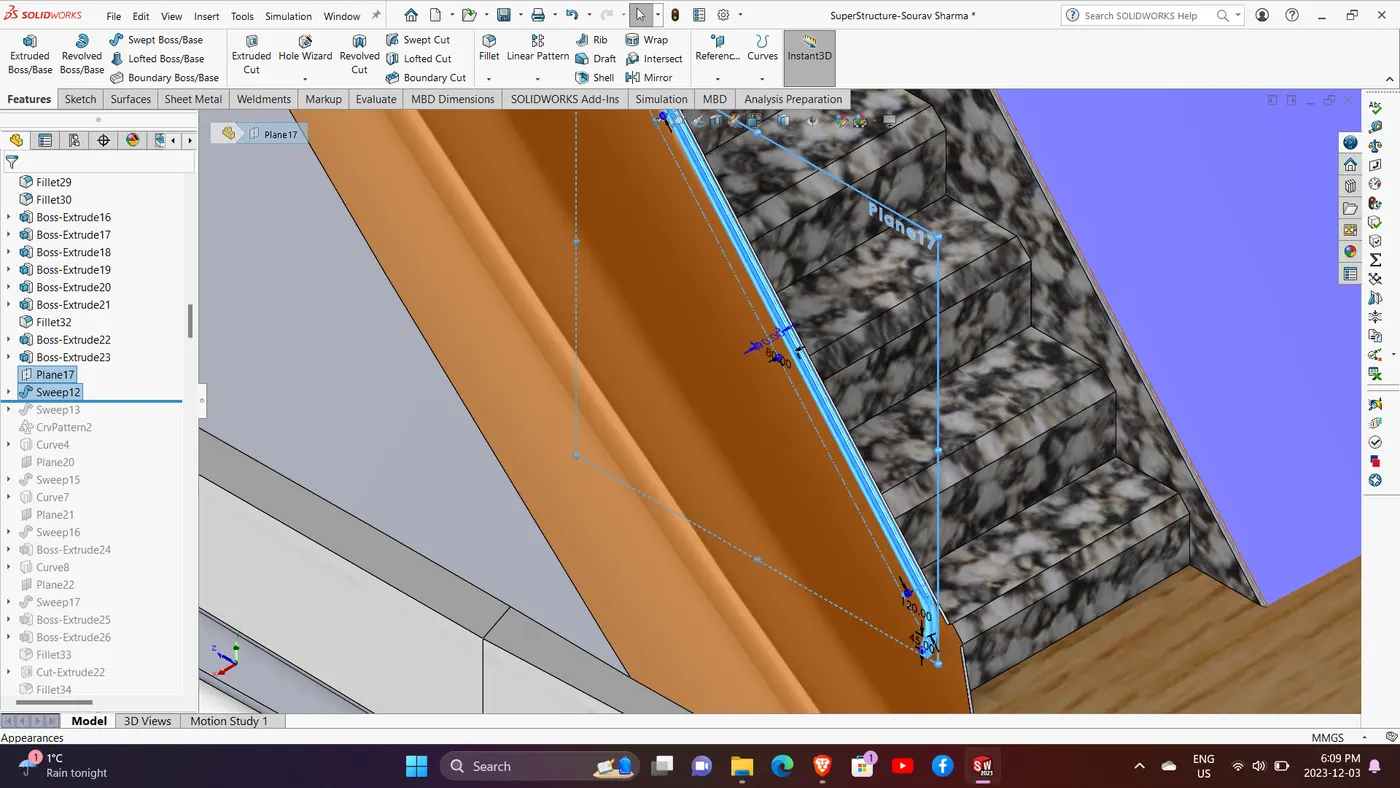
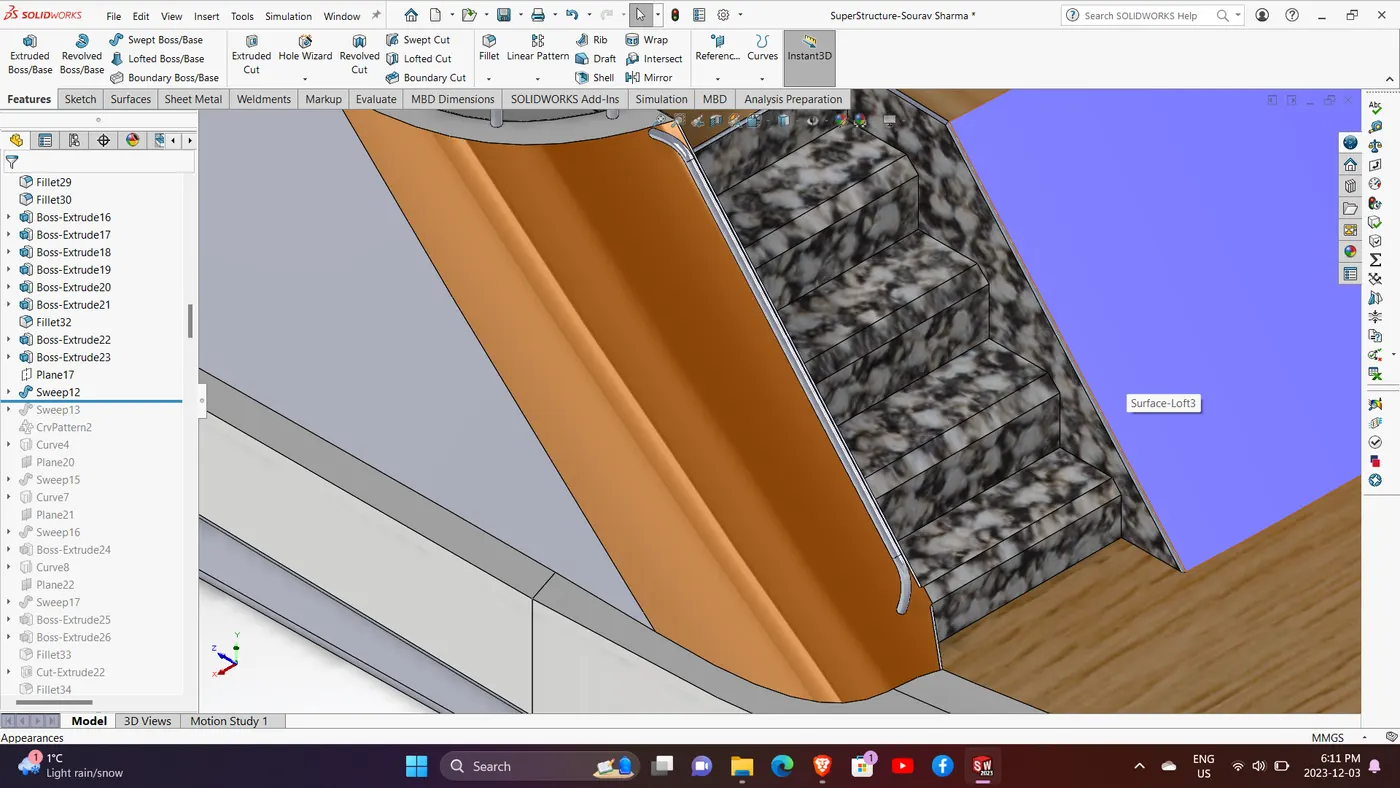
Created a sketch on right plane as shown:
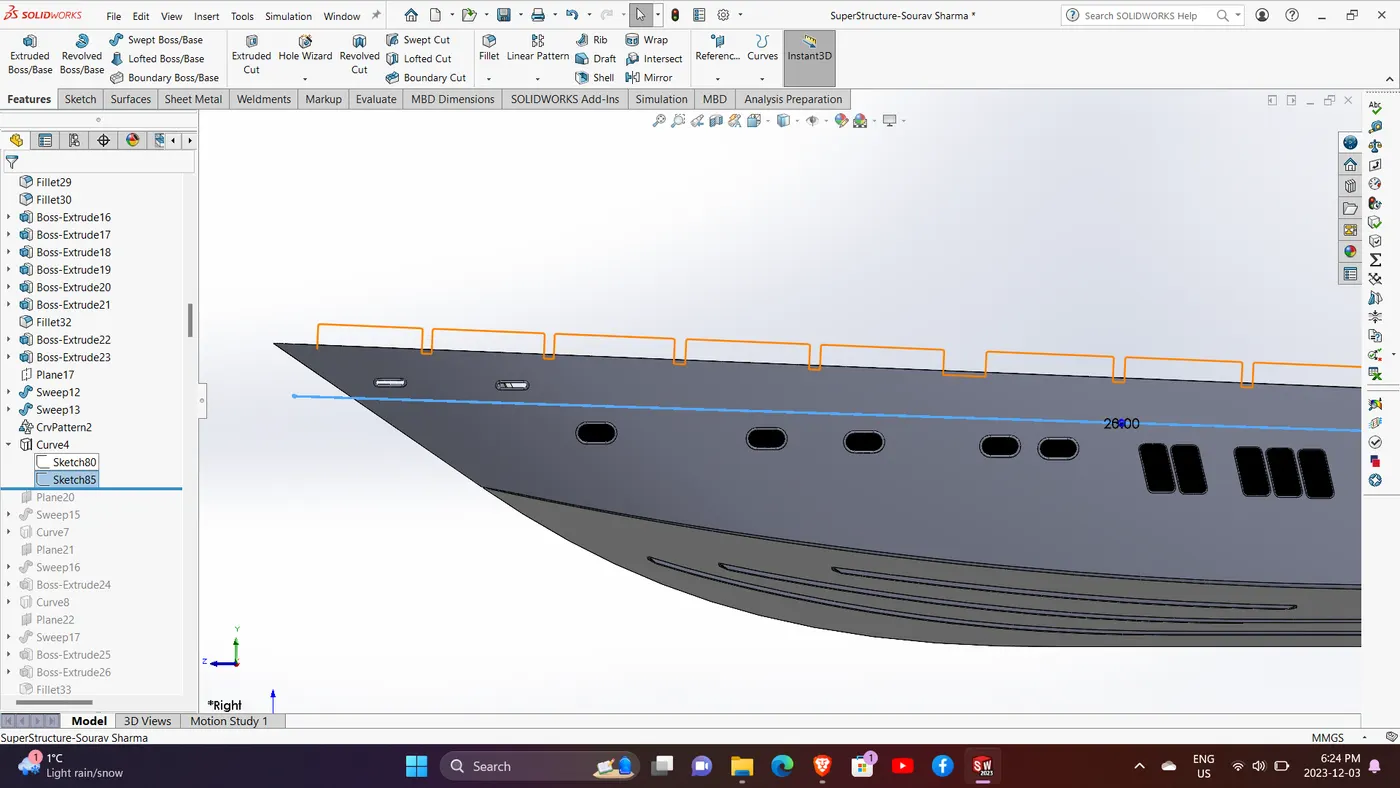
Created another sketch on the top plane by offsetting the edge by 20 mm as shown:
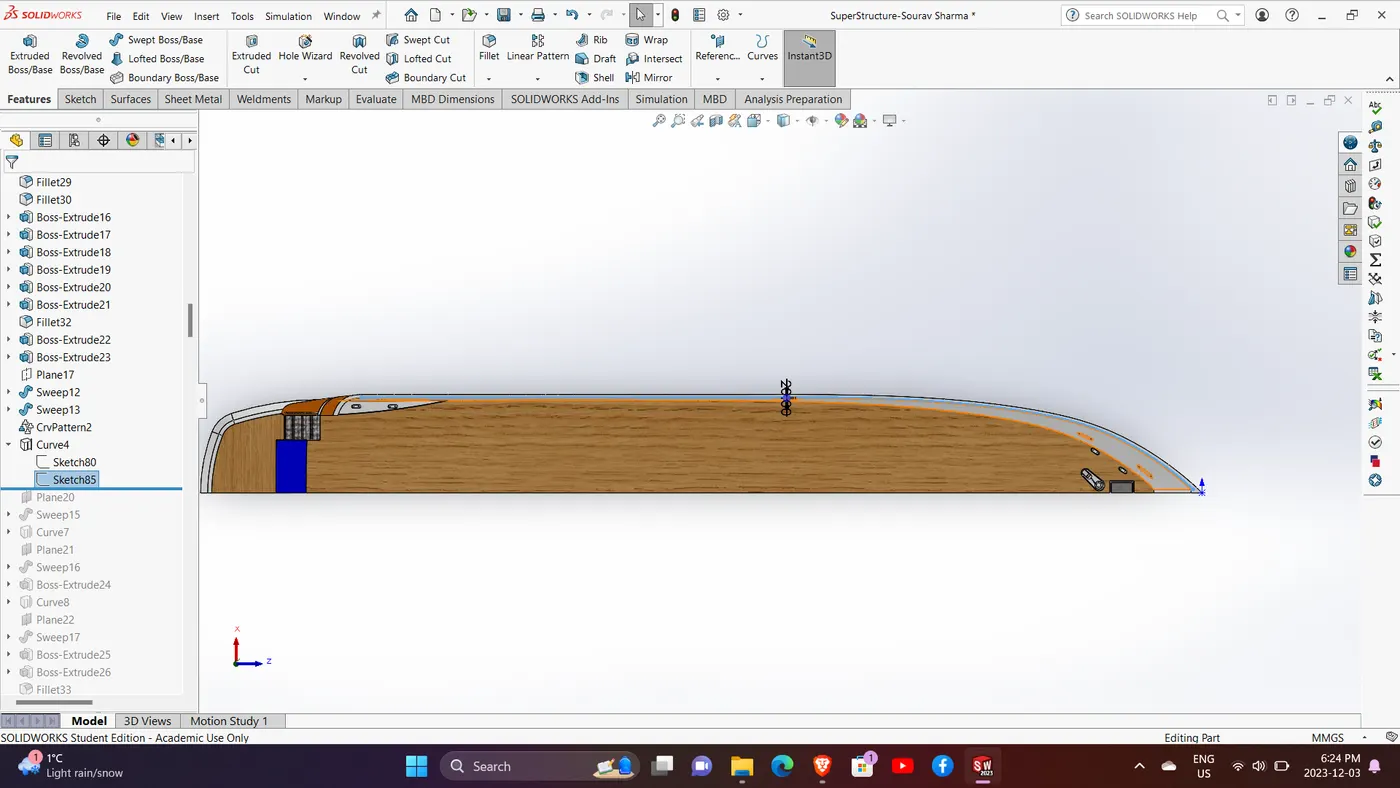
Used the above two sketches to project a curve as shown:
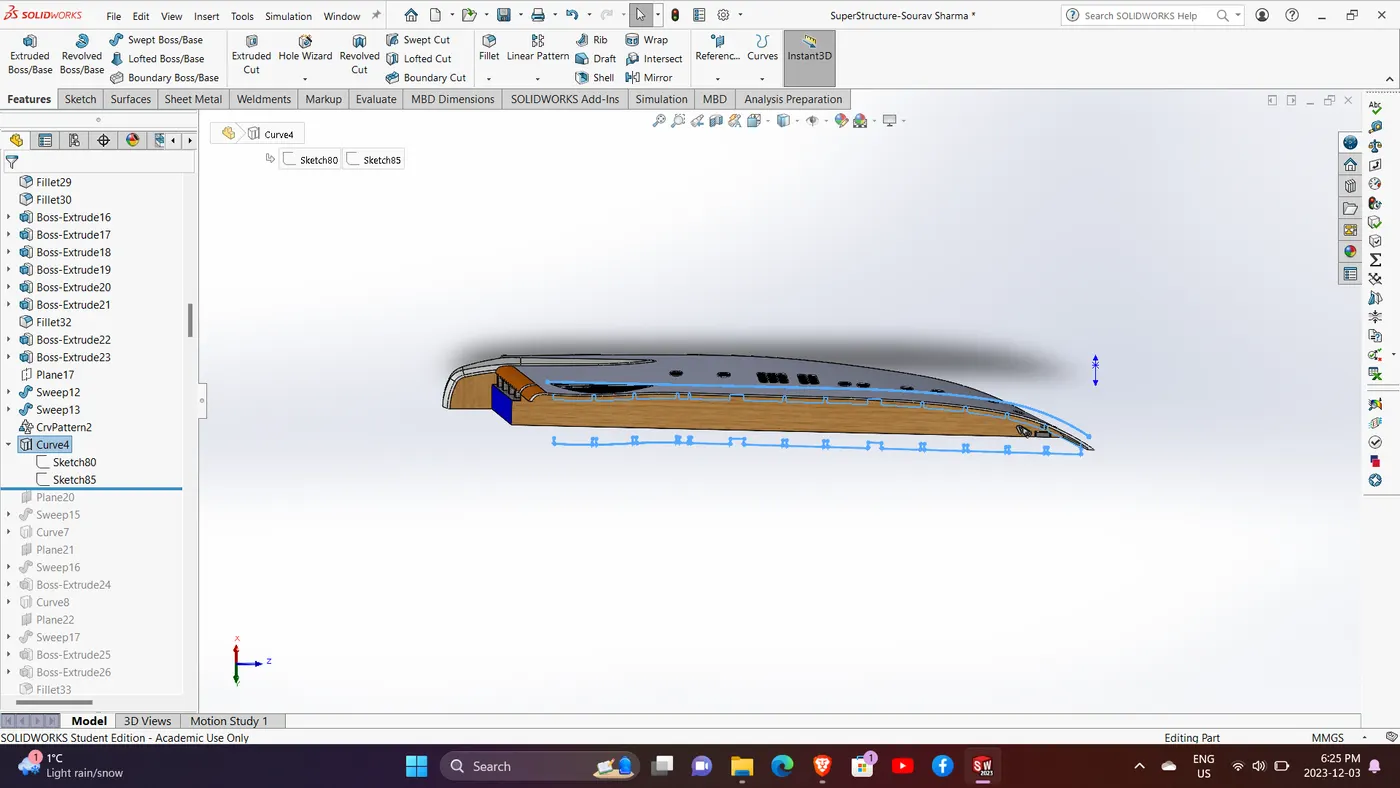
Swept the curve to make the railing of the hull
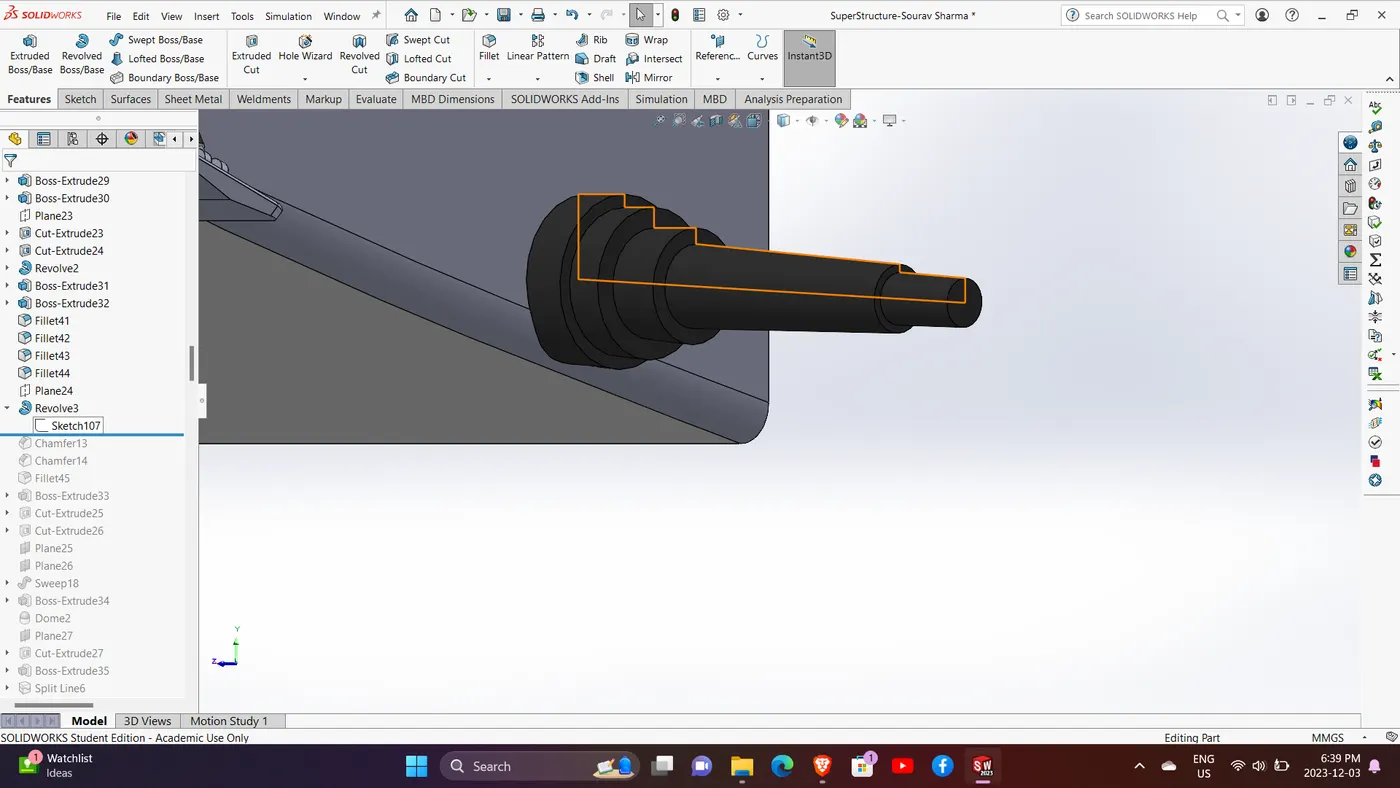
Created a shaft for the propeller using the revolve command:
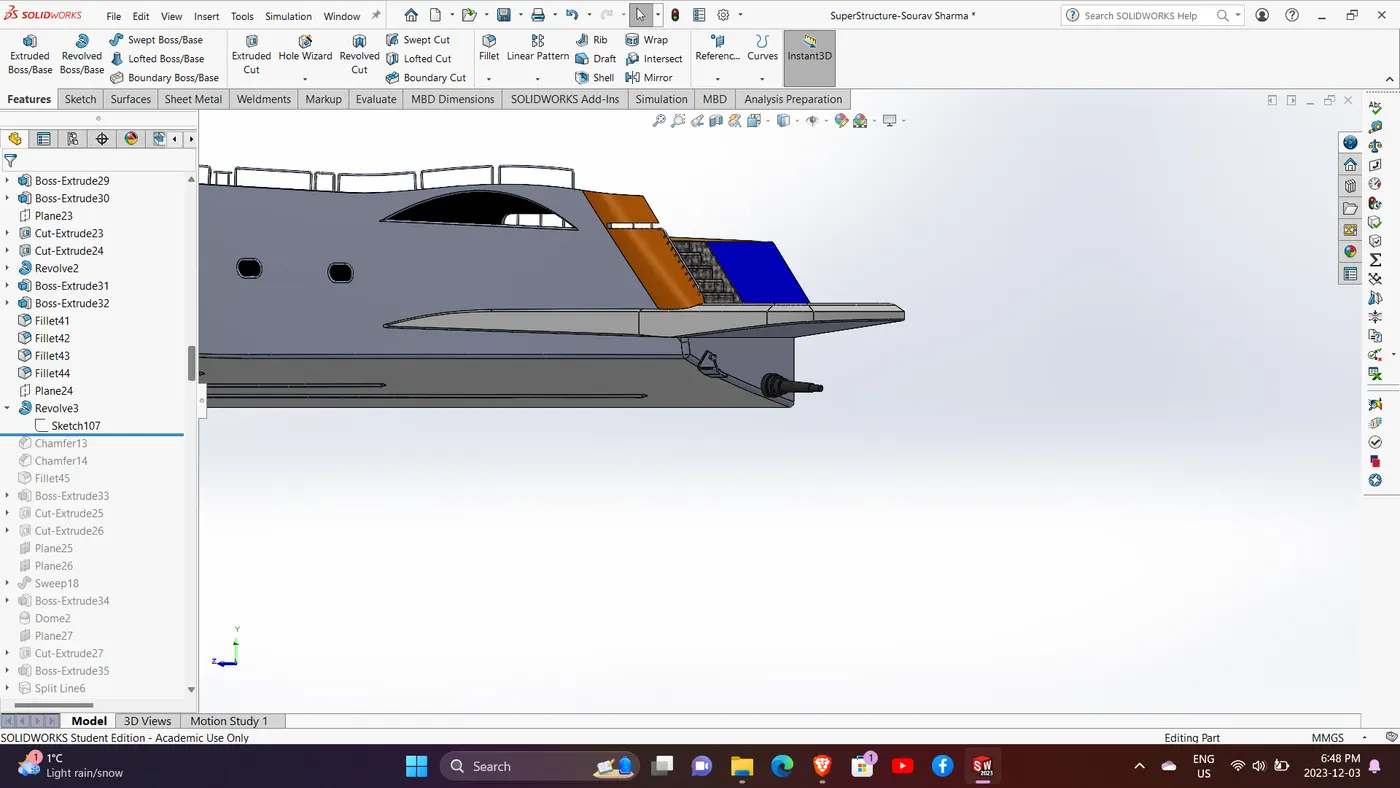
Created a sketch on the right plane as shown and used the split line command to project it on the surface. Added the color using the appearances command.
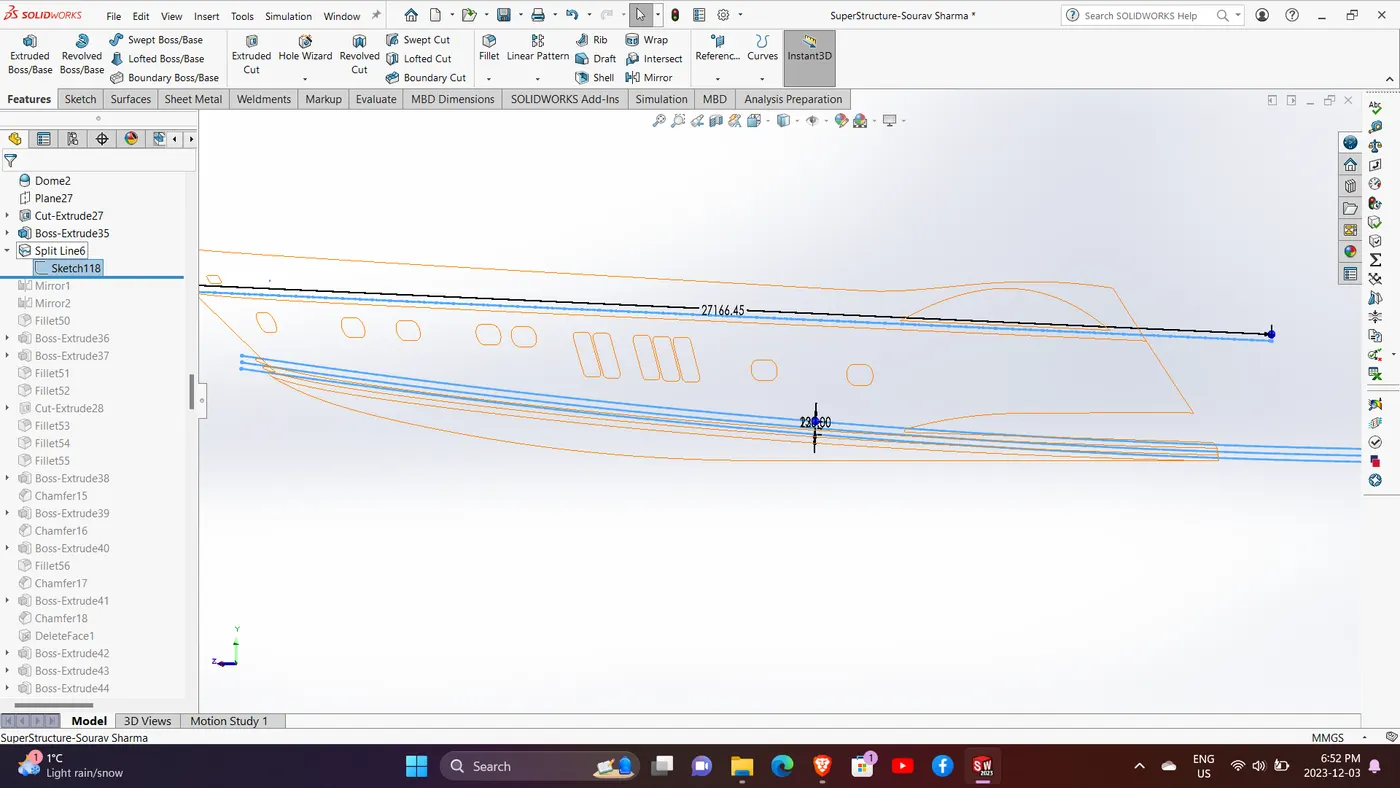
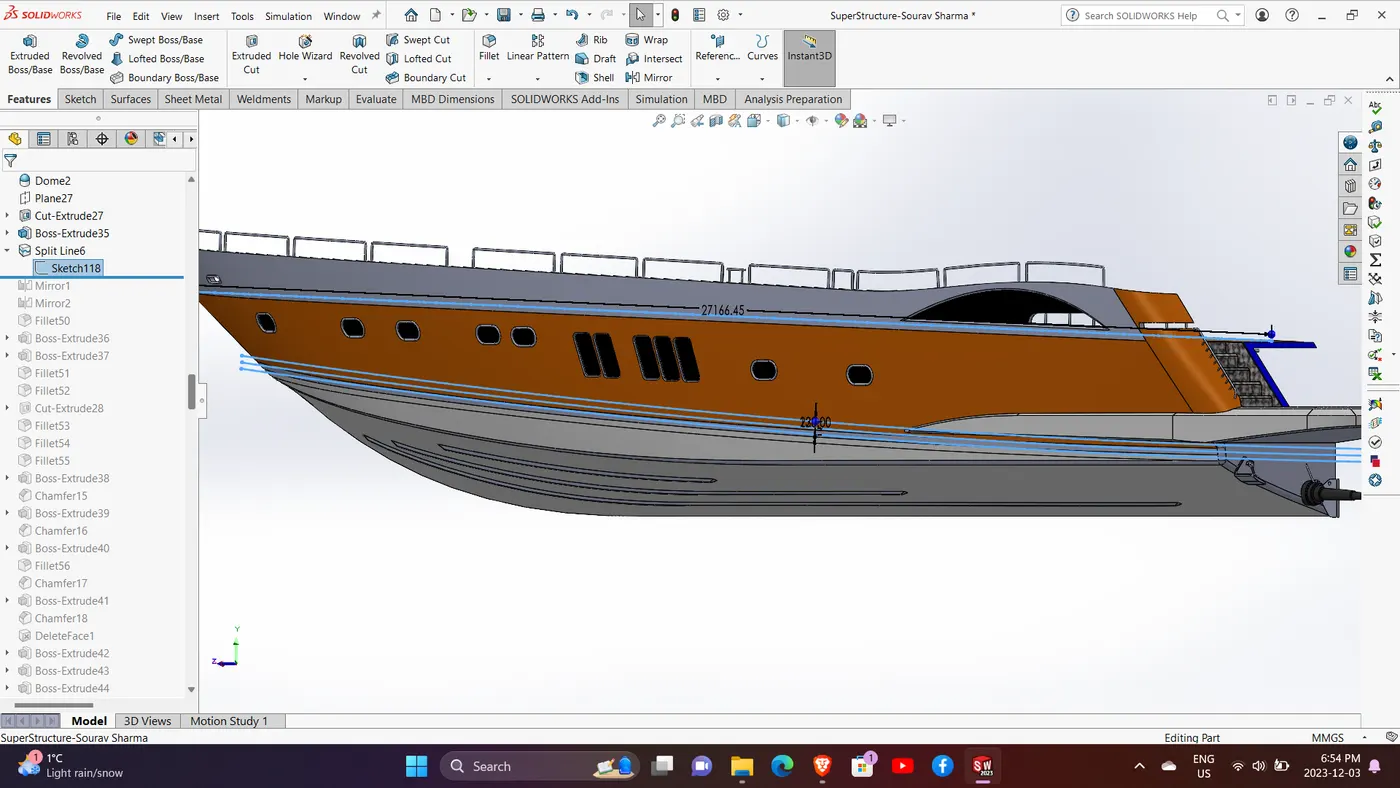
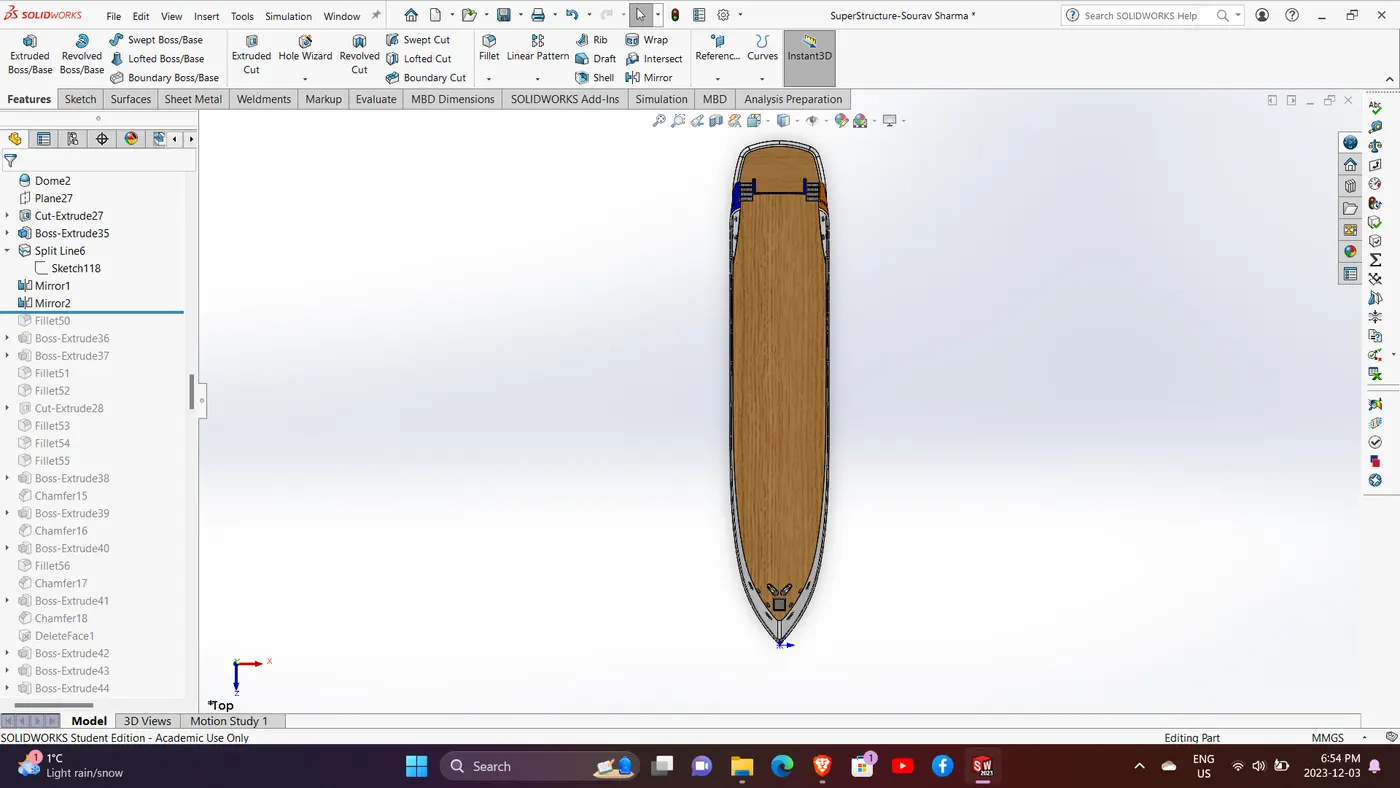
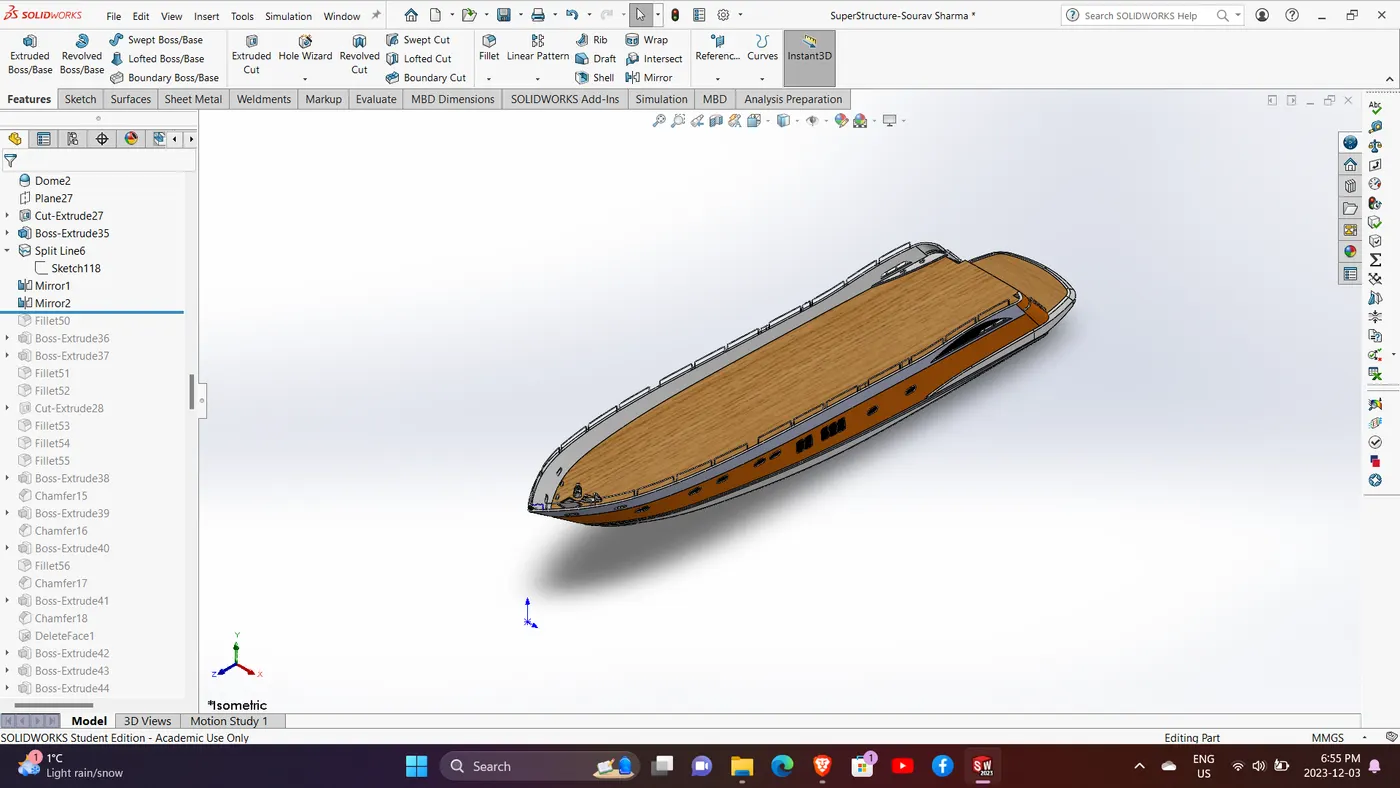
Mirrored the last feature to get the hull structure:
2. Radar:
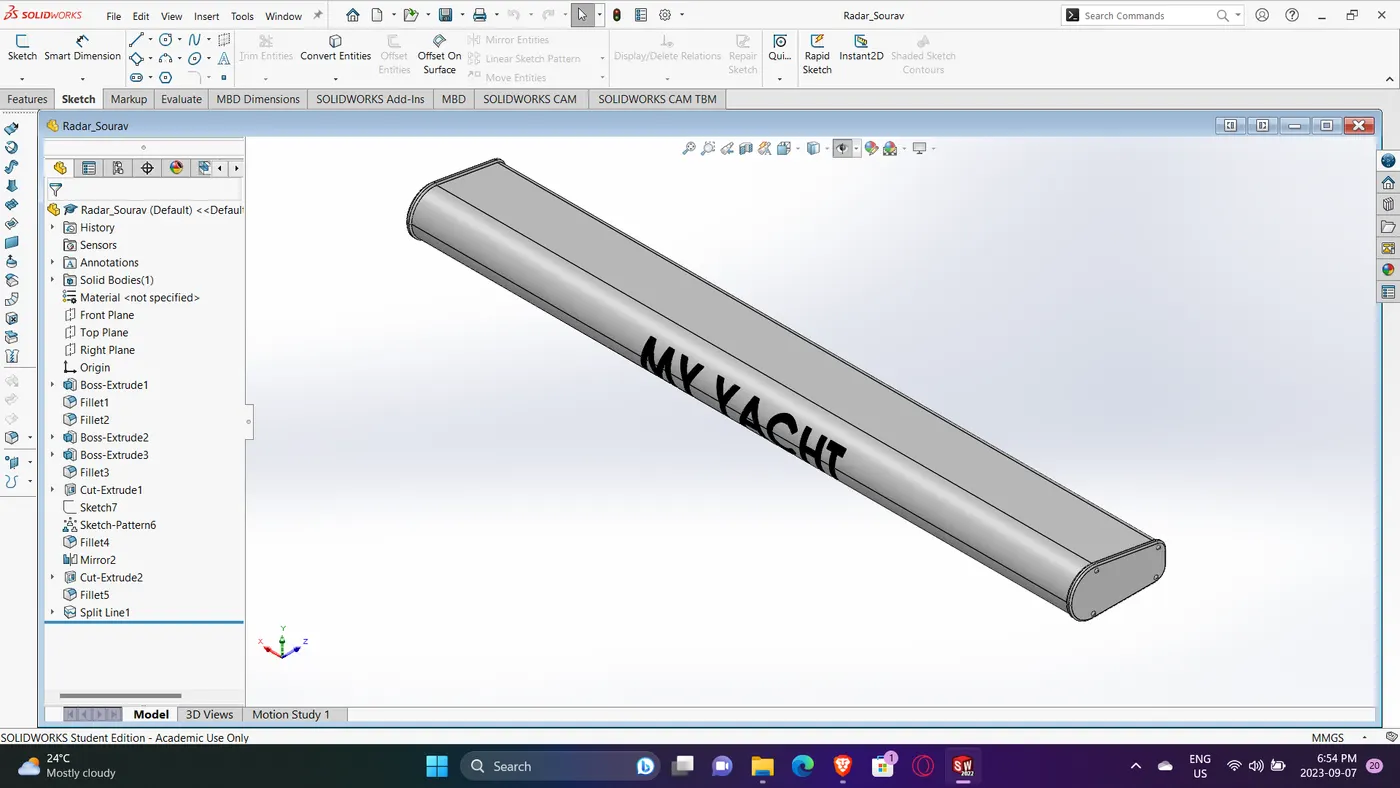
COMMANDS USED TO MODEL
- Extruded Boss/Base
- Extruded Cut
- Sketch Pattern
- Fillet
- Mirror
- Split Line
3. Propeller
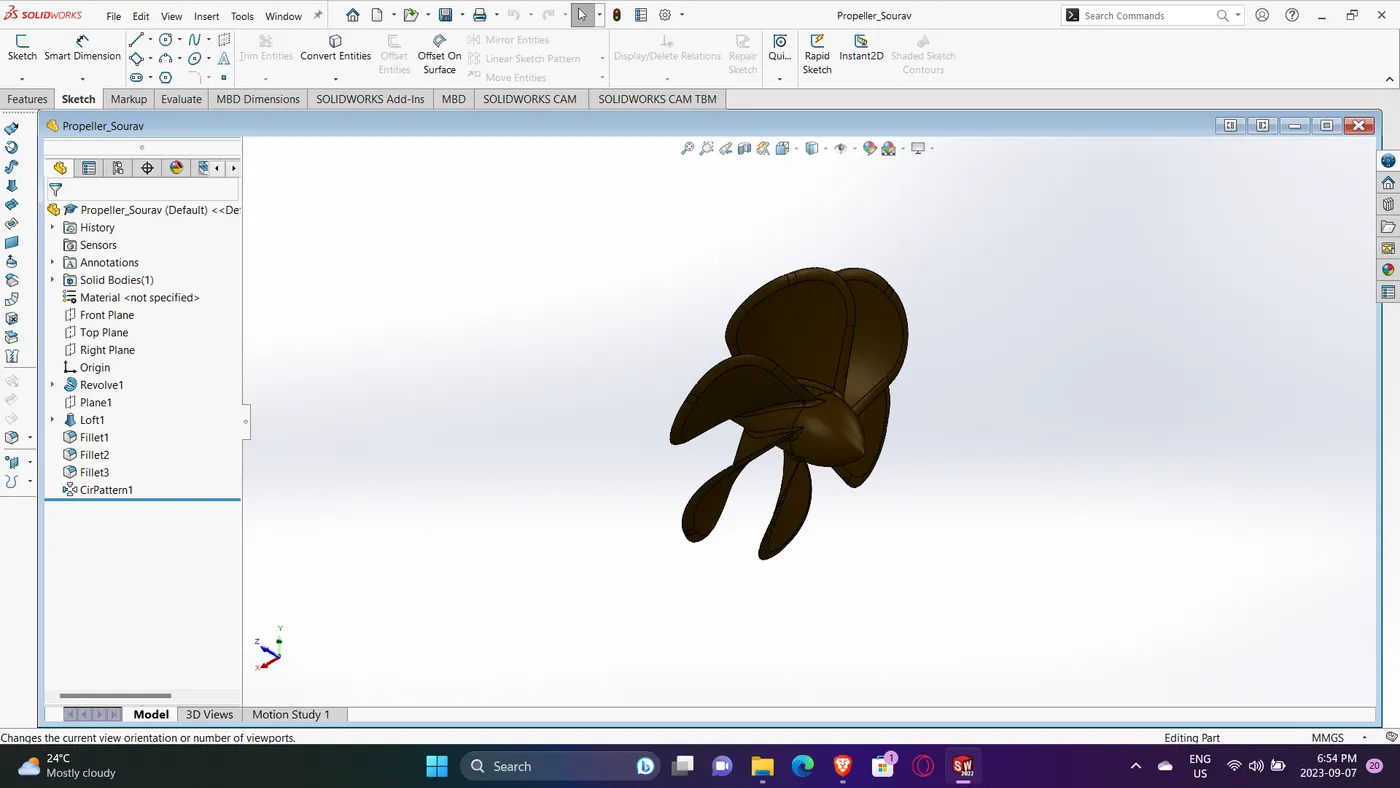
Commands Used:
Revolve
Loft
Fillet
4 Rear, Middle, and Front Seats
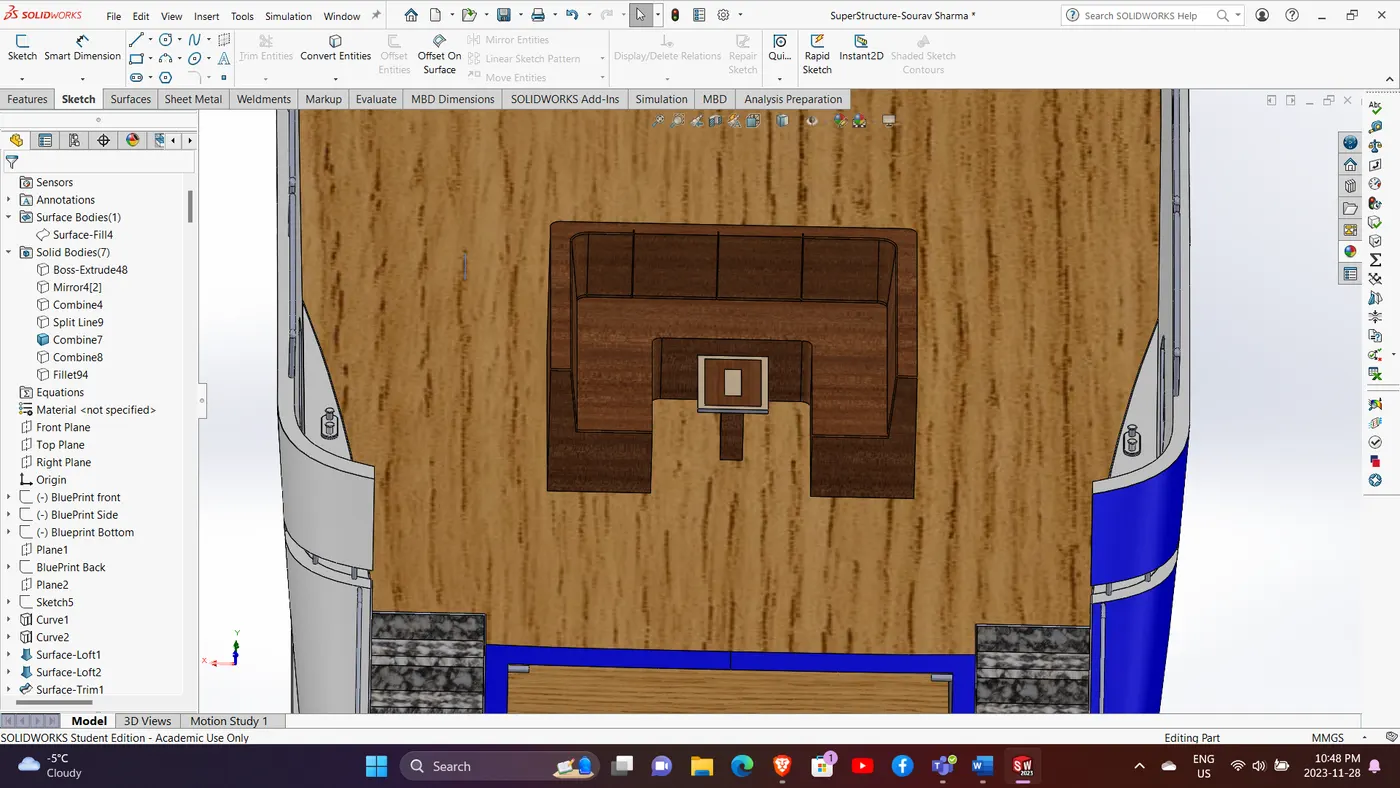
Middle
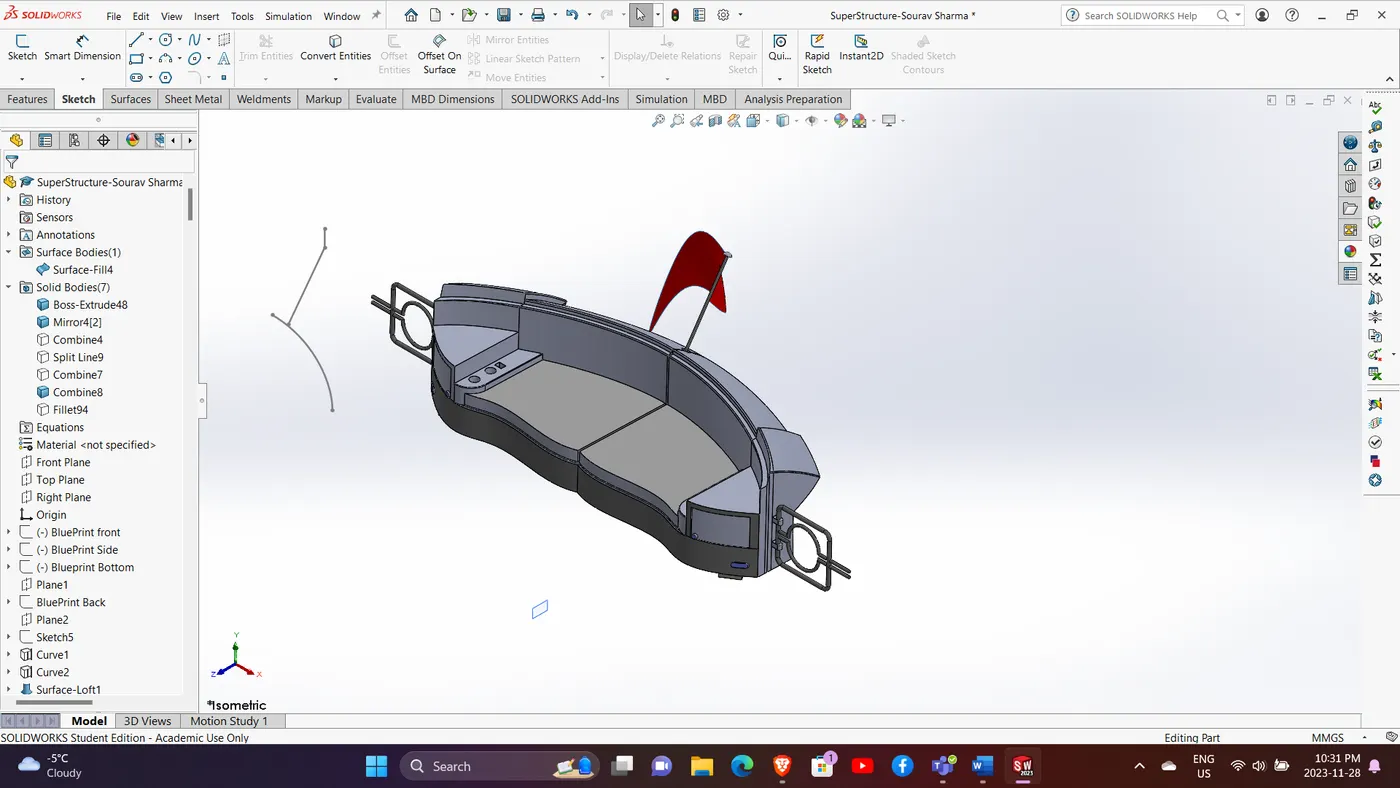
Rear
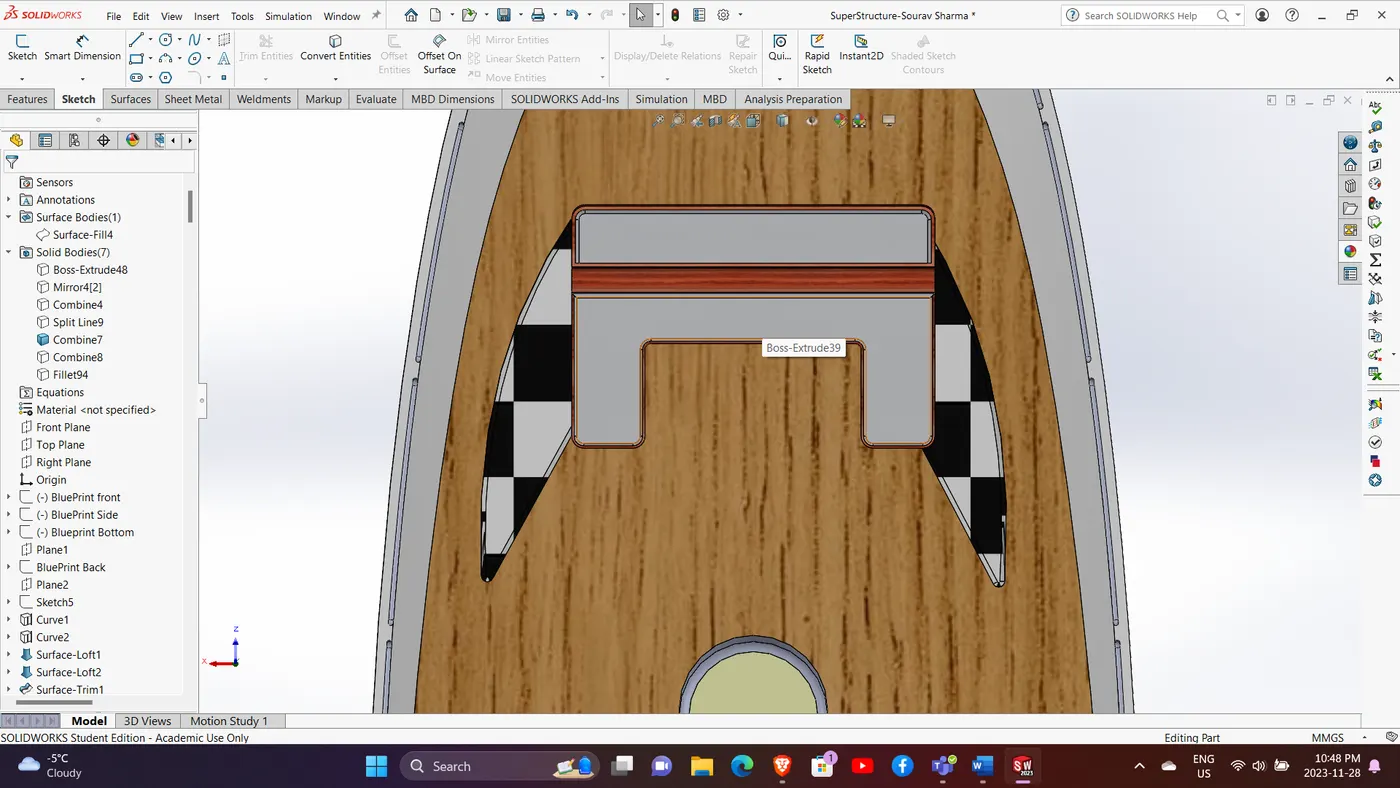
Commands used:
Surface loft
Surface fill
Surface sweep
Surface trim
Knit Surfaces
Extruded Boss
Projected Curve
Fillet
Chamfer
5. Garage Door
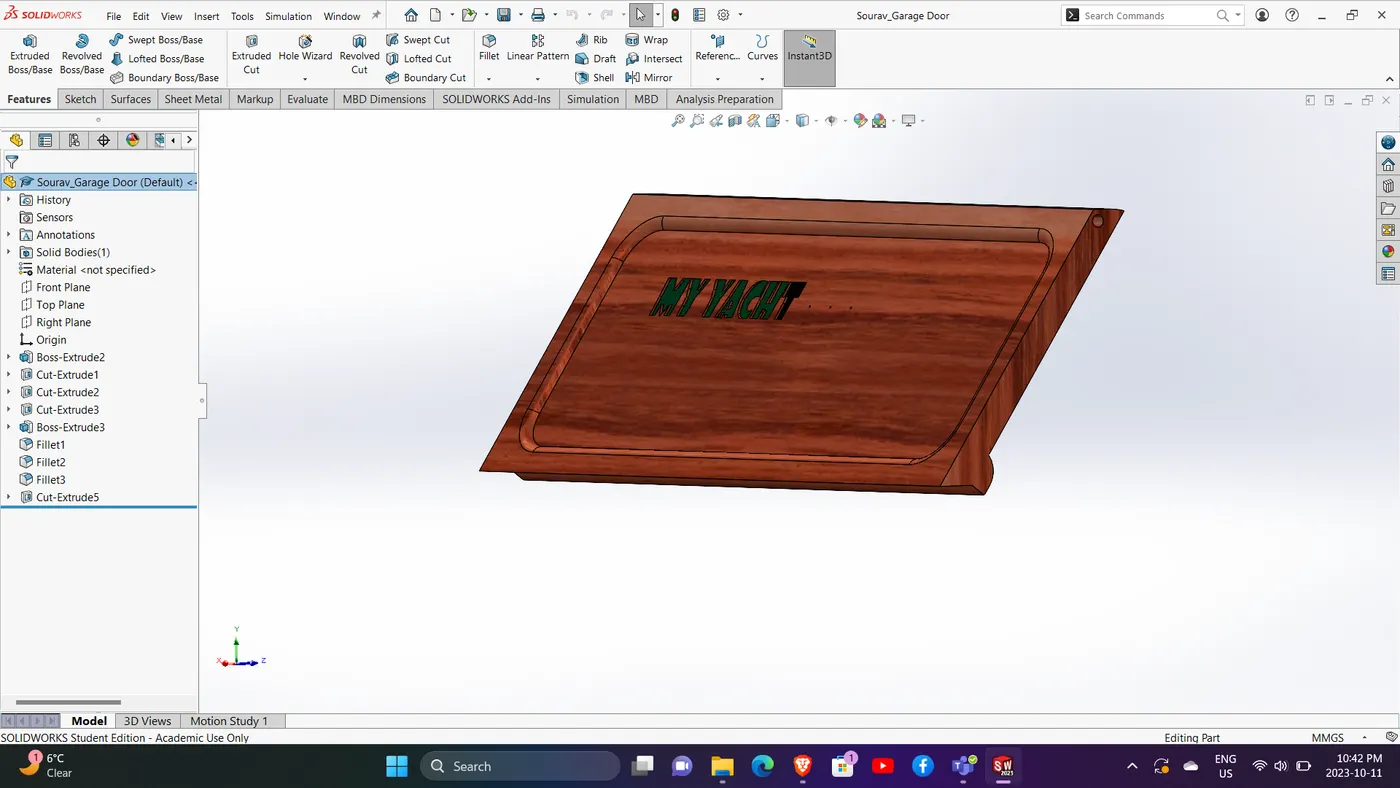
Commands used:
Boss Extrude
Cut Extrude
Fillet
6. Super Structure:
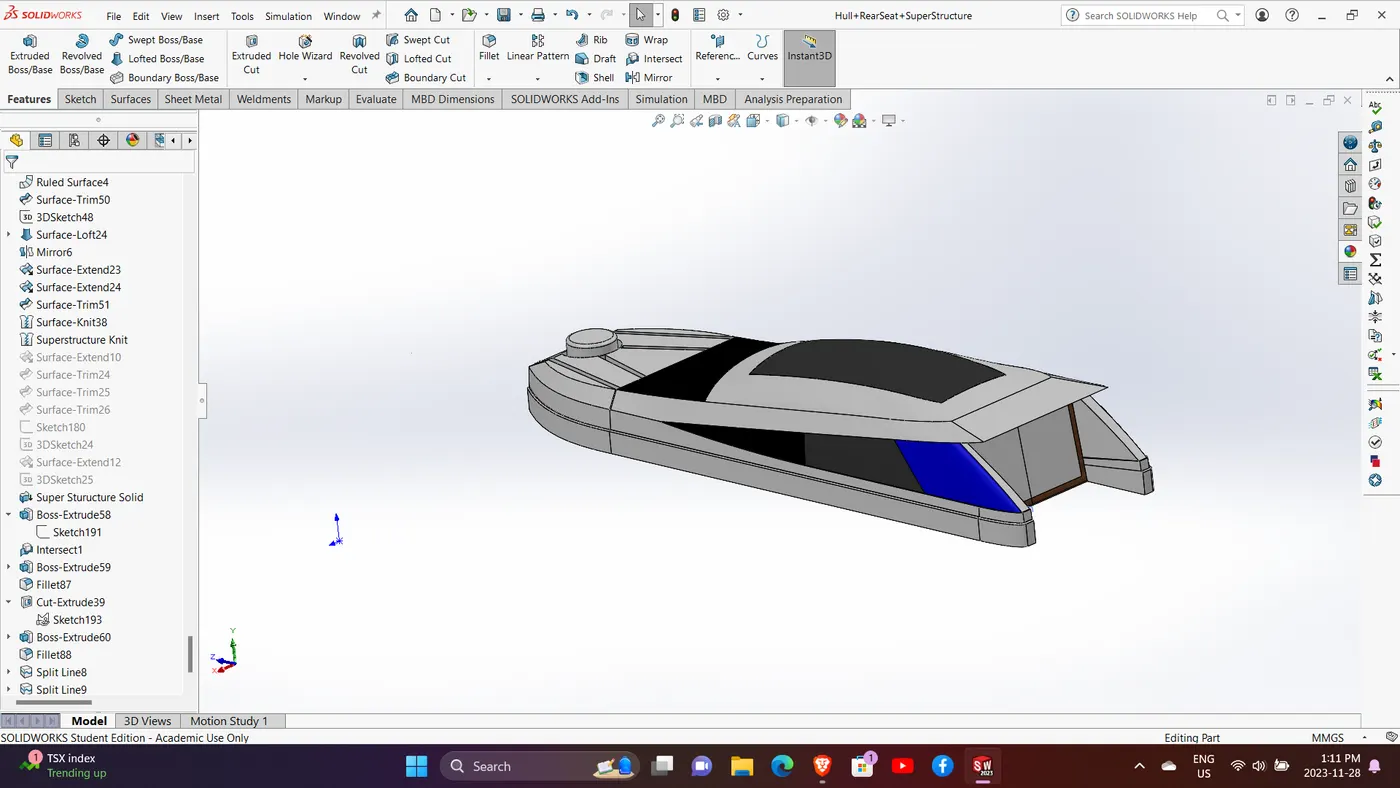
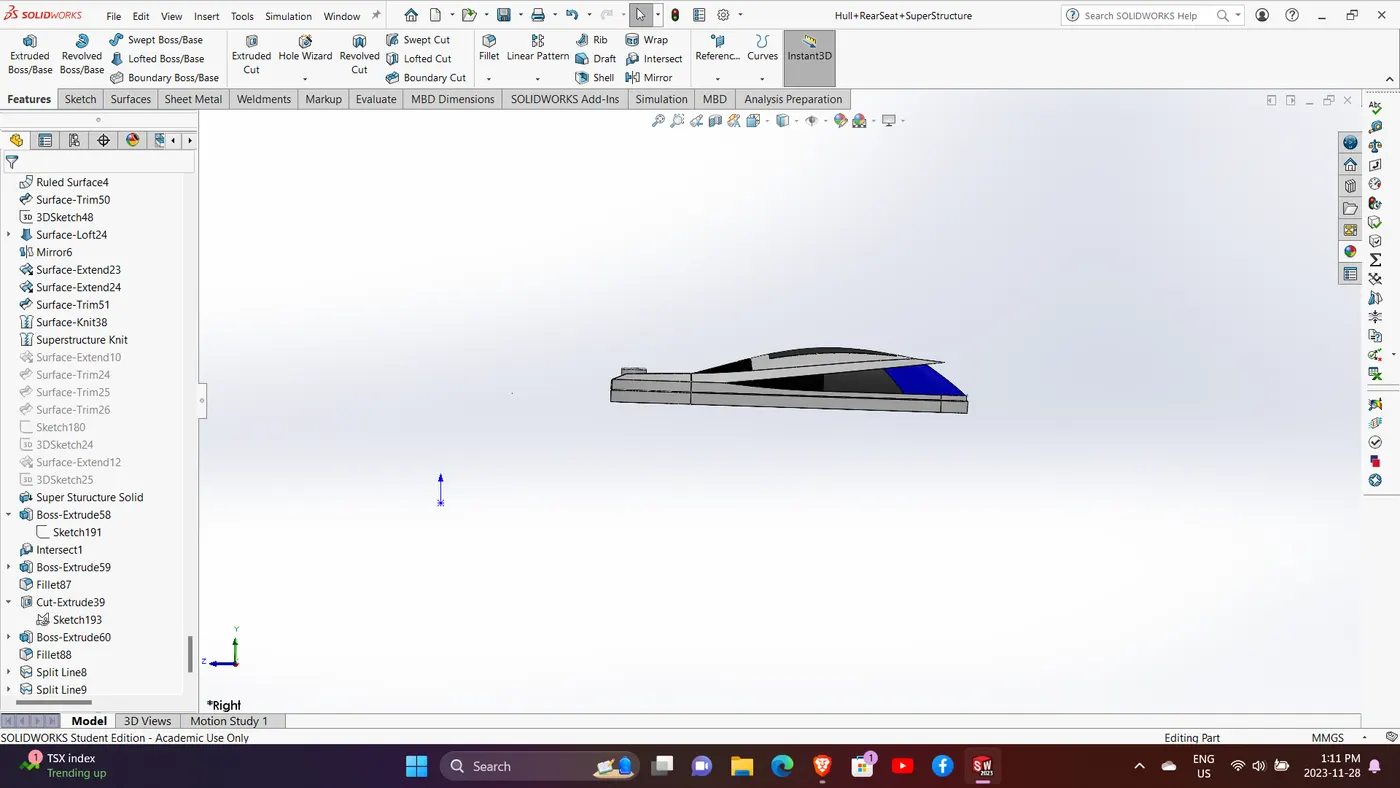
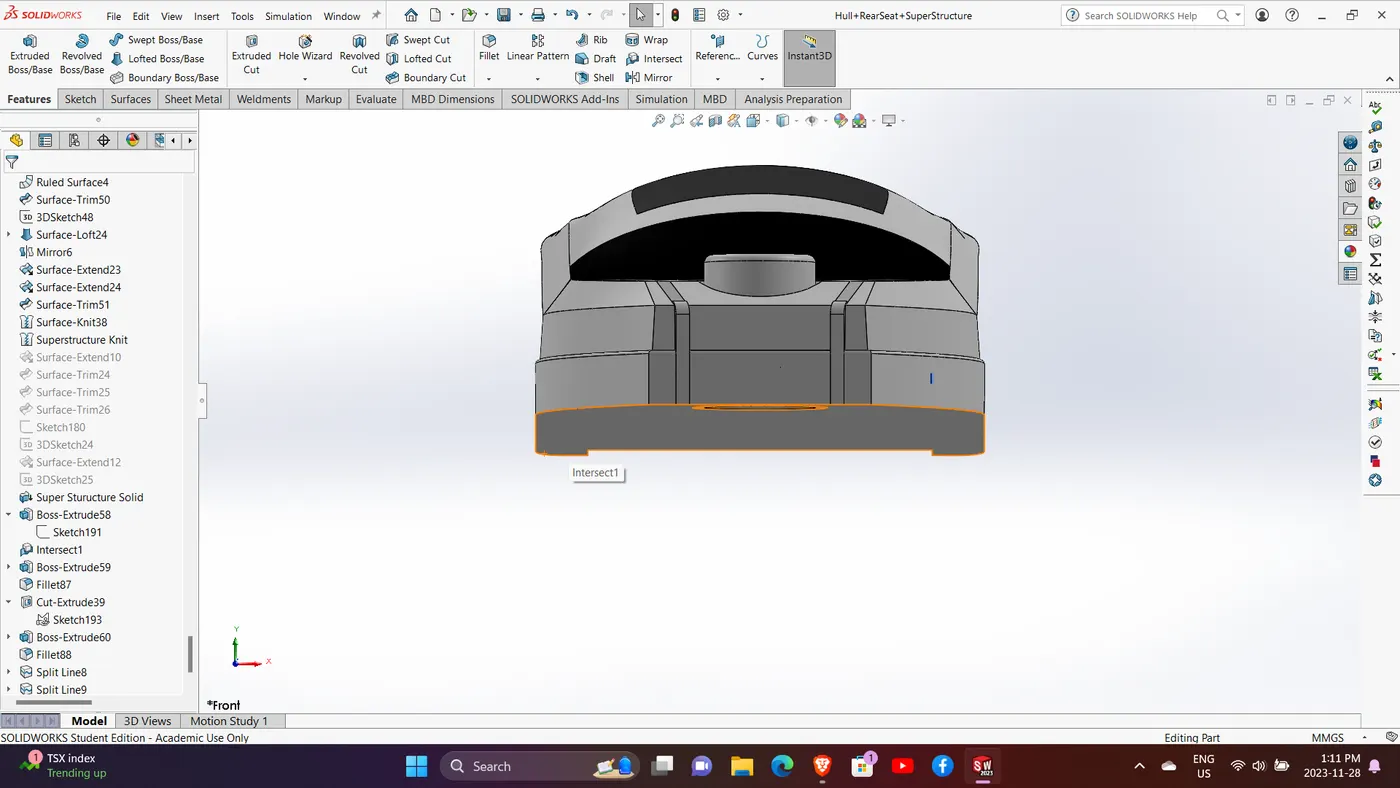
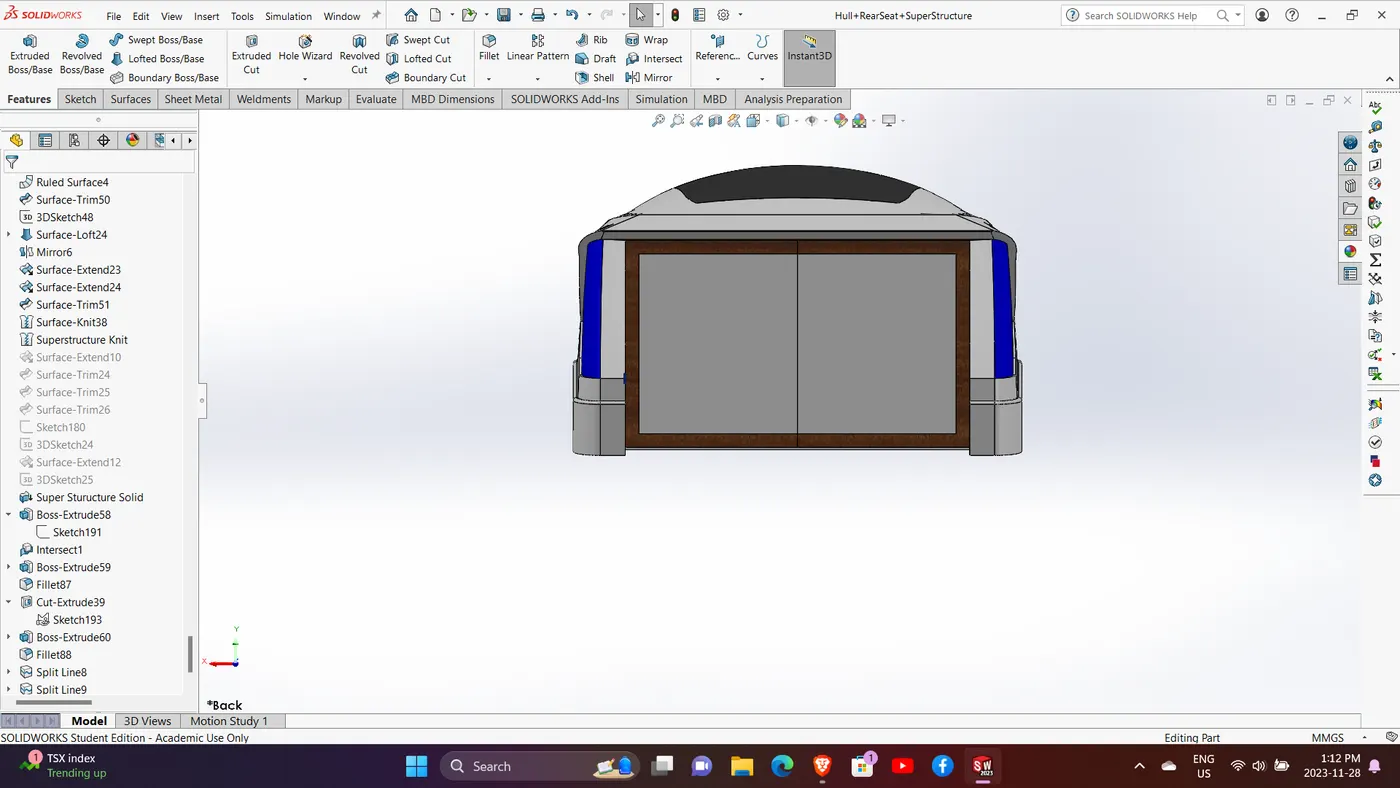
Commands used:
Extruded Surface
Swept Surface
Ruled Surface
Knit Surface
Trim Surface
Extend Surface
Filled Surface
Lofted Surface
Revolved Surface
Fillet
Chamfer
Project Curve
Reference Curve
Convert Entities
Split Line
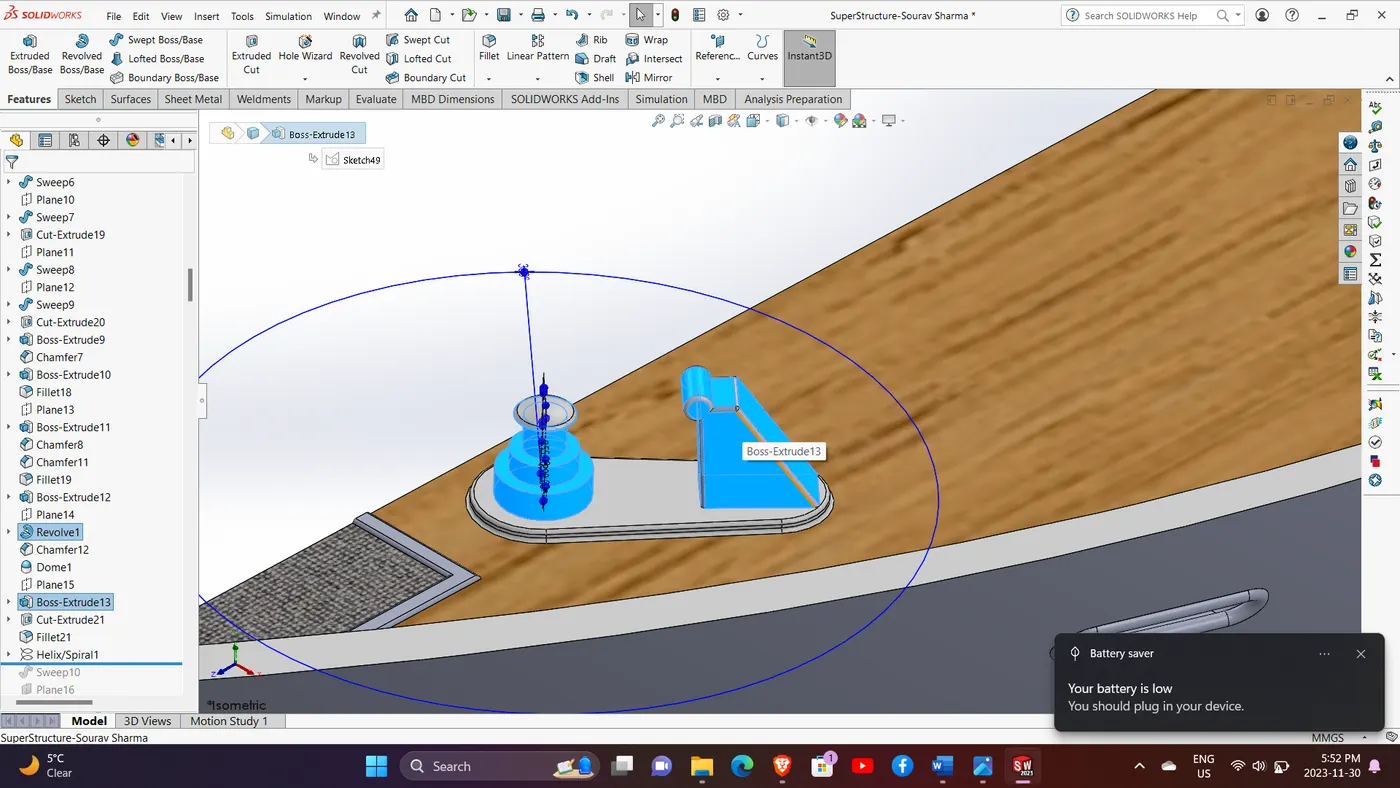
7. Radar Mast
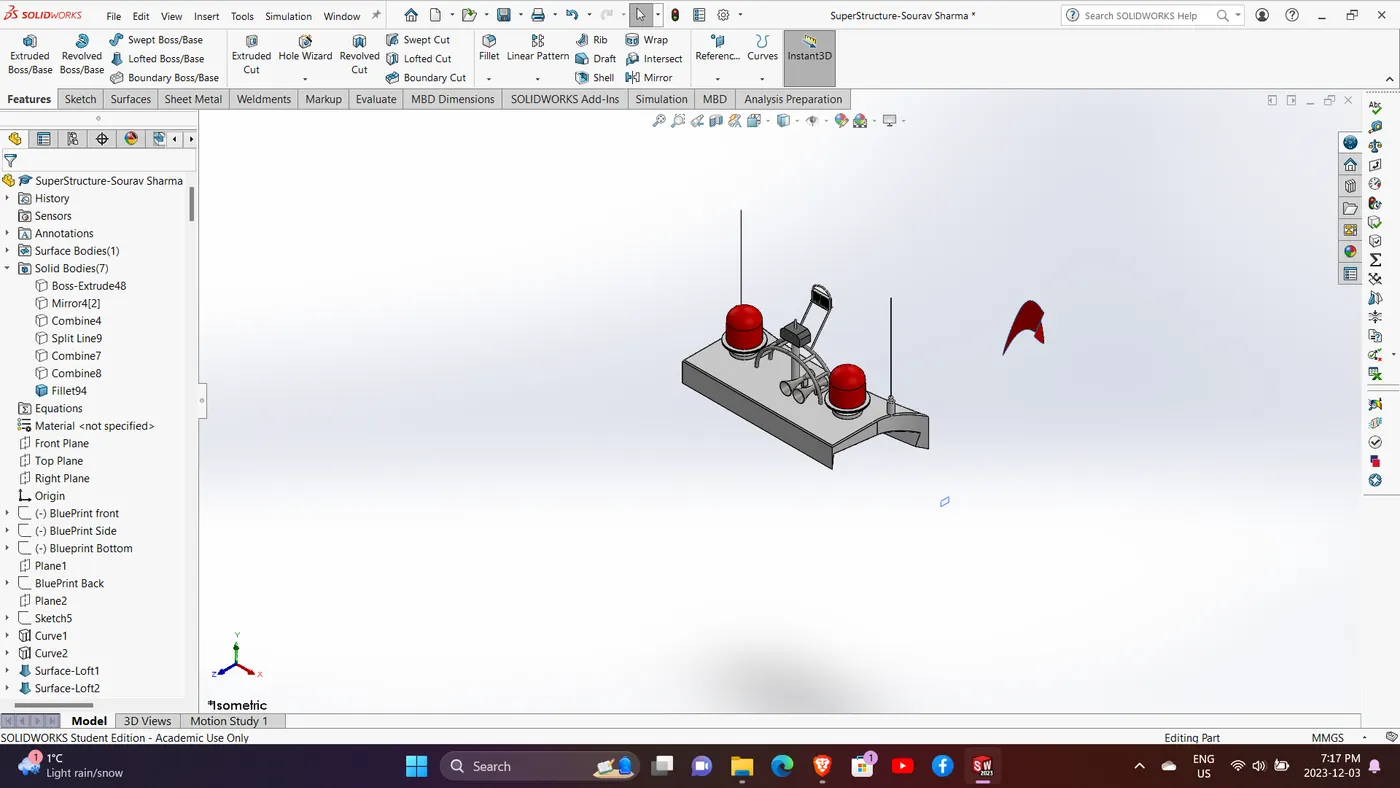
Commands used:
Extruded Boss/Base
Lofted Boss/Base
Revolved Boss/Base
Swept Boss/Base
Reference Plane
Fillet
Mirror
Final Assembly and Rendered Images:
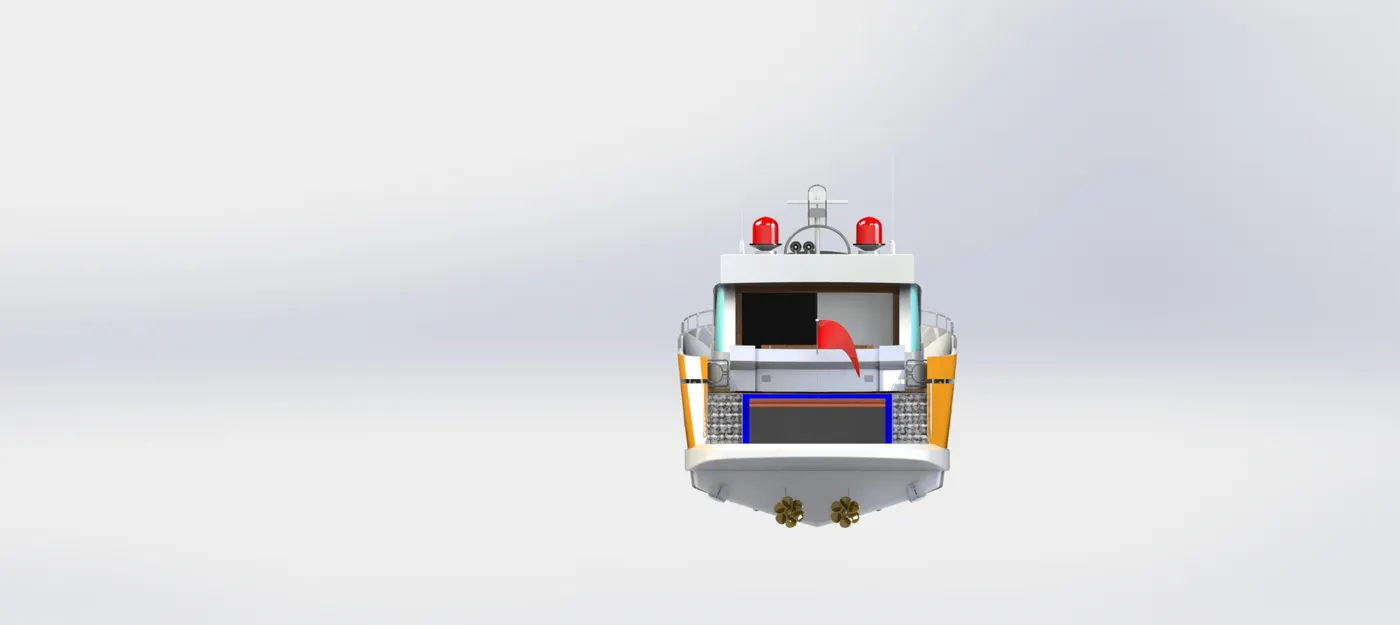
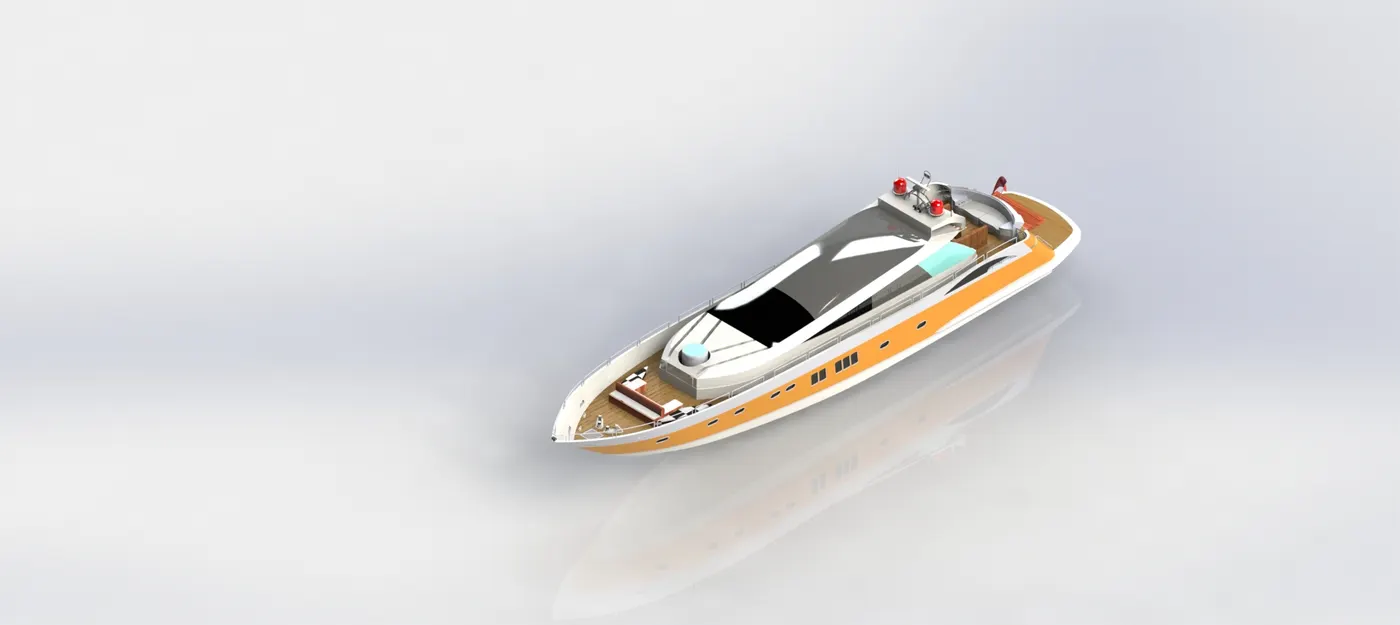
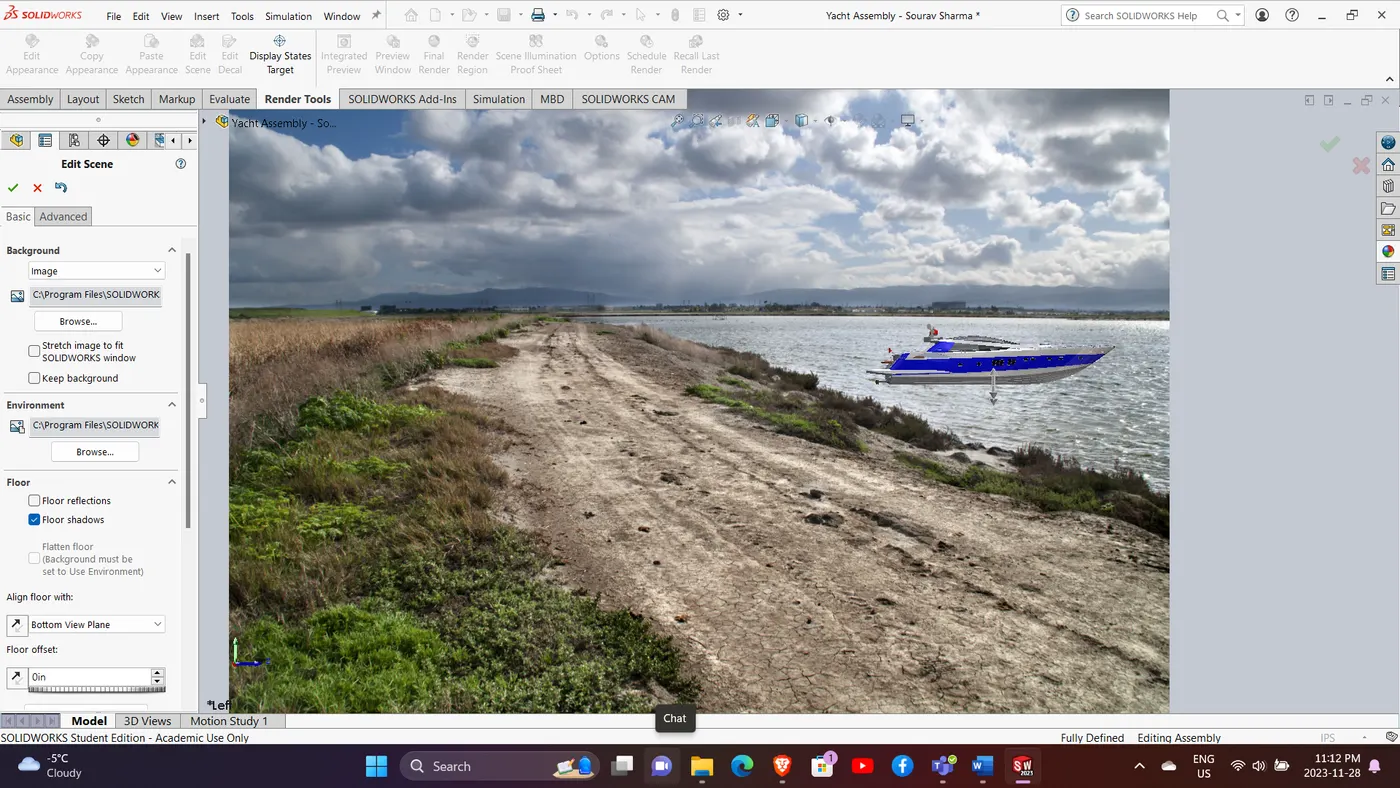
Conclusion:
I started this project by following along with the ppt provided, but after a specific potion was completed, I incorporated my own touch into the design. The design did not come out to be similar to the Predator Yacht, but I developed the confidence to start any project from scratch without assistance. Overall, it was a great learning experience.
https://drive.google.com/file/d/1Tfy1wVHA2NN2cIJ9OX_6voOPEIyf3k9E/view?usp=sharing