Radar Mast & Final Assembly of Yacht
Radar Mast & Final Assembly of Yacht
1. Radar Mast
create a new part , insert the surface from the the superstucture to get the base for mast
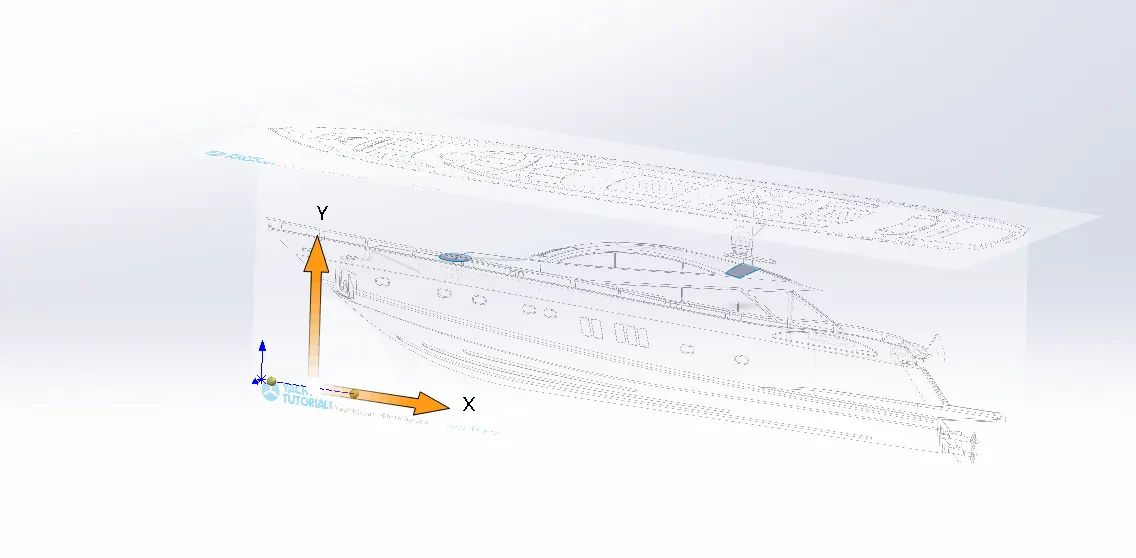
with help of top blueprint creare a sketch and extrude it
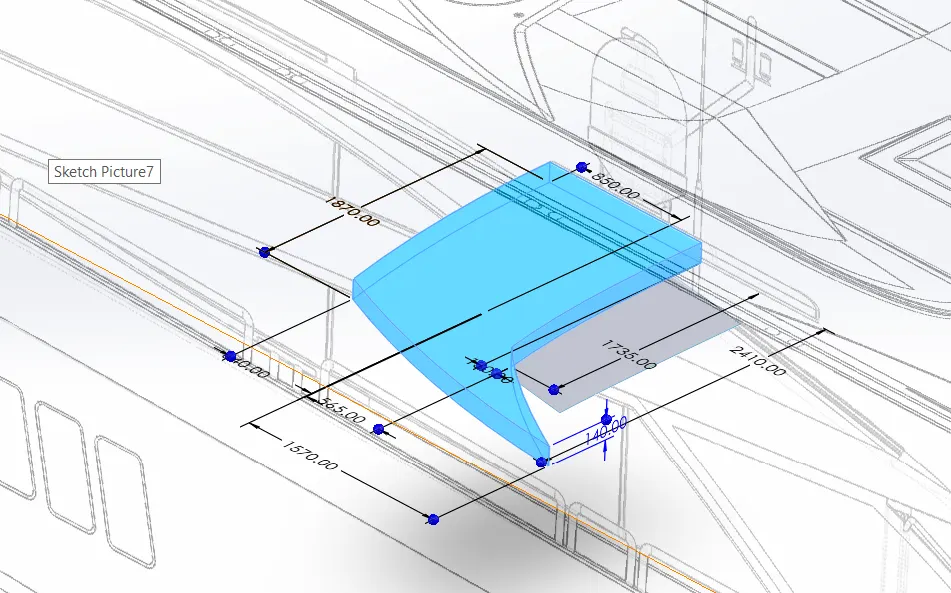
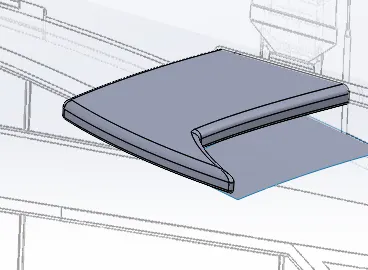
add all fillets
create a sketch and revolve and add fillets
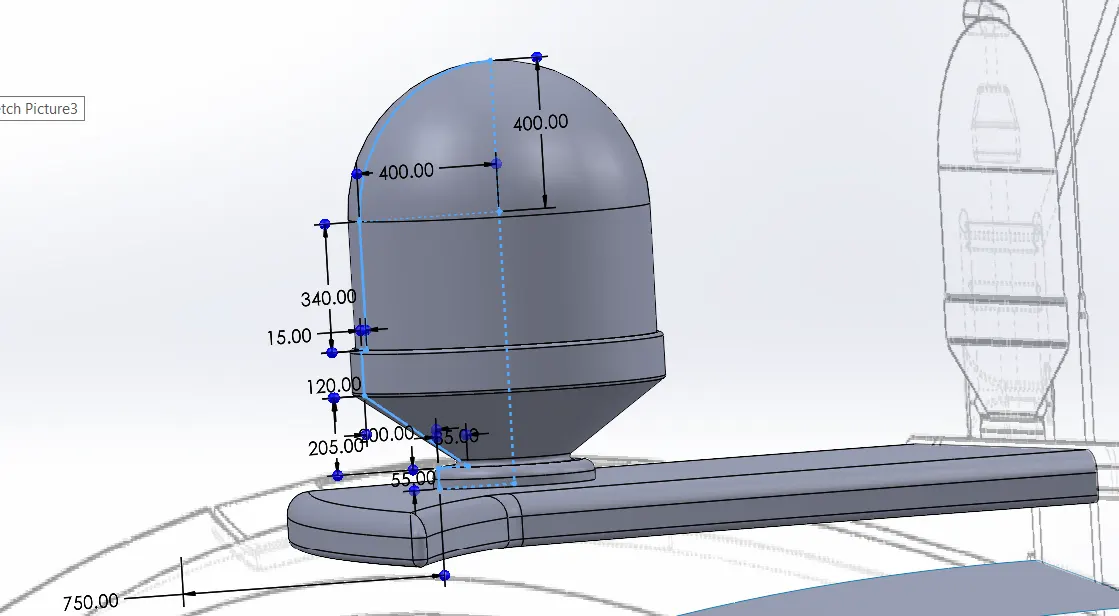
create circles and extrud them with respect to blue print also fillet
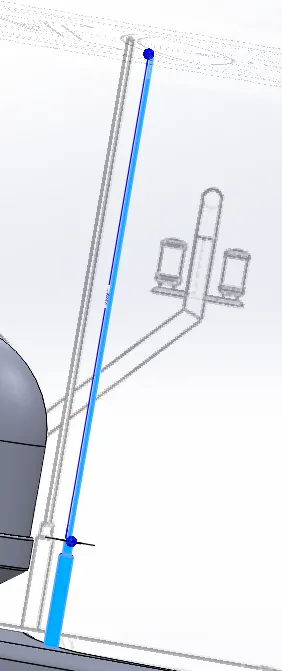
create a sweep
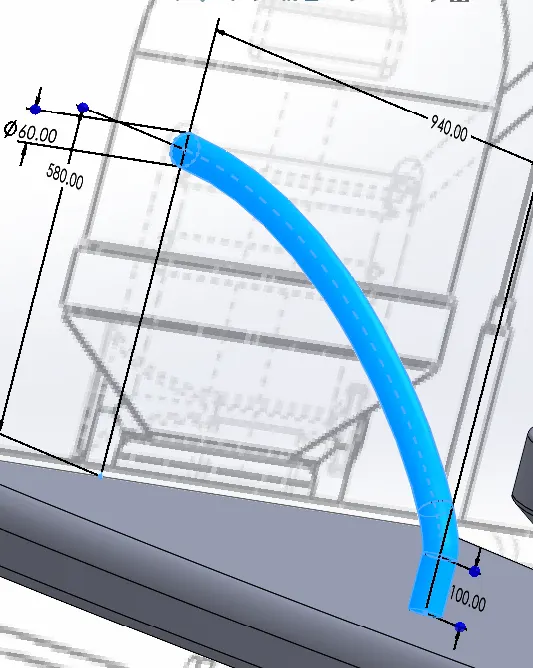
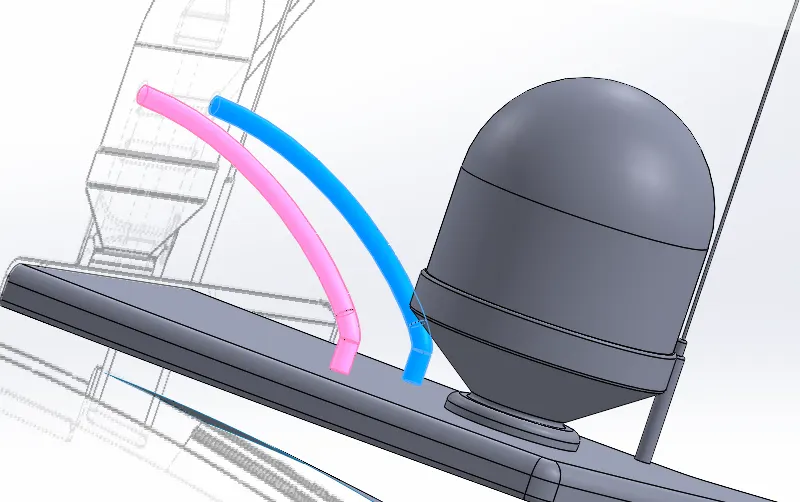
mirror the sweep
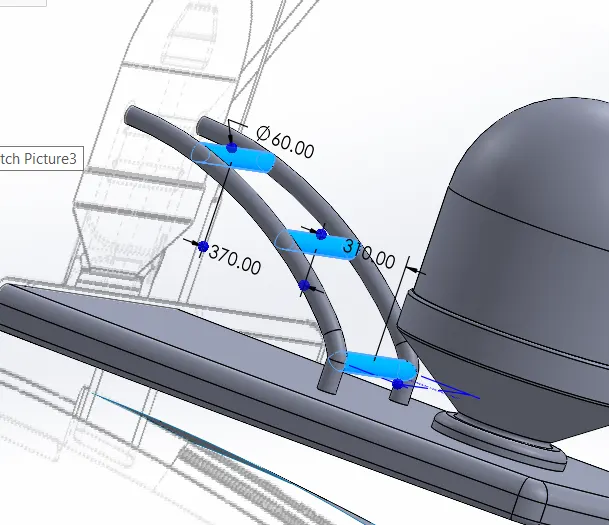
add steps/rods
Create a combine curce
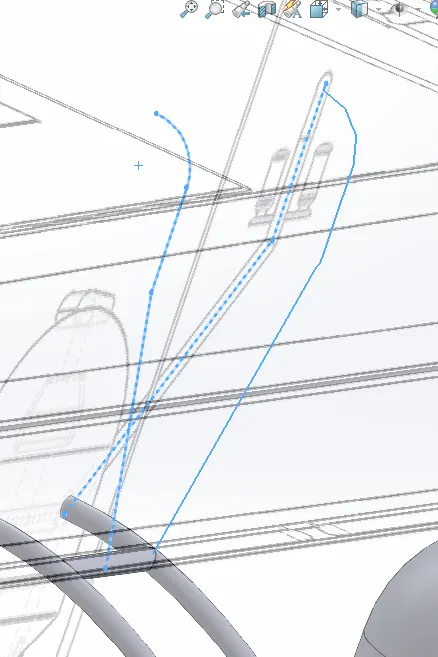
create sweep
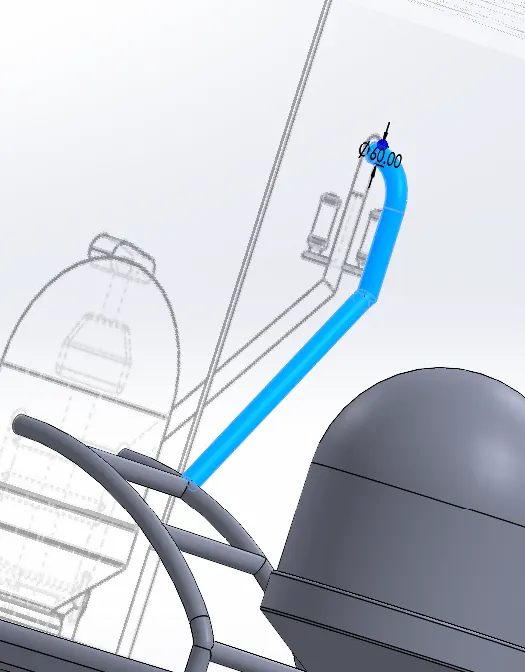
create an extrude
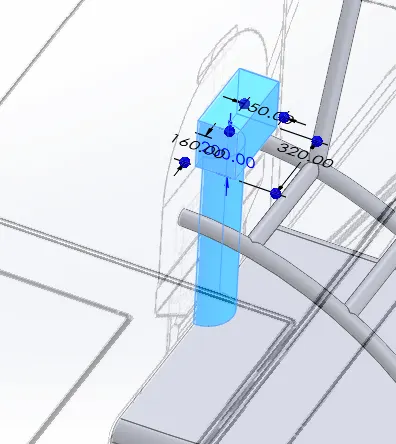
chamfer and fillet the edges
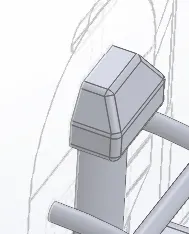
extrude the sketch
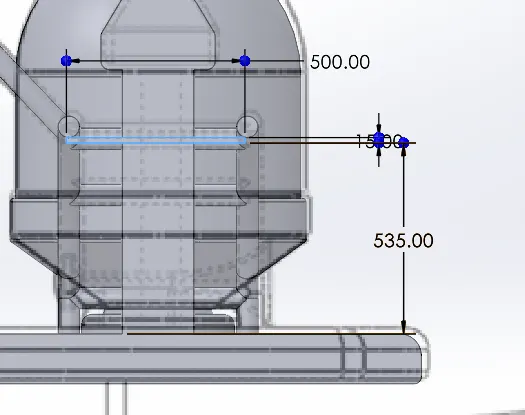
create a clamp sketch and extrude
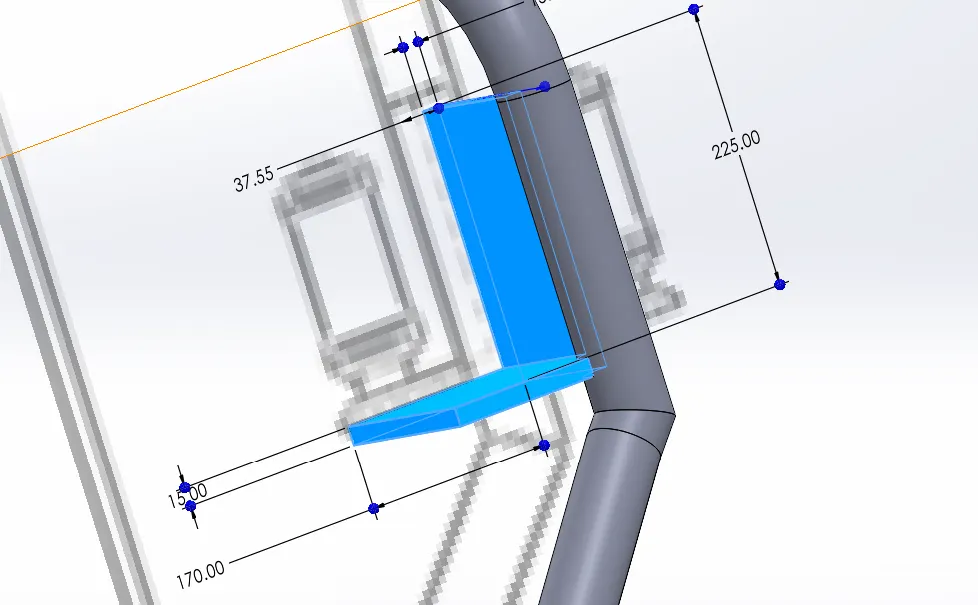
add a sketch and revolve
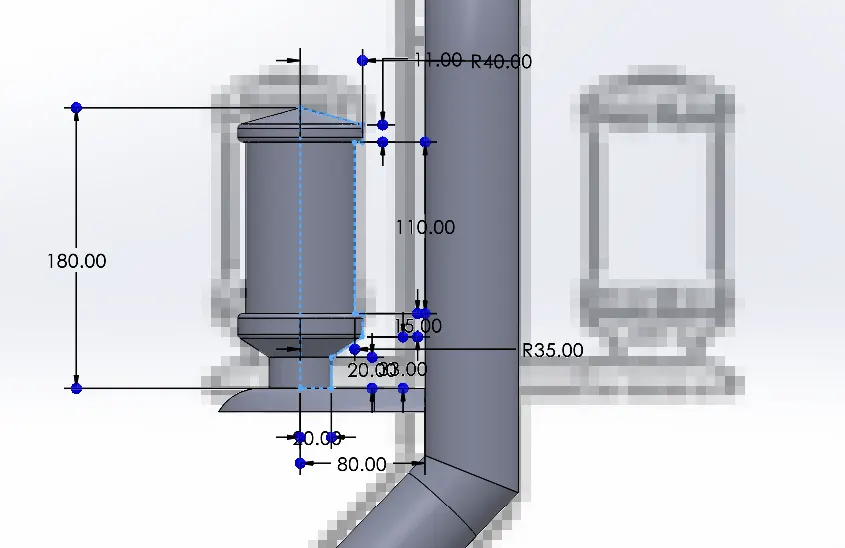
add fillets and mirror
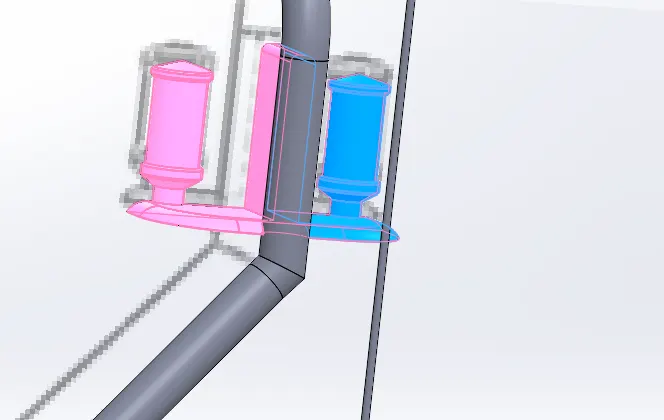
create a sketch and extrude for support
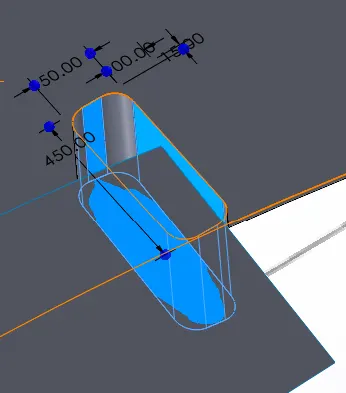
create a sketch and revolve
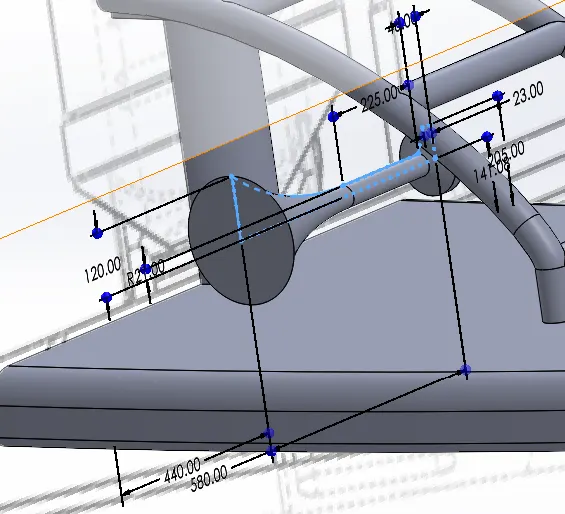
create a shell comand to remove material for horn
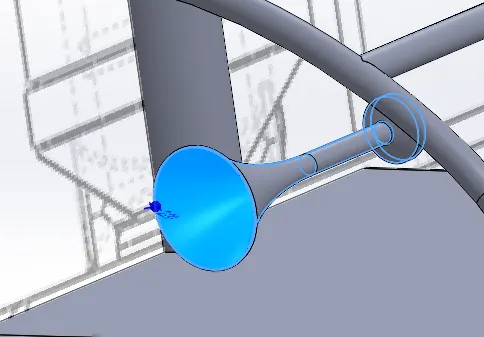
mirror and merge the result
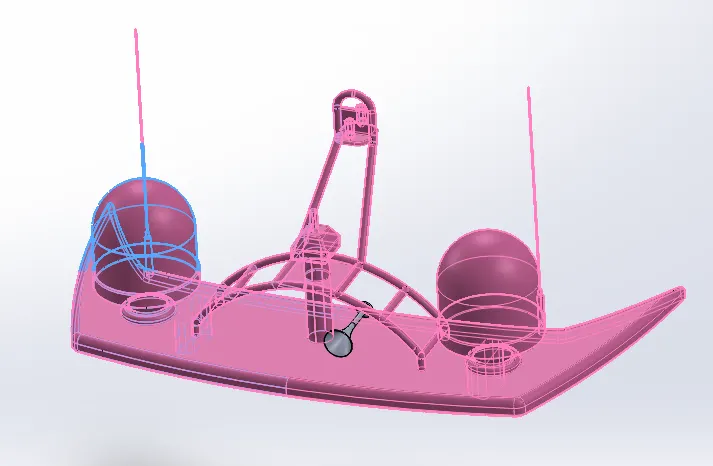
add support and mirror the horn
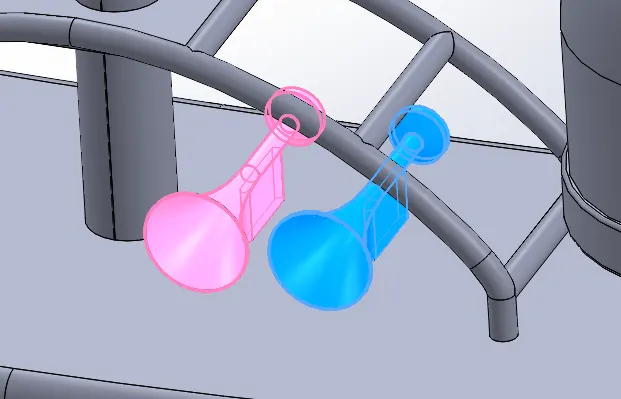
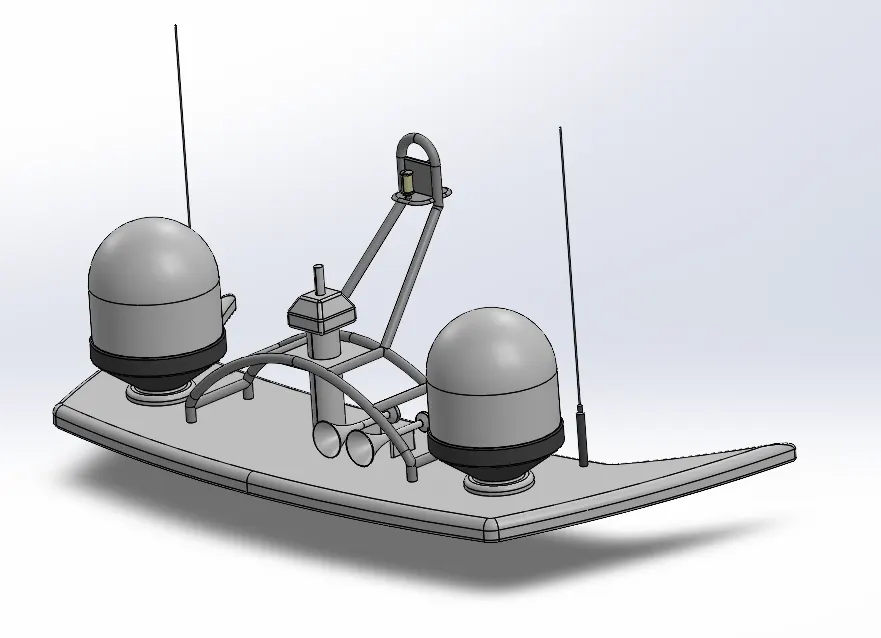
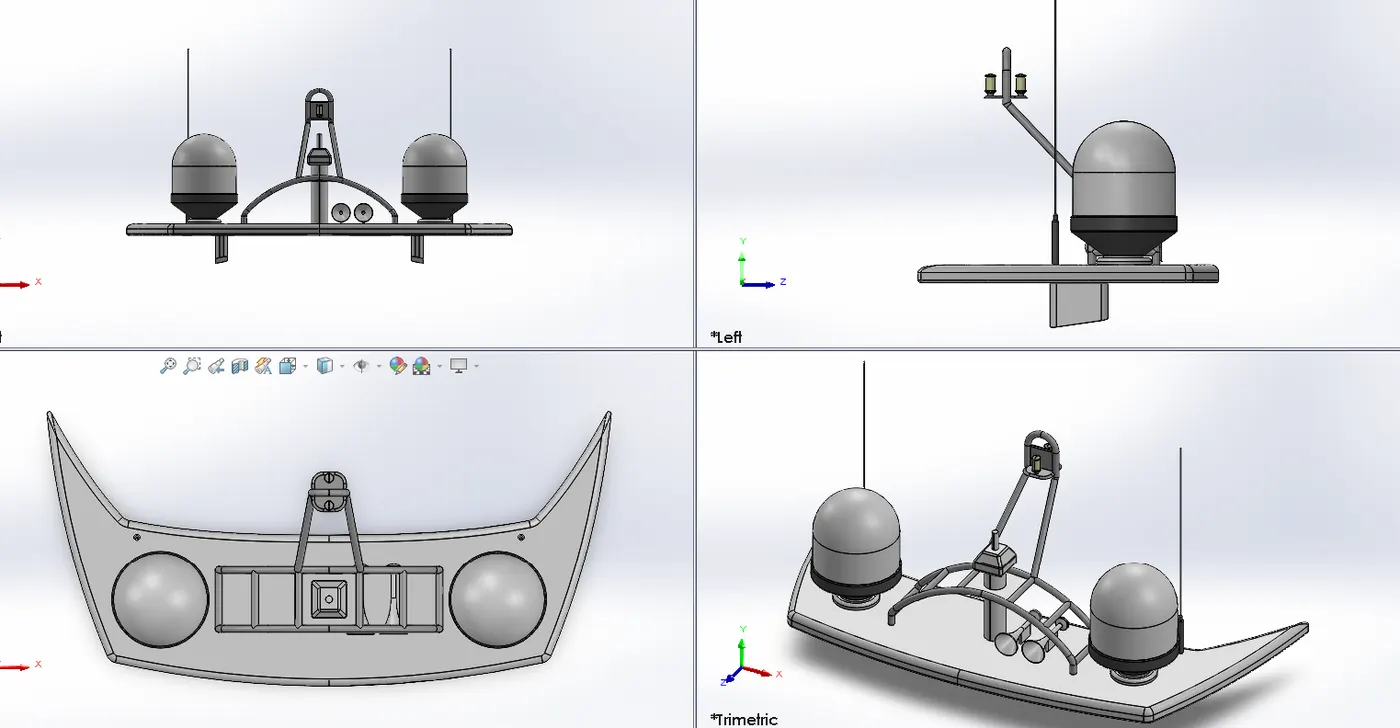
add colour and texture
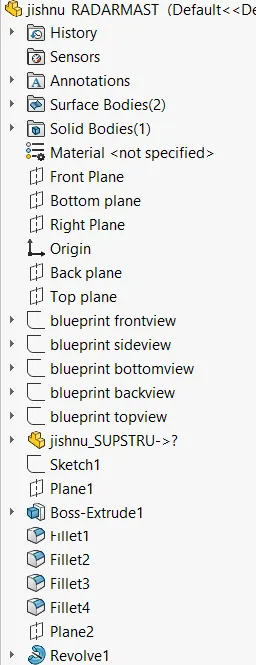
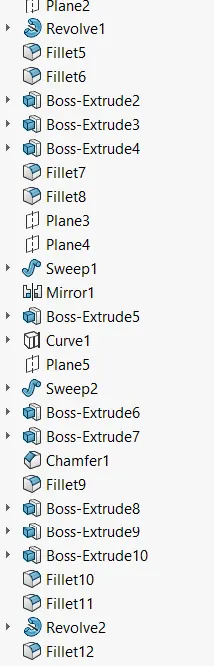
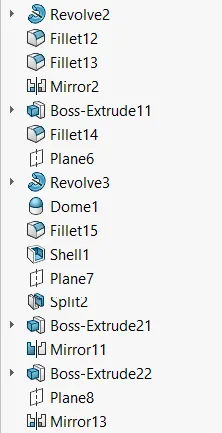
tree structure
PROJECT TITLE YATCH ASSEMBLY
Objective: to create a assymbly from created parts
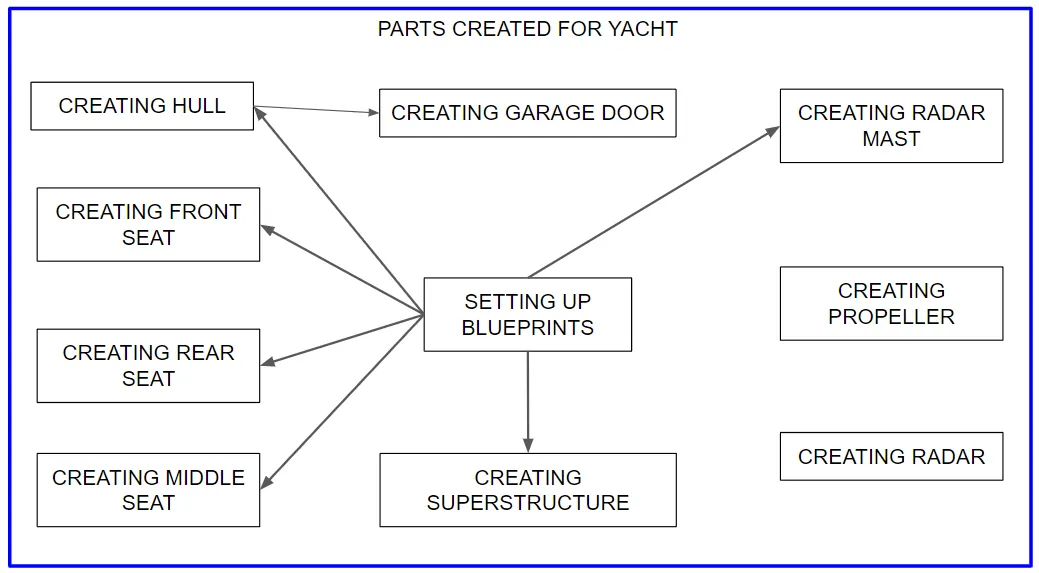
Below shown is the image of parts created
0)BLUE PRINT
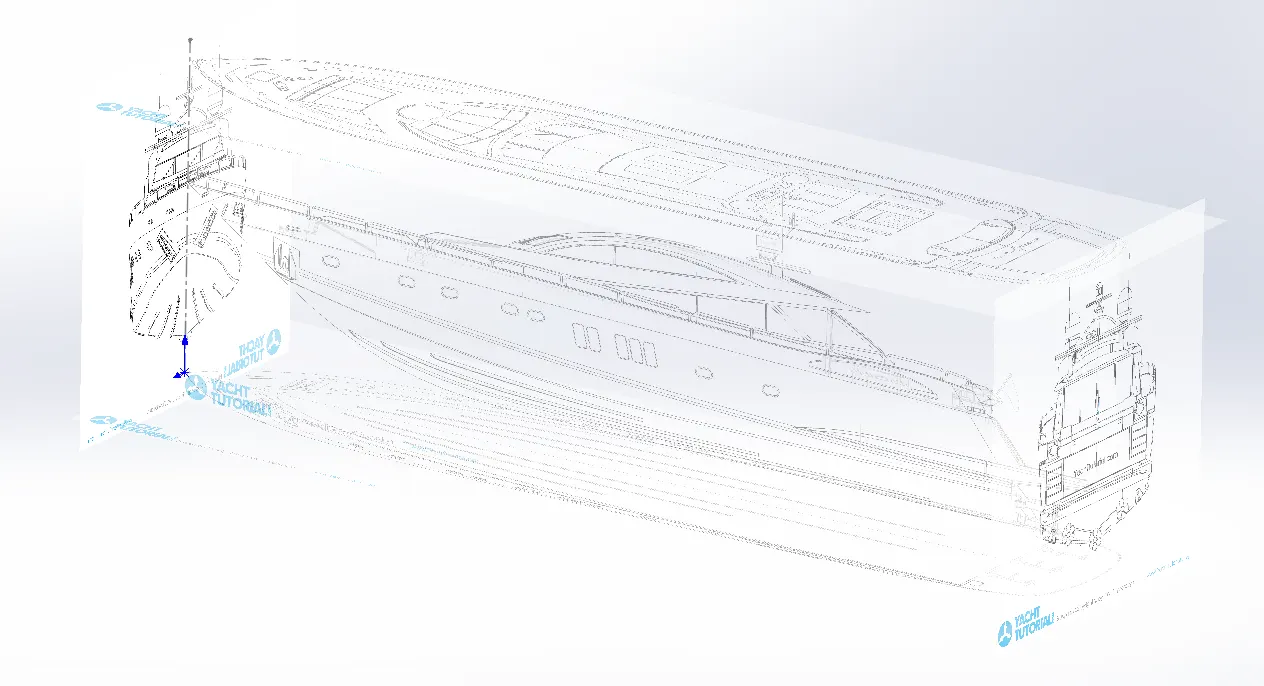
Blueprint is set up with themultiple plane ofseted from the orginal plane and then the reference blue print is added to it.
1)HULL
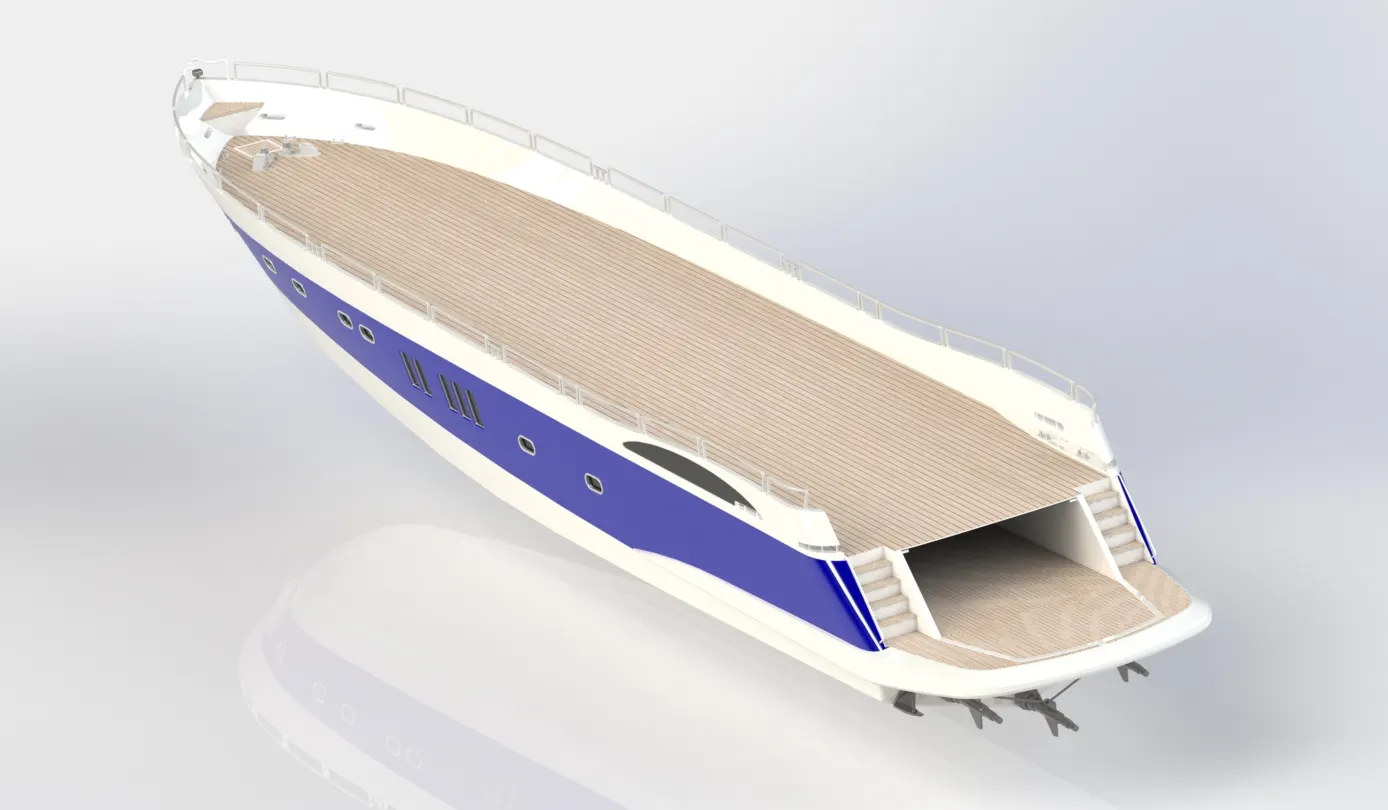
For the cretarion of the hull the blueprint was initialy setup.
- With the help cobinig curves with the help of respective places of bluprint we are able to create the outline,
- With the help of surface comman such as : surface extrude, lofted surfase trim surface , offser surfece etc we are able to join and create closed surface as per the requirments
- once the surface is created the surface is knited to create gap free surface to create a solid
- Then a shell comand is uded and trimmed of excess region. a small area is cur out to seapare part fo faeage.
- mirror function is used to create a semitric part
- decals and colours are added
2)GARAGE DOOR
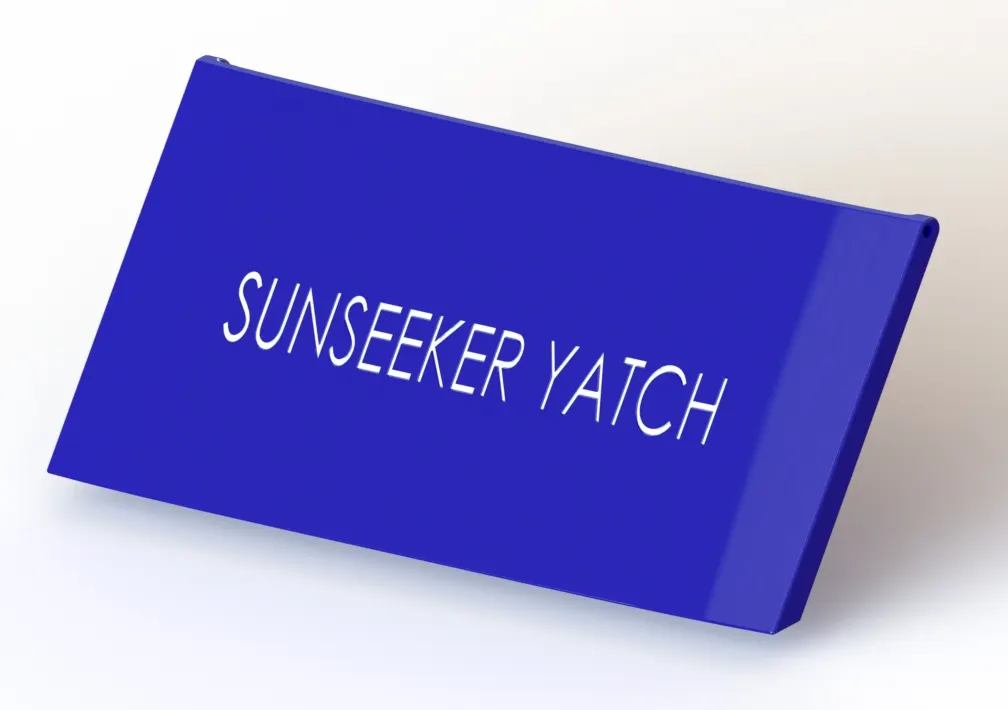
for creating the garage door:
- The cut out saved part from hull is used.
- excess area is removedby sketch and cut extrude option
- fillets , chamfers amd mounting holes are given
- Finalt the text cut extuded to create a name
3)FRONT SEAT
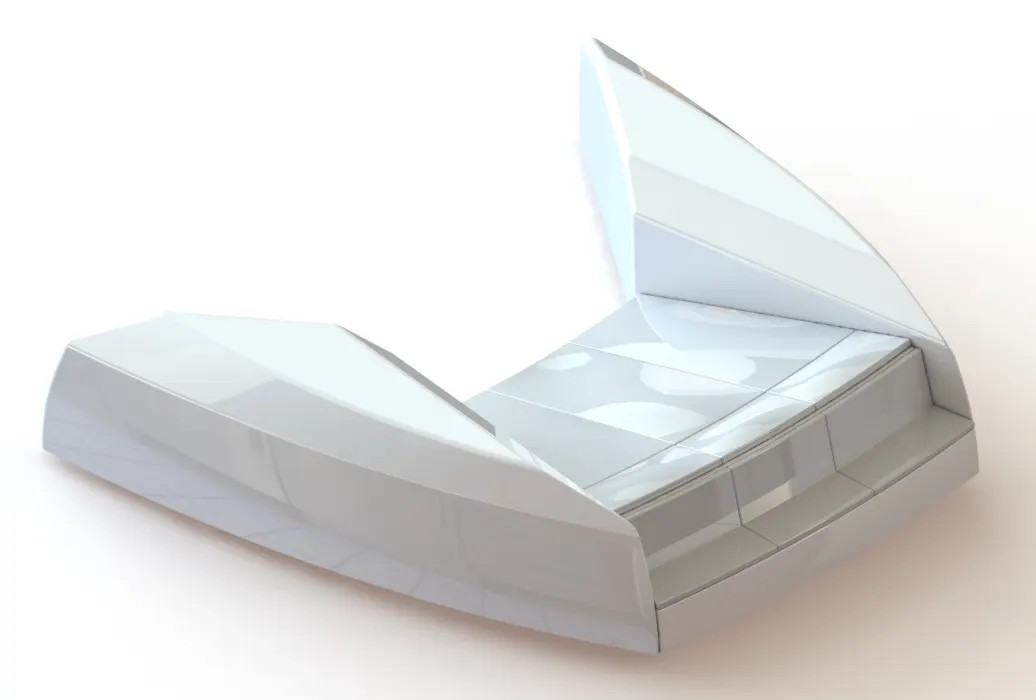
For the cretarion of the front seat blueprint was initialy setup.
- the top surface of hull is used as base
- With the help combine curves with the help of respective places of bluprint we are able to create the outline,
- With the help of surface comman such as : surface extrude, lofted surfase trim surface , offser surfece etc we are able to join and create closed surface as per the requirments
- once the surface is created the surface is knited to create gap free surface to create a solid
- sketch to create a seat was drawn and extrudeed.
- mirror function is used to create a semitric part
- colours are added
4)MIDDLE SEAT WITH TABLE
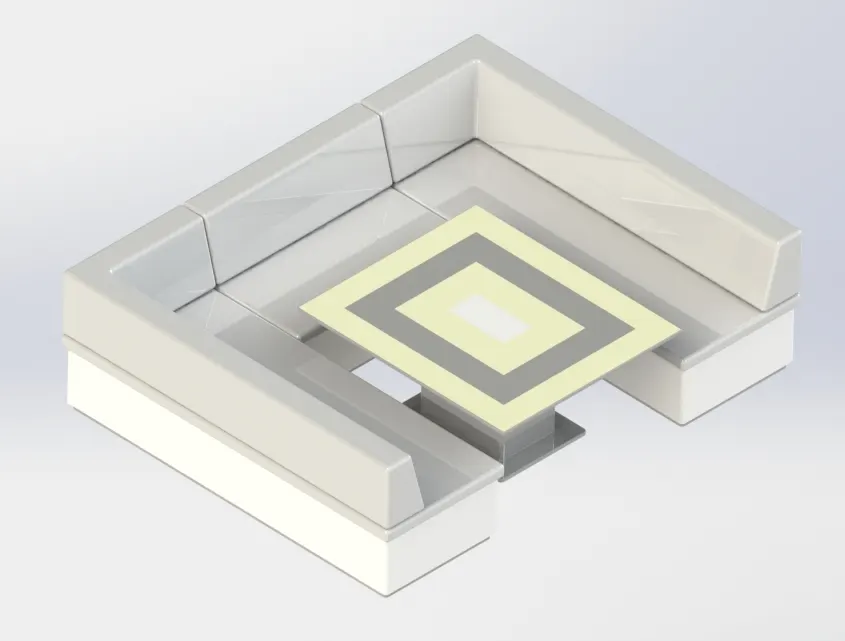
For the cretarion of the front seat blueprint was initialy setup.
- the top surface of hull is used as base
- sketch to create a base was drawn and extruded.
- commands used are sketches, extrude cut , extrude boss, chamfer and fillets
- mirror function is used to create a semitric pat for sofa
- table is mades with similar commands
- colours are added
5)REAR SEAT
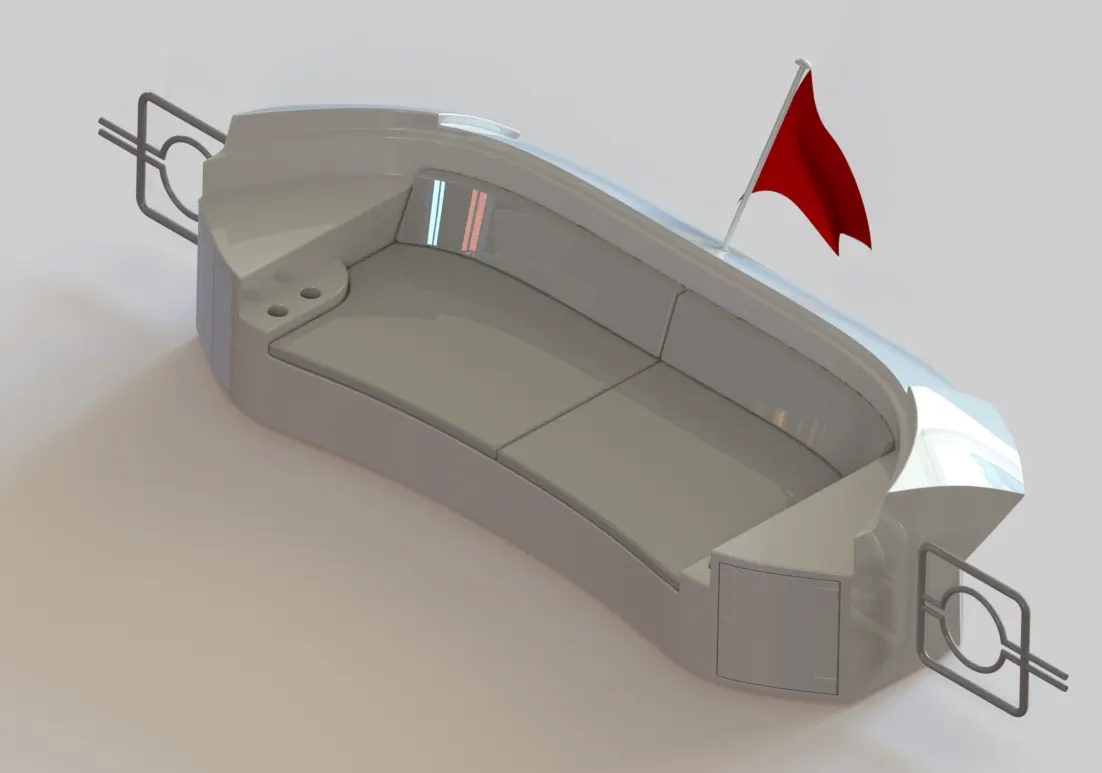
For the cretarion of the rear seat blueprint was initialy setup.
- the top surface of hull is used as base
- With the help combine curves with the help of respective places of bluprint we are able to create the outline,
- With the help of surface comman such as : surface extrude, lofted surfase trim surface , offser surfece etc we are able to join and create closed surface as per the requirments
- once the surface is created the surface is knited to create gap free surface to create a solid
- sketch to create a seat was drawn and extrudeed.
- mirror function is used to create a semitric part
- to creat the flac use 3d sketches and spline with help of top side and reare blurprints.the use lofed surface to fill it
- colours are added
6)SUPERSTUCTURE
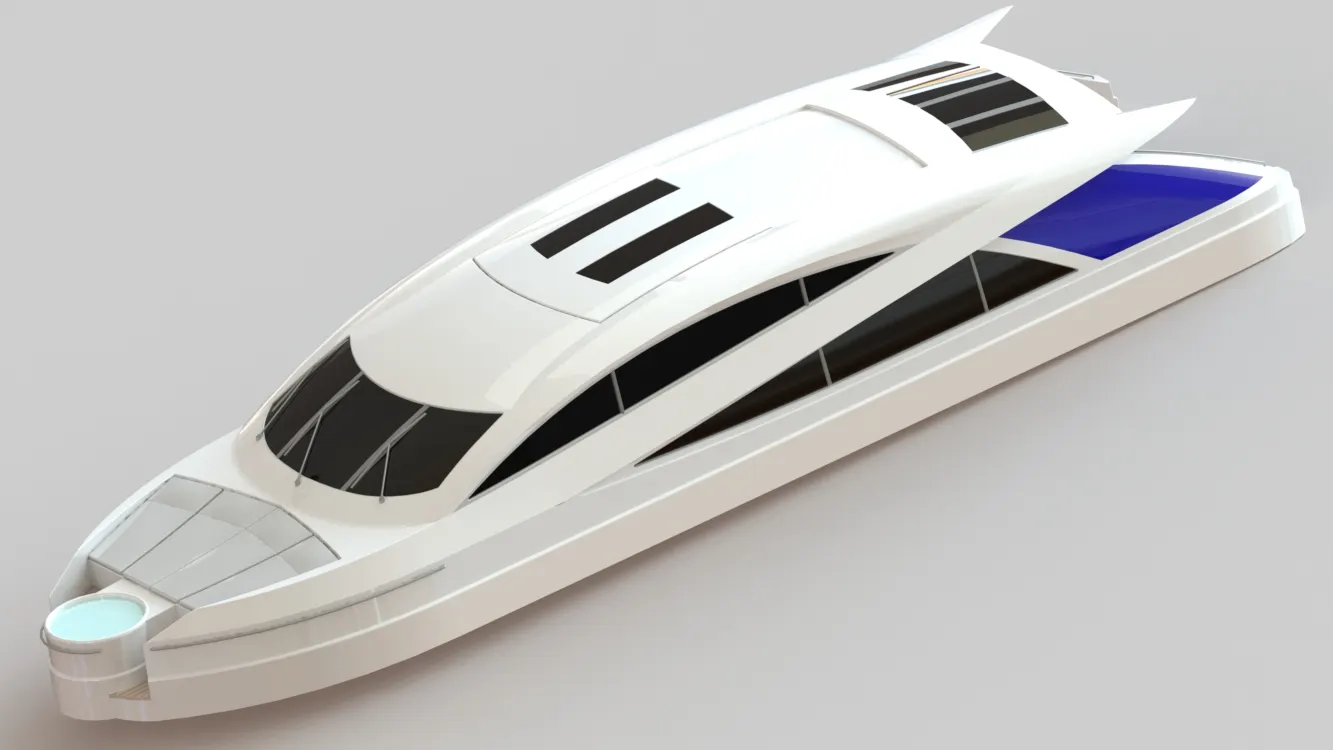
For the creation of the superstructure blueprint was initialy setup.
- the top surface of hull is used as base
- With the help combine curves with the help of respective places of bluprint we are able to create the outline,
- With the help of surface comman such as : surface extrude, lofted surfase trim surface , offser surfece etc we are able to join and create closed surface as per the requirments
- once the surface is created the surface is knited to create gap free surface to create a solid
- sketch to create a seat was drawn and extrudeed.
- mirror function is used to create a semitric part
- to creat the flac use 3d sketches and spline with help of top side and reare blurprints.the use lofed surface to fill it
- wipers and seats were creates from sketches to solids directly by extrution
- colours are added
7)PROPELLER
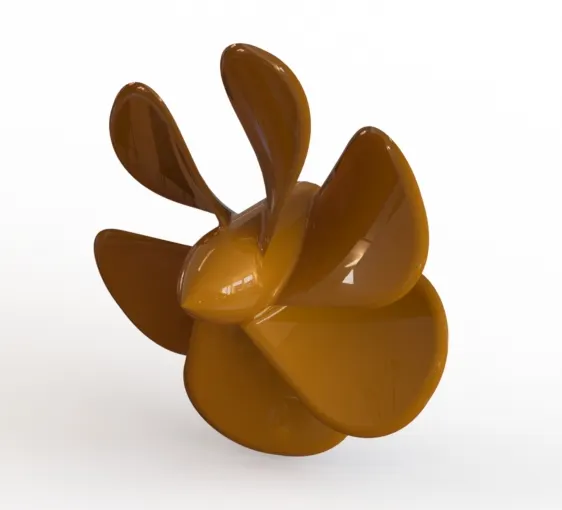
for the creation of propeller
- cylider was first created and fpr blade 2 lines at angle was created in 2 plane separated from each other.
- by use of lofed surface blades are made and shaped it by cuting with 3dspline
- thickend and circular patern is done. all pards combined and filletd
8)RADAR
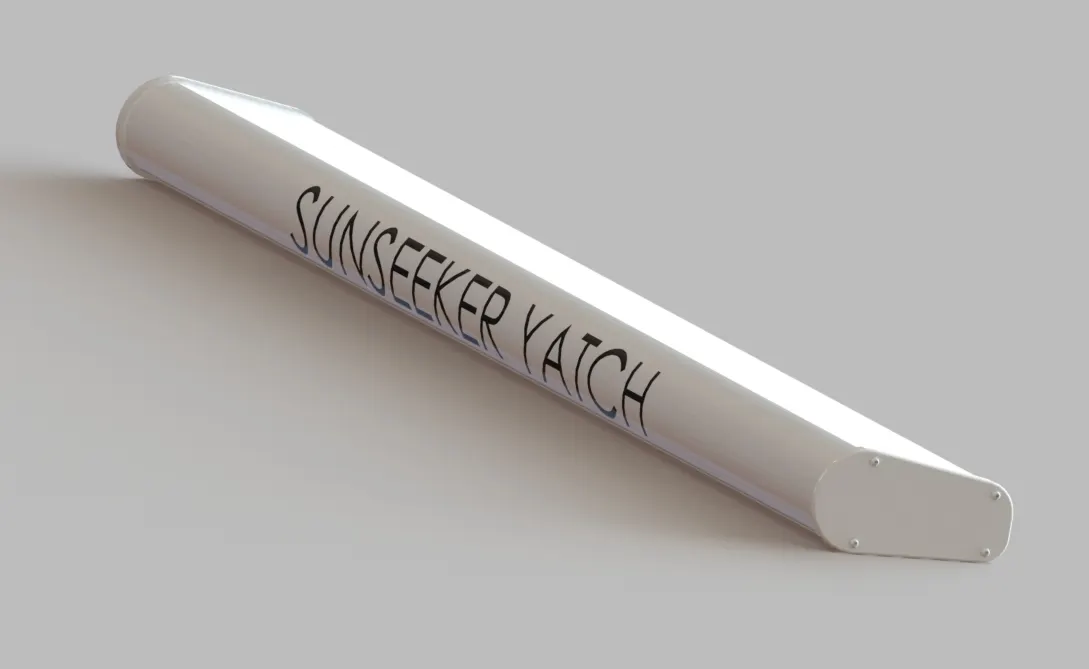
for creation of radar :
- simple sketch and extrude is used. hole are created by extrude cut
- text is writen on a plane and projected to one surface
- all alphabets are colord ,
9)RADAR MAST
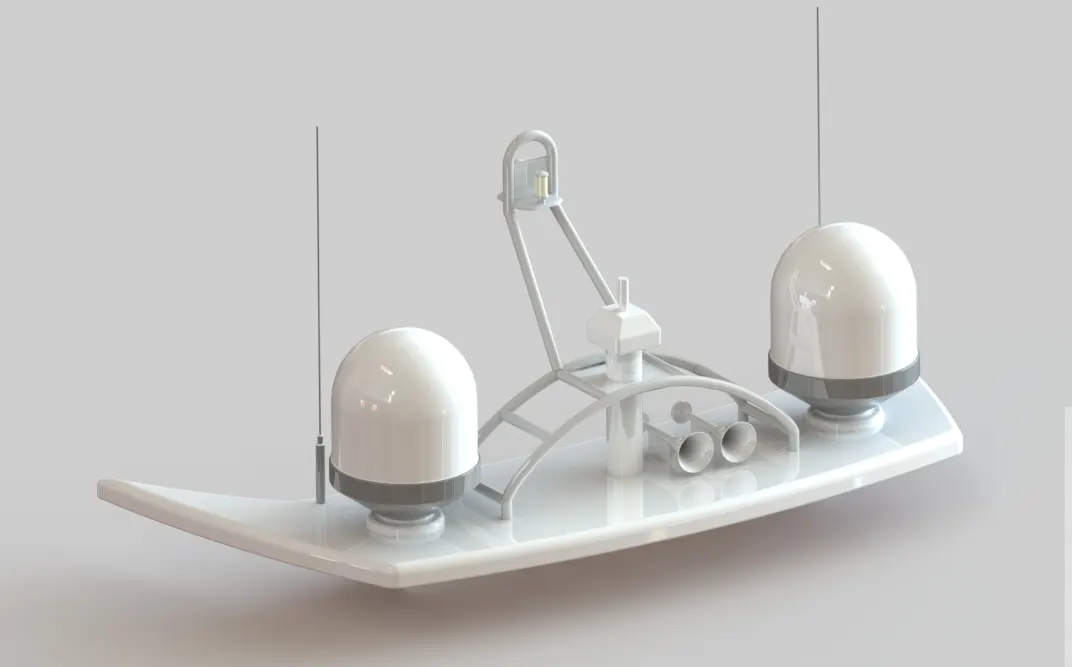
For the cretarion of the radarmast blueprint was initialy setup.
- the top surface of superstucture is used as base
- sketch to create a base was drawn and extruded.
- commands used are sketches, extrude cut , extrude boss, sweep, chamfer and fillets.
- mirror function id usded to create other half
- colours are added
10)CHOPPER
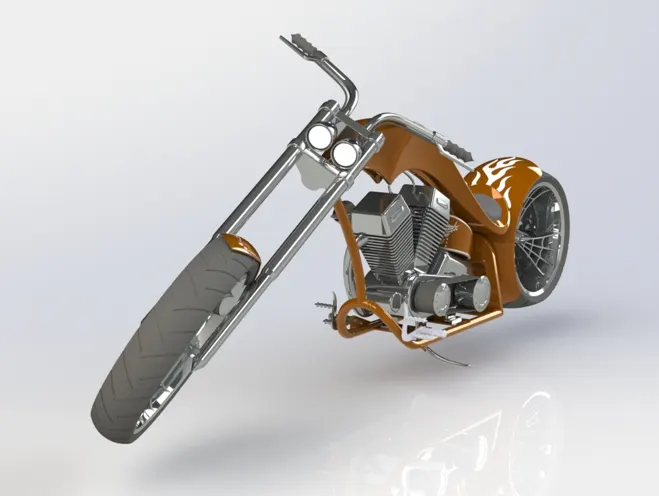
chopper assymbly is previously created with fork,mudgurds,rotor pedels and leverd, rims,chaim silencer ans side stand
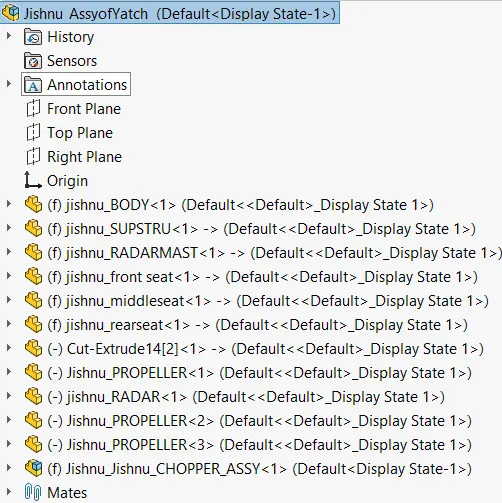
Now assamble all the parts, all parts that is drawn with reference to the bluprint can be directly fitted,the rest such as propeller, radar and chopper is manually aligned with the assymbly file.
Oder of assymbly:
- Hull
- Garagedoor
- Superstructure
- Radar mast
- Front seat
- Rear seat
- Mid seat
- Radar
- Propeller
- Chopper
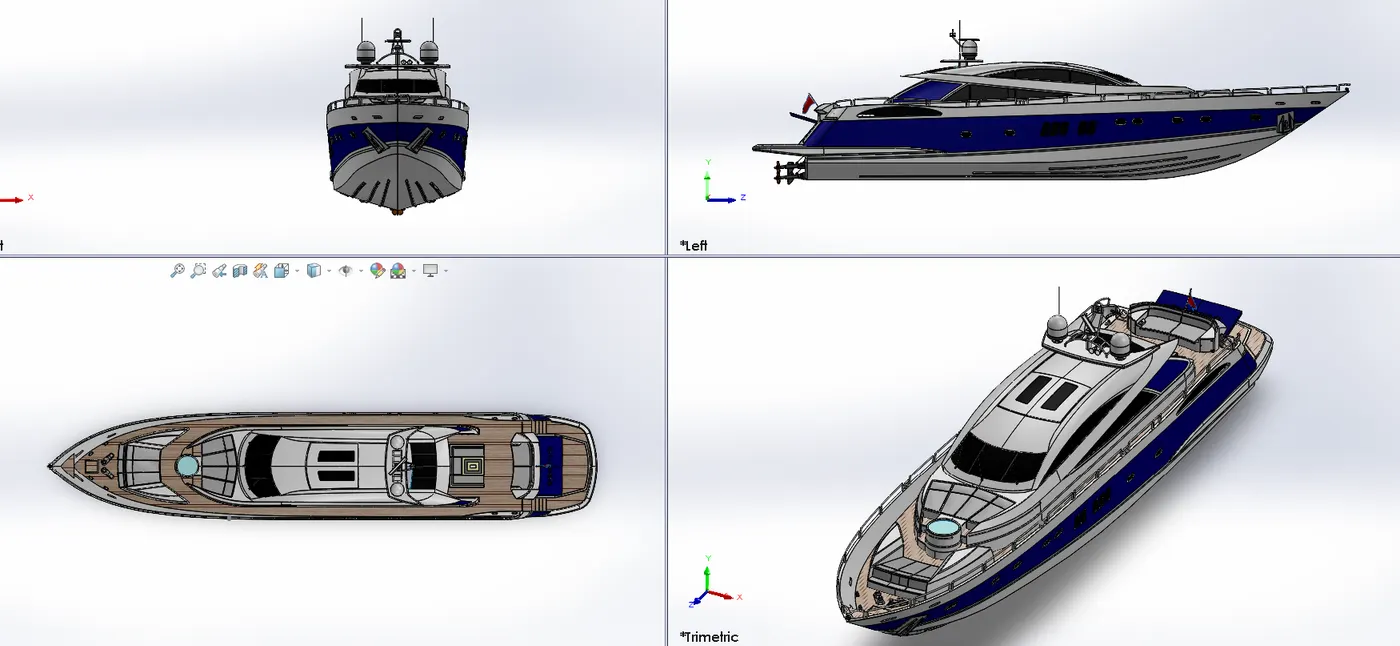
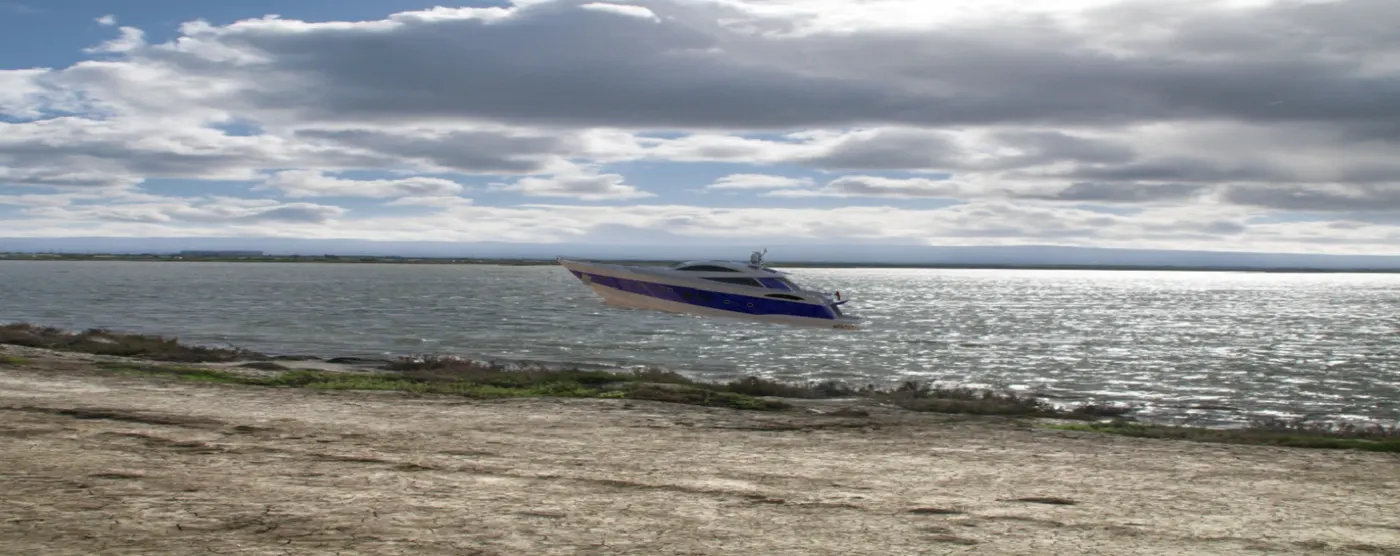
NOTE : AS THE SIZE IS TOO BIG TO BE UPLOADED I WAS ADVISED TO ADD LINK TO GOOGLE DRIVE
PROJECT LINK: https://drive.google.com/file/d/1GyztXo37MJ7UgW2bVm6F2tq28Y8Q5hB0/view?usp=drive_link