Radar Mast & Final Assembly of Yacht
1. radar mast:
- The first half of the Radar was Modelled with the help of blueprint and then the other half was mirrored with the help of Mirror tool
- The body of the Radar was created using Extruded Boss/Base and Revolved Bass/Base.
- The antenna for the radar was also created using the Extruded Loss/Base.
- The lamp stand along with the connecting rod were created using the Swept Boss/Base and Mirror tool.
- The lamp was created by using the projected curve and then the curve was swept using swept boss/base The horns were created using the Revolved Boss/Base, Dome and Shell.
- Then the fillets and chamfers were applied wherever necessary
- Finally the part was saved by applying appropriate appearances\
features:
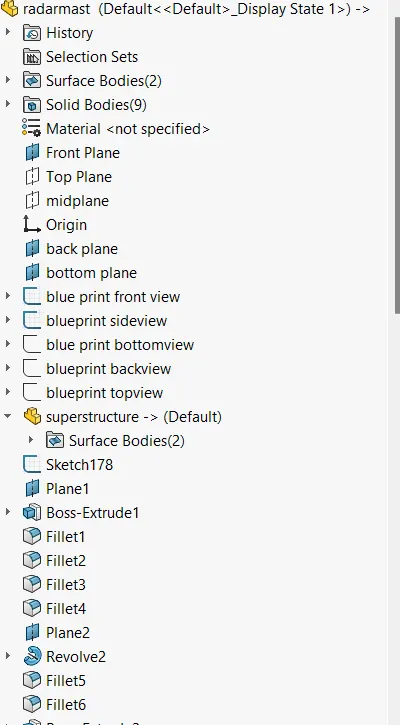
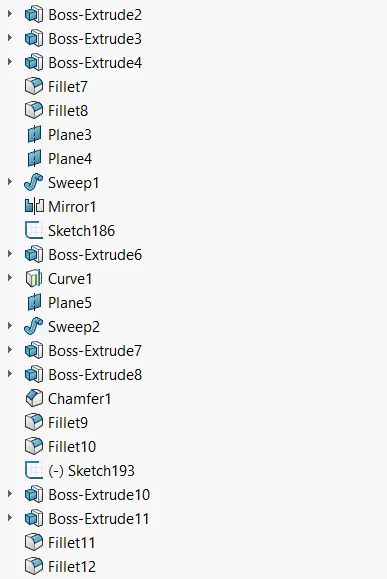
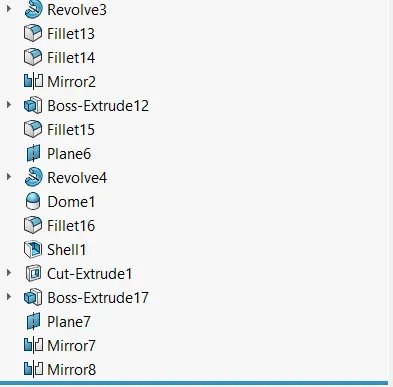
front view:
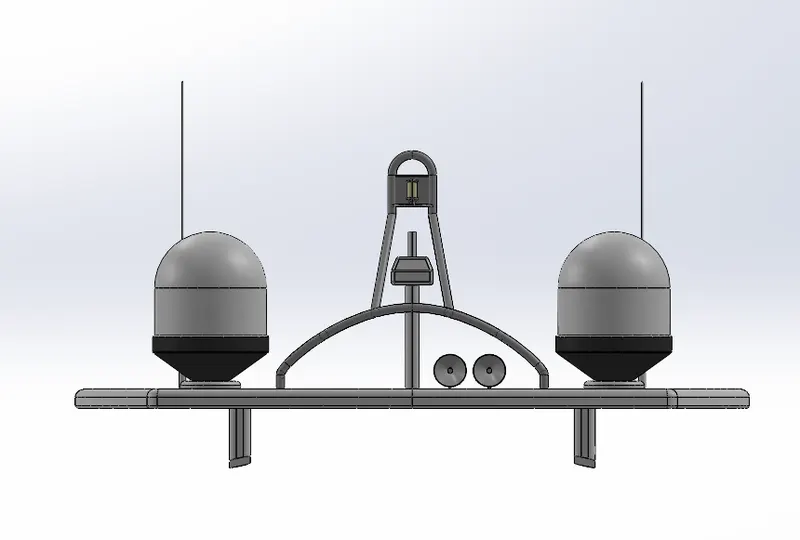
side view:
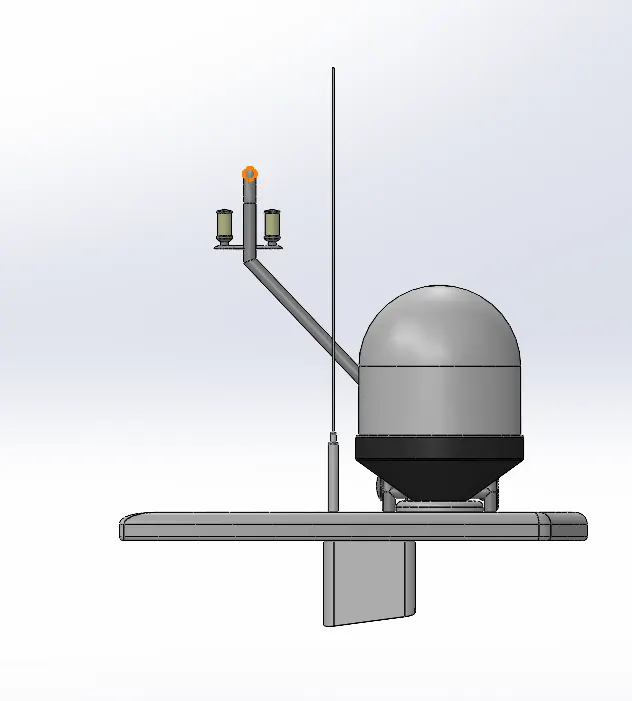
isometric view:
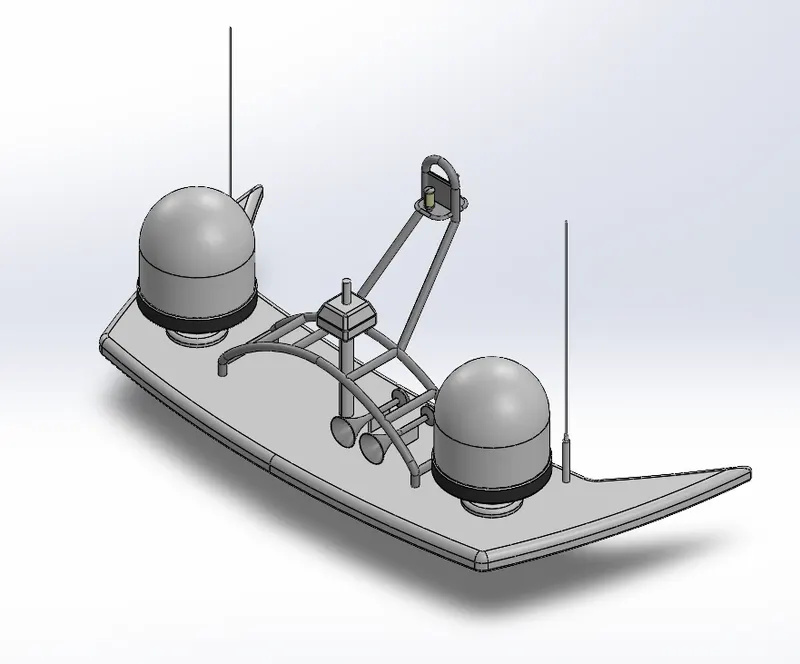
2. yacht assembly:
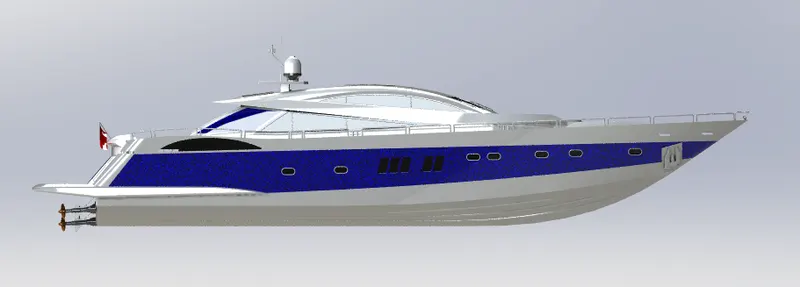
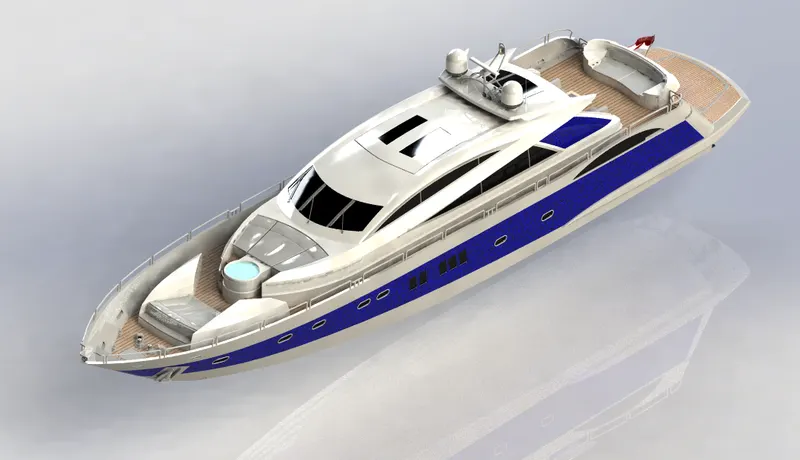
- Import all the parts manually by using Insert Components option.
- Then fix the Hull part by applying the coincident mate to the Top, Right and Front planes of the Assembly and Hull respectively.
- Then for each part apply the necessary mates required by the Blueprint using Coincident mates, Angle Distance mates etc.Mates
- Advanced mate was also used wherever required
features:
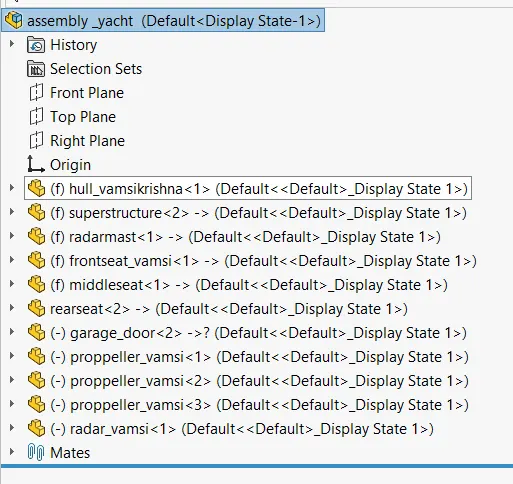
front view:
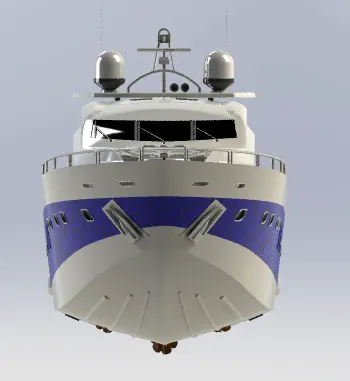
side view:
isometric view:
YACHT DESIGN:
objective:
Draft and Design the individual components of a yacht and assemble them together to form a good aesthetical
yacht
introduction:
A yacht is a sail or power vessel used for pleasure, cruising, or racing. There is no standard definition, so the term applies to such vessels that have a cabin with amenities that accommodate overnight use.
Design considerations for a cruising yacht include seaworthiness, performance, sea kindliness, and cost of construction, as follows:
Seaworthiness addresses the integrity of the vessel and its ability to stay afloat and shelter its crew in the conditions encountered.
Performance hinges on a number of factors, including the waterline length (longer means faster), drag in the water (narrower hull with smooth appendages), hull shape, and sail shape and area. Sea kindliness is an indicator of steering ease, directional stability and quelling of motion induced by wind and
Multihull offer tradeoffs as cruising sailboots, compared with monohulls. They may be cotamarans or trimarans. They rely on form stability-having separate hulls far apart-for their resistance to capsize. Their advantages include greater stability, speed, (for catamarans) living space, and shallower draft. Their drawbacks include: greater expenses, greater wind age, more difficult tacking under sail less load capacity, and more maneuvering room required because of their brood beam. They come with a variety of sleeping accommodations and (for catamarans) bridge-deck configurations Design of Yacht involves creating individual parts and assembling them with respect to their proper constrains and mates
Present Design of vocht consist of the following ports and pattern,
1. propeller:
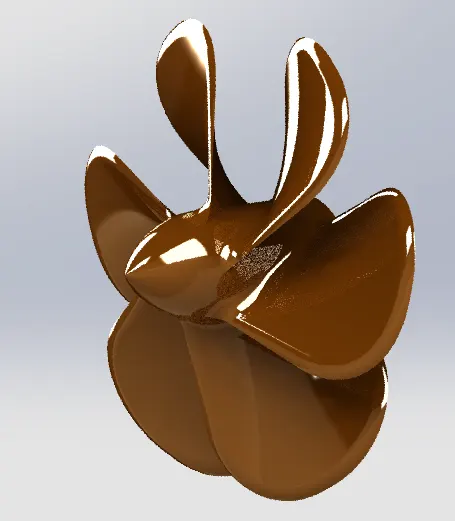
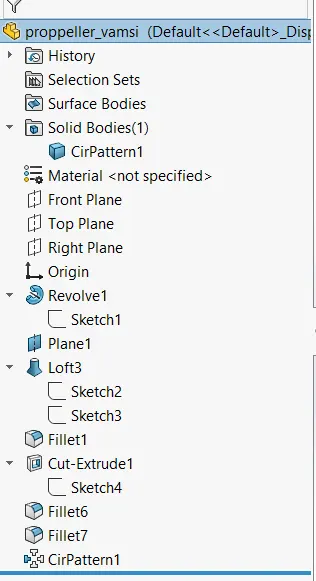
- center portion of the propeller was sketched and then revolved using revolved boss/base
- then blades are created using referance plane and the lofted boss /base and fillet
- remaining five blades are created by using the circular pattern
- the central circular portion was removed using extruded cut option
- finally the part was saved by applying the propper appearance
features:
2.radar:
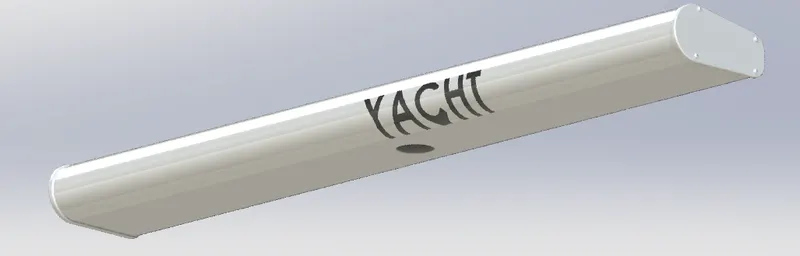
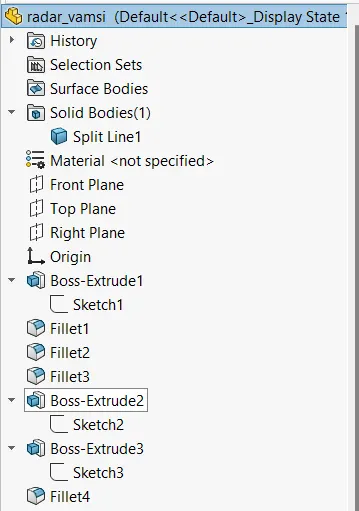
- by drawing a suitable sketch the body of the radar created using extruded boss/base
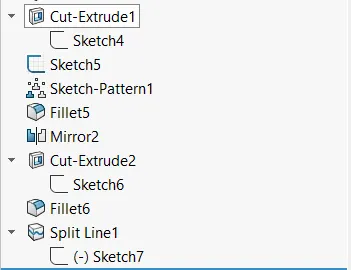
- using sketych pattern the four dottrd holes are created using extruded boss/base and extrude cut
- radar has a circular slot underneth which was created by using extrude cut option
- the half was created by using mirror entites
- the text over the radar was created by using the text option and then split option is used to generate over the front of the radar
- at last the radar is filleted around the edges of the body and also the holes
- finally the part was saved by applying the proper apperances
features:
3. blue print setup:
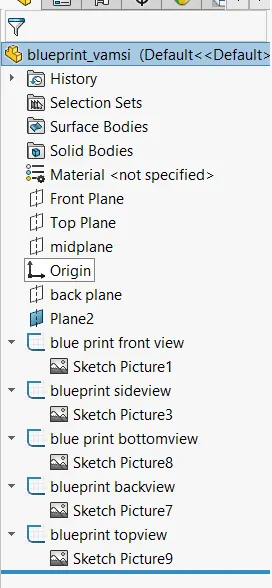
- select a plane and 2d drawing option and then goto tools-sketch tool - sketch picture
- browse the image and change the dimensions as per the reqiurement & use transperncy and choose full image for convinent sketching and name the views
- repeat the steps and then name them as front view ,top view , side view, back view
- change the planes as front plane ,bottom plane & midplane and arrange the blue print in sequential order
features:
4.HULL:
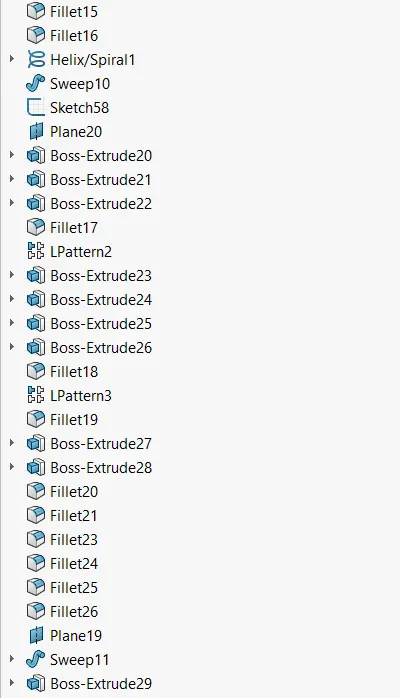
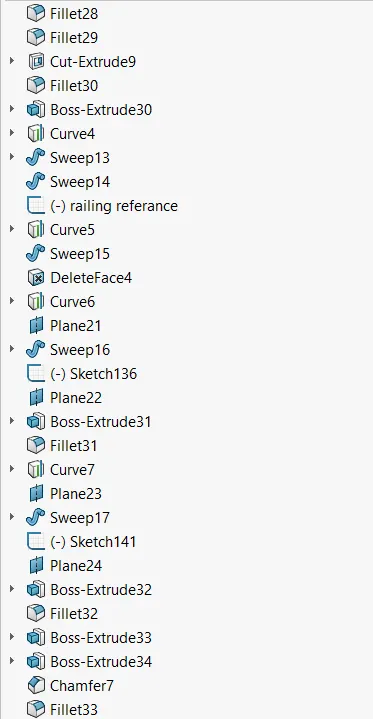
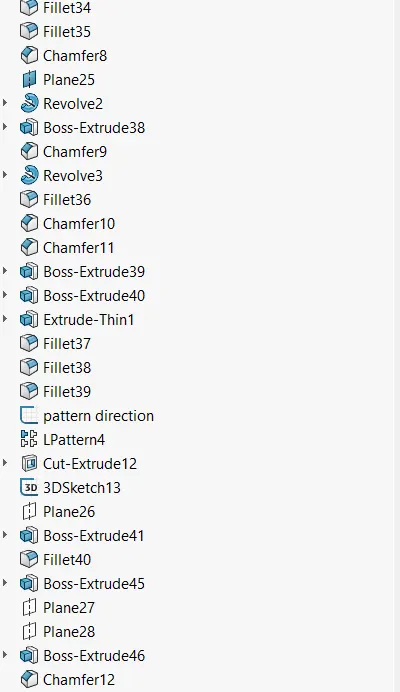
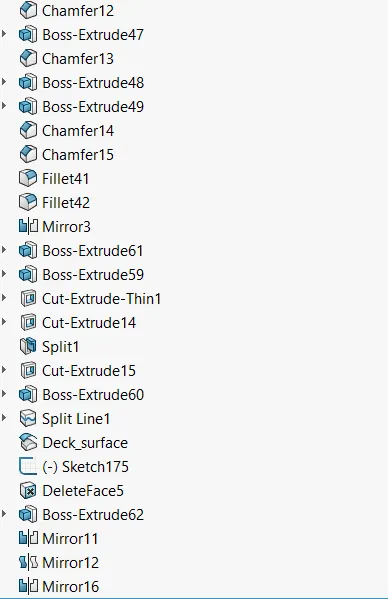
1. insert the blue print of yacht in a new part 2. create a projected curves as the bottom part of the hull as per
the blueprint and lofted surface
3. create a lofted surface as per the blue print
4. trim the unwanted surface making the necessary structure of hull
5. fill the open surface and knit all the surface with merge enttities 6. create a shell for the required thickness from the knitted surface
7. create a deck surface by extruding 8. create the basement by extruding
9. remove the unwanted portion and do the fillet and chamfer at
the required edges
10. create windows as the port holes on the surface of the hull
11. create stairs on the back side one side of hull 12. create long lost on the bottom surface of the hull
13. create fillet and chamfer all the required edges 14. create an anchor cable on the frt side of hull
15. create rail on the top of the hull 16. create headlight on the frt side of hull
17. create a shaft for the turbine on the bottom back side of the hull 18. create a standing board on the frt side of the hull
19. create a mirroring for the other half of hull and merge solid
20. apply decays on the surface of the hull wherever necessary
21. apply the appropriate colours.
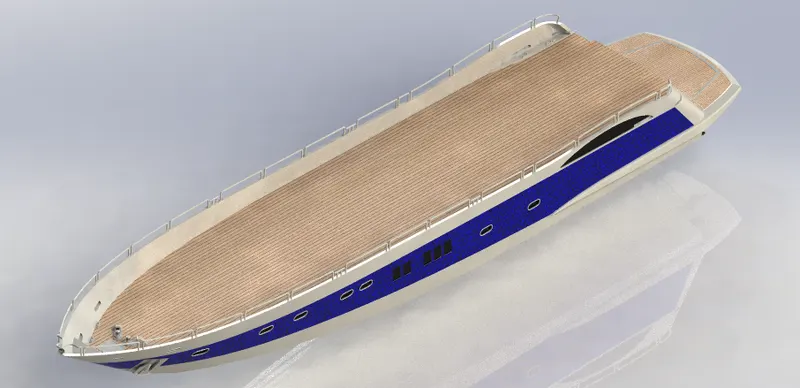
features:
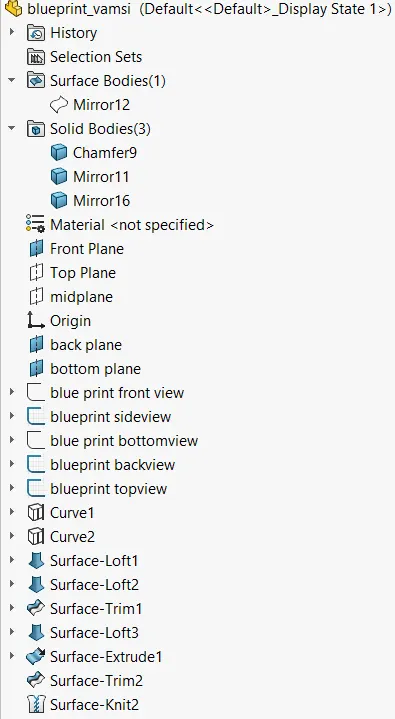
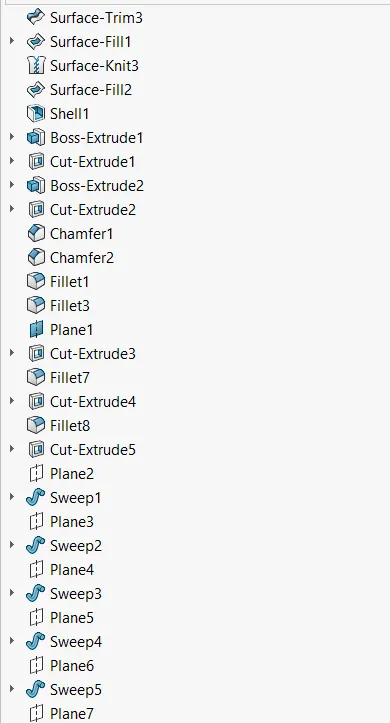
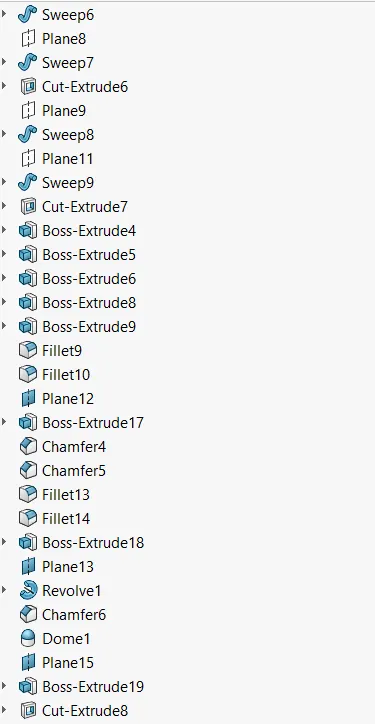
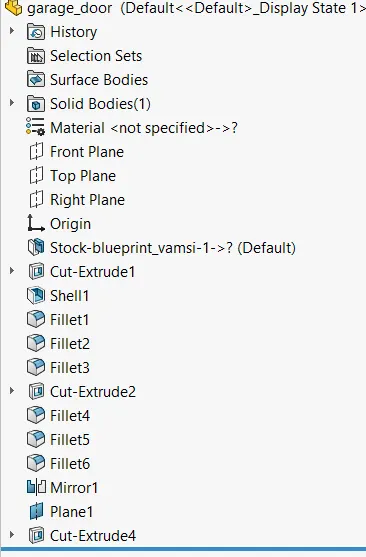
5.GARAGE DOOR:
1. open the exported body of the hull
• create a 2d sketch on one side
draw four lines of
Dim horz below-5800
horz above-4750
• create an extrude cut through all select the three surface and do the shell
• create a fillet of 100 mm in corner and 15 mm on edges
• create a 2d skech on one side
of a circle of 50 mm
create an extrude cut 100mm
• create a 10 mm fillet
• create fillet on upper edge 50mm
Mirror
right plane as mirror face
• select the body to mirror
select merge and knit option
create a new plane
1. first ref- front plane
2. the second ref -offset dist 31000 3. create a new sketch on the plane
4. draw a centerline
Dim
1. 2500 centerline
2. 1250 from a right plane
3.500 above vertical
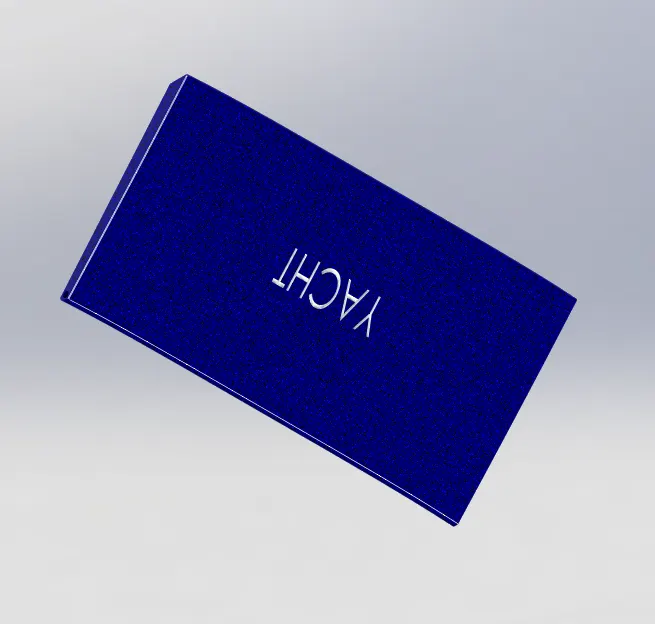
4. create the name of the yacht
5. using text box
create an extrude cut
• offset from surface
• 8mm reverse offset
Appearance
change the colour of the garage door change collur of the text
features:
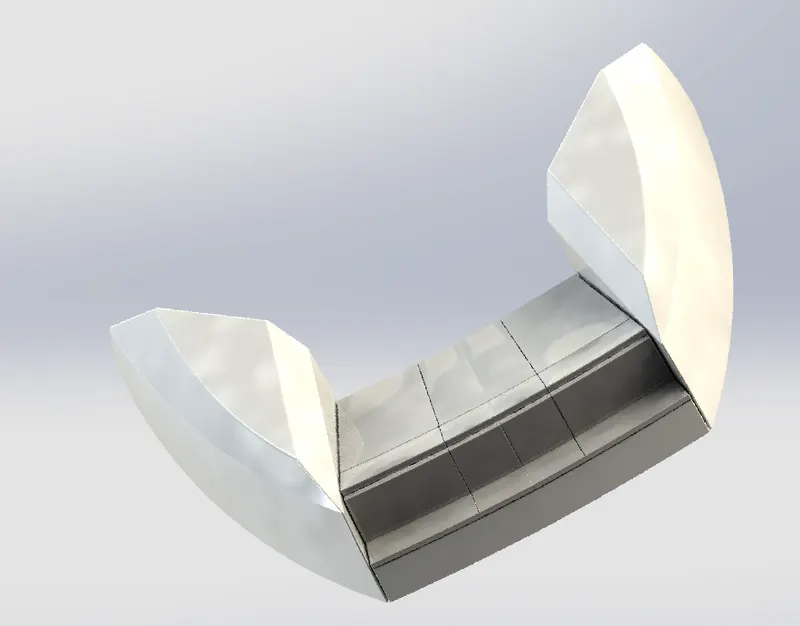
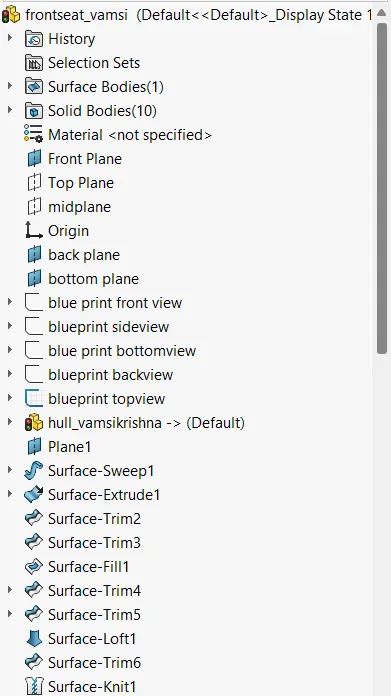
6.front seat:
1. Insert the blueprint of the yacht in new part.
2. Create a projected portion in the side of the front seat of the yacht on the floor of the hull using surface
modelling.
3. Create the seating portion of the front seat.
4. Provide fillet and chamfer to all the required edges.
5. Create additional cushion on the surface of the seat. 6. Provide fillet and chamfer to all the required edges.
7.Create the remaining part of the front seat by mirroring the seat modelled till the last step.
8. Apply appropriate colours to all the required surfaces.
9. Rendered images of the yacht front seat are shown below.
features:
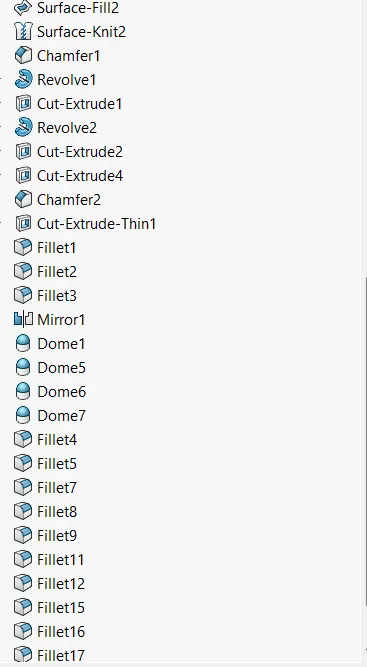
7.middle seat:
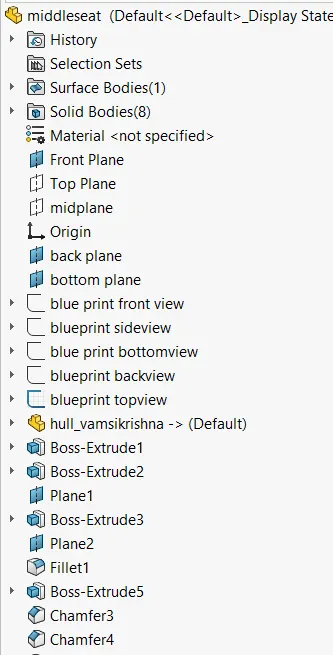
1. Insert the blueprint of the yacht
2. Create the base of the middle seat.
3. Create the seating portion above the base of the seat.
4. Create the cushioning part of the seat above the seating portion.
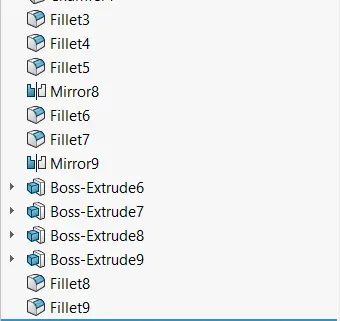
5. Provide fillet and chamfer to all the required edges.
6. Create the remaining part of the middle seat by mirroring the seat modelled till the last step.
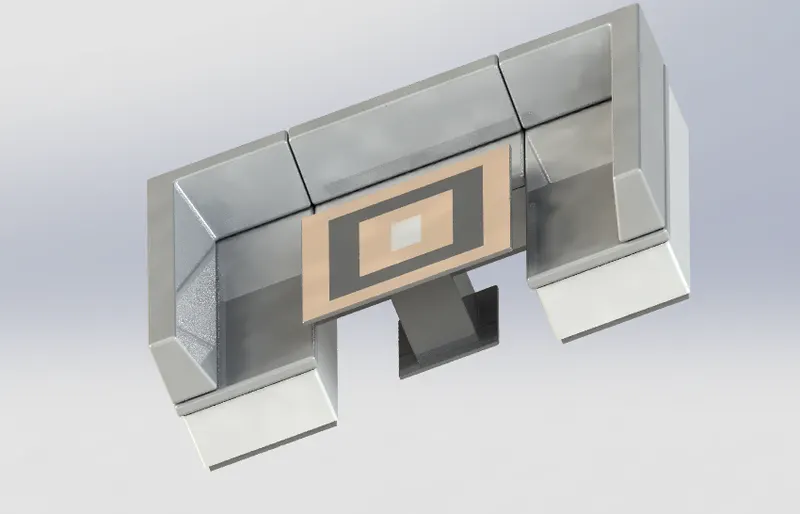
7. Create table at the centre of the middle seat.
8. Apply colour to all the required surfaces.
9. Rendered images of the yacht middle seat are shown below.
features:
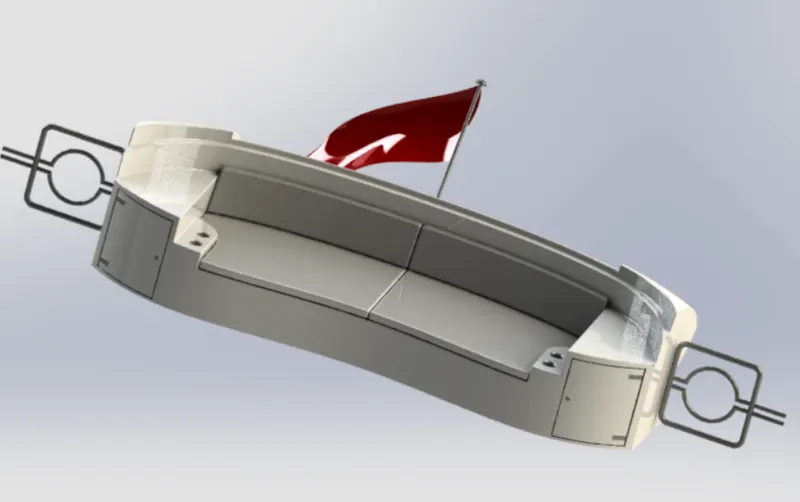
8. rear seat:
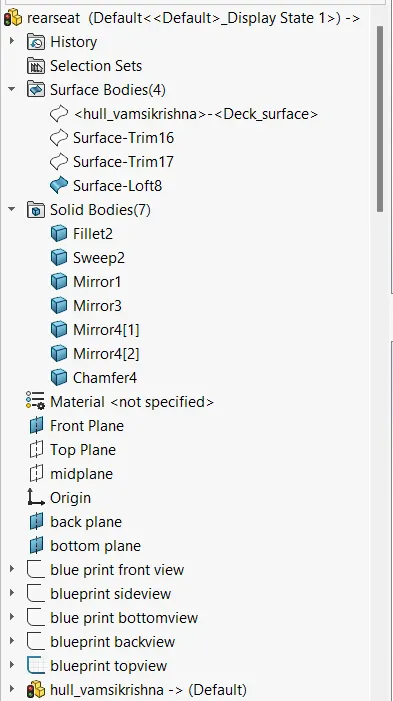
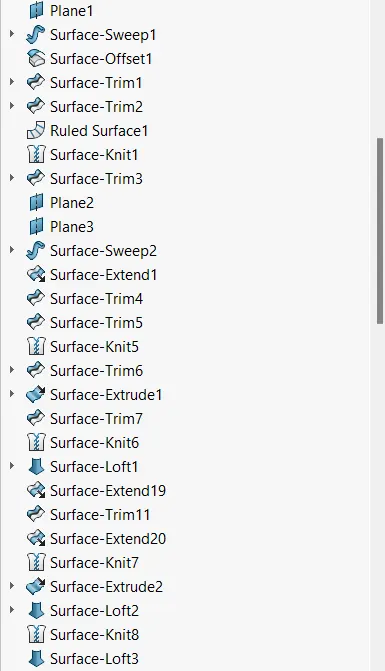
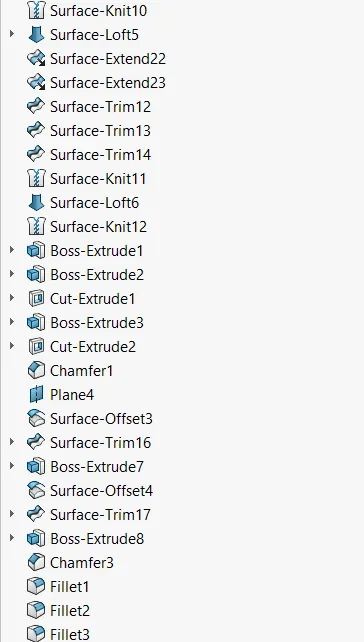
1.insert the blueprint of the yacht in a new part.
2.Create a rear portion of the rear seat of the yacht on the floor of the hull using surface modelling.
3. Create the basement of the rear seat
4. Provide fillet and chamfer to all the required edges.
5. Create a hand rest portion on the side of the rear seat.
6. Create a cup holder beside the hand rest
7. Create additional cushion on the surface of the seat.
8. Provide fillet and chamfer to all the required edges.
9. Create a cub board below the hand rest portion
10. Create a gate on one side of the rear seat.
11. Create the remaining part of the rear seat by mirroring the seat modelled till the last step.
12. Create a flag holder and flag above the rear portion of the rear seat.
13. Apply appropriate colours to all the required surfaces.
14. Rendered images of the yacht rear seat are shown below.
features:
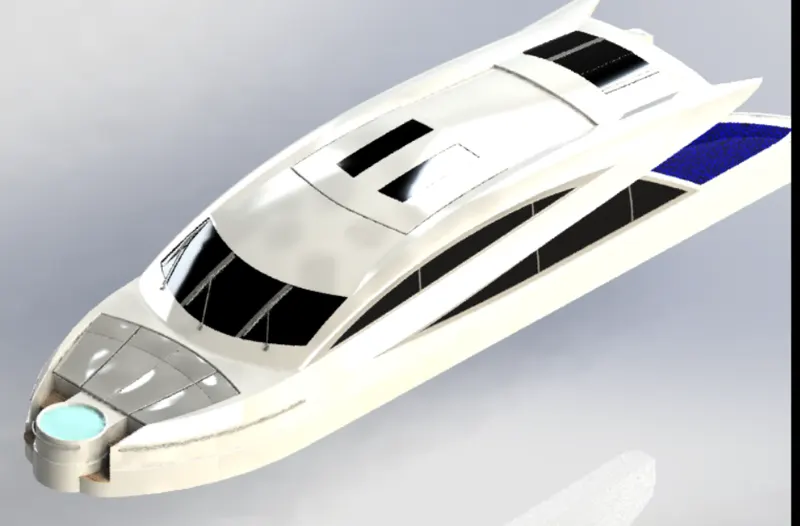
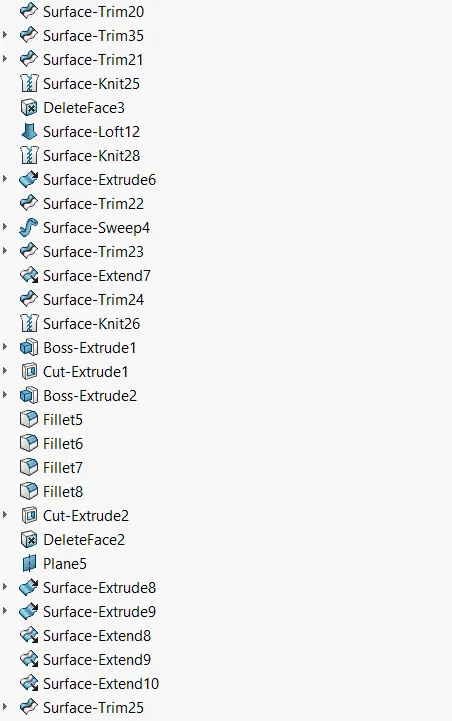
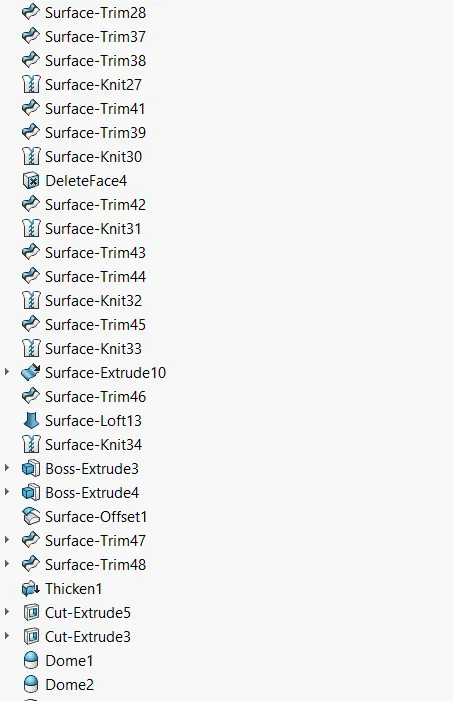
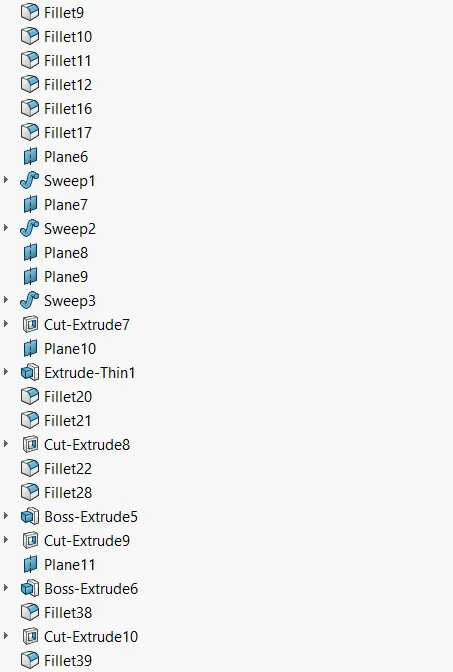
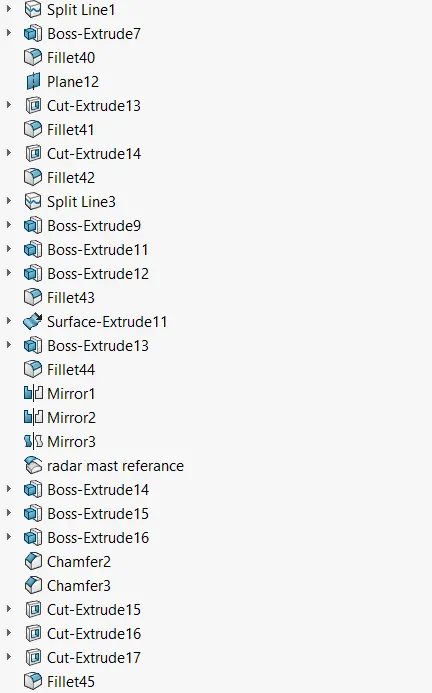
9.superstructure:
-
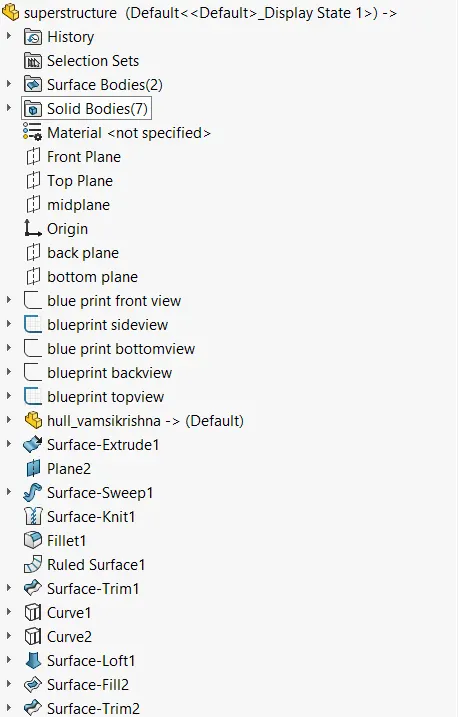
The deck surface from the hull was imported and the superstructure was modelled over
-
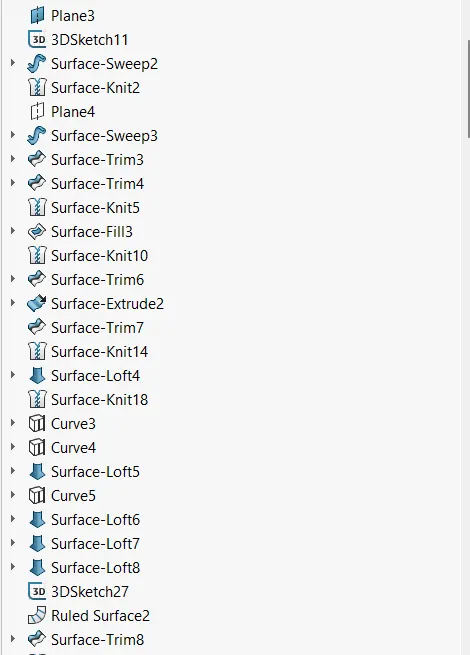
The side surface of the Superstructure was created by using Extruded Surface Lofted Surface Fed Surface
-
Trim Surface and Knit Surface The Front side of the Superstructure was designed to have four rest beds which were created using eard Boss/Base Filets and Dome
-
The front edge of the superstructure was provided with a Water Fecture which was created using Extruded Boss/Bose, Extruded Cut and filled with a woter appearance
-
The Windshield was created by Extruded Cut and the wipers were created by using 30 wtch and referenceplane with the help of Swept Boss/base
-
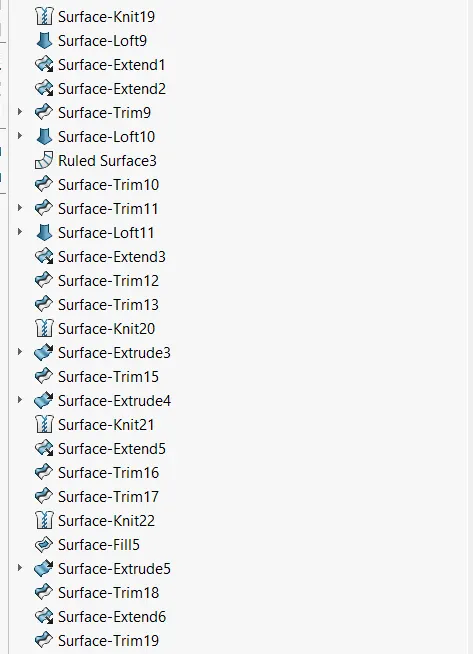
The Portholes for the Superstructure were created by using Extruded Surface Trim Surface and Extend Surface Rued Surface was used to fit the left out edges
-
The Black Doors of the Superstructure was created using Extruded Cut Filets and Reference Plone
-
Then all the surfaces generated were knitted together to form a solid body The Superstructure consist of two surface bodies and five sold bodes
-
One of the surface was the Deck Surface the other one was used to place the Rodor Mset was renamed asBador Mont reference Surface.
-
Then the other hat was mirrored and the proper iets and appearance was added and finally the port was saved
features:
yacht assembly:
- Import all the parts manually by using Insert Components option.
- Then fix the Hull part by applying the coincident mate to the Top, Right and Front planes of the Assembly and Hull respectively.
- Then for each part apply the necessary mates required by the Blueprint using Coincident mates, Angle Distance mates etc.Mates
- Advanced mate was also used wherever required
conclusion:
thus yacht is designed and rendered using solid works