Radar Mast & Final Assembly of Yacht
1. Radar Mast:
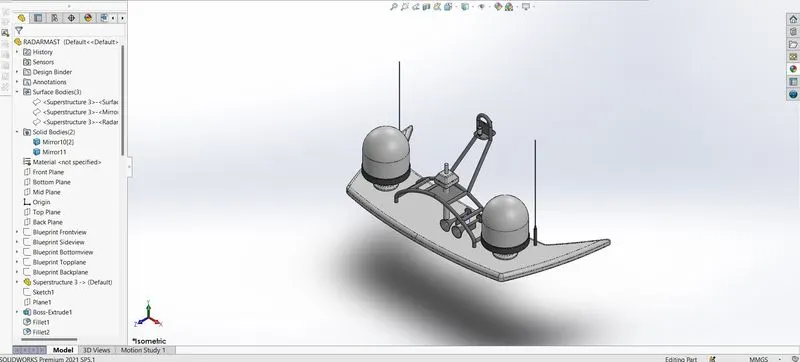
Isometric View:
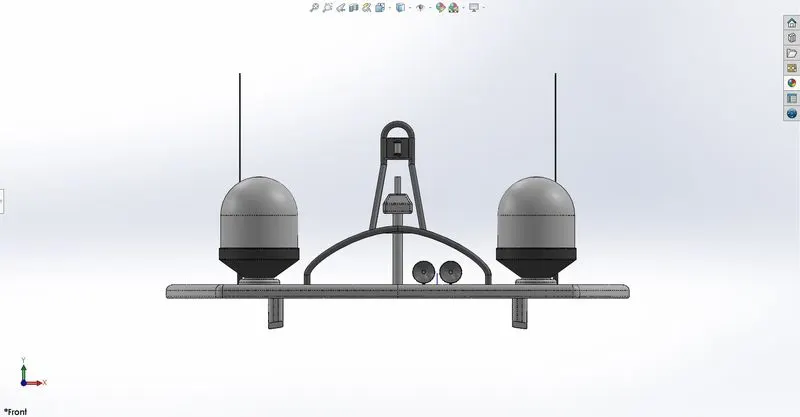
Front View:
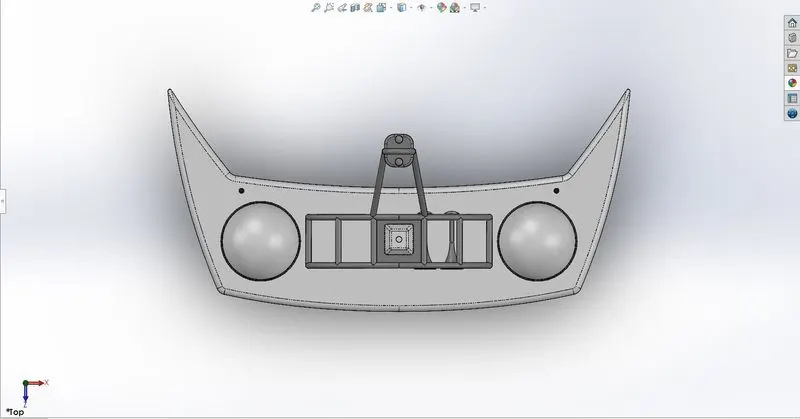
Top View:
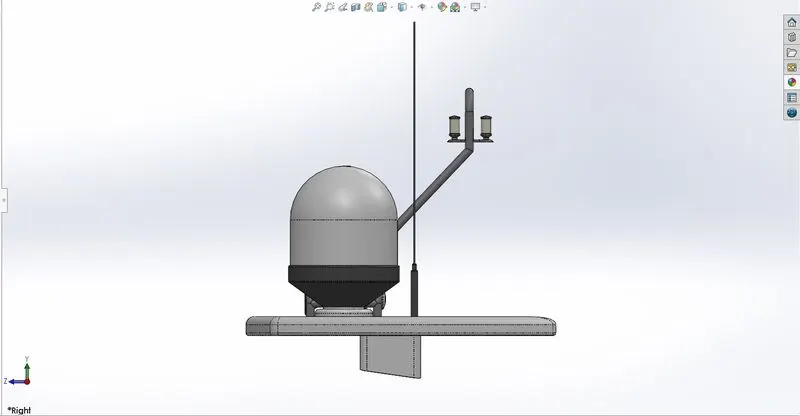
Right Side View:
Back View:
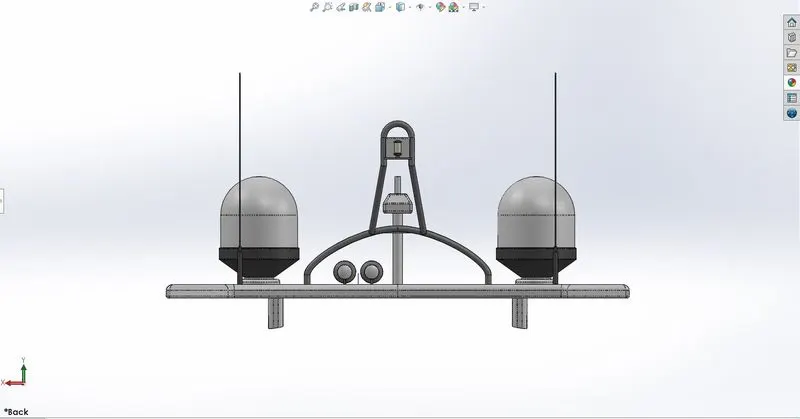
Tree Display:
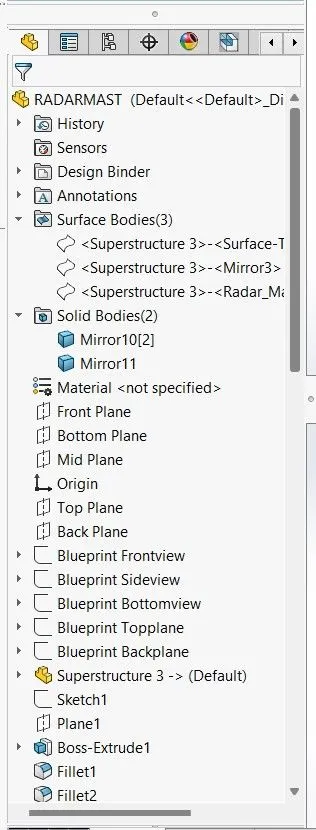
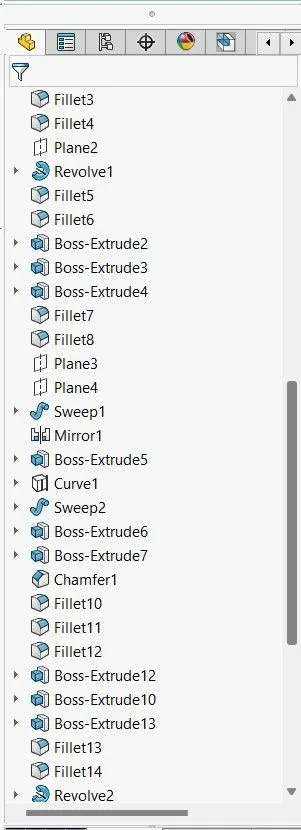
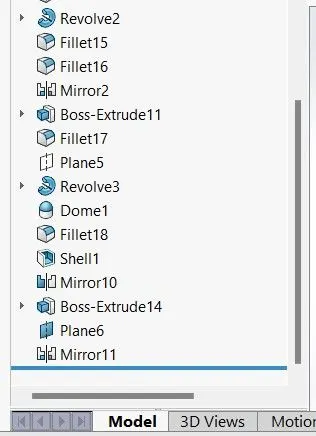
AIM:
Yacht Modelling
OBJECTIVE:
To model a Yacht by using Solidworks and assemble all the components.
INTRODUCTION:
A Yacht is a recreational and sporting vessel. The name is derived from the Dutch term jaght, which means ‘hunter’, and refers to a swift, light sailing vessel employed by the nation’s navy to pursue pirates. When King Charles the second of England was transported by ‘jacht’ from the Netherlands to England in 1660, the term quickly evolved to denote a vessel in which important individuals were transported, rather than just any ordinary boat.
A sailing or motorboat used for pleasure, navigation, or competition is known as a yacht. Because there is no official definition, the phrase is used to describe ships that feature a cabin with sleeping accommodations. Unlike a boat, a leisure ship of this type is likely to be at least 33 feet long and to have strong aesthetic attributes.
Boats of 79 feet or more are classified as commercial sailing vessels under the commercial sailing code. These boats usually require a contracted crew and are built to a high quality. Commercial, transporting no more than 12 to 15 people according to the standards of a yacht, entirely for the enjoyment of the owner and visitors, or by the flag, depending on the nation under which it is registered are the other classifications for big yachts. Any yacht (sailing or powered) exceeding 131 feet is considered a superyacht.
Racing yachts are built with performance in mind rather than comfort. Charter yachts are for-profit enterprises. By 2023, there will be over 20,000 yachts large enough to require a professional crew. Daily 8,500 to 9,000 sailing around the ocean.
DESGIN METHODOLOGY/ APPROACH:
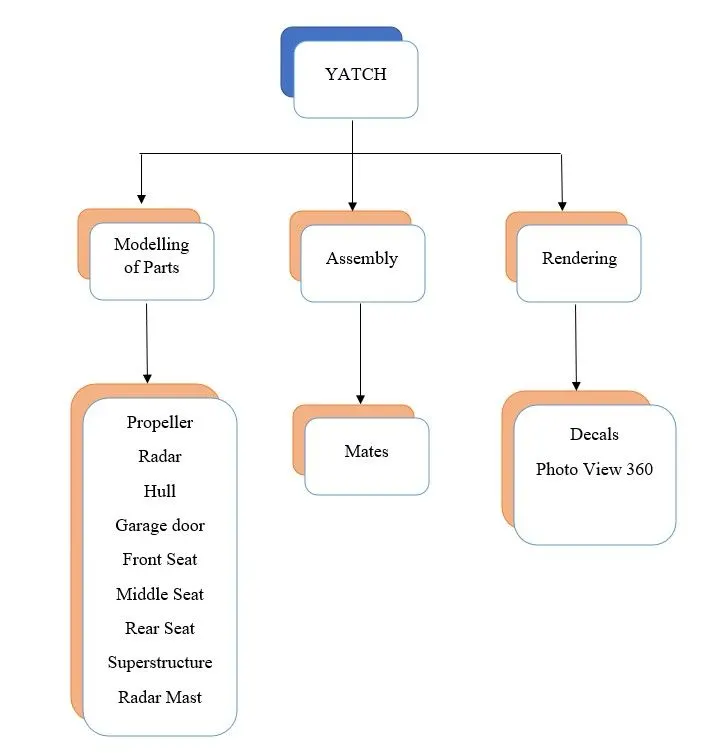
DESCRIPTION:
Commands Used:
2D & 3D Sketch tools:
- Line: This feature allows us to create a straight line.
- Circle: This feature allows us to create circles.
- Rectangle: This feature allows us to create rectangles.
- Spline: This allows us to make curved lines.
- Arc: This allows us to make curved lines.
- Trim: This is used to trim Sketches
- Extend: This feature allows us to extend the sketches.
- Linear sketch pattern: This allows us to create a pattern in a straight line or to set an angle.
- Fillet: This is used to create a circular edge.
- Mirror entities: This is used to create a Mirror of Sketch.
- Convert entities: This is used to sketch entities to sketch segments.
- Offset entities: This is used to offset the faces, edges at a distance or angle.
- Split entities: This is used to split a line into two or more parts.
Features:
The features contain the sub options like blind, up to surface, up to vertex, offset from surface, up to body and midplane.
- Extrude Boss/Base: This feature is to create a solid body. You need to obtain your sketch and select the sub options in which type or which direction you need to create.
- Revolved Boss/Base: This feature is to create a solid body. You need to obtain your sketch and select the sub options in which type or up to which angle you need create.
- Swept Boss/Base: This feature is to create a solid body. You need to create the two Sketch’s; the first sketch represents the circular path and second sketch represents the up to which direction need to create.
- Extrude Cut: This feature is to Cut the body. You need to obtain your sketch and select a contour area that need to be cut, select the sub options in which type or which direction need to cut the body.
- Fillet: This is used to create a circular edge on the solid body.
- Chamfer: This is used to create a flat edge on the solid body. You need to obtain your sketch and select the sub options in which type you need to create.
- Shell: This is used to create a shell thickness of the solid body by selecting the faces that need to shell.
- Mirror: This is used to create a Mirror a body by selecting reference of the face or plane.
- Plane: This is used to create a plane in which type or which direction you need to create.
- Projected curve: This is used to create a curve. You need to create the two Sketch’s to project the curve.
- Dome: Select one or more planar or non-planar faces. You can also create a elliptical dome at a distance.
- Combine: Select the bodies to combine two bodies to one body.
- Split: The split line is used to divide parts into multiple bodies. You can split line feature to save the new bodies when you split the part or use the save bodies to save them after the split is complete.
Surfaces:
- Extruded Surface: This feature is to create a Surface. You need to obtain your sketch and select the sub options in which type or which direction you need to create.
- Revolved Surface: This feature is to create a Surface. You need to obtain your sketch and select the sub options in which type or up to which angle you need create.
- Swept Surface: This feature is to create a Surface. You need to create the two Sketch’s; the first sketch represents the circular path and second sketch represents the up to which direction need to create.
- Lofted Surface: This feature is to create a Surface. You need to create the four Sketch’s; the first two sketches represent the profiles and second two sketches represents Guide curves.
- Filled Surface: This feature is to create a Surface. You need to create the four Sketch’s; the first two sketches represent the profiles and second two sketches represents Guide curves.
- Offset Surface: This feature is to offset the surface from a distance.
- Ruled Surface: This feature is to create a Surface up to a distance, angle and direction of the Surface that need to Ruled.
- Delete face: This feature is to delete a face from a solid body or surface.
- Extend Surface: This feature is to create a Surface up to which distance you need to extend the edge.
- Trim Surface: This feature is to trim a Surface by selecting the contour sketch or edge or face.
- Knit Surface: This feature is to join the surfaces.
MODELLING OF YATCH ASSEMBLY:
EXPLANATIONS OF PARTS:
- Propeller
- Radar
- Blueprint Setup
- Hull
- Garage door
- Front Seat
- Middle Seat
- Rear Seat
- Superstructure
- Radar Mast
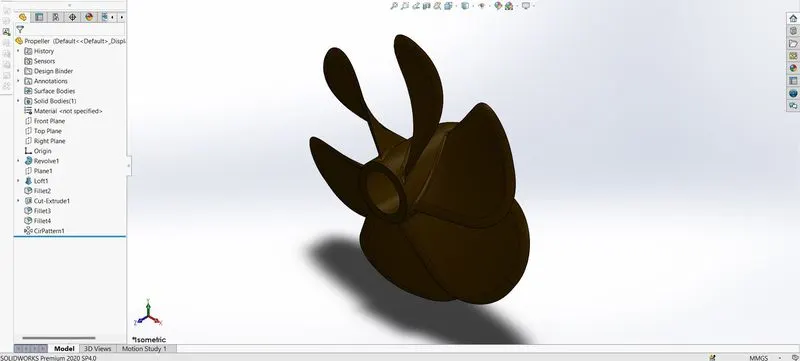
Propeller:
A Propeller is a spinning device with radiating blades set at a pitch to form a helical spiral that, when turned, exerts the linear thrust on a working fluid, such as water or air.
Modelling of Propeller:
Radar:
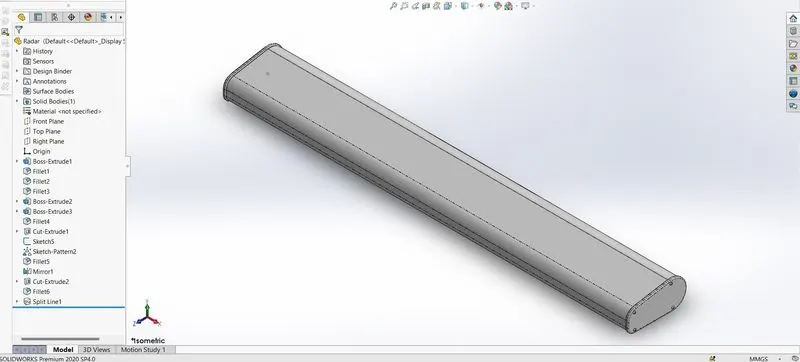
Radars on ships are X-band or S-band radars that detect bearing and distance information for collision avoidance and navigation at sea.
Electronic navigation equipment sweeps a narrow beam of microwaves over the ocean surface surrounding the ship to the horizon, identifying objects via microwaves reflected off them, and displaying a picture of the ship’s surroundings on the display screen.
Modelling of Radar:
Blueprint Setup:
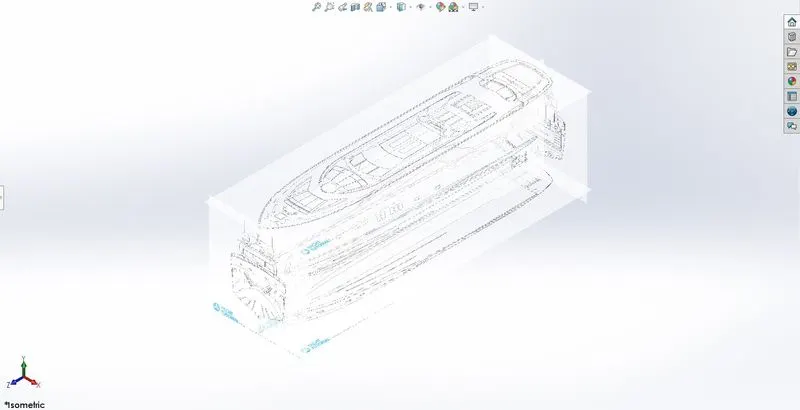
The yacht is sketched using a blueprint setup to trace to an approximate position.
Modelling of Blueprint Setup:
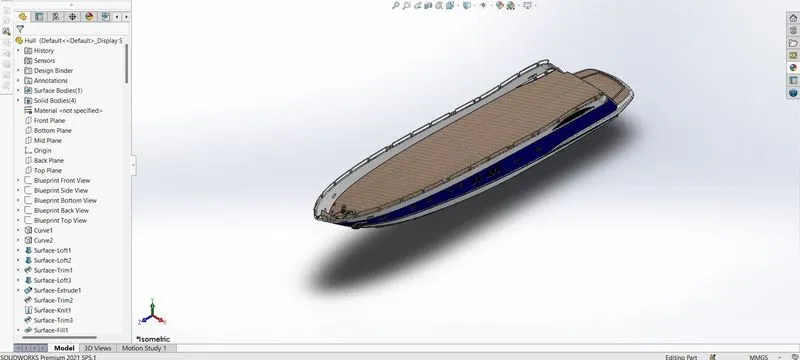
Hull:
A ship’s or boat’s hull is the waterproof body. The hull may be open at the top, or it may be covered entirely or partially by a deck.
A deckhouse and other superstructures, such as a funnel, derrick, or mast, may be built on top of the deck. The waterline is the point where the hull touches the water surface.
Modelling of Hull:
Garage Door:
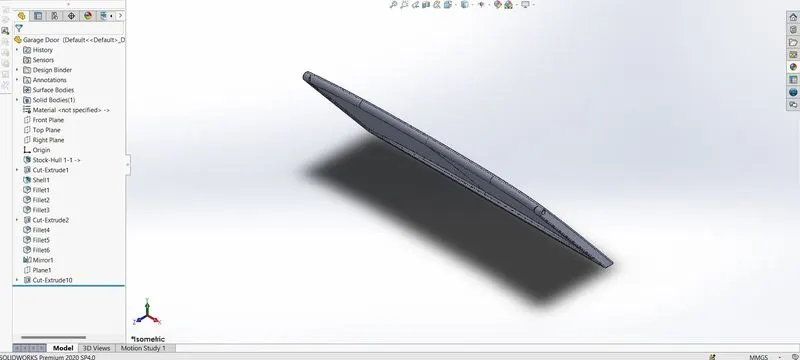
A garage door is a huge door that opens manually or with the help of an electric motor. Automobiles and other vehicles are frequently able to fit through garage doors that are large enough. A single panel that tilts up and back across the garage ceiling can be used for small garage doors.
Modelling of Garage Door:
Front Seat:
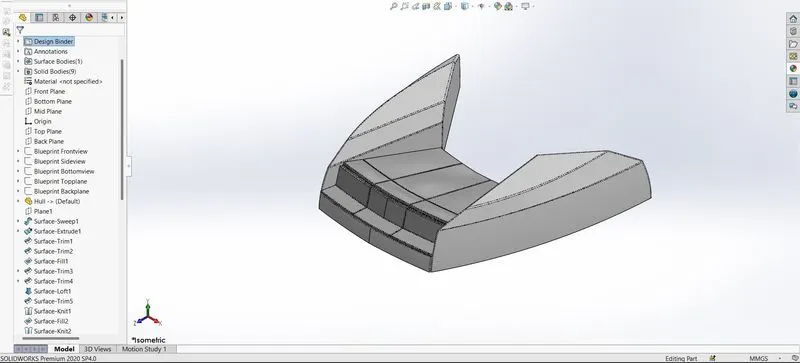
A seat is a location where you can sit. Additional elements such as the back, armrest and head restraint may be included in the phrase, as well as headquarters in a broader sense.
This seat location on the front side of the boat may also fall under luxury, materials used for the seat, and so on.
Modelling of Front Seat:
Middle seat:
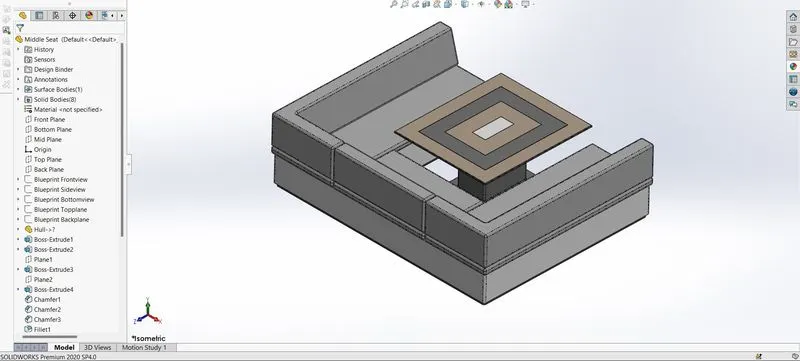
A seat is a location where you can sit. Additional elements such as the back, armrest and head restraint may be included in the phrase, as well as headquarters in a broader sense.
This seat location in the centre of the yacht may also fall under luxury, materials used for the seat, and so on.
Modelling of Middle seat:
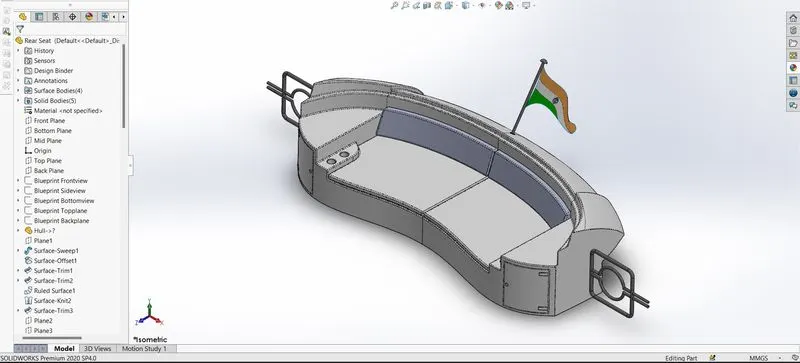
Rear Seat:
A seat is a location where you can sit. Additional elements such as the back, armrest and head restraint may be included in the phrase, as well as headquarters in a broader sense.
This seat is positioned on the backside of the yacht.
Modelling of Rear Seat:
Superstructure:
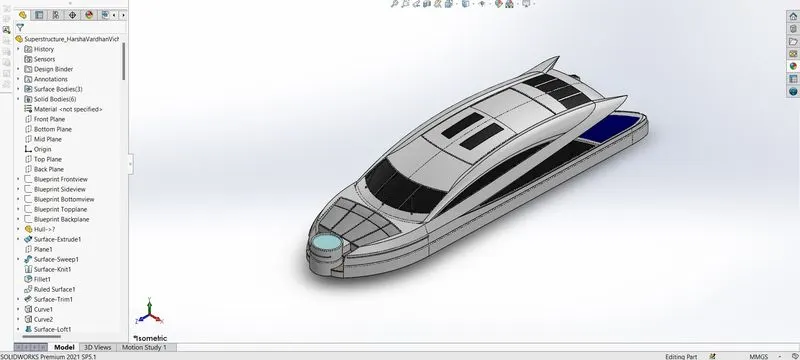
A superstructure is a part of a building or platform in a unique way. The term is derived from a combination of two Latin words: the Latin prefix ‘super’ meaning in addition to, beyond, while the stem word ‘structure’ means to construct or heap up. As a result, superstructure refers to the addition of a structure to an existing structure. This is the name given to the portion of a ship that protrudes from the deck of ships. This category does not include any masts, sails, weaponry, or arsenals. The size of the superstructure has a significant impact on the boat’s manoeuvrability.
Modelling of Superstructure:
Radar Mast:
The radar mast is a building that houses all of a navy vessel’s key radars, sensors, and antennas. The look of naval warships will be altered.
The hundreds of antennae and sensors that used to be found on almost every flat topside surface of a contemporary naval vessel are no longer there. The existence of all of these technologies on one spacecraft, no matter how clever and powerful they are individual, causes a slew of issues.
Modelling of Radar Mast:
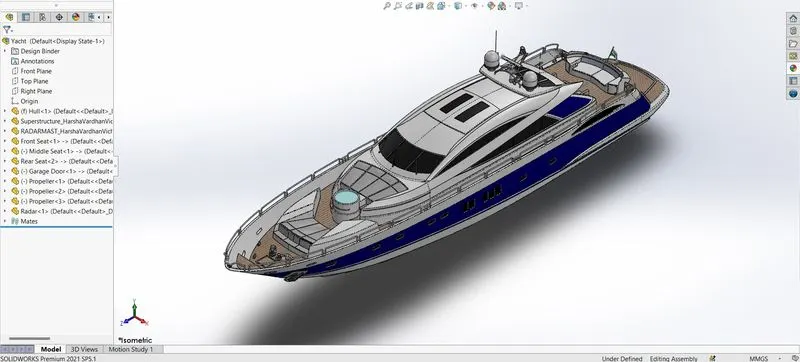
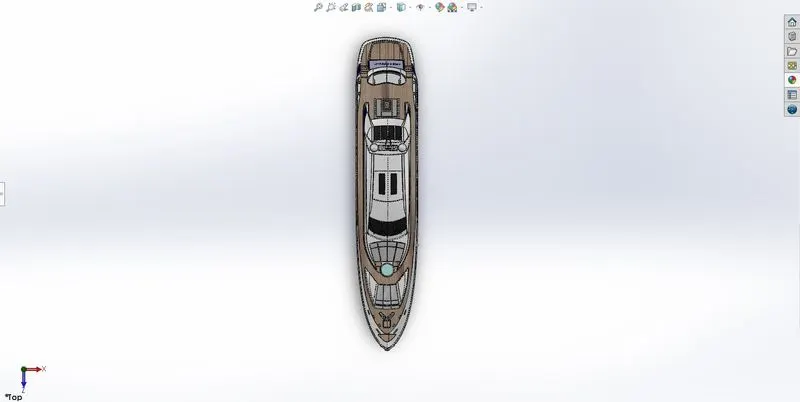
Final Assembly of Yacht:
Assembly Model:
Isometric View:
Top View:
Front View:
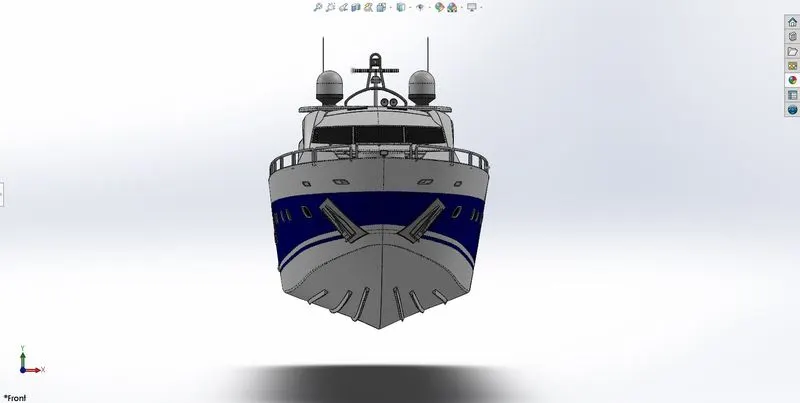
Right Side View:
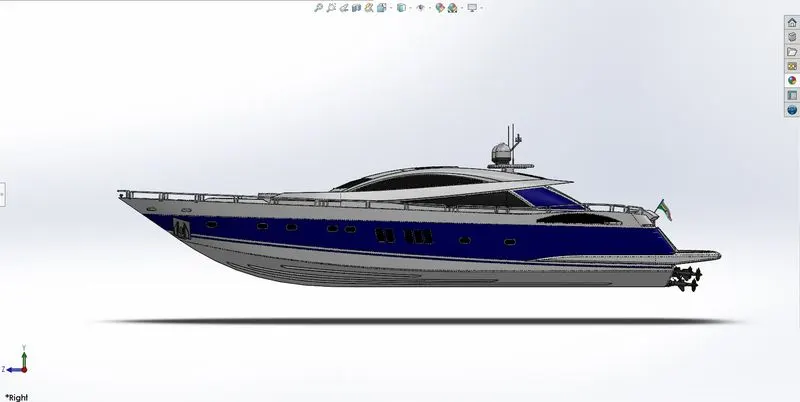
Back View:
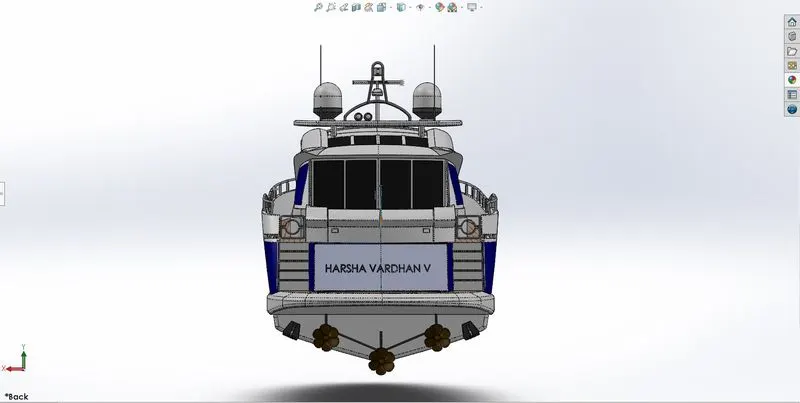
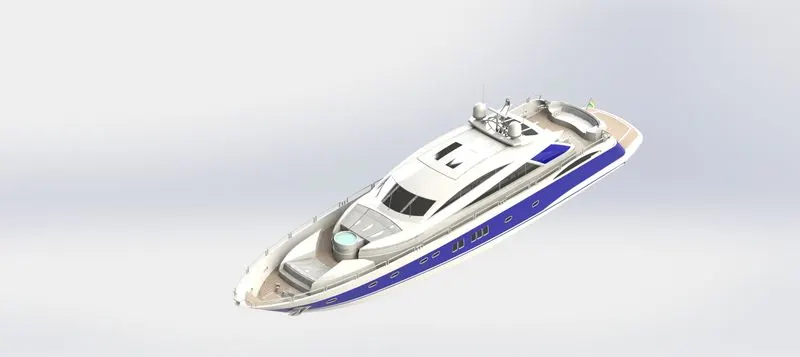
RENDERING OF YATCH ASSEMBLY:
Isometric View:
Top View:
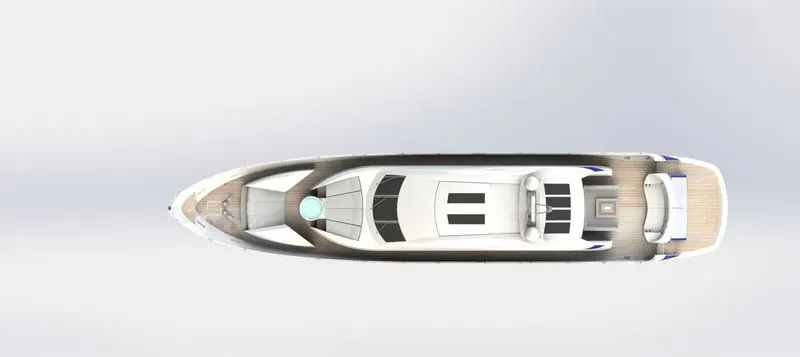
Front View:
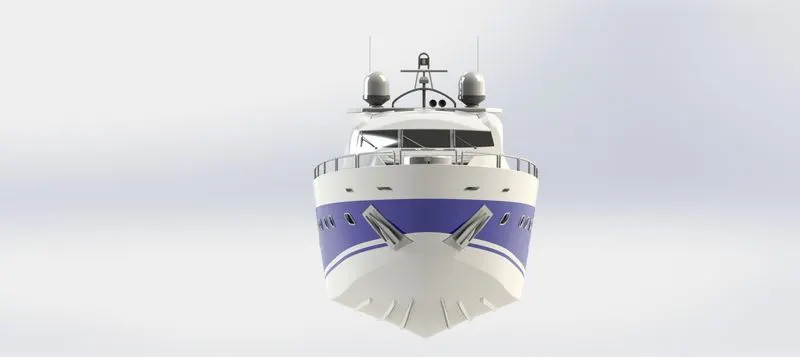
Right Side View:
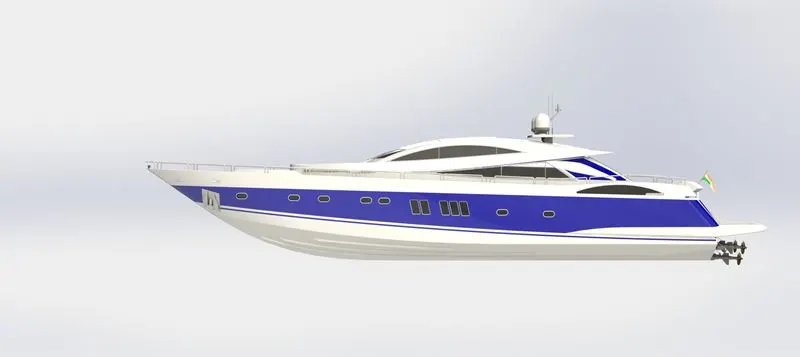
Back View:
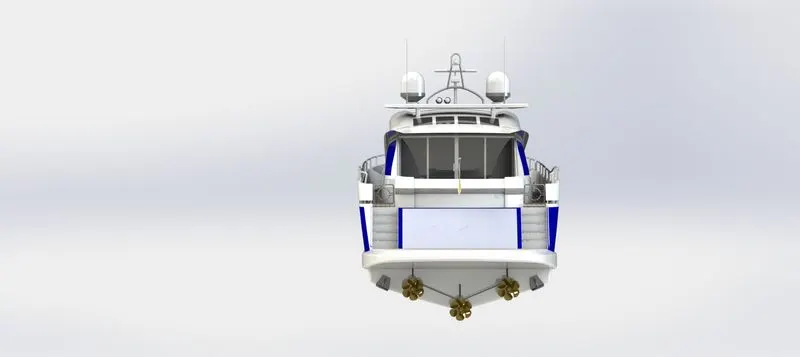
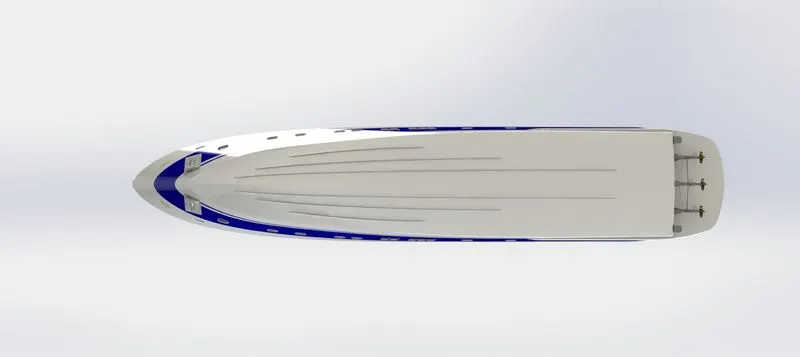
Bottom View:
Conclusion:
Finally, the design, assembly and rendering of the Sun Seeker Predator Yacht is done using Solidworks. After modelling the Yacht, I learned about the tools deeply in solidworks, also a tool for assembly and rendering.