Project - 2 - Meshing on the suspension Assembly
!!!!! I WAS UNABLE TO UPLOAD THE FILE ALONG WITH THIS CHALLENGE AS IT WAS NOT GETTING UPLOADED. I'VE TRIED MULTIPLE TIMES BUT WAS UNSUCCESSFUL. I CAN MAIL THE MODEL. Email ID- [email protected].
Sorry for the inconvenience caused. Thank you !!!!!
Project - 2 - Meshing on the suspension Assembly
AIM: Check for geometrical errors and mesh the given suspension assembly with given quality criteria conditions. Connect the components and replicate the given half assembly.
PROCEDURE:
* Import the given ansa file to ANSA software
* Check for geometrical errors and clear all the errors
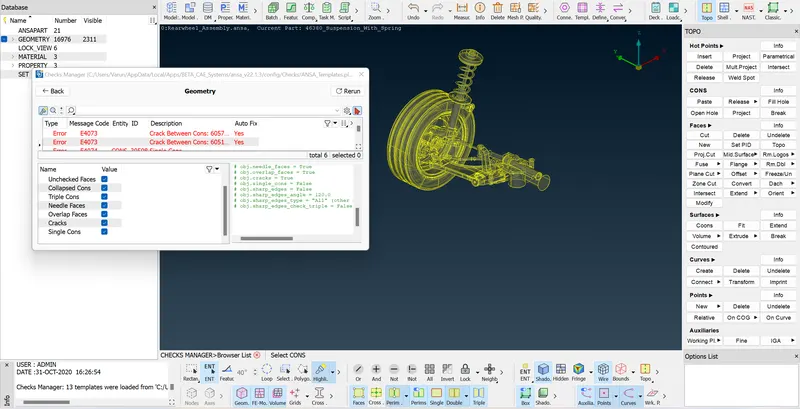
* Set the PID's for several components in the assembly (Other than given 3 PIDS's)
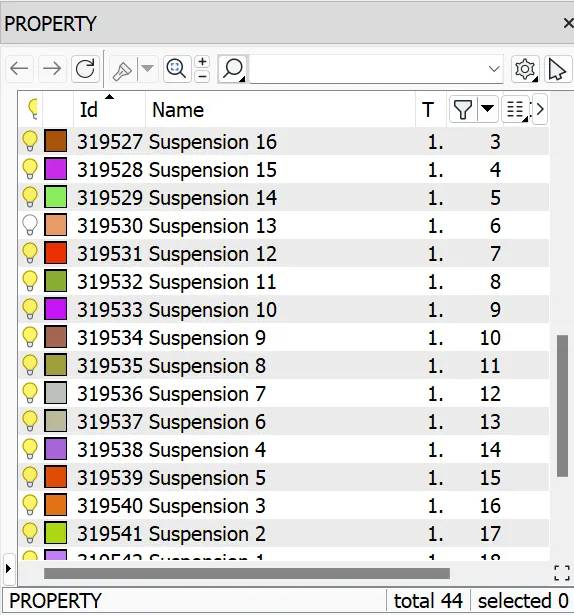
* Mesh the components one by one with respective meshing properties.
* The tire and rim element type is tria and the min and max lengths are 5 and 10 respectively.
* Other components excluding tire and rim have different quality criteria values.
* Mesh the tire and rim
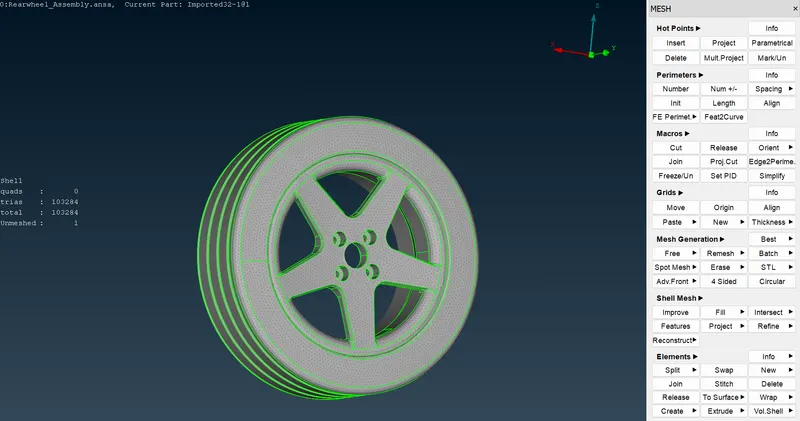
* Get rid of the off elements by reconstructing option or improve option.
* After meshing, go to the volume mesh module and use the define option, and remesh the unmeshed components.
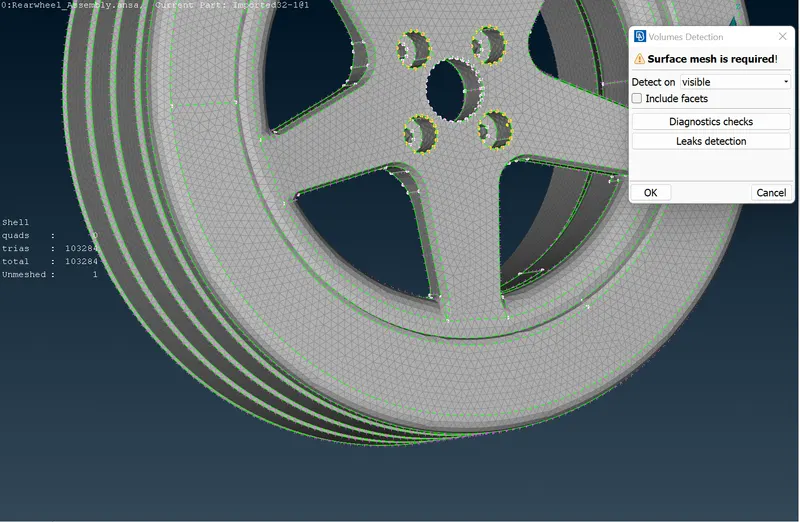
* After defining use TETRA ELEMENTS under UNSTRUCTURED MESH and mesh the module.
* Repeat similar processes to all the 3D components of the assembly according to their quality criteria values.
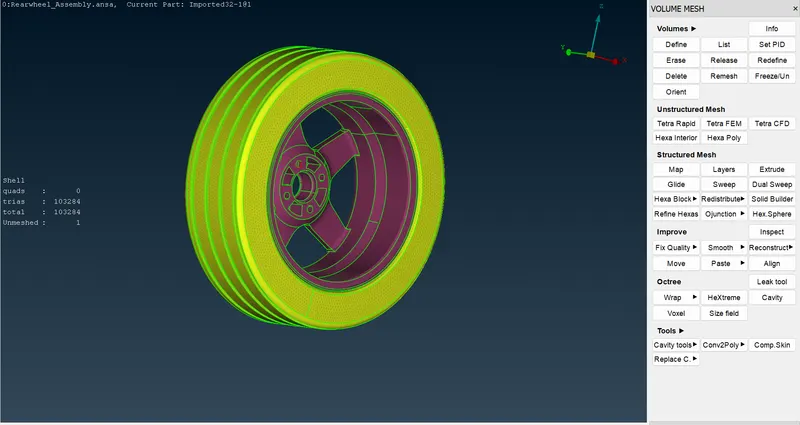
* For 2D components with uniform thickness, extract the mid surface and create the mesh.
* Get rid of the off elements by reconstructing option or improve option.
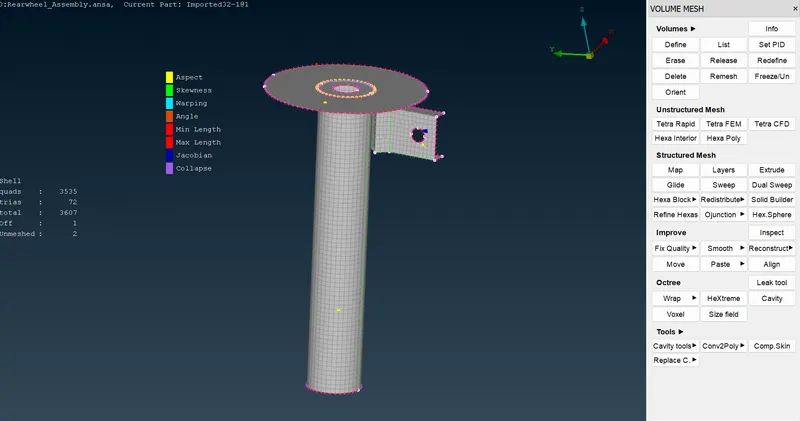
* Create a separate PID for mid-surfaces, which becomes easy to create an overlap seam weld later.
* After meshing all the components, we have to connect the components by CONNECTIONS by NASTRAN in DECKS MODULE
* Connections are done by RBE2 connection in the elements group.
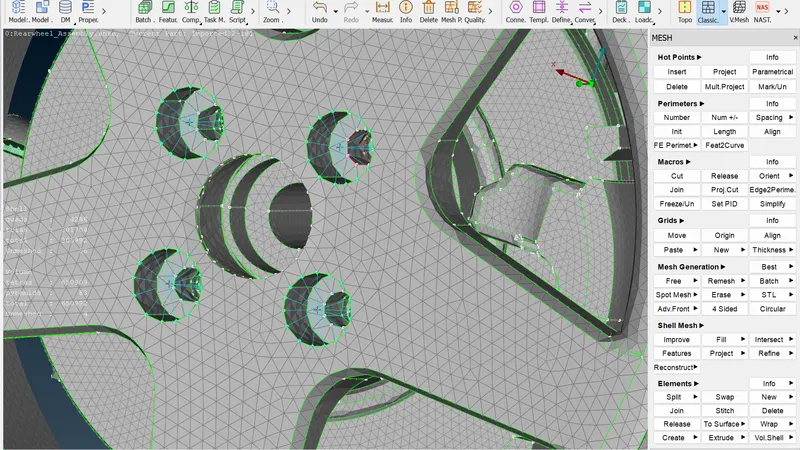
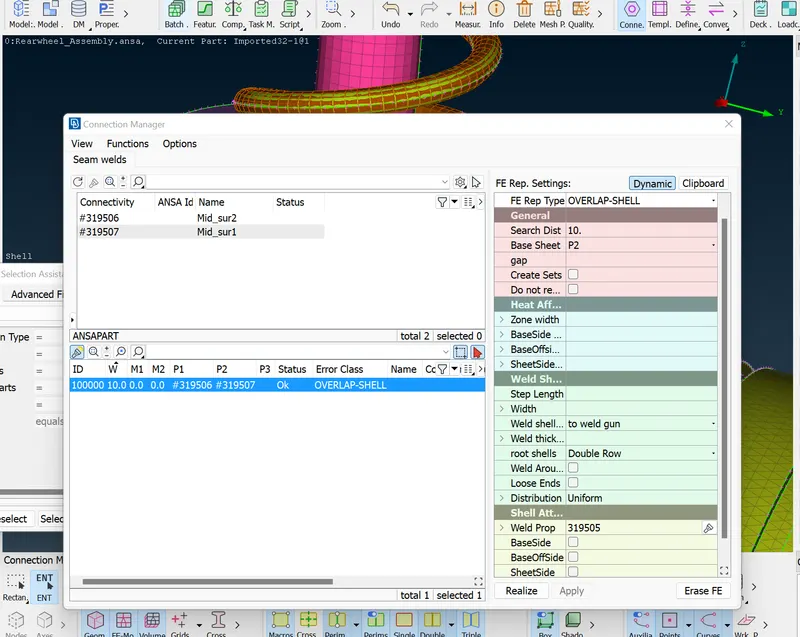
* Few connections are done by using Seam weld as well where ever it's needed.
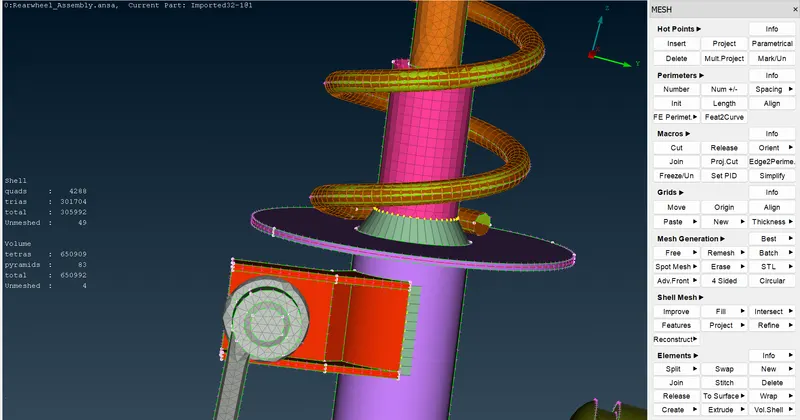
* Use the Feat2Curve option in the Classic Mesh module and convert the curve to a seam line.
* Create an Overlap-Seam weld by defining the P1, P2, search distance, and the Weld property.
* Comming to the suspension assembly, first create the middle curve by using the Middle option in the Curves group.
* Connect the curves with connect tool and create a COG for the curve.
* In the NASTRAN deck module, select the CBAR element.
* Change the selection to Curve(Box) and press the middle mouse button.
* Select the Curve and give the element length value.
* Next, create a new PID and press Shift+? in the A box
* Specify the Radius.
* Later go to quality criteria and presentation parameters and check the line elements option and check on as solids option too and click ok.
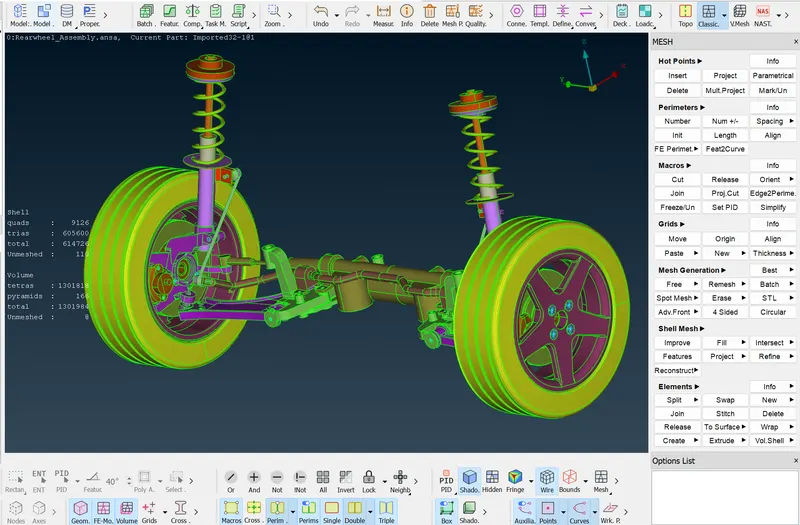
* After all the connections and meshing is done, reflect the model.
* Go to the Transform>Copy>Symmetry>select any 3 coordinates>finish
RESULT:
* Learned how to import a model to ANSA.
* Learned how to do meshing for 3D or solid components.
* Learned how to set different PID's
* Learned how to connect different components with different type of connect.
* Learned how to create a RBE2 connection
* Learned how to create a seam weld.
* Learned how to make a CBAR connection.
* Learned how to do manual mid-surfacing
* Learned how to reflect the model
I WAS UNABLE TO UPLOAD THE FILE ALONG WITH THIS CHALLENGE AS IT WAS NOT GETTING UPLOADED. I'VE TRIED MULTIPLE TIMES BUT WAS UNSUCCESSFUL. I CAN MAIL THE MODEL. Email ID- [email protected].
Sorry for the inconvenience caused. Thank you