Project - 2 - Meshing on the suspension Assembly
AIM: create 2D and 3D meshing for suspension assembly and create connections for the components of suspension sub-system in ANSA.
PROCEDURE: open suspension(.ansa) file provided and check for geoemtry issues using checks manager and fix the errors using tools as lectured in week 3.
after fixing the errors, Geometry clean up is done.
now seperate each of the parts in the assembly by assignin a unique PID using set.PID option in faces section of topo module as shown below.
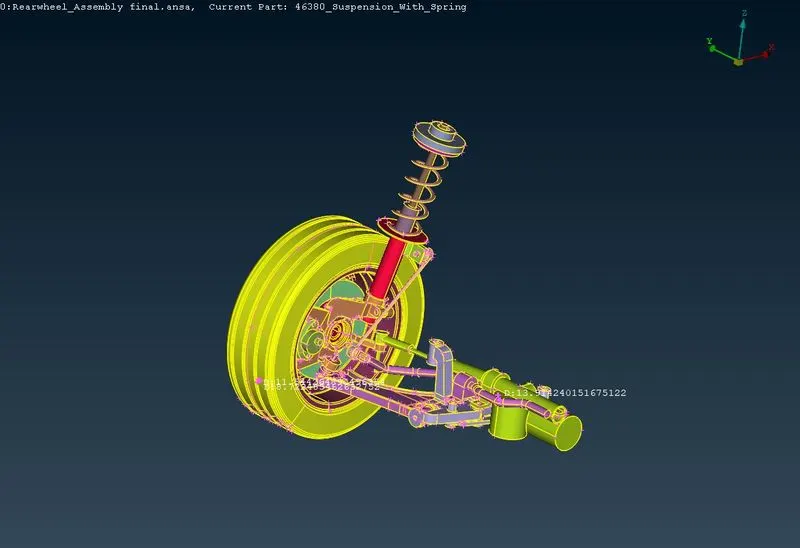
now geometry clean up is done and we move on to meshing.
Meshing on Rim and Tyre:
Give inputs to mesh parameters and Quality criteria as specified for Rim and Tyre.
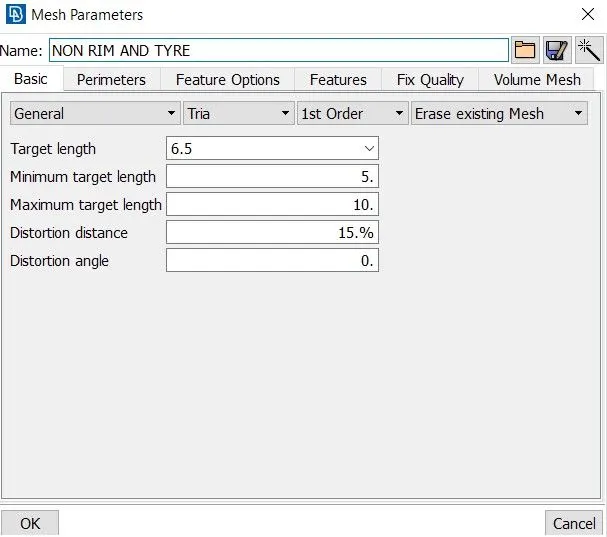
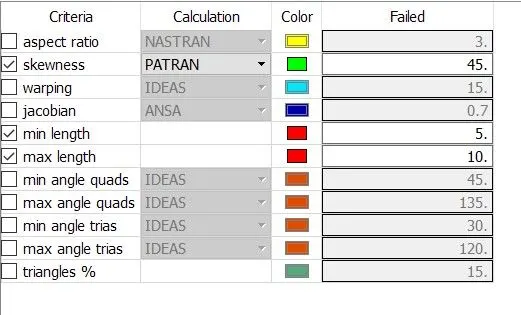
As Tyre and Rim are non uniform and thickness has more than 5mm we have to go with solid meshing.
for curved macros ortho tria elements are preferred for capturing the feature neatly.
remaining flat macros are meshed with tria elements as shown below.
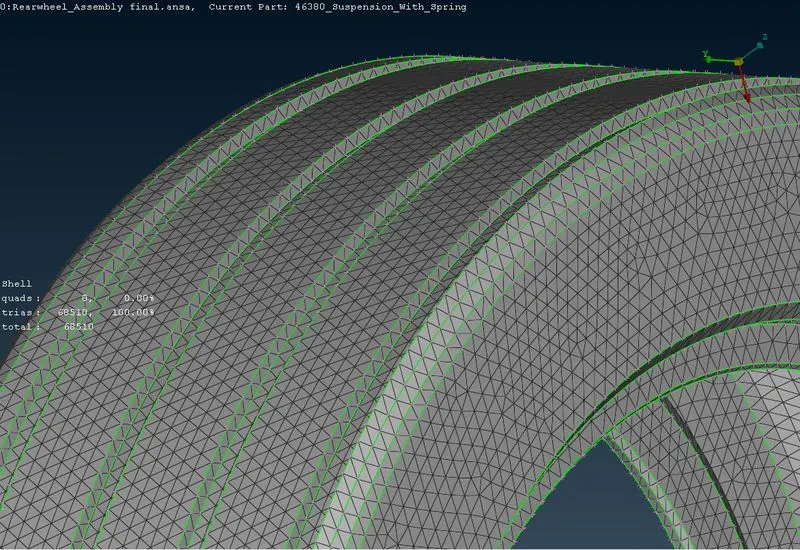
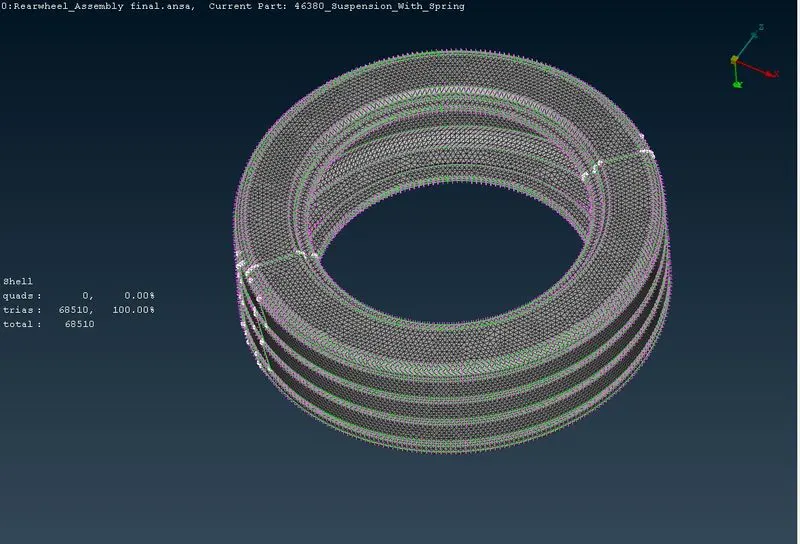
do the same mesh for Rim part as below.
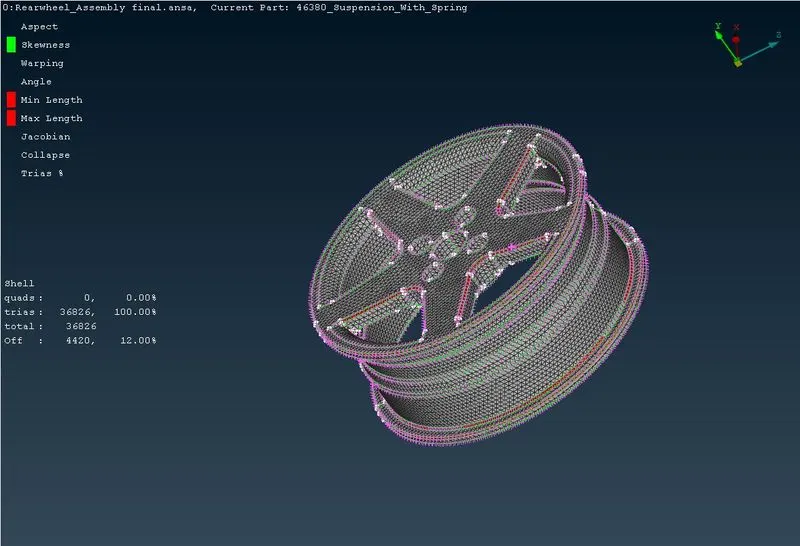
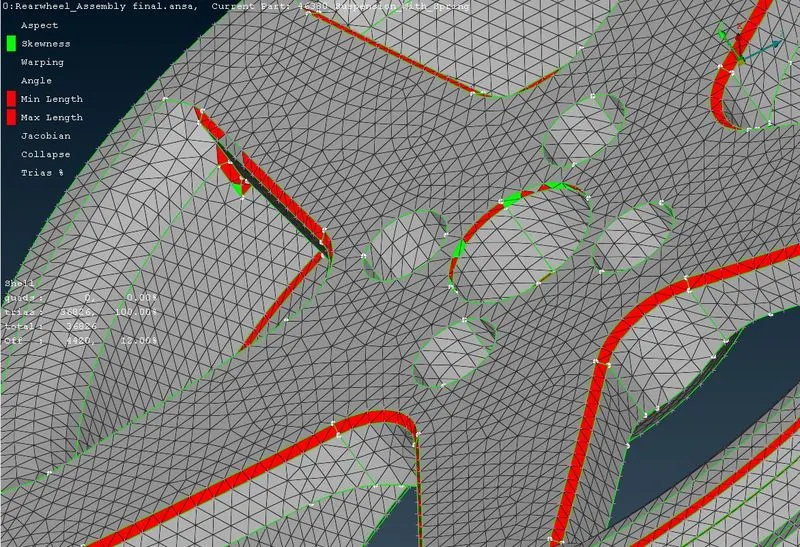
and fix the off elements using reconstruct and other options in mesh module
some off elements are there to not compromise the feature.
Non Rim and Tyre surfaces:
give inputs to mesh parameters and quality criteria as specified for tria elements other than rim and tyre.
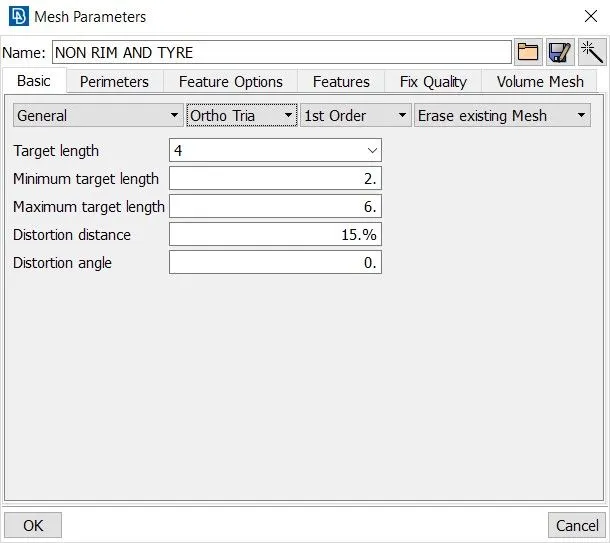
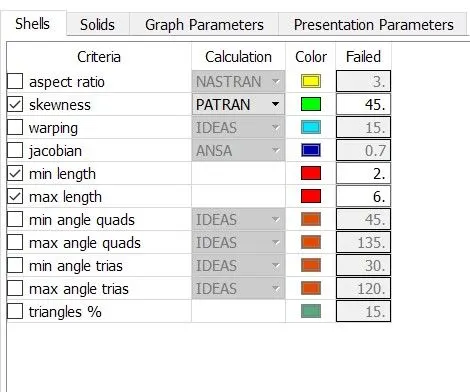
meshing of the other parts are as below.
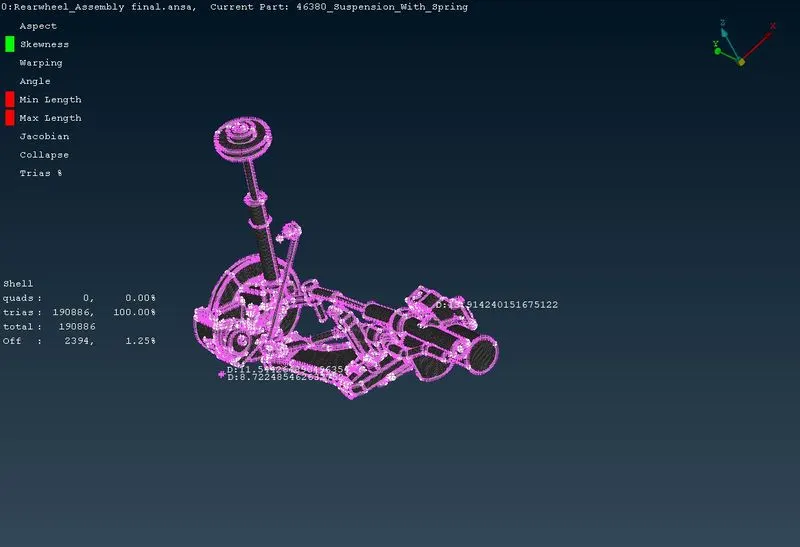
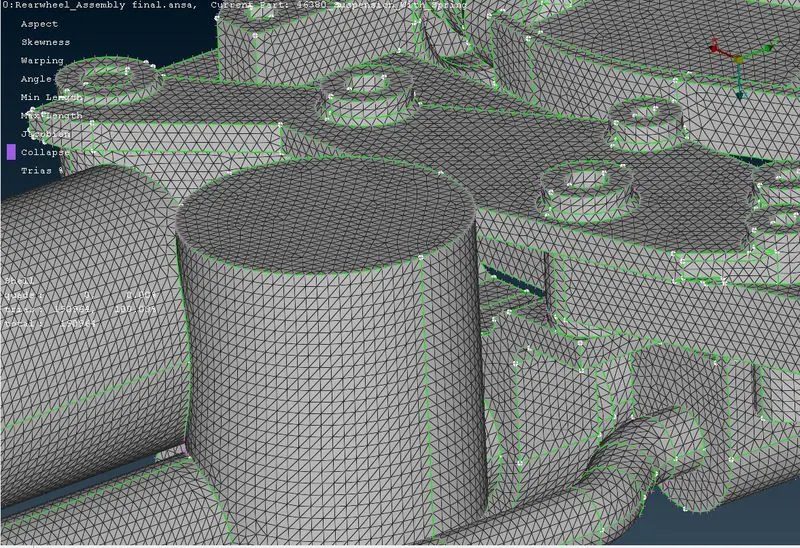
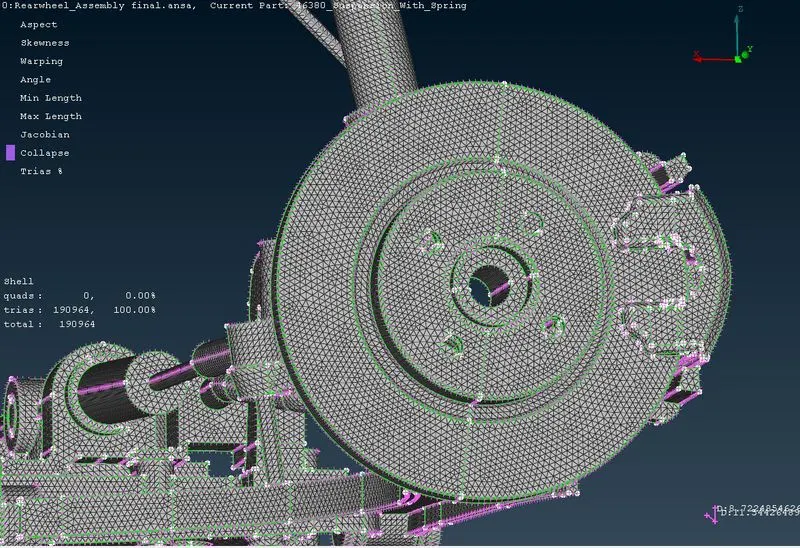
after finishing thee surface mesh of the parts we have create tetra mesh.
first go to volume meshing deck and in volumes section select define> select and select the parts one by one and execute them one by one. now go to list option in volumes section and right click on any volume and select remesh option and select the type of mesh and execute now ANSA will generate tetra mesh on basis of tria mesh on surface.
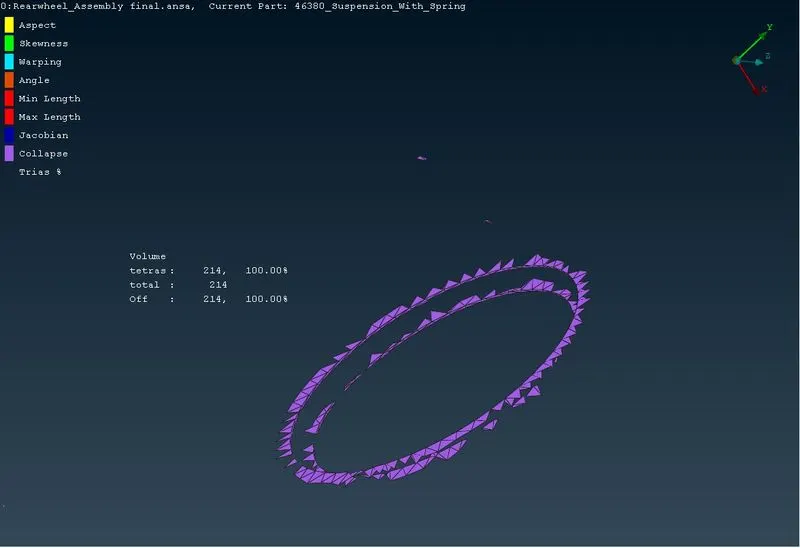
do this to all volumes and check for collapse failure of value 0.2.
solve collapse by option MV.free in grids section of mesh module.
tetra meshing has been done as shown below.
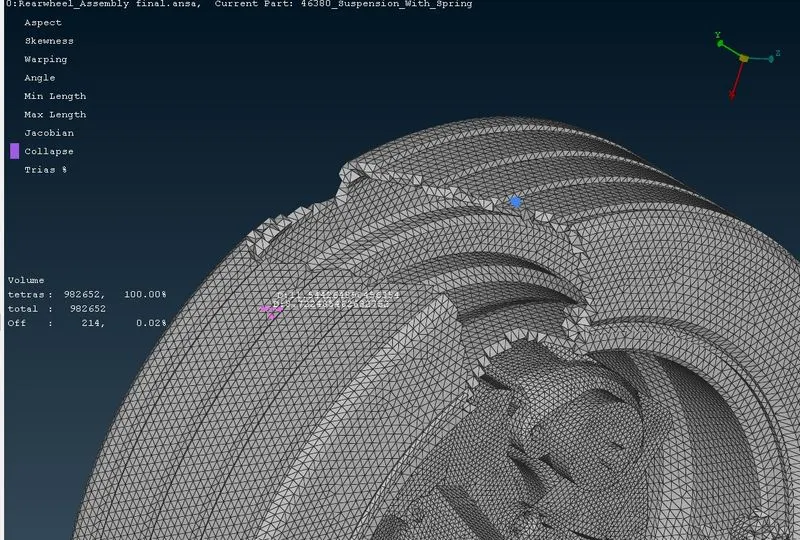
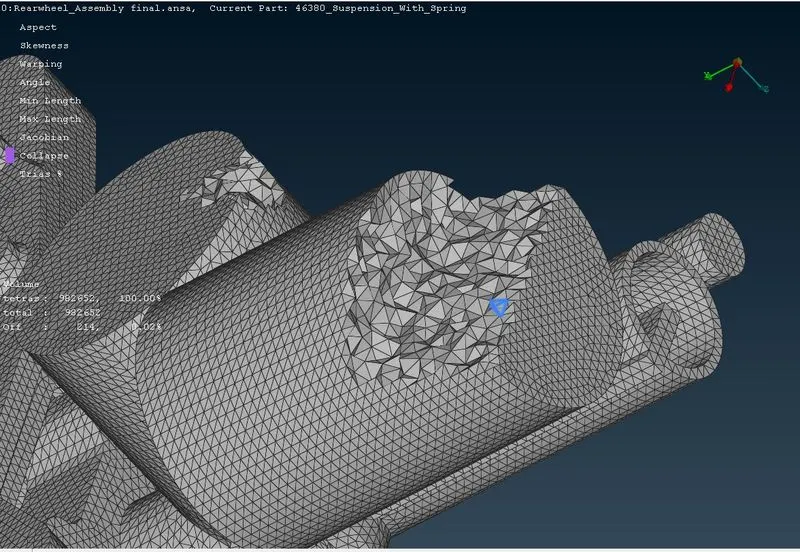
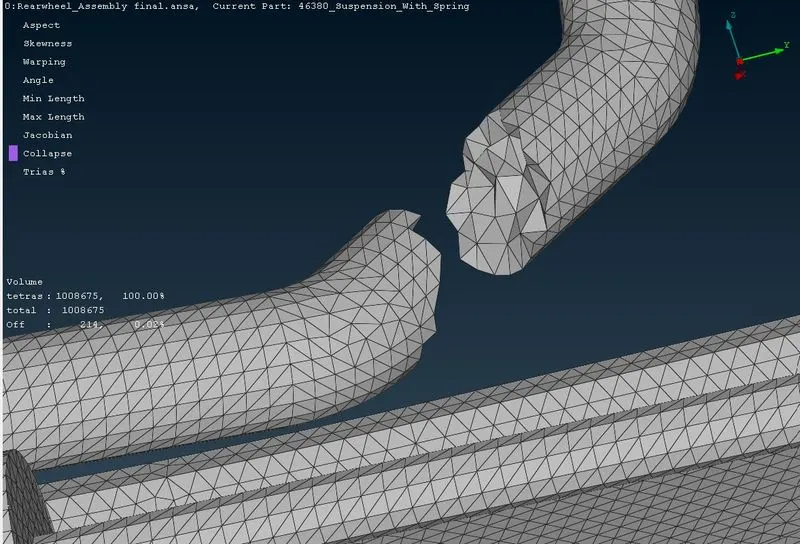
due to certain geometry features the collapse elements had to be kept as below.
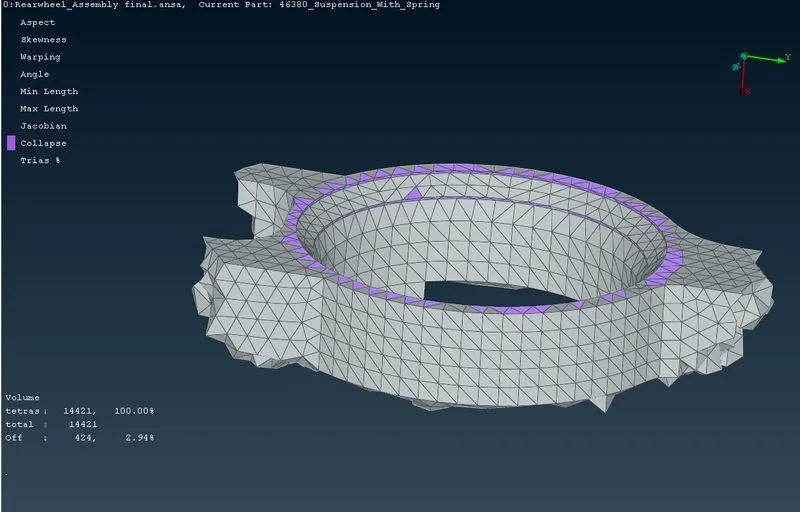
after this meshing of spiral spring has to be done as explained in week 6.
first create the middle curve and COG point and then go to nastran deck and select PBAR and choose curve(box) and enable oreintation with node and then give element length as 4 and give cross section are as radius 5 and click ok, then name it as spring and make sure it is oreinted with a vector and press ok.
To see the FE of spring you need to go to Quality criteria, in presentation parameters and enable line element cross-section and pick as solids
then the FE element iist created as below.
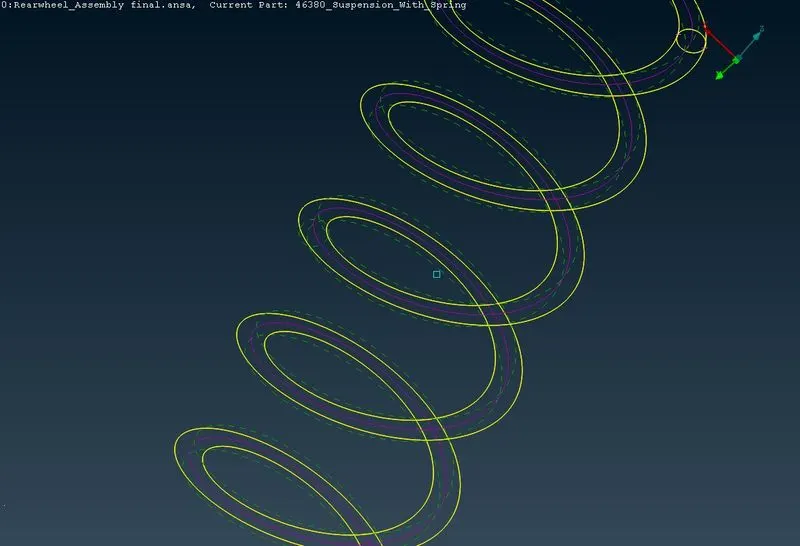
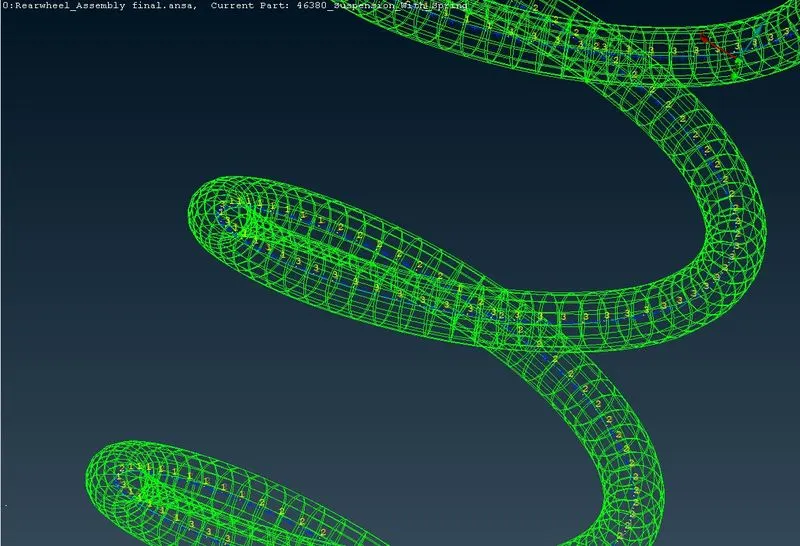
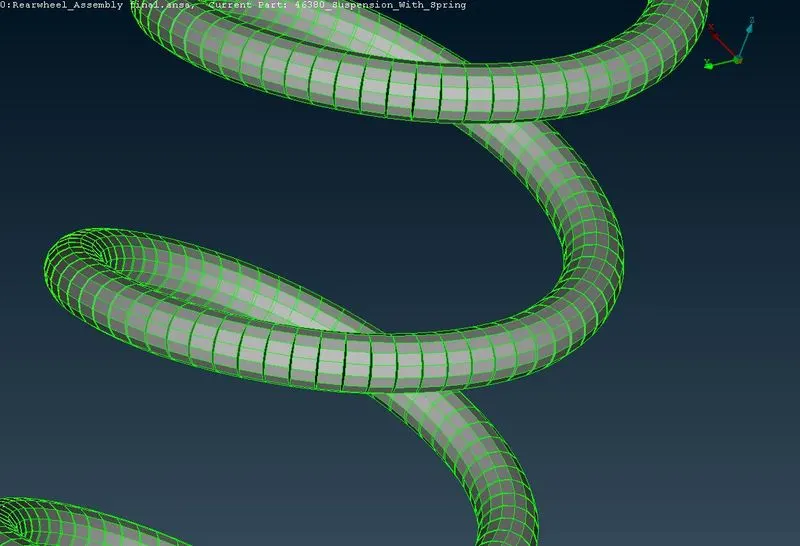
then meshing was done for remaining unifrom thickness parts which has thickness 3mm.
give mesh parameters and quality criteria as specified and proceed
as they were not complex geometry used casting method for creation of mid surface and meshing.
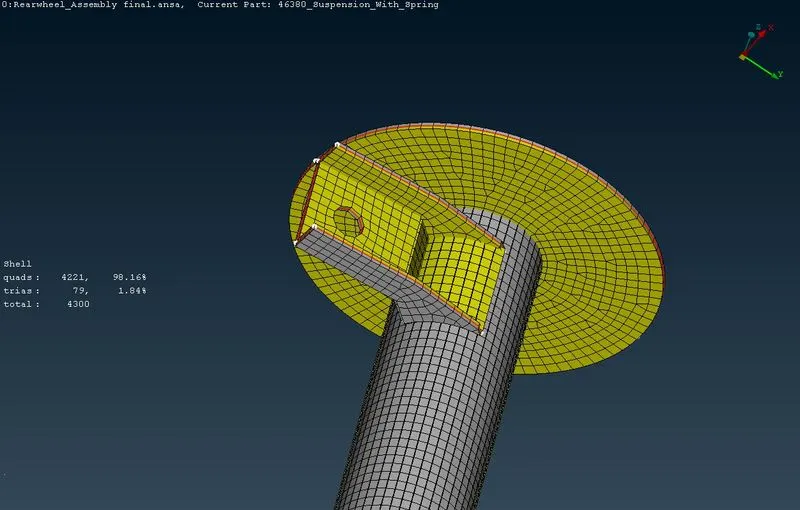
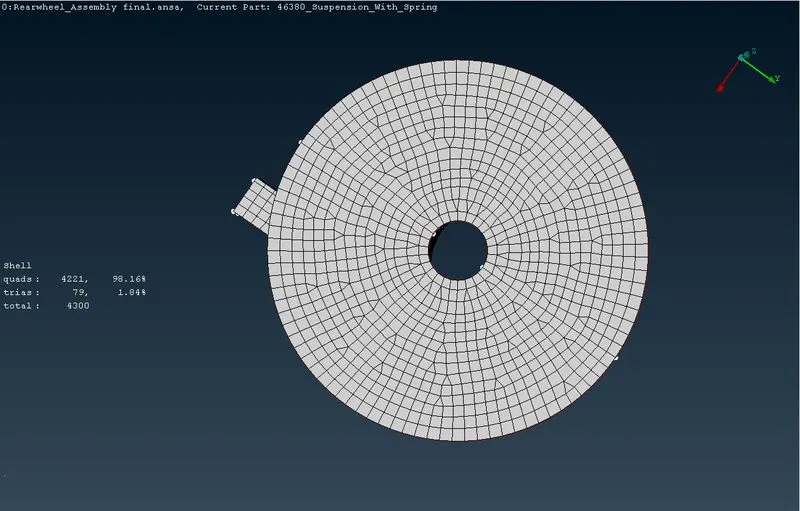
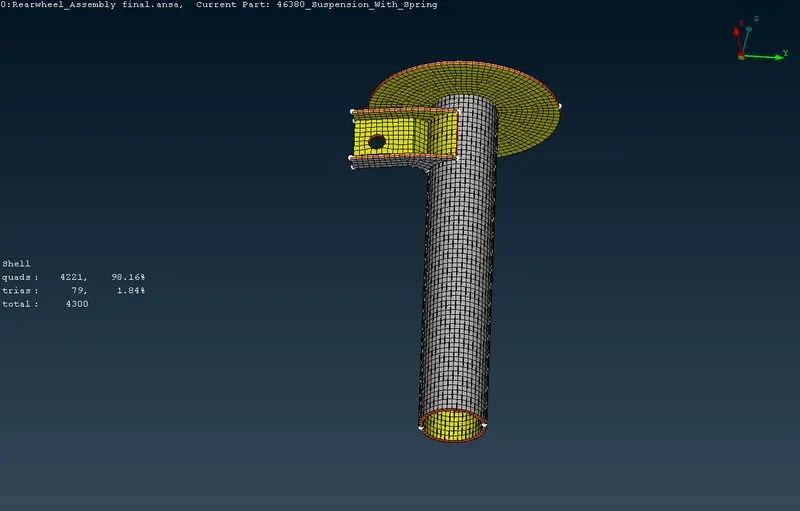
after the meshing is done release the FE from geometry and volumes using release function from respective modules.
the total FE of rear suspension model is given below.
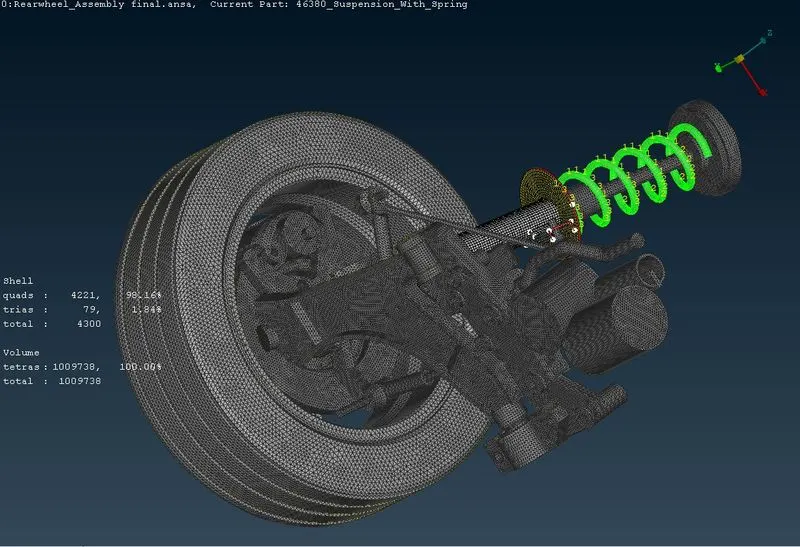
after meshing is done now I made connections for bolts, rigid, weld and hinge connections as instructed in week 6 using RBE2, connection manager options as shown below.
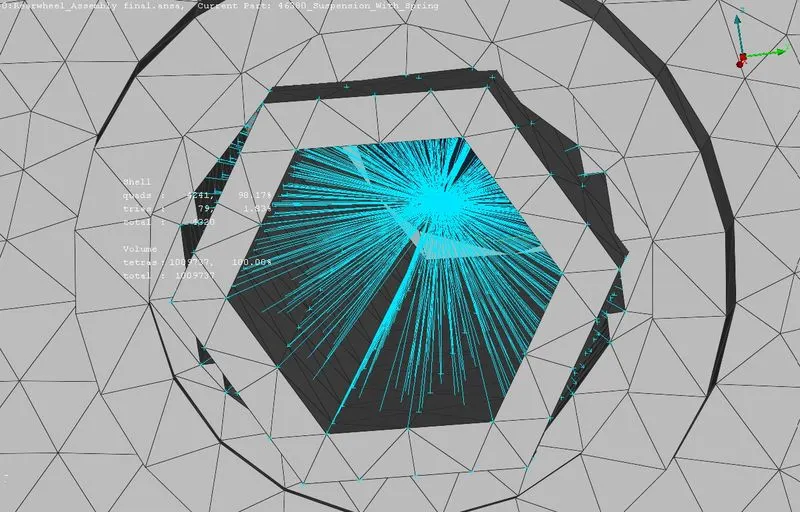
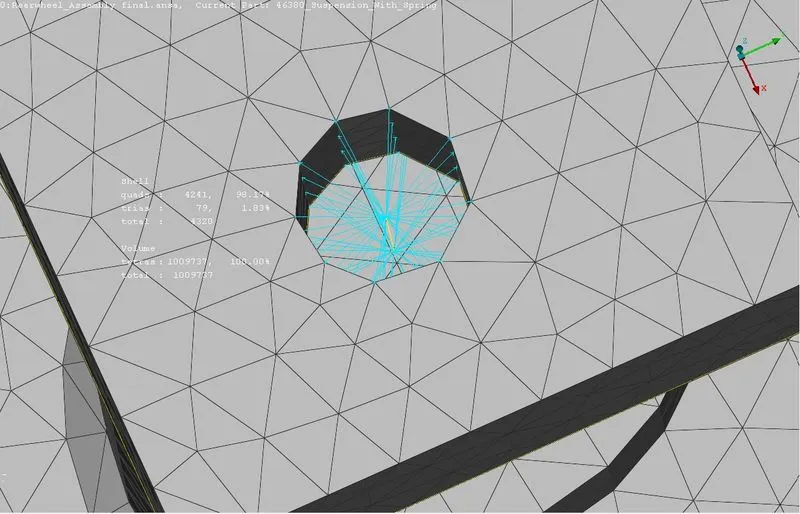
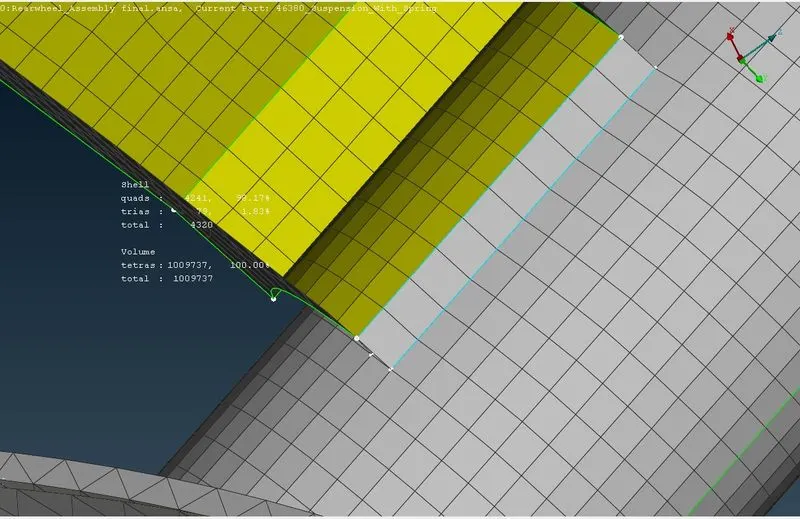
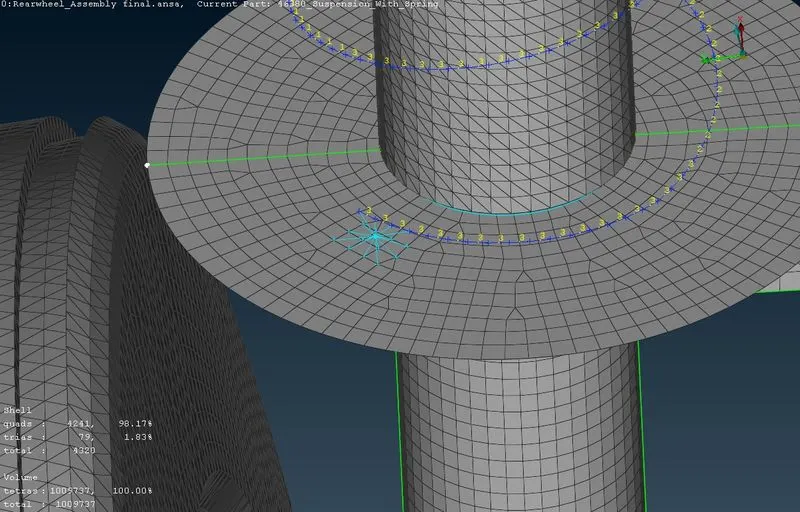
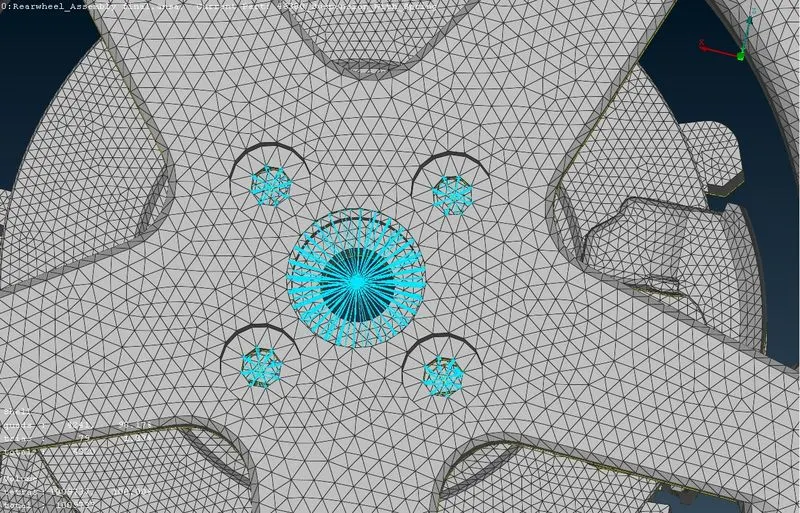
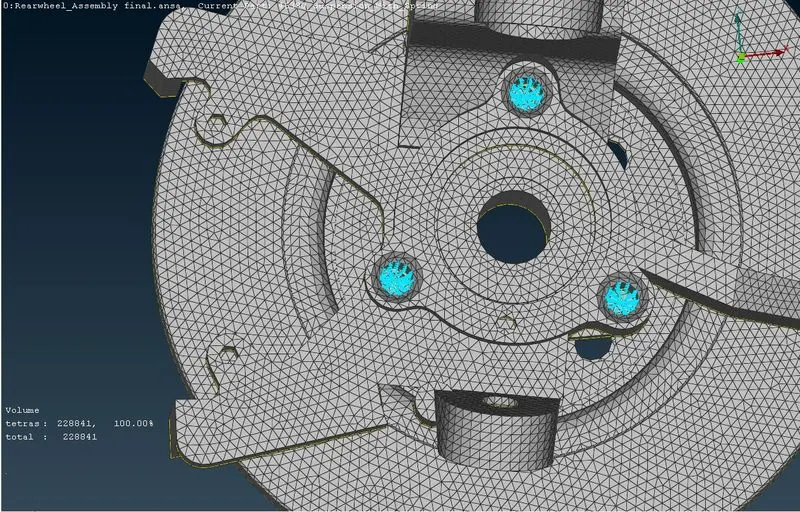
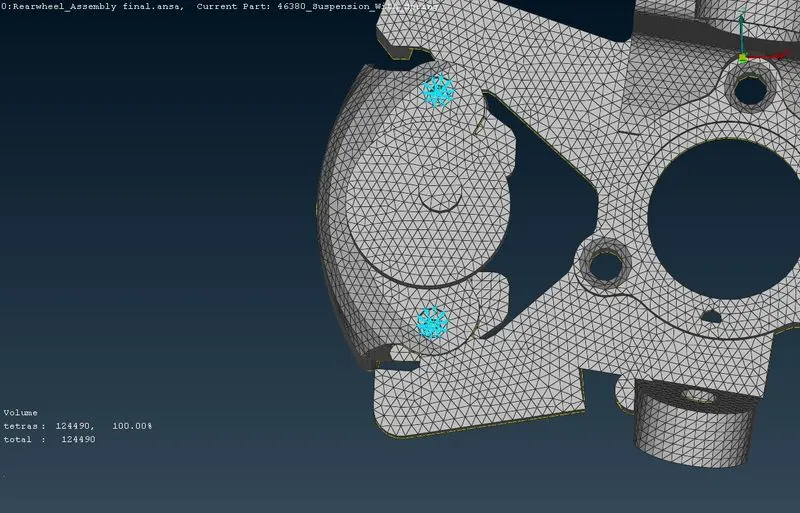
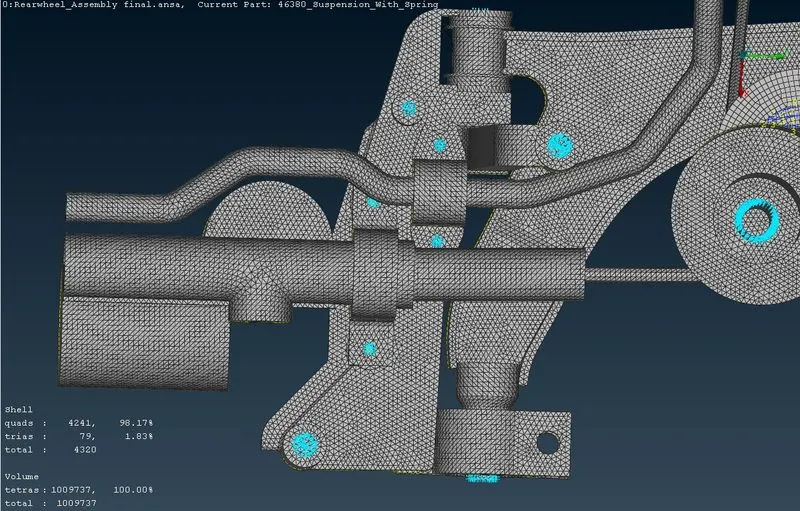
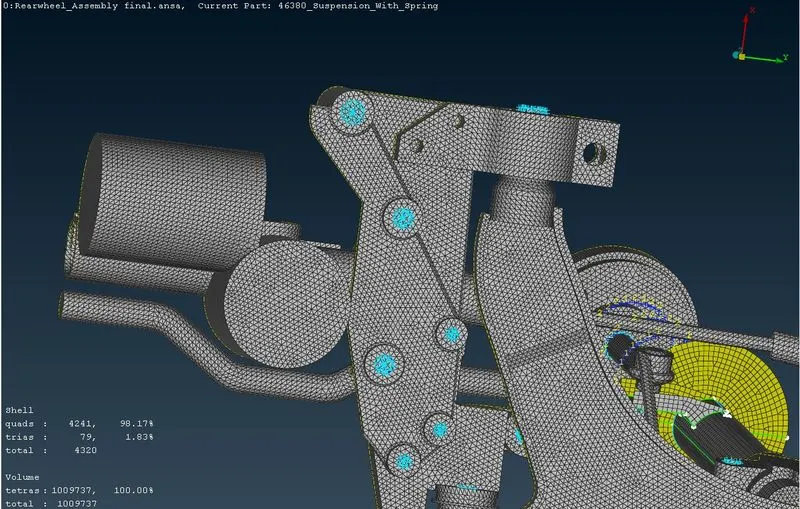
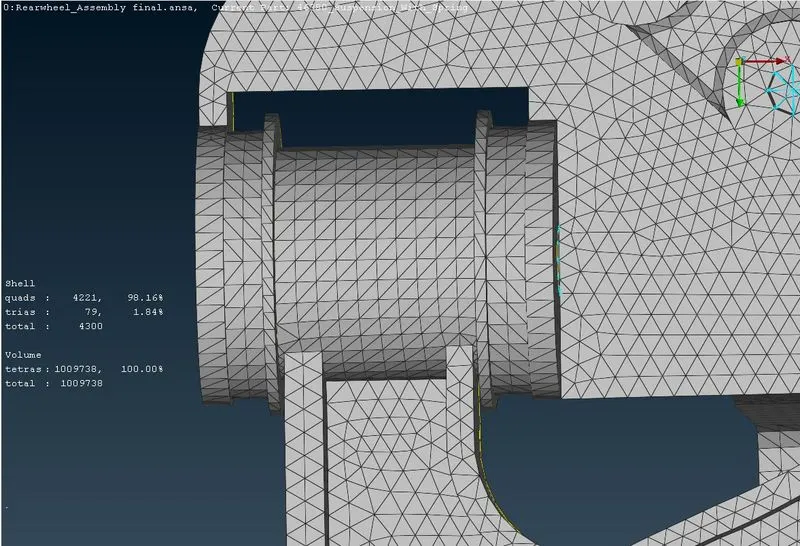
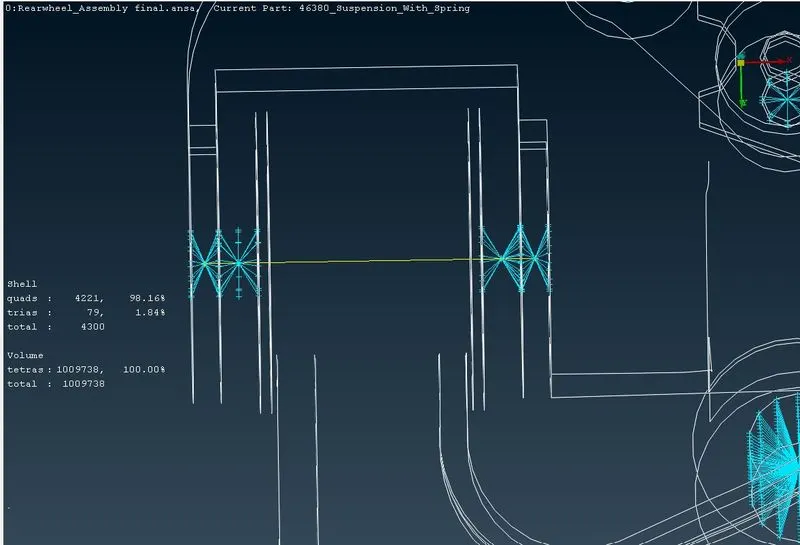
now after the connections are done now we have mirror copy the suspension to make a full suspension.
go to option transform in utilities bar and select copy then in the box go to symmetry option and select the use as mirror 3 point plane and select any 3 grid points as shown in below picture and click apply after the mirror image is created click finish.
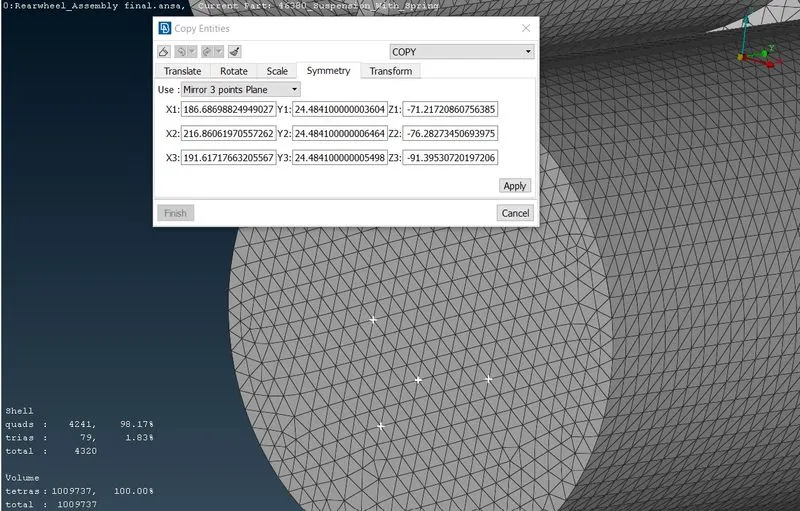
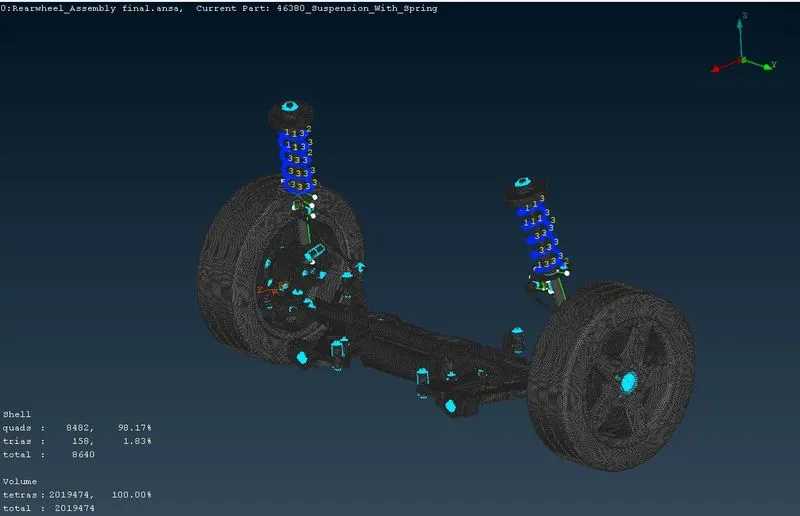
now the final FE model is created with connections as shown below.
WHAT I HAVE LEARNED.....
I have learnt to do geometry clean up and then how to do 2D and 3D meshing for appropriate parts and where to create connections and mirror the body.
CONCLUSION:
In this project I have created the FE model of REAR SUSPENSION ASSEMBLY and created proper connections. what I have to do in pre-processing work of a product.