Project - 2 - Meshing on the suspension Assembly
AIM:
To perform mid-surfacing, surface meshing and volume meshing wherever required and to perform connections on the given assembly model.
OBJECTIVE:
The given model has various parts which require different methods for meshing like mid-surface meshing, volume meshing and PBAR elements. Use approriate methods for the given parts and establish connections.
COMPONENT:
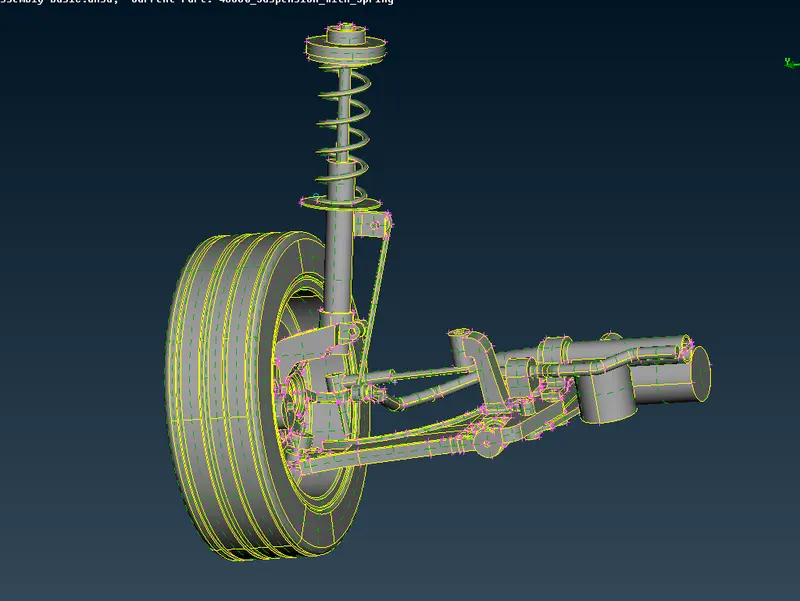
PROCEDURE:
1.Assigning PIDs
After clearing any geometrical errors, each part of the assembly is assigned individual PIDs for easy handling and for volume meshing.
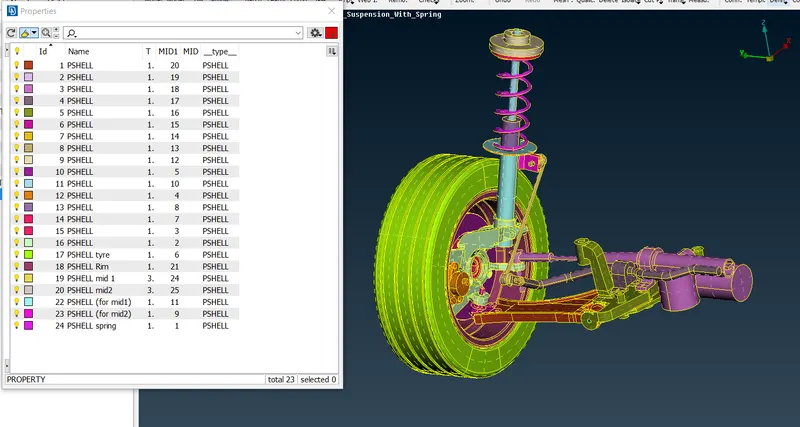
2.Meshing
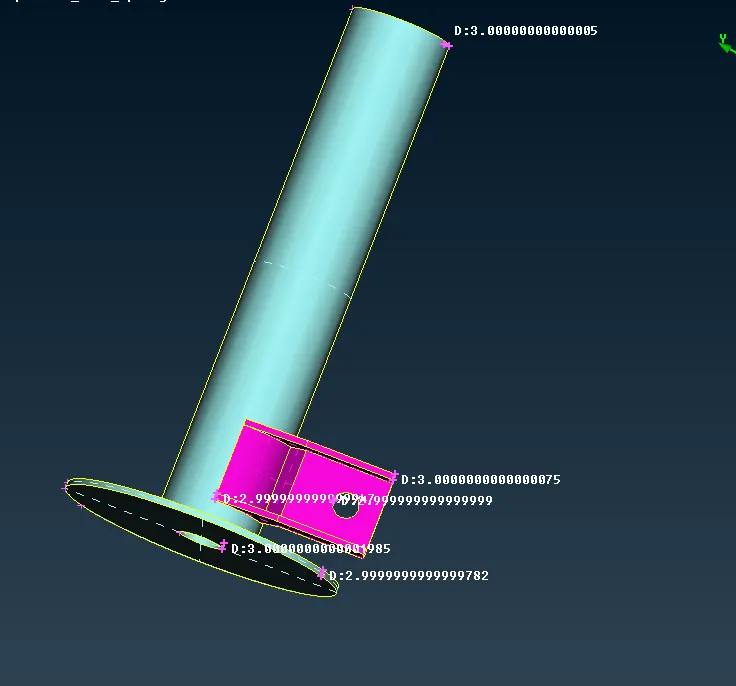
After taking measurements of each component, two components were found to be under 5mm thickness which will be meshed after mid-surfacing. All other components are surface meshed while rim and tyre have different element lengths.
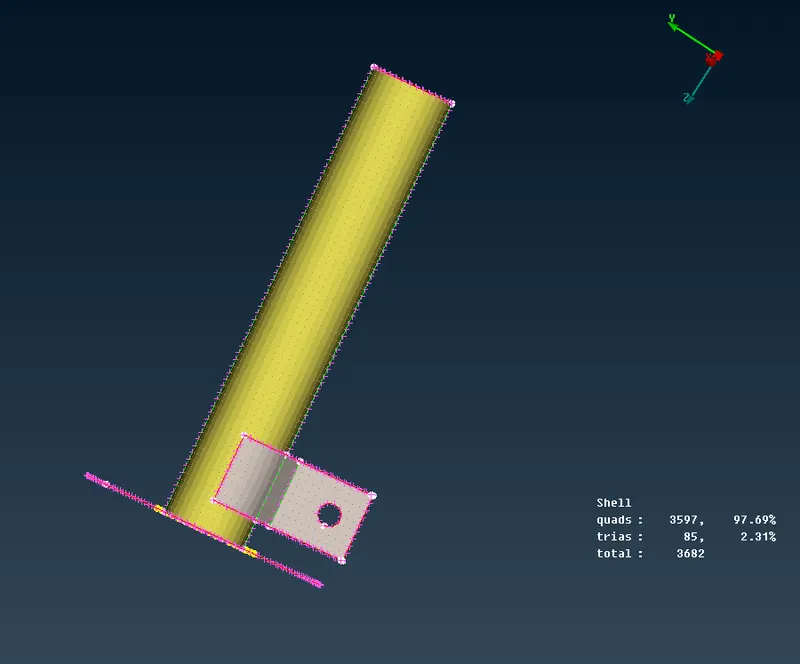
2.1 Mid-surfacing and meshing
The two components under 5mm thickness are taken mid-surface using mid-surface->skin. And meshed accoring to the mesh parameters given. All off elements are removed using tools like Smooth, reconstruct, MV Free, Split, Swap.
2.2 Surface meshing
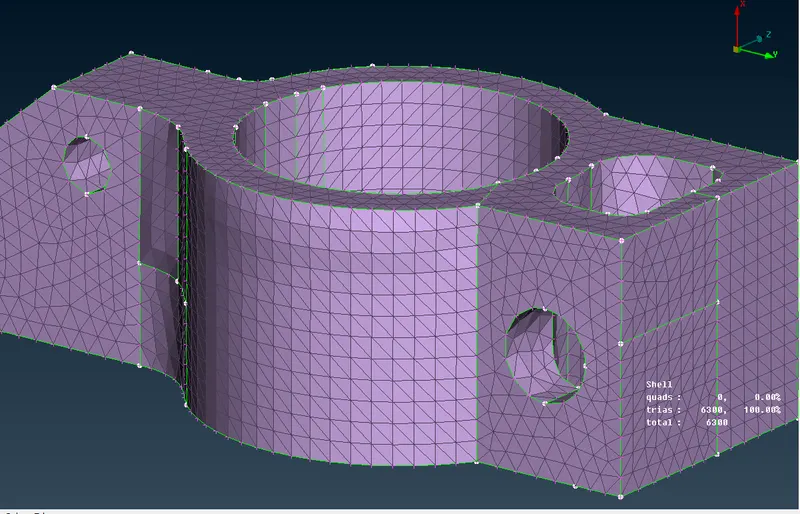
The remaining components are all surface meshed individually. Each part is meshed using only tria elements and ortho-tria elements. Flat surfaces are meshed with tria elemets while curved faces are meshed with orhto-tria elements.
All the off elements are cleared using tools like Smooth, reconstruct, MV Free, Split, Swap.
2.3 Volume meshing
After all the components are surface meshed, components are first defined using Define option in Volume meshing Deck. New PIDs and MIDs are assigned so as to not interfere with existing IDs.
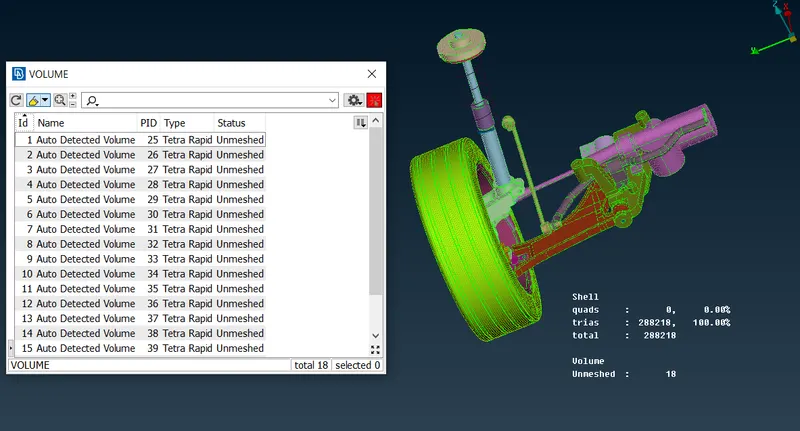
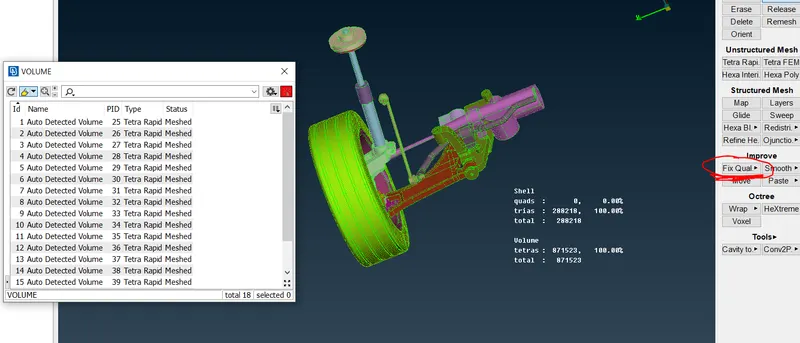
All these volumes are still unmeshed. Access them using List option and then all the volumes are tetra meshed using Tetra Raipd. Growth rate is kept at 1.2. Any off elements created are fixed using Fix Quality option.
2.4 Spring component
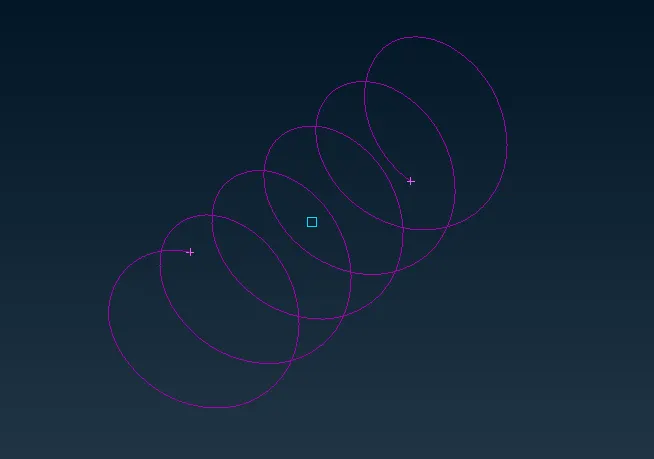
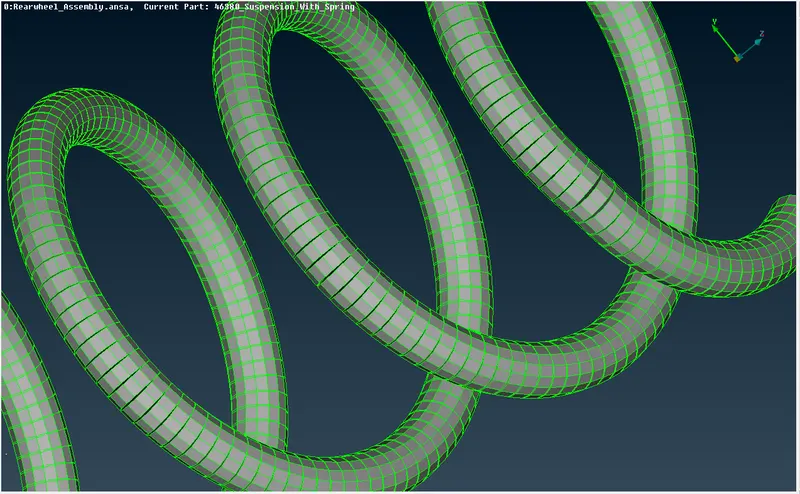
Spring is modelled as PBAR elements. First centre line for the spring is taken along the cross section using Curves->Middle.
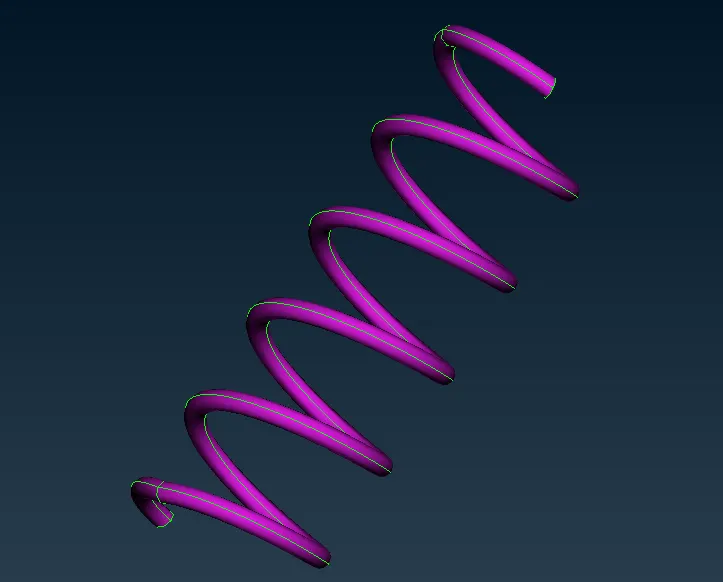
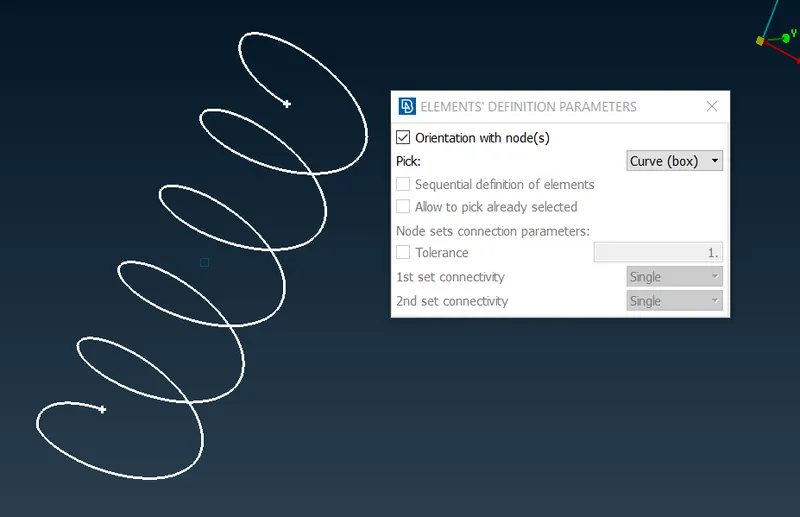
CBAR tool is then employed on this curve. Element length is assigned 3mm.
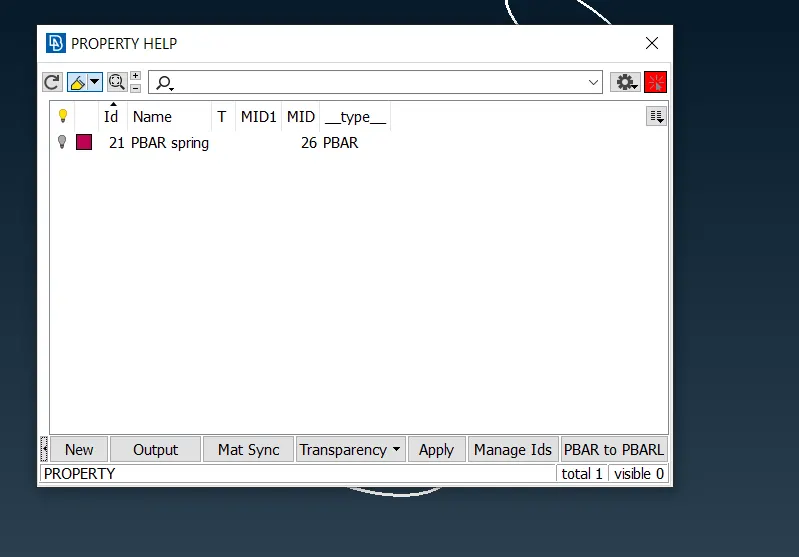
Cross section radius is measured and assigned to the PBAR PID created.
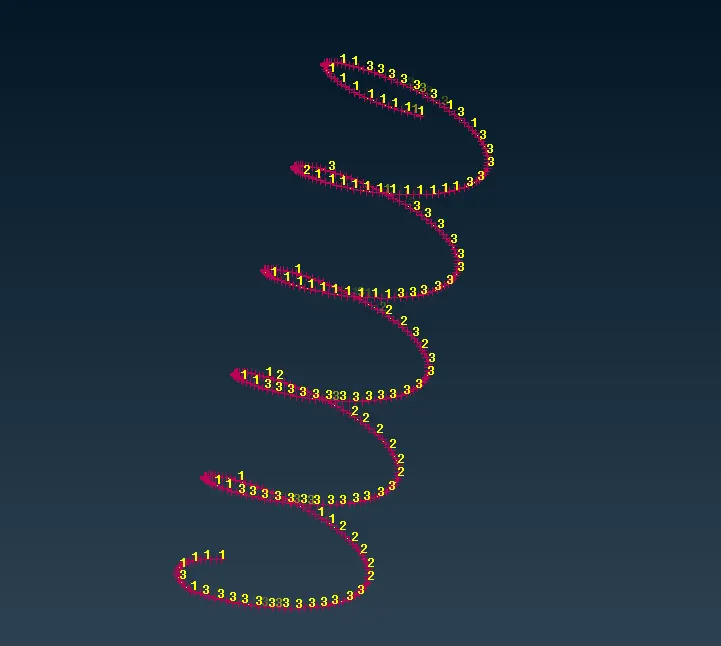
Go to the Presentation Parameters in Quality Criteria and select Line elements cross-section ->Draw as Solids. This enables PBAR elements to be viewed as solid to be able to compare with the original spring model.
3. Establishing Connections
All the connections irrespective of the geometry are assigned RBE2 connection as mentioned.
All the different types of connections are identified between all the given parts and rigid connections are established at these regions.
Since most of the parts are taken as solids instead of mid-surfaces, the contact region will be area instead of a line. The fastest way of selecting all the nodes at a region is using selection mode as Entity mode->Macro region.
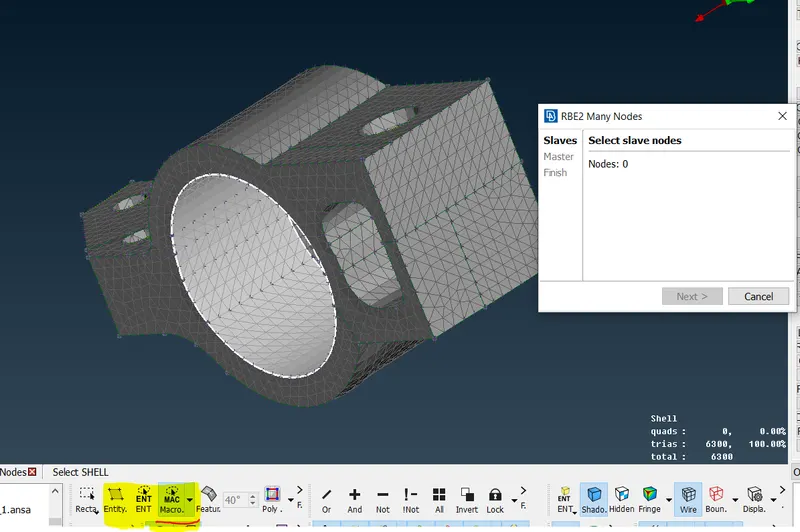
After selecing all nodes on a part, switching to other part helps select other nodes by comparing as the original selection on the first part can still be seen.
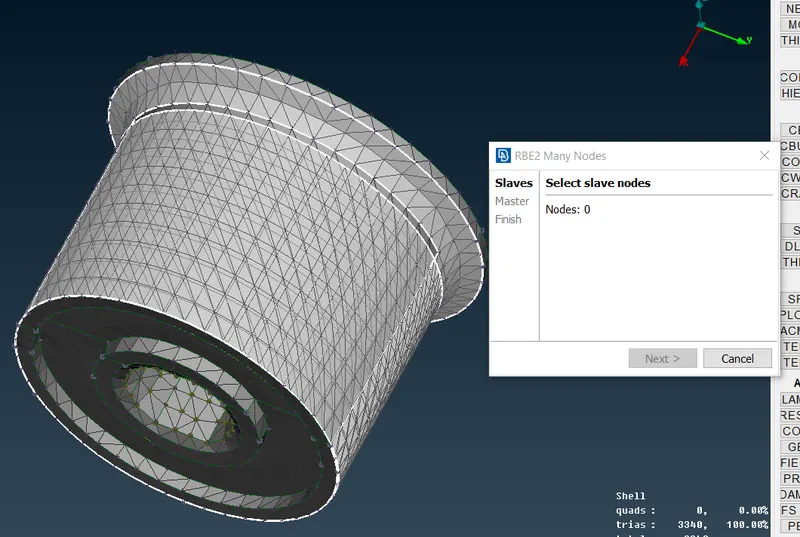
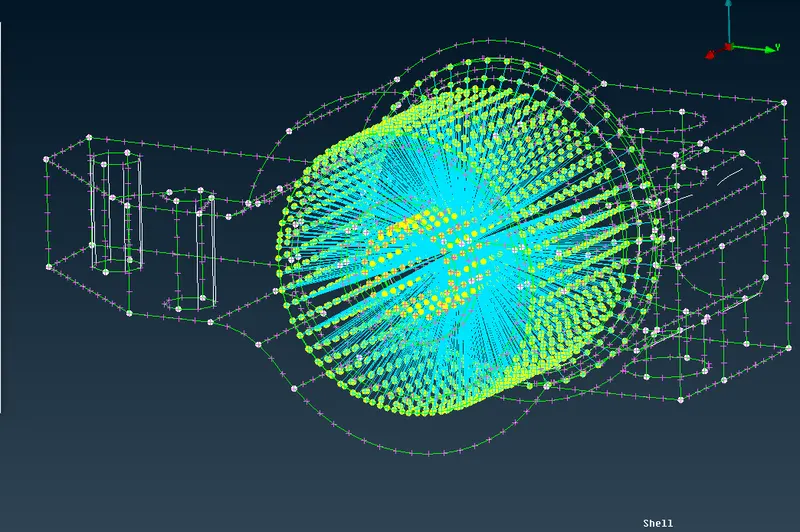
- When the connections are established, the master node and the connection lines formed do not interfere/interact with the other components even if they are formed inside the volume of other components. They act completely independent and are only connected to the slave nodes.
Final result:
After all the connections are established, final meshed model looks like
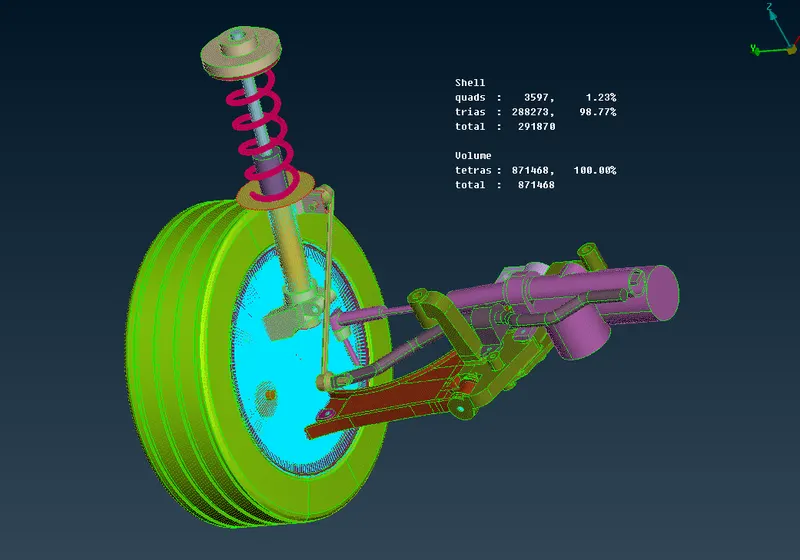
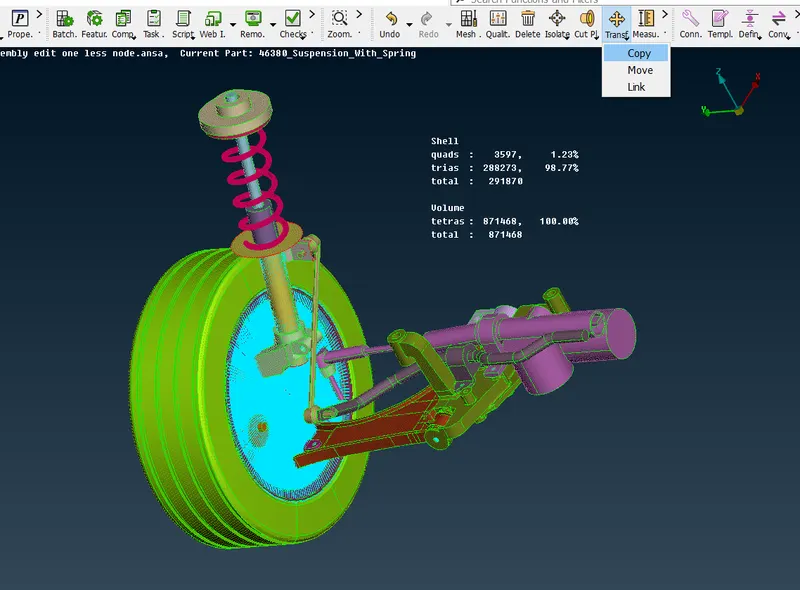
Model is then transformed to obtain the other side using Transform->Copy->3-point plane option.
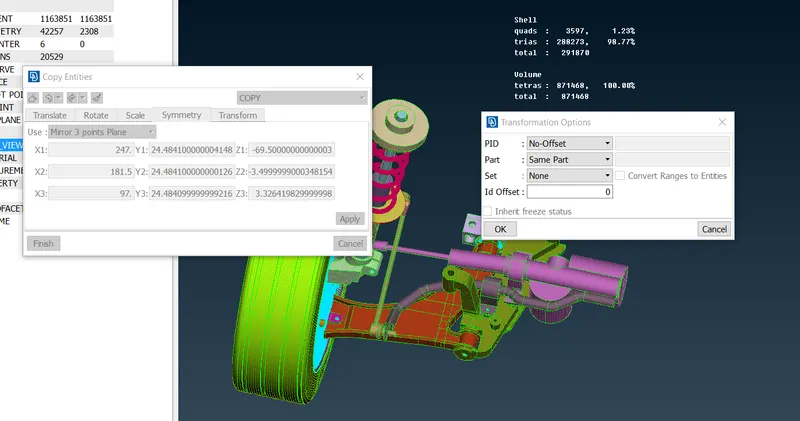
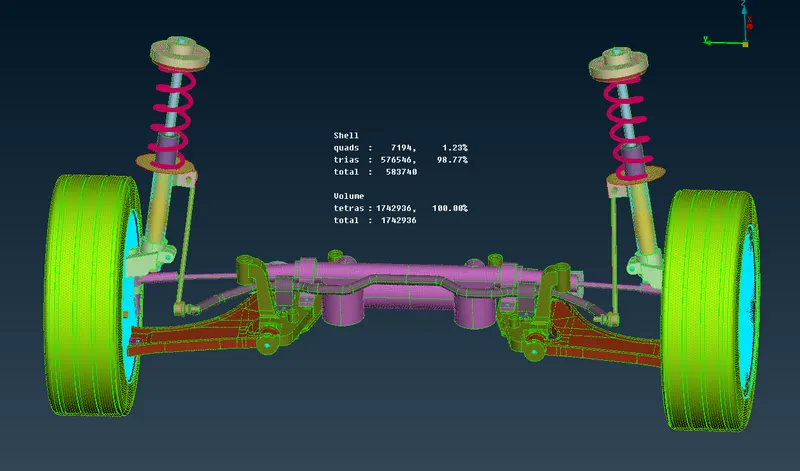
In the final result obtained, it can be observed that the number of shells and volume elements both are doubled.
CONCLUSION:
The given component was meshed and improved as per the quality parameters by following the proper order of geometry cleanup, mid-surface generation, mesh generation and mesh improvements and volume meshing using right techniques suggested.
The final model's target element length is under acceptable range. Connections are established wherever necessary.
Link to the ansa file:
https://drive.google.com/file/d/1bzK1tvC3uELvBDNCRQBP0d-eNojHFuol/view?usp=sharing