Project-2-Meshing of Door Inner Panel Challenge
Meshing of Door Inner Panel
Aim : To cleanup the geometry , extract the mid surface and to mesh component for the given quality criteria and to assign the thickness
Procedure:
- To import the CAD geometry into Hypermesh
- The file format will be in .IGES format or .step format
- File > Import > Import Model > File type > Open File > Import File
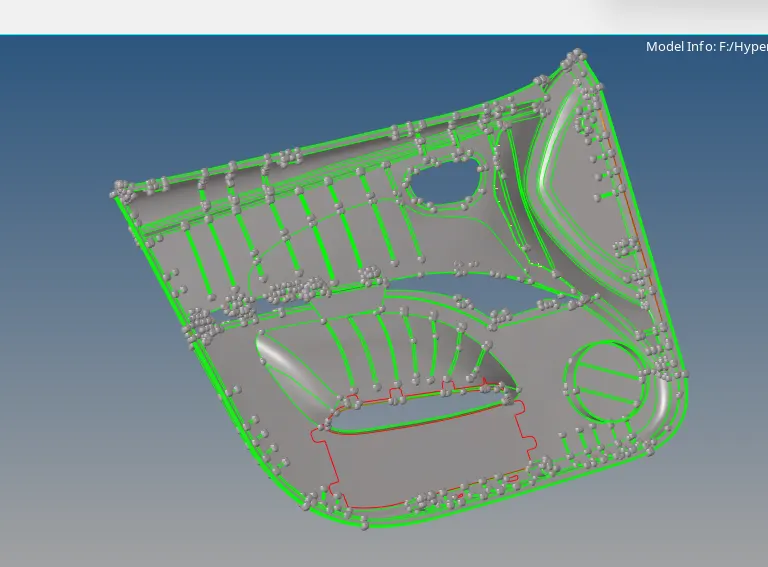
- Next switch to topo mode and check for solid in the component or not, if exists delete the solids by using delete option or F2
- Delete [F2] >> Solids >> Delete solids
- Check for geometrical errors like free edges ,unwanted points, damaged surface on the geometry, if any fix the errors
- After cleanup the geometry , now measure the thickness of the component as it is a plastic model it is having varying thickness by using distance option
Geom>>distance>>two points
Midsurface:
- Midsurface can be extracted by two methods ,auto midsurface as well as manual method. Here I have used manual method to extract the mid by using the option offset
Geom>>Surface edit>>offset
- Select the surface to be offset then duplicate the surface,specify the thickness and now click on the offset the surface will be created
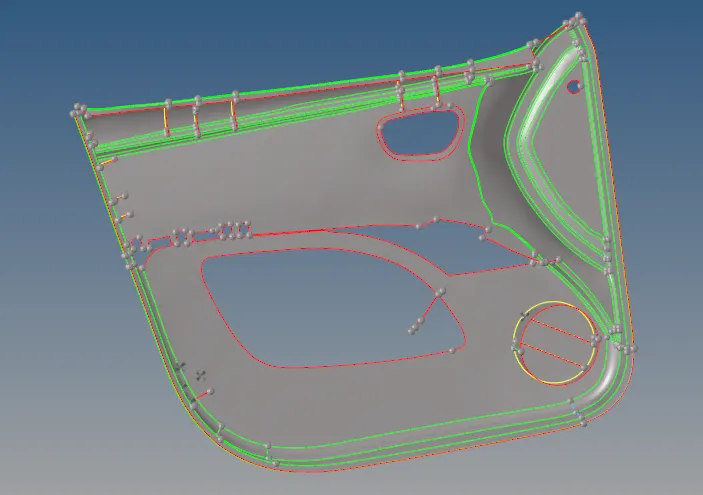
Mid surface for Ribs
- Here we can extract the mid by defeaturing filets of the ribs by using the option defeature
Geom>>defeature>>surf filets>>find>>remove
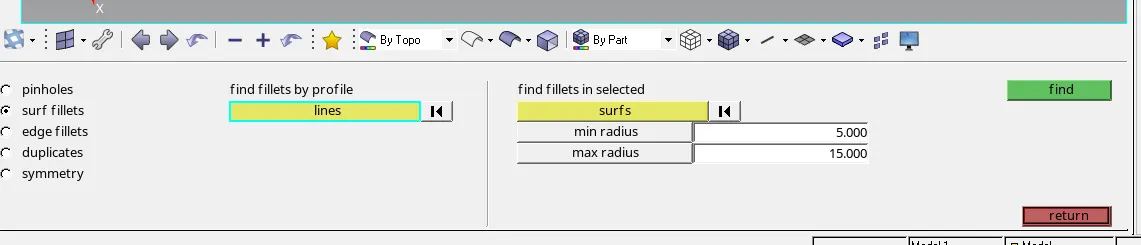
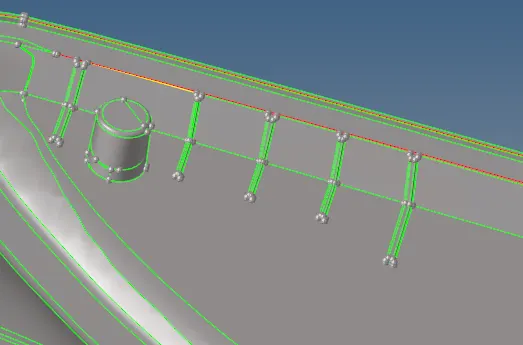
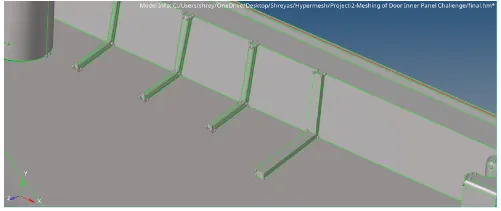
- After defeaturing the the ribs we can extract the mid surface by using manual offset method, so that mid surface will be created as shown below
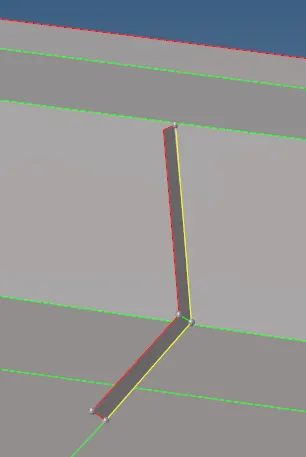
- As the manual offset of the Ribs are time consuming we can go for Translate command and we can transfer the rib mid surface according to the parent geometry
Tool>>Translate>> surfs>> Select the N1 and N2>> assign the magnitude value >>Translate
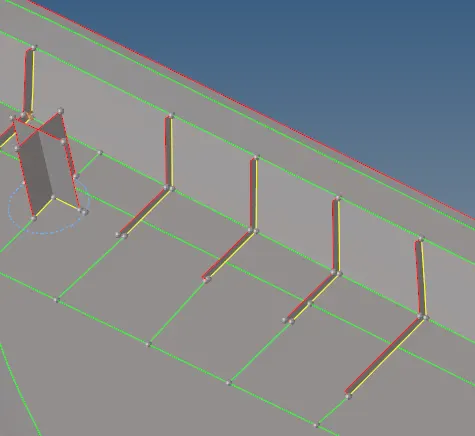
- Defeature of the ribs is tedious processes in that case we can go for midline option
Geom>>lines>>midline>>select the line list>>Create
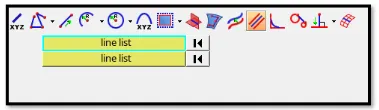
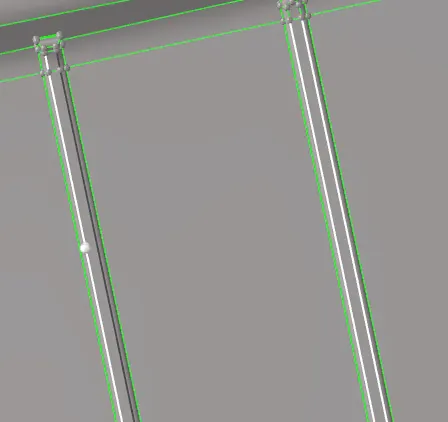
- Midline will be created as shown below
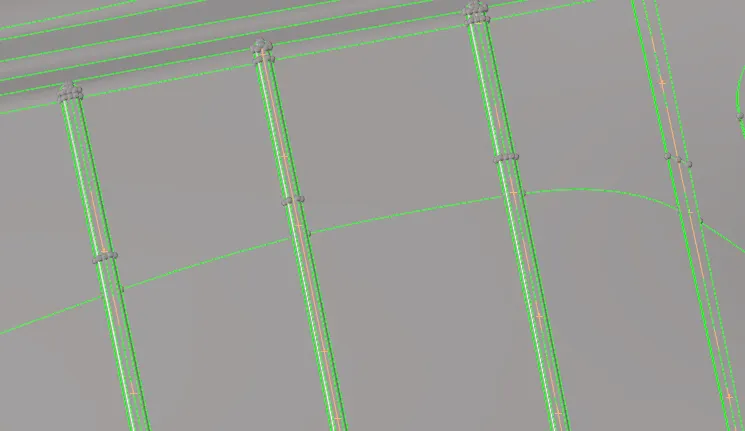
- Now, trim the surface using the midline.
Geom >> surface edit >> trim with lines >> select the free line and the surface that you want to trim >> trim.

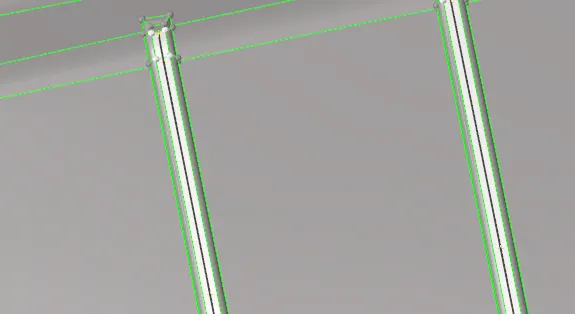
- The lines will be created as shown below
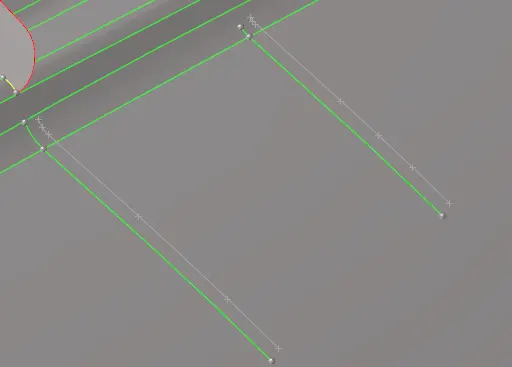
- Now create a surface by using ruled option
Geom>>surface>>ruled>>create

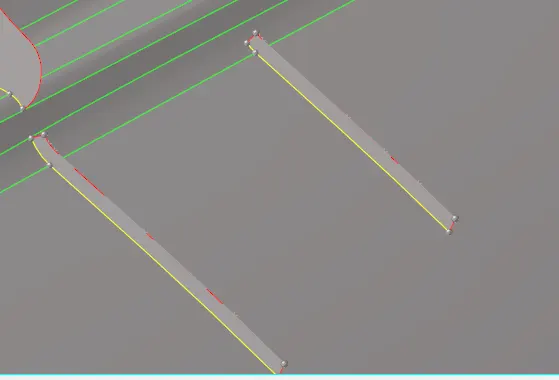
- Next by using extend option extend all the mid surface of the ribs to base surface to form connectivity
geom>>surface edit>>extend>>create

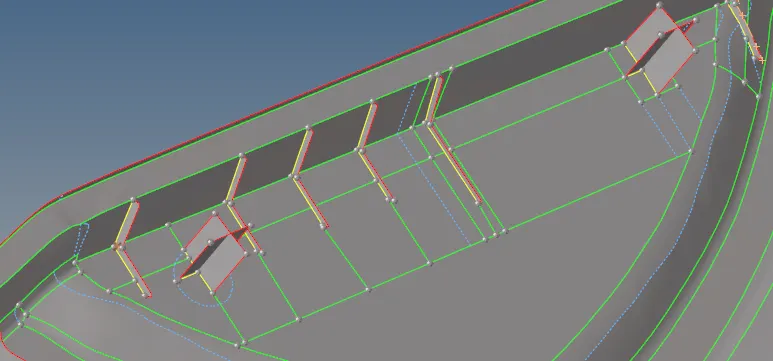
Mid surface of Locators
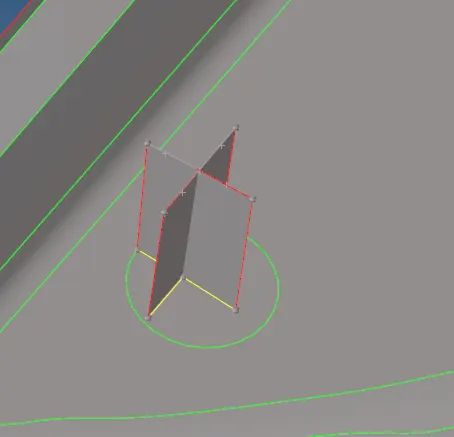
- Locators helps to achieve accurate positioning during assembly, it has to be midsurfaced as ‘+’ symbol
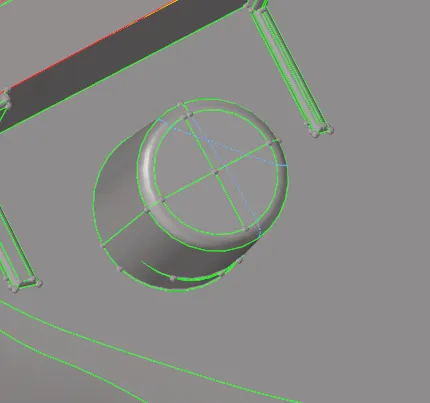
Geom>>line>>extract edge>>lines>>create

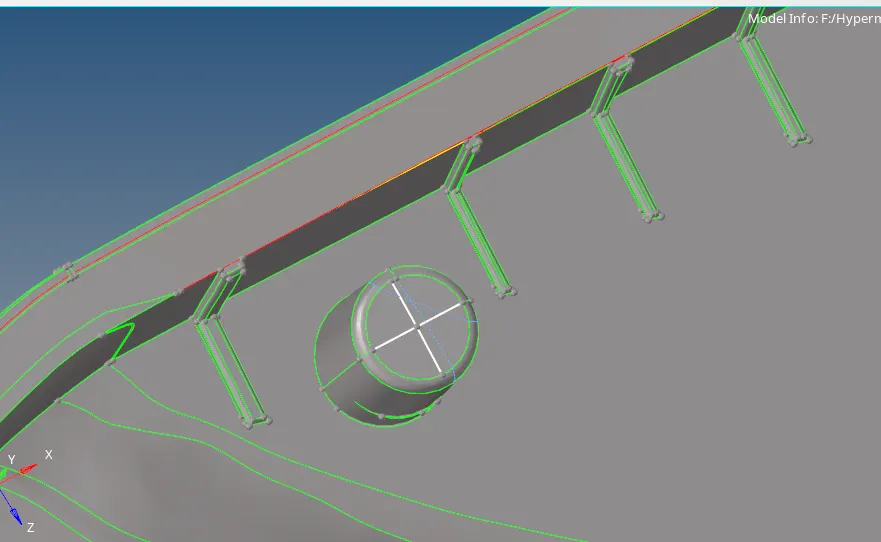
- Now trim the surface using the lines
Geom >> surface edit >> trim with lines >> select the free line and the surface that you want to trim >> trim.
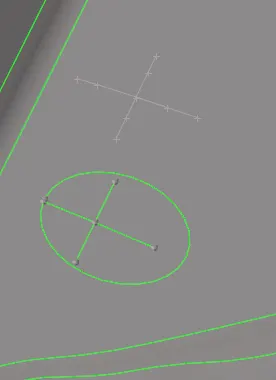
- Create a surface using ruled option
geom>>surface>>ruled>>create
Meshing:
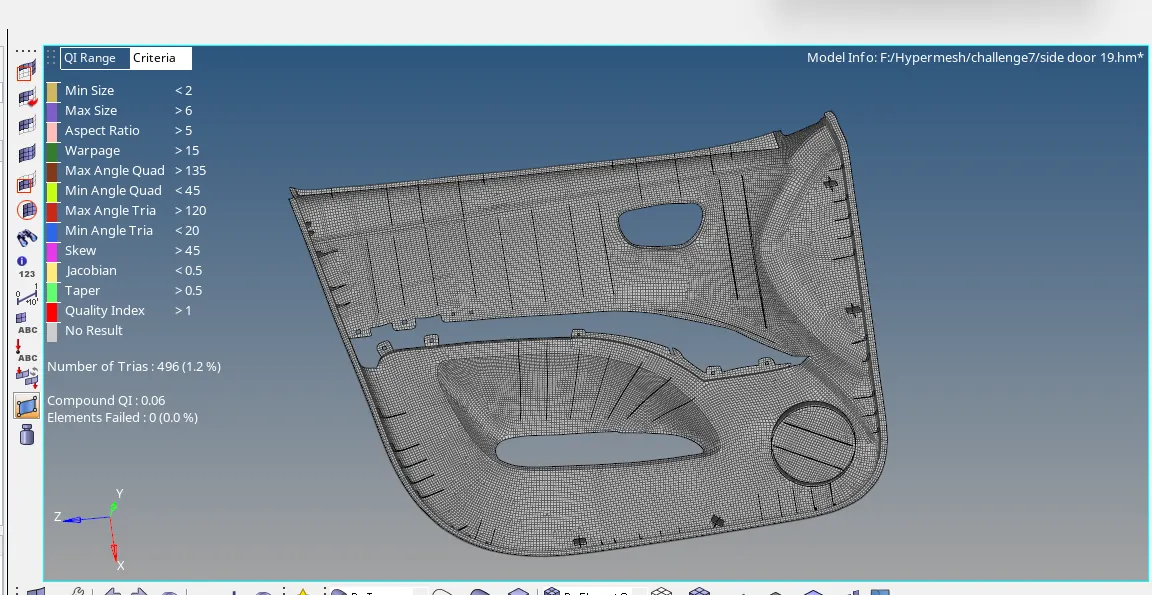
Now all the mid surface has been extracted for the Ribs as well as for base surface geometrical cleanup has been done on the mid surface and is ready for meshing. Before meshing ,set the quality parameters as given for the component
preference>>parameter file settings>>basic>> target length>>apply>>ok
preference>>criteria file settings>>apply>>ok
- If any unwanted construction lines remove them and capture the feature properly
- Now start meshing the given component using auto mesh option
2D>>automesh>>surface>>mesh

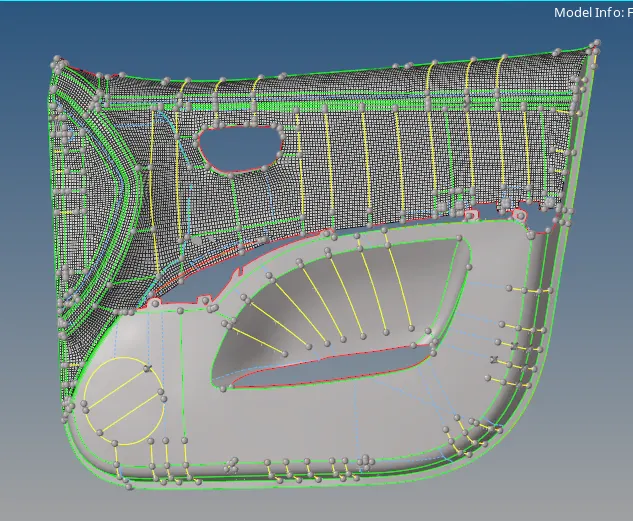
- The obtained mesh fails for quality criteria which can be corrected by remeshing by using rebuild option
2D > rebuild mesh >> select element >>rebuild
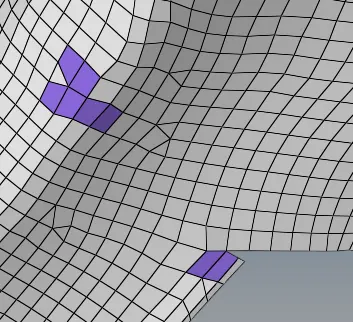
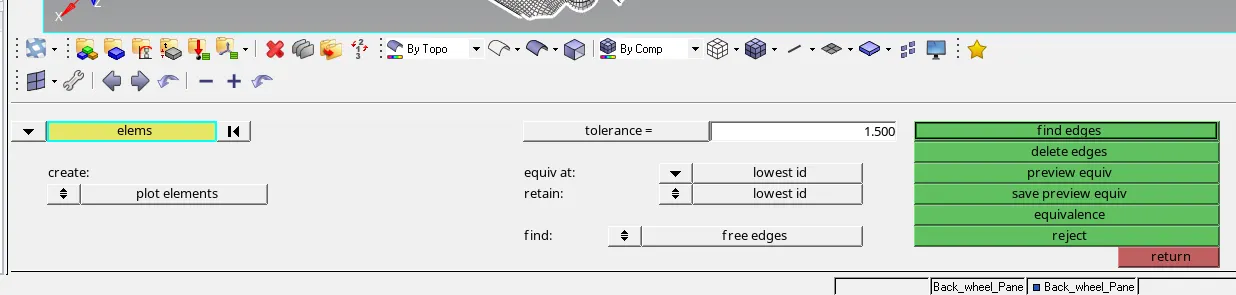
- Next to maintain a proper connectivity of node to node for the meshed element,it can be checked by using the option edges
Tool>>edges>>elements>>find edges>>preview equiv>>equivalence
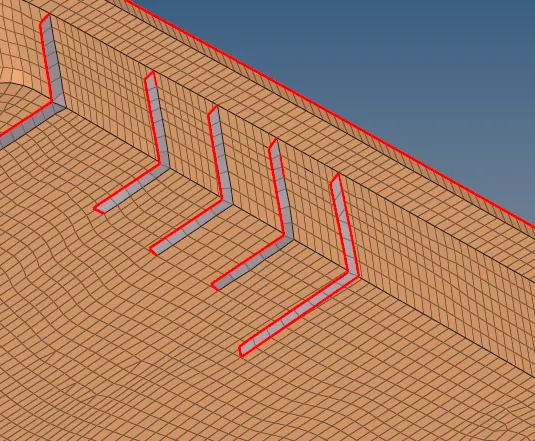
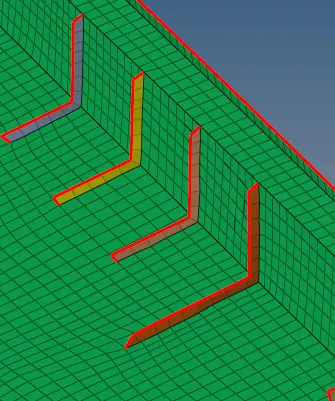
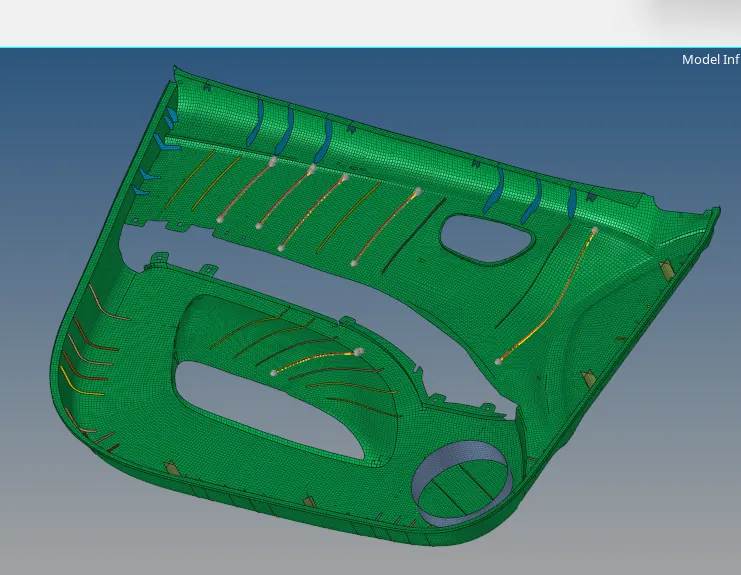
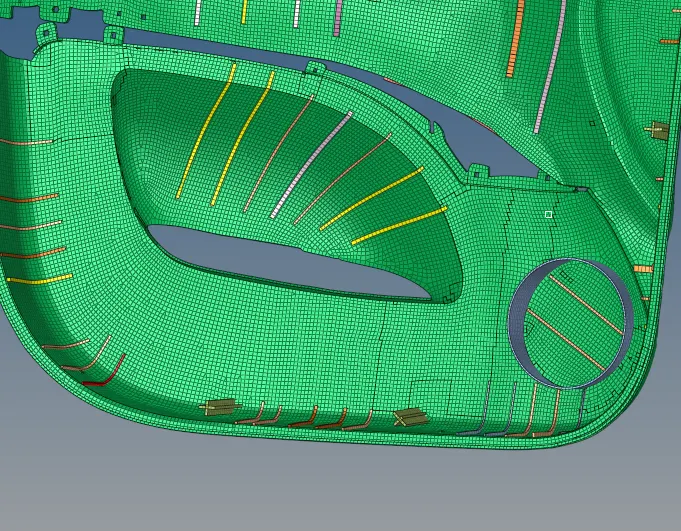
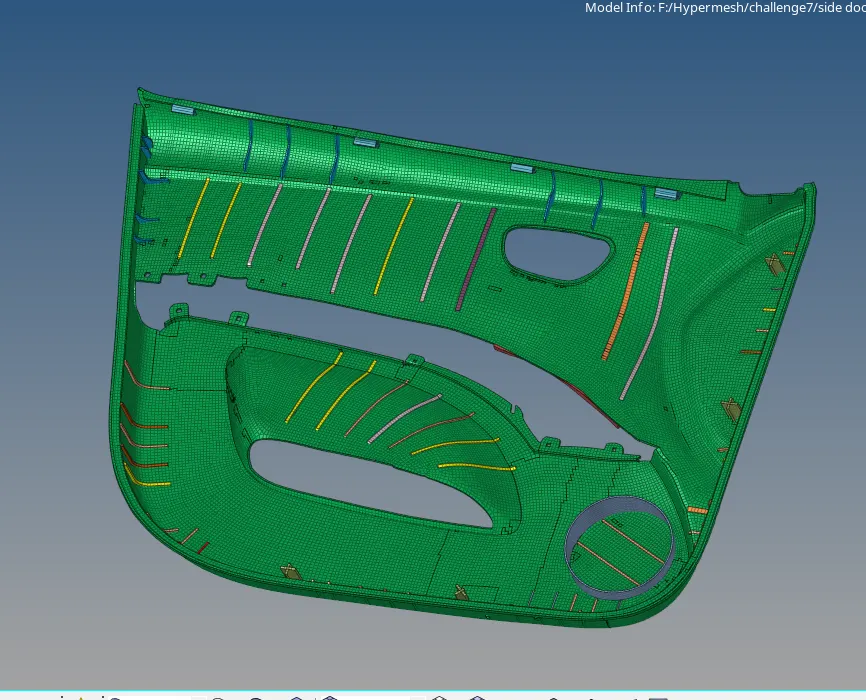
- Final mesh model is as shown below
Assigning the thickness:
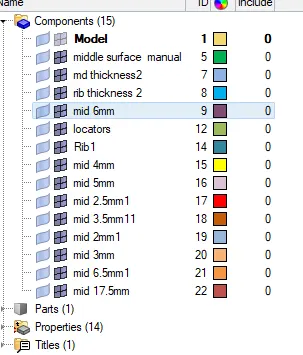
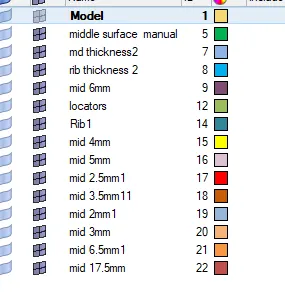
- As it is a plastic component it is having varying thickness surfaces and ribs, so it has to be moved to separate collector by using the option organize
Tool>>organize>>collector>> select element or surface>>move
Then create property cards for all the thickness and assign it to the respective components.
2D Representation:
Learning outcome:
Learnt how to extract the mid surface
Learnt how to mesh the plastic geometry
Learnt to establish connectivity between node to node of meshed element
Learnt to maintain a proper mesh flow
Learnt how to assign the thickness to the component
Conclusion:
Extracted the mid surface and meshed the door inner panel as per the quality criteria and assigned the thickness to the component.