Project 2_Design & Analysis of a Hostel building at Guwahati, Assam
AIM:
In this project, participants will get to experience the entire design process from modelling, analysis, design, and preparation of construction drawings. The architectural drawings of a G+3 RCC building is provided. The following information on the building is to be used:
- Location – Guwahati, Assam
- Function – Hostel block in an academic institute
The walls will be made of AAC blocks. Other loadings are to be calculated as per the architectural drawings.
The buildings rests on type 3 soil. Piles of length 10 meters and 500 mm diameter with a load-carrying capacity of 280 KN is to be used.
The ground floor level will be at a height of 2 meters above the existing site level to avoid floodwater enter the building.
M25 grade of concrete with Fe500 for longitudinal reinforcement and Fe 415 for shear reinforcement is to be used.
The following design IS codes will be required for reference:
- IS 875 part 1
- IS 875 part 2
- IS 13920
- IS 1893
- IS 2911 part 2
- IS 456
- SP 34
PROCEDURE:
ETABS
- Open ETABS
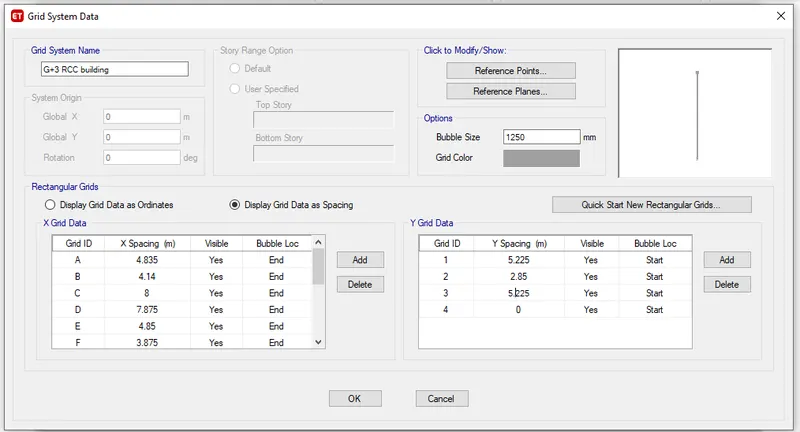
- A new tab will open->go to edit grid system data->enter the spacing of the grids in X and Y direction(as given in attached file)
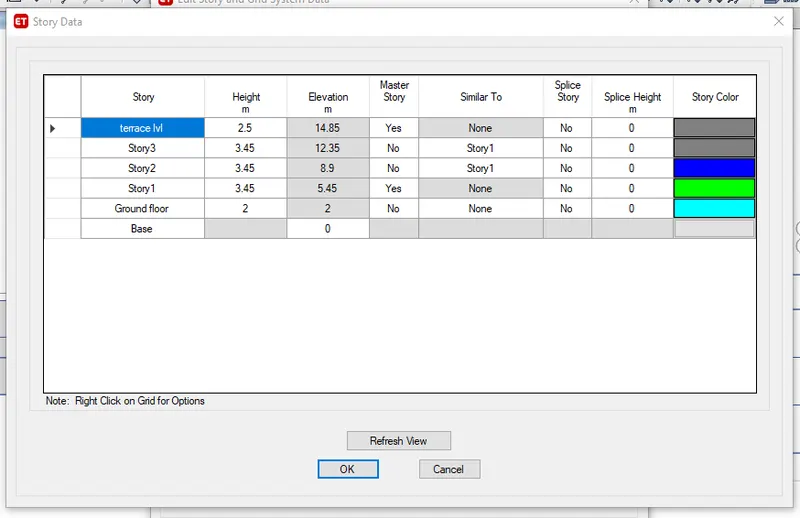
- Now click on edit the storeys->enter the number of storey you want in the structure.
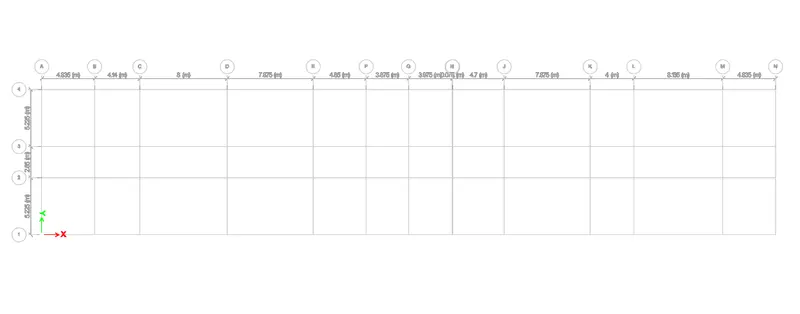
- click on OK->now the structure willl be shown as you require
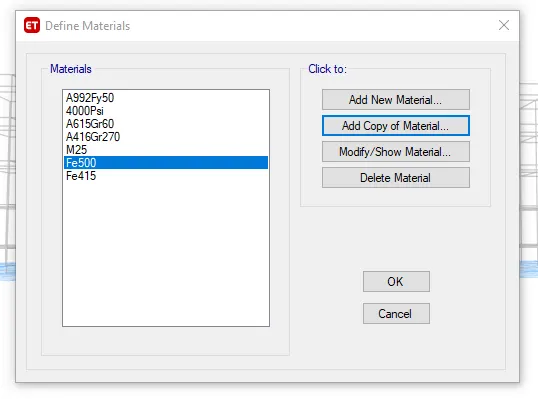
- Go to define->material->material properties->a new tab opens
- select the indian standards and the code books->ok
- add new materials and add M25,Fe500,Fe415 materials
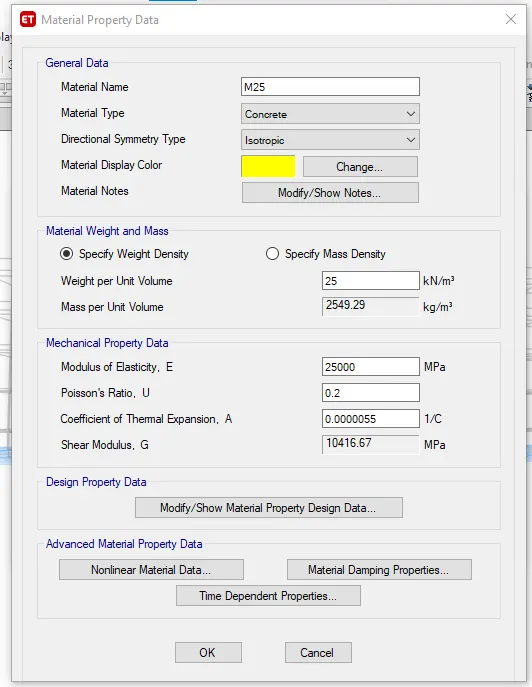
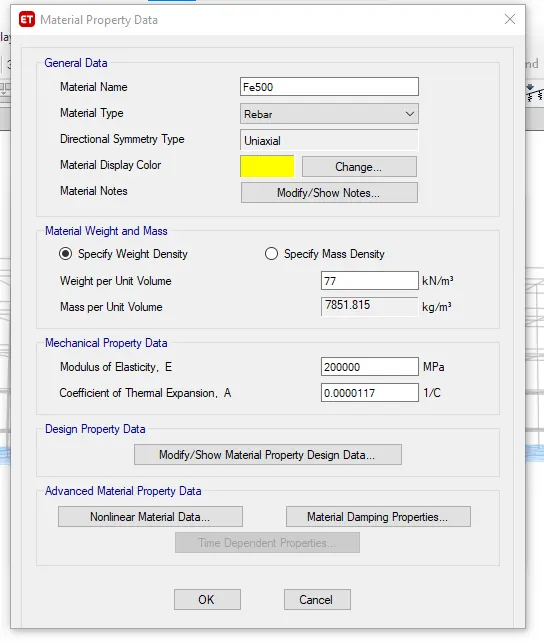
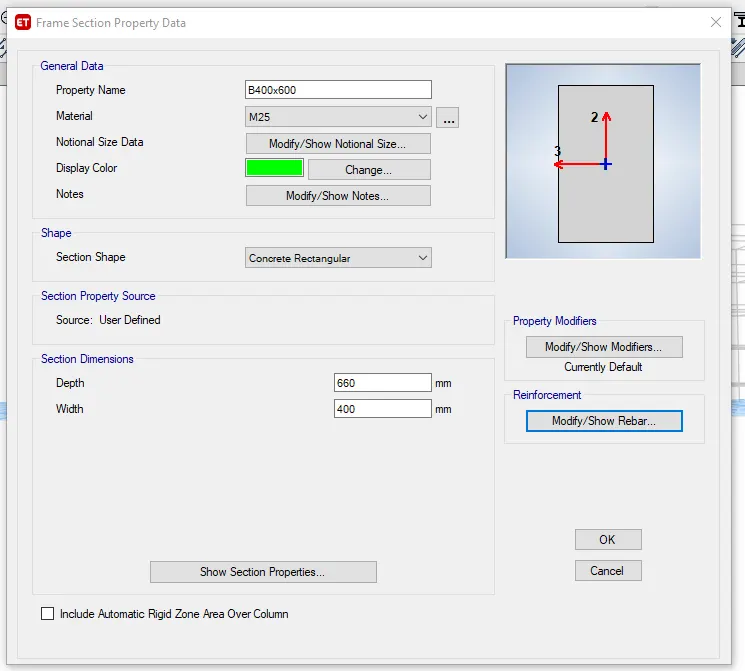
- Now click on Define-> sections properties->rectangular sections
- Add COlumn and Beam section ->enter the properties
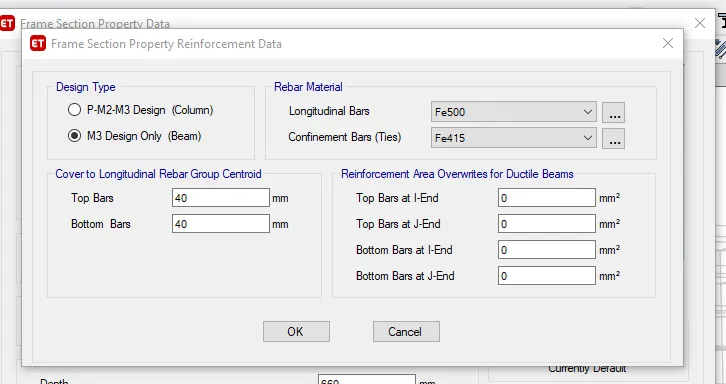
For column
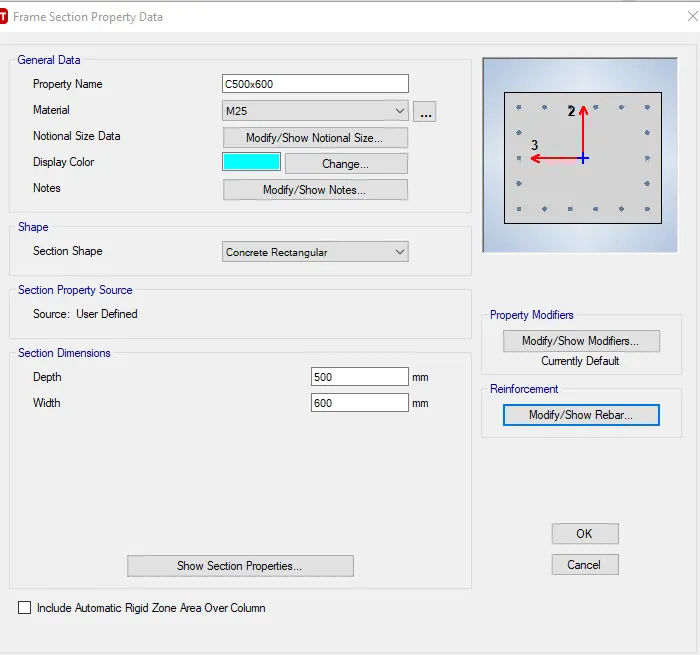
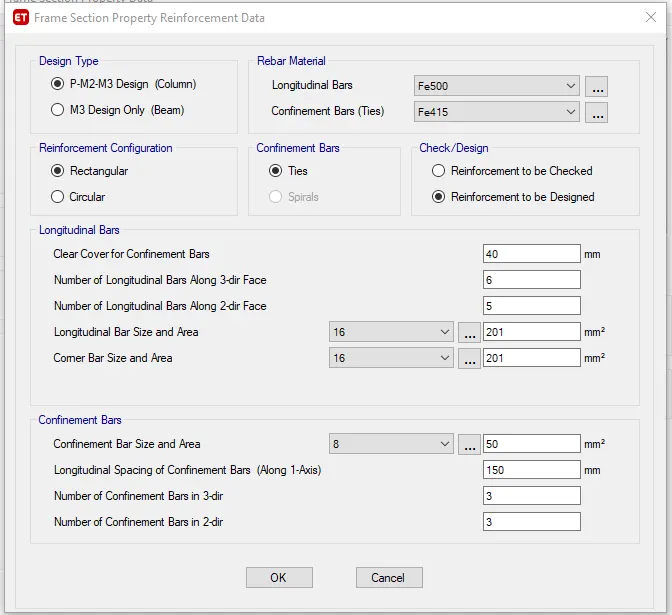
- Now Define->section properties->slab sections
- add new slabs->slab150 and stair slab
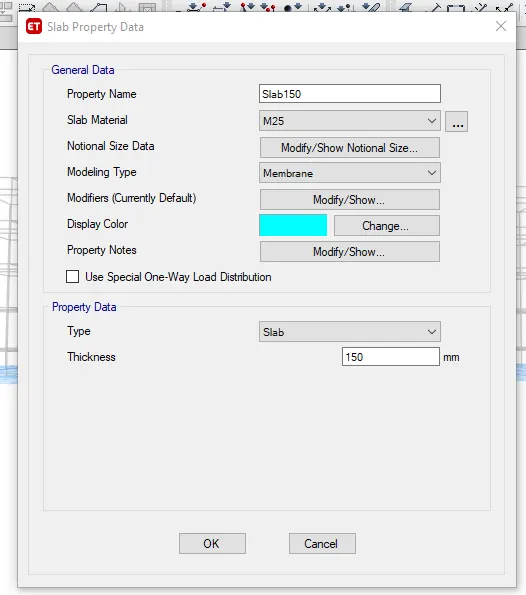
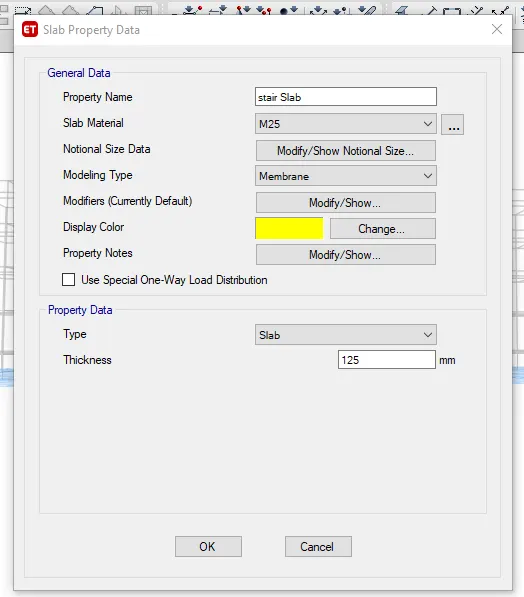 //check the USe special one-way load distribution
- //Now we add columns to the structure grids
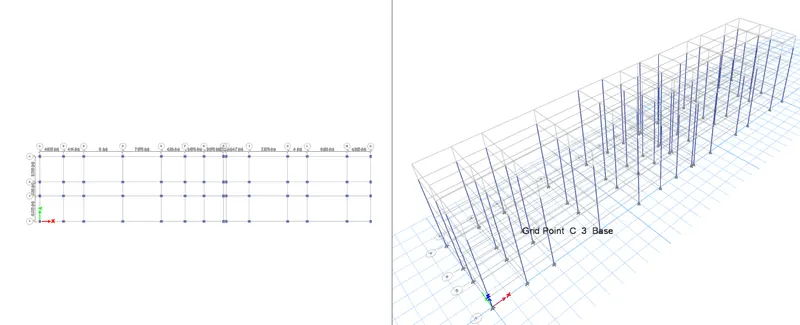
- Quick draw columns(change selection to all stories)->select the proprty of column "C500x600"
- select all the columns ->columns will be applied to all floors
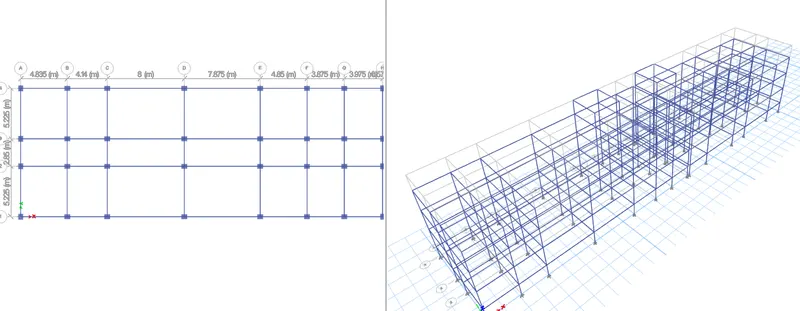
- Now quick draw beams->select the beams property B400x600 in the tab opened
- select all the beams grids of the section->beams will be applied
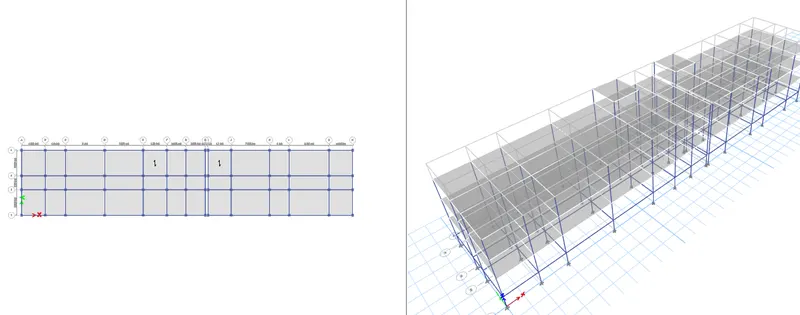
- Now to quick draw floors/slab(select SLAB150) ->click on the floors you want the slabs150
- now change the property to stair_slab->select the section you want the stairs slab(for stairs we use less depth slabs)
- Go to define->load patterns->add dead,live,AAC,seismic loads to it
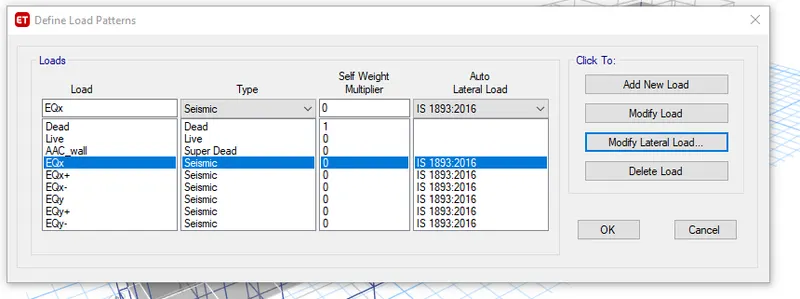
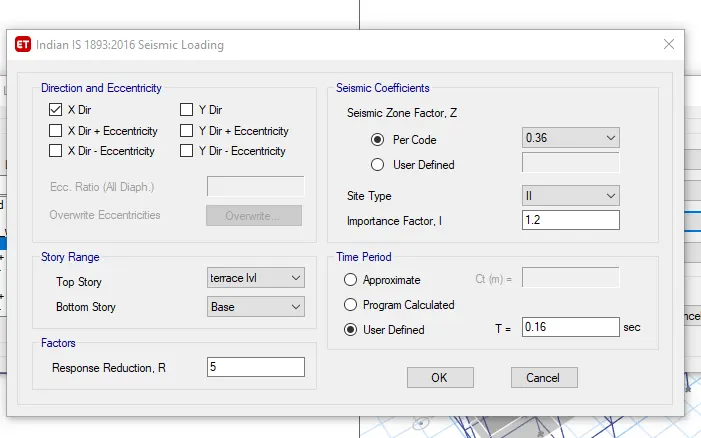
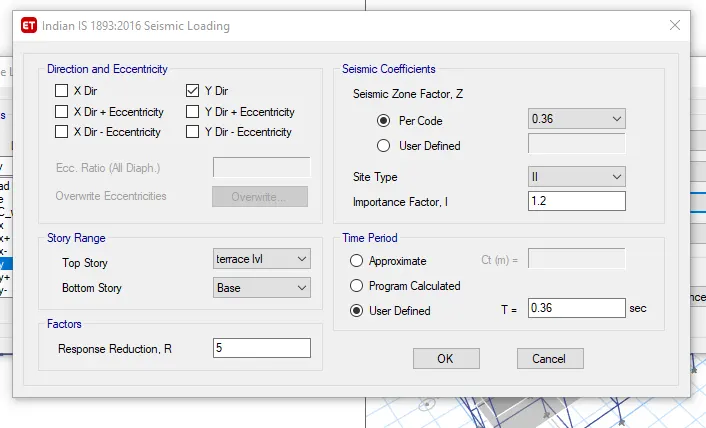
- for eathrquake load->modify lateral load and select the soil type and natural period
For EQx
For EQy
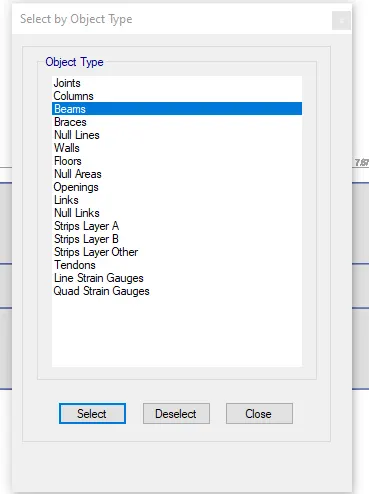
- Go to select->object types->beams(all beams will be selected)
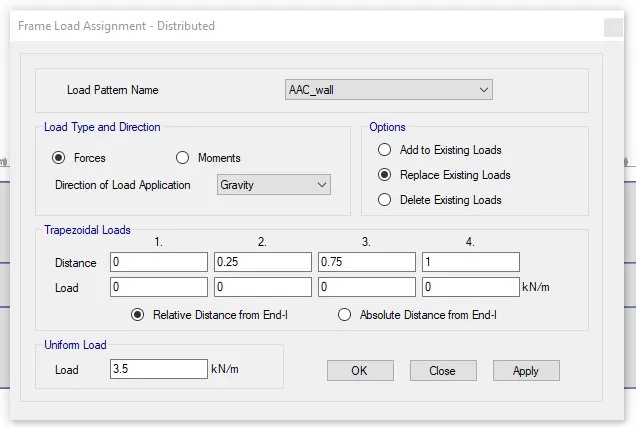
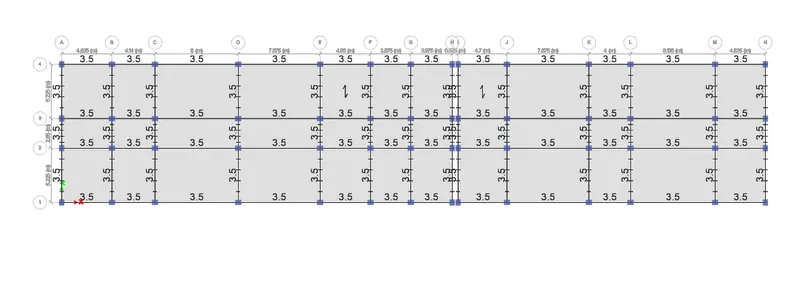
- now go to assign->frame load->distributed load-> a new tab will open
- select the AAC load->enter the load value(3.5KN/m) ->OK (all load willl be assigned to the beam)
Loads assigned
- Now go to select->object types->floors
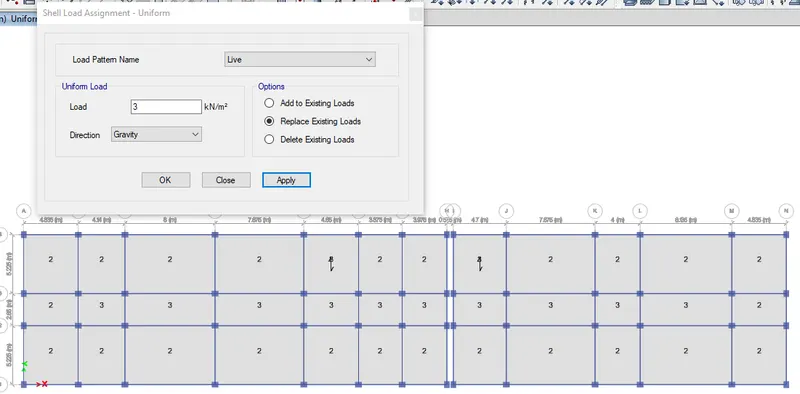
- Go to assign->Shell load->uniform(a new tab will open)->select live and enter the value of live load on slab(2KN)
- select the stairs slab& slabs on the corridor path ->assign ->shell loads->uniform and apply load of 3KN
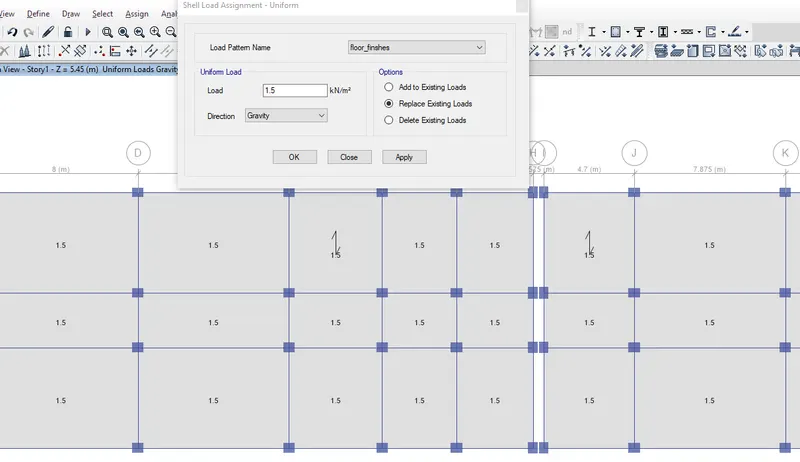
- Now select all the slabs->assign->shell load->uniform->Floor finishes
- enetr the value of 1.5KN for all the slabs
- Now go to base plan->select all the base point
- Assign->Joint->restraints(assign the fixed joint)
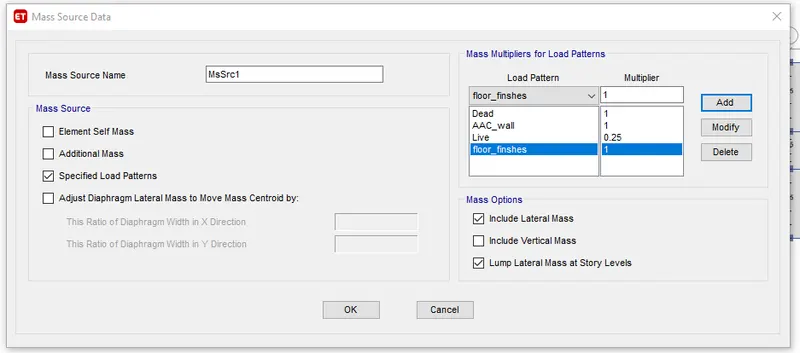
- //Now we define the mass source
- Define->mass source->Add factor of 1 each for Dead,brickwall ,floor finishes, and 0.25 for live load (for live load <=3KN)
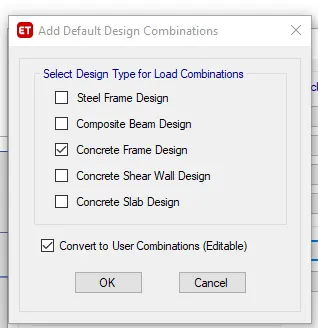
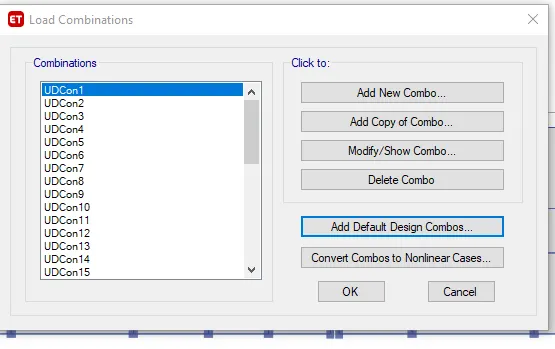
- Now define->load combination->add default combinations->select concrete frame design(editable)->OK
- Now select->object types->floors
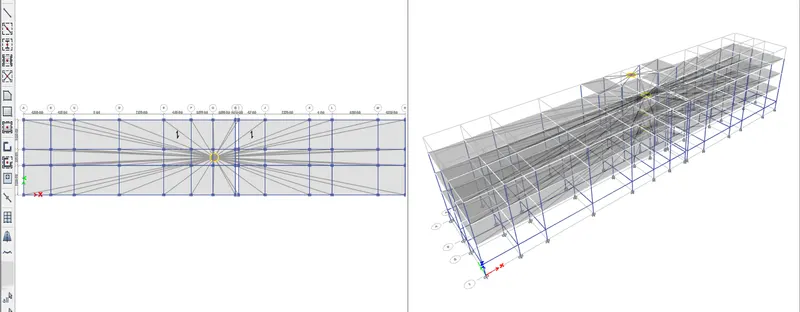
- Assign->shell ->Diaphragm->Select D1 ,click OK->Diaphragm will be applied
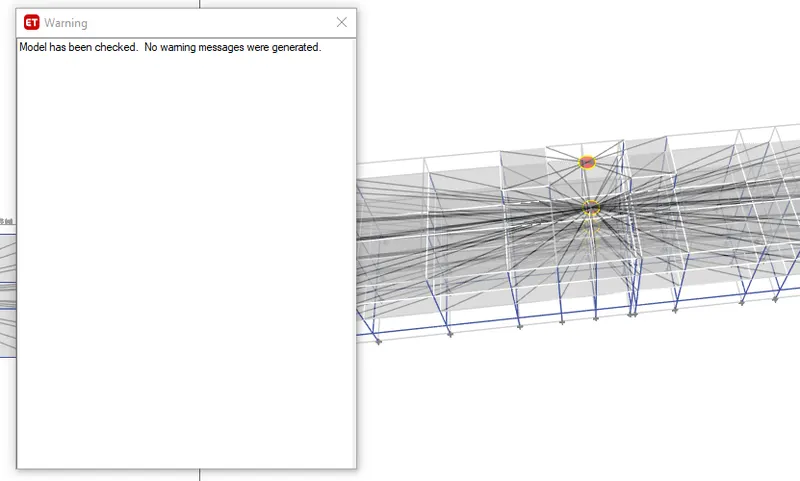
- save the file->analayse the file (a message will be shown if error or not)
- CLick on run
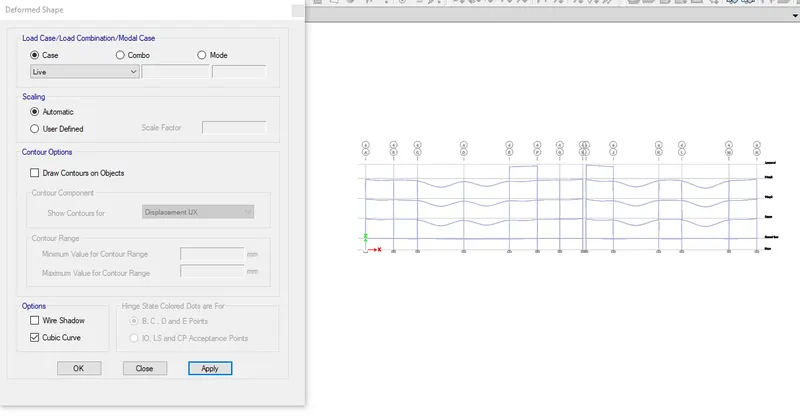
- check for the deflection cause by dead and live loads
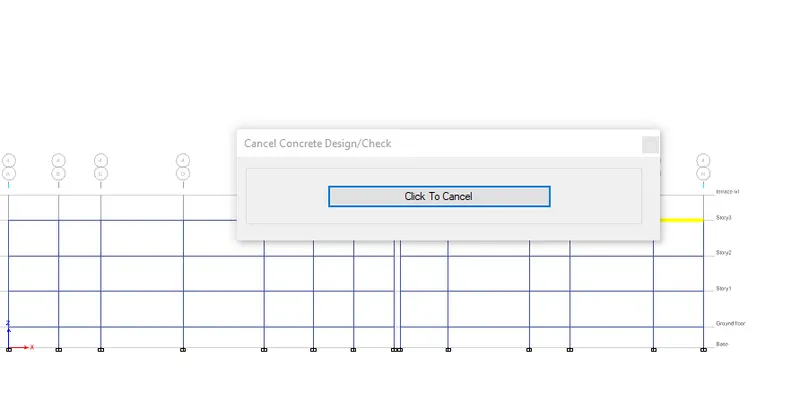
- CLick on concrete frame design->start design/check(itll check all the frames of the structure)
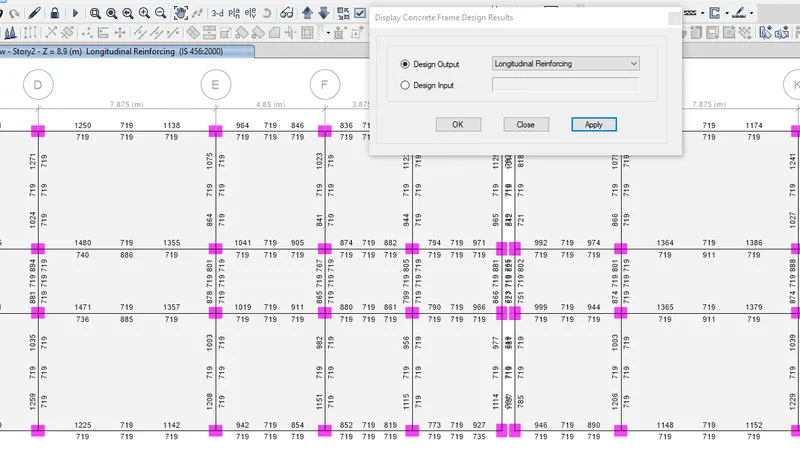
- Now click on Concrete frame design->display design info
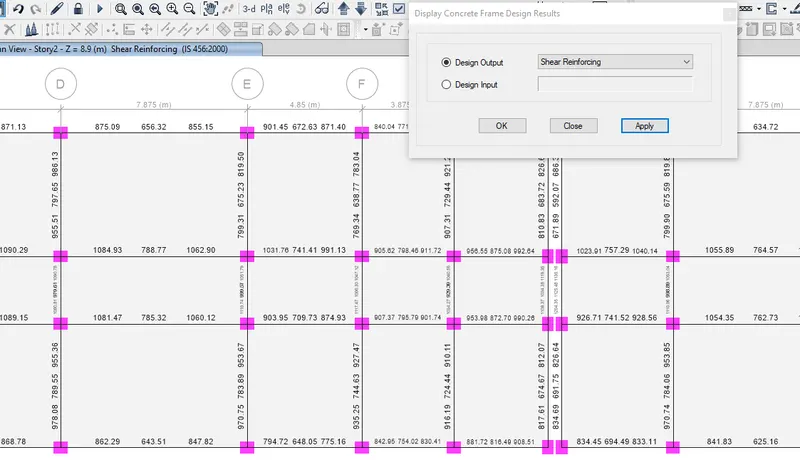
- select the design output->longitudnal reinf->select shear reinforcement
LOngitudnal reinf
Shear reinf
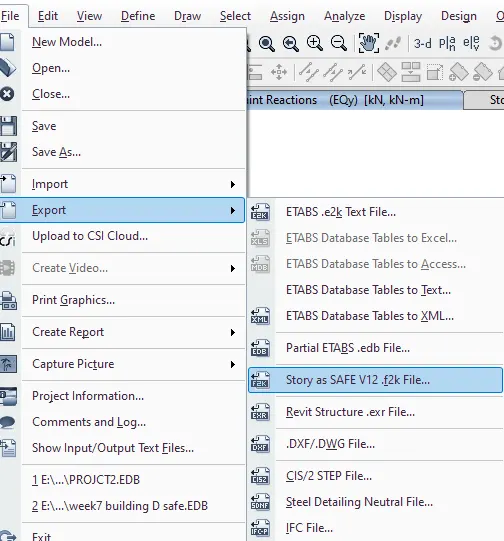
- Now go to file->Export->story as SAFE V12.f2k file(a new tab opens)
- select the base->export floor load and load from columns->select all the design combo and design cases
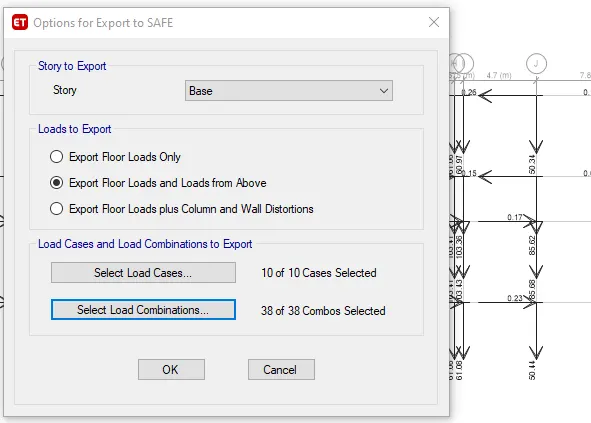
- click OK
CSI-SAFE
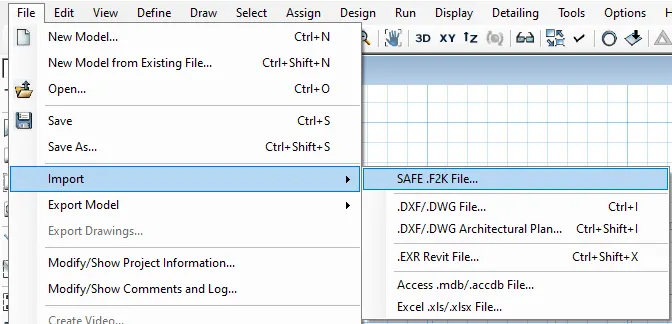
- Open safe software->Go to fille->Import-> safe .f2k file
- The file will be opened in the safe software with the grids location
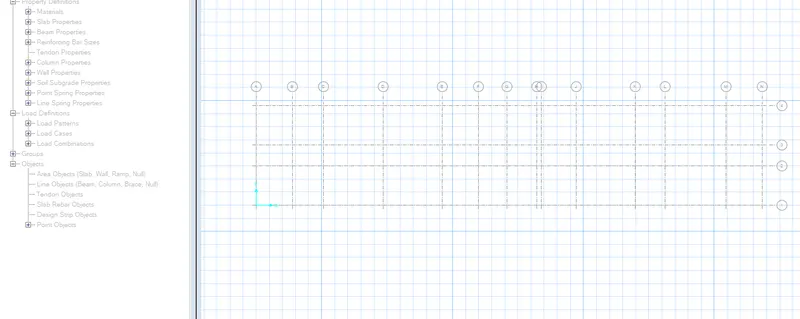
- //we don't have to enter the grid size and weights as it is already given from ETABS software
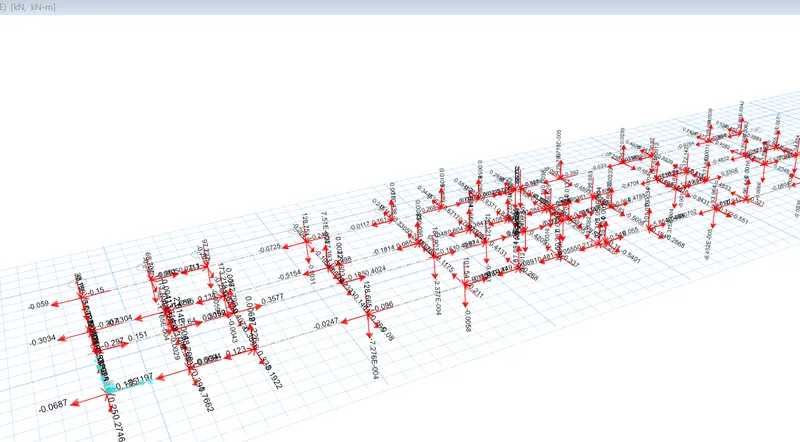
- Go to show loads->select "dead_above"and all the loads imported from Etabs will be shown in 3D view
- Now go to define->materials->add new materials
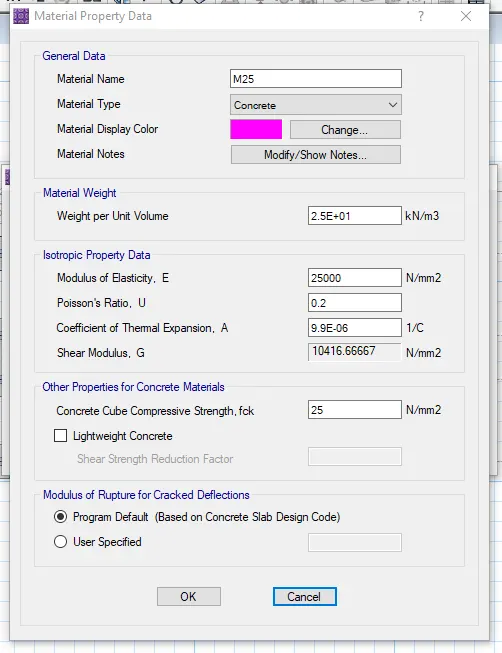
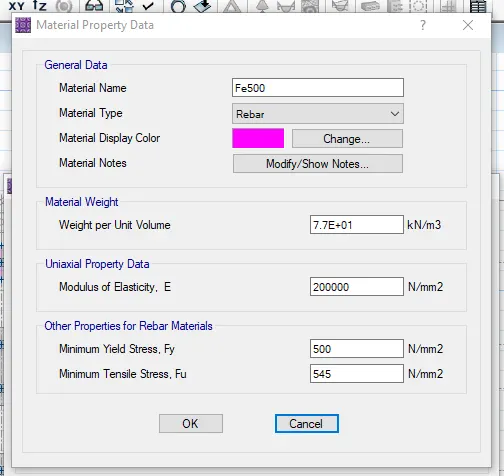
- define the M25,Fe500,Fe415 materials as done in Etabs
- //now we define slab properties
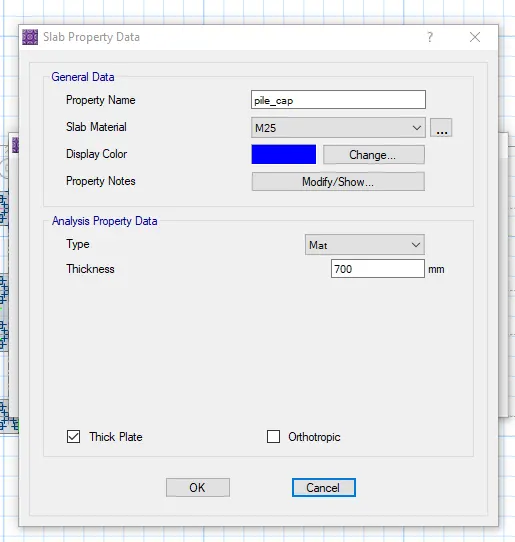
- Go to define->slab properties
- add new slab->add Pile_cap,Pile and Column slab with thickness of 700mm
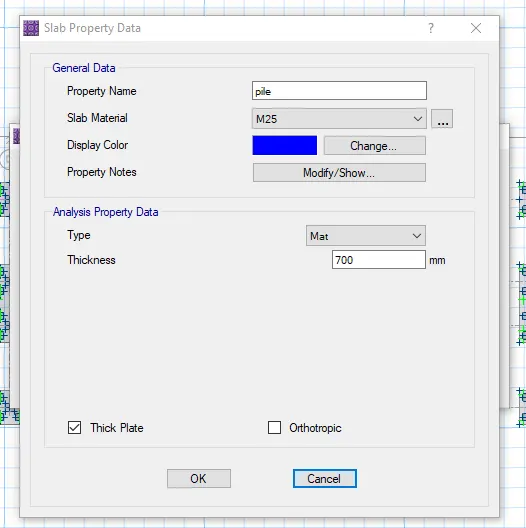
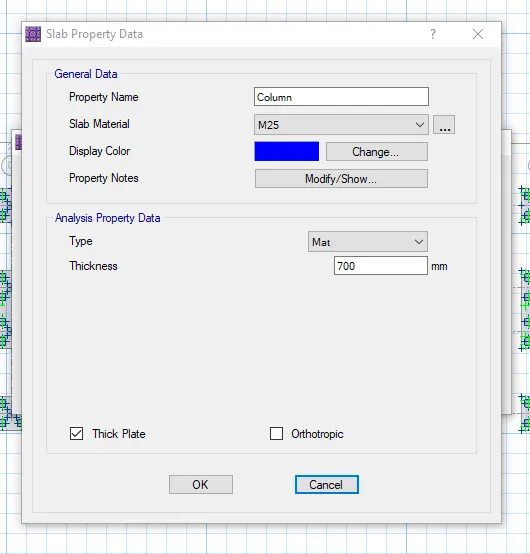
- Define->soil subgrade property->modify->enter the name and subgrade modulus
- SUbgrade modulus=FOS*SBC/allowable settlement [here FOS=3,SBC=150,allow. settle=50mm]
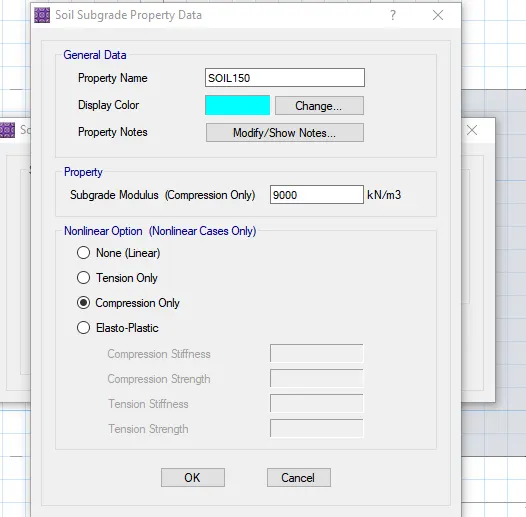
- Now we create the pile caps and columns
- Click on "Quick draw areas around points"->a new tab will open
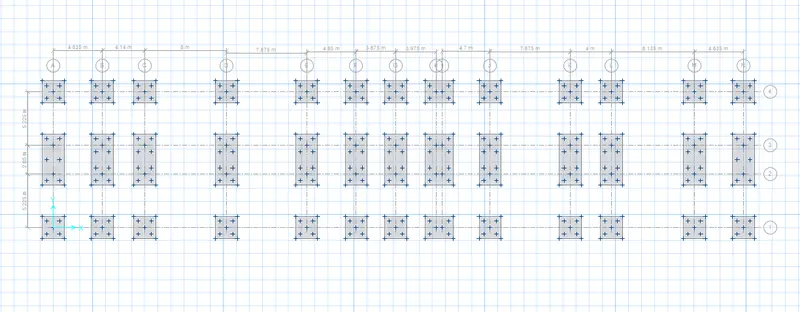
- select rectangular slab->property as "pile_cap"->enter the size of pile cap (2.15*2.15)
- Click on the grids where you want the pile cap //do for all the location of grids
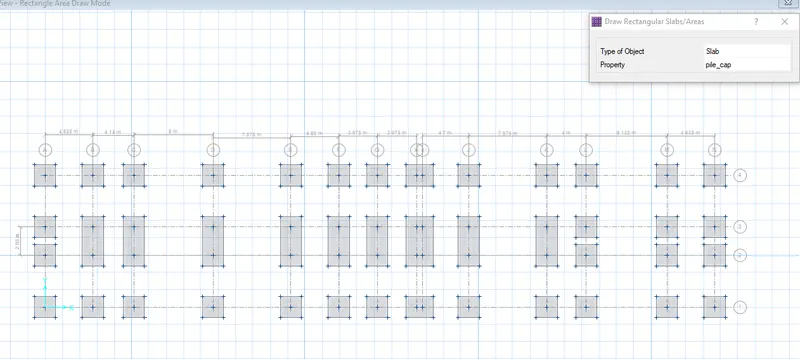
- Now we draw the point for Pile locate
- Draw->draw points->a new tab will open
- enter the location you want the points(i.e. =0.45 in X and 0.45 in Y direction )->click on the points you want
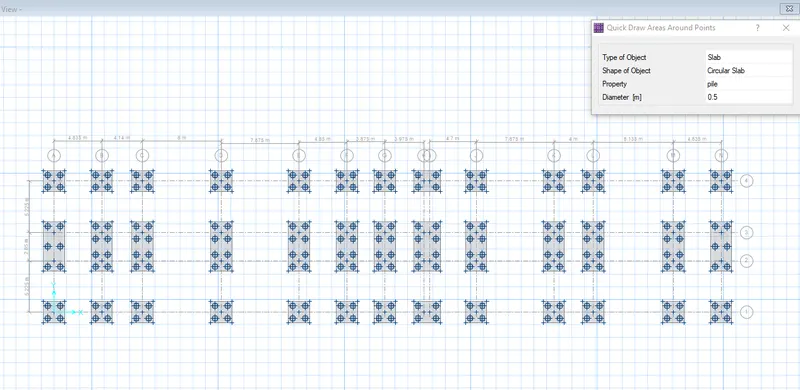
- Click on "Quick draw areas around points"->a new tab will open
- select circular slab>property as pile->enter the size of pile 0.5m dia->click on the place you want the pile
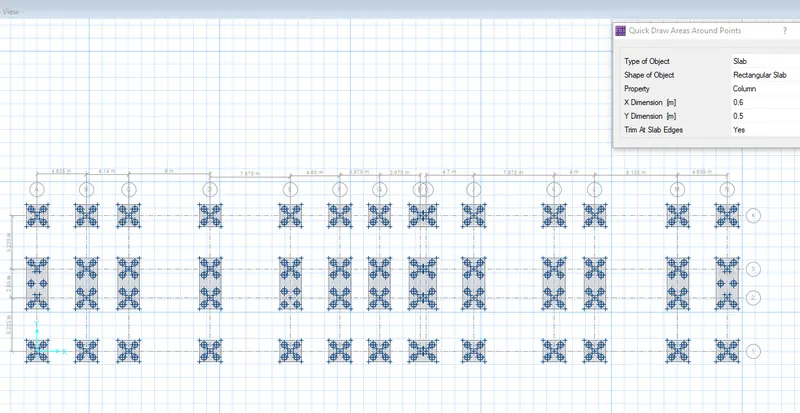
- Now similarly choose rectangular slab->property as "column"->enter the size of column and click on the center of the pile_caps
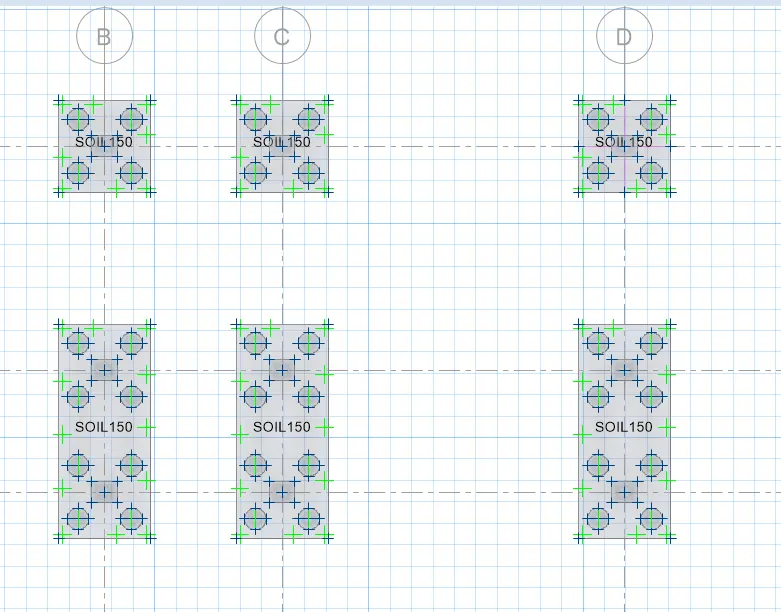
- click on the pile_cap area->Assign->support data->soil properties
- select the soil you created before SOIL150->click ok,Soil subgrade will be applied
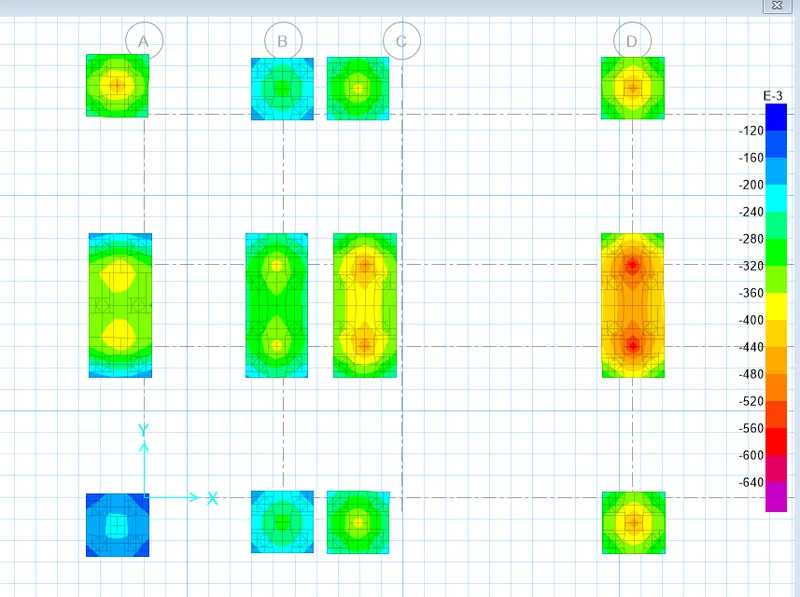
Below pic showing soil150 of B-D piles
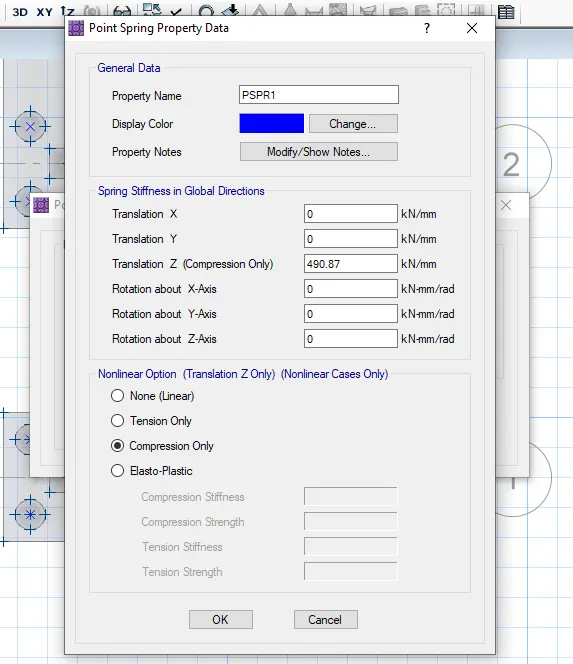
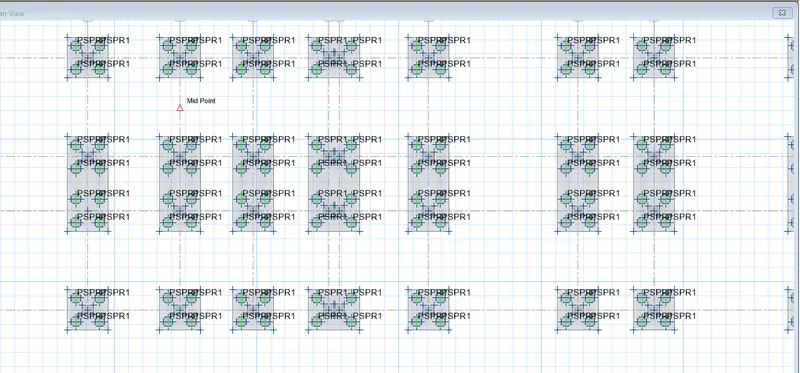
- Now click on the center of the piles-> go to assign->support data->point springs
- select the pspr1->modify ->enter the Z axiz value EA/L->point spring will be applied on piles
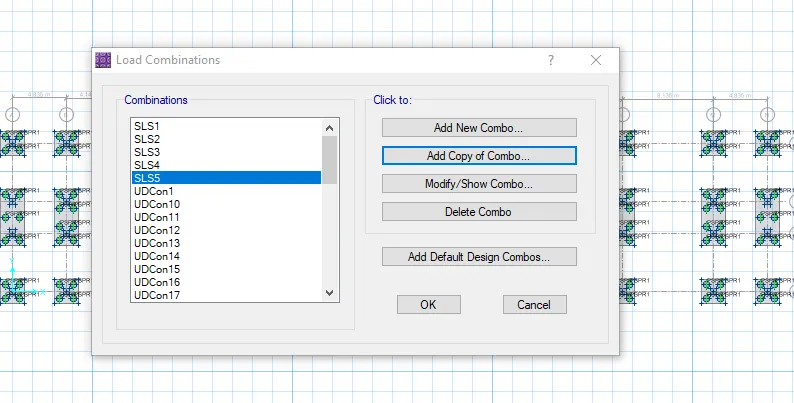
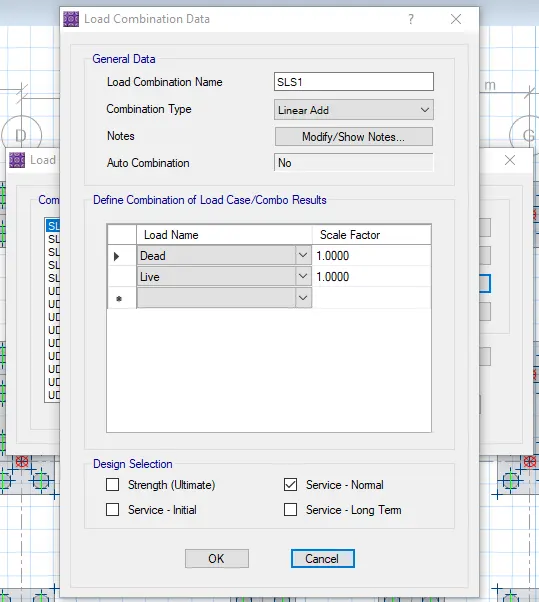
- Define ->load combination->add new combo
- add SLS1 ,SLS2,SLS3,SLS4,SLS5 with service normal
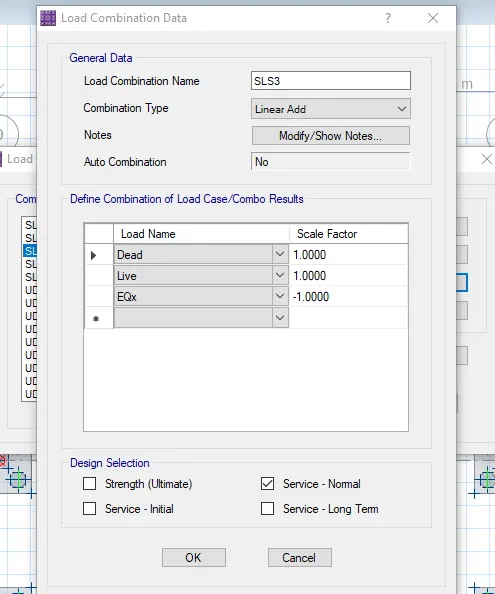
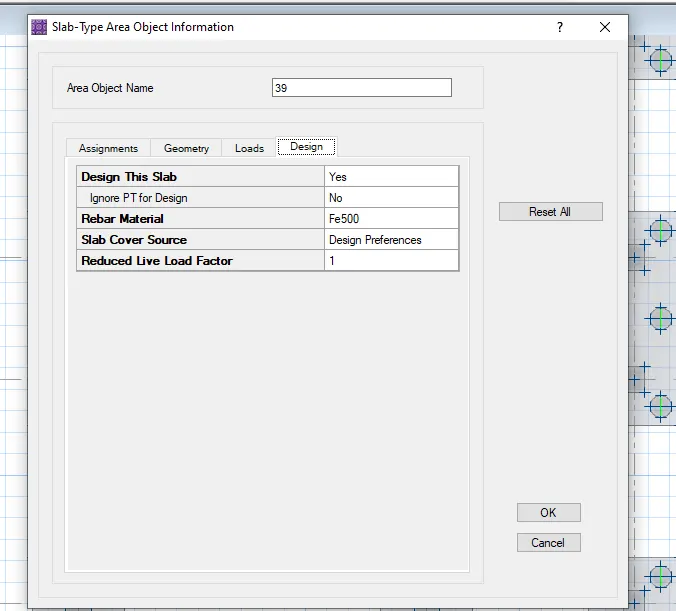
- right click on pile_cap,pile and COlumns and check for the rebar material->assign Fe500 for all
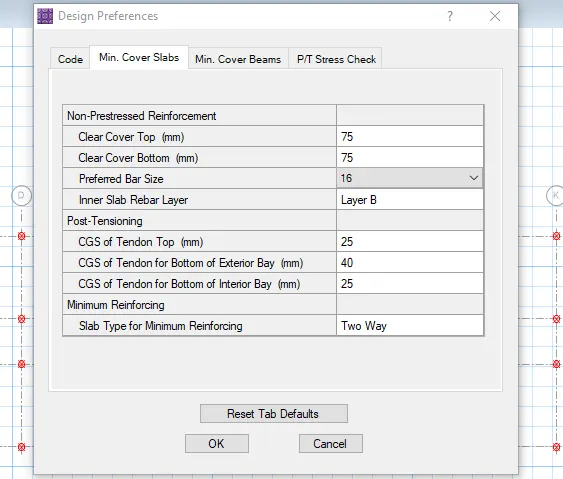
- Go to design->deisgn preference->IS 456:2000 ->provide minimum clear cover
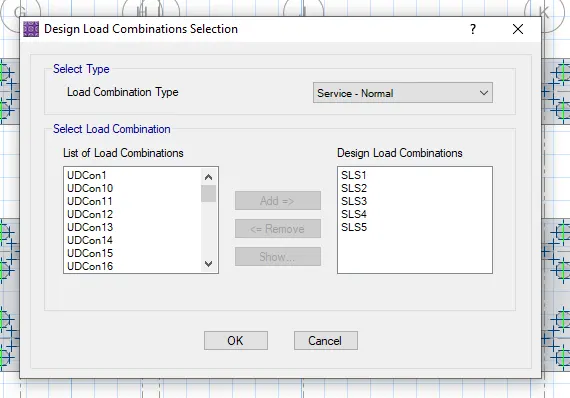
- Go to design combo->change combo to service-normal->click OK
- save the file->run the analysis
- It'll show the displacement of footing
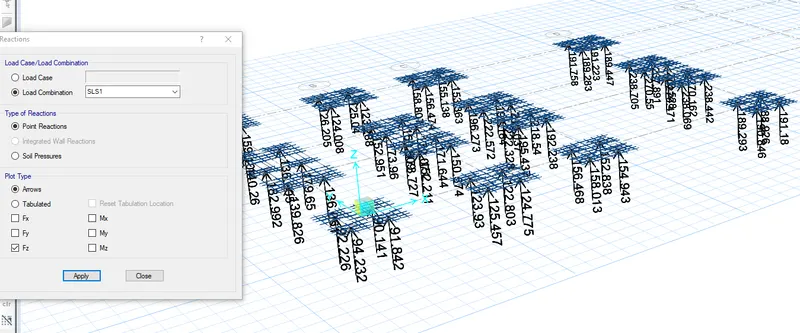
- Go to display->show reaction force->a new tab open(select SLS1 combination)->click OK
- Go to 3D view->the loads on each pile must be less tha Pile capacity i.e. 280KN
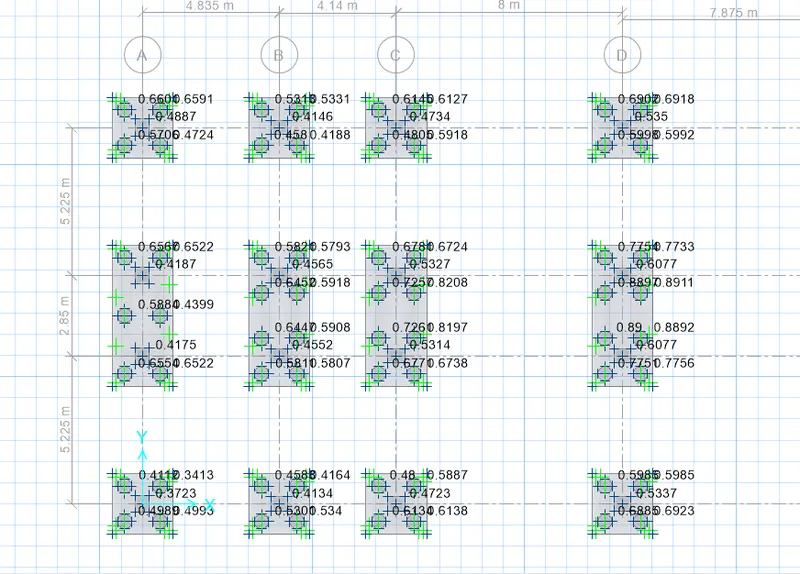
- Now go to Display->show punching shear ->The punchin shear value of each must be less than 1(if less then the depth of footing is OK)
- //now we design for the ultimate load
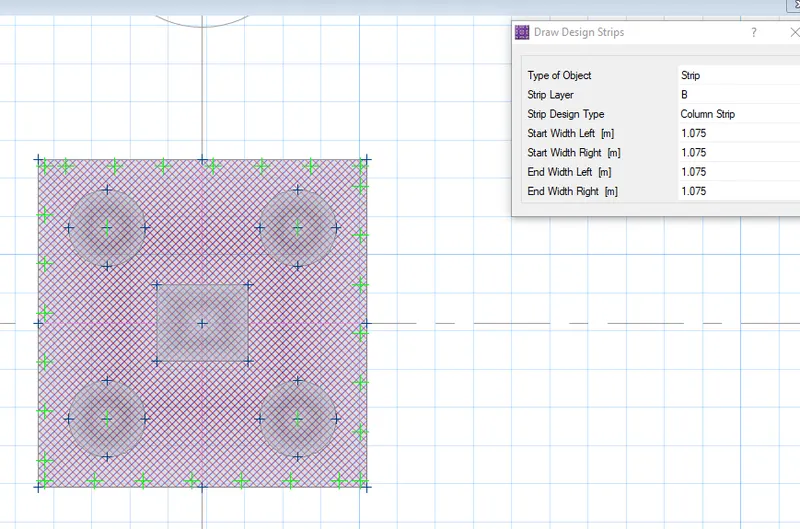
- Unlock the model->click on draw->draw design strips->a new tab opens
- enter the size of footing from the center to the edge of footing (do it for both strip A and B)
- draw the strip line in bothe axes->go to set display option
- show width->ok(it'll show the design strips)
The Design strips shown below is of K-4 footing
- Now go to design->design combo->change to strength-ultimate->click OK
- All UDScon combination wil be checked now
- Run the analysis->check the results
- Go to display->show slab design->a new tab will open
- select the strip layer you want to see the reinforcement of->it show the maximum reinforcement required for top and bottom
K-4 footing shown below
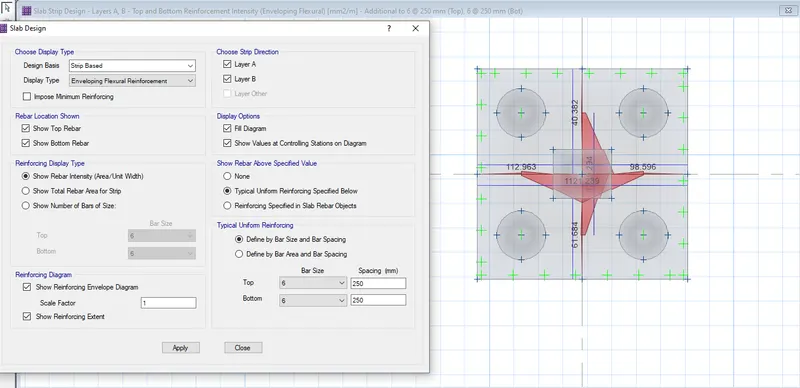
- From the software we can find out the bar requirements
RESULT:
- The Depth of footing is 700mm to be safe from the load reactions
- the footing is also safe from the punching shear because of sufficient depth of 700mm