Project 2_Creating a 3D rendered model for a Residential Building in AutoCad
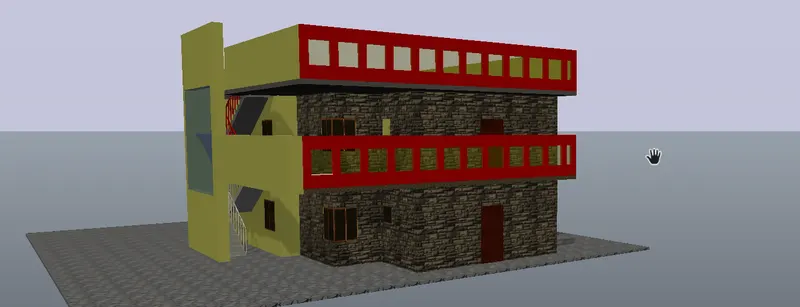
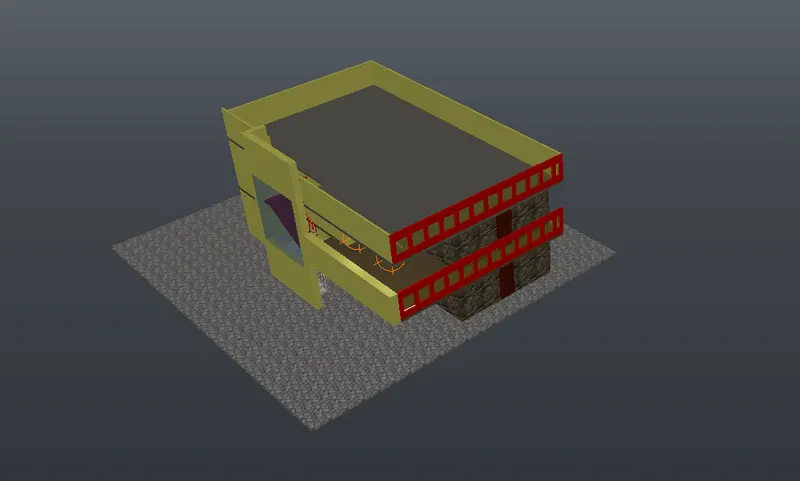
Aim: To create the a 3D rendered model for a residential building in the autocad.
Introduction:
A 3D modelling is a process of developing a mathematical coordinate based representation of any surfece of an object in three dimensions via specilized software by manipulating the edges, vertices, and polygons in a simulated 3D space. Three dimensions models represents the physical body using a collection of points in 3D space, connected by a various geometric entities such as triangles, lines, curved surfaces, etc. 3D model can also be displayed as a two dimensional image through a process called 3D rendering.
3D modelling is used in various field such as films, animation, gaming, interior desining and architecture. It is the representation of an any surface of an object in three dimensional. By drawing the 3 dimensional user can get more virtual image of their project. In 3 dimensions we work with z axis along with x axis and y axis. a 3D object hold mathematical information that can be used in the engineering analysis as a finite element analysis and computer numerical control.Shading and rendering can enhance the visualization of the object.
Commands used for the drawing:
- Units
- Limmax
- Xline
- Line
- rectangle
- fillet
- trim
- offset
- block
- insert
- Boundary
- Region
- Extrude
- Substract
- Material Browser
- Camera
- Light
- Render
Procedure:
Creation of Plan:
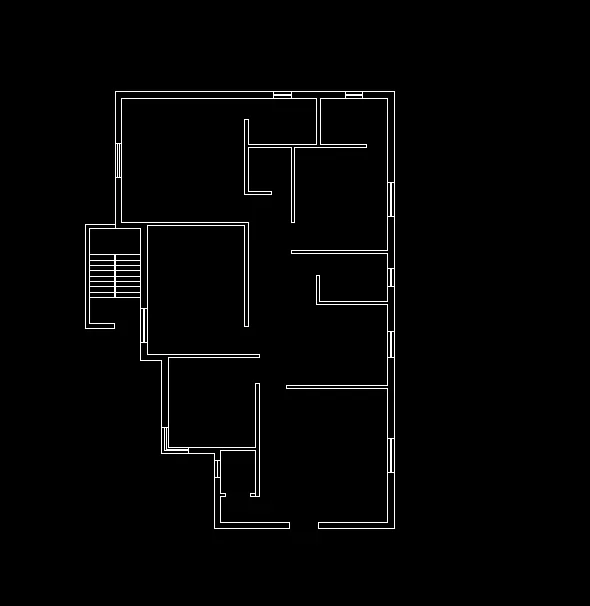
- Create the autocad new sheet select the imperial.
- Un enter select the engineering and select the precision value.
- Give the plot area of 70' x 50'
- By using the xline comand draw the horizontal and vertical line.
- Offset the horizonatal and vertical line by 9" inside.
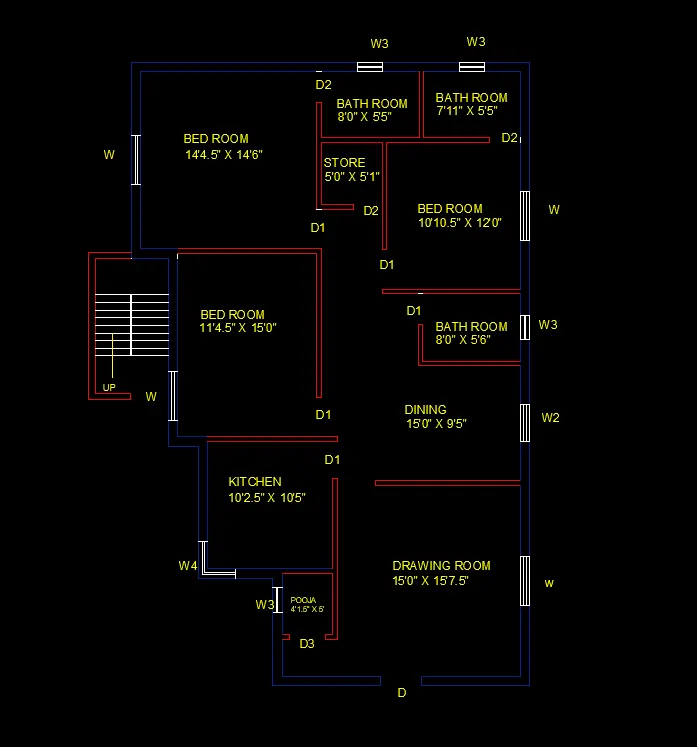
- offset the horizonatl line by 14'4.5" downward and vertical line by 14'6" in left side.
- Offset the vertical line by 4.5", 8', 4.5", 7'11" and 9"
- Offfset the top horizontal line by 5'5" downward and 4.5", 9'5", 4.5", 15'7.5", and 9" respectively
- Trim the unwanted lines.
- Offset the outer line of the bathroom by 12', 4.5", 8' and 4.5".
- offset the right side outer line of the bedroom by 5', 4.5" and horizontal line by 5'1".
- Trim the unwanted lines.
- offset the left side of the inner wall by 11'4.5" and 9".
- Offset the horizontal line 15', 4.5", 10'5", 4.5", 5' and 4.5"
- Offset the right side vertical line by 15', 4.5", 11'4.5" and 9".
- Trim the door openings.
- Window is created and converted into block and placed at the required position.
Creation of 3D model:
- From the status bar select the workspace to 3D modelling.
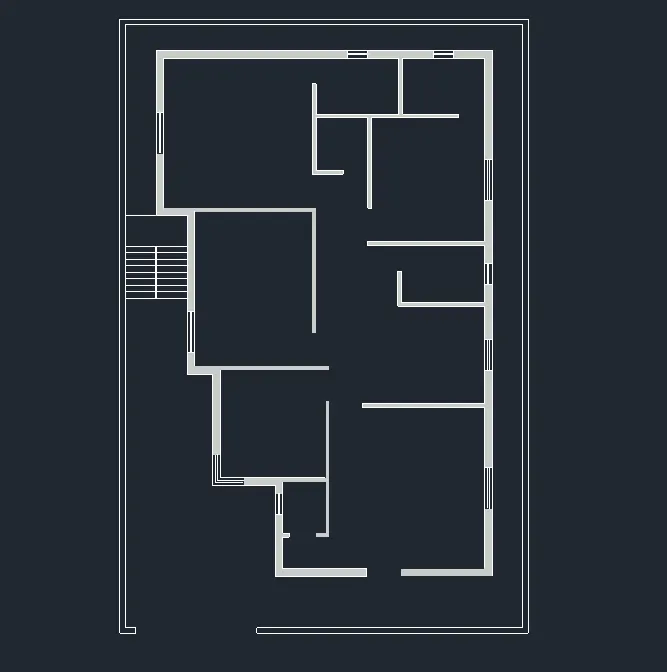
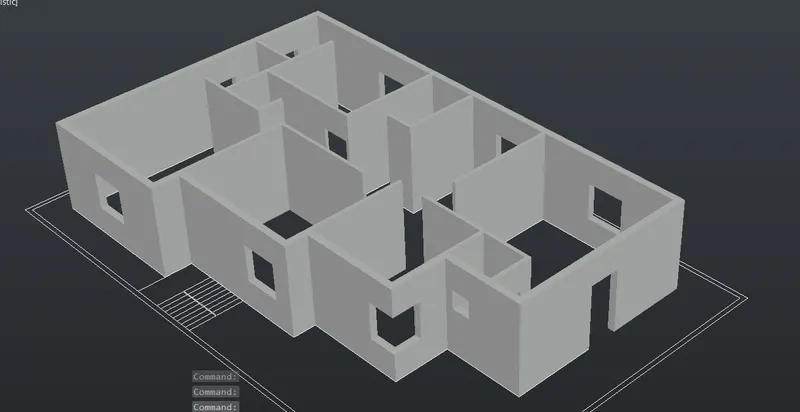
- By using the boundary command the solid surface is created.
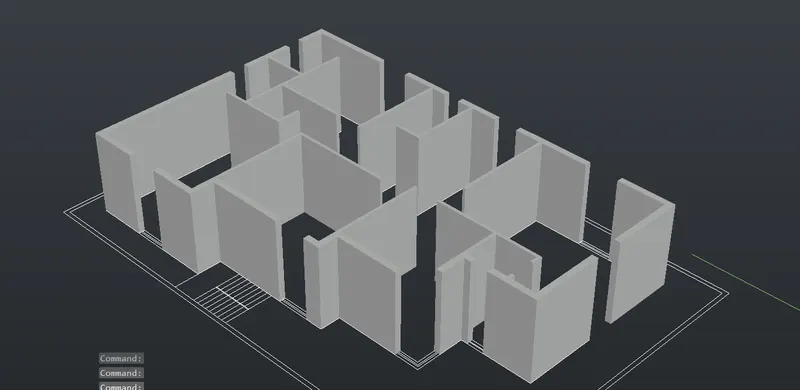
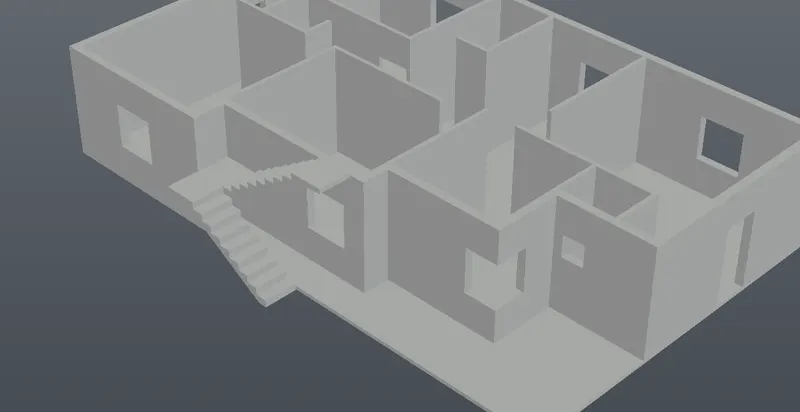
- By using the extrude command solid box is created of the height 10'.
- At all the openings like window and doors also by using the extrude ioption wall is created.
- select the 2D wireframe and create the rectangle at the windows and by using the region command the solid surface created.
- Move the window solid surafce the require position from the ground level and extrude at height of the window.
- By using the union command all wallls are combined.
- By using the substract command the window opening is created.
- Like above procedure all windows and doors openings are created.
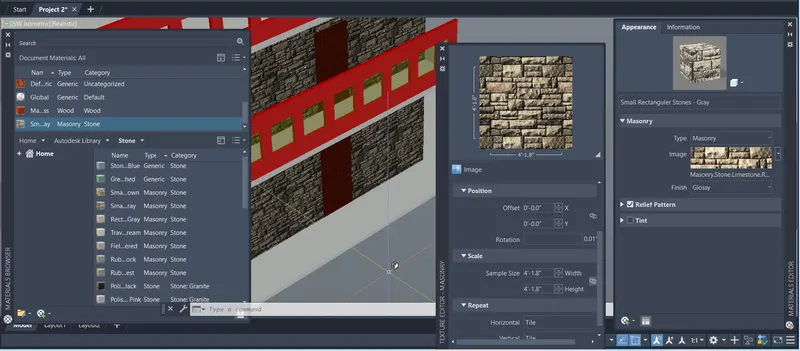
- From the ribbon select the visualize select material management .
- Select the required material to be mapped to the surface.
- For the front wall Small rectangular stones gray is selected.
- Point lights are created.
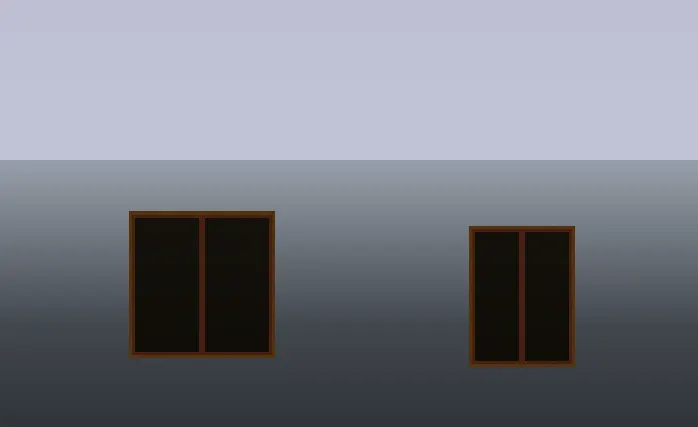
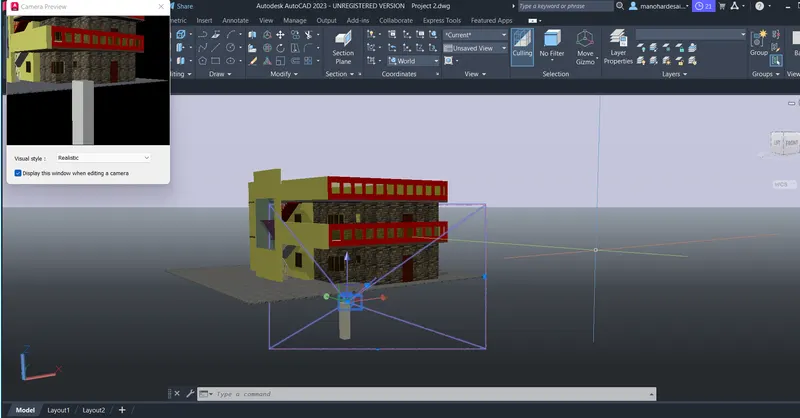
- The camera created at 5'2" height above and give the name as cam1.
- From the visualize select shadows on, create the required environment.
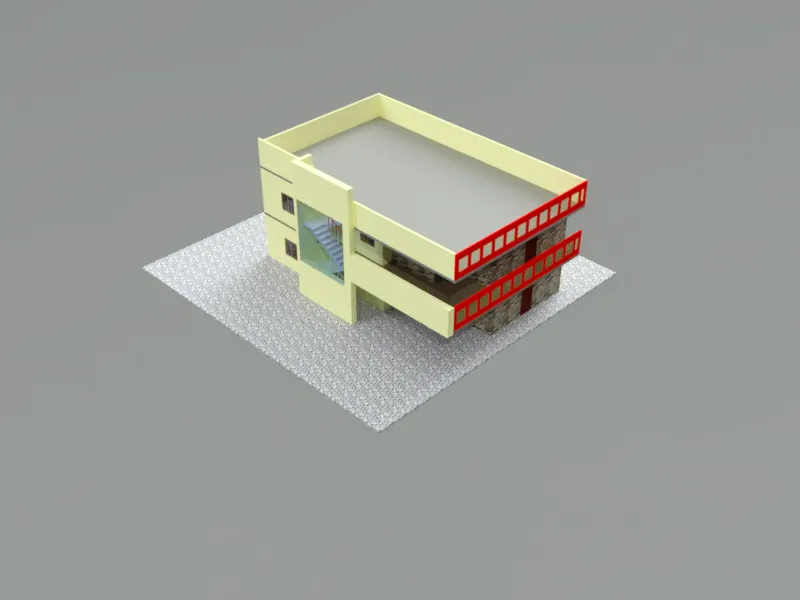
- Rendered the object.
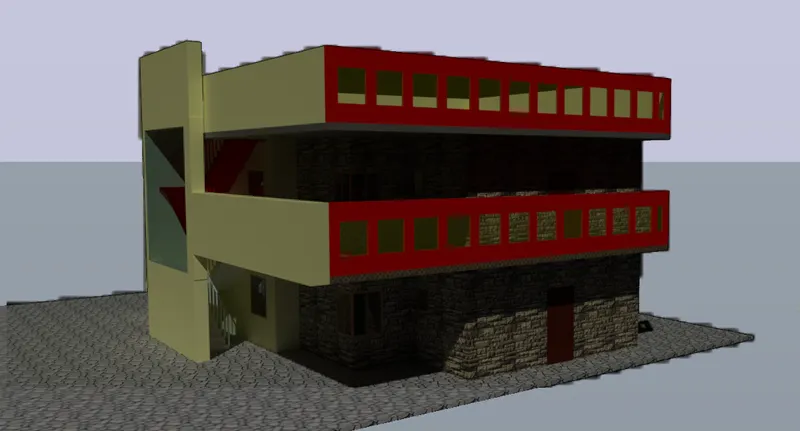
Result:
The 3D rendered model is created for the plan. which gives the virtual image of the project.