Creating a Residence Layout, Seating plan, Toilet and Utility room plan using AutoCad
Aim : To draw residence plan, seating plan for outdoor canopy and plan for toilets and utilities by using the autocad.
Introduction :
The commands like line, rectangle, circle, offset, trim, fillet, layer, array etc. are used to draw the plan for the residence plan, seating plan for outdoor canopy and plan for toilets and utilites. the autocad is widely used by the enginners and the architects.
Residential Layout
Procedure :
- Enter the QNEW in the command box select imperial select the advance setup.
- In advance setup select engineering and select the precision.
- Type limmax in the command box and enter the 35' , 50' and Z enter and A enter.
- Enter un select the inches.
- Type XLINE enter draw the line along the vertical and along the horizontal.
- type O enter and enter the offset distance of 9" for external wall along horizontal and vertical.
- O enter offset distance of 6' enter and select the object in upward direction.
- Enter offset distance of 4.5" and select the object in upward direction.
- Trim the unwanted line line
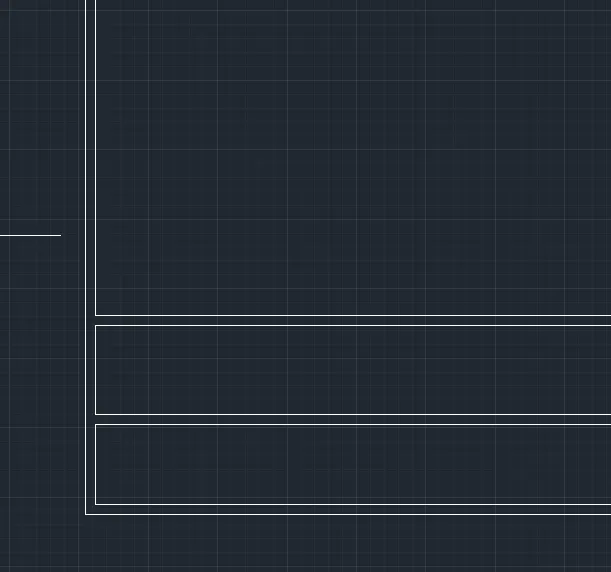
- enter the offset distance of 6'8" enter and select the object to offset.
- double enter then type the offset distance of 11'-0" select the object enter.
- Enter the offset distance of 4.5" and select the object and enter.
- trim the unwanted line by the command tr.
- O enter type the offset distance of 4'-6" enter and select the object enter.
- Enter offset distance of 4.5" enter select the object enter.
- enter offset distance of 12"-0" enter slect the object and enter.
- Enter offset distance distance 9" enter and select the object.
- Trim all unwanted lines.
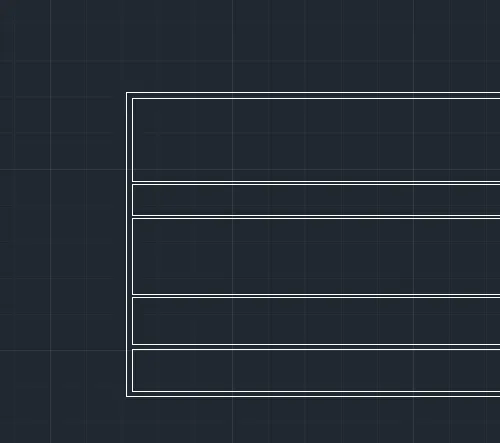
- O enter give the offset distance of 11'-7.5" enter select the top vertical object enter.
- Enter give the offset distance of 4.5" enter select the object enter.
- Enter give the offset distance of 11'-6" enter select the object enter.
- Enter give the offset distance of 9" enter select the object enter.
- trim all unwanted lines.
- O enter give the offset distance of 8'-3" enter select the toilet vertical object enter.
- Enter give the offset distance of 4.5" enter select the object enter.
- trim all unwanted lines.
- O enter give the offset distance of 12'-0" enter select the top right vertical object enter.
- Enter give the offset distance of 4.5" enter select the object enter.
- Enter give the offset distance of 4'-6" enter select the object enter.
- Enter give the offset distance of 4.5" enter select the object enter.
- Enter give the offset distance of 11'-0" enter select the object enter.
- Enter give the offset distance of 9" enter select the object enter.
- Enter give the offset distance of 13'-9.5" enter select the object enter.
- trim all unwanted lines.
- O enter give the offset distance of 8'-1.5" enter select the 2nd toilet vertical object enter.
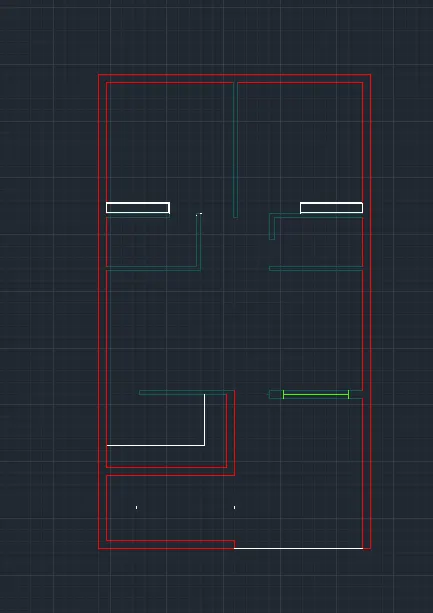
- Trim the all doors from the walls.
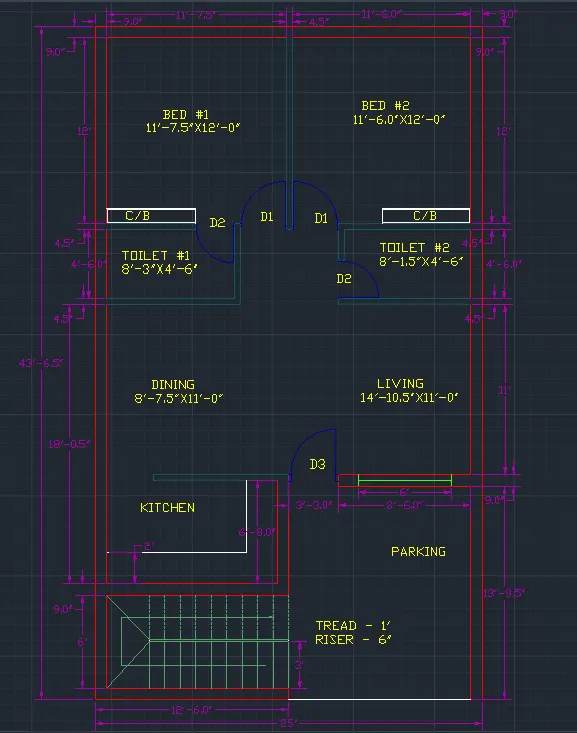
- provide annotation and text.
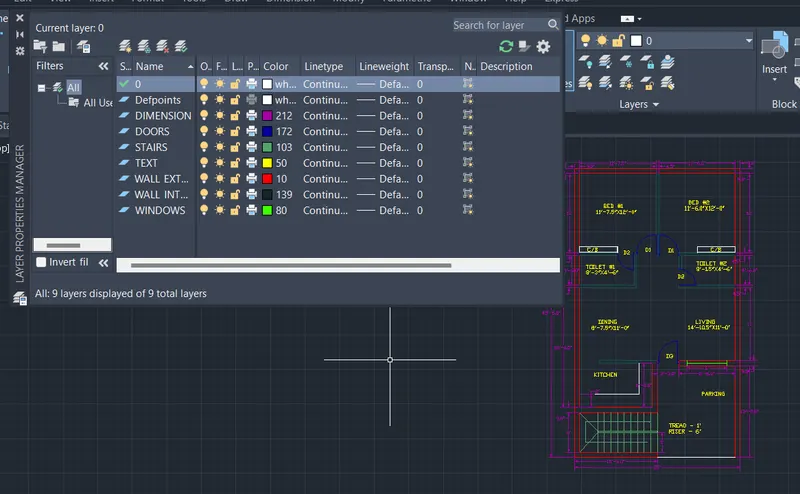
- Create the layers like dimensions, doors, stairs, text, wall external, wall internal and windows.
- Select the all external wall drop down layers select the wall external like this all layers are created.
2. Seating plan for outdoor canopy
- Enter the QNEW in the select imperial select the advance setup.
- In advance setup select decimal and select the precision as 0.0.
- Type limmax in the command box and enter the 1500, 1500 and Z enter and A enter
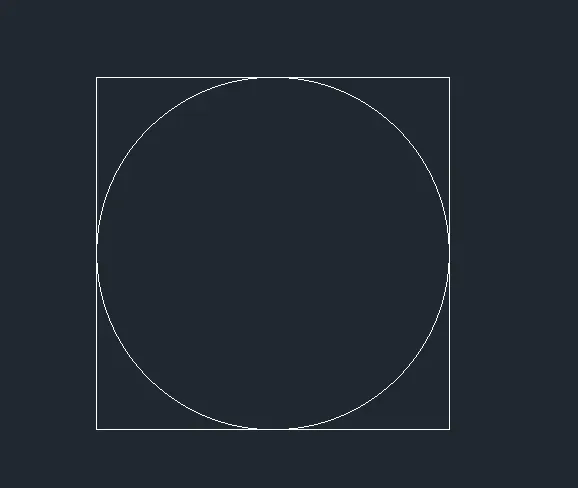
- Draw the rectangle of the size equal length and width of size 400 units
- Draw the circle with diameter of 400 units with centre as the geometric centre of the rectangle.
- Trim the excess lines
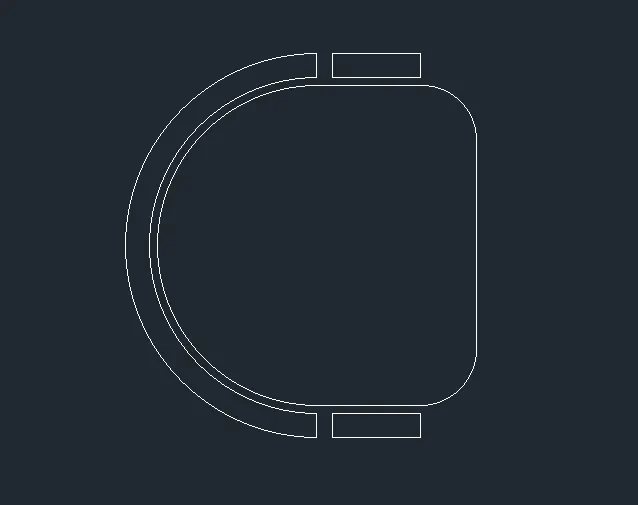
- selct the fillet and give the radius of the fillet as 70 units select the object to fillet that is the corners of the rectangle.
- Enter O give the offset distance of 10 units and select the arc enter.
- Enter give the offset distance of 30 units and select the arc enter.
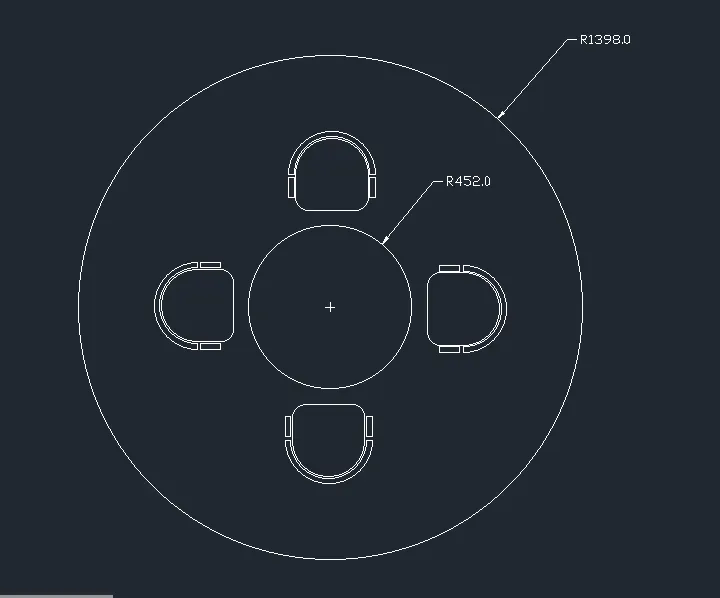
- Draw the circle of the radius 1398 units.
- Draw the another circle of the radius 452 units with centre same as the above circle.
- M enter slect the seating chair enter move inside the circle as shown in the figure.
- select the polar array from the ribbon select the object and give the centre.
- Give the number of the array as the 4.
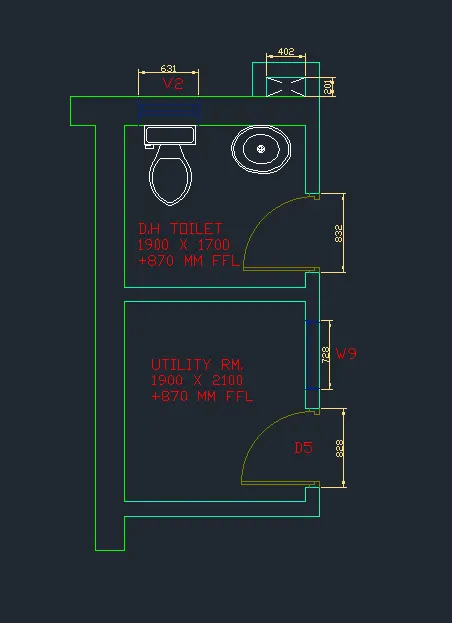
3. Toilet and utilities room
- Enter the QNEW in the command box select metric select the advance setup
- Type limmax in the command box and enter the 2500 , 4500 and Z enter and A enter
- Type XLINE enter draw the line along the vertical and along the horizontal.
- type O enter and enter the offset distance of 150 for internal wall along horizontal and 300 for external wall along vertical.
- O enter offset distance of 2100 enter select the object enter.
- Enter type offset distance of 150 enter select the object enter.
- Enter type offset distance of 1700 enter select the object enter.
- Enter type the offset distance of 300 enter select the object enter.
- Enter type the offset distance of 1900 enter select the vertical wall enter.
- Enter type the offset distance of 150 enter select the vertical wall enter.
- Trim the all unwanted lines.
- Draw the line on the internal wall of the utility room. make the offset of distance 828 mm and trim the vertical lines.
- Draw the another line to the vertical internal line and make the offset distance of 832 mm and trim the vertical lines of internal wall.
- select the line command select the starting point as top right corner and give line of length 201mm vertical y axis.
- Offset this line with the offset distance of 402mm. join these two top corner by line.
- Offset these all lines by 150 mm.
- Give the dimensions and text to all walls and rooms.
- the sink and toilet are selected as DC enter sample enter en-us enter design centre enter house design.dwg enter blocks select toilet snd sink enter ok.