Project 2_Creating a 3D rendered model for a Residential Building in AutoCad
AIM: Create a 3 dimensional model of the residential building with a rendered view.
PROCEDURE:
copy the floor plan and elevation from challenge 8 . turn all the layers off except wall select the wall area as boundary and make it a region
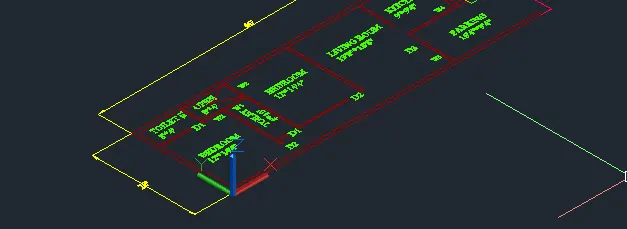
then extrude it 10' according to the height in the elevation.
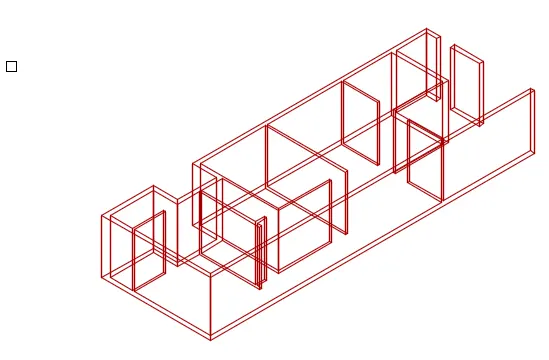
then turn on the doors and windows layer and give command box select the cornrers of the windows and extrude it to the height of windows similarly from the above draw the walls and union it.
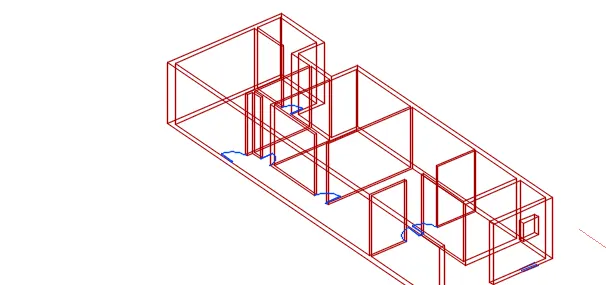
similarly draw the walls and union it.
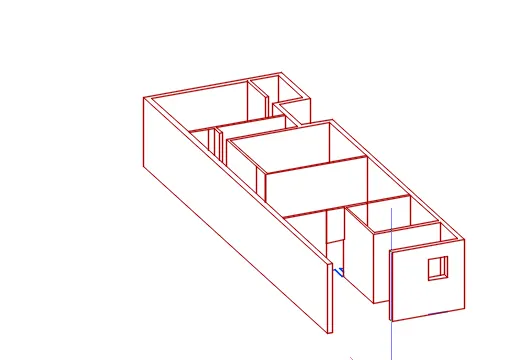
then go to the front elevation rotate it by the 3d rotate command . create three layers window glass window frame and window vermilion similarly create 3 layers for door
copy the window from the elevation and ungroup it then extrude the frame by 9" and the vermilion by 4.5" and the window glasses by 3" and subtract them in their respective layers and move then group them and move them to the drawing.
similarly do that to the doors.
then create alayer floor and projection select ucs according to the floor and then give command box and draw the box in the plinth level and give height 9". and then select the ucs according to the wall and draw a rectangle for projection in projection layer and extrude it.
then copy the wall area to above for the first floor give box command and draw a box for wall area in the parking area in 1st floor and union it. and draw the floor on top of it in the flooring layer using the floor ucs and box height 4.5" in the inner wall areas.
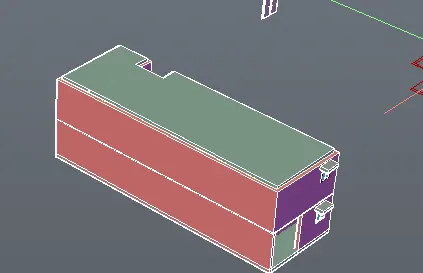
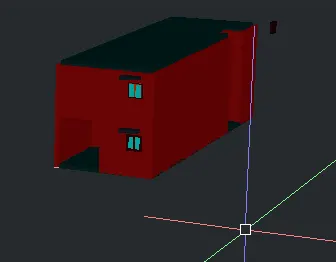
then give the polysolid command give height 4'and width 9" and justify right and draw the polysolid in the wall area bhy selecting all the corner points of the floor.
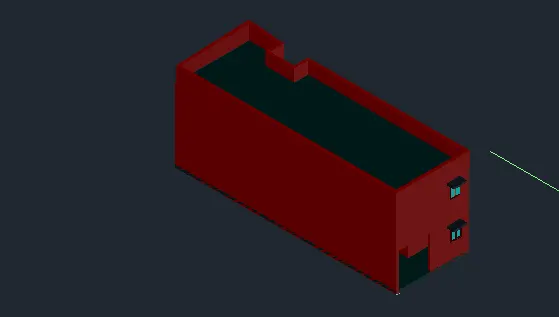
now the model drawing is complete now the rendering part.
for that draw a rectangle around the area of the house from where it is to be rendered and where the camera is to be placed . make it a region and extrude it by -4.5"
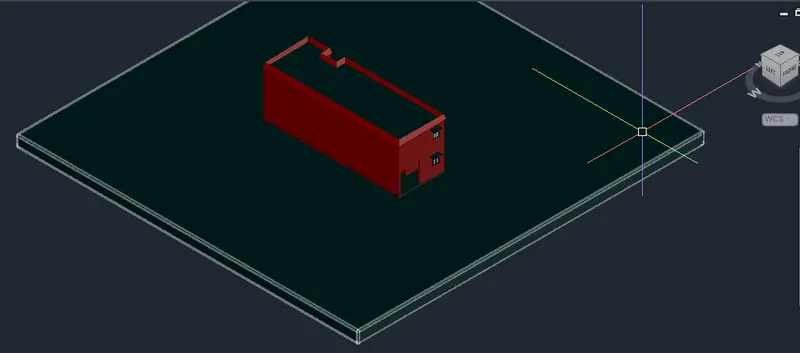
then draw a cylinder and give cam view command and place the camera on the cylinder give height 10' and select the target and give lens 50mm . and then press enter now remove the cylinder.
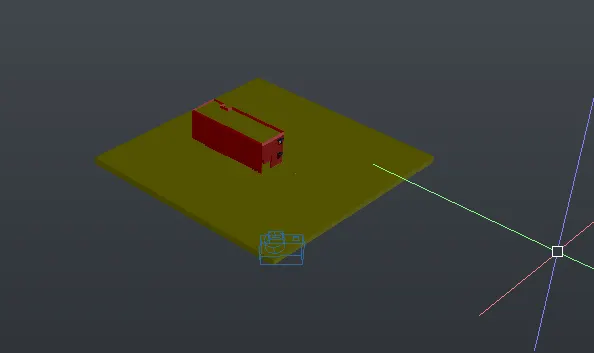
and set the view of the camera as camview 1 and also create one more camera view as cam 2 for the front elevation
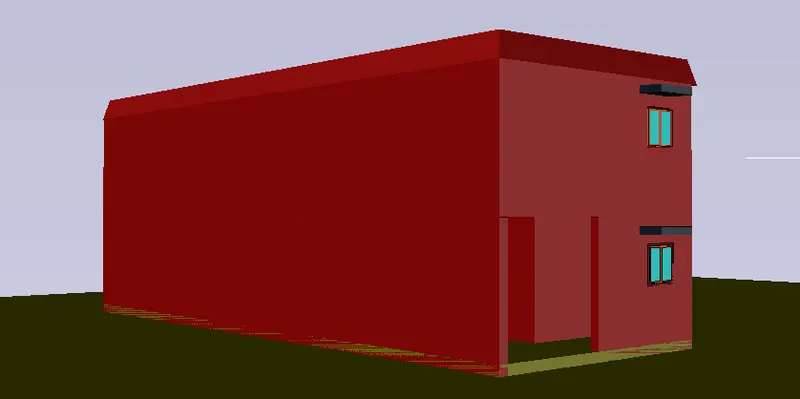
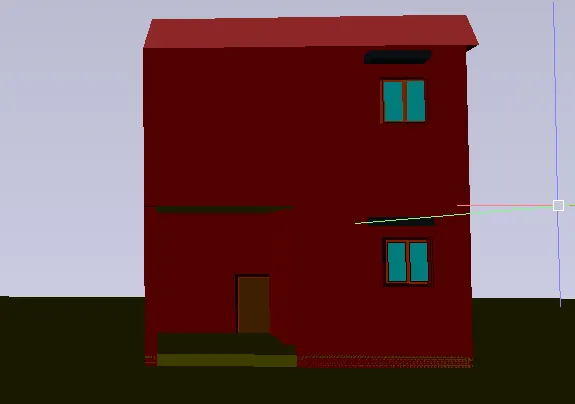
then give the lights and set the height of the cylinder as any and place the light then give the intensity of the light as 1 and press enter then erase the cylinder.
then set cam 1and 2 view as current.
then go to the material mapping give rmat command and start assigning to materials to the components .
give different materials foor door frame and wood windows frame ,glass and vermilion ,walls parapet ,projection and flooring.
then set the background as sky and shadow as full.
view from cam 1 and 2
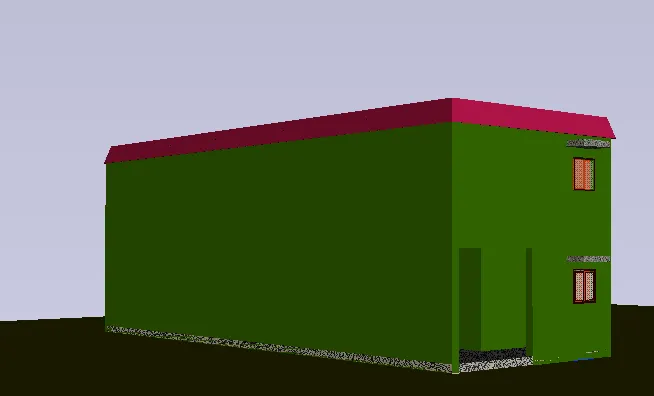
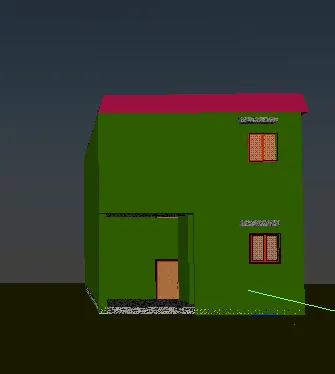
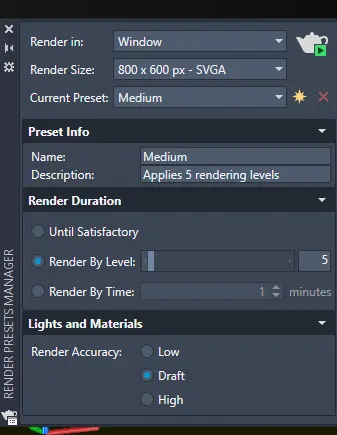
then go to the render gallery and render the views select exposure and environment on.
select these options
'
render view of the cam view 1
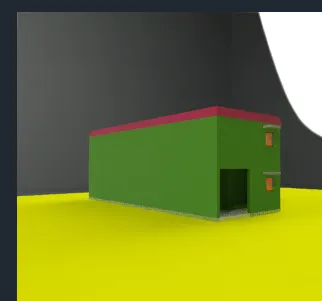
render view of cam view 2.
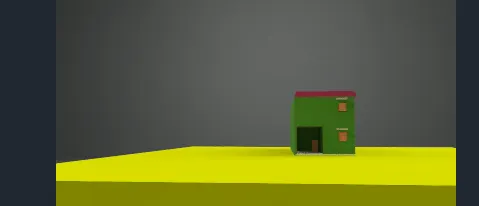
RESULT: