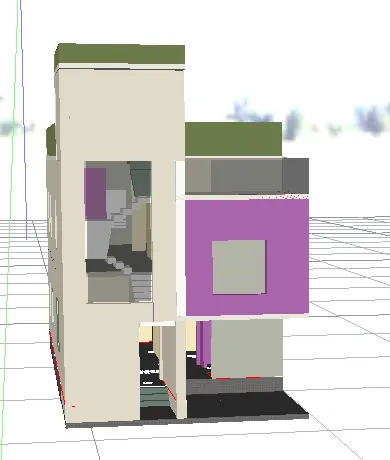
Project 2_Creating a 3D rendered model for a Residential Building in AutoCad
Aim:- To use AutoCAD to construct a three-dimensional, rendered model of the residential structure.
Introduction:-
The act of turning 3D objects in a scene into a raster image is called rendering. A renderer is used to determine how an item will appear with material attached to it, as well as how lighting and shadows will be generated depending on where the lights are located in the scene.
Environmental and exposure settings can be adjusted to control the final rendered image. The basic rendering workflow is to attach materials to the 3D objects of a model, place user defined lights, add a background and start the renderer with the RENDER command. Lights and materials can be added to a 3D model before a photorealisitic image is rendered.
Rendering quality can be changed by using the cameras, sunlight different types of lights like point light, spot light, distant light etc. Using these commands properly can improve the rendering to a great extent
procedure:-
- Go to 3D modelling in AutoCAD after opening it.
- Initially, the drawing's units were set to decimal (mm).
- Set the drawing's boundaries now
- Now, using commands like line, offset, trim, and so on, make a 2D layout for a home building.
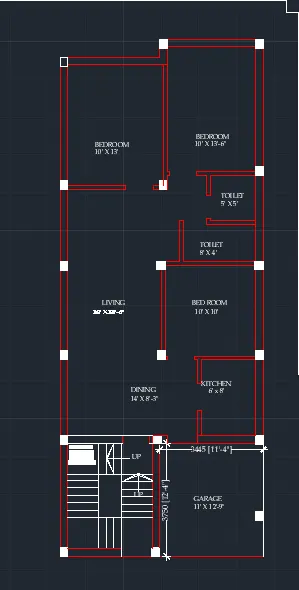
- Now, use AutoCAD's lines, offset, trim, and other required tools to generate the elevation of the same.
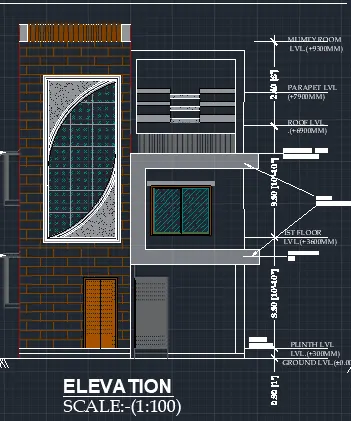
- We now need to make a 3D model of the same.
- To switch to a 3D modelling workspace in the options for this.
- Now make separate copies of the plan.
- Next, make all the required layers, such as 3D windows and walls.
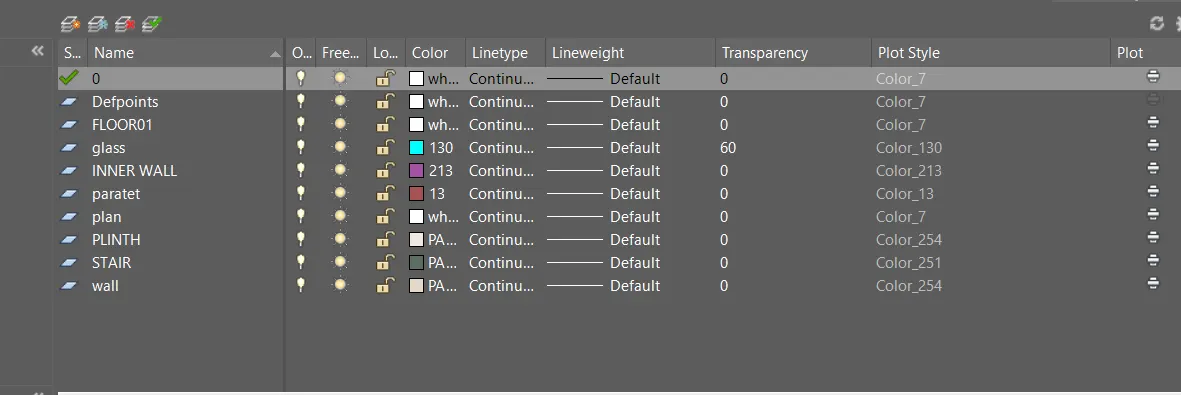
- Now, copy the first floor plan and create the boundary region.
- Then extrude the 3D wall leaving the space for the windows.
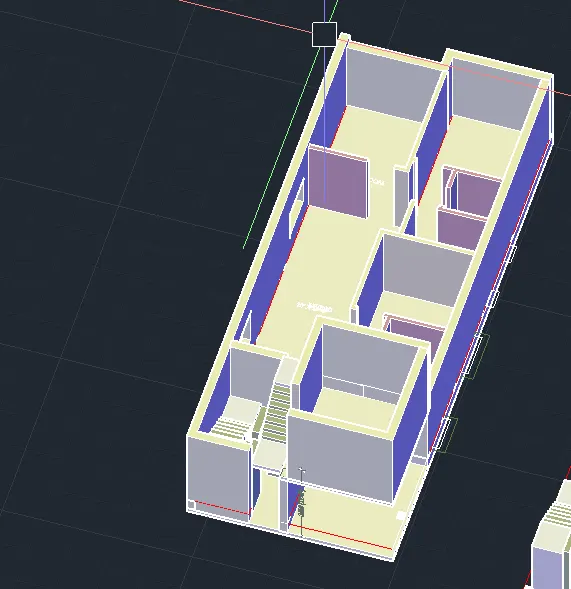
- Now design a rectangle to represent the ground floor, then create a region and extrude it down to a depth of 600 mm.
- Make the windows and doors now.
- Go to the elevation and copy the whole elevation next to it for that purpose.
- The doors and windows are then kept in the duplicate elevation.
- Subtract then the window's inner part.
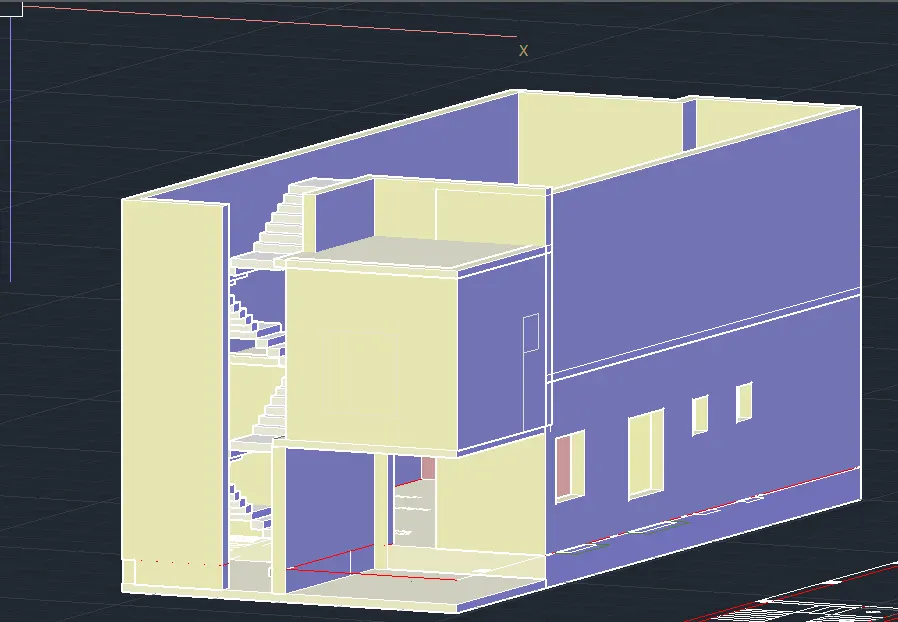
- We now need to work on the staircases.
- The step plan can be used to create this.
- In order to do this, first select the boundary command,
- make an area for each step, and
- then extrude it to the appropriate height—150,
- then copy the steps above one.
- Now, we have to create the floor for the first floor i.e the roof for the ground floor.
- For this go to the plan and choose the plinth layer and create a rectangle as per the inner dimension of the wall.
- Then cut the portion where there is staircase.
- Then the remaining portion is converted to region and is extruded.
- Next, this is positioned over the built ground floor.
- Put the first storey over this, please.
- Now position the roof above the ground level.
- This is carried out in the same manner as the plan's ground floor version.
- The parapet above the roof must be built next.
- This is also produced using the plan.
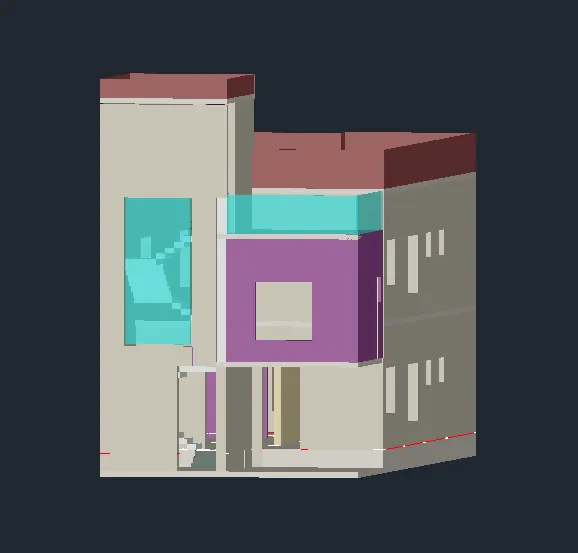
- The application of materials comes next. This is accomplished using the material browser in the ribbon's Visualise panel.
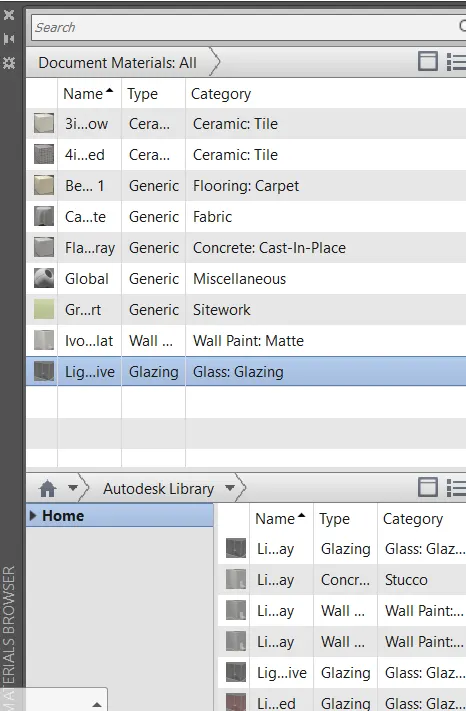
- The following stage involves rendering; to do this,
- we must move the camera to gain a better view,
- which we will refer to as camera1 and render as a realistic picture.
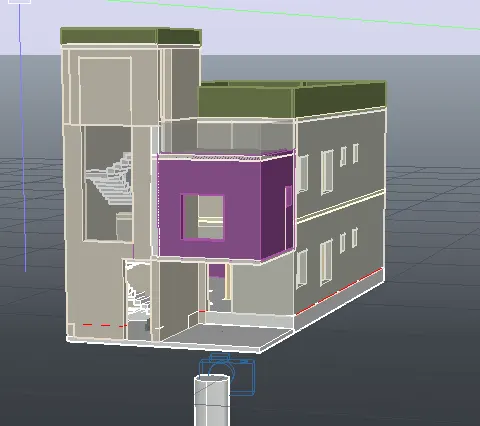
- Next, add a background of the sky.
- The light in the sun is kept on.
- The full shadow is selected.
- There is also distant light available.
- Then, we have to set the environment and expose settings before we can start the rendering process.
- Setting the render preset is the last step.
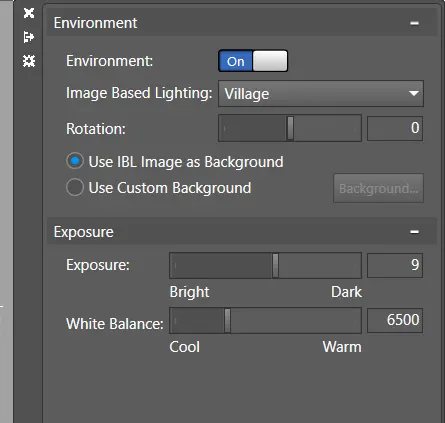
- The rendering process then starts.
- The following is how the rendered image is obtained:
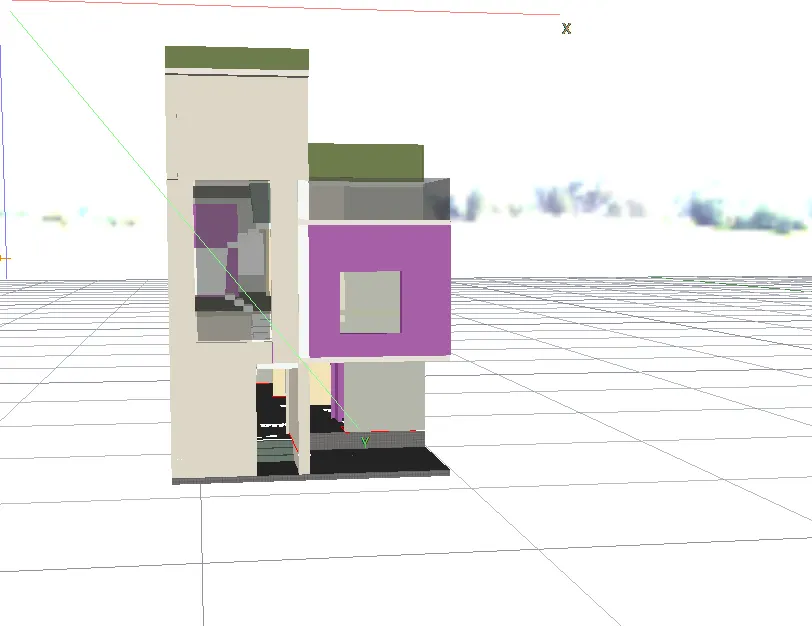
Outcome:
The following is a 3D produced representation of a two-story building based on the plan and elevation created:
Plan:
Elevation:-
3D Rendered Model: