Project 2_Creating a 3D rendered model for a Residential Building in AutoCad
AIM OF THE PROJECT :
Creating a 3D rendered model for a residential building in Autoacad.
The main aim of this project is to create a plan in 2D and convert it into 3D, and rendering using Autocad
COMMANDS USED :
FOR CREATING A PLAN IN 2D
Line
Construction lines
Offset
Rectangle
Circle
Trim
Copy
Mtext
Move
Fille
COMMANDS USED IN 3D MODELLING :
Layers
Extrude
Explode
Boundaries
Region
Sweep
Copy
Move
Union
Group
Subtract
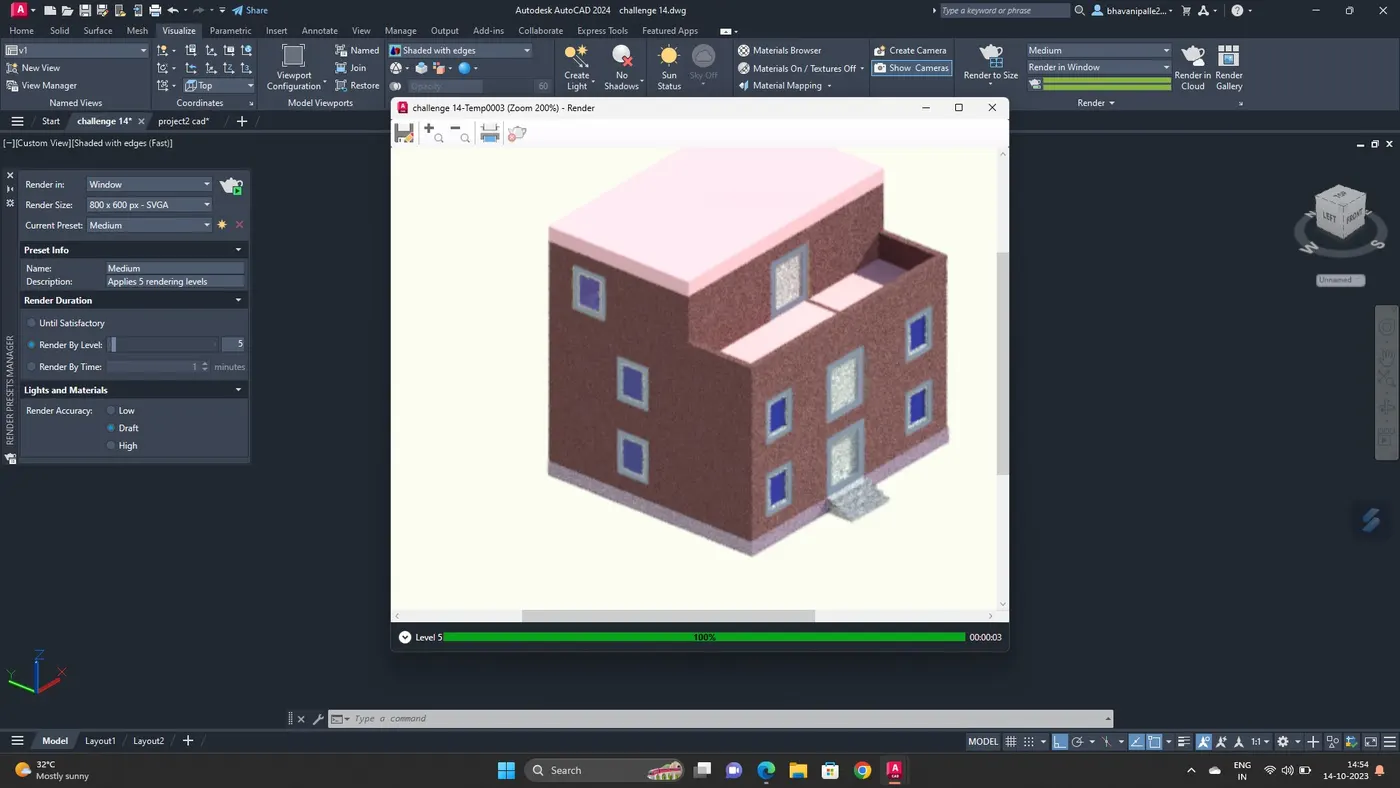
Rendering
PROCEDURE :
Command:UN
Set units in metric(decimal)
Set limits
Create layers
Set current layer as wall
Draw the plan
By using construction lines external walls are created
Fillet the lines
Give offset Distance 300mm for external walls
By using line command draw the plan
Give internal wall thickness as 250mm
Trim unwanted lines
Draw windows
By using multitext command give text to the plan as shown in fig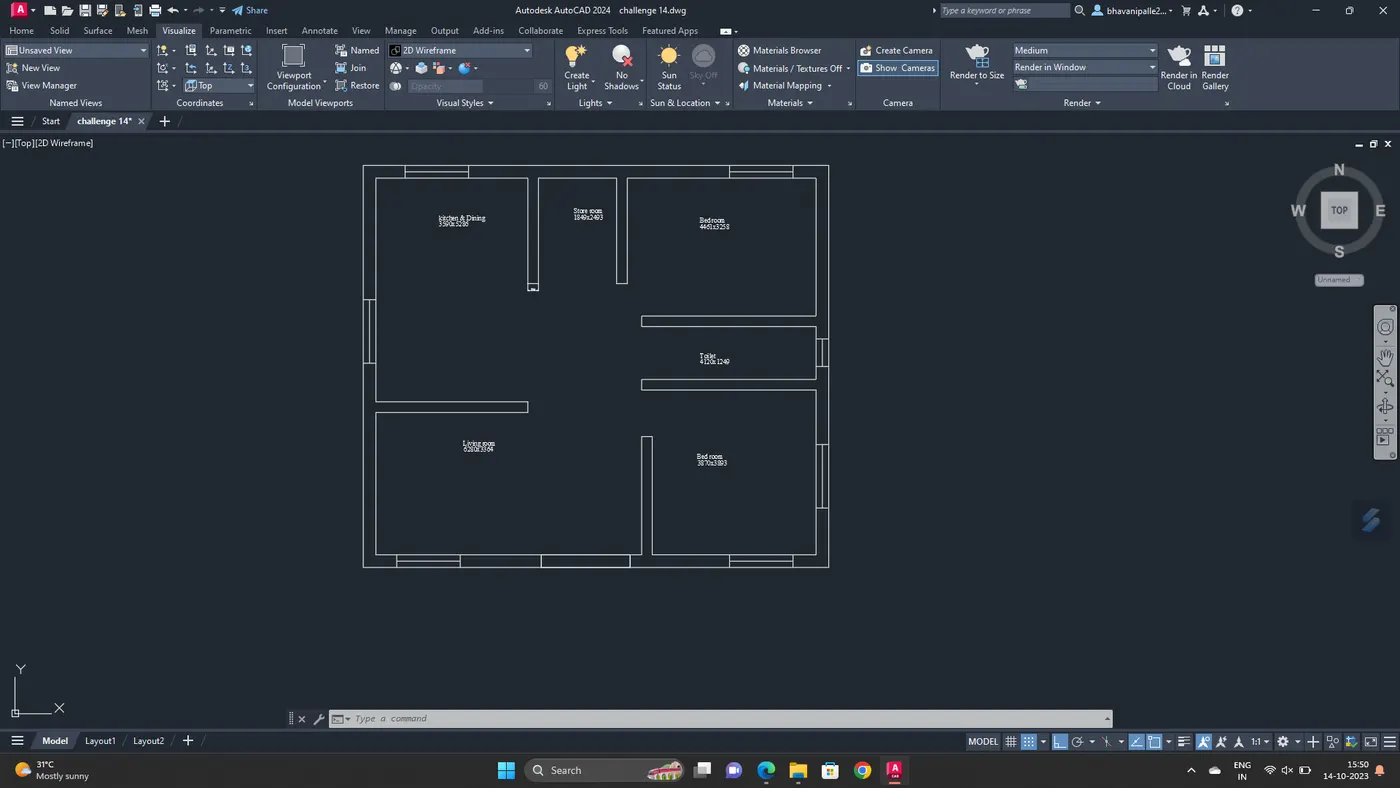
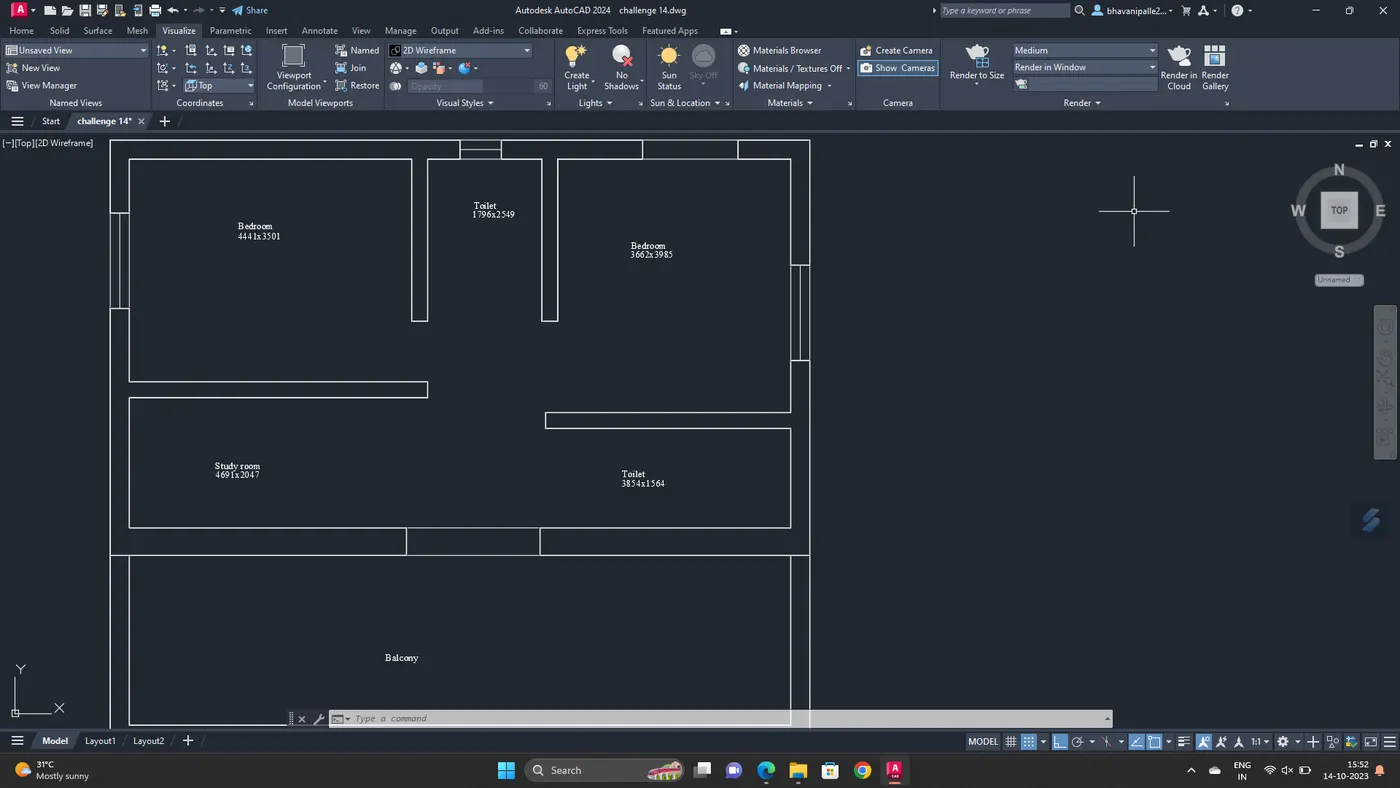
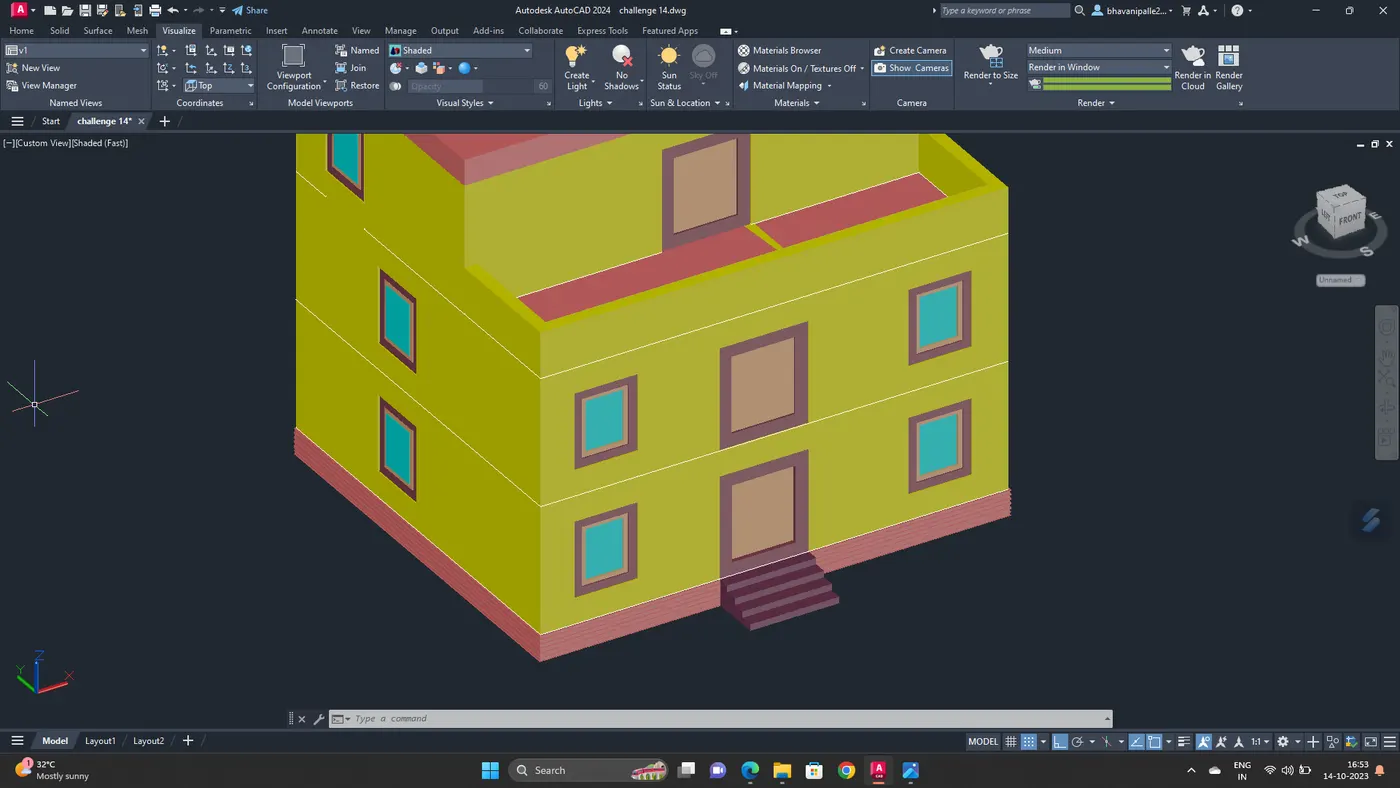
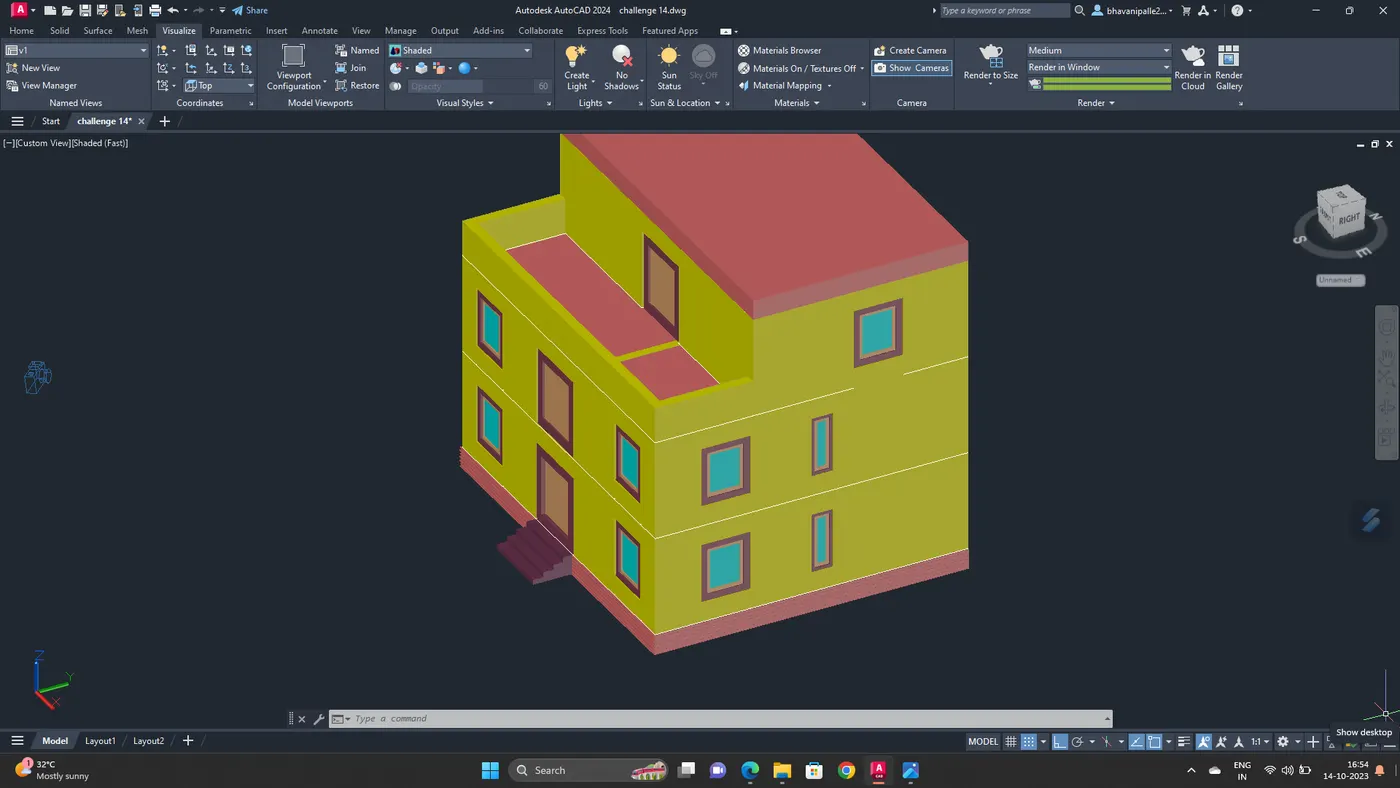
Convert the 2D plan to 3D
Go to view
Click viewcube
Convert it into 3D
Create boundaries for the walls
Extrude them to the height of 3m
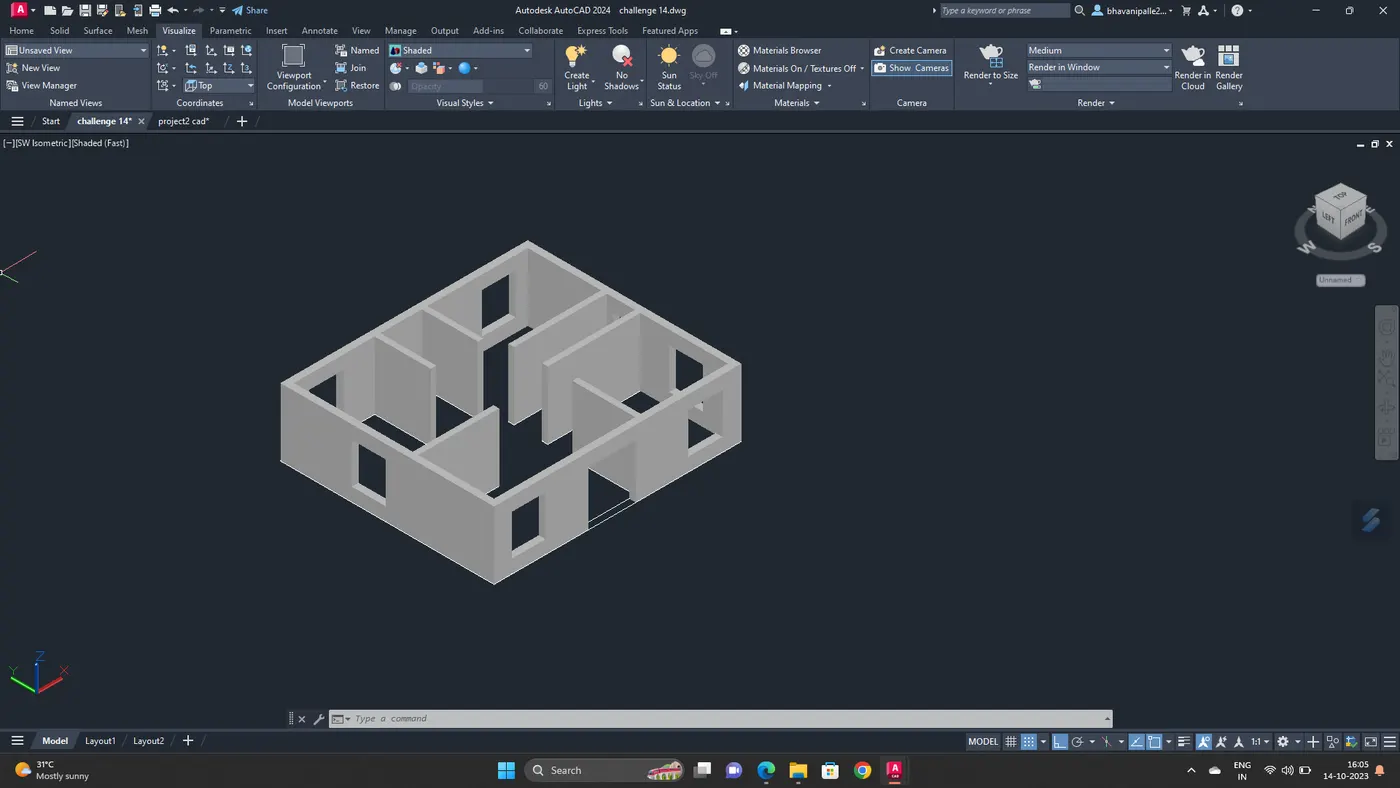
Draw rectangles for windows
Create boundaries
Extrude them upto sill level
Union all the walls and windows
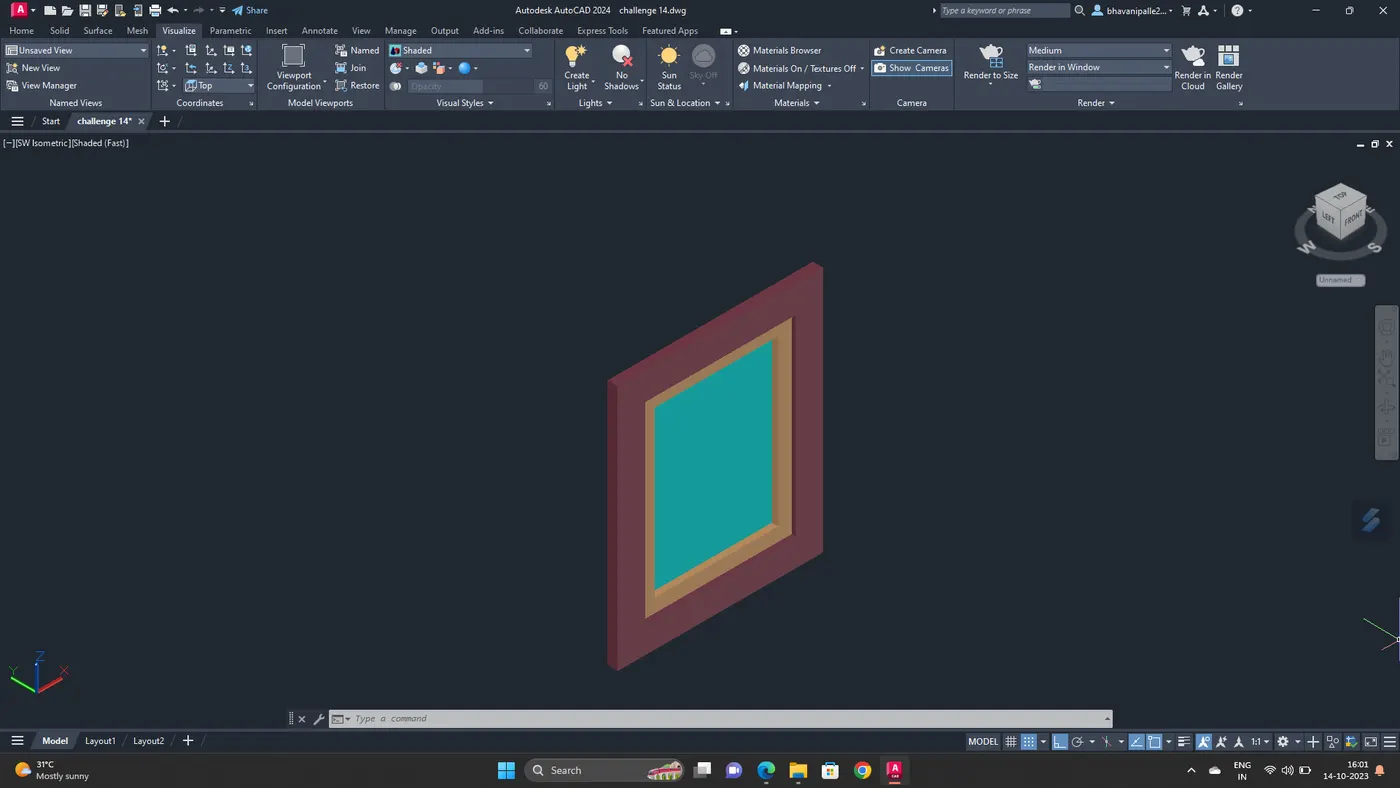
Now create window and door frames
Draw rectangle ,offest them
Create region
Subtract the smaller object from bigger object by selecting them
By the following way windows are created
Extrude the frame,mullion and glass
Move them to the windows location and place them by using MOVE command
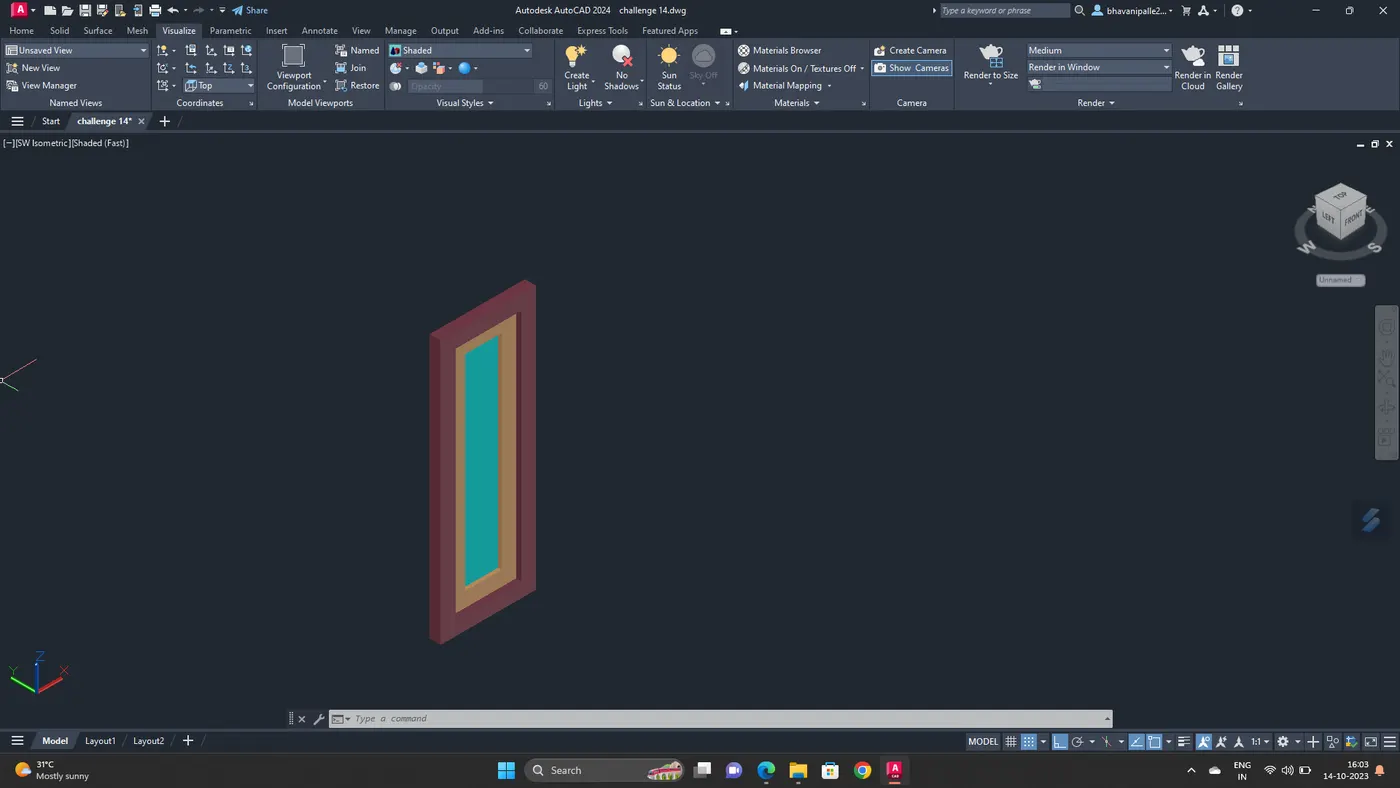
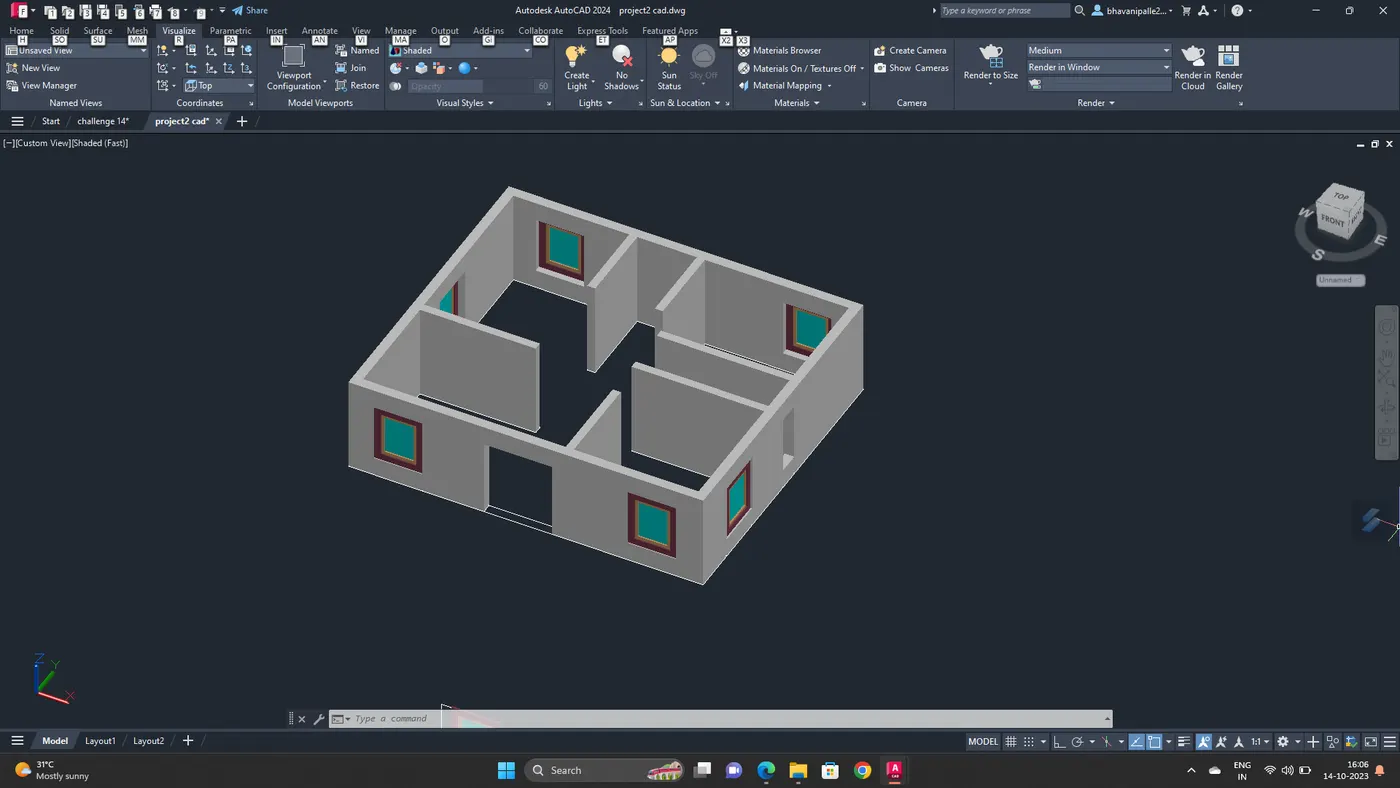
Draw rectangle ,offset
Create region
Subtract smaller region from bigger object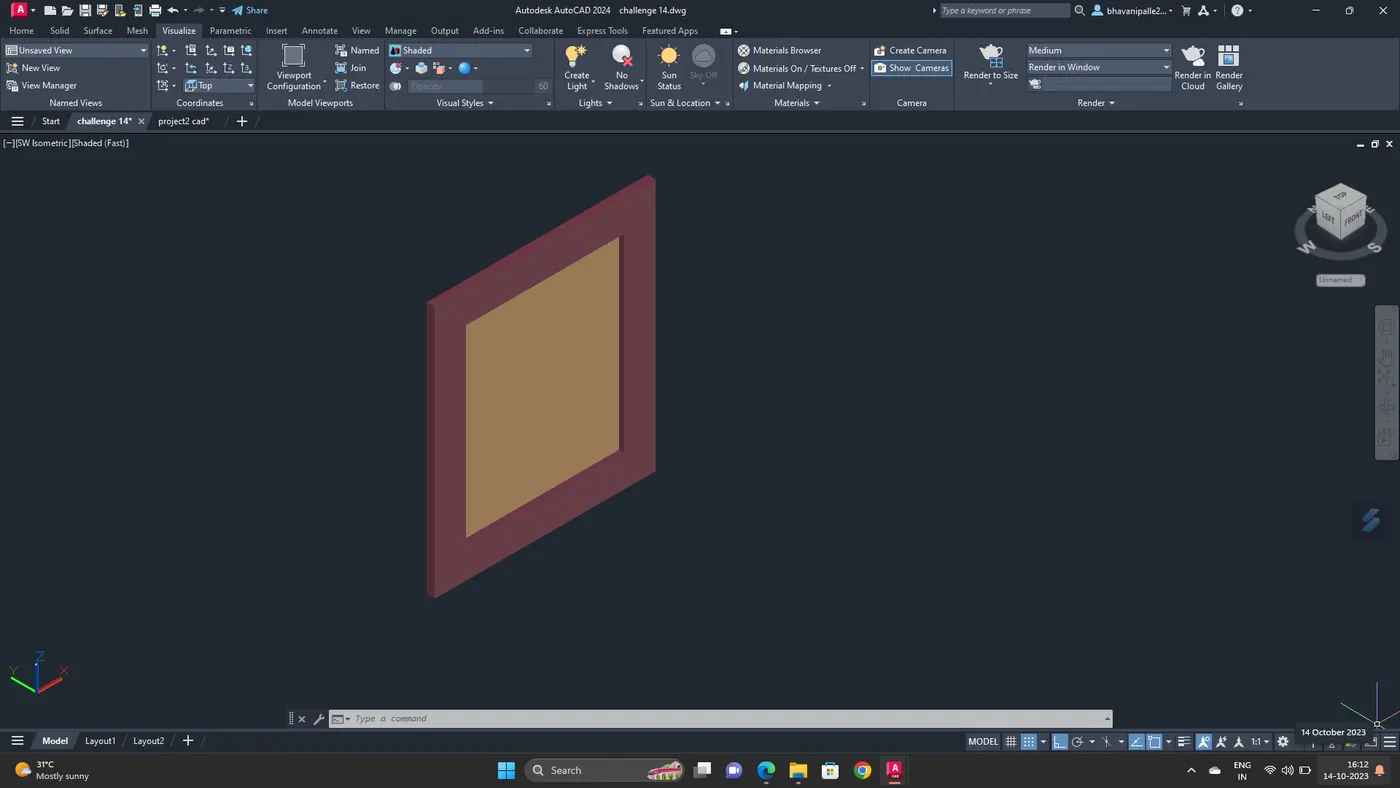
Go top view
From plan draw a rectangle create floor
make region and extrude and move
Copy the ground floor object for creating 1st floor
Now Go to another floor plan
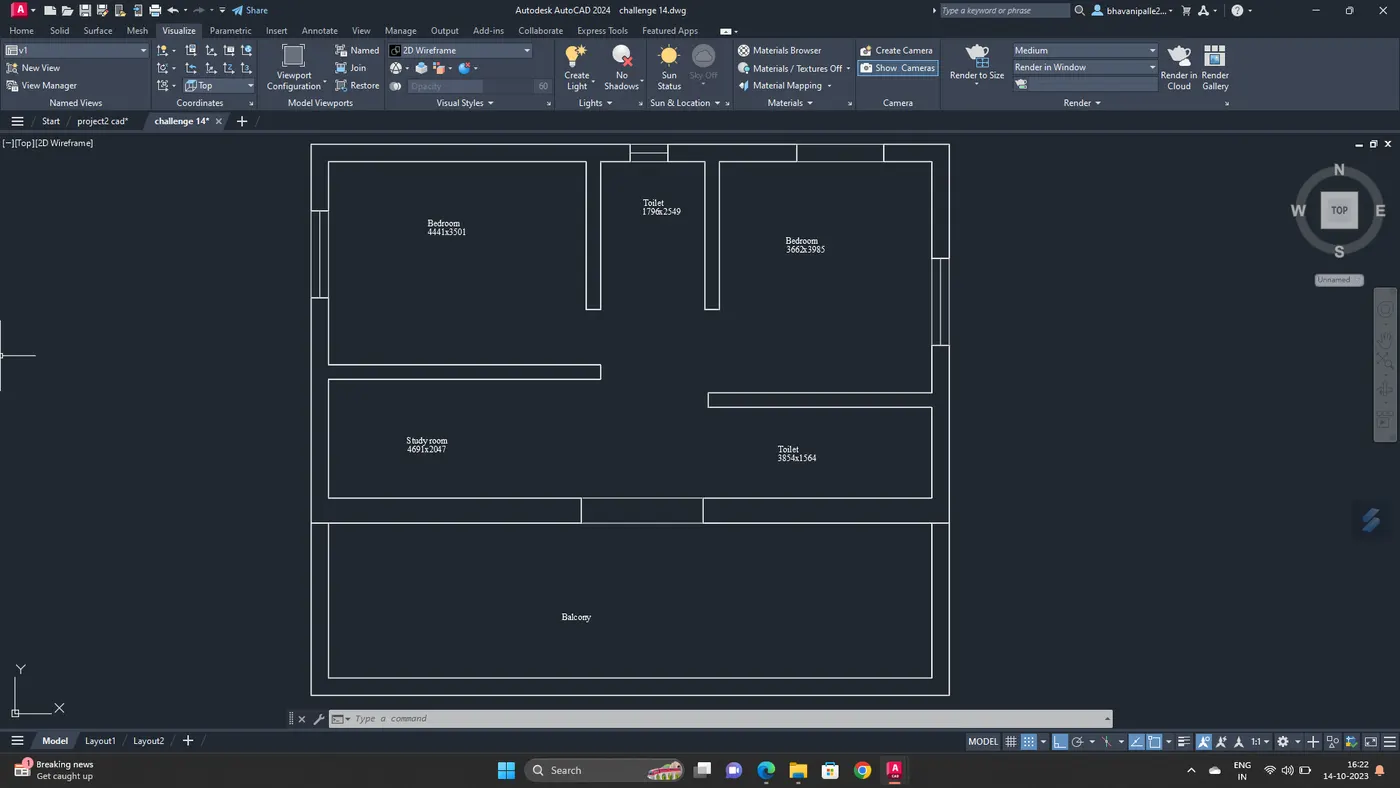
Create boundaries to the walls
Extrude them to the height of 3m
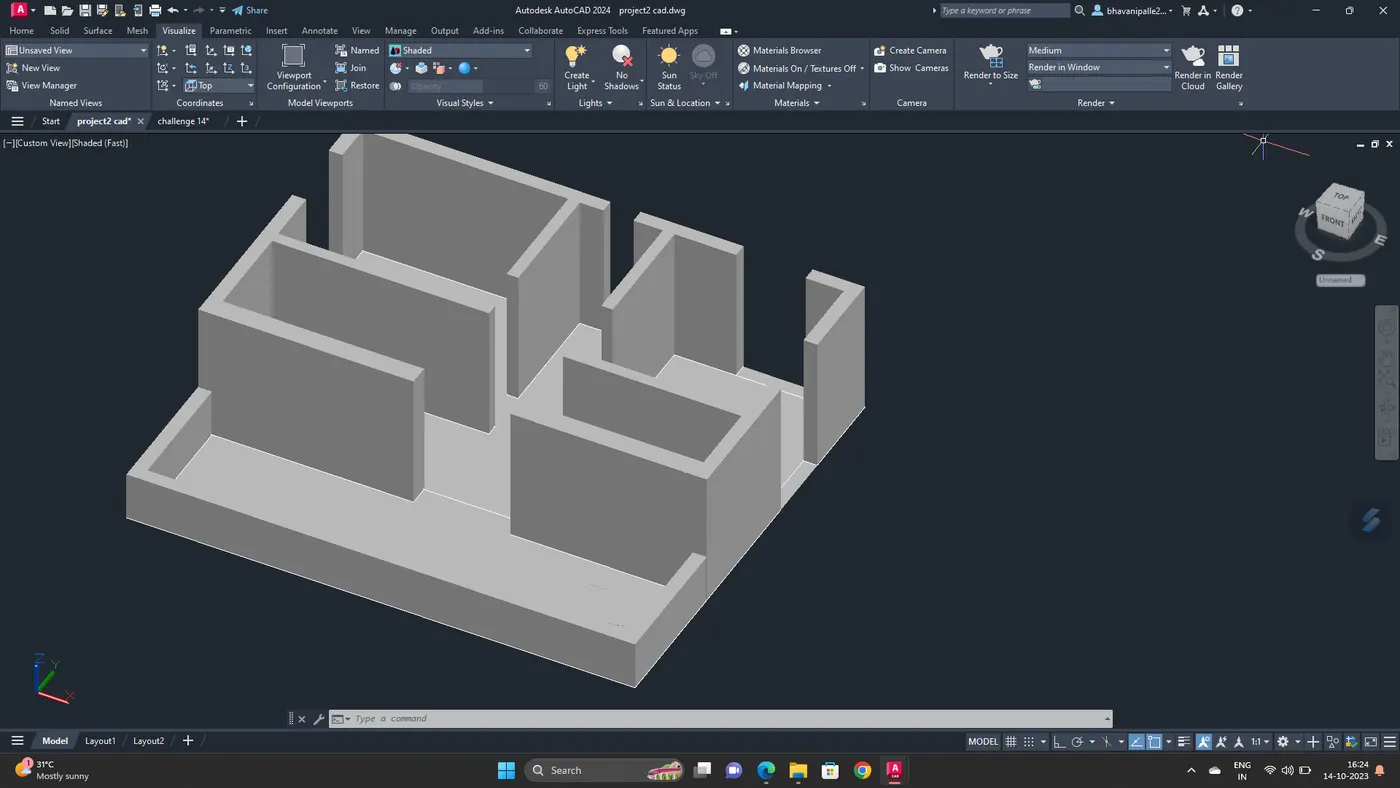
Place the doors and windows
Copy the object
Create stairs for the door ,go to plan
Draw rectangle copy them
Make region
Extrude it, copy
And place them
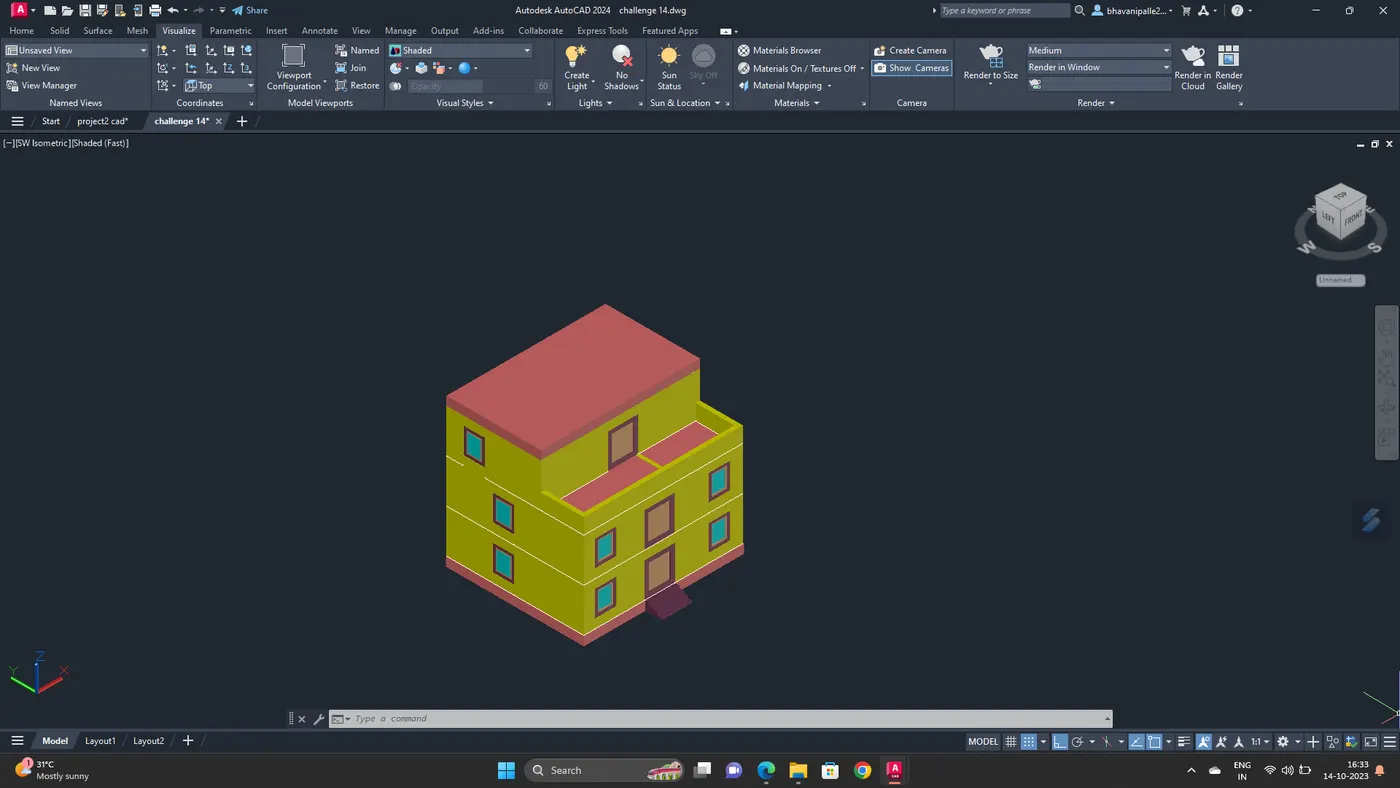
RENDERING :
Go to visualize tab
Distant light is created
Create camera view
Draw a circle
Create region,and extrude it upto some height
Place the camera .Adjust the view and save the view as camera 1
Delete the circle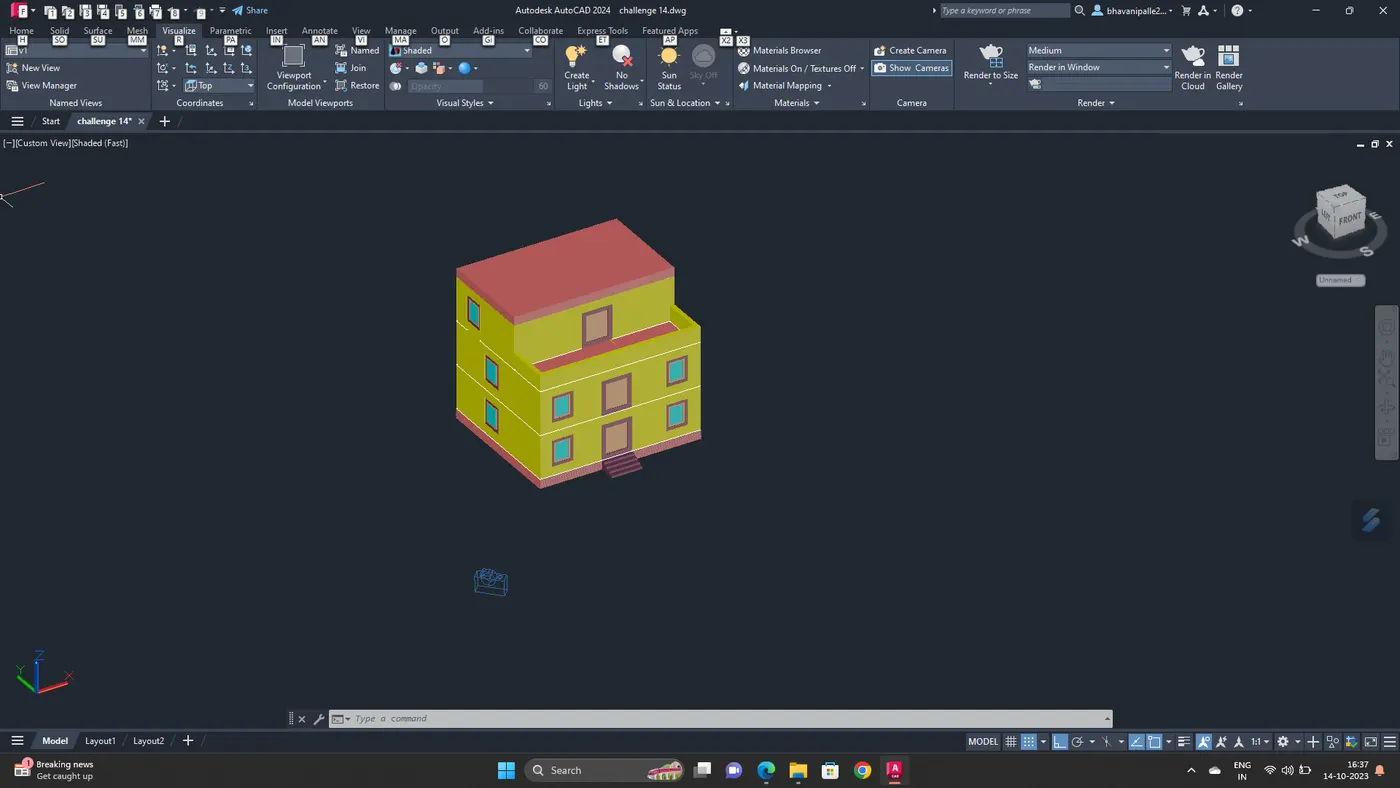
Go to material browser from ribbon
Materials added to the components
Box mapping is done
Make changes inthe environment and exposure