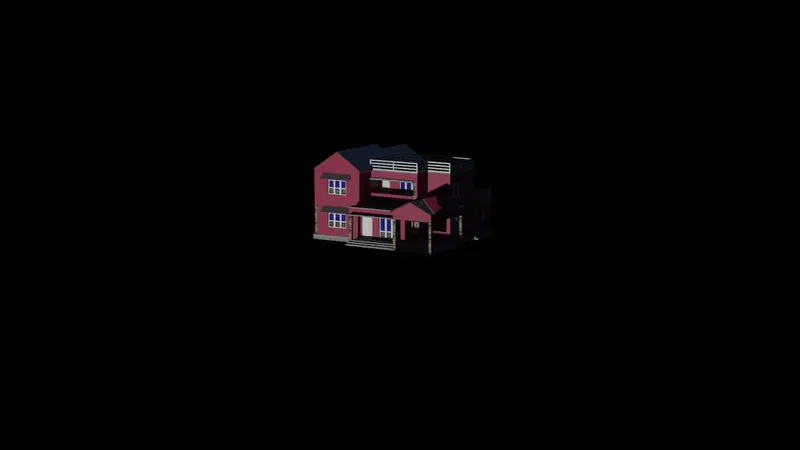
Project 2_Creating a 3D rendered model for a Residential Building in AutoCad
1.Aim is to create a 3 dimensional model of the residential building with a rendered view using 3D Modeling Workspace . I am going to use the drawings from the plan and elevation to quickly create boundary or regions and extrude the floorin,walls,windows,stairs and slab. I am going to use UCS Icon, View Cube and Navigation Bar to work easily in different sides of the drawing. During the sketching I will use a lot of LAYON and LAYOFF commands.
- First step is to open a new page and set the Drawing Units as shown.
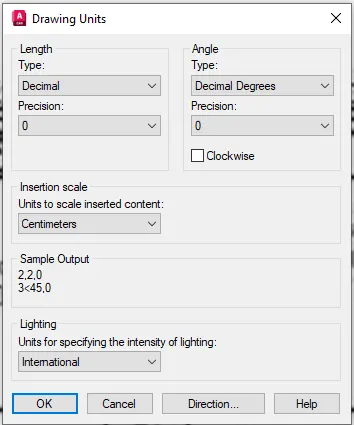
Command:Limmax 10000,10000
Zoom>all
Workspace at the moment is Drafting and Anotation 2D.
I am going to sketch the plan of the ground and first floor, the section and the front elevation using 2D commands for drawing, modifying, annotating, layering…
In order to do so, I first attach the image which Is going to be my residential building for this challenge.
- 2d>Insert>Reference>Attach>find image>attach image
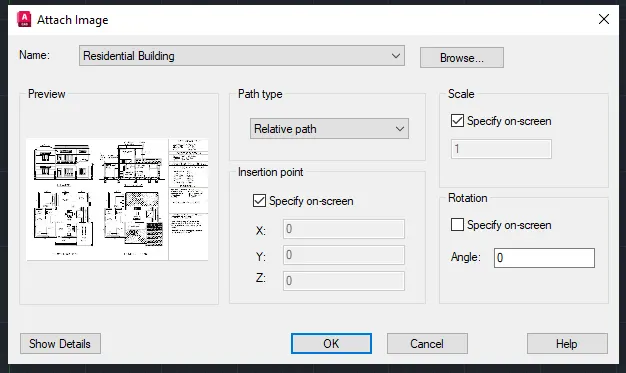
- Now I am going to sketch the plan of the ground and first floor, the section and the front elevation using 2D commands for drawing, modifying, annotating, layering…
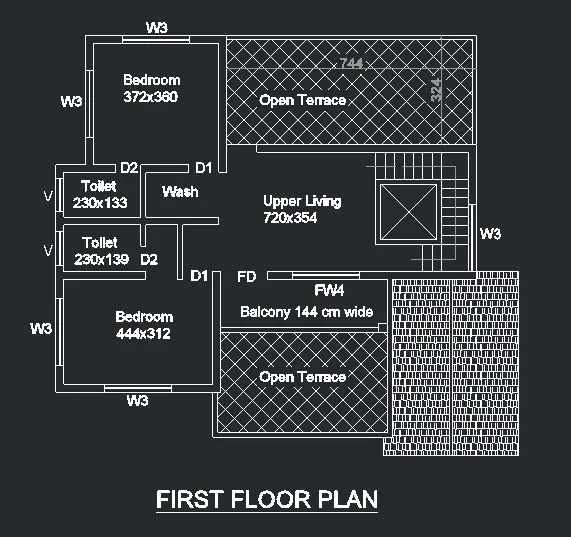
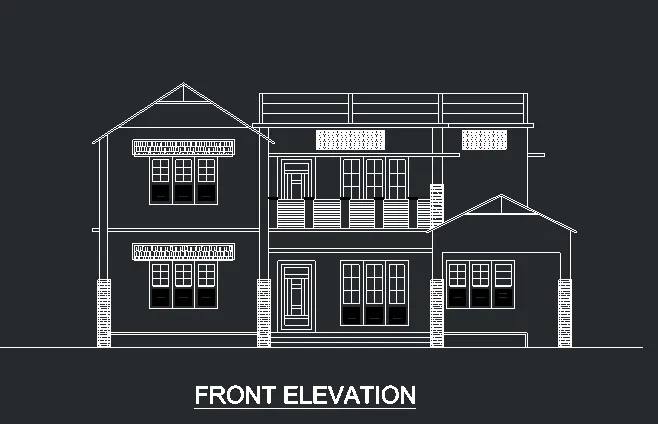
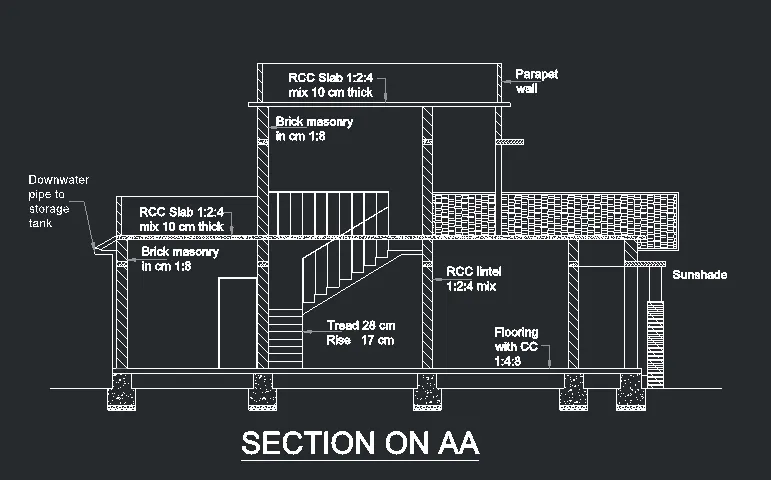
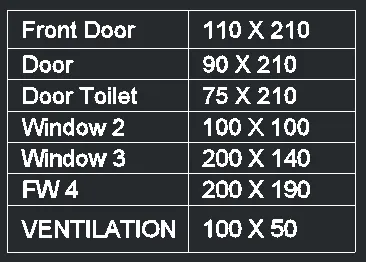
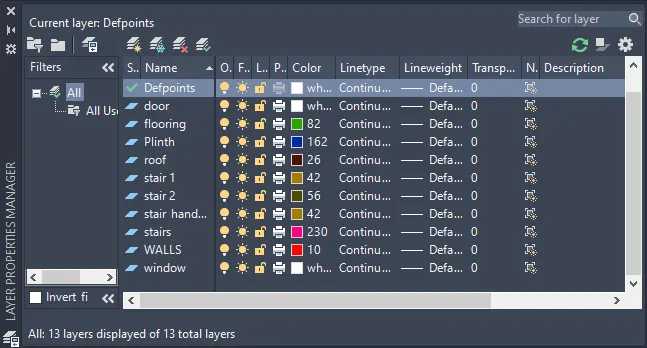
- Next very important step is to create layers LA.
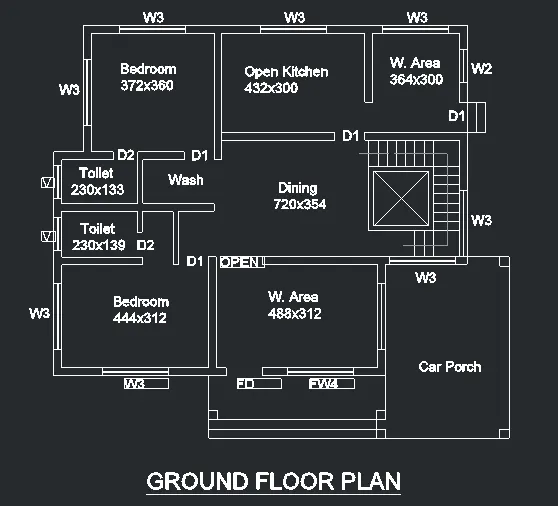
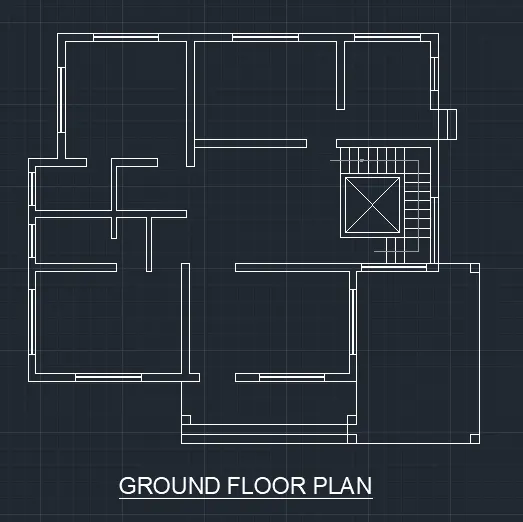
- I copy the ground floor plan, and delete all the text and dimensioning.
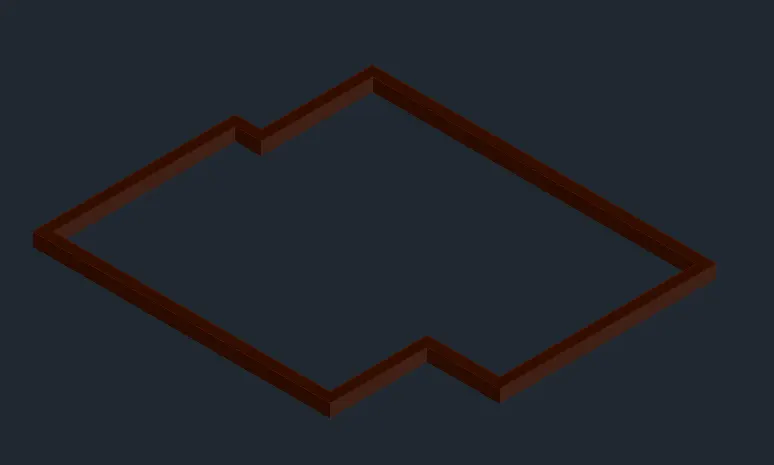
- Using command Boundary I create a region out of the outside walls, this is going to help create the plinth of the building using layer plinth.

- Using command Extrude, I extrude the plinth 45cm.
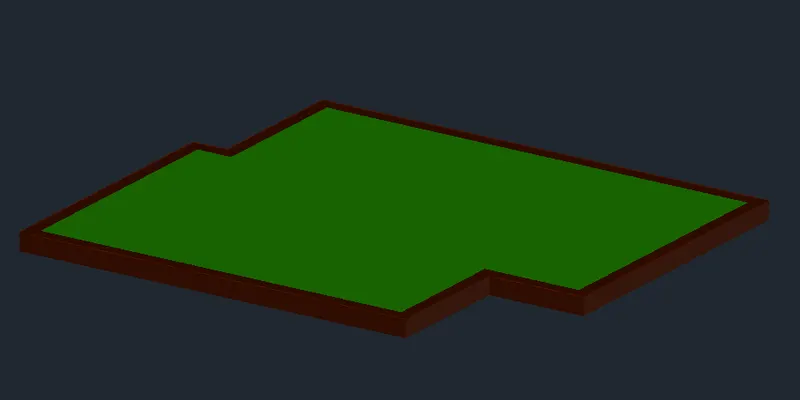
- Using command Boundary I create a region for the flooring including all the surface except outside walls using layer flooring. I extrude this region 10cm.
- Using again command Boundary I create regions to create the walls of the residential building, using layer walls. Then using layer columns I create regions for the columns.
- I extrude the walls by 306cm.
- I extrude the columns 306cm.
- Then I copy the plinth and the floring and position them as shown.
- Then I create the flooring of the garage as well which starts at the level of plinth with 10cm thicknes.
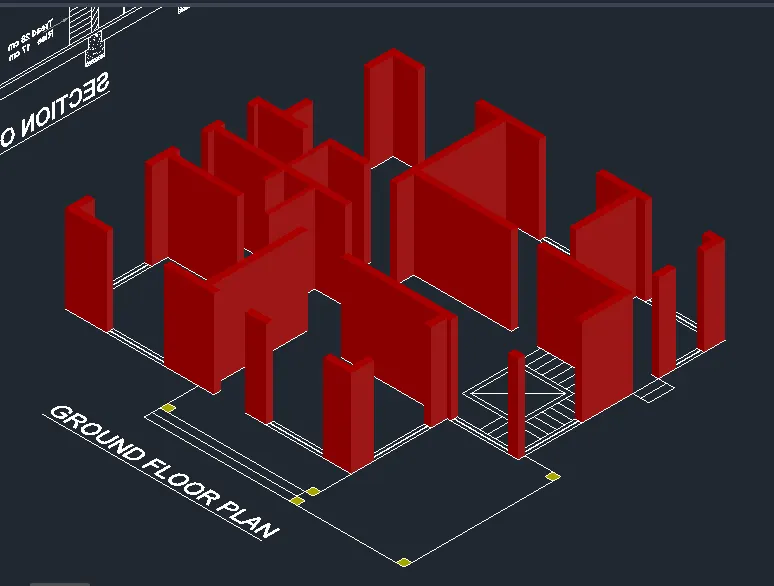
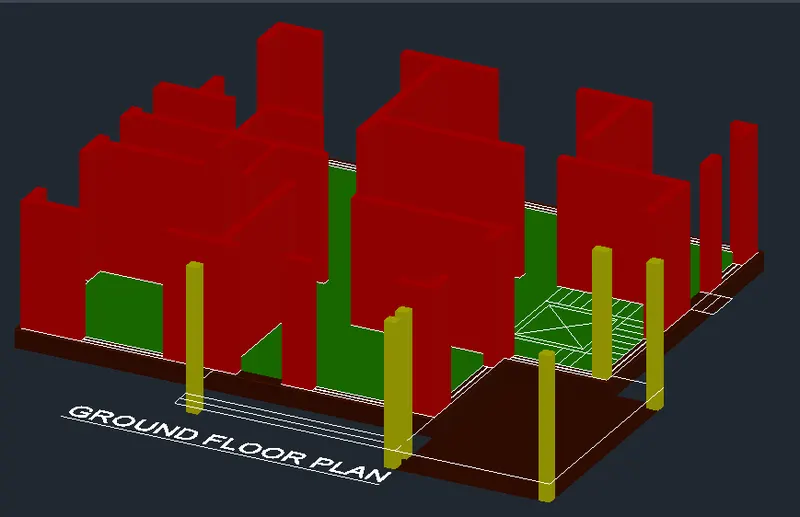
- I place UCS as shown, and create rectangulars at the position of the doors and windows.
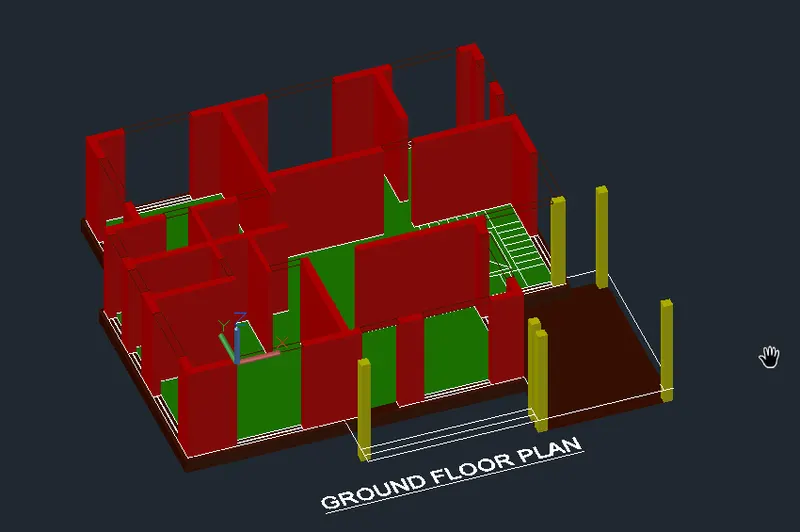
- I extrude the rectangles as required, calculating the high of the windows and doors.
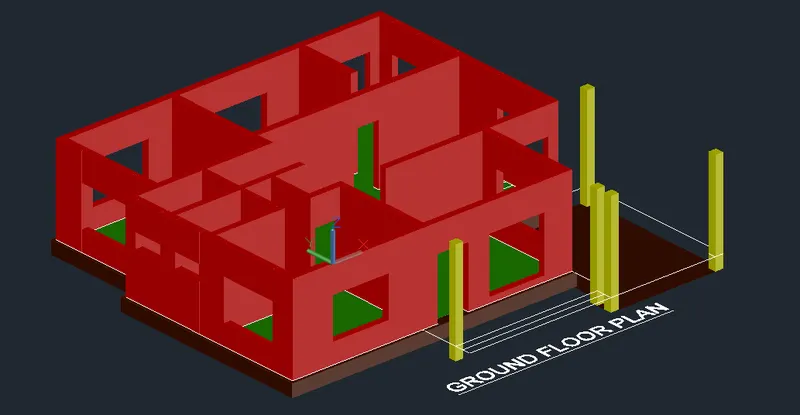
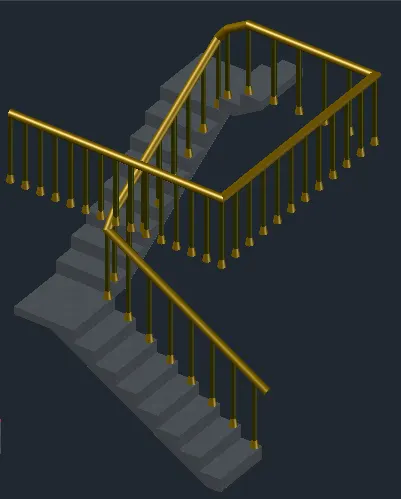
- Now is time to create the stairs. I copy the plan of the stairs, and draw the rise of the stairs as shown in the XY plane.
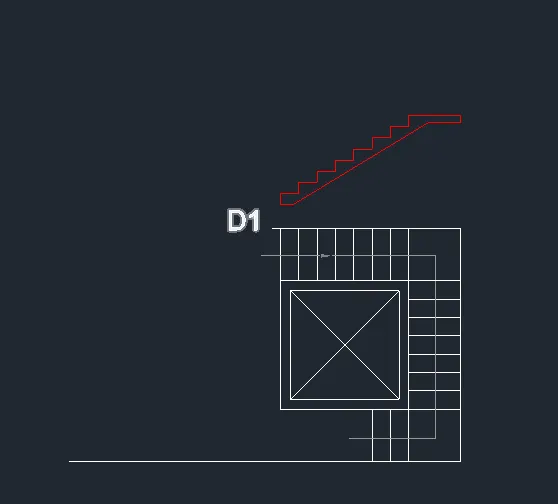
- I use command 3DRotate to rotate the plan of the rise of the stairs
Axis of rotation X with an angle 90 degree.
Then I Extrude it by 79cm.
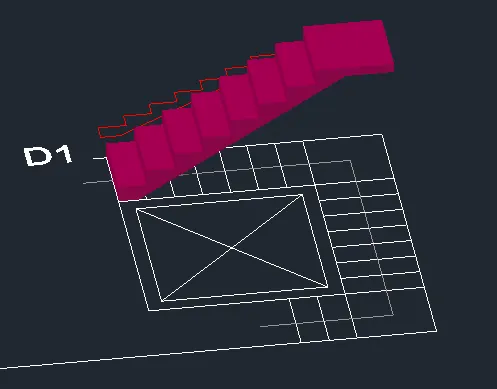
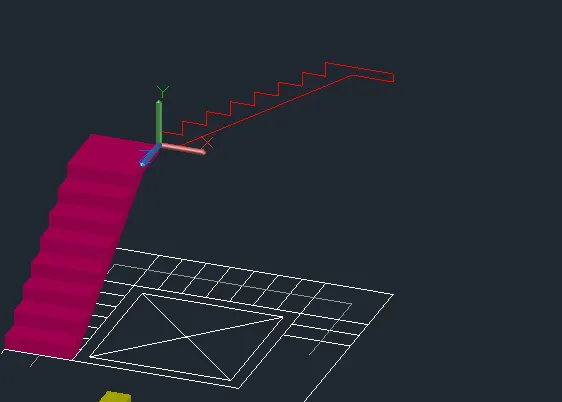
- I place the UCS as shown and I draw the rise of the next steps, then I extrude it by 79cm.
I do the same till the stair is done.
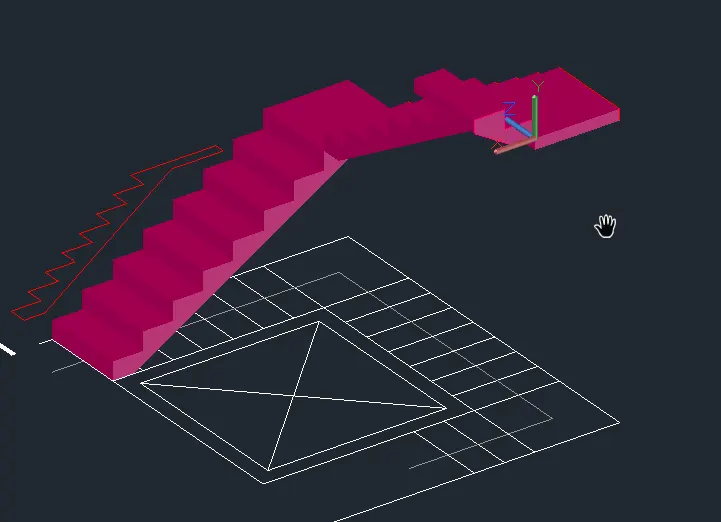
- Next I create the stair balustrade and handrail using commands, circle, copy, loft, sweep,extrude, polyline and using stair layers.
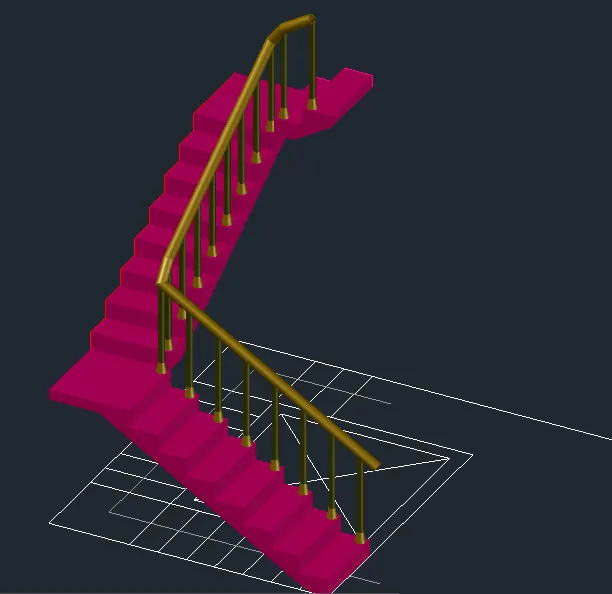
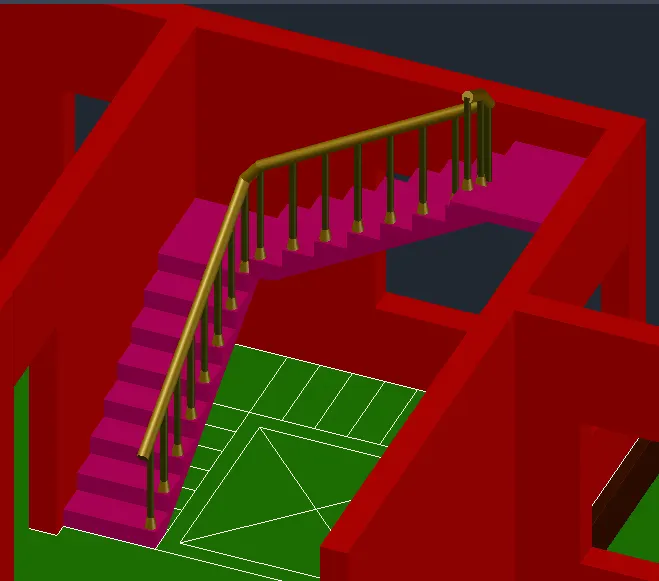
- I copy the stair model and place it at the 3d model of the entire building.
- To create the flooring of the first floor, I create a region of the flooring of the ground floor as shown, and extrude it 10cm.
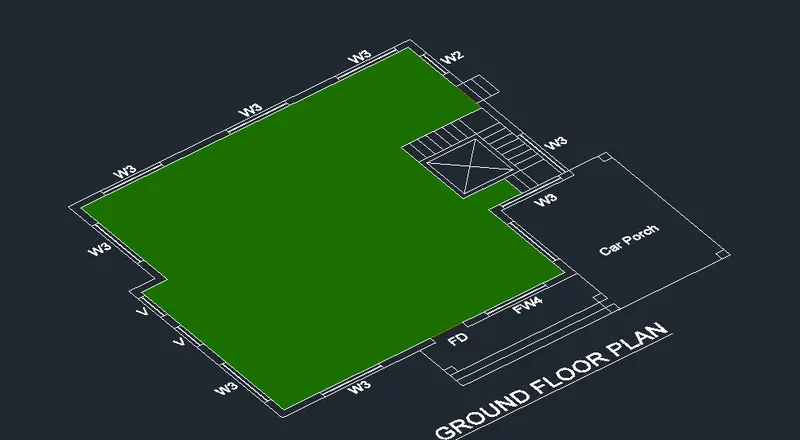
- Then I copy it and place it at the 3d model of the building.
- Now I can create the balustrade and handrailing missed from the rising of the stairs using the copy , polyline, sweep, taper face command….
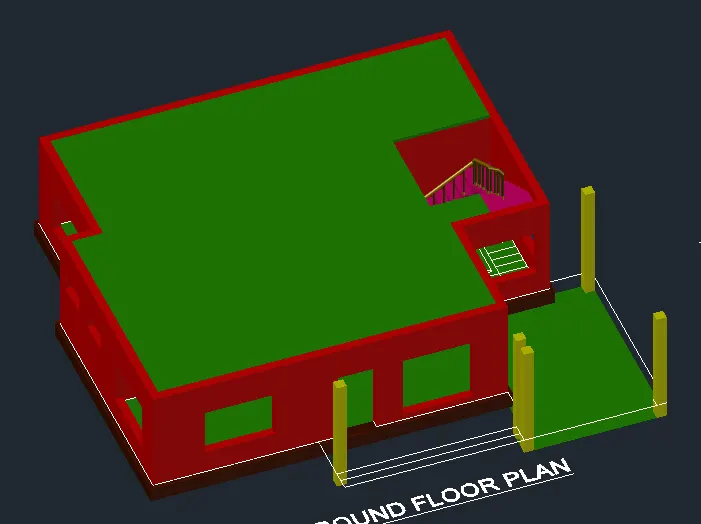
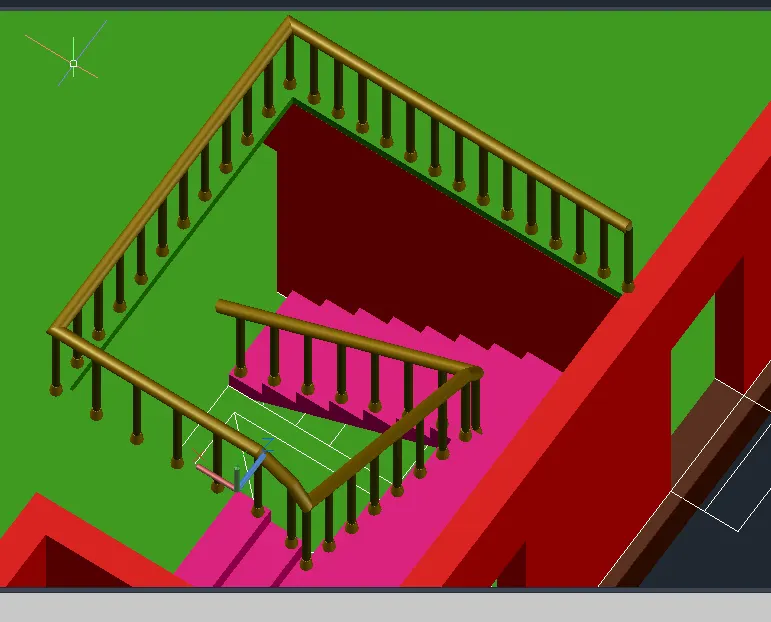
- Using layer stairs, command line, boundary, extrude I create the front and side stairs with high 15cm.


- Now I create the slab on top of the front stairs, as well as the wall.
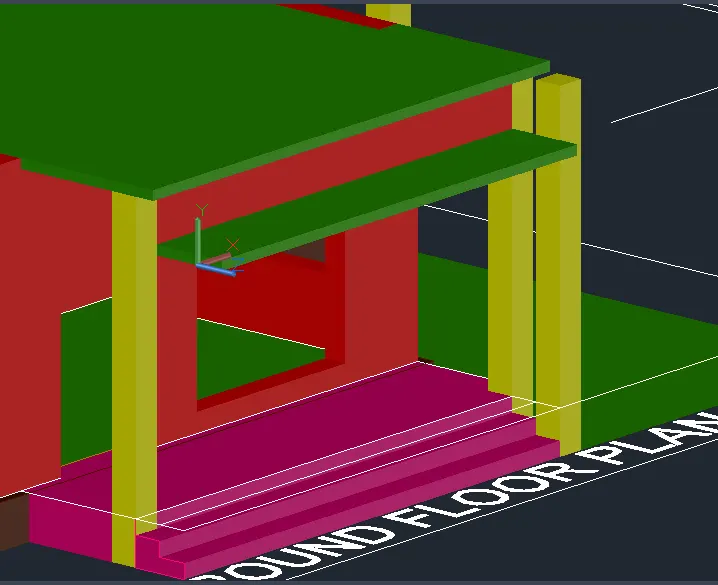
- Placing the UCS as required I create the roof of the garage, and the walls as well using respective layers and commands, line, boundary to region the profile of the roof, extrude, slice…. So the ground floor is done.
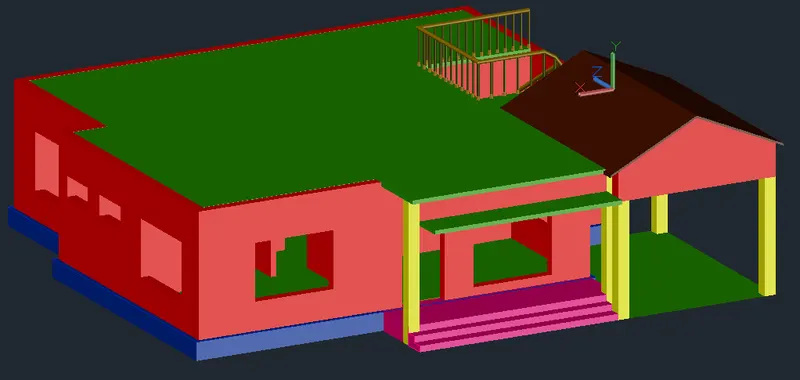
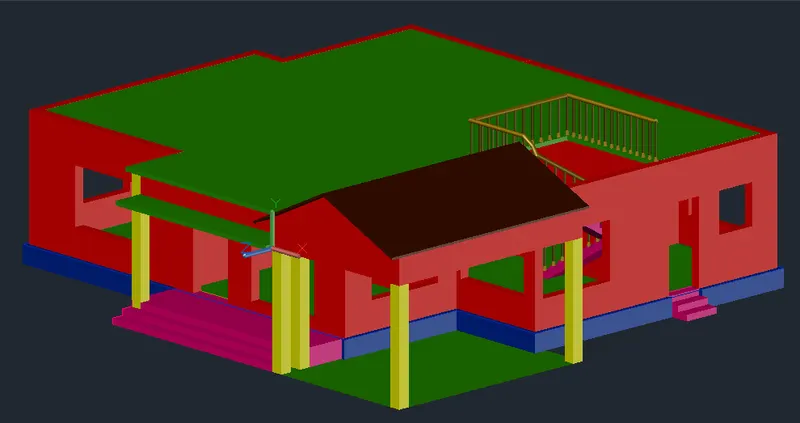
- Now I copy the plan of the first floor without text and dimensions, and place it as shown.
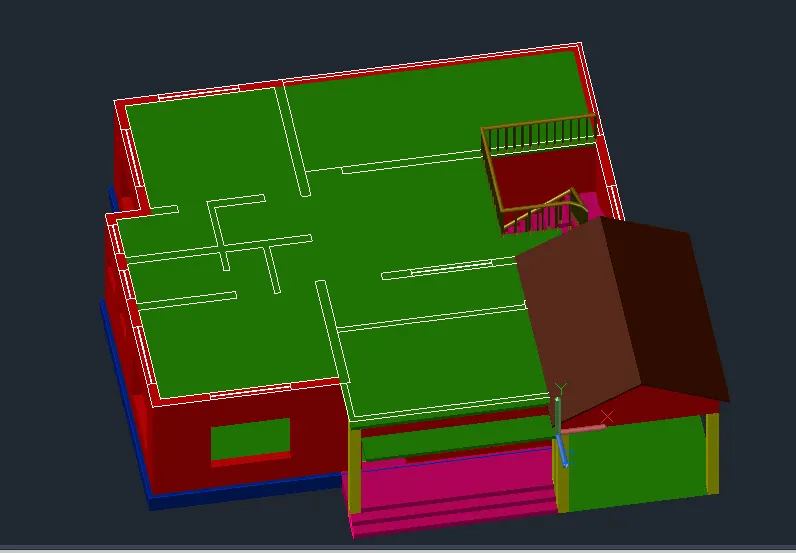
- I boundary, and then extrude the walls 306cm.
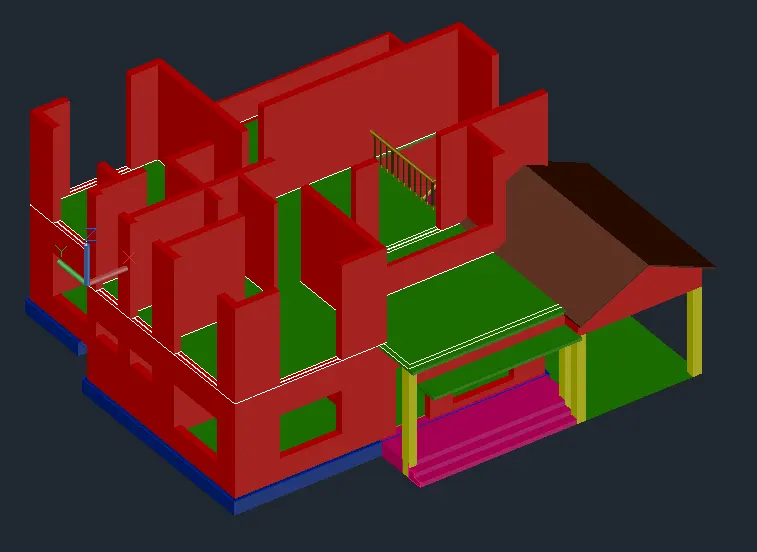
- I do the same procedure as before, by creating rectangulars as the space of the doors and windows and extrude them as required by calculations.
- Then I create the flooring of the second floor, by boundaring the plan of the inside space of the first floor, and extrude it 10cm. Then I copy it as shown.
- Next I create the hand railing of the slab on top of the building.
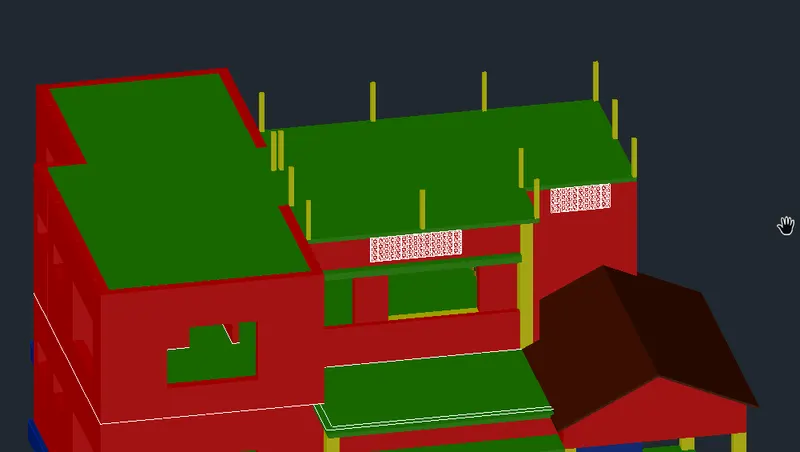
- Next step is to create the roof of the other side of the residential building. I use commands, line, boundary, extrude, face extrude, presspull…. And layer roof.
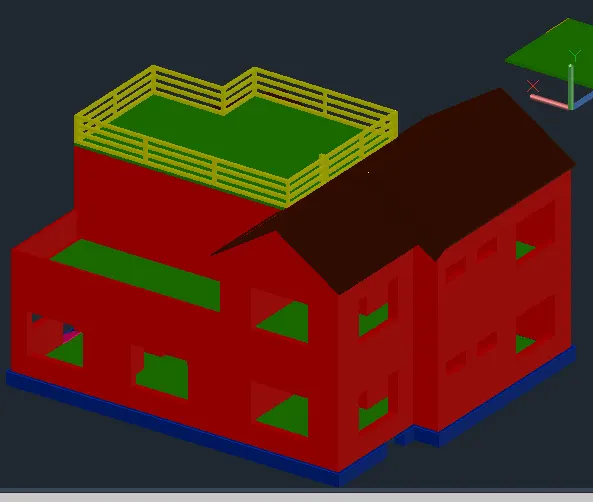
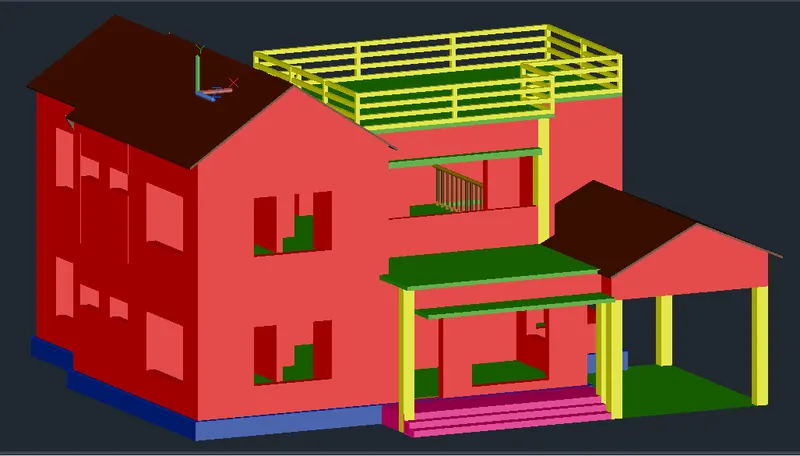
- We are at this point of the drawing, where the flooring, plinth, stairs, roof, handrailing of the top of the building are created. Now what is left is the window, doors, assigning materials at the building and rendering it.
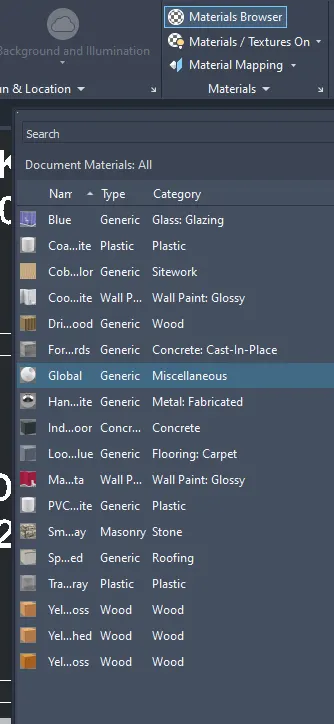
- This is the list of all the materials used to create the 3D model of the residential building.
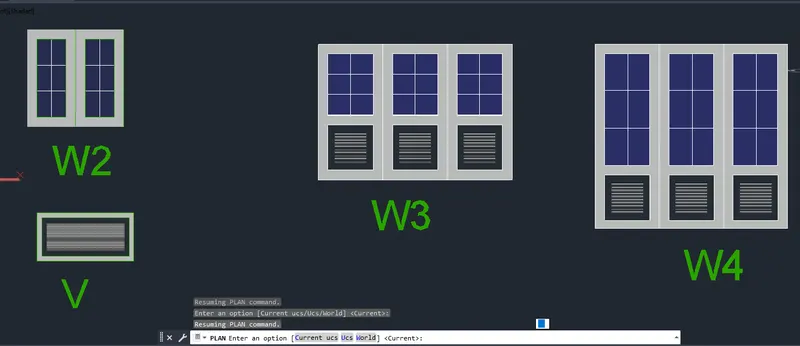
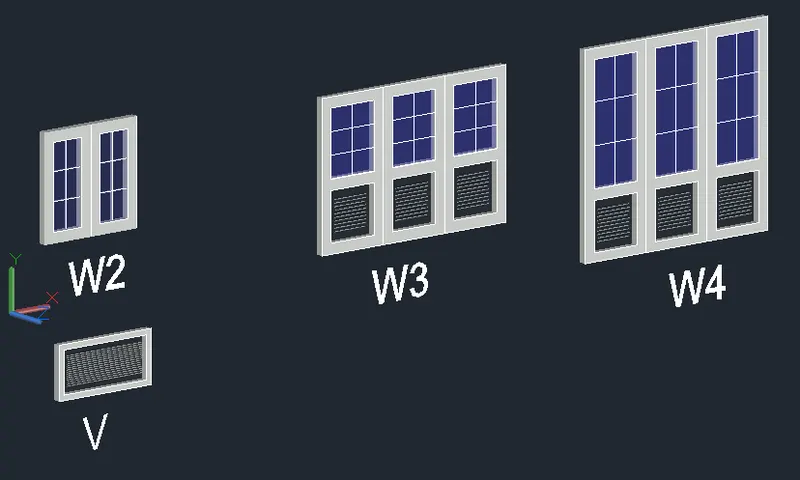
- To create the window and the doors I use commands, boundary, surface trim, extrude, line, copy, move… and assing the materials as shown. Next I create groups out of each door and each window.
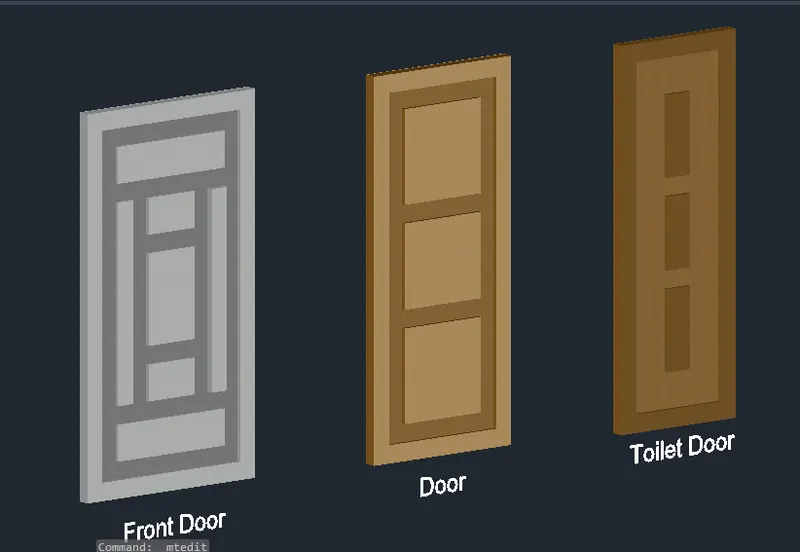
- After putting of some of the layers, I place the inside doors, assign the materials for the flooring and the inside walls.
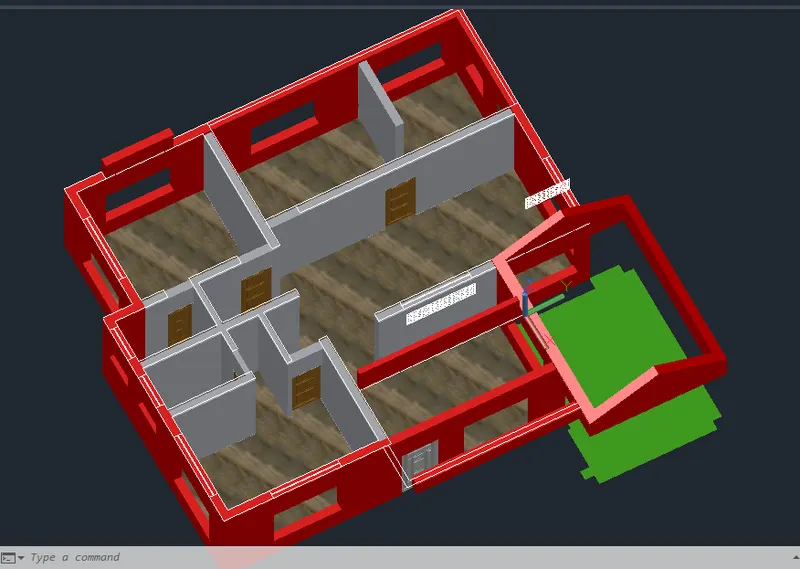
- Next I place the inside doors of the first floor, assign the materials for the flooring of the garage, the flooring of the first floor, and the slab of the balcony.
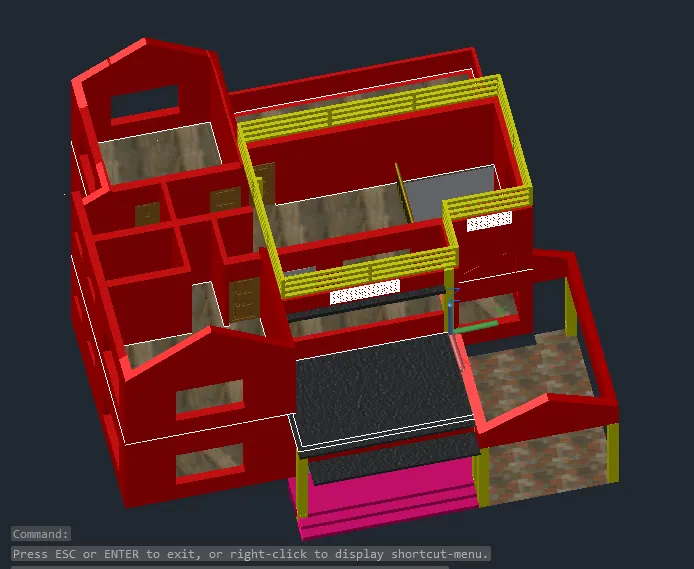
- I assign the materials at the top flooring, as well as the handrailing of the top of the building.
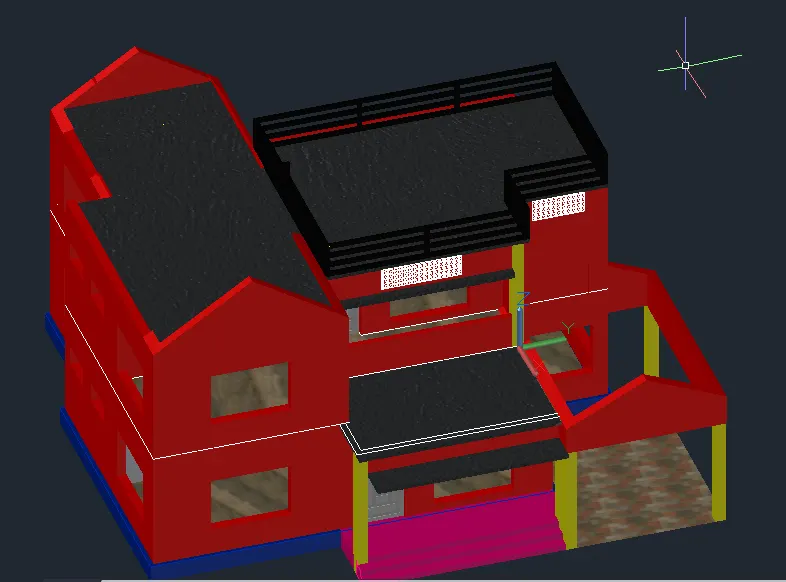
- Next I assign the materials at the roof.
- And copy the windows at their particular places.
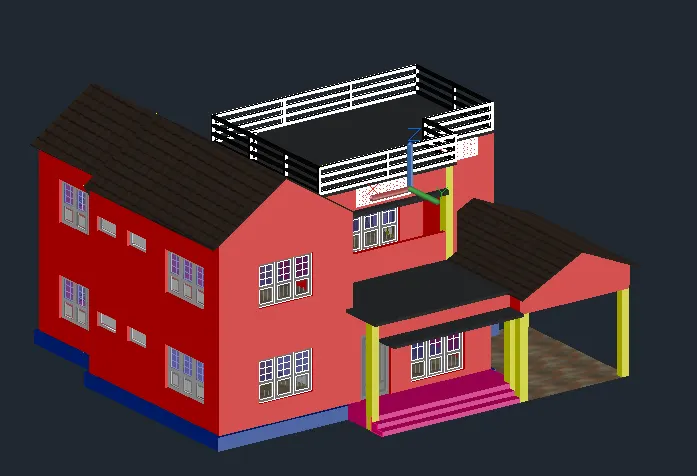
- I assign the material for the outside wall,plinth and for the columns.
- Using commands rectangular, extrude, slice, align…
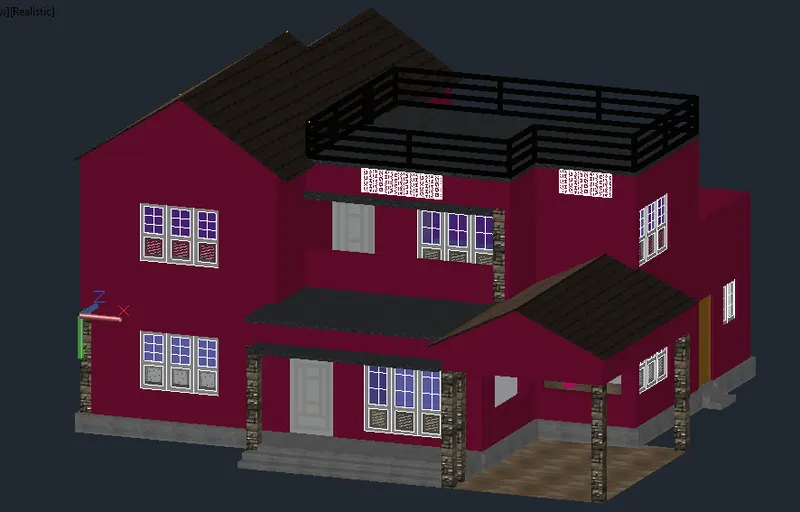
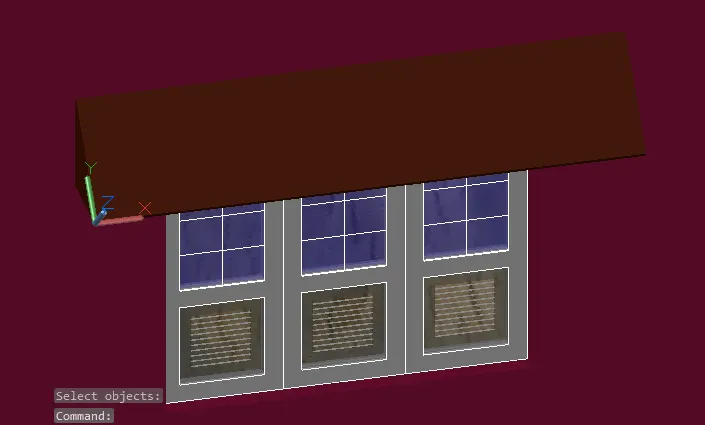
- I draw the roof of the window.
- Next I assign the roof material to it and copy it to the other window.
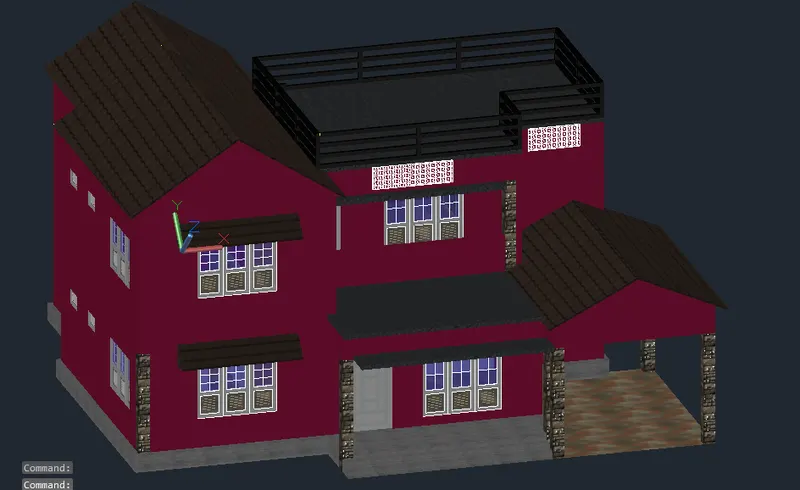
- Next I assign carpet material at the inside stairs of the building.
- Now is time to prepare the environment for the rendering.
I go to Visualize > Lights>Full Shadow
>Sun status on
>Render Visualize and Exposure>on>Village
>Render to size>FULL HDTV
Command:RR Render
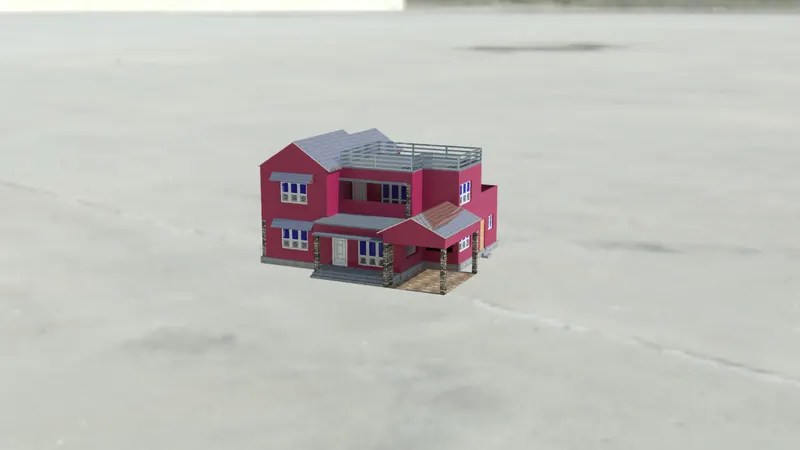
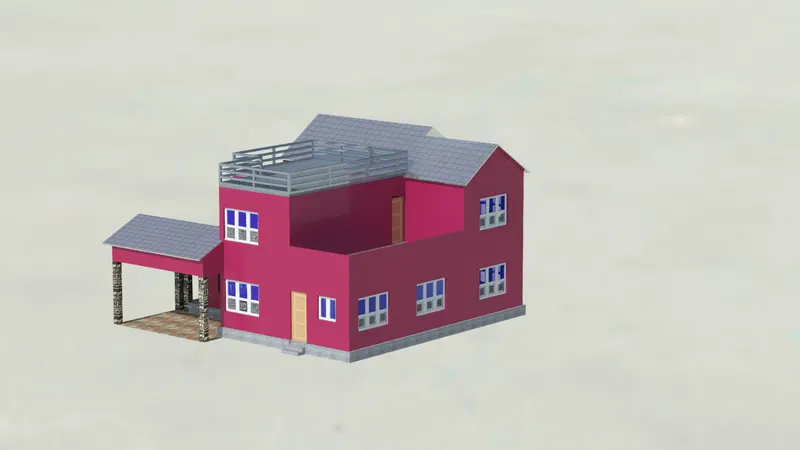
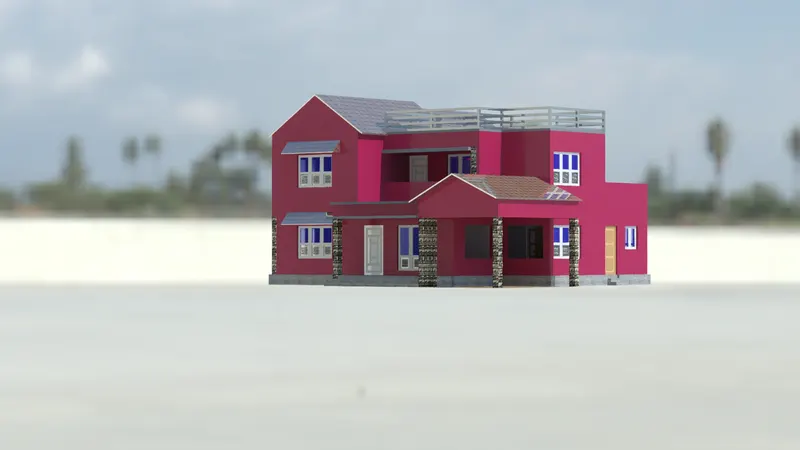
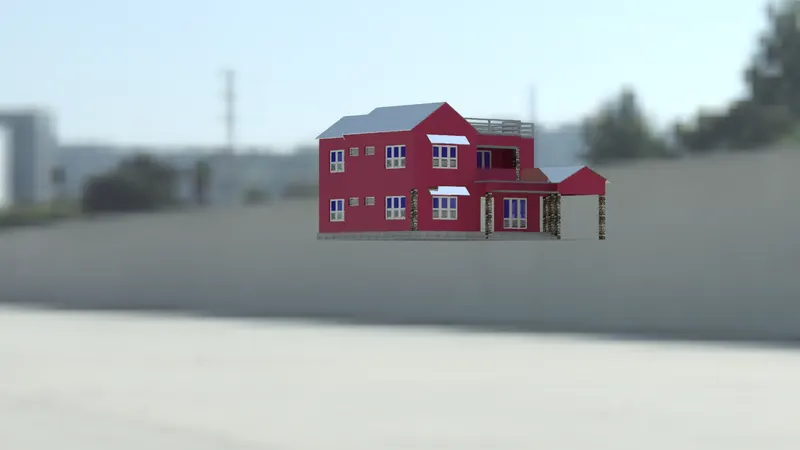
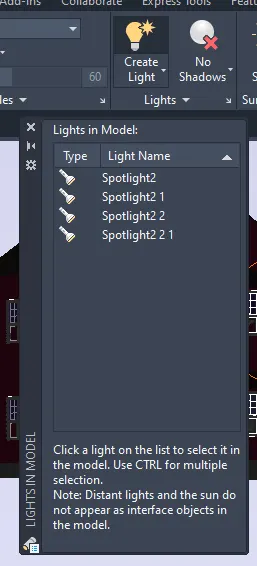
- In order to create a rendering at 22:00 at night, I create some lights
Ribbon:Visualize>Lights> Spotlights
Command:RR Render
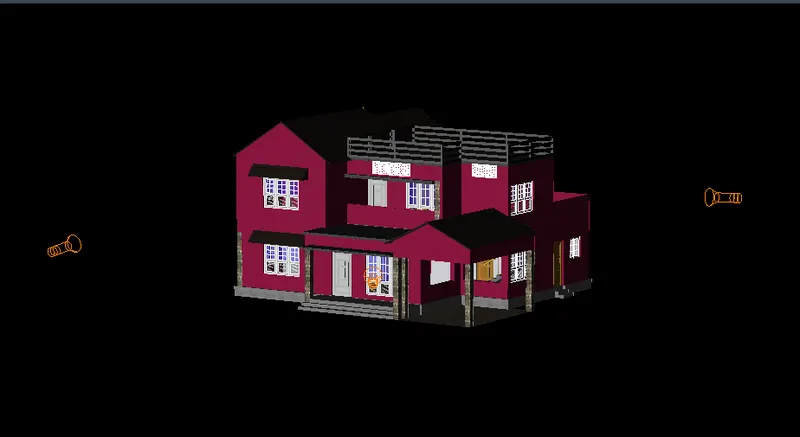
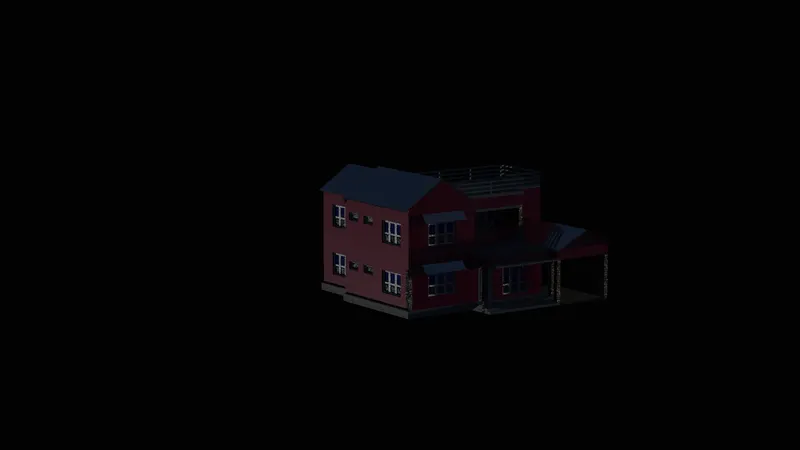
- Ribbon:Visualize>Lights>Web light
Command:RR Render