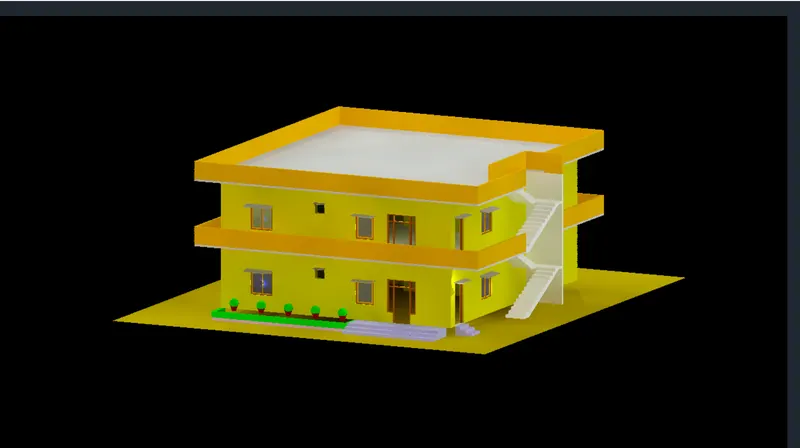
Project 2_Creating a 3D rendered model for a Residential Building in AutoCad
Create a 3 dimensional model of the residential building with a rendered view.
AIM:
To create a 3 dimensional model of the residential building with a rendered view.
USED TOOLS:
LINE
RECTANGLE
OFFSET
EXTRUDE
SUBTRACT
SLICE
PRESSPULL
CIRCLE
TRIM
CAMERA
MATERIAL ASSIGNING
RENDERING
LIGHTS
VISUAL STYLES
VIEW CUBE
3DROTATE
3DORBIT
PROCEDURE:
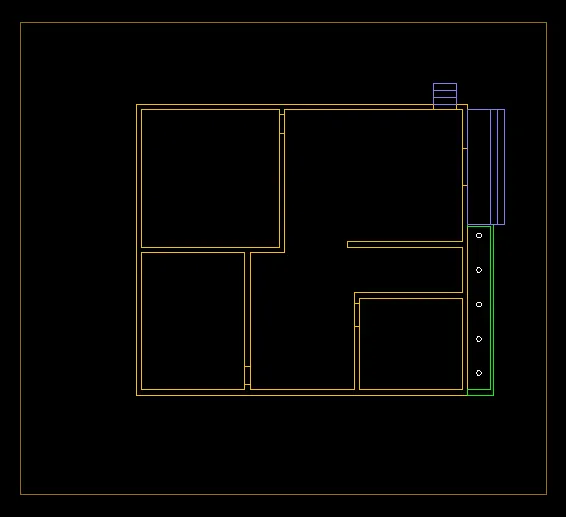
Creating the Plan of the residential building by using the various commands & tools.
The internal components of the building are the Living room, Kitchen, Dining hall, Double bedroom, pooja room, etc., The facing of the building is the East face.
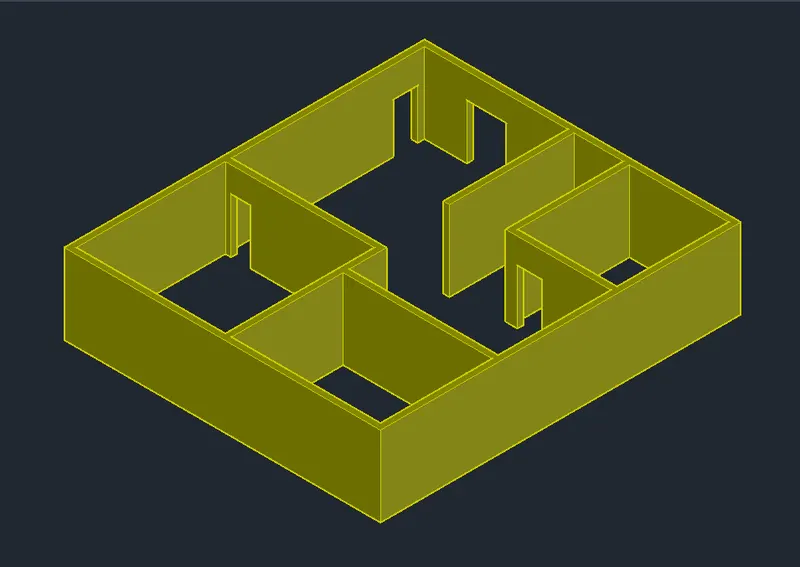
3D Wall Creation:
EXTRUDE:
Extrude the building wall up to the 3.2M height,
then Create the Doors opening on the walls by using the subtract command
SUBTRACT:
Command: SUB>
Select the entire wall press enter
select the object to subtract then press enter.
Similar procedure to all door openings.
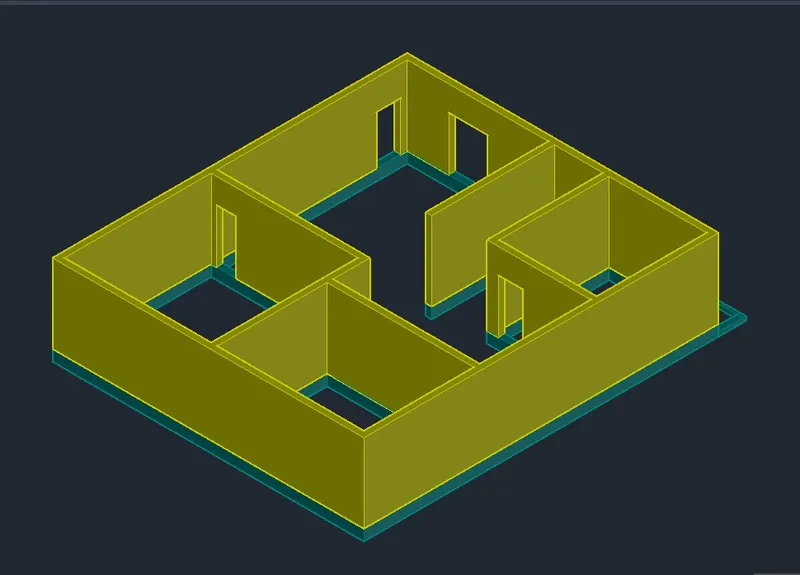
Creating the Foundations:
Creating the Foundation of the building by extruding the wall below 0.45m
Creating the lines around the building and region to them by using the Region Commands
Extrude the region below the building.
Creating The Main Entrance Door Frame:
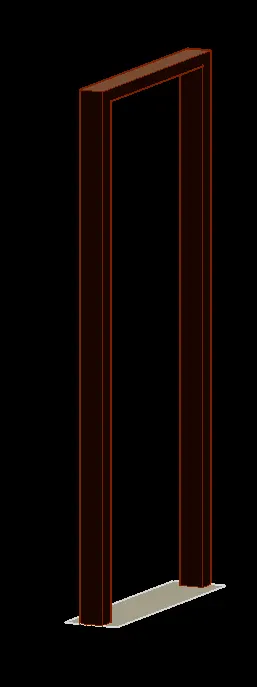
The size of the door is 1.5 X 2m
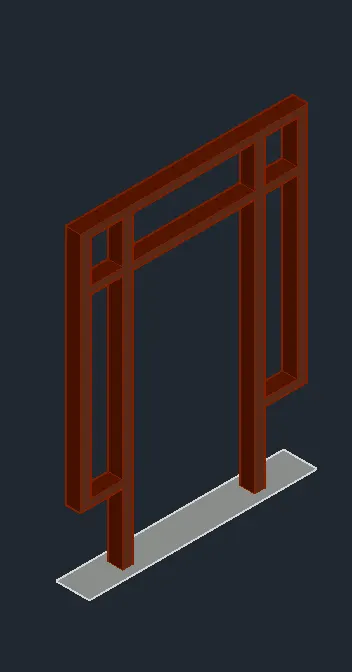
Creating the door plan with frames the extrude the plan up to 1.2M height then Creating the side frames, by using extrude and subtract commands and tools.
After creating the Door frame placed at their respective places.
Creating the Window:
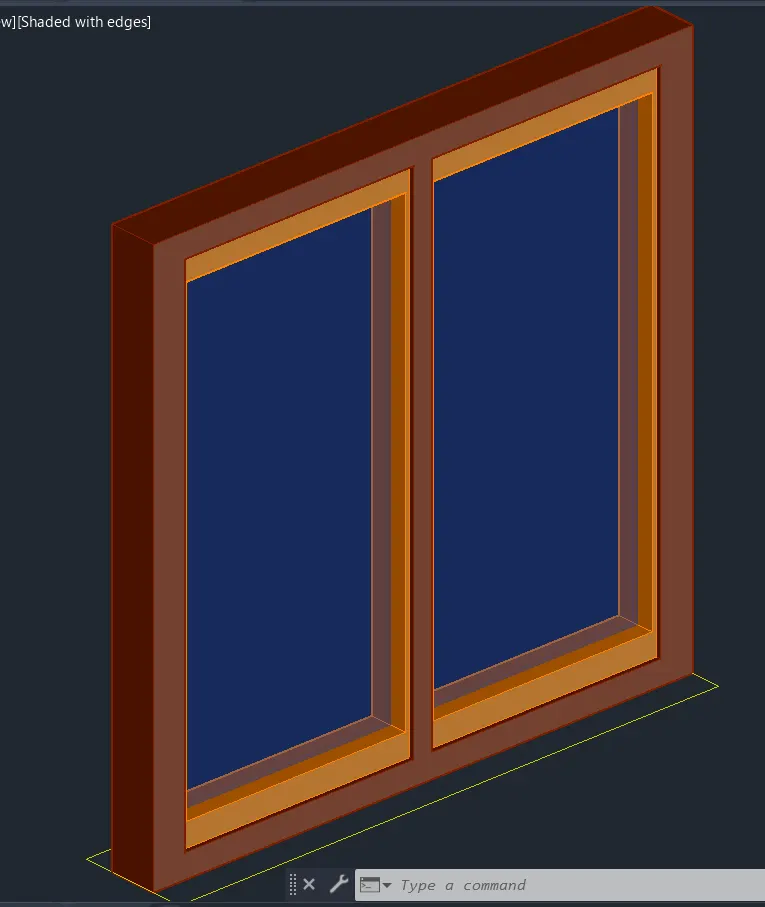
Creating the window frame with 1.2 X1.2m and Othe window size is 1Mx 1.2m Thickness of the frame will be taken as 10CM and Created the mullion and Panel of the window.
Assigning the Material to Object:
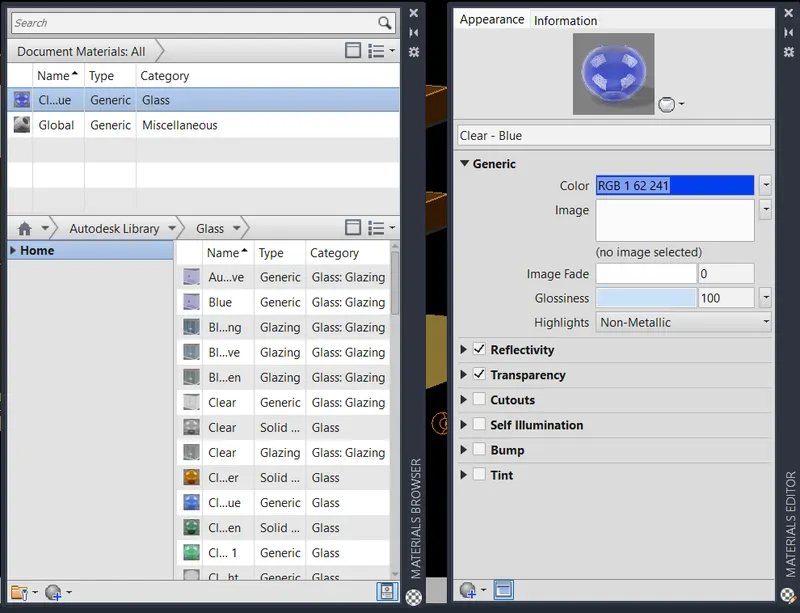
Select the Clear Glass material for the window panel and assign it to them.
Creating the Sunshade OVer the Window:
Creating shade by using the line tool and Region it for having closed entity then extrude by using the Extrude command up to 1.2m
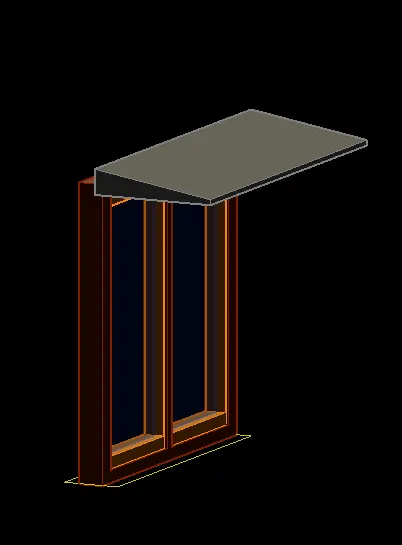
Creating the Ground and Steps at the Entrance.
Create one rectangle around the building offset from the building 4m distance then send below the building 0.45M. Create the Region for having a closed entity.
Creating the Steps in the plan with the dimensions of 0.15M riser and 0.3M Tread then extruding the rectangle with extrude command and creating in the 3D object.
Creating the FLOORING:
Hiding the walls and other objects, then creating the Flooring by plotting the plan and Region it to them by REGION command. and extruding 0.05m Thickness and Union to all floorings.
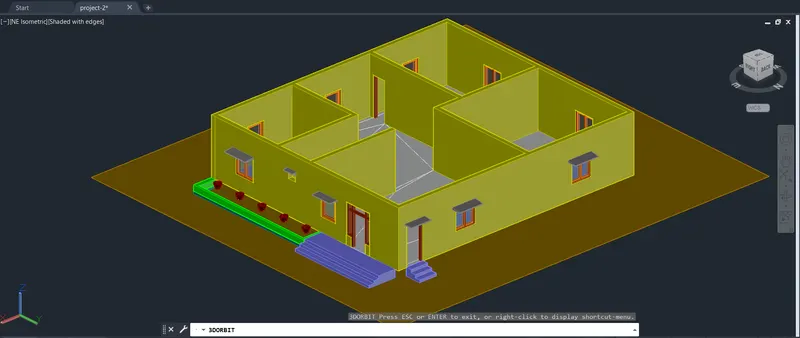
Creating the ROOF and Parapet wall:
Converting the object from shaded view to Wireframe view and creating the rectangle around the building and extruding 0.1m thickness of the slab then creating the parapet wall with 0.115m thickness. and extruding to 0.9m height then UNION to them for having the single object.
Creating the First floor:
Copied the ground floor at the height of 3.3m.
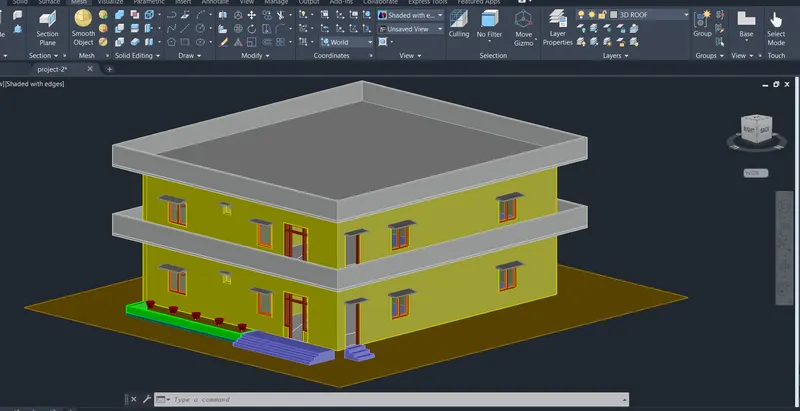
Creating the StairCase:
Creating the Staircase plan and section of the staircase then region to them, and Extrude up to 1m width of the stair.
Similarly Created 2nd flight of the staircase, then placed at the building.
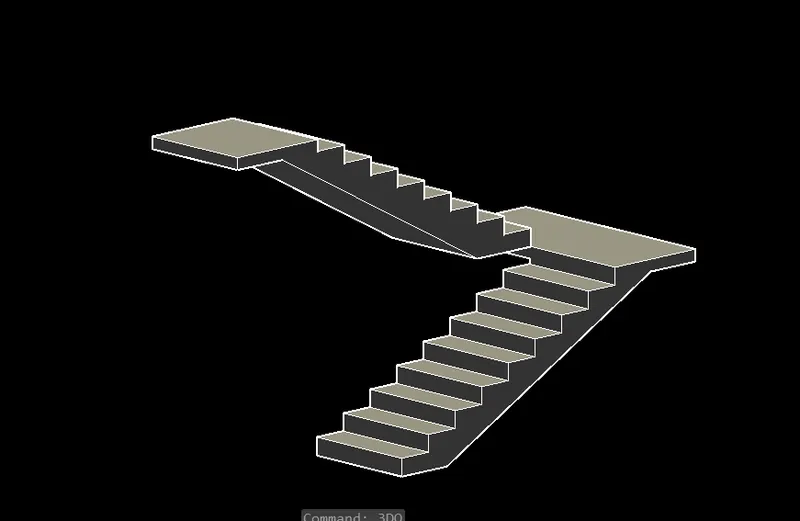
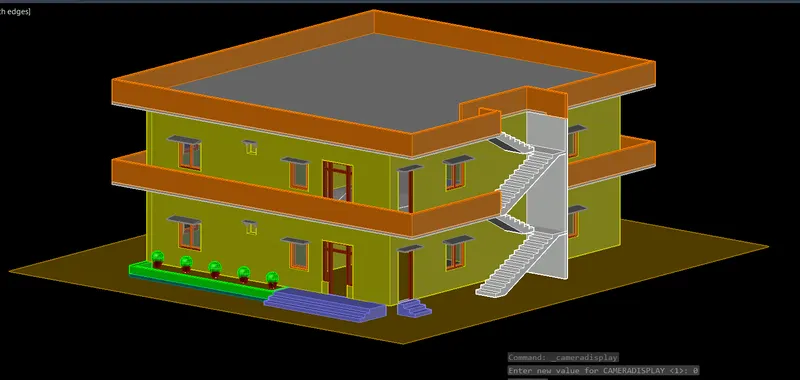
CREATING THE NEW CAMERA:
INVOKING THE TOOL:
Visualization > camera > Create Camera>
Select the base point of the camera the select the location of the camera the press enter.
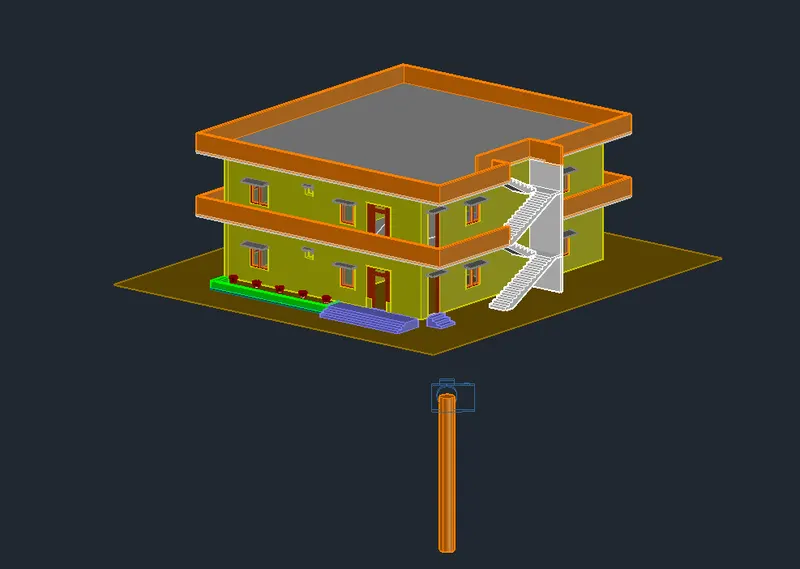
NEW CAMERA CREATING
PREVIEW OF THE CAMERA:
Double click on the camera logo the preview of the camera will displace.
Creating two cameras in two directions the objects are shown below.
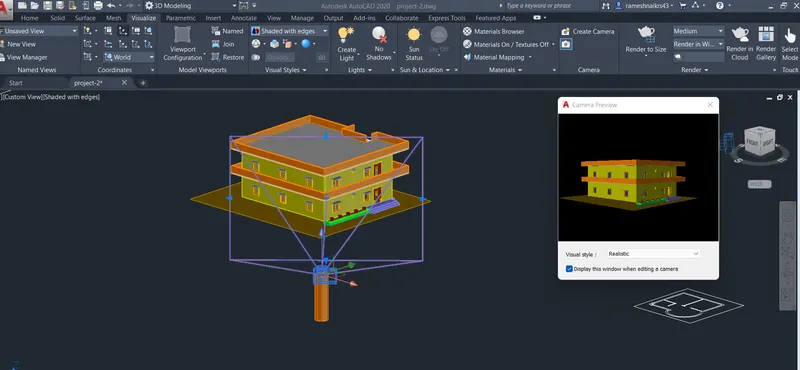
CAMERA-1
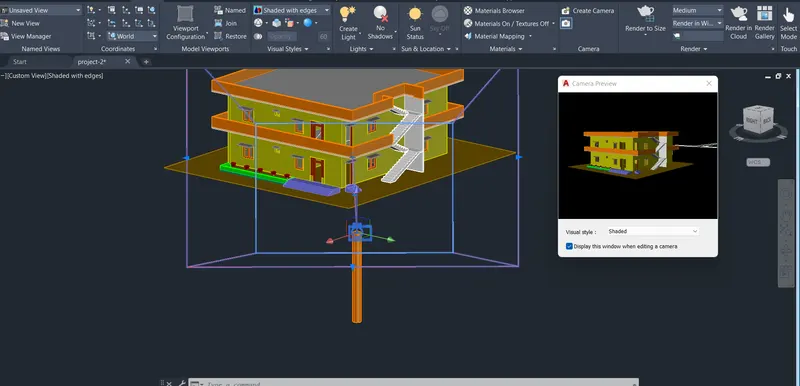
CAMERA-2
LIGHTING:
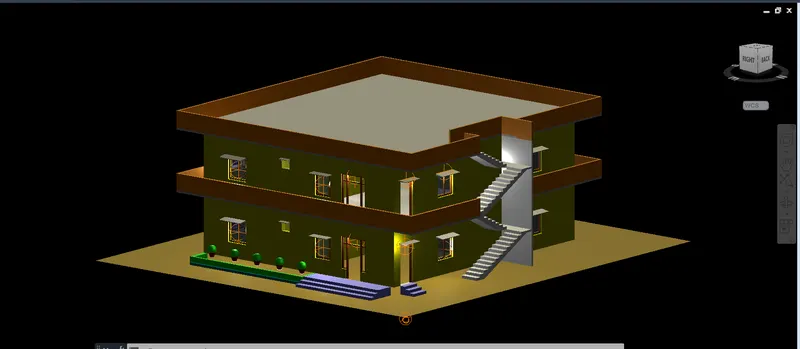
Creating the Lights on the building by using the various light options
Invoking the Tool:
Visualization > Lights > create New Light.
Point light:
Select the point light type o and specify the location of the light press enter.
SpotLight:
Select the location of the light and specify the point of the light fall.
For a Preview of the lights on the building, change the visual style to REALISTIC then the lights will be blown.
RENDERING:
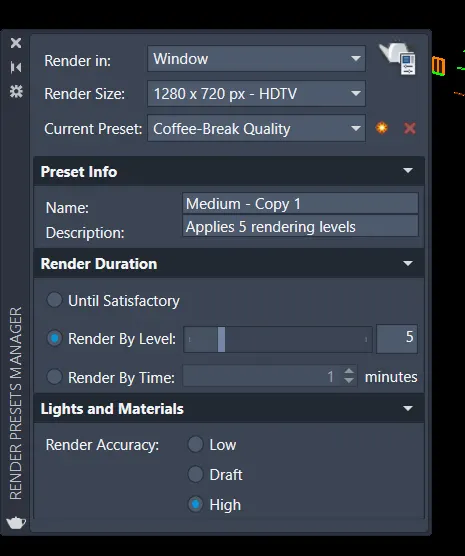
Render the building by Render command
Invoking the Tool:
Visualization > Render.
Command: RR>
choose the render size, render accuracy, etc., then click the cattle symbol to start the Rendering.
RESULT:
Rendering the Residential building, by using various commands and tools.