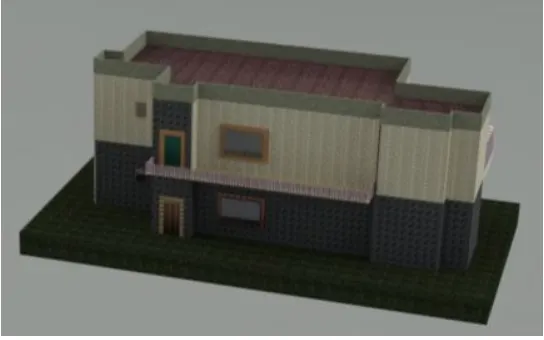
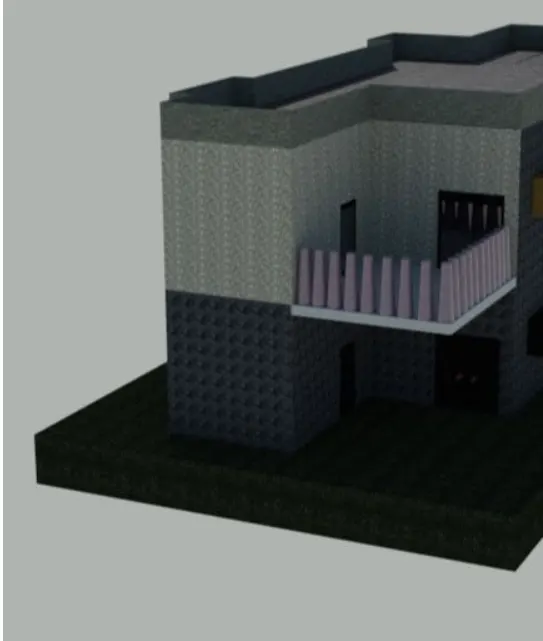
Project 2_Creating a 3D rendered model for a Residential Building in AutoCad
AIM:-
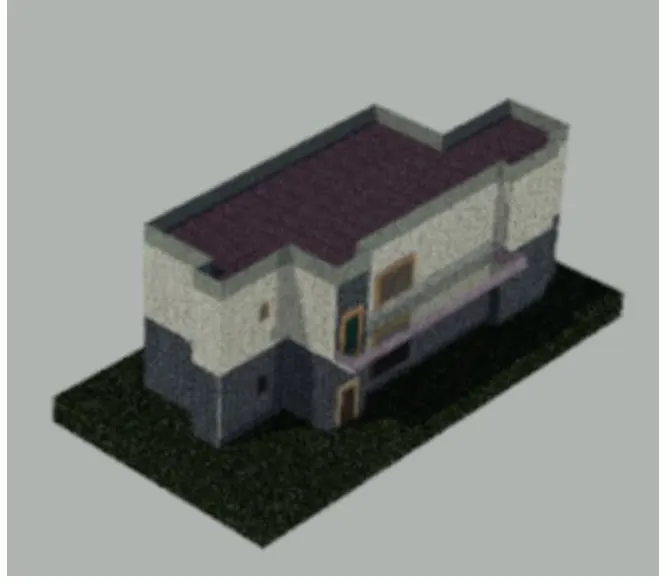
To create a 3D model of a residential building with a rendered view.
PROCEDURE:-
- Set units>engineering>inches
- Type limax>100,100.
- Limits>0',0'.
- Type>zoom>a.
- Use L command to draft the desired lines.
- In the 3D model it is changed to top view to draw the plan.
- set layers for walls, door and windows.
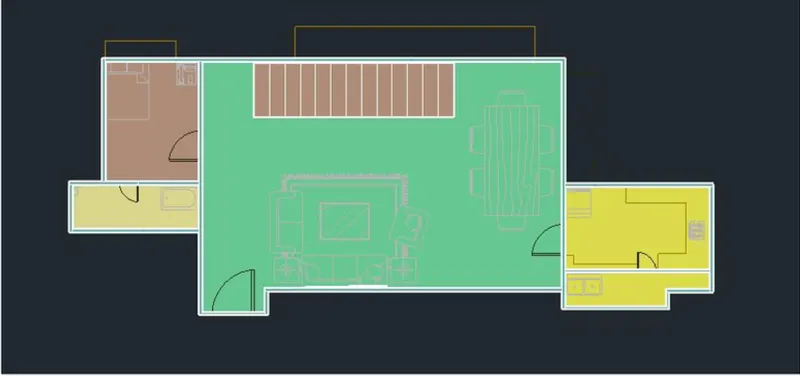
- In plan view draw the steps with R-6'' and T-1'.
- Type XL to draw infinite lines.
- Type adc to add the interior components like sofa, dinning table etc.
- Usingoffset give the thickness of wall 4''.
- Trim to trim extra lines.
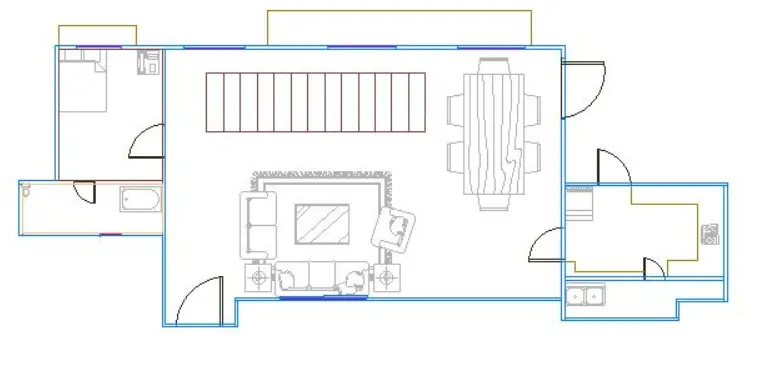
- Mt to give text.
- Give dimensions using dim command.
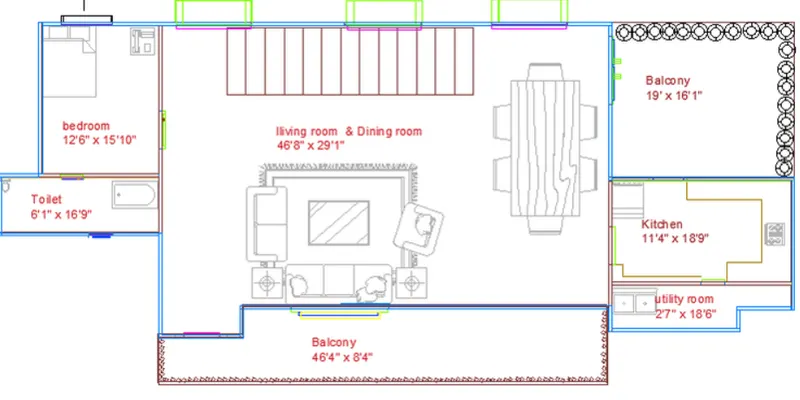
- Go to south west view.
- Extrude the walls using extrude command.
- The windows and doors are not extruded.
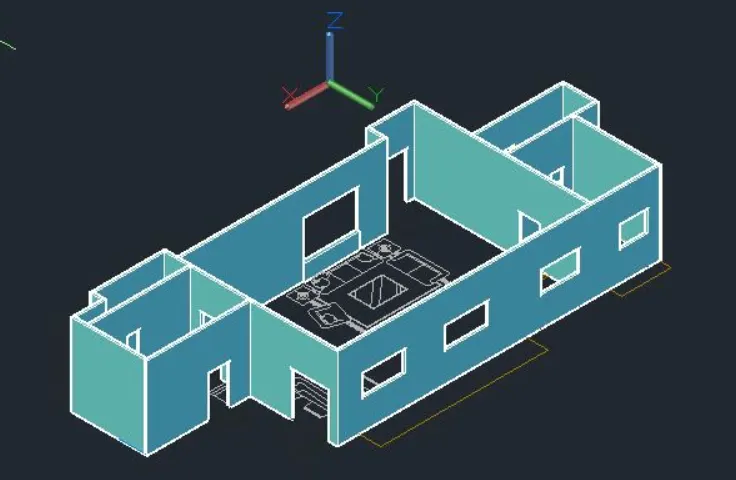
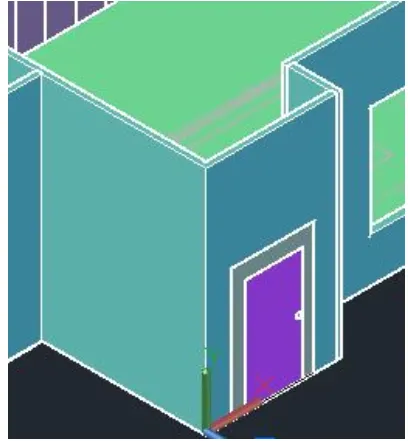
- Use rec command to draw the rectangle(frames)for door and windows.
- Type extrude to extrude the frames.
- Do it for all door and window.
- Type rec to give floor layout.
- Extrude it to-4''(to give thickness of floor).
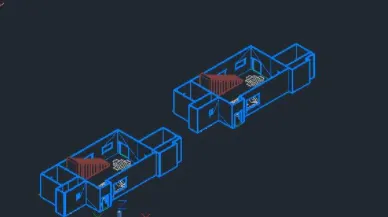
- Go to custom view and copy the whole plan and paste it on the top of ground floor.
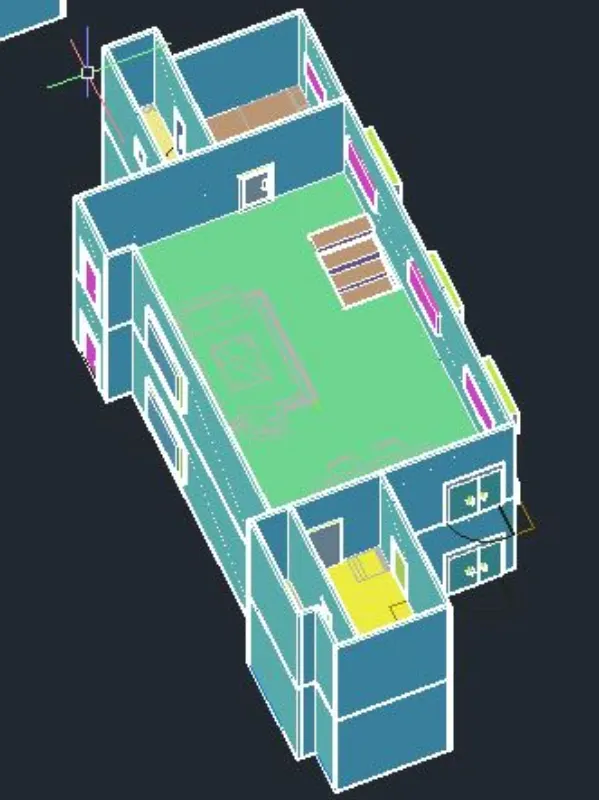
- For the first floor the opening is created for the staircase with the help of substract command.
- Type rec at staircase top and then extrude to certain height.
- With the help of substract command the opening is created.
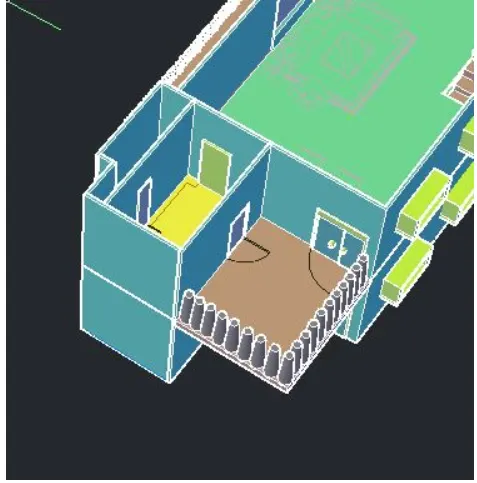
- Type rec to draw balcony layout and extrude to a particular height.
- Type circle and extrude >tapper to get the railings.
- Type polygon>4 sides>inside the circle>draw the rectangle and extrude it to get the railings.
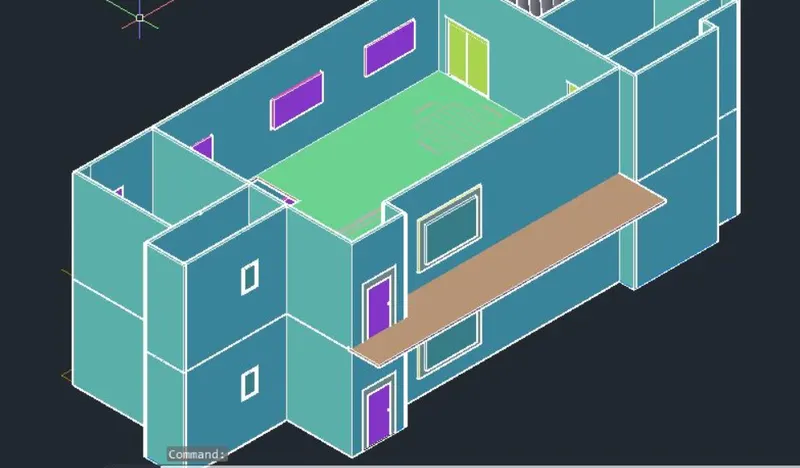
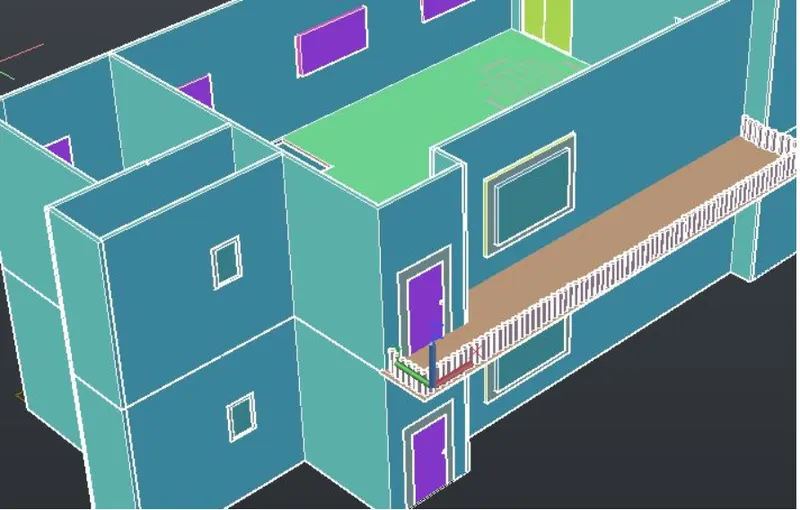
- Type rec to draw the rectangle for ceiling and extrude to 4''.
- Type Union to join the solids.
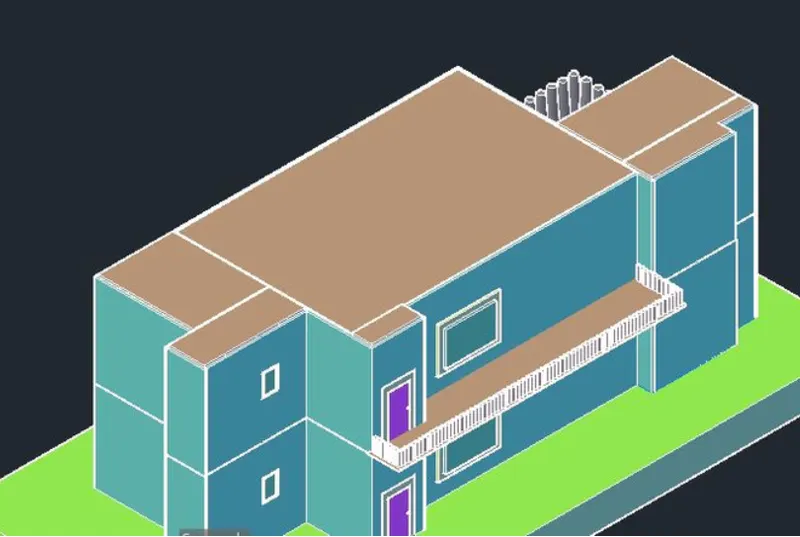
- Using box and extrude command the parapet wall is created with height 3'6''.
- Type union to join the parapet walls.
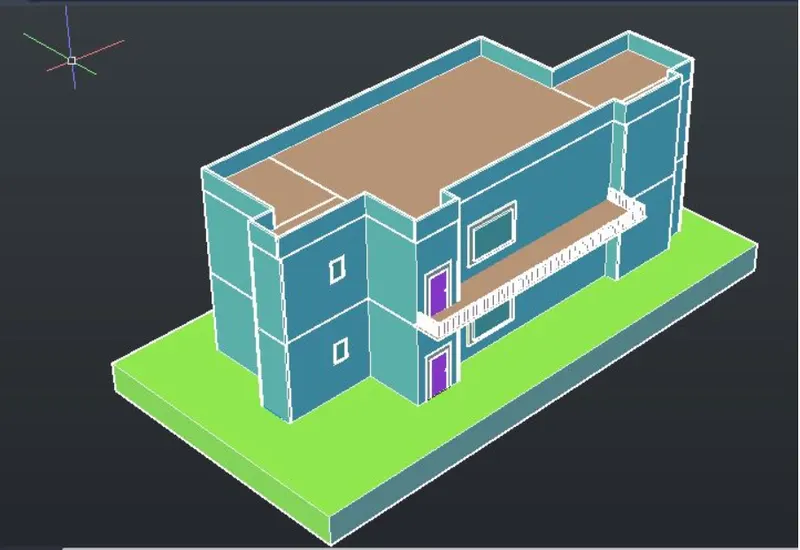
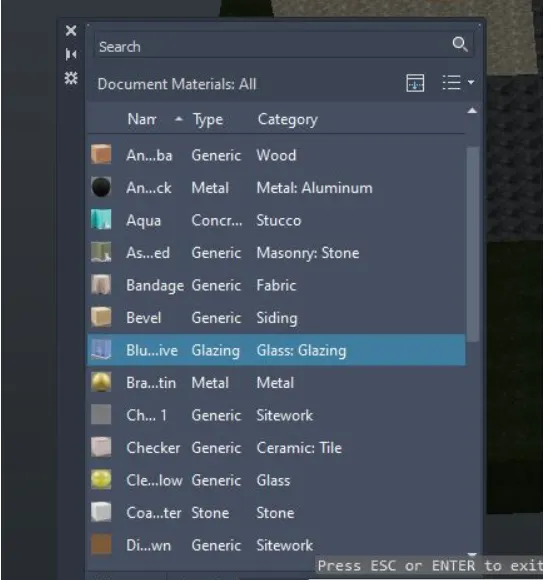
- Now in ribbon bar>visualise>material browser (to add the materials)
- For wall different stone materials are added.
- For terrace brick masonary material is added.
- For windows and door glass material is added.
- All can be seen in realastic view.
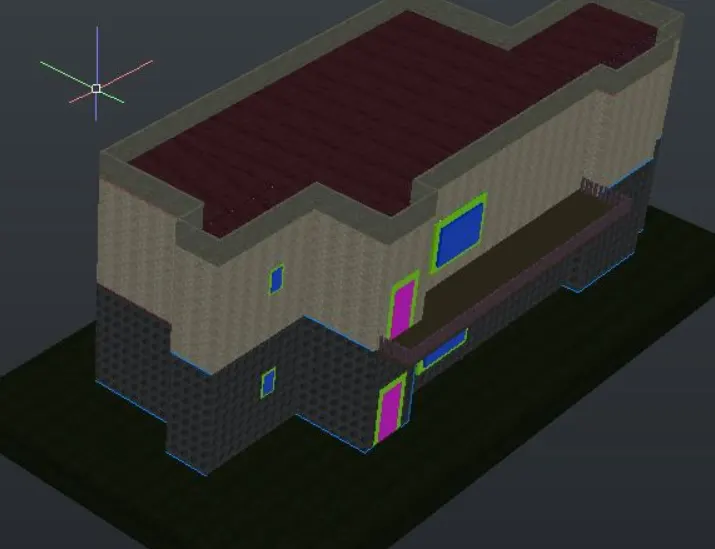
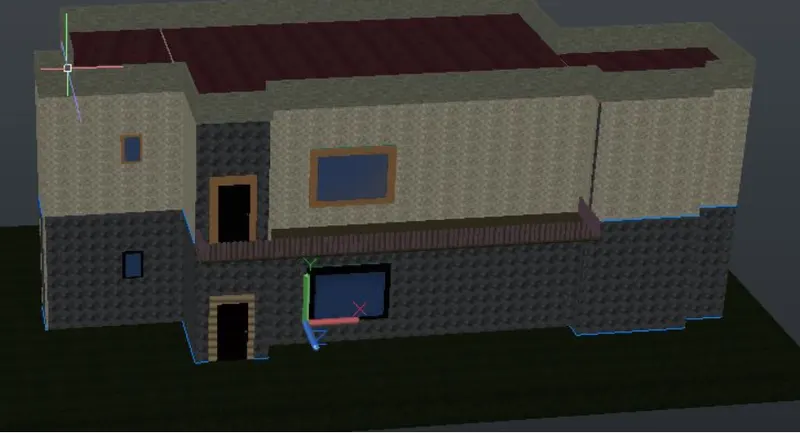
- Go to ribbon>visualize>render
- we modify the sun setting,sky background.exposure setting.
RESULT:-