Project 2_Creating a 3D rendered model for a Residential Building in AutoCad
Aim:
To create a 3 Dimensional model of the residential building with a rendered view using AutoCADD software.
Introduction:
Using AutoCADD software, a 3 dimensional model of residential building with a rendered view is to be created. The layout of the residential building is already drafted.
Procedure:
Open AutoCADD software and change the workspace into 3d modelling or 3d advanced. As the layout of the building is already created and there is no need to set the annotation units for the drawing.
i.Using the view port, change the view from 2d to 3d and start creating the model.
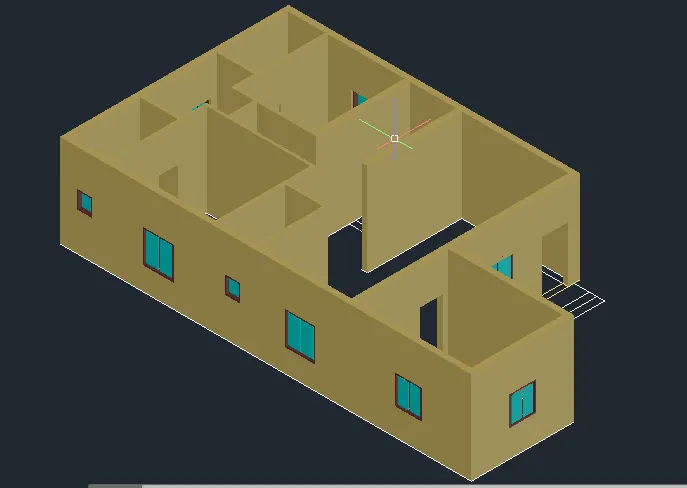
ii.From section view of the layout, get the height of the building and using the command 'Extrude' you can project the wall. Before extruding the wall make the wall portions into region so that it becomes solid surface.
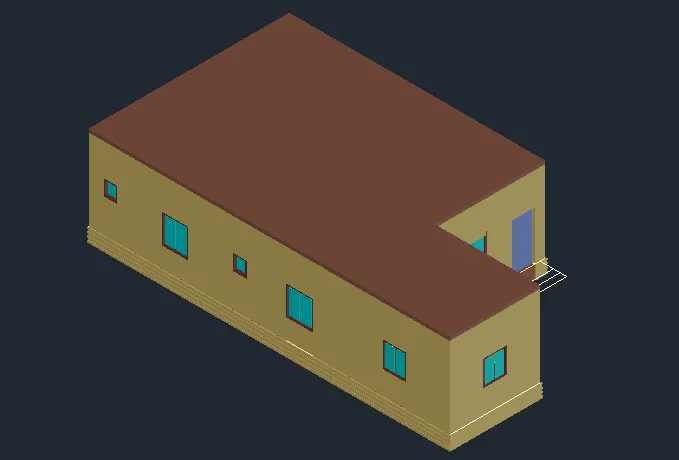
iii.Change the views from 2d wireframe to shaded to view the extrution. Create the window and doors and group them into single object and place it in suitable positions.
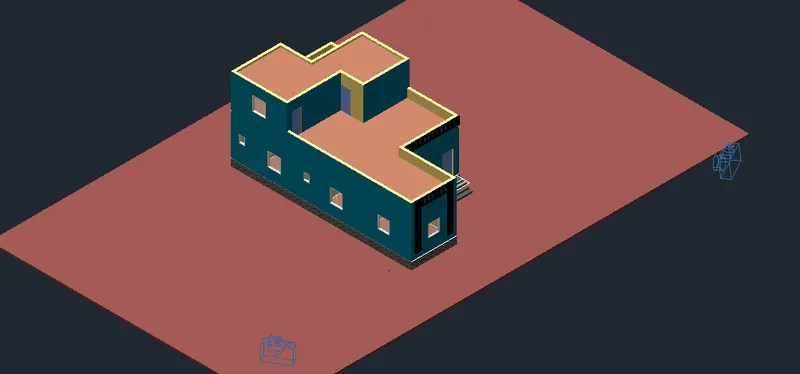
iv.Once the model is created, next step is to apply material properties. From material library, you can apply suitable materials to every solid surface, like wall paints, glass, stone, masonry, wall finishing etc.,
v.After applying material properties, the camera positons are fixed. Adjust the camera location, height, lens, etc., and save the view you want.
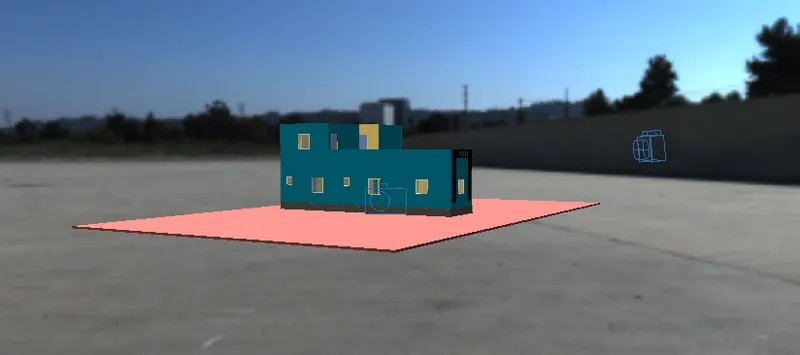
vi.Final step is fixing the lights, shawdows and environmental and exposure and start rendering the model. The final rendered image can be saved in .jpeg file for your reference.
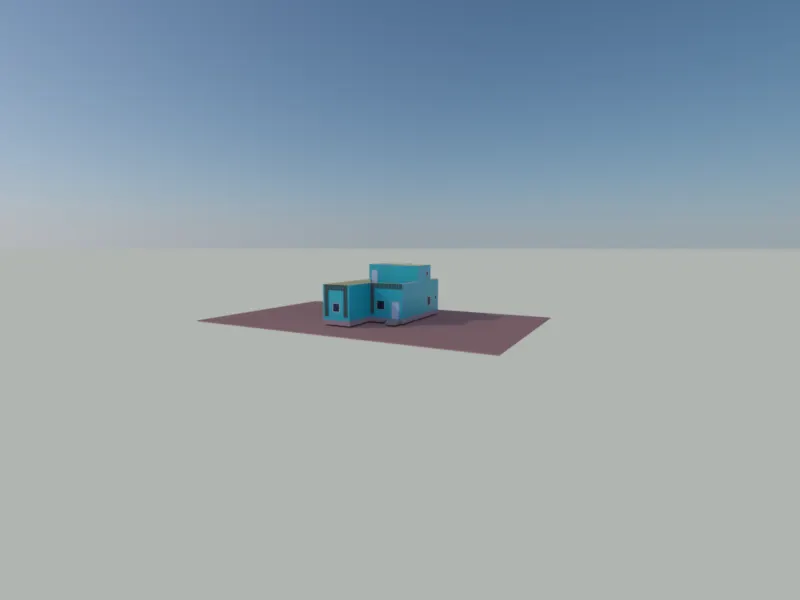
Result:
A 3 dimensional model of residential building with rendered view was created using AutoCADD software.
Commands Used:
1.Polyine (PL)
2.Boundary (BO)
3.Region
4.3d Orbit
5.3d Rotate
6.3d Mirror
7.Render (RR)
8.Rectangle (REC)
9.Copy (CO)
10.Erase (E)