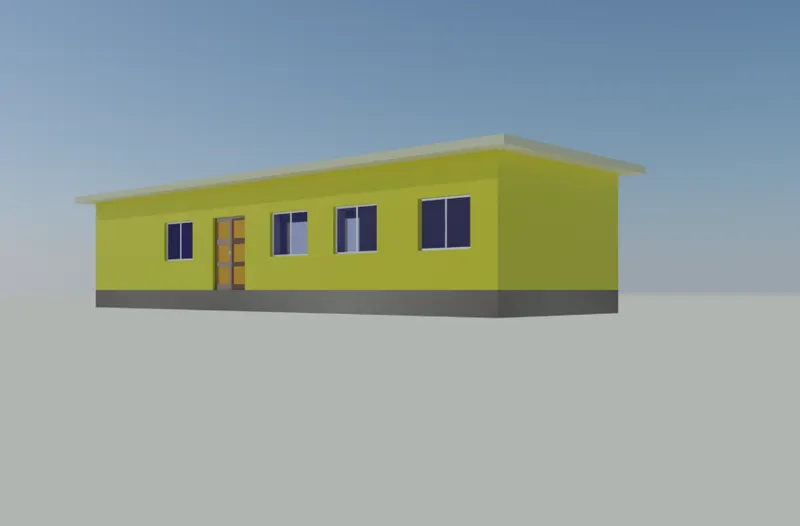
Project 2_Creating a 3D rendered model for a Residential Building in AutoCad
AIM-Create a 3 dimensional model of the residential building with a rendered view.
PROCEDURE-
- First step is to open the plan from challenge 8 of residential building
- Select working space model to 3D modelling
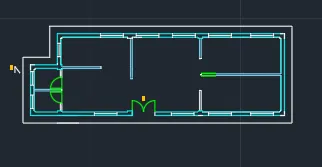
- Remove all the text from the drawing.
- Now from the ribbon menu select press pull option.
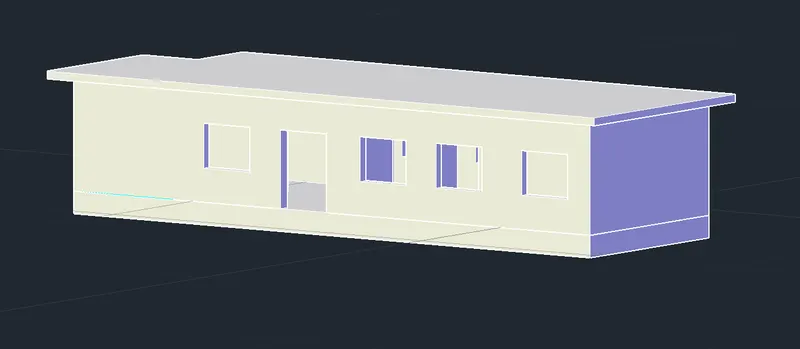
- press pull all the wall with height of 2.8m
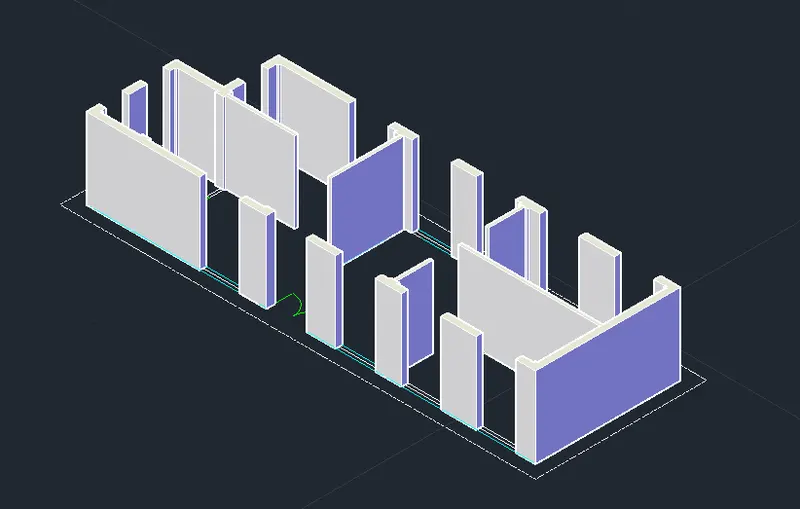
- Select box option from the ribbon menu and create wall upto the height of 0.9m for window
- select box option from the ribbon menu and create wall above the lintel level for window
- select box option and create wall above 2.1m for door
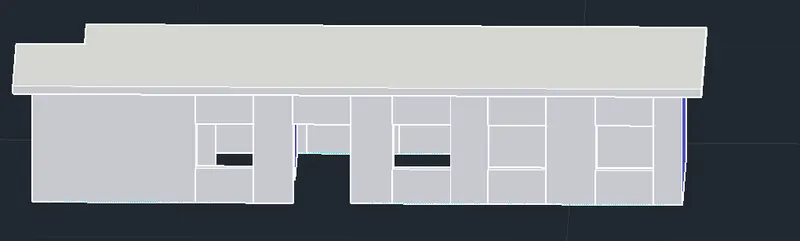
- select chajja borders and select move option and gizmo option to move the chajja to z axis upto 2.8m
- using presspull option presspull upto 0.2m
- Draw polyline around the borders wall
- presspull downwards of 0.6m for plinth
- select and copy window from the section plan
- presspull frame to 0.05m
- presspull glass to 0.02m
- select and copy door
- prespull door to 0.05m
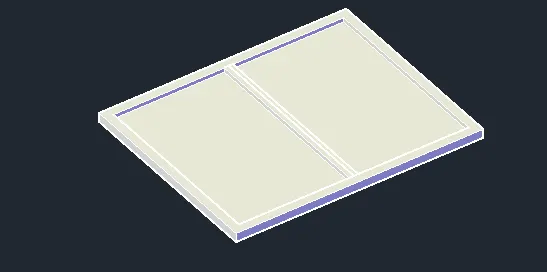
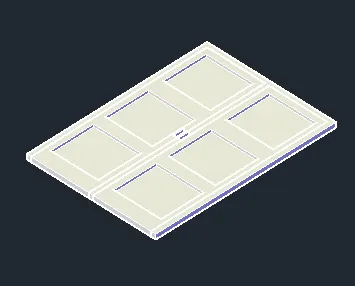
- Select and rotate the object using gizmo tool
- Using copy command select window and paste in the position
- Using copy command select Door and paste in the position
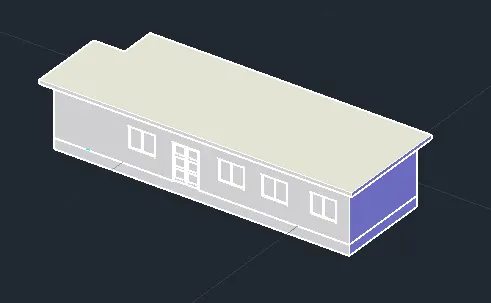
- Now from the ribbon menu go to visualize
- from the menu select material browser
- make sure the view is realistic
- from material broswer search wall paint select drop on wall
- Similarly apply material for glass, aluminium frame, wooden door etc
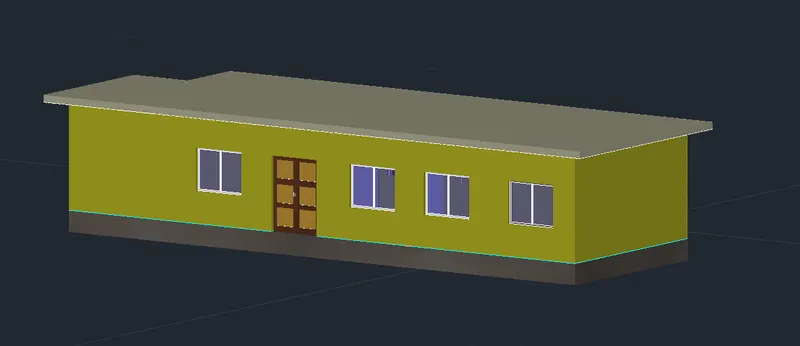
- In visualize menu select on create camera
- place the camera postion so to show the face of the building which you want to render.
- From the visualize menu select light, full shadow, sun status on, sky backgroung and illumination
- From the visulaize menu select the render size to 1920x1080 full hdtv.
- The press on render
Result-