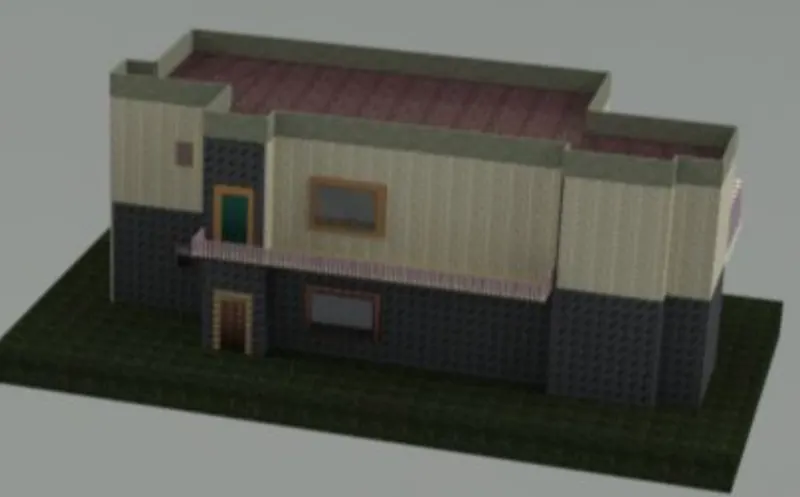
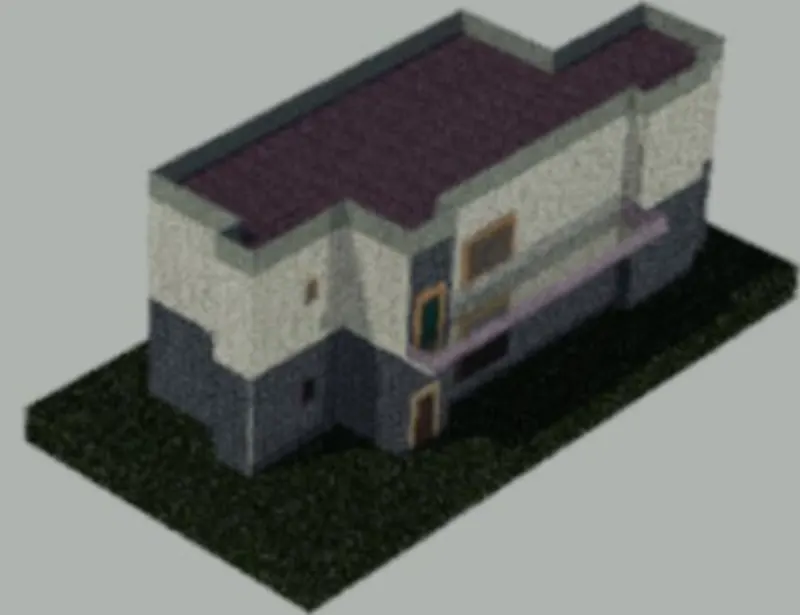
Project 2_Creating a 3D rendered model for a Residential Building in AutoCad
AIM: To create a 3D-rendered model for a Residential Building in AutoCAD
2D COMMANDS USED:-
- LINE (L)
- XLINE (XL)
- TRIM (TR)
- SCALE
- DIMENSION (DIM)
- MOVE (M)
- COPY (CO)
- MIRROR (MI)
- ROTATE (RO)
- EXTEND (EX)
- FILLET (F)
- EXPLORE (X)
- JOIN (J)
- LIST (LI)
- RECTANGLE (REC)
- ARRAY (AR)
- CIRCLE (C)
- POLYLINE (PL)
- ARC
- LINETYPE (LT)
- OFFSET (O)
- UNIT (UI)
- DYMSTYLE (D)
- LAYER
- OPTION
- BLOCK (B)
- BLOCKED (BE)
- TEXT (T)
- HATCH (H)
- ADC
3D COMMANDS USED:-
- Extrude
- Revolve
- Union
- Subtract
- Sweep
- Intersect
- Rendering
PROCEDURE:-
- By using the units command change/select the unit as meter/millimeter.
- set the limits, on the command prompt type 'Limax' > 100,100
- on the command prompt type 'Limits' > 0,0
- go to ribbon bar> layers. (as the required layers).
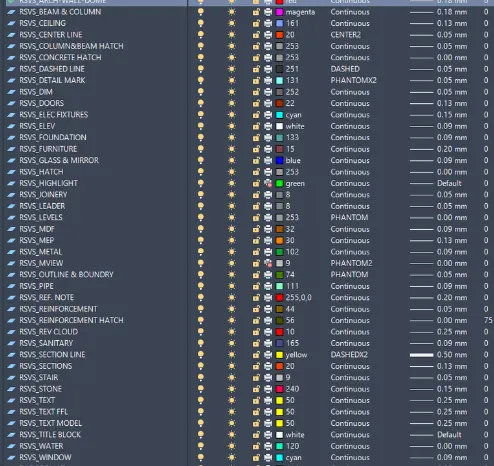
- use the command line, xline, and trim to draft the desired lines
- to go to ribbon bar>select layers>now create walls, doors, windows and etc.
- by using the command ADC ( Design center) to add the interior components like a sofa, dining table, kitchen, utility room, Bedroom, and Toilet.
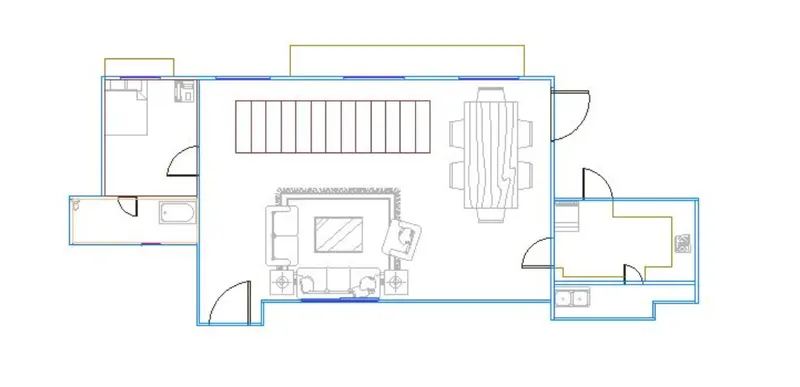
- in the 3D model, it is changed to the top view to draw the plan.
- by using the mt command write the text.
- go to southwest view and by using extrude command extrude all walls and the window & doors are not extruded.
- by using rec command, draw the rectangle (frames) for doors and windows. after that extrude the frames.
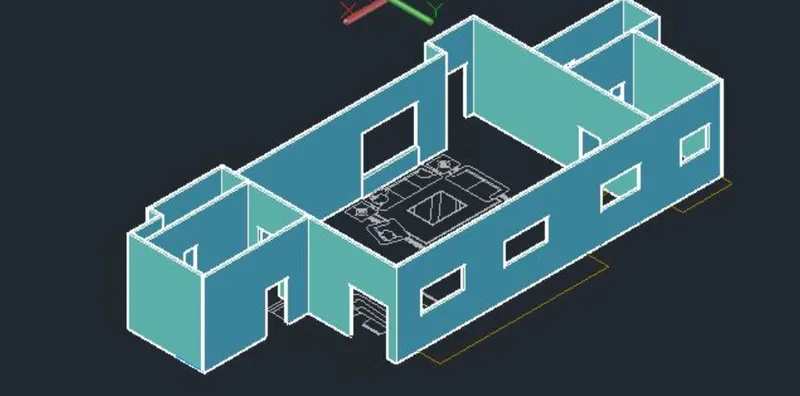
- use rec command to give the floor layout and extrude it by 4".
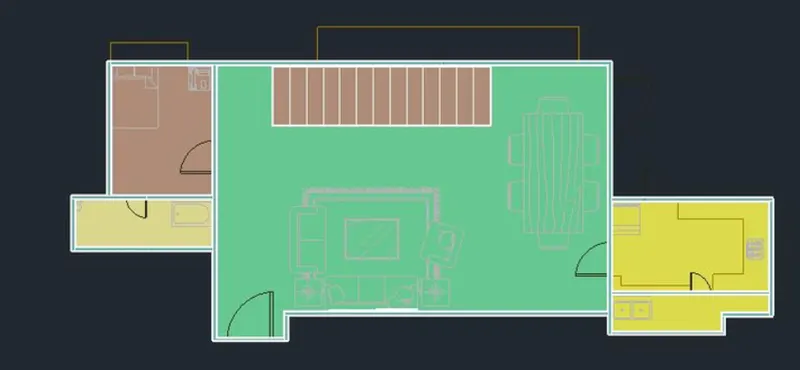
- now, go to customer view & copy the whole plan & past it on top of the ground floor to create the first floor.
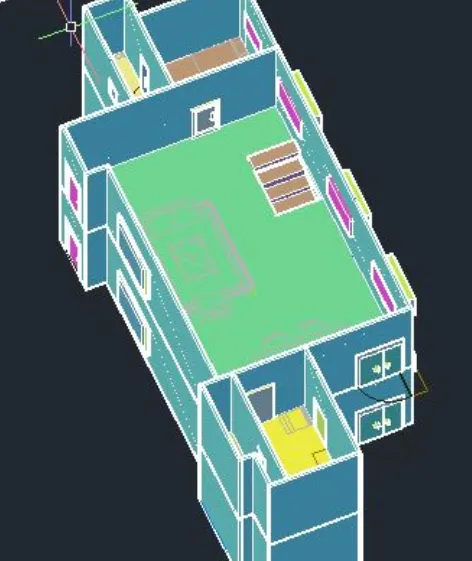
- For the first floor, the opening is created for the staircase with the help of the Subtract command
- by using the rec command, at the staircase top and then extruding it to a certain height. with the help of subtract command, the opening is created
- by using the rec command draw the balcony layout and extruded to a particular height.
- use the cir command to draw the circle and extrude > trapper it to get the railings
- to use the polygon command to, polygon >4 sides > inside the circle > draw the rectangle and extrude > to get the railings
- to use the rec command to give the ceiling and extrude it by 4".
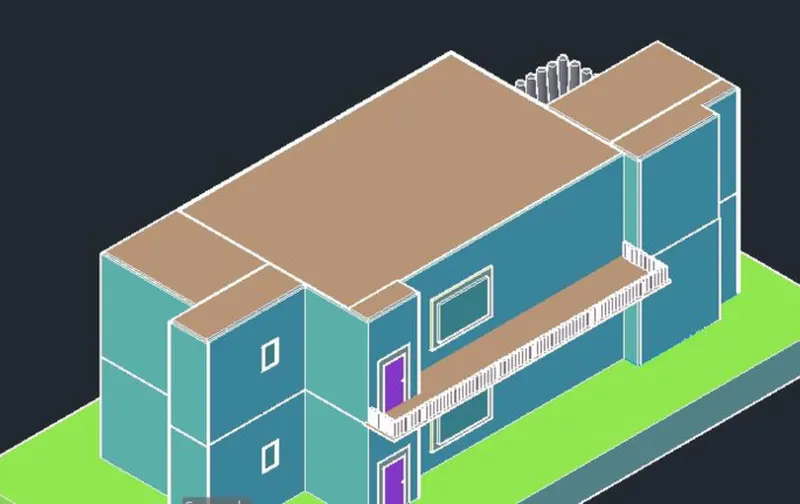
- With the help of the box and extrude command the parapet wall is created at a height of 4'.
- join all the parapet walls by using the union command.
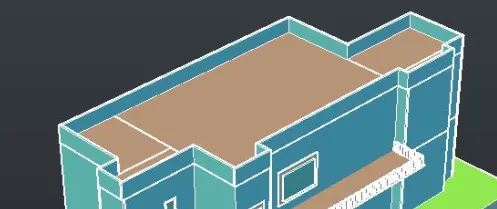
- Now go to the ribbon bar > visualize > material browser ( to add the materials )
- for walls, select different stone/tile materials
- For the terrace, select masonry brick material
- for windows and doors, select glass
- All this can be seen in a realistic view.
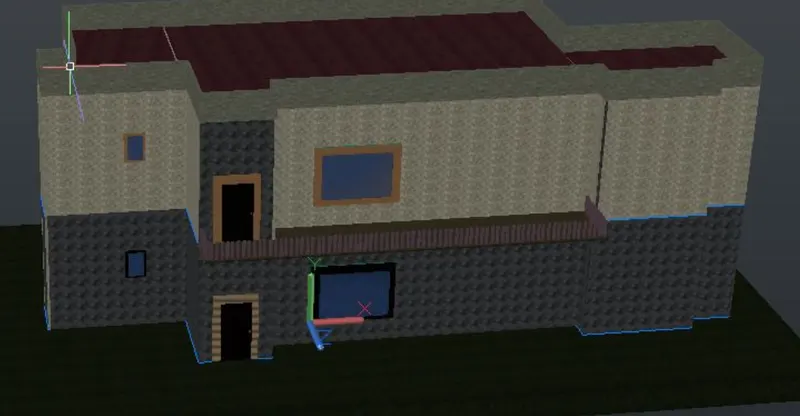
- Now we go to the Ribbar tab > visualize > Render (to start the rendering process)
- in the mean, while doing render options we can modify the sun setting, sky background, and exposure setting.
RESULT:-