Project 2_Creating a 3D rendered model for a Residential Building in AutoCad
Aim:
To create a 3 Dimensional model of a Residential Building with a Rendered View using the 3D commands in AutoCAD.
Introduction:
- he Drafting of 3D objects can be done using the 3D Modelling option in AutoCAD software.
- It helps to create and visualise the 3D objects which are created.
- We can also render the image after assigning certain material properties to the objects such as Wall Paint, Furniture etc.,
- The various commands used in Creating the 3D models are:
- Extrude
- Region
- Boundary
- Press and Pull
- Sweep
- Circle
- Rectangle
- UCS
- Copy
- Move
- Dimension Linear
- Pyramid
- Cone
- Revolve
- Solid Edit
- Fillet Edge
- Chamfer
- 3D Mirror
- 3D Align
- Rendering
- Material Library
- Rendening Properties
- Subtract
- Union
- Render View
- Material Properties
- UCS Manager
- View Manager
- UCS
- Illumination Settings
- Light Settings
Procedure:
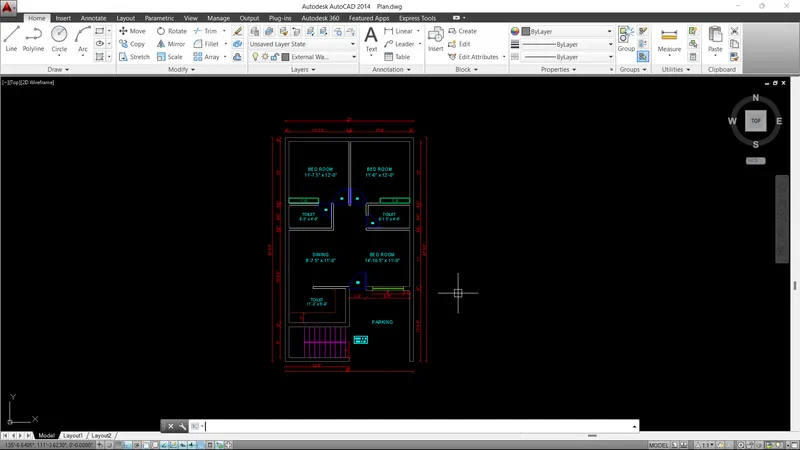
- Draft a Plan as per the requirement either in Engineering Units or Architechtural or Decimal Unit System.
- Now create different views for different types of view in View manager and give naming to the respective views.
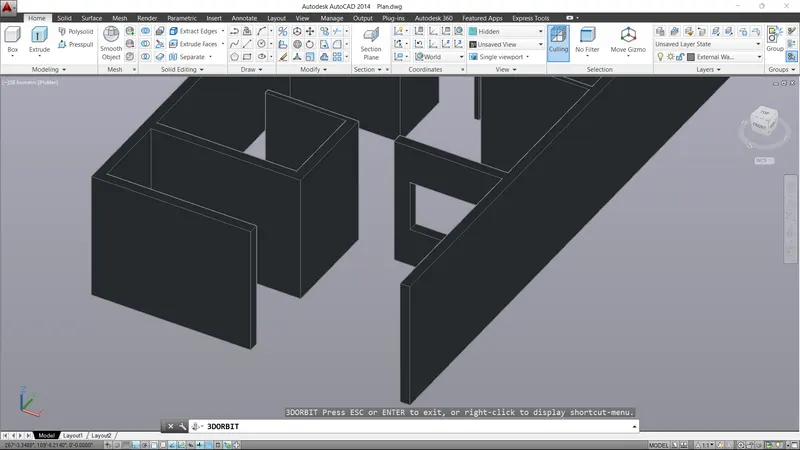
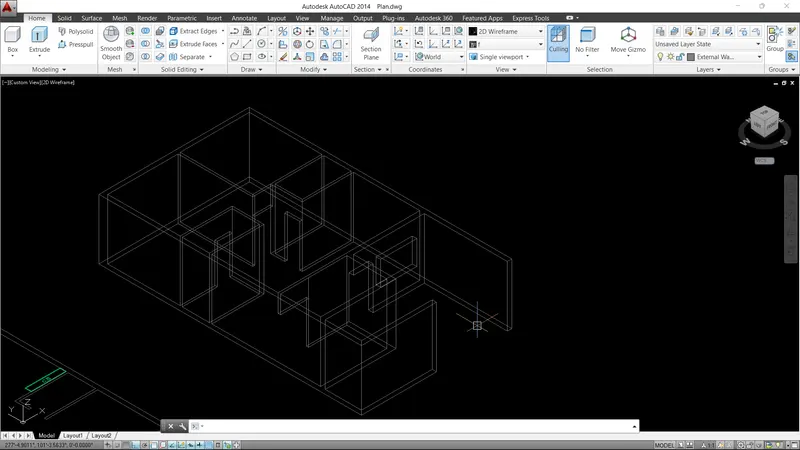
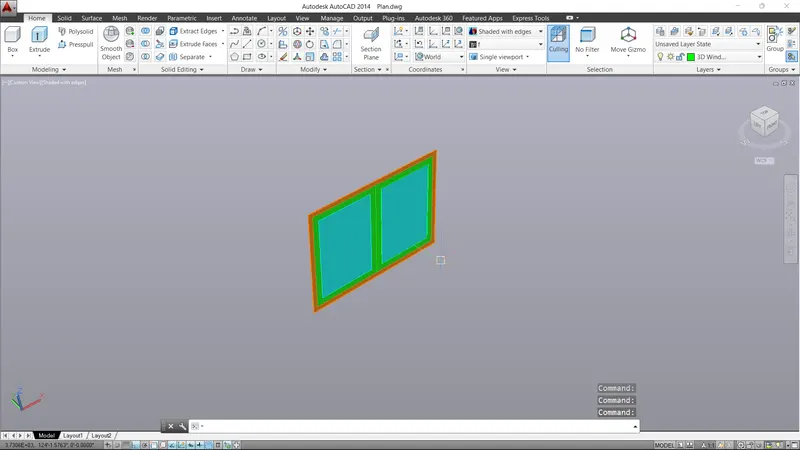
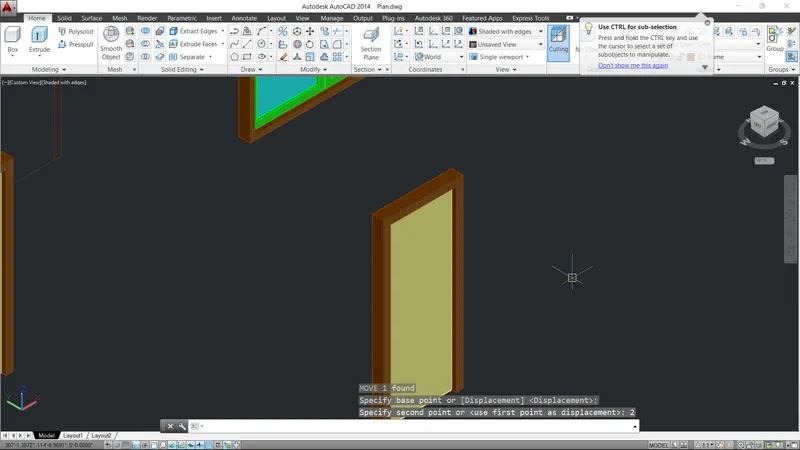
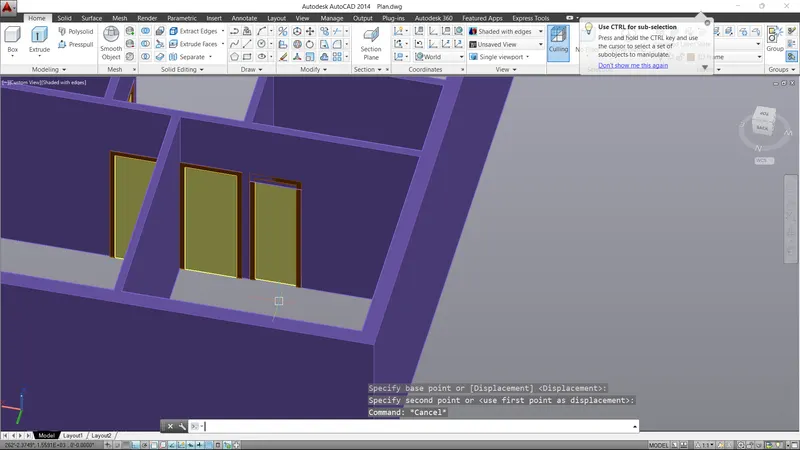
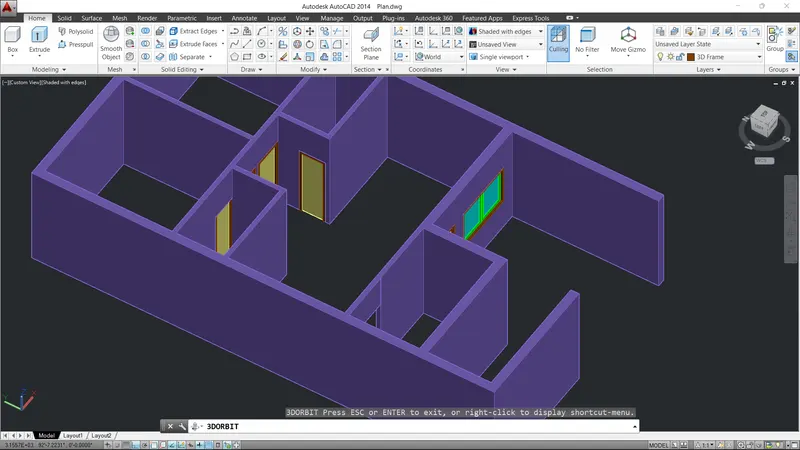
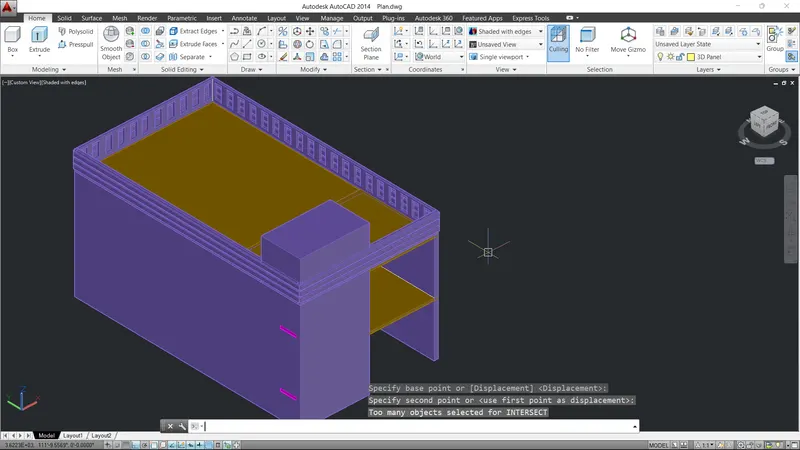
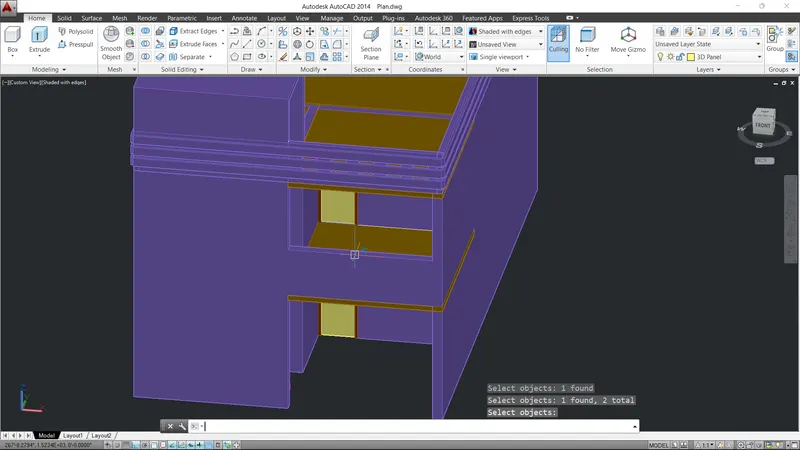
- Using Extrude and Union commands draft a 3D view of the Plan of the Building.
- Create regions for the required areas using either Region Command or Boundary command.
- Provide different layers for different set of solids such as Wall and Door Frames etc.,
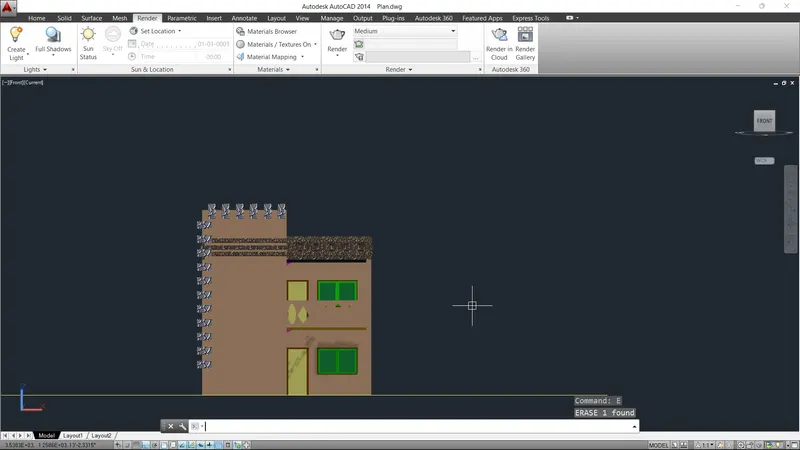
- After creating a 3D solid for the plan as per the elevation provided.
- Use the Light setting such as Bright Light or Focus Light or Distant Light.
- Give naming for different types of Lighting provided and change their properties such as Intensity and Angle of focus as per requirement.
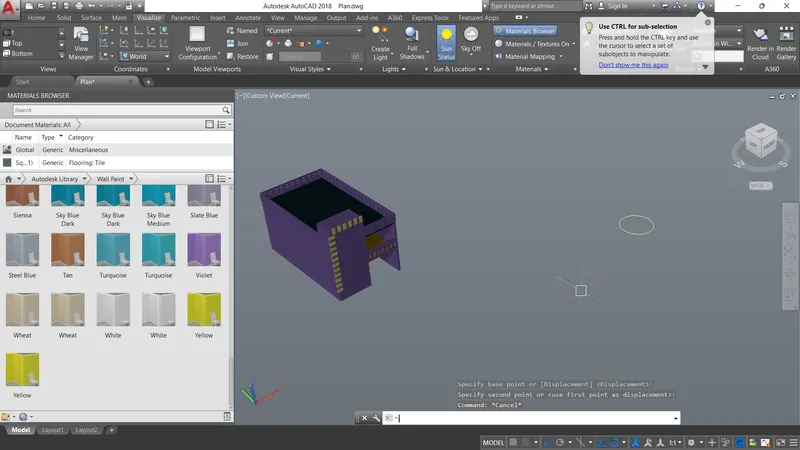
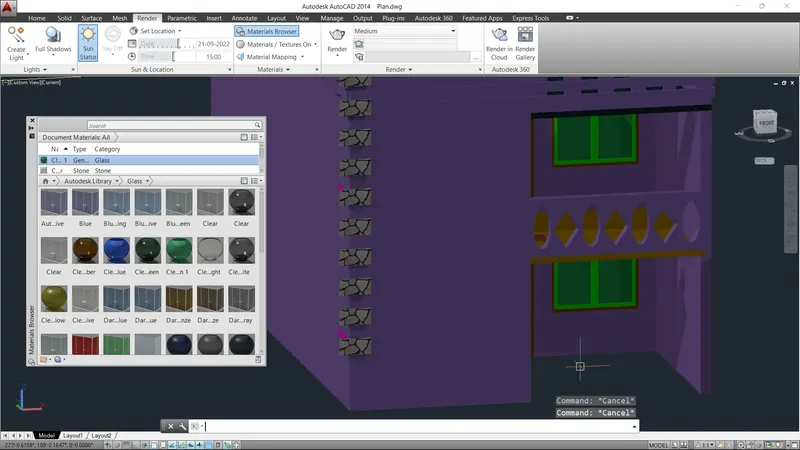
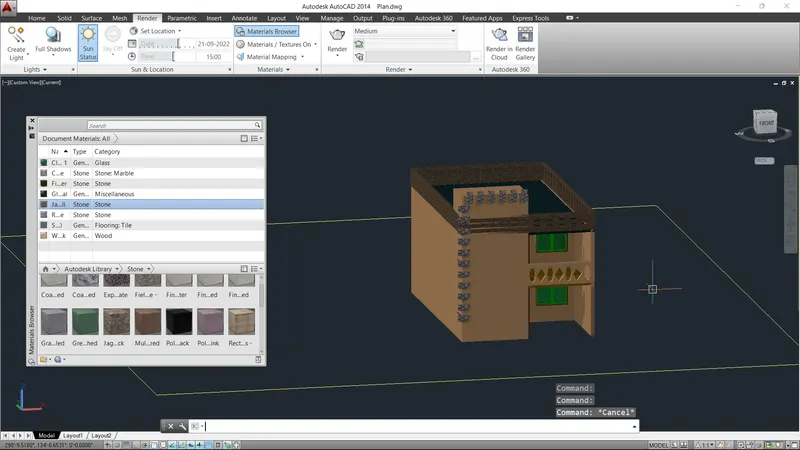
- Give the material properties to the walls and other object with the help of Material properties manager.
- Change the scale of the material with the help of commands available.
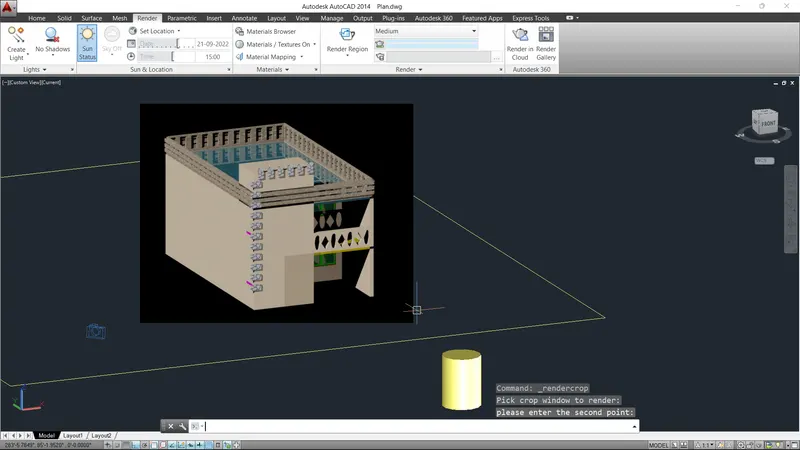
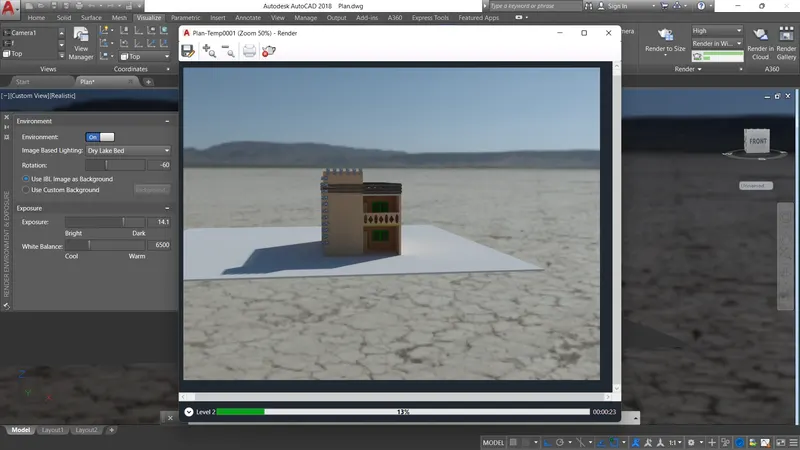
- Now we can render the image through Image Render Option.
- Change the quality of Render and Time of rendering in the Render Properties manager.
- Save the Rendered Image in the Form of either JPEG or PNG as per requirement.
Result:
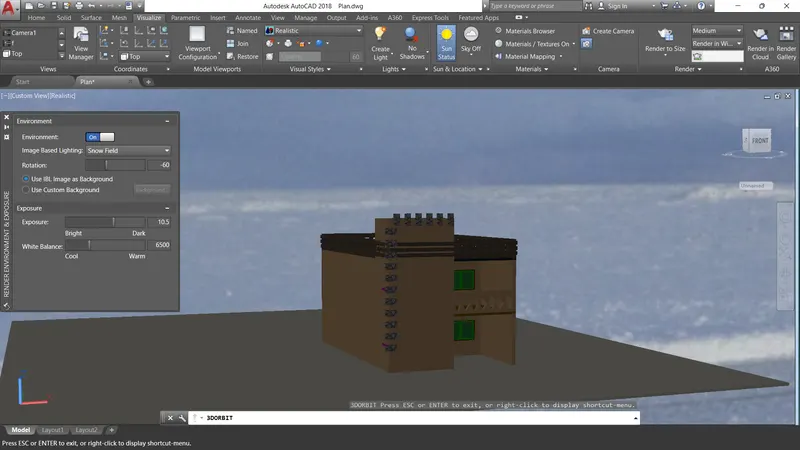
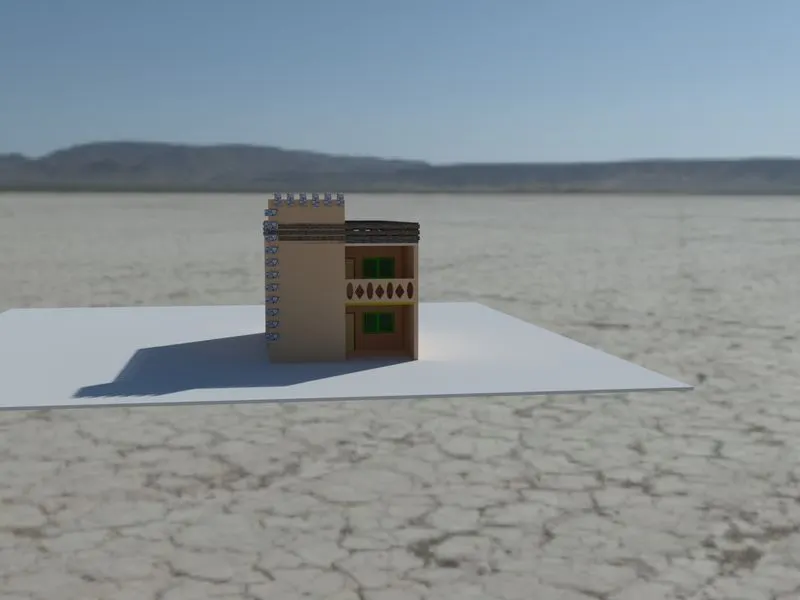
The 3 Dimensional Model and a Rendered Image of a Residential Building are created using AutoCAD.
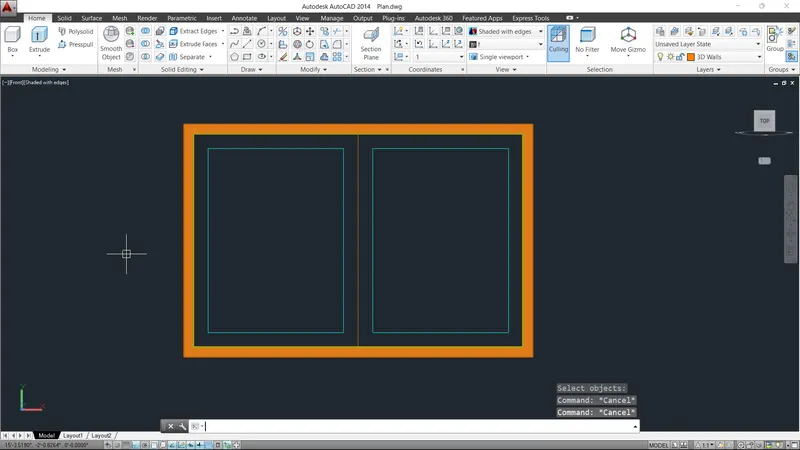
The respective Drawing and Rendered image are attached.