Project 2_Creating a 3D rendered model for a Residential Building in AutoCad
-----------------------------------------------------------------------------------------------------------------------------------------
Please find attached file naming as challenge 14.
-----------------------------------------------------------------------------------------------------------------------------------
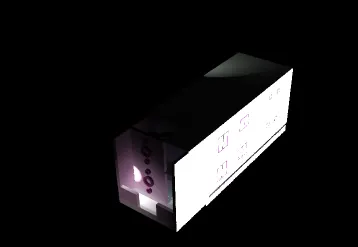
.Aim : To Create a 3 dimensional model of the residential building with a rendered view.
Introduction :
Rendering is a process of creating a raster image based on 3D objects in a scene. A renderer is used to calculate the appearance of the material attached to the object in a scene, and how lighting and shadows are calculated based on the lights placed in a scene.
Environmental and exposure settings can be adjusted to control the final rendered image. The basic rendering workflow is to attach materials to the 3D objects of a model, place user defined lights, add a background and start the renderer with the RENDER command.
Lights and materials can be added to a 3D model before a photorealisitic image is rendered.
Rendering quality can be changed by using the cameras, sunlight different types of lights like point light, spot light, distant light etc. Using these commands properly can improve the rendering to a great extent.
Procedure :
Step 1 : Line Plan and elevation is created By using Various commands like line , trim , copy , circle , offset , layer , etc.
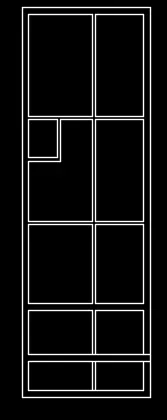
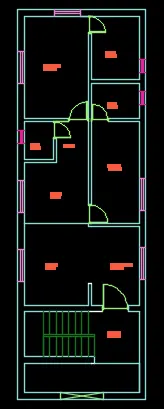
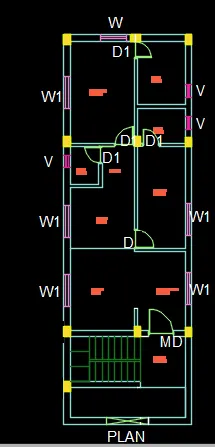
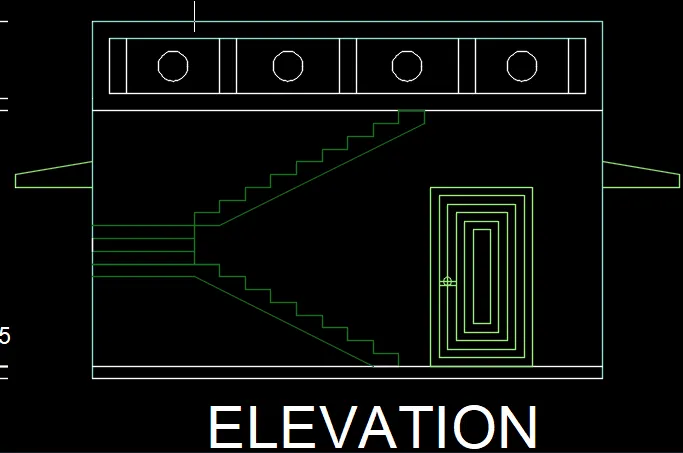
first of all plan in 2D view is created
Step 2 : Now we move towards 3D model
Workspace is converted in 3D
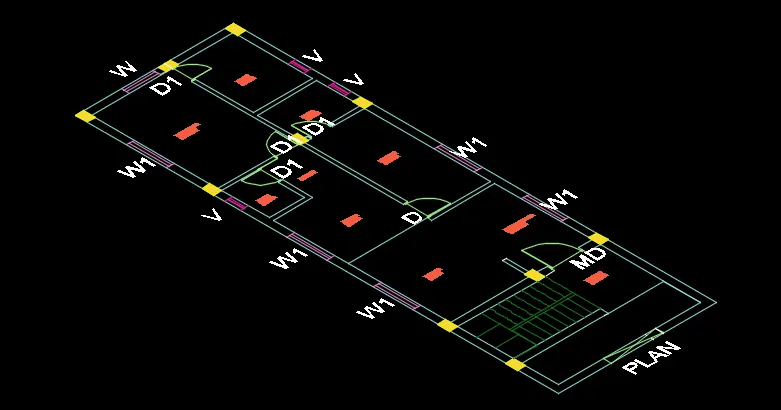
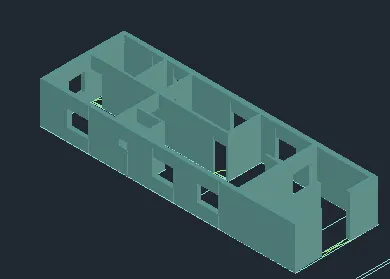
By using rectngle and extrude commnad wall are constructed in 3D view
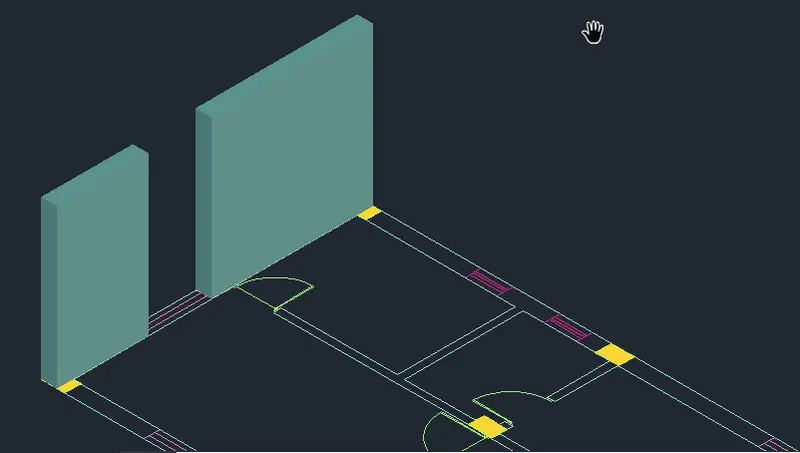
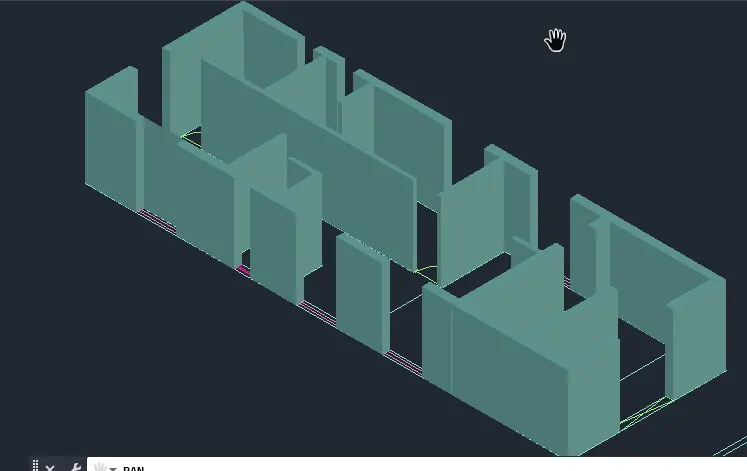
After drawing rectagle at top we construct wall upto sill level and lintel level
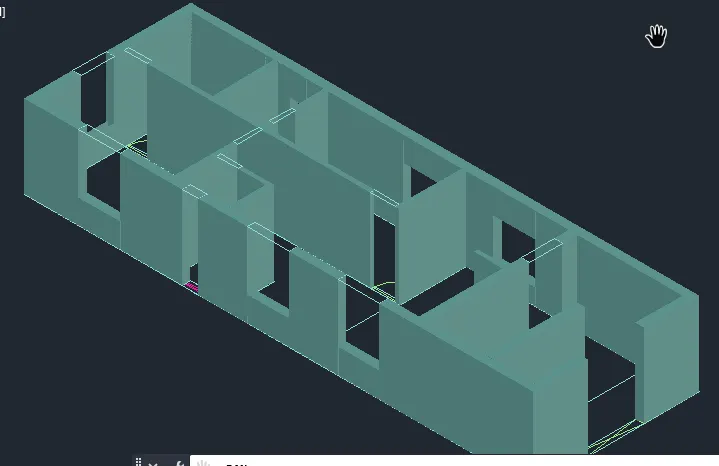
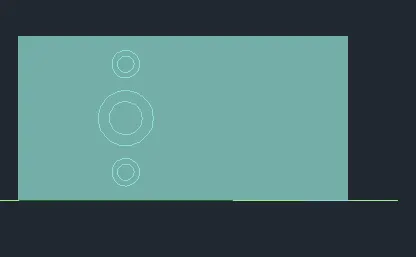
For better view of elevation some desigm created on front wall by using circle and subtratc command
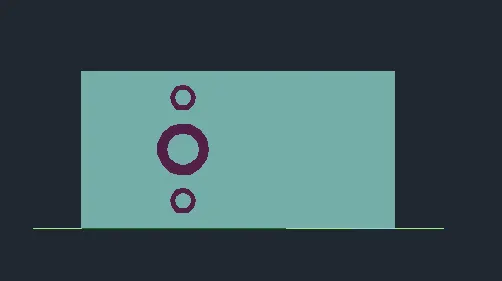
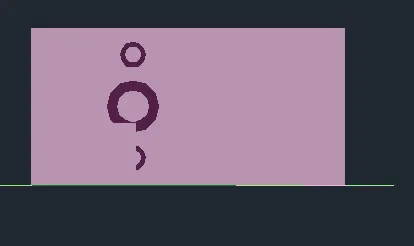
Now change the color of wall as pink by chnaging layer color
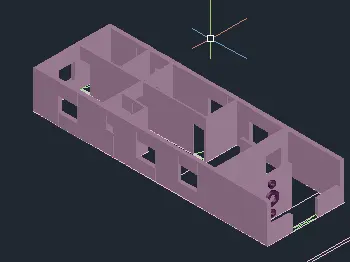
Now by keeping wall layer off nad making new layer for plinth
Make the plinth of 0.6 m
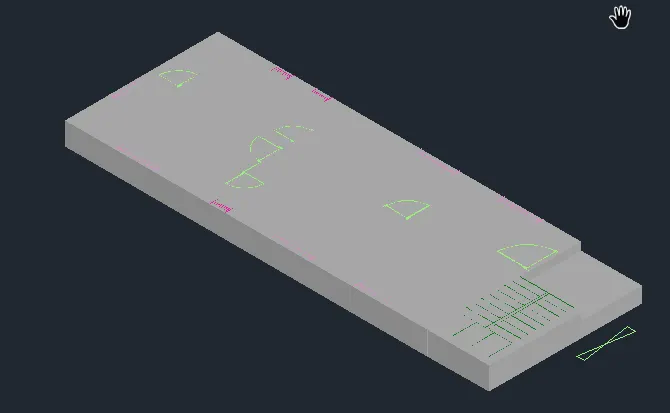
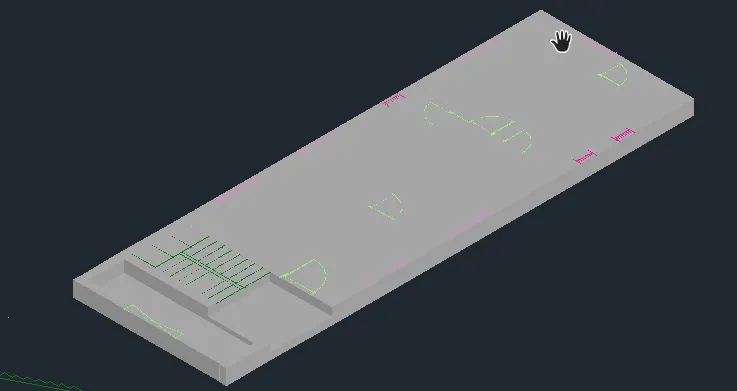
Now move toward staircase
Firstly we rotate the elevation by using ucs and 3D rotate command
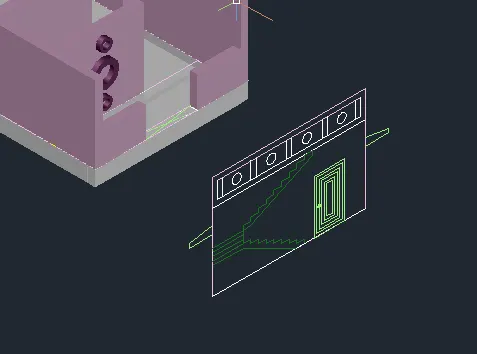
Now copy this staircase in otherside and extrude it
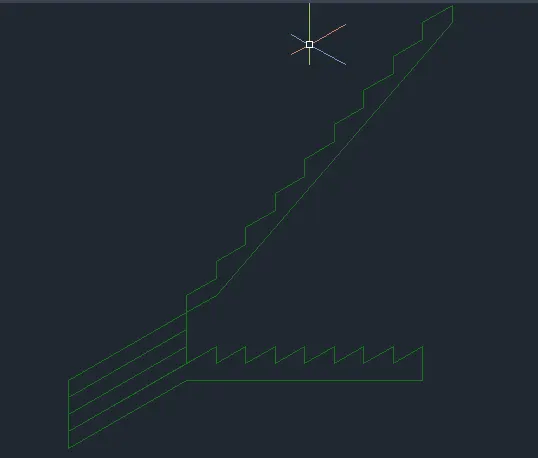
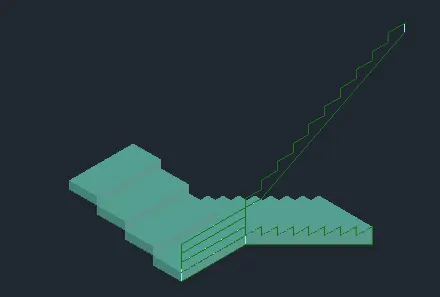
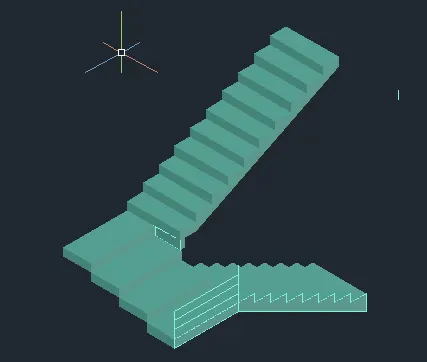
Now copy this stair in 3D model
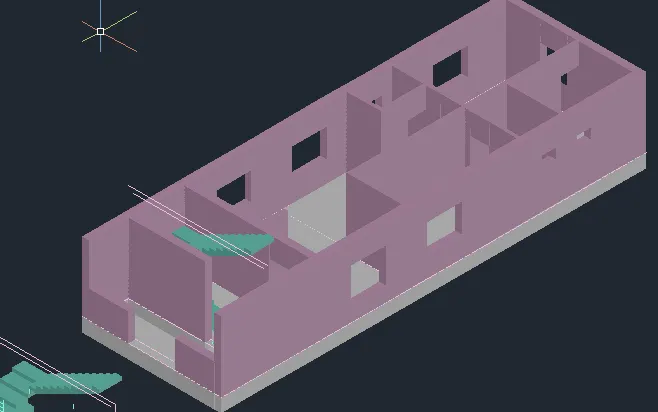
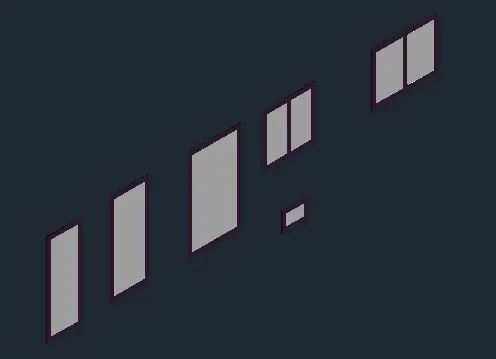
For doors and window draw in it 2D
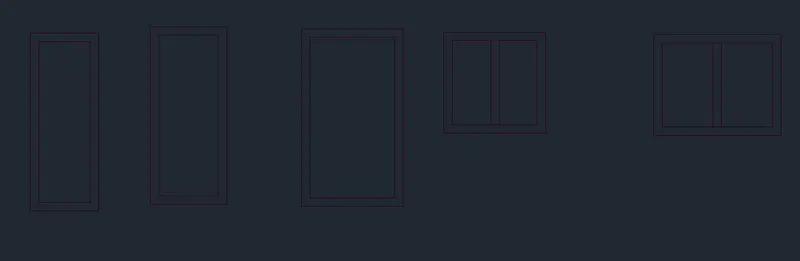
Now extrude it and put on proper place
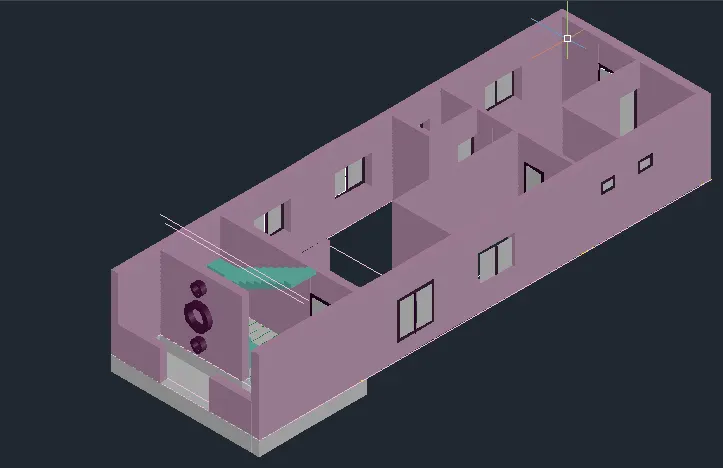
Slab
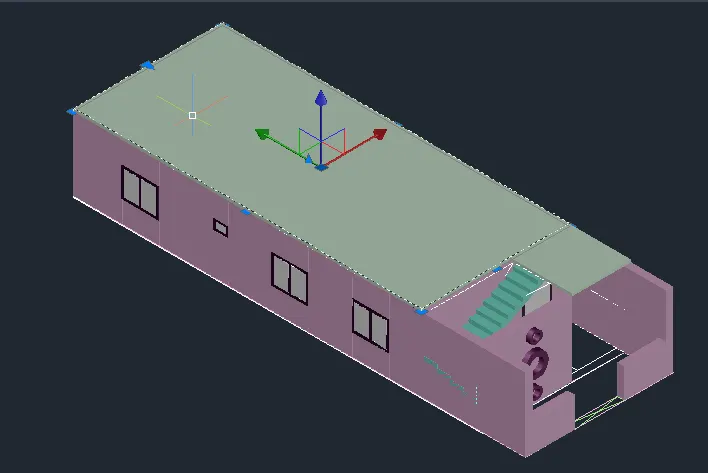
Now copy the first floor from ground floor
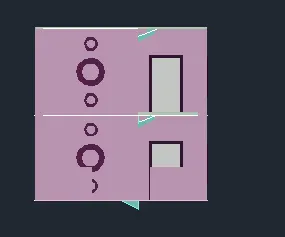
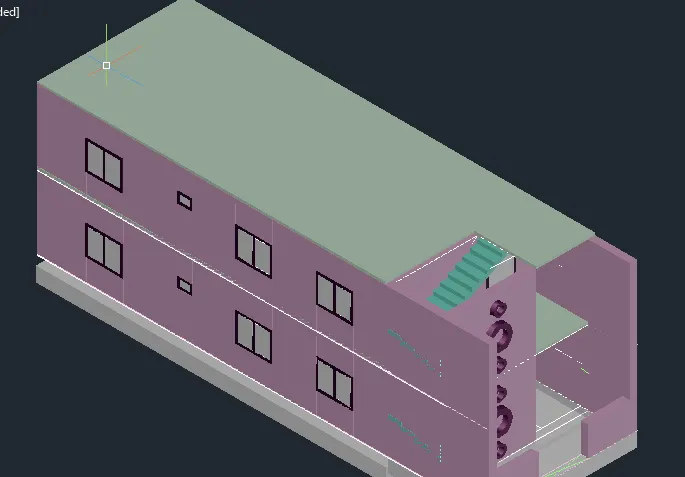
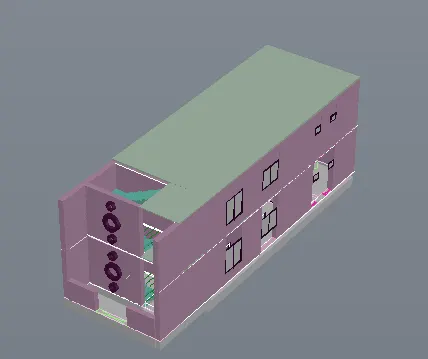
Rendering
- Go to the visualize tab from the fibbon.
- This will give access to the panels like light, sunlight, Camera, Animations, Render and Views.
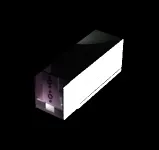
- Create different views using the camera anf render the building.
- Place the lights at the desired locations.
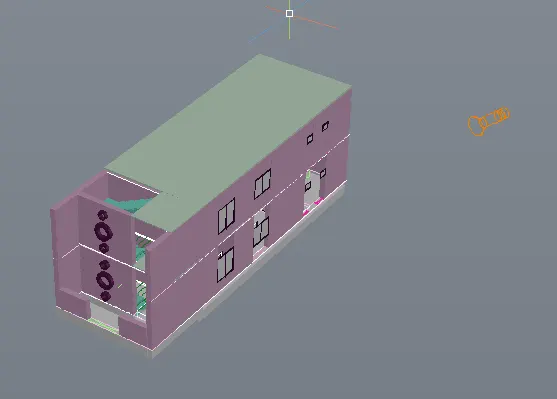
-----------------------------------------------------------------------------------------------------------------------------------------
Please find attached file naming as challenge 14.
-----------------------------------------------------------------------------------------------------------------------------------