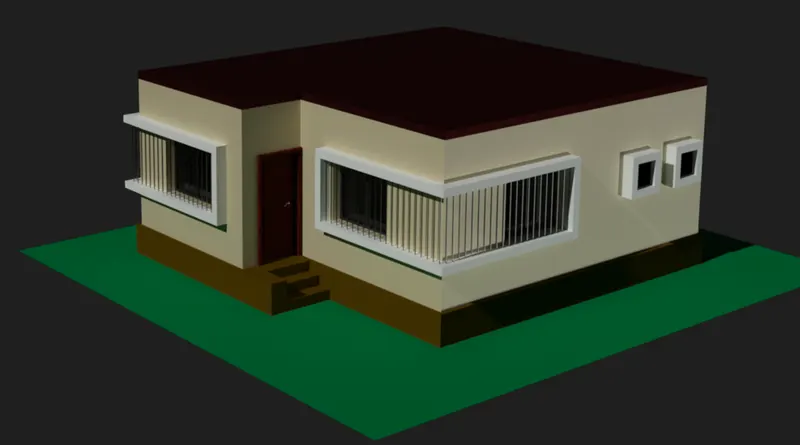
Project 2_Creating a 3D rendered model for a Residential Building in AutoCad
Aim : To create a 3 dimensional model of the residential building
Introduction:
In 3D modeling (in AutoCAD), we use the design we have created using 3D drawing commands and then make things out of it. Unlike surface modeling, where you generally begin with a solid shape and modify that, the process used in AutoCAD is similar to wireframe modeling. However, we then take it a step further using 3D modeling commands like Extrude, Shell, Chamfer, Add, Subtract, and so on, to create our solid 3D designs.
Procedure:
- Before we start modelling, we need to change the workspace to “3D modeling” from the status bar at the bottom of the application. The ribbon will update to show 3D tools.
- Start by navigating to an isometric view by clicking on a corner of the view cube on the top right of model space or select SE view from the left top.
- Place the 2D plan of a building
- Select the wall and convert it into region from boundary command
- Create a layer as 3d wall and set it to current
- Using pushpull command take the 3d view of the wall by giveing the height of the wall
- Go to the Xray option which is at the top left, to get xray view of the wall to draw the window
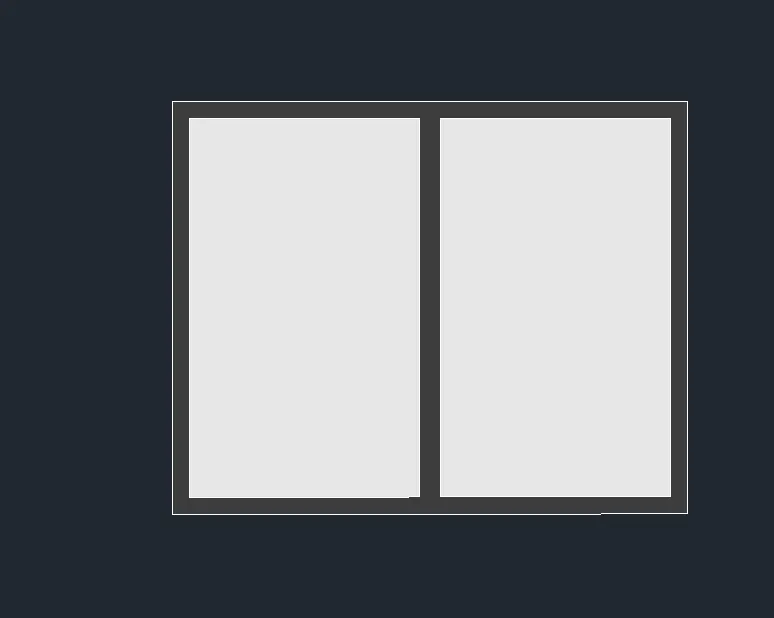
- Next create the wall using rectangle command on the wall
- After that using pushpull option create the window space
- Create a 3d view of the wall using rectangle and extrude command
- After creating the 3d view place it in the place which has been created
- To give a sunshade to the window go to 2d wireframe view, select the outer rectangle of the window and takke the offset of the rectangle, then extrude it in to 3d object
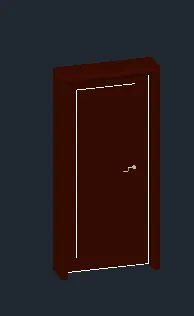
- For doors: Create a rectangle door and for the frame create the shape needed and using the sweep command sweep the door in the 2D rectangle create then the frame is created. Using rectangle and extrude option the door is created
- For the plinth level select the layer which has been created as plinth and extrude it to the desired dimension
- Create the steps where ever necessary using pushpull command
- For the roof level take the polyline and create the shape of the building, using pushpull option pull the mouse upward to get the thickness of the roof as desired dimension
- Material is applied using material option in the visualize option or enter "Mat" command
- Keep the view in the realistic view to get the material visiable
- For each 3d object layers are created.
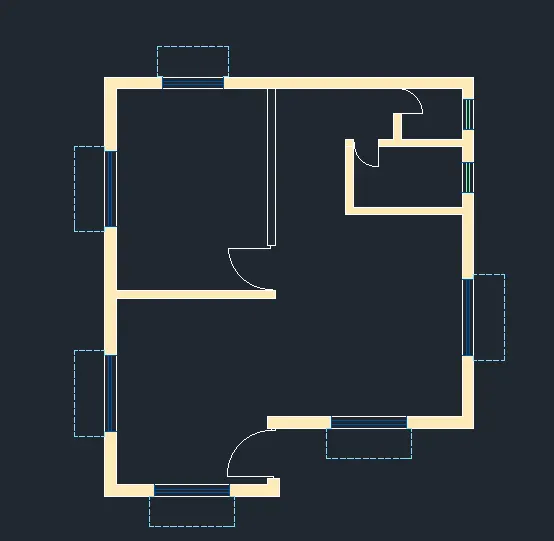
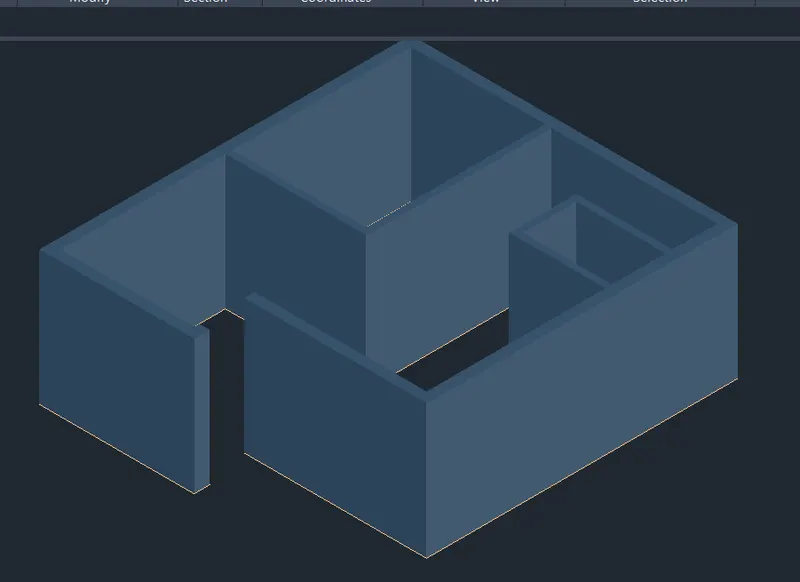
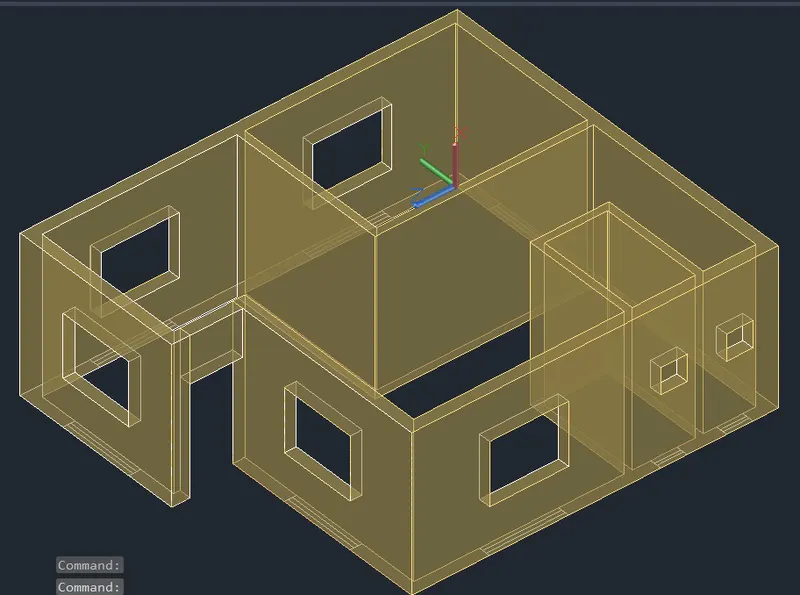
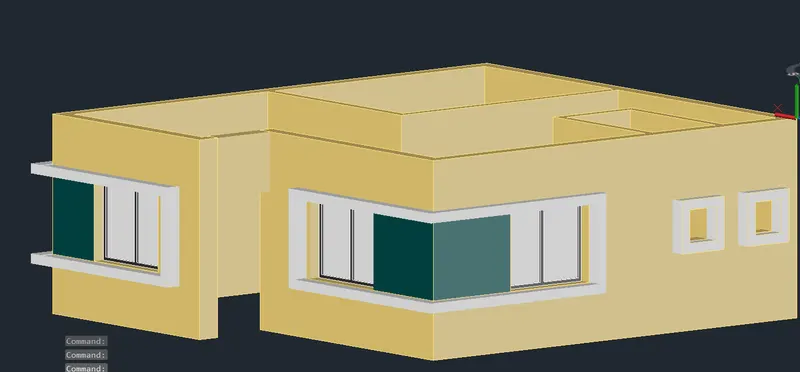
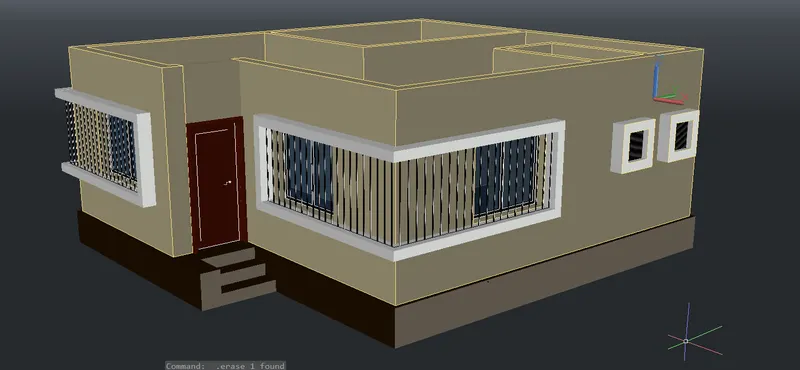
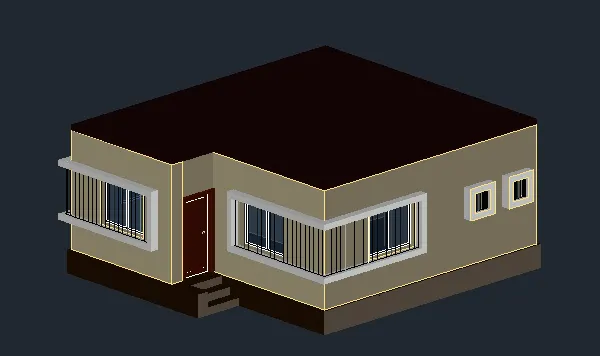
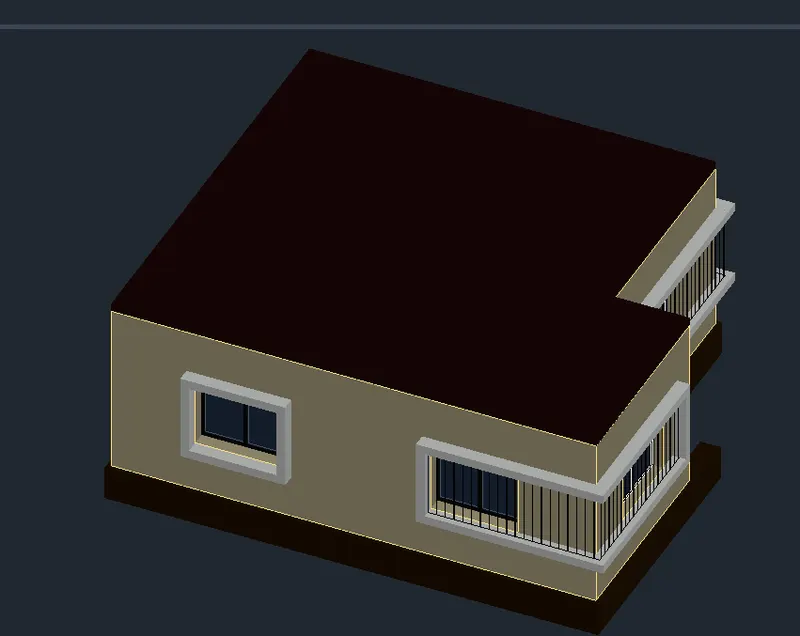
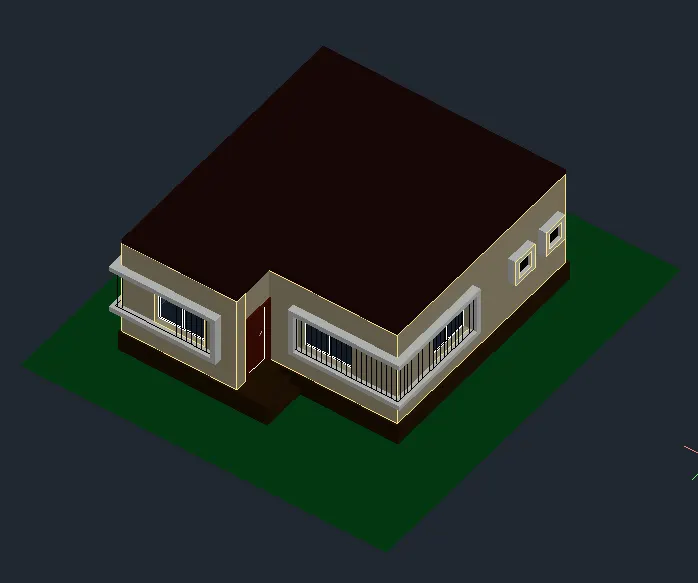
Result: Rendered view of the residential building.