Project 2_Creating a 3D rendered model for a Residential Building in AutoCad
1.
Aim
To create a 3D model of a residential building and also to create a rendered view of the building.
Procedure
- Open AutoCAD software. Then set the units and limits.
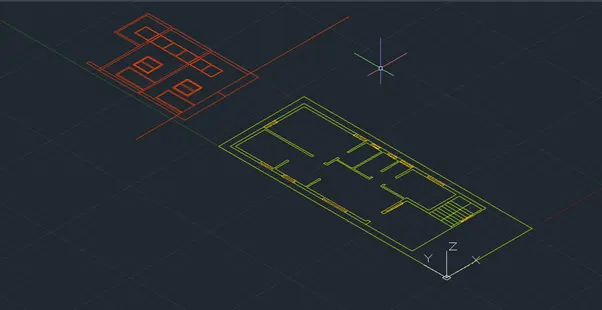
- Then create a 2D line plan and elevation of the plan by using line and offset commend.
- Use all the necessary commends to create a 2D drawing.
- Use layers to create walls, doors, windows.
- Then go to 3D modelling.
- Create separate layers for 3D wall, 3D Door, 3D window etc.
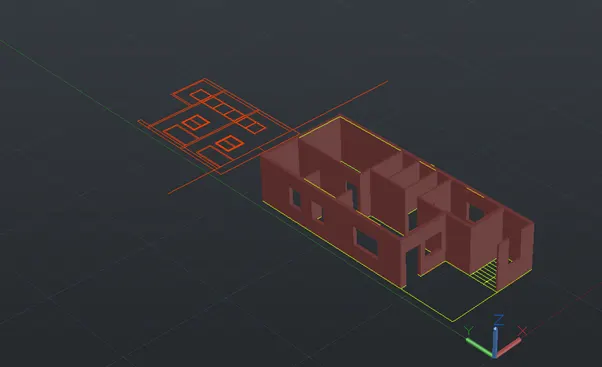
- Then select the layer and use Boundary commend and create the region of the walls.
- Then use extrude commend and extrude the wall to appropriate height of 10’
- Then use extrude windows from bottom to height of 3’
- And from top to the height of 3’
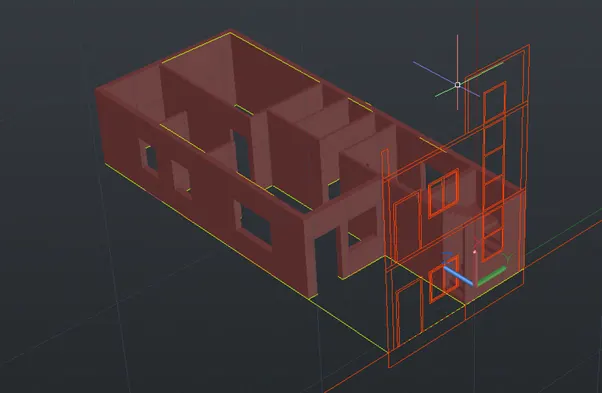
- Thus the opening has been created. Then select the elevation and use 3d rotate commend and rotate it to 90 degrees.
- Then place it parallel to the front side.
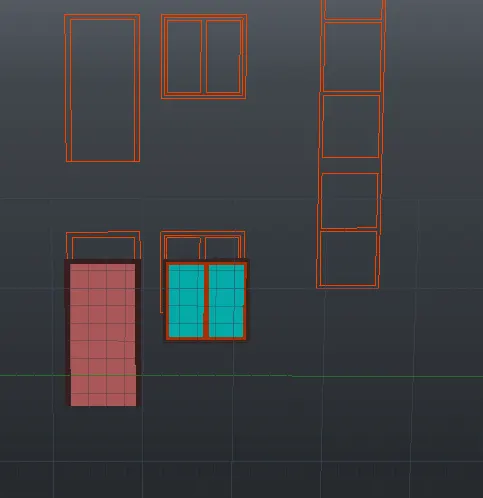
- Then create a window frame, Malian and glass panel.
- Then select the window and place it in the plan.
- Similarly create all the other windows in same manner.
- Then create floor and slab for the plan.
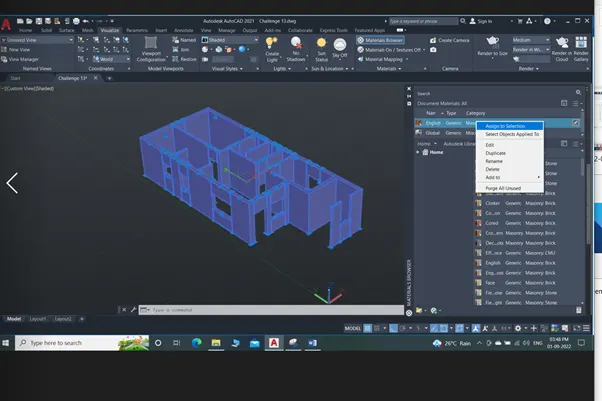
- Go to visualize tab and select materials browser.
- Then select the material and select the object and assign the material to the object.
- Similarly repeat the same procedure for all the elements and assign the materials for all the elements.
- Once all the materials are assigned the copy the plan and paste it in the upper floor.
- Then create camera view and place the camera and name the camera as cam 1.
- Then go to render settings and set the environment and shades and other details for rendering.
- Then use rr and start rendering.
Output
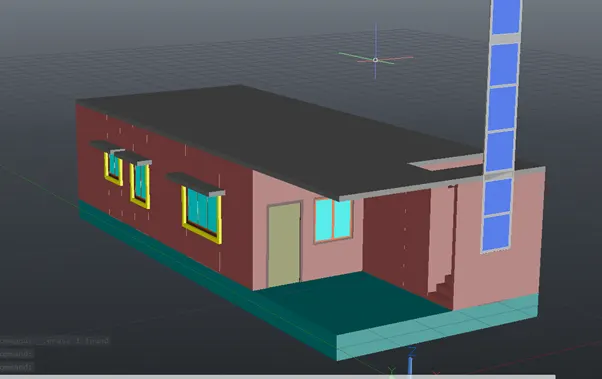
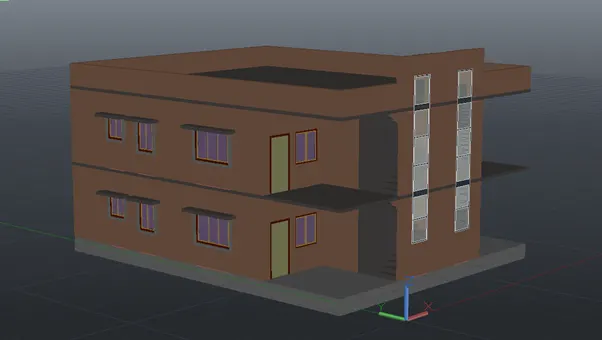
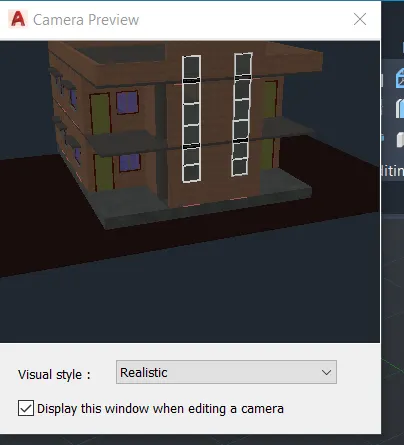
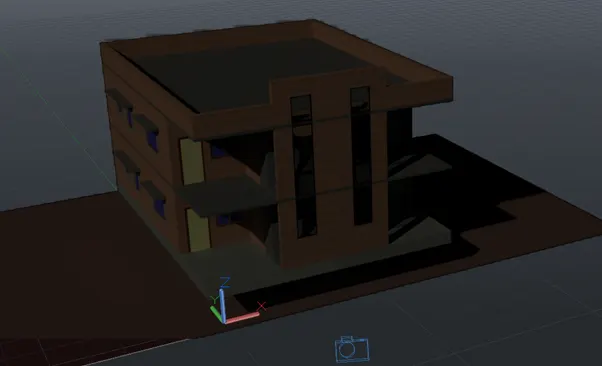
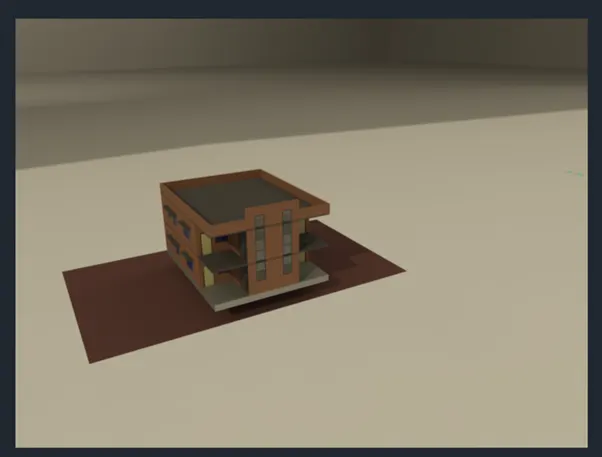
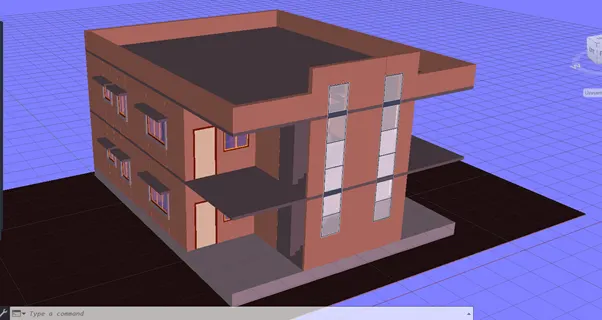
Result
Thus the 3d plan of the residential building and Rendered image of the plan has been created.