Project 2
Aim :
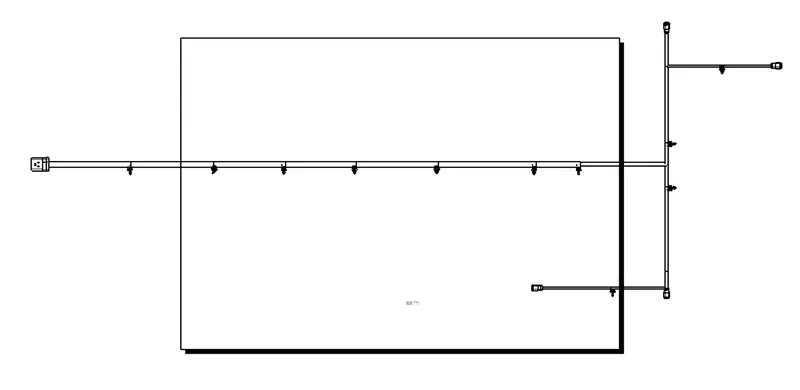
Route the Wiring harness on Given car body and Prepare flatten view drawing in CATIA V5 and apply protective covering as required.
Objective :
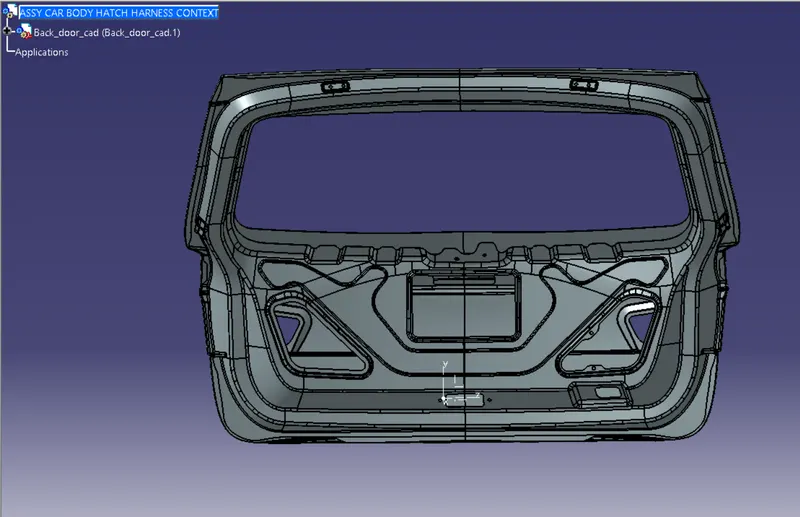
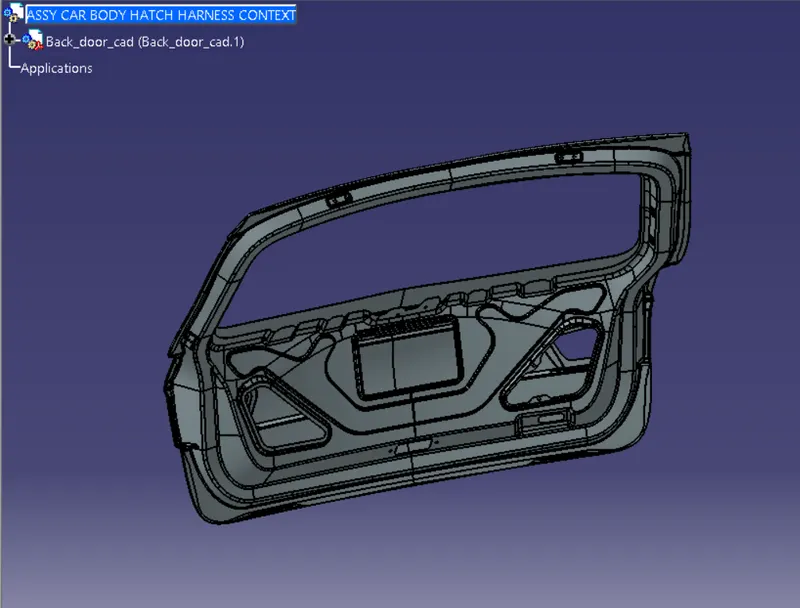
The objective of this project is to route the wiring harness and prepare flatten view drawing for the tailgate of the car. All types of packaging rules have to be considered while routing the harness and industry based practices shall be demonstrated in harness design. All necessary details like clearance, clipping/clamping selection, harness fixing requirements, harness continuity should be provided in order to design the wiring harness.
Assumptions :
- Wiring harness should be routed in such way that it is easy to assemble and access.
- Easy manufacturing, installation, removal and maintenance have to be considered while designing the wire harness.
- Wiring Harness should be kept away from sharp environment like edges, corners etc.
- Avoid harness routing and clipping in the blind zones or hard to reach areas during harness assembly or service.
- Provide additional slack if needed according to the surrounding and harness bending requirement. If harness is passing through the closures/doors or tail gates then envelope dimensions during opening and closing of doors shall be considered to provide the slack. Check the harness slack requirements with open and close conditions to avoid excess slack.
- Routing through small structural holes and openings shall be avoided. To minimize chaffing and handling of the wiring harness during installation.
- It should be make sure that there is no case of fouling while designing the wiring harness in the CAD environment. Additional mounting equipments like clips/clamps may be used to avoid fouling.
- Use of rubber grommet is recommanded if harness is passing through sheet metal panels. Example- firewall, passing to door, tail gate etc.
- The branch length should be greater than 50mm.
- The minimum distance between the clip and branch point should be at least 25mm.
- The minimum distance between the two branch points should be at least 50mm.
- Clips/clamps used for the wiring harness should be easily available in the market to avoid extra cost for custom mounting solutions.
Steps and procedure :
- The given cad model of the door was downloaded and pasted in a new product ASSY CAR BODY HATCH HARNESS CONTEXT.
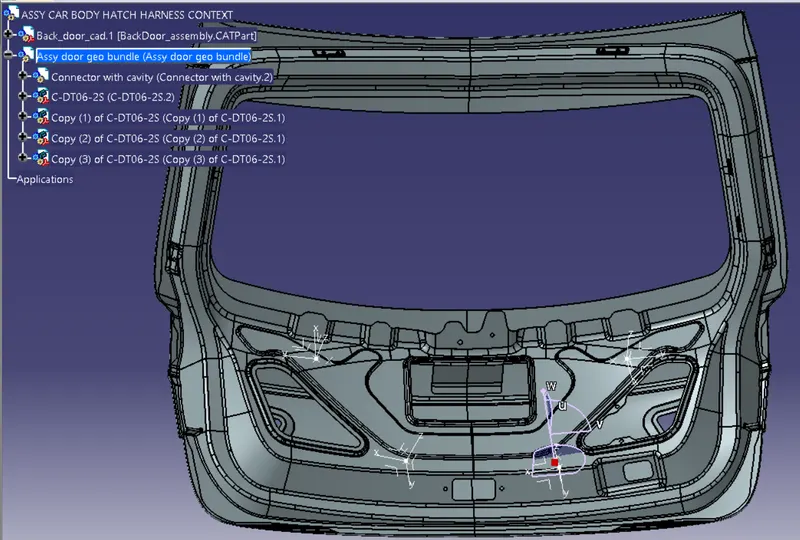
- Then all the necessary connectors and the fir tree clip was taken and electrically defined so that they are used for the assembly and routing.
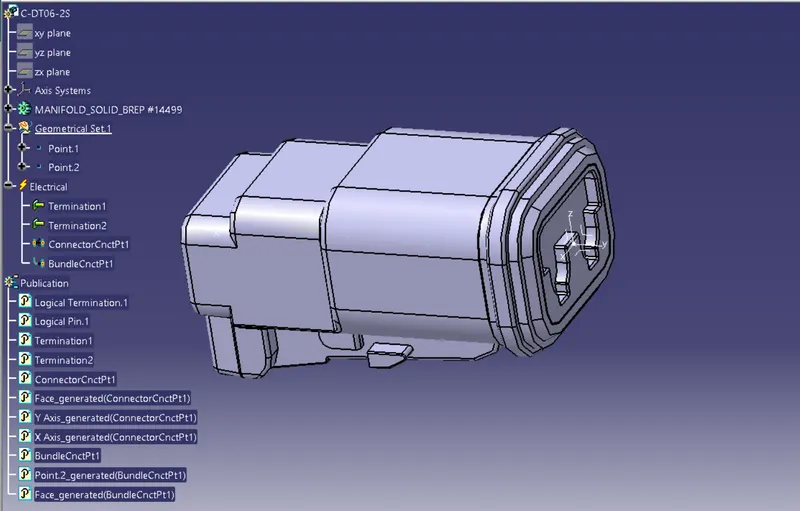
- The 2-pole connector used for this harness assembly is Deutsch "C-DT06-2S". The CAD data for this connector was downloaded from TE.com. To define the connector electrically we should define the geometrical parameters, bundle-connection point, and the connector-connection point for the downloaded connector.
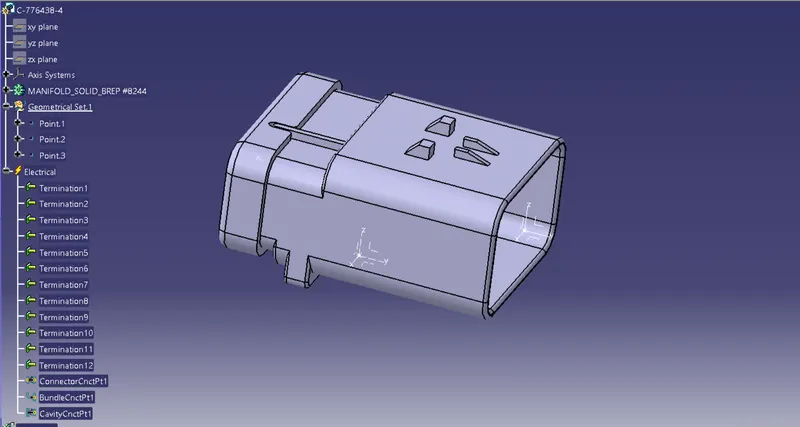
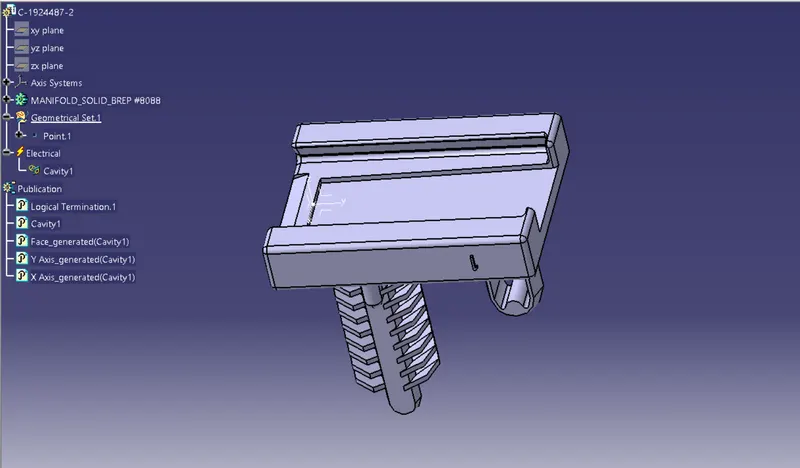
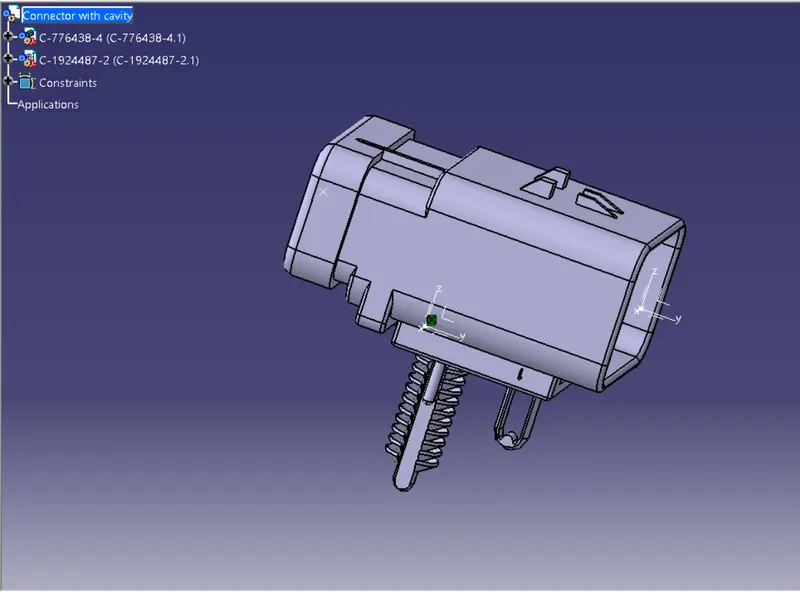
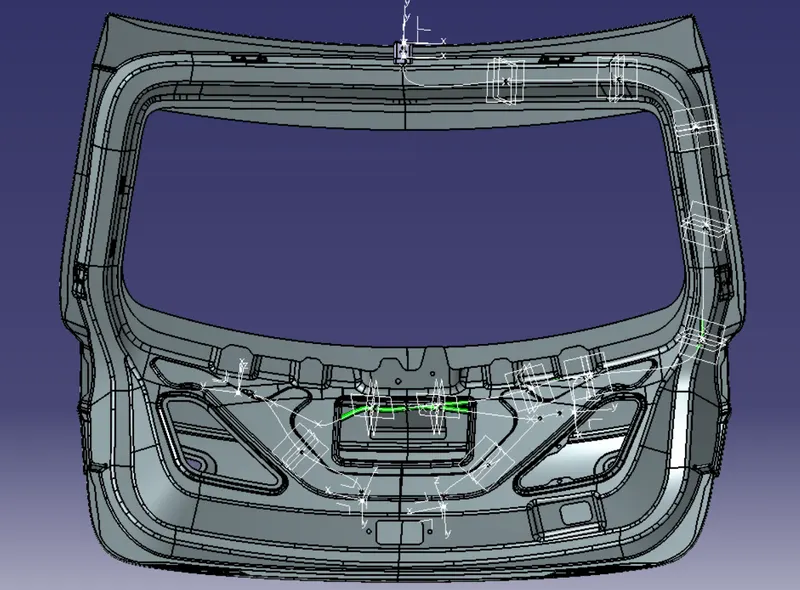
- A 12-pole "C-776438-4" connector and mounting cavity "C-1924487-2" is used as an interconnection connector. The 3-D CAD data file for the required connector and the cavity is downloaded from TE. com. Both the connector and the cavity are electrically defined and mounted near the already present slot on the car body hatch as shown below.
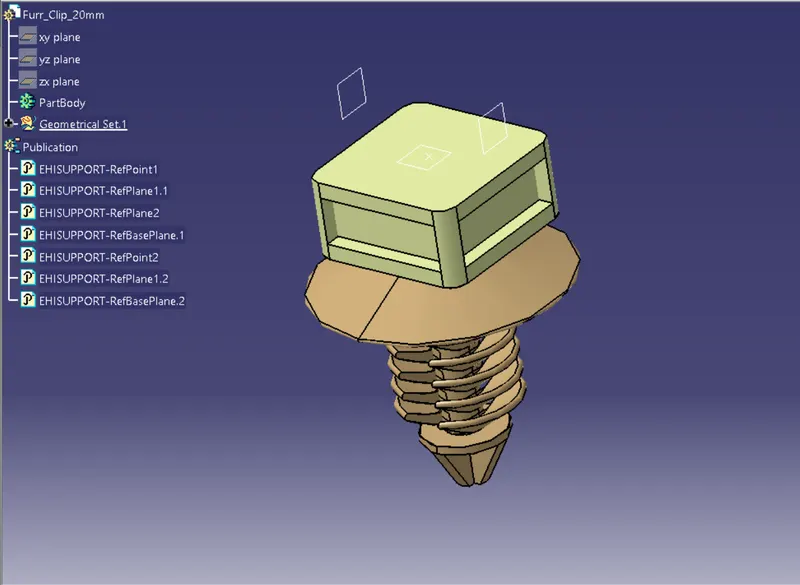
- A fir tree clip was downloaded from the te website and imported in catia and was electrically defined as a support and all the geometric parameters was added to it.
- Now all the connectors and the fir tree clips were assembled in the door as per the requirements.
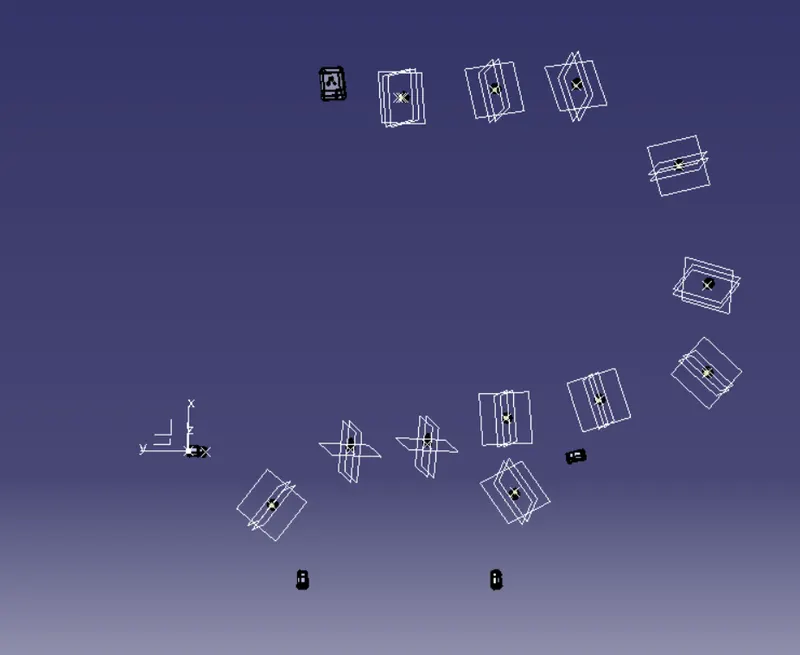
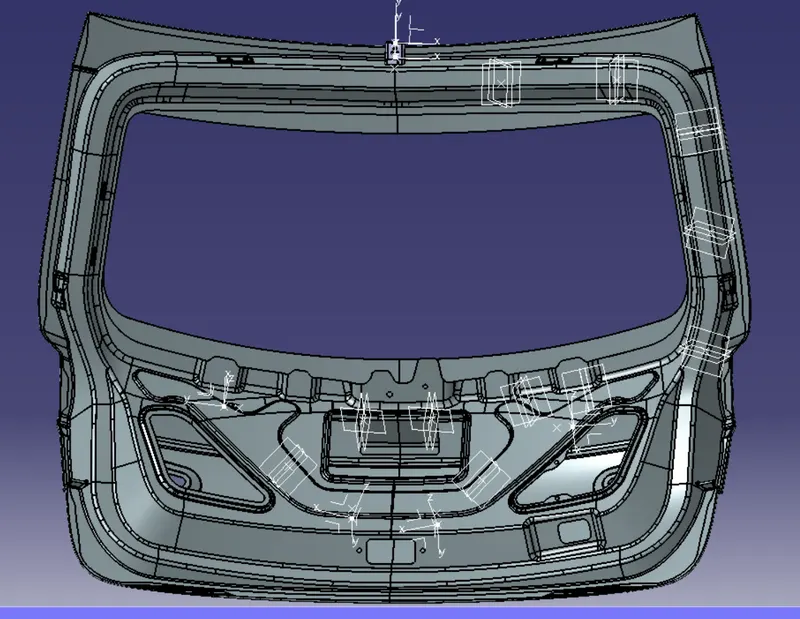
- The bundle connection was started from the interconnection connector assuming the diameter to be 15mm.
- The diameter of the bundle leading to the 2 tail gates and the 2 number plate lights are 10mm and 5 mm respectively.
- The bundle ratio was assumed to be 1.4 and the slack was set between the range 1 to 5 as needed.
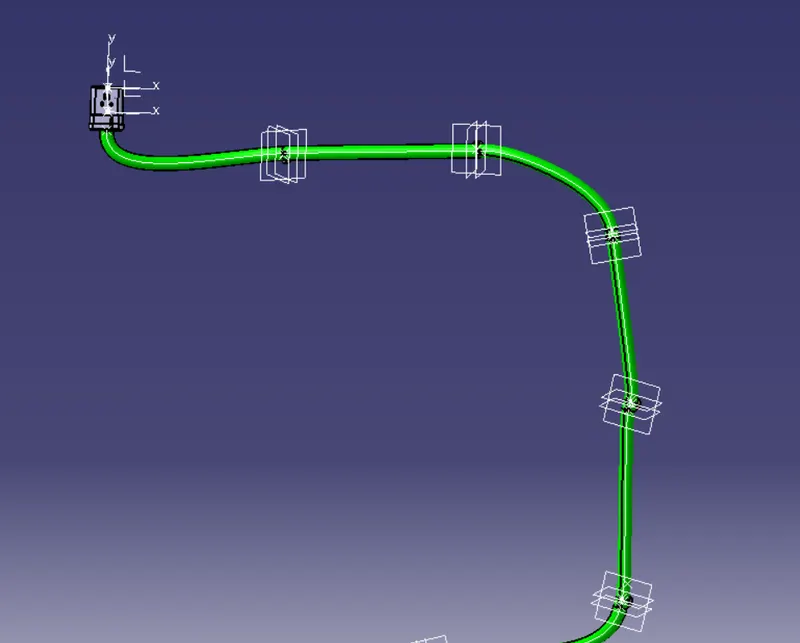
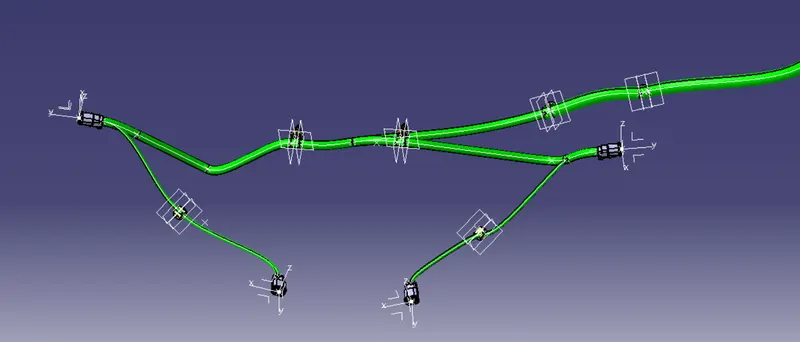
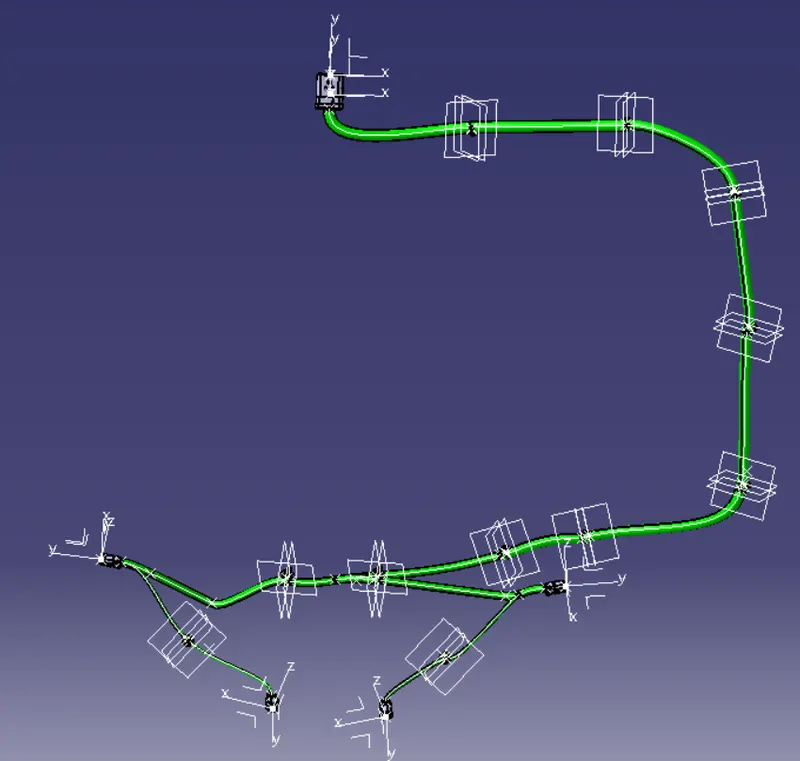
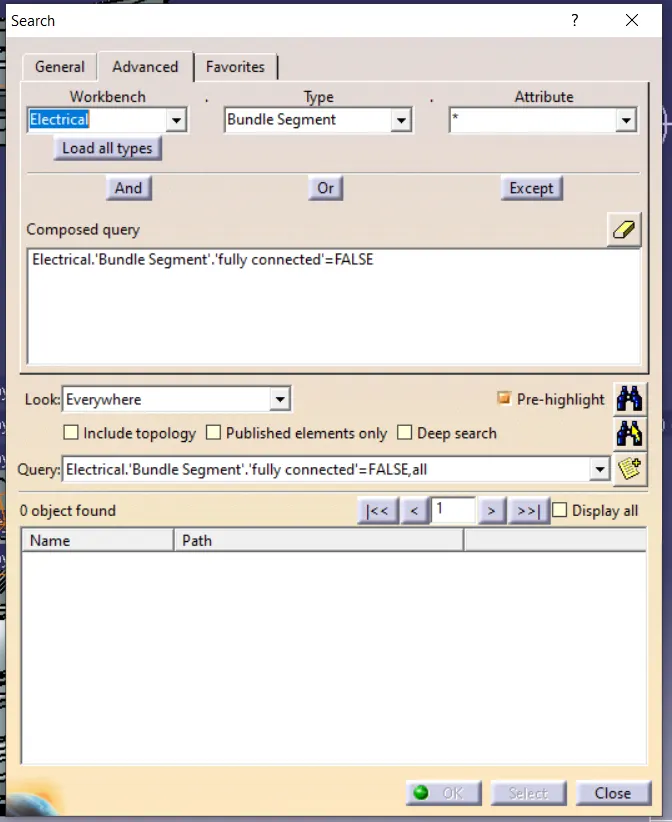
- Now the geometrical bundle is checked for any discontinuity or warning.
- If there was any then it will rectified.
- Once all the bundles are okay then it can be used for the flattening process.
 \
\
- The next is the flattening process.
- For flattening a new product file was selected and renamed as ASSY DOOR FLATTENING PRODUCT.
- The flattening parameters was set initially.
- Then the geometrical bundle file and the flattening file was opened in a vertical tile.
- The flattening file was activated and the geometrical bundle was imported to the flattening file using the extract command.
- Then the product was flattened using flatten command.
- All the connectors and the clips were arranged properly so that all the details are visible clearly.
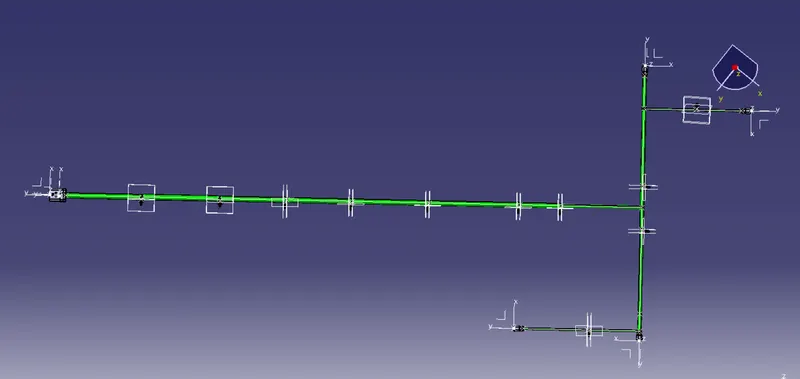
- The flattened product was put in a drawing sheet.
- A new drawing file was opened and the flattened product was imported to the drawing file.
- Then the parameters was set according the drawing was made.
Conclution :
Routing of the wiring harness for the car tail gate assembly has done and prepared flatten-view drawing in Catia V5. Applied all the packaging rules while routing the wiring harness, implemented industry best practices in the harness design. Also, provided details like clearance, clipping selection, harness fixing requirements, harness continuity in order to design the harness.