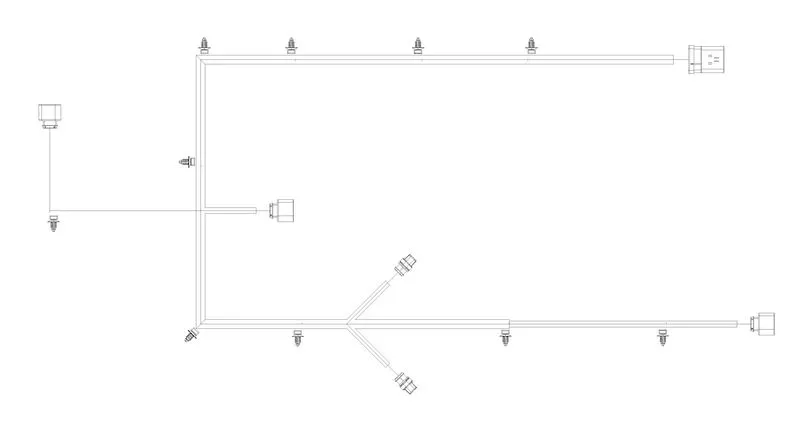
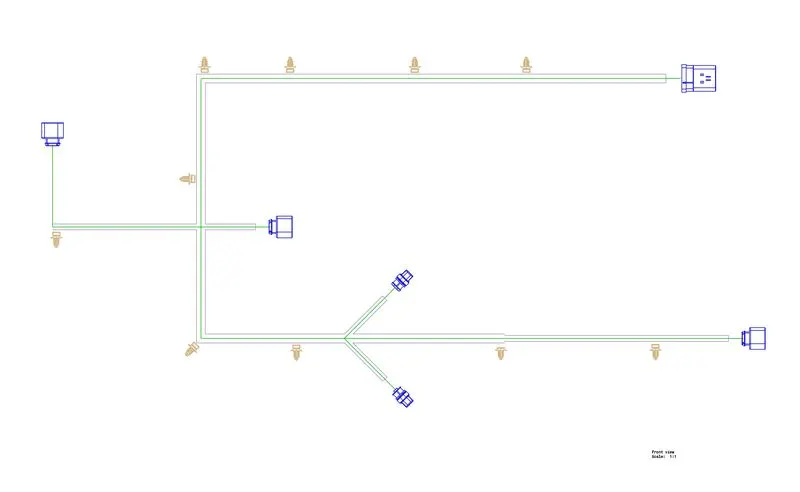
Project 2
BACK DOOR WIRING HARNESS DESIGN
Harness Design Criteria & Packaging Rules
- Wiring harness routing shall provide ease in manufacturing, accessibility, easy removal, and easy maintenance of attached equipment and wiring harness.
- Routing through small structural holes and openings shall be avoided, minimize chaffing and handling of the wiring harness during installation.
- Avoid the harness routing and clipping in the Blind zone of the Operator during harness assembly or in service.
- Routing shall offer protection against possible damage through common misuses such as being handhold and temporary support for test equipment.
- Provide additional slack to the harness according to the surroundings and harness bending requirements.
- Ensure the routing meets the clearance requirements with different surrounding parts.
- Avoid routing over the bolts, near to the bolted joints. It may damage the harness or puncture the harness. Keep harness away from panel mounting screws.
- Avoid harness routing near sharp edges, if not possible provide protection to the harness.
- The maximum distance between two clips on a straight branch is 200mm.
- Provide Clips and clamps if the harness is going to bend at multiple locations.
- The use of too many sheet-metal brackets should be avoided.
- The branch length should be more than 50 mm.
- Min distance between clip and branching point to be 25 mm.
- Min distance between two branch breakouts should be 50 mm.
Connectors required
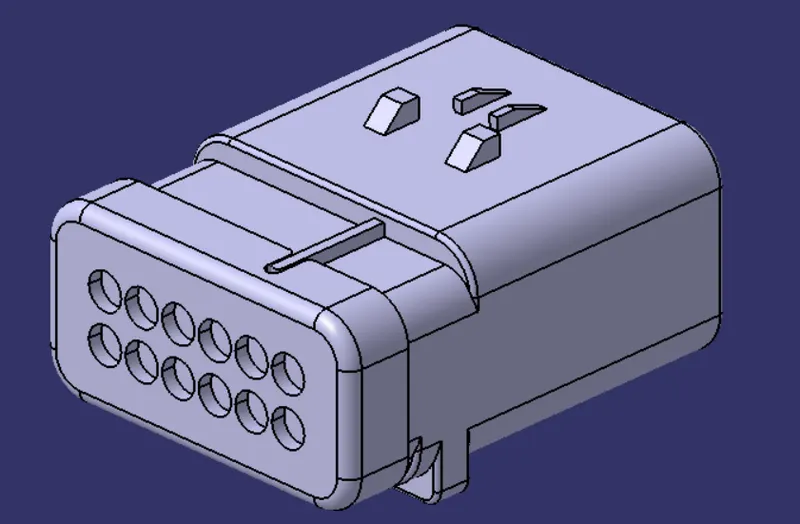
- Interconnection connector - 12 pole connector
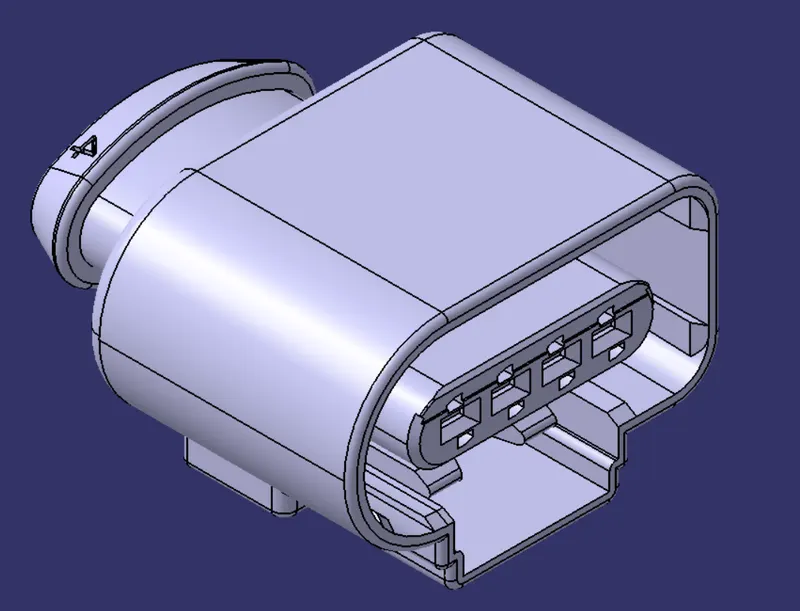
- Tail light along with Indicators - 4 pole connector
- Wiper motor - 4 pole connector
- Number plate light - 2 pole connector
- Electric Latch - 2 pole connector
Wiring Harness components
12 Pole Connector
4 Pole Connector
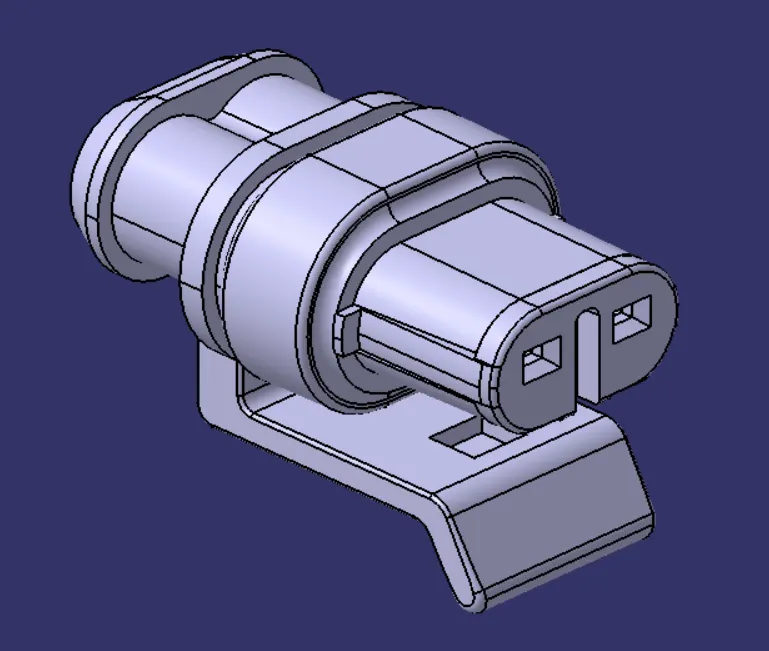
2 Pole Connector
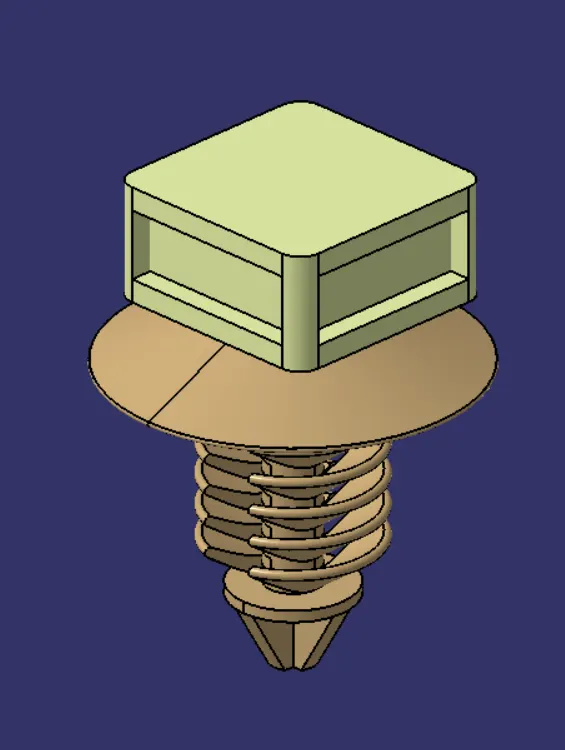
Furr tree clip
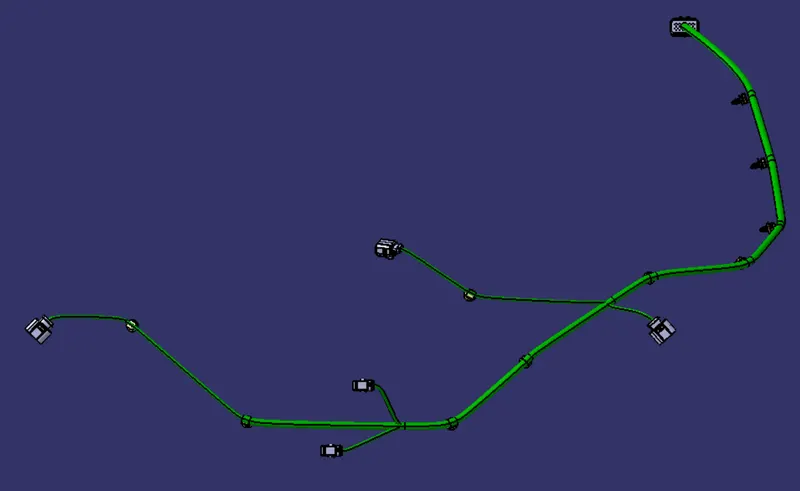
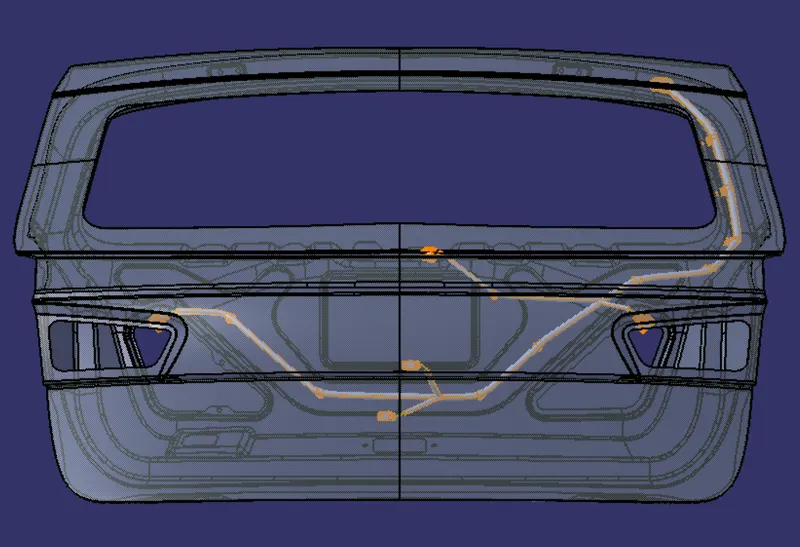
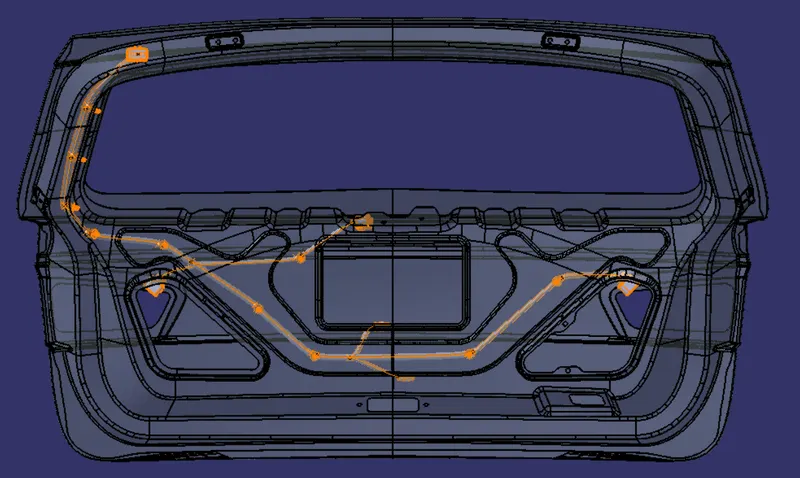
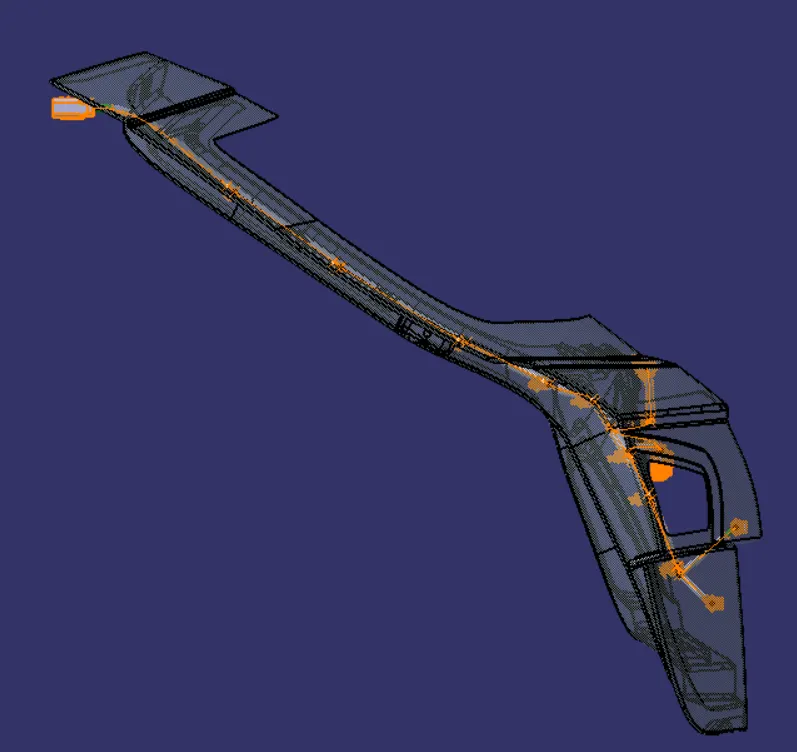
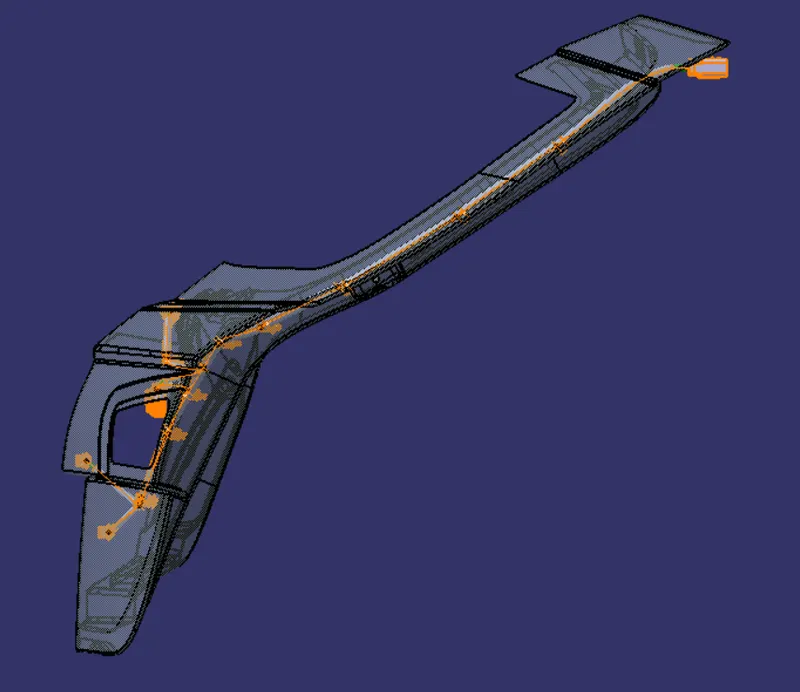
Routing of the wiring harness
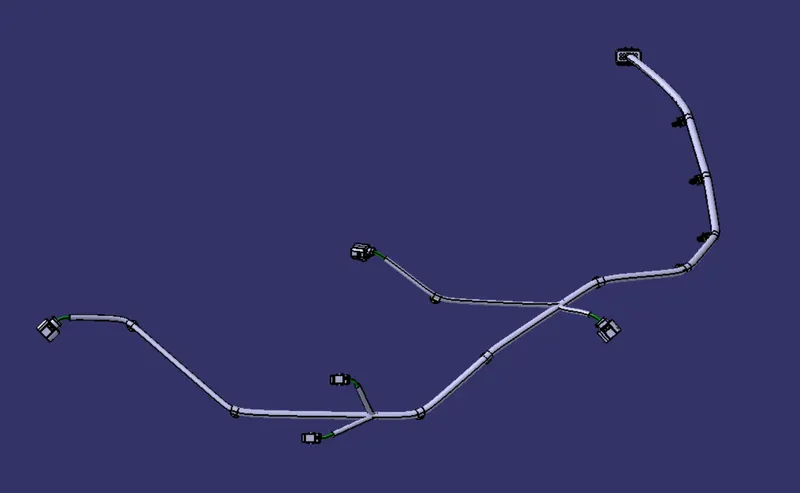
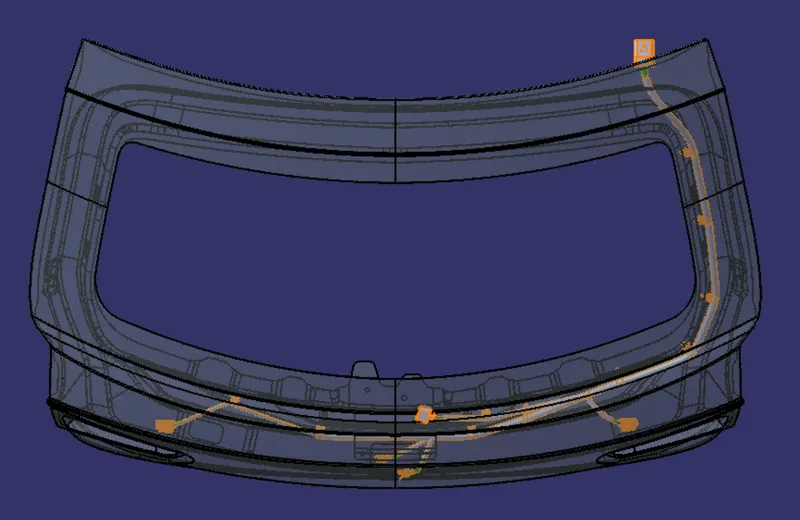
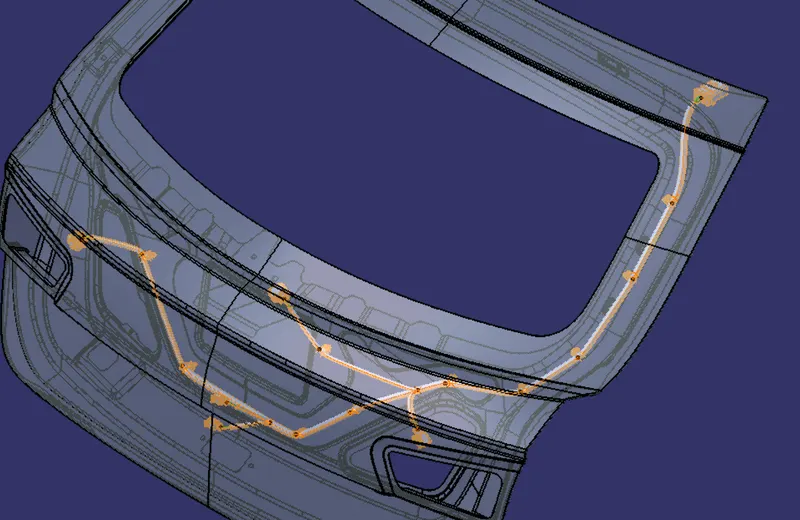
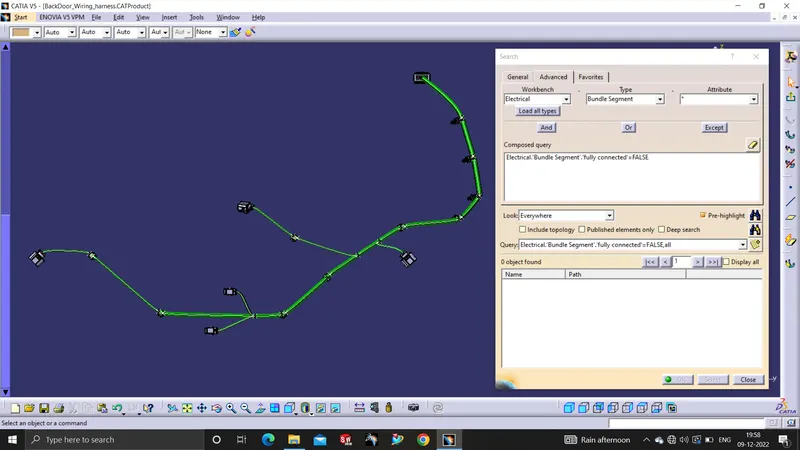
Bundle Continuity Check
Wiring Harness Flattening
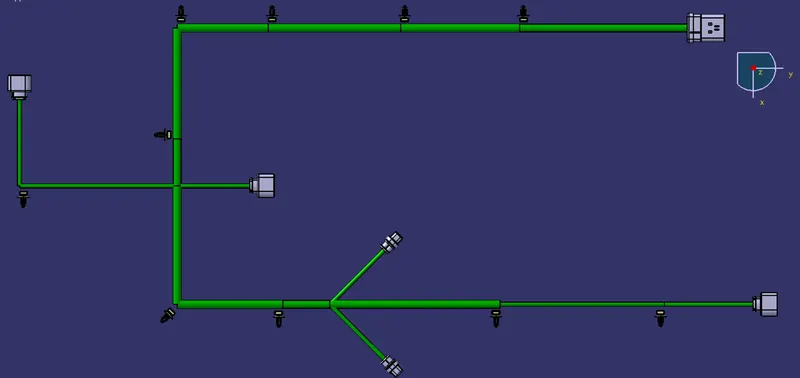
Drafting