Pre-Processing of Rear Wheel Holder using HyperMesh
AIM:
To generate midsurface and perform geometry clean up on the given component and also generating the mesh with low tria concentration under the given quality parameters.
SOFTWARE:
Hyperworks 2020.
PROCEDURE:
First import the CAD model in HYPERWORKS.
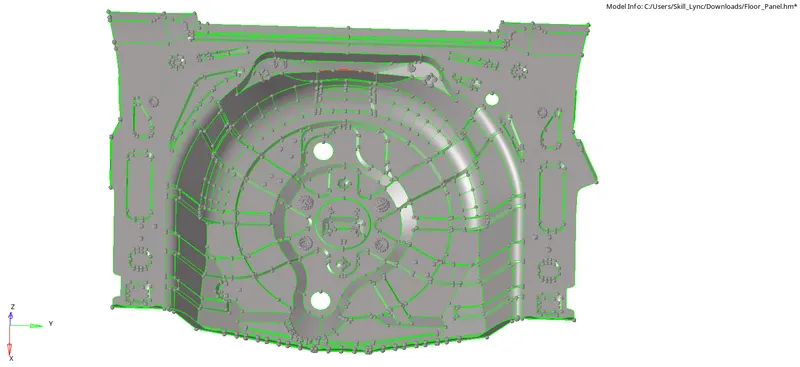
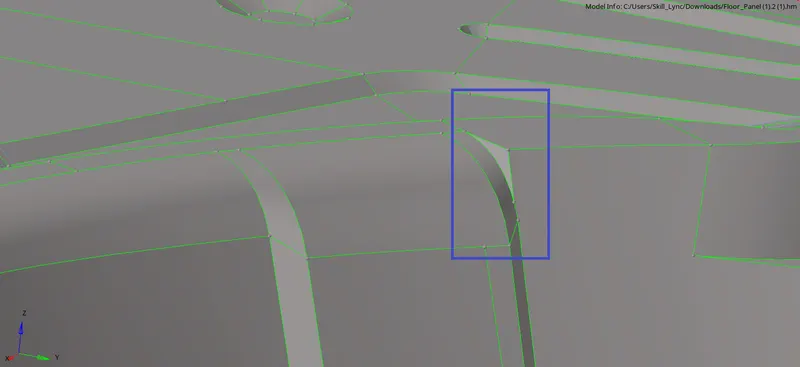
After importing the model, perform geometry cleanup manually.
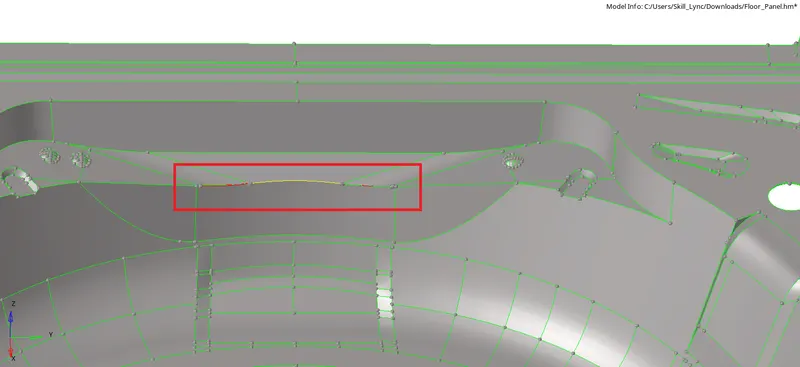
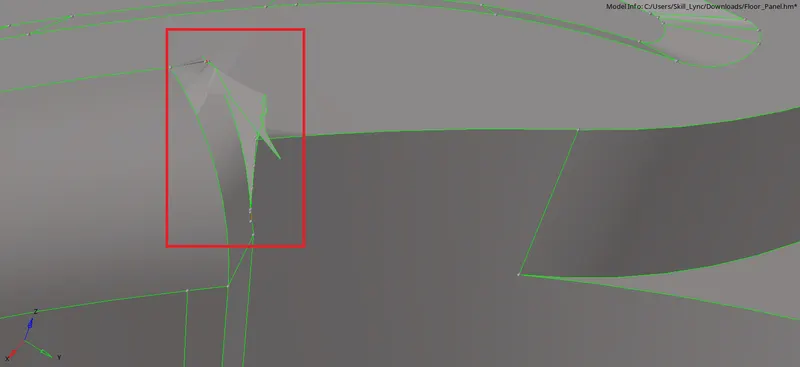
The given model needs a manual geometry cleanup before extracting the midsurface. Without performing this operation will result in improper extraction of midsurface.
Before cleanup:
After Cleanup:
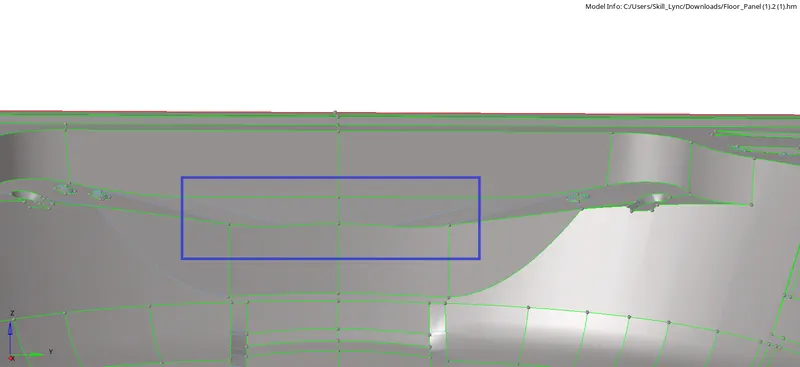
Once the cleanup is done, extract the midsurface. To do this Go to "Geom > midsurface > auto midsurface and select all the surfaces displayed and extract.

Before extracting the midsurface check for "extraction options". Set the extraction option to "offset+planes+sweeps".

After extraction of midsurface check whether the surface is extracted properly or not. Incase of any distortion of surfaces try to fix it through surface, surface edit options.
Delete the 'BEADS' and create a plane surface over there. To create the surface Go to "Geom > surfaces > ruled".
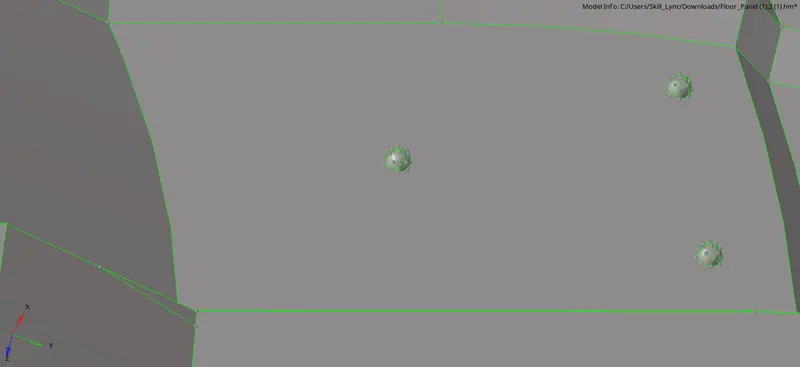
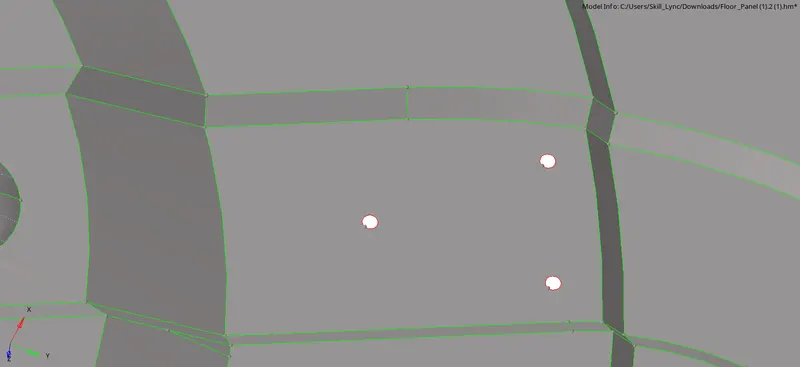
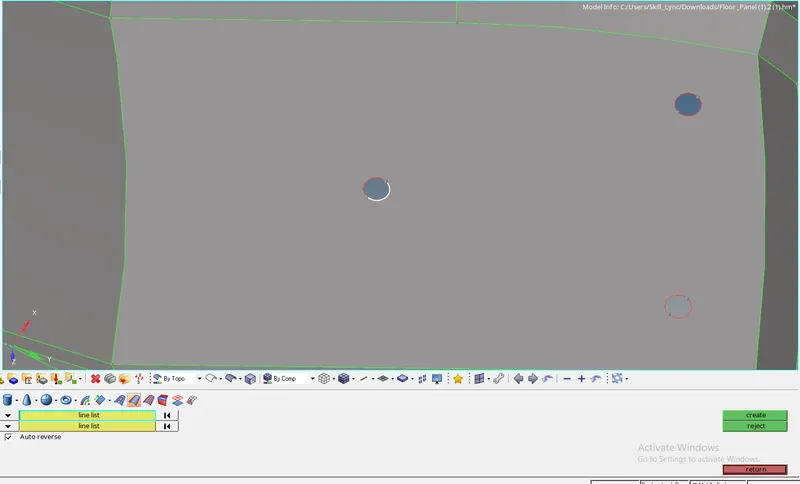
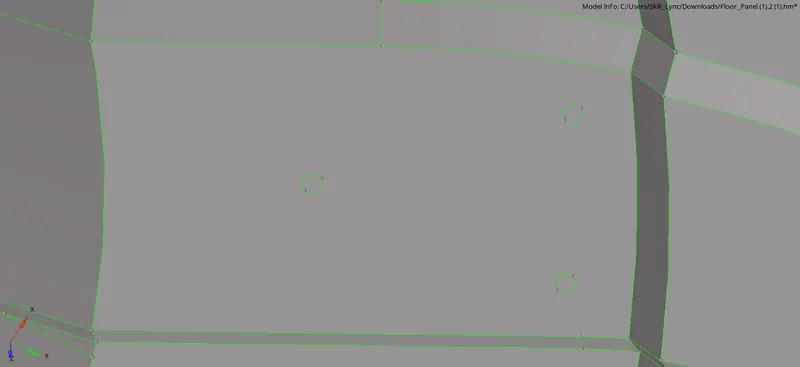
Once the Midsurface is generated properly start meshing the surfaces. To perform meshing Go to "2D > automesh > size and bias > surfaces and select mesh type as mixed, element size as 5mm and click on mesh.

Once all the components are meshed within the given quality parameters, check for the edges. To check this Go to " Tool > edges > elems. Select all the displayed elements and click on find edges. If there are any edges which are disturbing the mesh connectivity then fix it by joining those elements. These can be doone in two ways, either by replacing the nodes or by equivalence option.

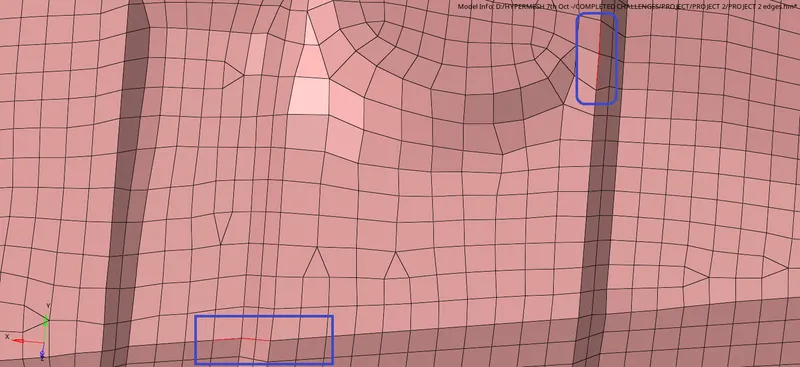
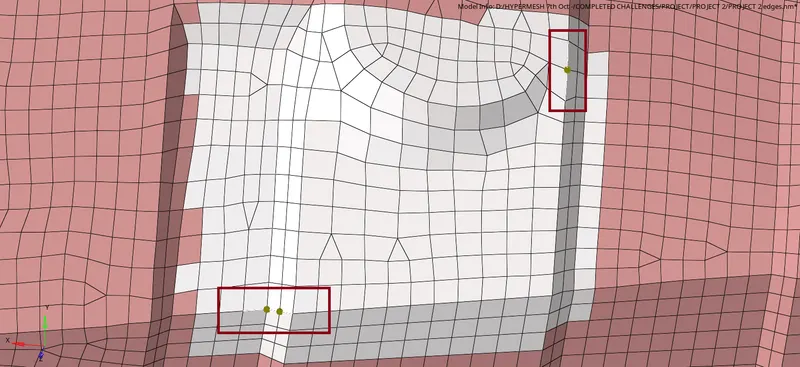
Now assign thickness to the component. With the help of parent geometry, thickness can be assigned in two ways. The two ways of assigning thickness are manual method and automatic method.
In the manual method the user needs to create a property manually and give the thickness value to it. If the model is having variable thickness then all the 2D shell elements need to be organized in different component collectors based on the thickness. After that the user manually needs to assign the thickness by selecting the component collector in the tab bar, right click on it and then assign.
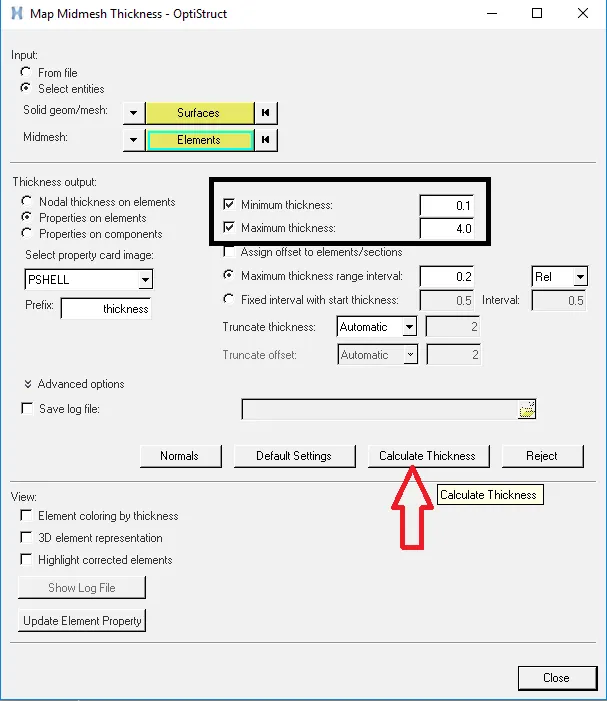
For automatically assigning the thickness to the 2D shell elements Go to the “menu bar > mesh > assign > mid mesh thickness. By selecting this option a window will pop up under which we can select the entities as shown below.
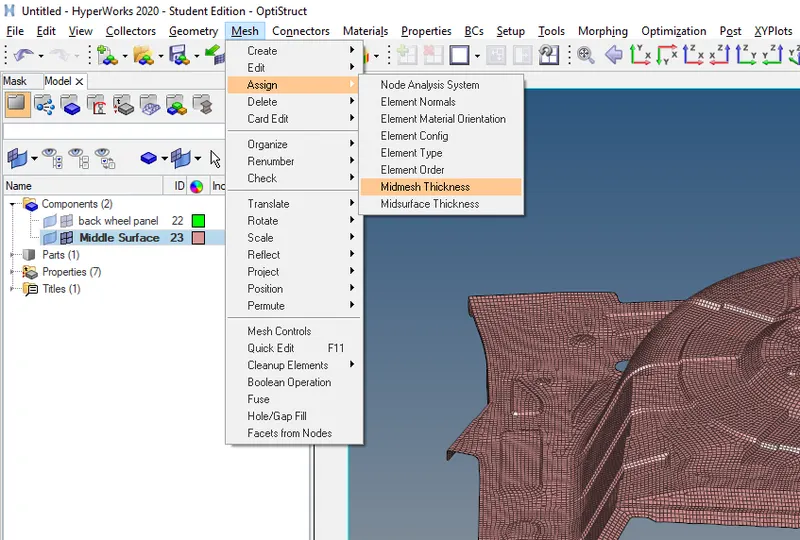
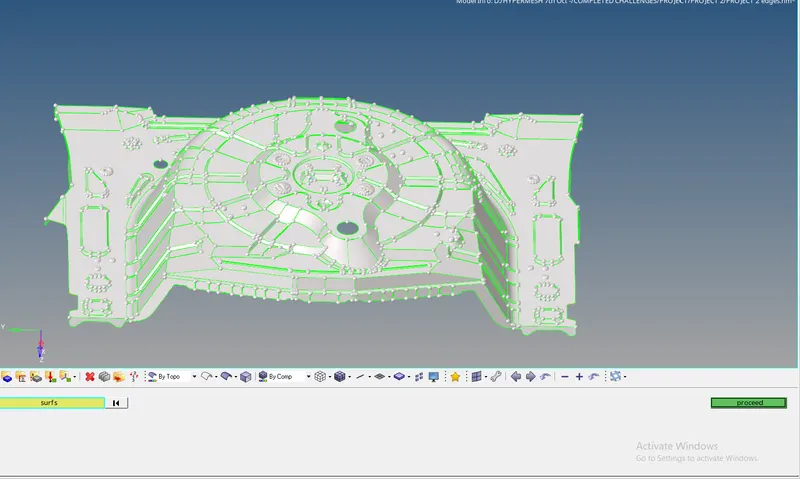
Now under the input option click on“select entities”. Go to “solid geom/mesh”, click on the drop down icon > ’surfaces’ then select all the surfaces of parent geometry and click on proceed.
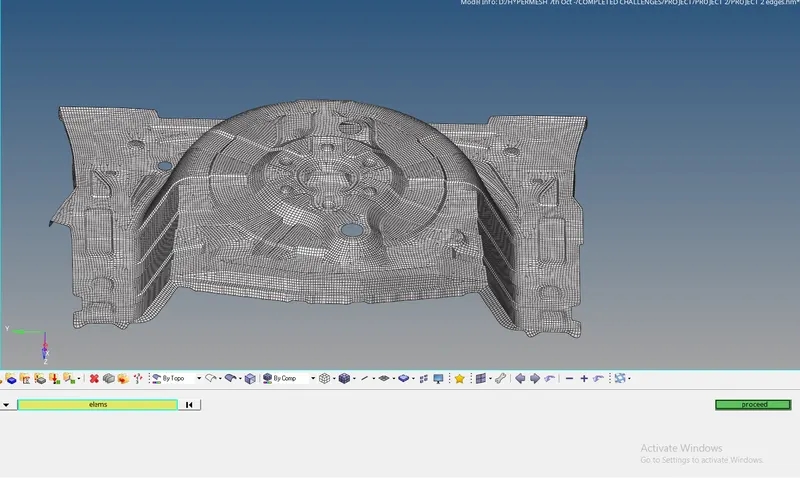
Similarly under “Midmesh” click on the drop down icon > ’elements’ then select all the 2D shell elements and click on proceed.
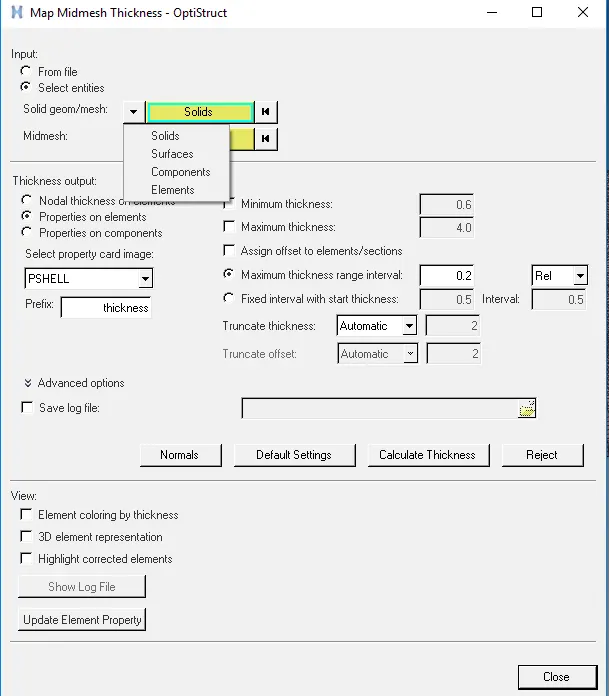
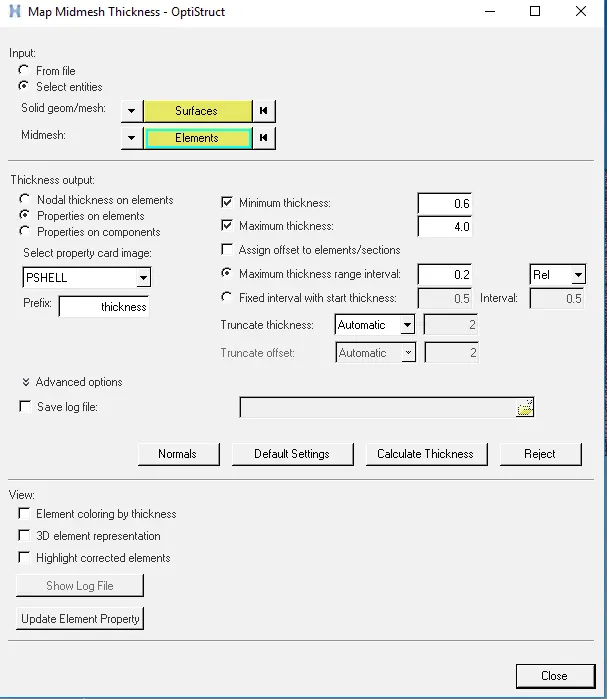
Now Under “Thickness output” select “properties on elements” and card image as ‘PSHELL’.
This option will create a new property based on the thickness of parent geometry and it will automatically assigned to the 2D shell elements.
Make sure to tick the Minimum thickness and Maximum thickness checkbox and set the values as 0.1 and 4mm respectively. This option helps in defining the minimum and maximum thickness limiting value while assigning thickness to the 2D shell elements.
Now click on calculate thickness.
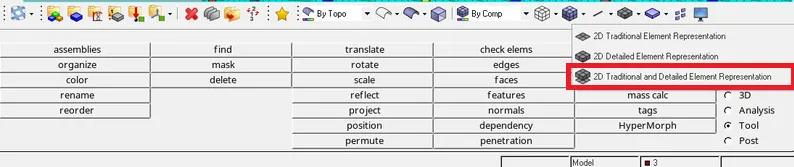
After all components are assigned with their respective properties, Go to Toolbar > select from list > 2D Traditional and Detailed Element Representation. This will give us a 3D element representation of the 2D shell elements.
Save the model.
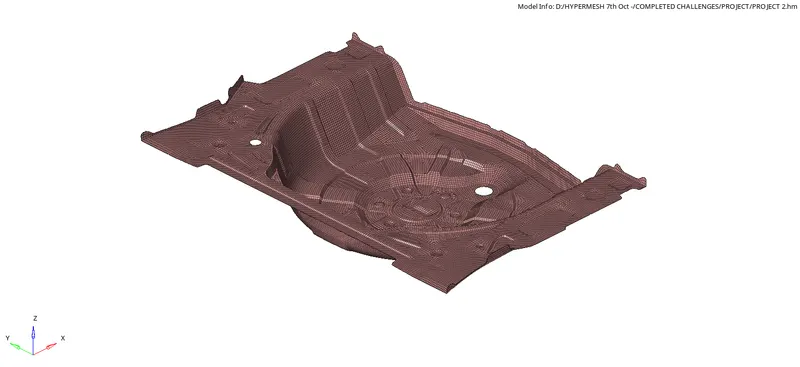
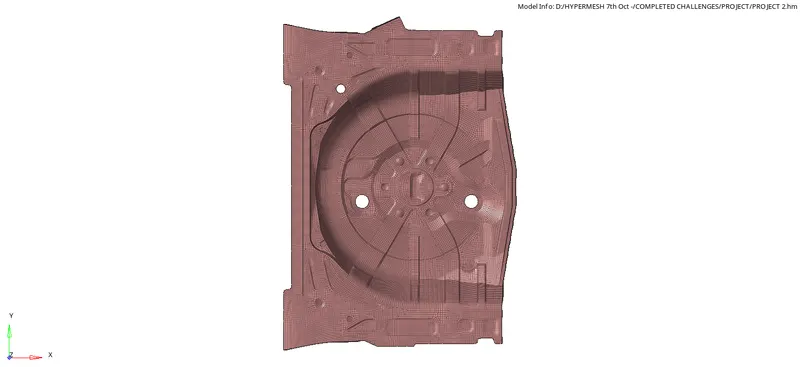
Final output:
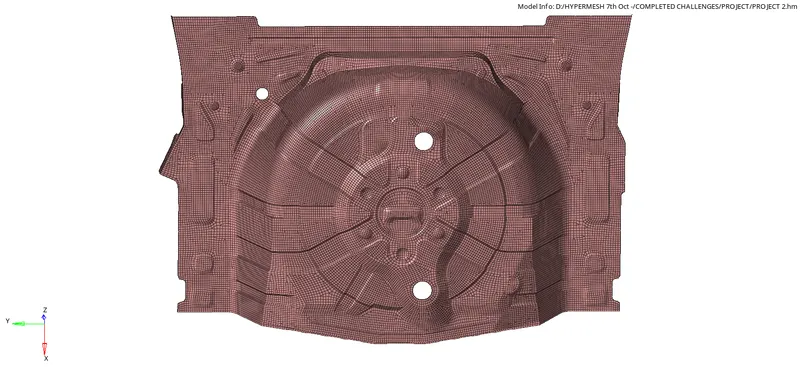
Result:
The given component has been successfully meshed with a target element size of 5mm and cleared all the given quality criterias.