Project 2
Title: Backdoor Wire Harness Routing in CATIA V5
Objective: To route the Wiring harness on given car body (Backdoor) and prepare the flatten view drawing.
Introduction: The Backdoor Wire Harness of an automobile mainly provides the connections for the taillights as well as the license plate lights and other such lighting devices. It is important to note that the routing should be done only on a Class B surface. 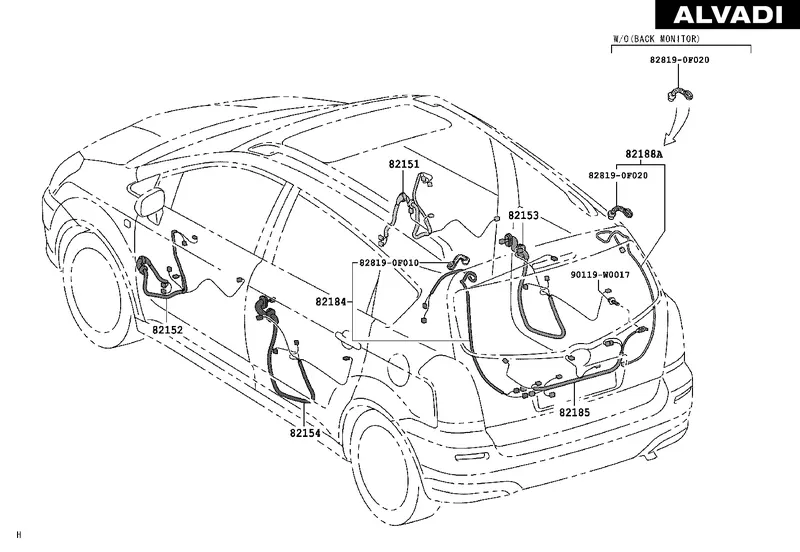
Fig1: Toyota Model Wiring and Clamp
Specifications:
- Backdoor:
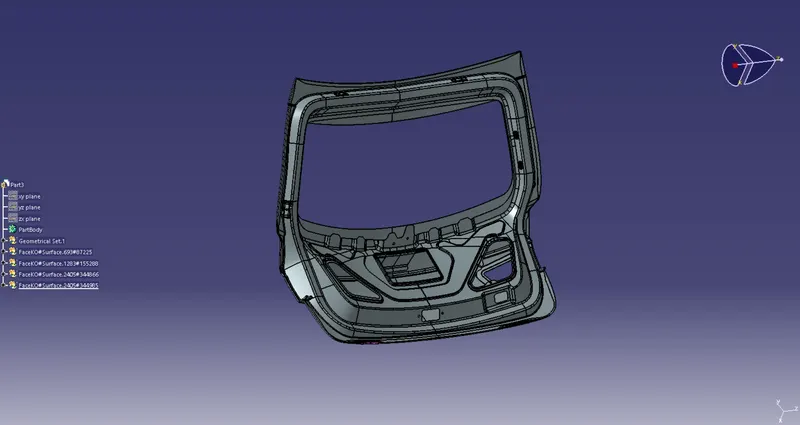
Fig2: Backdoor Model - Connectors:
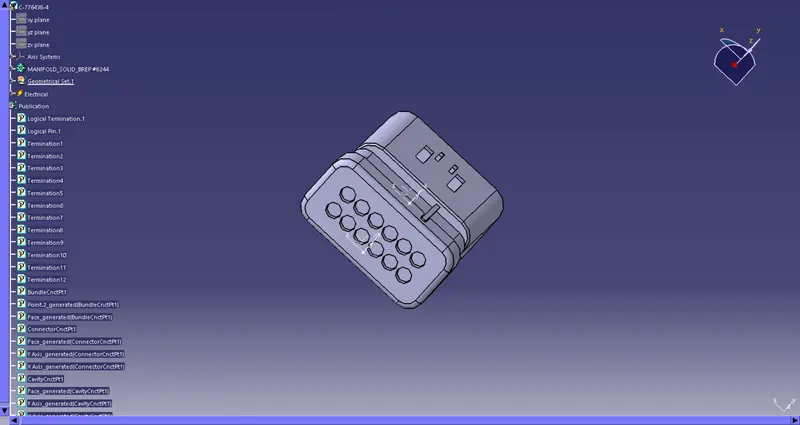
Fig3: Main Interconnector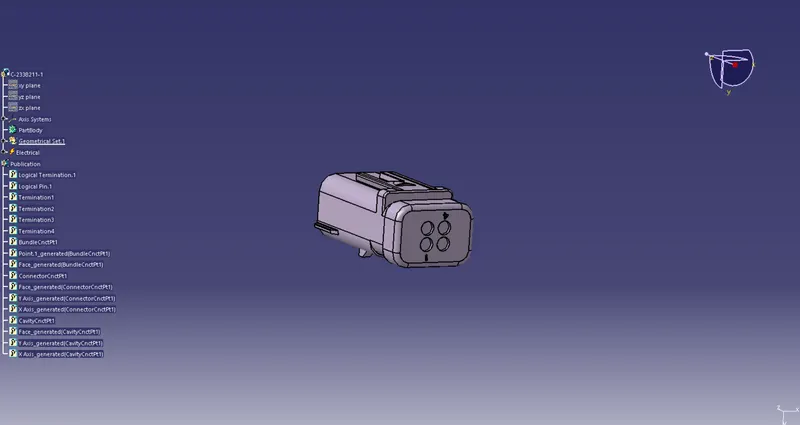
Fig4: Taillights & license-plate lights connector - Clips:
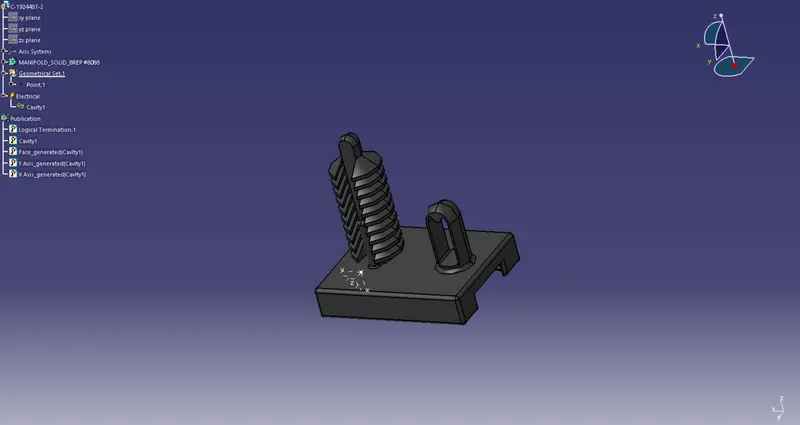
Fig5: Fir Tree Type Mounting Clip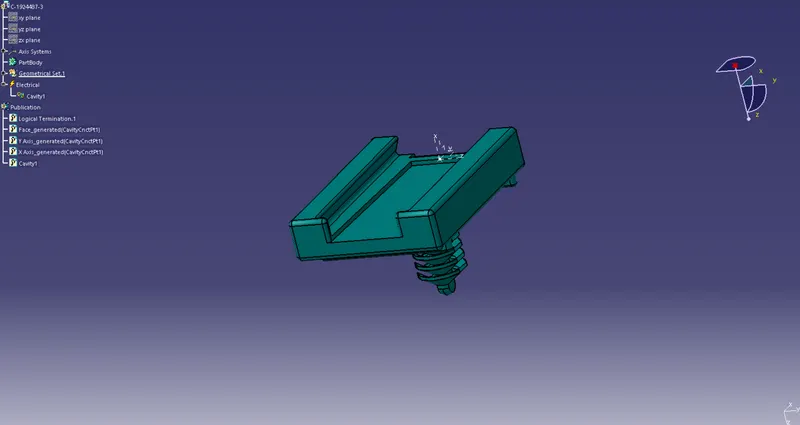
Fig6: Fir Tree Type Mounting Clip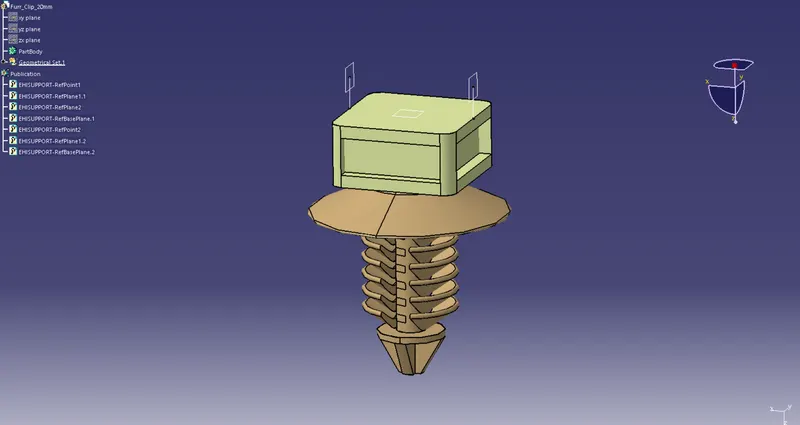
Fig7: Fir Tree Clip
Definitions:
- Backdoor:
The CAD model is downloaded in .igs/.stp file format and converted into .CATPart format.
- Connectors:
The CAD model is downloaded in .igs/.stp file format and converted into .CATPart format.
b. The connectors are defined electrically in the Electrical Part Design Workbench and the Connector, Bundle and Cavity Connection points are added.
- Fir Tree Mounting Clip:
The CAD model is downloaded in .igs/.stp file format and converted into .CATPart format.
b. The fir tree clip is defined electrically as an mounting equipment and a cavity definition is given in its mounting contact face.
- Fir Tree Clip:
The CAD model is downloaded in .igs/.stp file format and converted into .CATPart format.
b. The fir tree clip is defined electrically as a support and its entry and exit connection sides are given accordingly.
Design Methodology:
- Wire Harness Routing:
Start the Assembly Design Workbench in Catia.
b. Bring in the Backdoor model and the Connectors along with all the other equipment into the assembly.
c. We manually place connector type 1 and 2 into the surfaces of the backdoor using the fir tree type mounting clips.
d. Also we have to place the fir tree clips in the backdoor surface for proper routing of the wires.
f. Now start the Electrical Harness Assembly Workbench and convert the assembly model into an electrical assembly model using the Geometrical Bundle option.
g. After that we start the routing of the main bundle from the main interconnector across the inner side of the backdoor surface to the rear light connectors and then we also route another main branch from our second main connector to the license plate lights.
h.Then after our routing is complete, we check whether all our connections are properly done or not using the Search command, and if not, we need to route the connections again.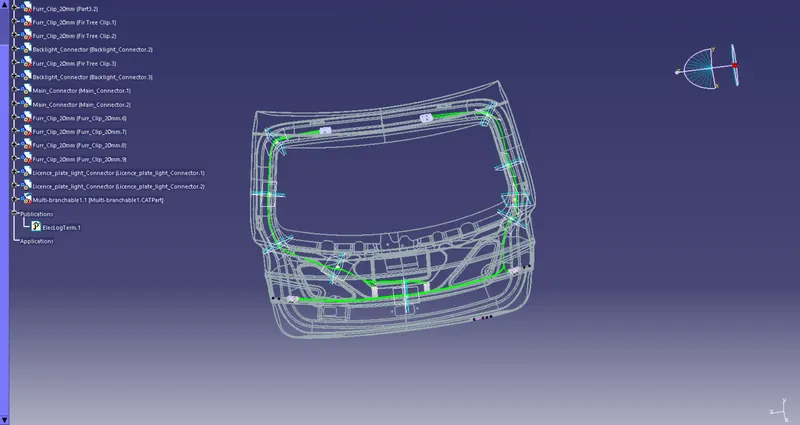
Fig8: Backdoor Wire Harness Routing
- Wire Harness Flattening:
Create a new product file in Catia.
b. Start the Electrical Harness Flattening Workbench and select the Harness Flattening Parameters option from the toolbars.
c. A Harness Flattening Parameters dialog-box will appear and we have to set out our required parameters.
d. Then we have to open our previous product file of the Wiring Harness Assembly and then go to the Electrical Harness Flattening Workbench.Select the Extract option from the toolbars and then if our assembly is fully connected then the file gets extracted to the second product file. If our file fails to extract then that means that our assembly is not fully connected then in that case we have to redo and check our connections again.
e.After that we have to select the Flatten option from the toolbars and then select any face of our assembly with respect to which we want to flatten our assembly and then select all our wire bundles and click ok. Our harness assembly then gets converted into a flattening assembly.
f. Save the file in the same location as that of the Wiring Harness Assembly.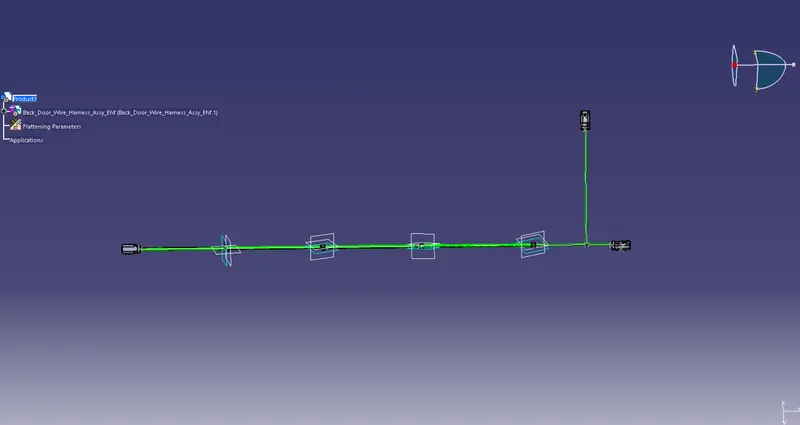
Fig9: License plate lights harness flattening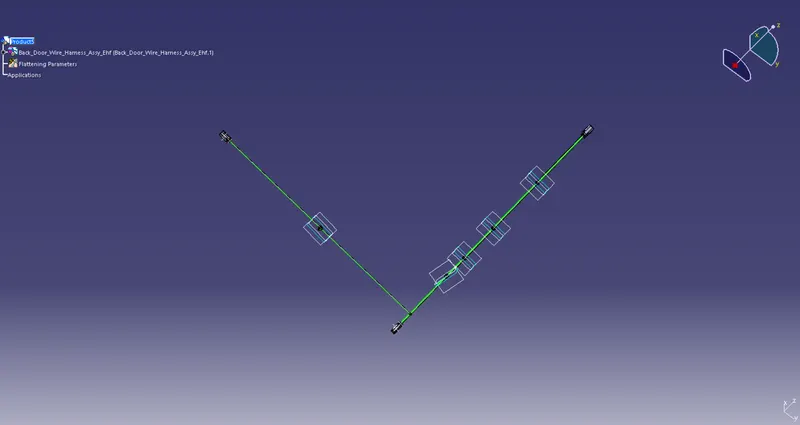
Fig10: Taillight harness flattening
- Flattening Product Drawing:
Create a new Drawing file.
b. Select the Front View option from the toolbars and then open the Wiring Harness Flattening window and select the same face that we had selected for our flattening
c. The Flattening Assembly gets converted into a drawing file.
d. We add a title box, bill of materials and annotations to the drawing. - Save the file.
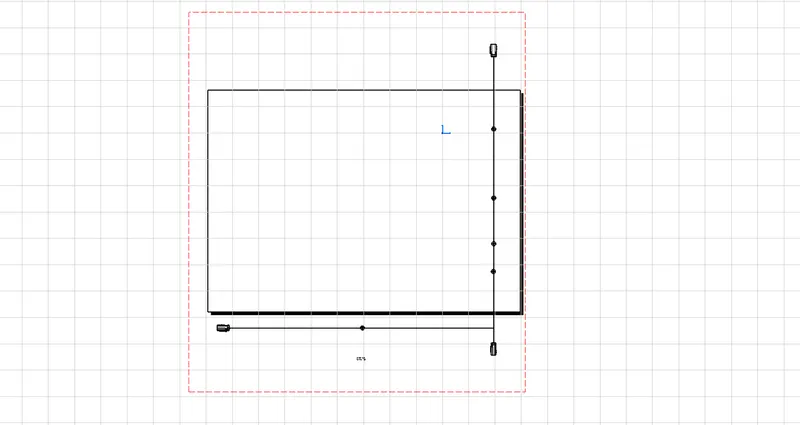
fig11: Tailights Harness Bundle Flattening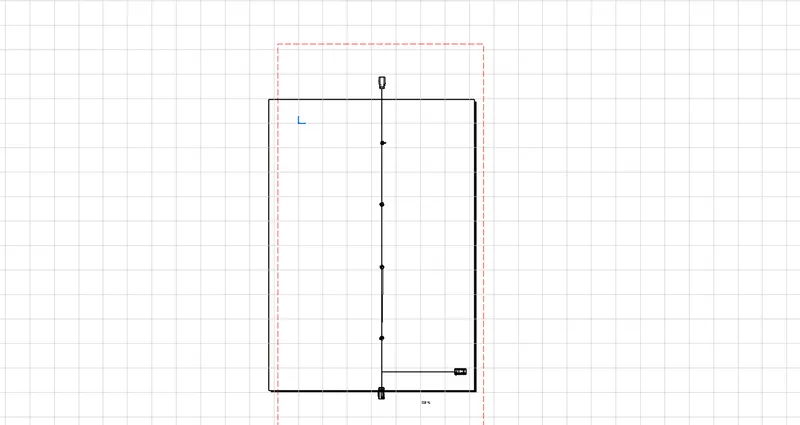
Fig12: License Plate Harness Bundle Flattening