Project 2 - 2D meshing on the instrumental Panel
Project 2 - 2D meshing on the instrumental Panel
For the given component, check for the geometrical errors and mesh with the given element Quality criteria. After meshing the component the thickness has to be assigned.
Write a detailed report on your meshing process and also mention which method you used to extract the mid-surface along with the reason.
The below attached is the CAD geometry of the dashboard of a car, here our task is to mesh generate mid surface and mesh it properly.
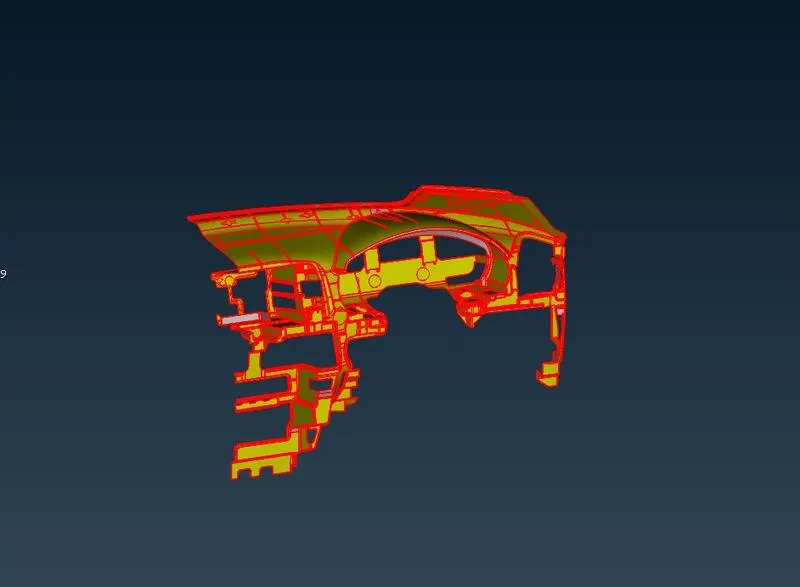
First, our task is to clean the errors of the geometry, as we can see numerous errors or cracks in the geometry, out of which most of them can be fixed automatically, but then again we can see many more errors which we need to be fixed manually.
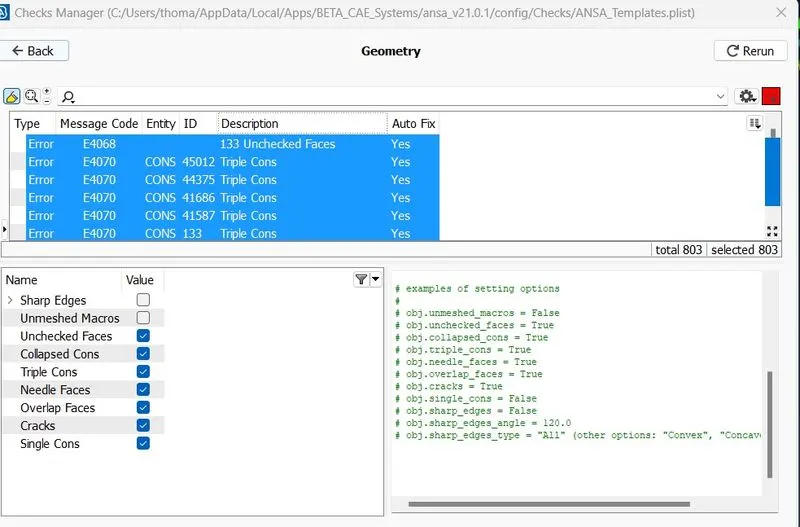
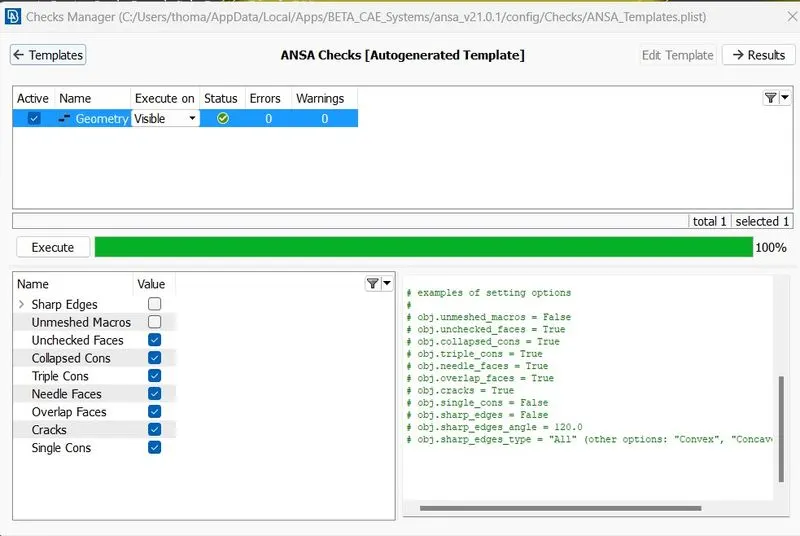
All the cracks and errors are fixed and its ready to go.
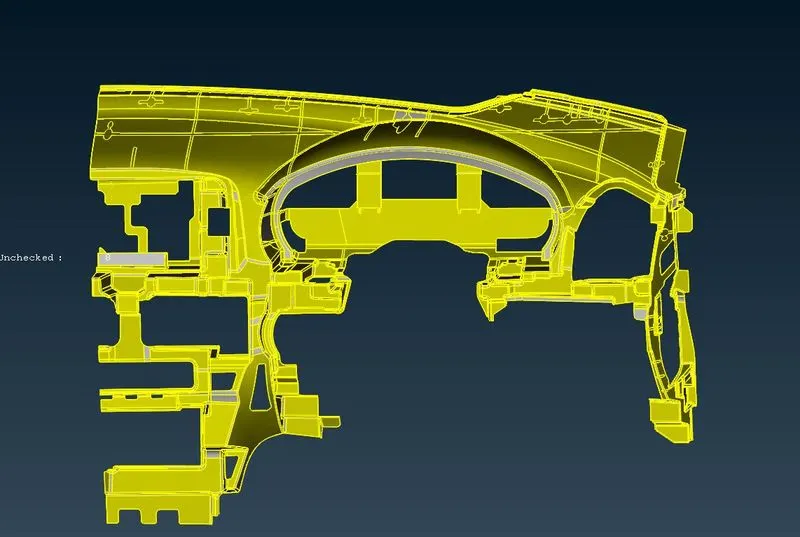
The error-free geometry
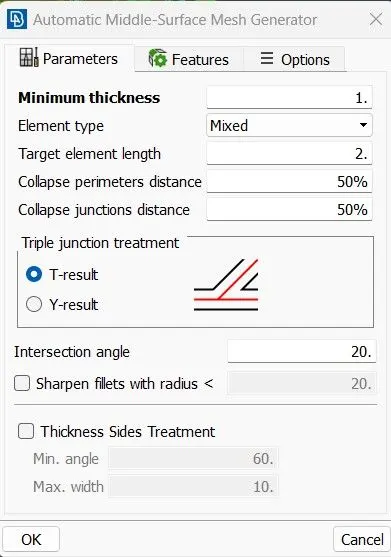
The next step is to generate mid surface in the geometry, for that we choose the cast option under mesh generation and the following values are put.
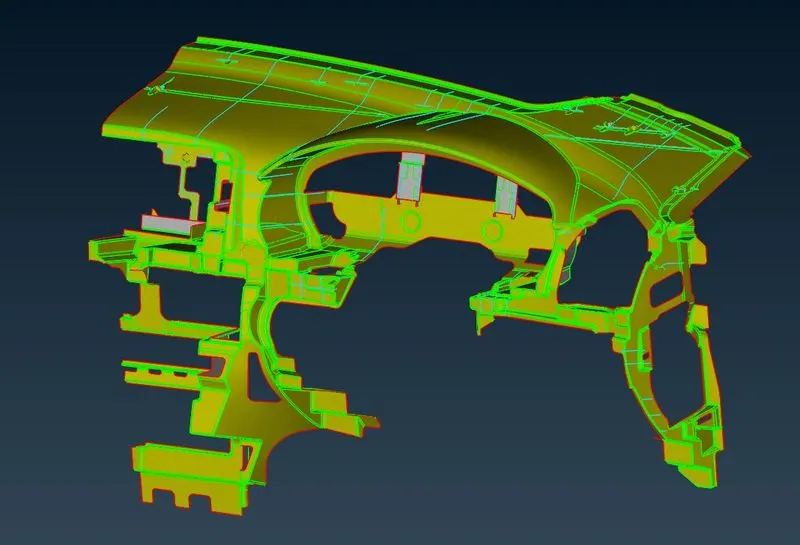
The generated Midsurface
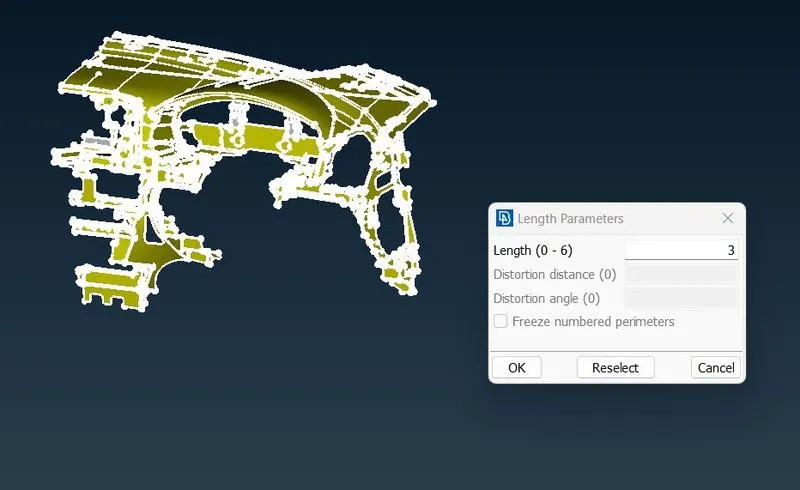
Before meshing we need to set the length of both perimeter and macros.
Setting the quality criteria
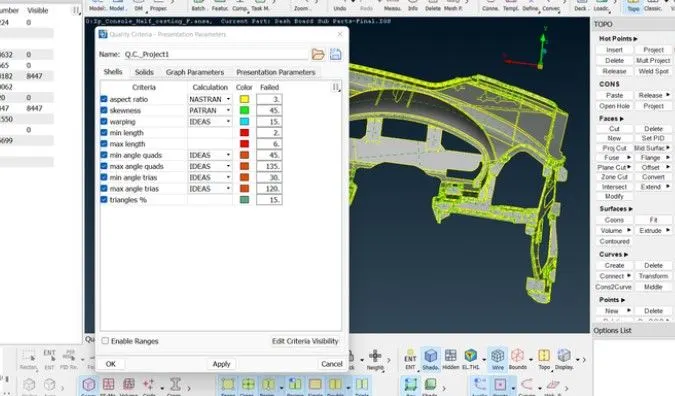
Setting the Mesh parameter
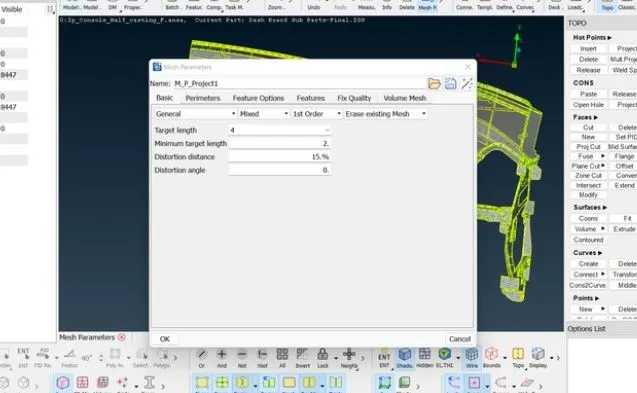
Cleaning,
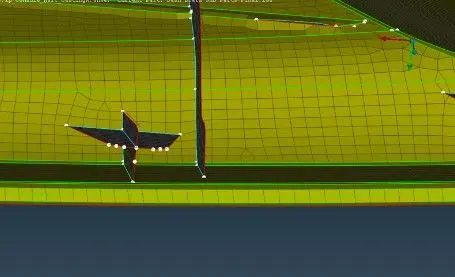
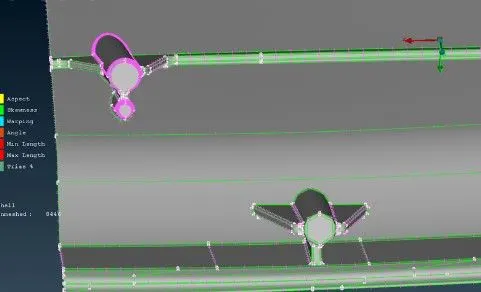
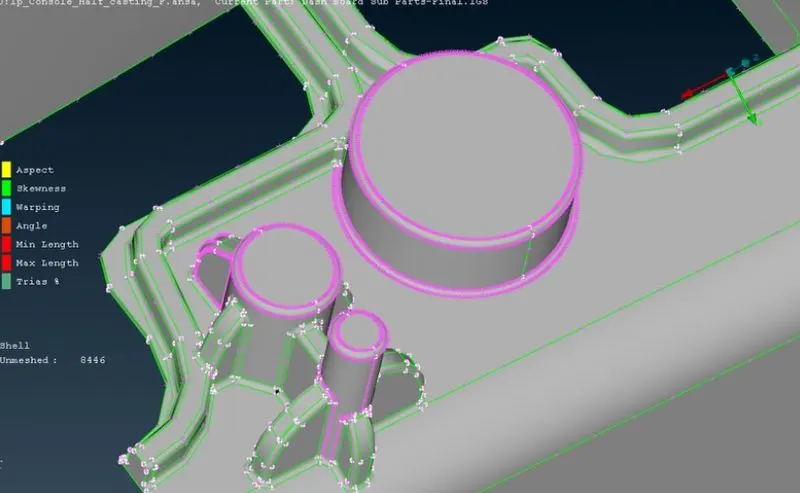
Even though we created the mid surface without any errors, there are some areas that need to be touched or reworked for smooth mesh.
These areas like the Dog house are fixed manually using join, delete, and disturbing elements. feat2curve, cone2curve.
The new elements are created using mesh> elements>new>shellmesh.
Align manager
This tool is used to ensure the automatically generated mesh is align to the centre of the surface. With this tool we corrects the disturbed mesh, if there is.
After adding the relationship manager, the interface/environment takes the job as the main job.
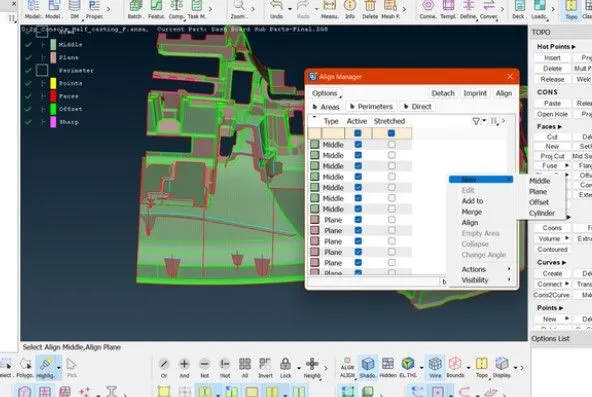
We can use the align Nodes Wizard using Mesh>Grid>align for getting nodes to the original position.
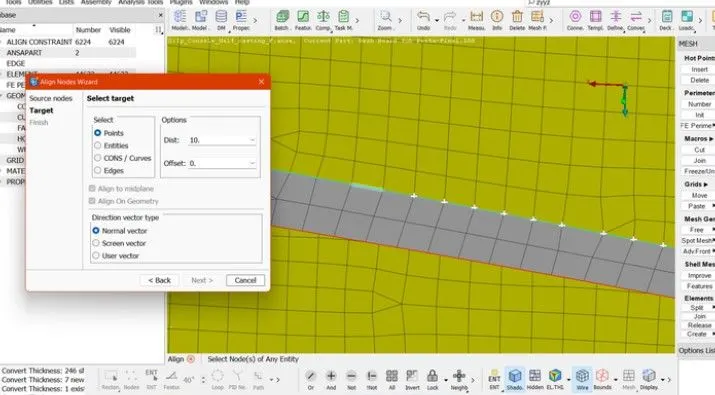
The errors or low-quality areas of the meshed faces are corrected using reconstruct, swap, smooth, and split tools available,paste-cut options..etc..
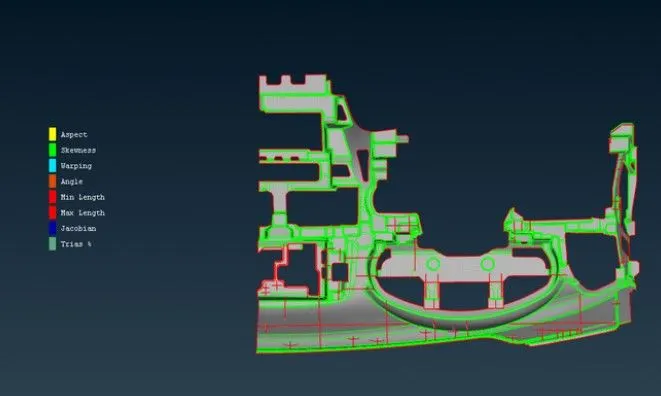
Marking the Thickness
The Thickness is assigned using, Classic Mesh- Grids - Thickness- convert
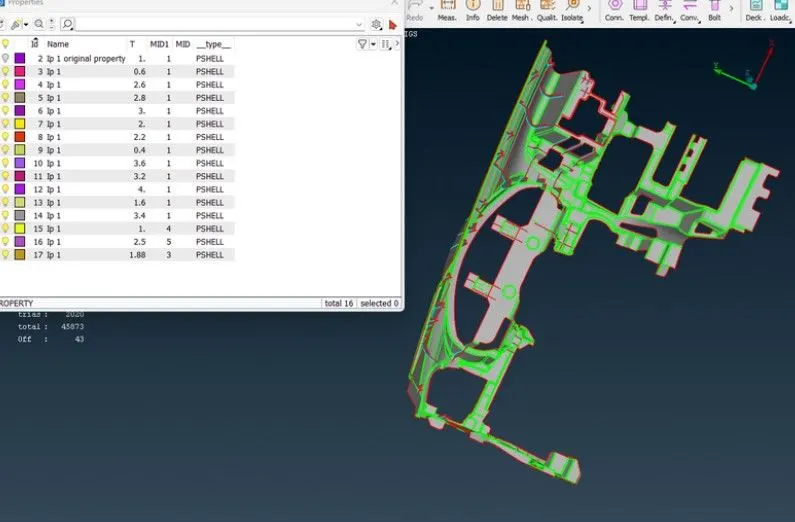
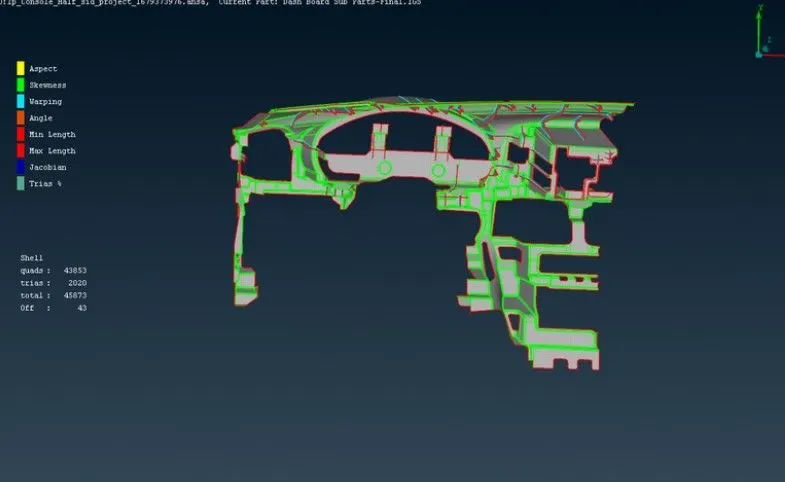
After every setup and cleaning the geometry is ready with the final mesh.
ThankYou