Project 2 - 2D meshing on the instrumental Panel
Project 2 - 2D meshing on the instrumental Panel
AIM: To perform the 2-D Mesh on the given Instrumental Panel of an Automotive component using ANSA Interface.
Objective:
- To examine the geometrical errors and fix them.
- To extract mid surface manually and Mesh according to given quality Criteria.
- To Assign Thickness according to its PID.
- To follow the below quality criteria.
|
S.No |
Quality Criteria |
Value |
|
1 |
Target/Average length |
4 |
|
2 |
Minimum Length |
2 |
|
3 |
Maximum Length |
6 |
|
4 |
Aspect |
3 |
|
5 |
Warpage |
15 |
|
6 |
Skewness |
45 |
|
7 |
Jacobian |
0.7 |
|
8 |
Minimum Quad Angle |
45 |
|
9 |
Maximum Quad Angle |
135 |
|
10 |
Minimum Tria Angle |
30 |
|
11 |
Maximum Tria Angle |
120 |
|
10 |
Tria Percentage |
15 |
Procedure:
The procedure for performing 2-D meshing on the given Instrumental Panel component is as follows below.
Importing the Geometry file in the ANSA interface:
File>open >select the location of the model>open
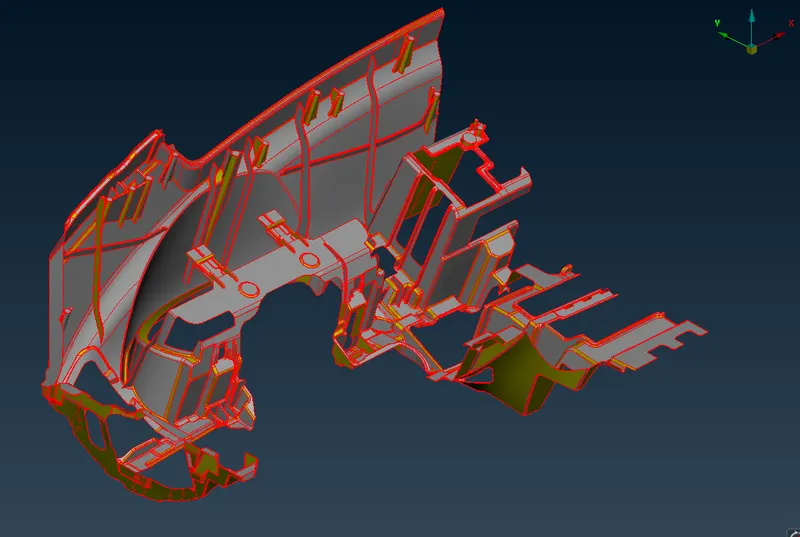
The topology is performed for broken faces using Faces > Topo command in the topology module.
And also, we have to give a proper Orientation to the Parent Component, using Faces > Orient.
The resolution of the CONS is improved from mesh module or perimeters >length from mesh module.
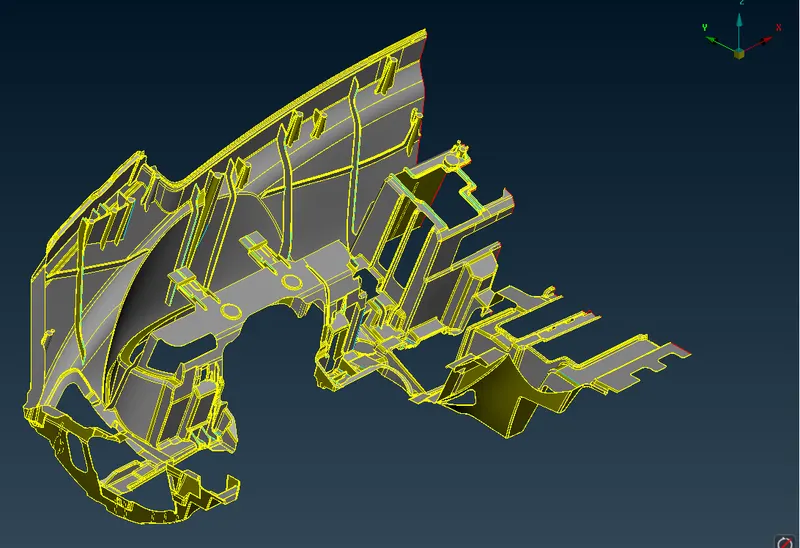
Geometry Clean-up
The model is checked for geometry errors using “Check’s Manager > Geometry” command, in case of geometry errors such as missing cons can be corrected.
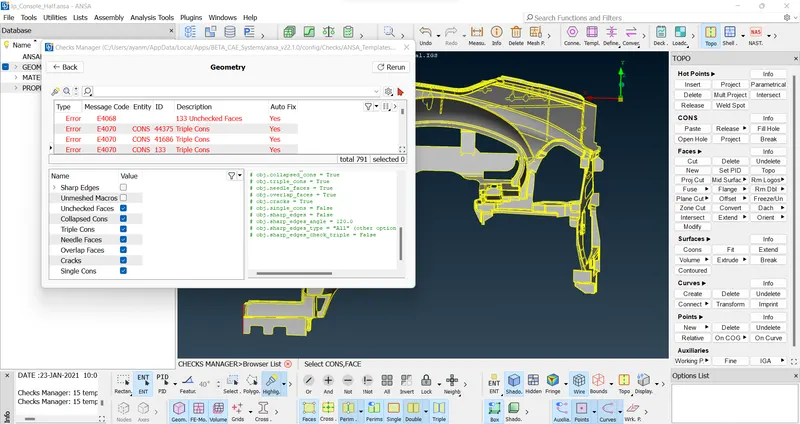
some errors fix by auto-fix option but for others we have to do it by manually.
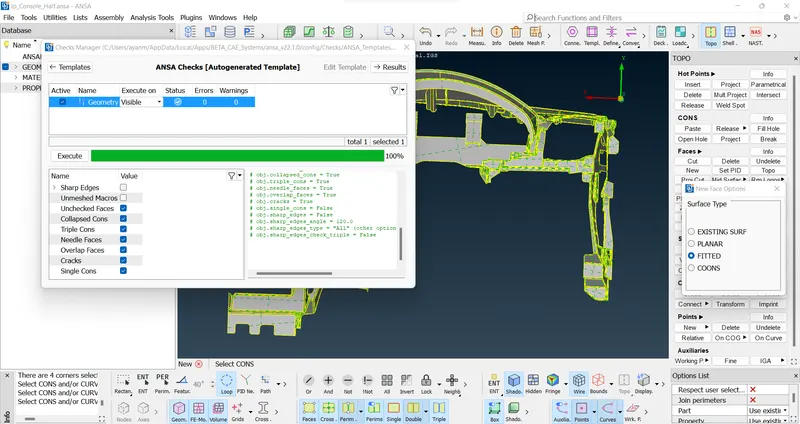
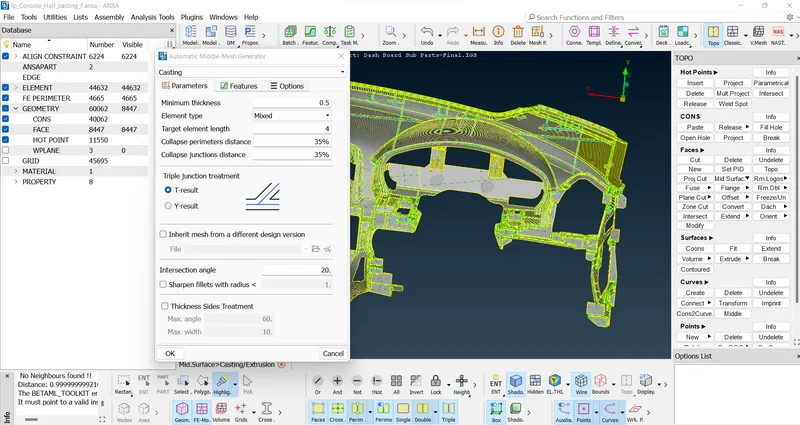
Casting method
Before casting operation we have to set the mesh parameters and the quality criteria.
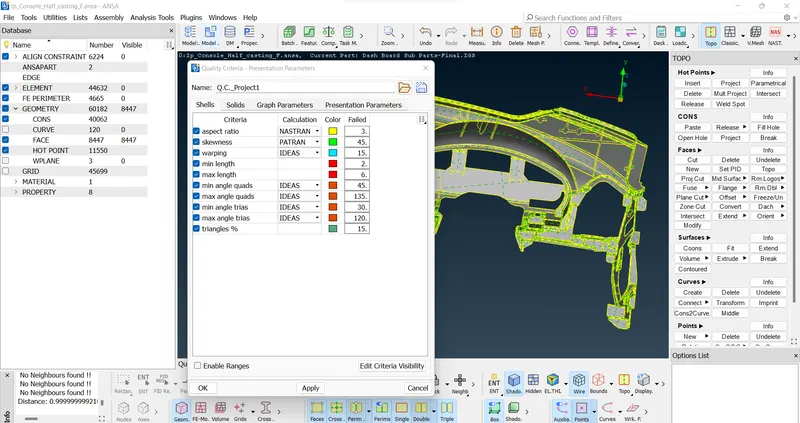
Casting option taken for taking Mid-surface. And after Align elements by Align Manager.
After Casting we can observe that some features are not have proper shape according to the parent component so, we have to check it and fix it Mannualy.
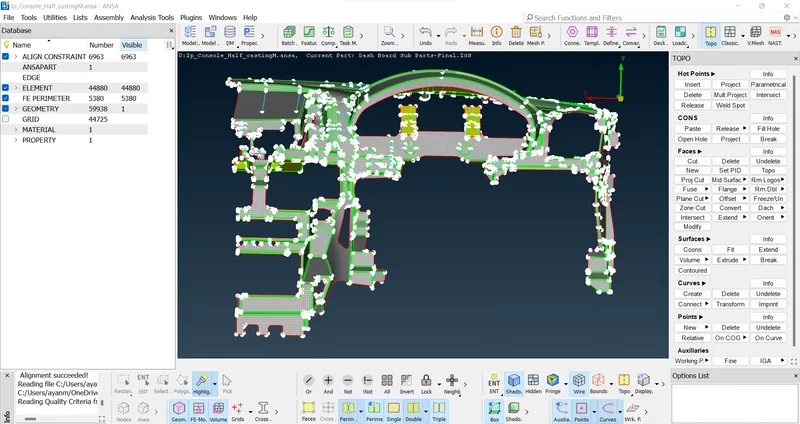
Dog house
Dog houses are critical area in the component. So, we have to recreate it reference form parent model and work manually, using join, delete disturbs elenents, create-curve, curve-middle, feat2curve, cons2curve, and then create new elenents using Mesh > elements > new, or Shell mesh.
Align manager
Align manager is used to ensure the automated generated mesh is align to middle of surface. by using the align manager we correcting the disturbed FE if any.
Improve the mesh flow and quality of mesh
Smoothing the mesh: (mesh module > shell mesh > smooth).
reconstruct the mesh: (mesh module > shell mesh > improve[reconstruct/reshape/smooth)
improve the quality of mesh: (mesh module > elements > split/swap/join/stich)
Assigning the Thickness
Assign the proper thickness automatically by using Classic-Mesh > Grids > Thickness > Convert.
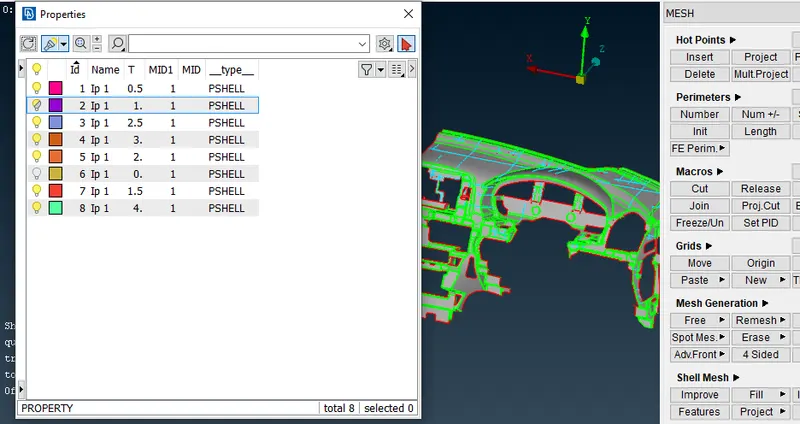
Here we can see thickness wiil apply perfoctly.
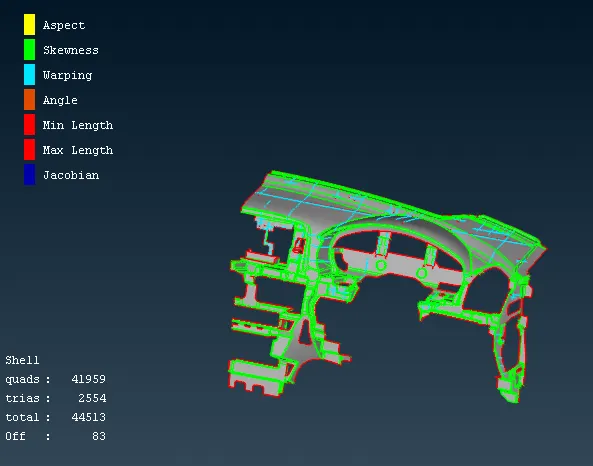
A total of 44513 elements and 83 OFF elements were left out as they are unavoidable because of features & triple Cons lines.
Conclusion:
Therefore, The 2-D Meshing on the given Instrumental Panel of an Automotive component has been performed using ANSA Interface following the given quality criteria.