Project 2 - 2D meshing on the instrumental Panel
OBJECTIVE
To check for the geometrical errors and mesh with the given element Quality criteria and mesh the component using the given quality parameters and assign thicknesses.
QUALITY CRITERIA
|
S.No |
Quality Criteria |
Value |
|
1 |
Target/Average length |
4 |
|
2 |
Minimum Length |
2 |
|
3 |
Maximum Length |
6 |
|
4 |
Aspect |
3 |
|
5 |
Warpage |
15 |
|
6 |
Skewness |
45 |
|
7 |
Jacobian |
0.7 |
|
8 |
Minimum Quad Angle |
45 |
|
9 |
Maximum Quad Angle |
135 |
|
10 |
Minimum Tria Angle |
30 |
|
11 |
Maximum Tria Angle |
120 |
|
10 |
Tria Percentage |
15 |
MODEL IMAGE
PROCEDURE
1.Topology & Orientation
Firstly, we need to use the topo tool to take care of all the single cons and to ensure there are no free edges. It can be accessed via Faces > Topo in the topo module. All the cons are selected and the algorithm takes care of all the single cons.
2.Geometry Clean-up
After that, as is the norm and before we carry out any other actions, we need to carry out a geometry check and fix all abnormalities. That is done via Checks > Geometry where we can execute checks of certain defects that can be selected from the menu and the algorithm looks for said defects. After detection, we can select all the defects and right-click > fix to fix them.
There are some geometrical errors which couldn't be fixed automatically so we have to individually inspect what the errors are and fix them manually.
3.Casting _ Mid-surface
Now to generate the mid surface and mesh we have used the 'casting' option from Mid surface command as the geometry is complicated and it saves a lot of time.
Mesh Length
Before beginning the meshing process the model is checked for the length between the two hot points since the require target length is 4mm so using “Classic-Mesh> Length>Perimeters/Macros” command it is set to 4mm. for the entire model.
Quality Criteria
Set-up: We can say that result quality is directly proportional to the element quality. The parameters like skew, included angle, Jacobian, warpage, etc. are the measure of how far a given element deviates from the ideal shape. If we talk about a square which means 90 degrees and equal side similarly equilateral triangle 60 degrees and each side equal. so, we will discuss the quality criterion and try to understand them before assigning them into ANSA environment.
Mesh Parameters
Also, set the meshing parameters before proceeding to Casting.
Casting ->
Since this is a complex model so, Casting option taken for taking Mid-surface / FE automatically. And after Align elements by Align Manager.
>Auto generated FE by Casting Method....
-After Casting we can observe that some features are not have proper shape according to the parent component so, we have to check it and fix it Mannualy. (First we have to set the base elements proper then go for features.)
4.Now the mid mesh generated is largely good but there are areas which needs to be worked upon, those area were identified and were improved
Dog house
Dog houses are critical area in the component. So, we have to recreate it reference form parent model and work manually, using join, delete disturbs elenents, create-curve, curve-middle, feat2curve, cons2curve, and then create new elenents using Mesh > elements > new, or Shell mesh > Fill, and after by using the align manager we correcting the auto_generated FE.
5.Align manager
Align manager is used to ensure the automated generated mesh is align to middle of surface. by using the align manager we correcting the disturbed FE if any.
-Also we can delete elements and recreate it by Shell Mesh > Fill option, & after that newly created elements are add to the Align Manager by right click on it > new > choose the option accordingly with Middle / Plane / Offset / Cylinder. After adding in Align Manager the elements faces/perimeters get position accordingly to the parent component positions.
-Also we can use Align Nodes Wizard using Mesh > Grid > Align for getting back Nodes original positions.
6.Improve the mesh flow and quality of mesh
- smoothing the mesh: (mesh module > shell mesh > smooth).
- reconstruct the mesh: (mesh module > shell mesh > improve[reconstruct/reshape/smooth/fix]).
- improve the quality of mesh: (mesh module > elements > split/swap/join/stich).
- insert or delete hot points: (mesh module > hot points > insert/delete).
- to Paste : To paste nodes helps in moving elements backwards: (Mesh > Girds > Paste).
- to increase or decrease elements number: (mesh module > perimeters > NUM+/-).
- to cut or join the face: (mesh module > macro > cut/join).
7.Assigning the Thickness
Assign the proper thickness automatically by using Classic-Mesh > Grids > Thickness > Convert (then select the FE).
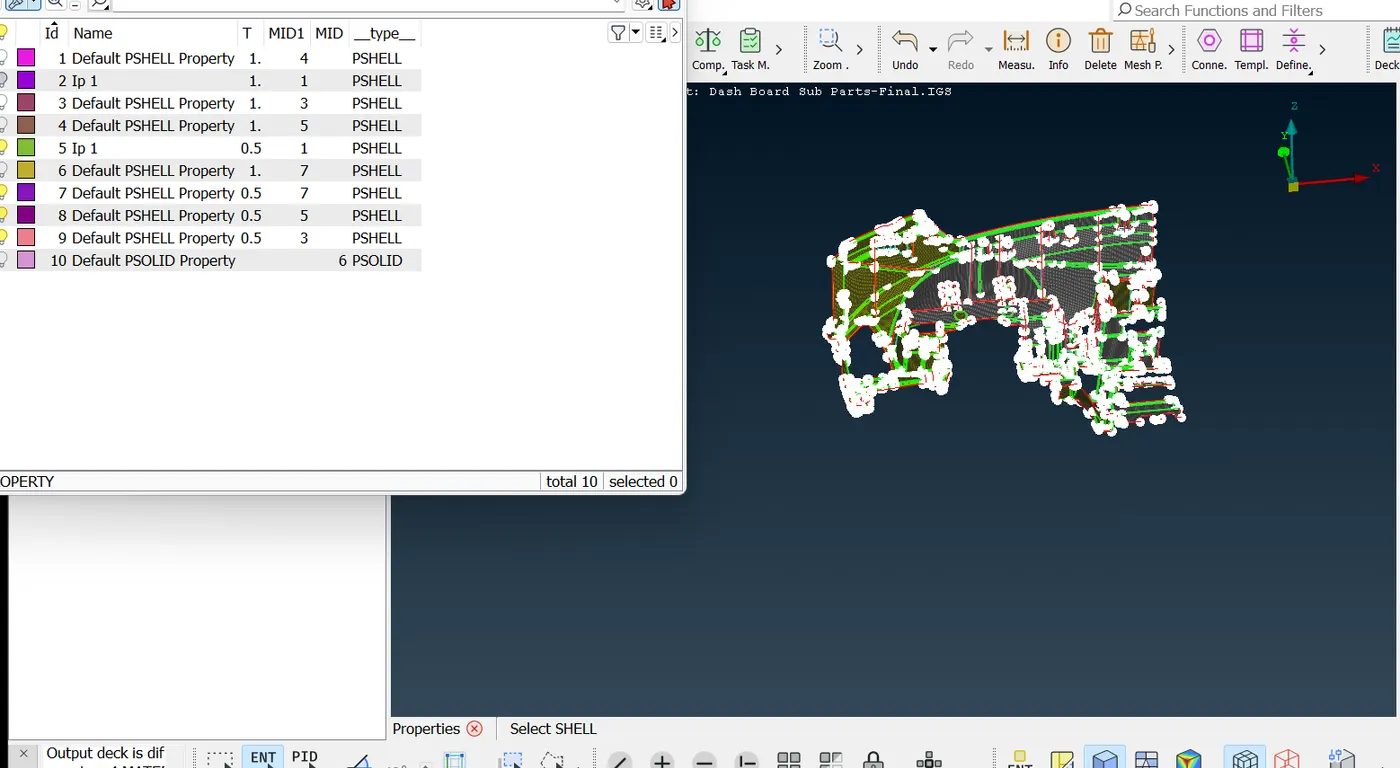
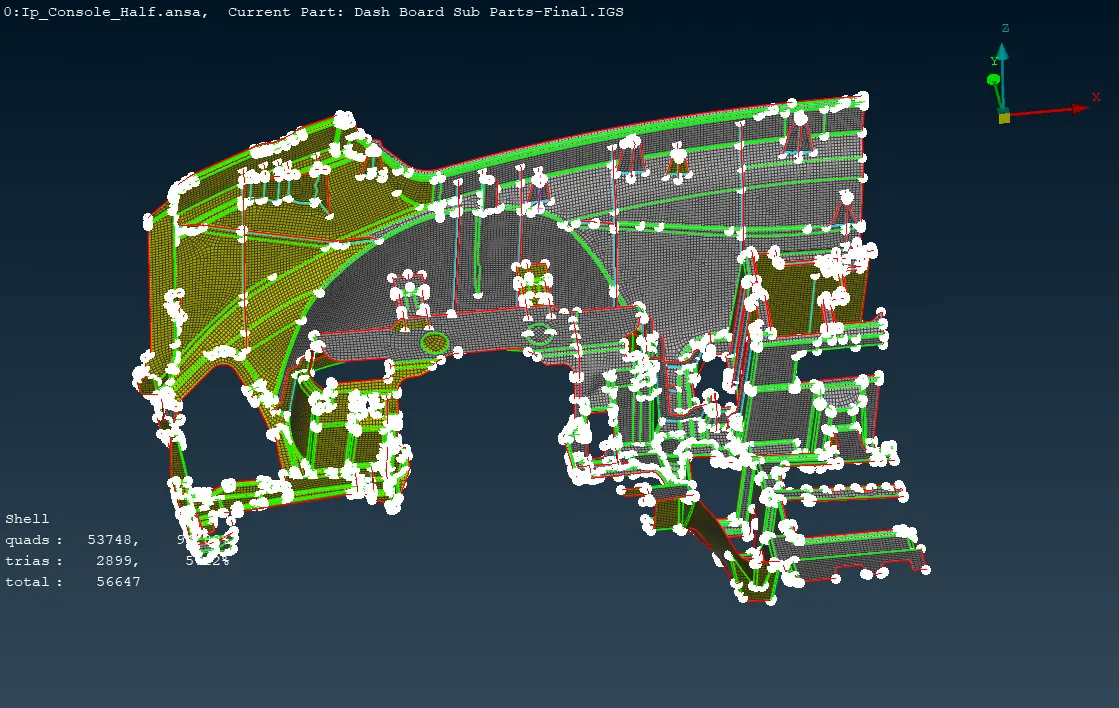
- Corrections are done for the elements which fail for quality and final model image is shown below
Learning Outcomes:
- Effectively extract Casting Mid-surface /FE.
- Assigning PID’s automatically in Casting Method.
- Rearranging construction lines.
- Geometry Check.
- Mesh refining.
- Align Manager uses.
- Assign Thickness to PIDs.
CONCLUSION
From the above model we are lern that the casting operation are more helpful to doing the meshing in an certain time period and after tghe casting we are working on the quality of mesh and align manager.
This process are is an time saving method and gives us a good mesh in an certain time period.
...