Project 2
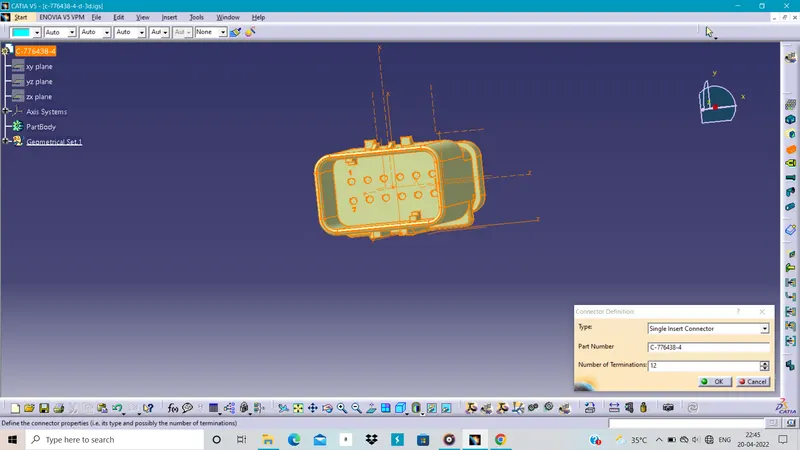
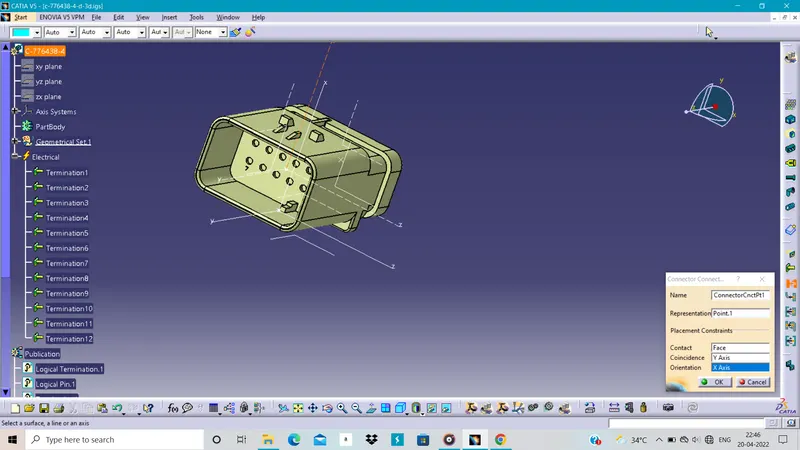
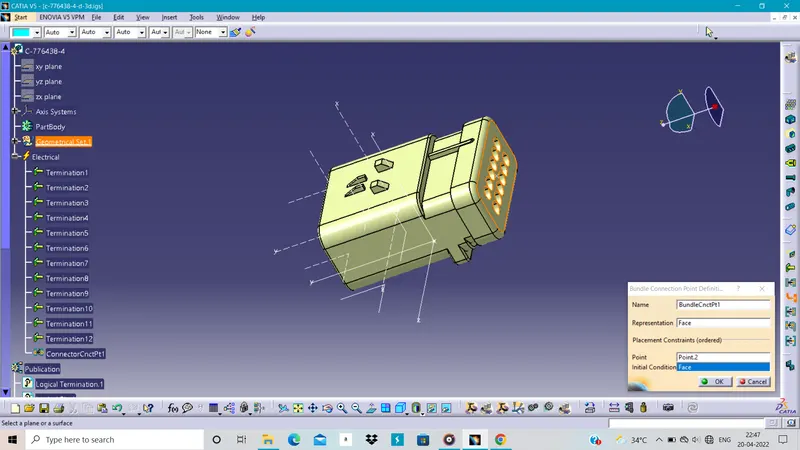
For making any Harness assembely we have to first we have to know the component or connector and their position in the harness assembely and then define this connector as the electrical part so.
we have to define its connector connection point and bundle connection point and some time as cavity connection if it is needed or present.as follow :-
C-1563689-1 :-
Hybrid, Housing for Female Terminals, Wire-to-Board / Wire-to-Device / Wire-to-Wire, 4 Position.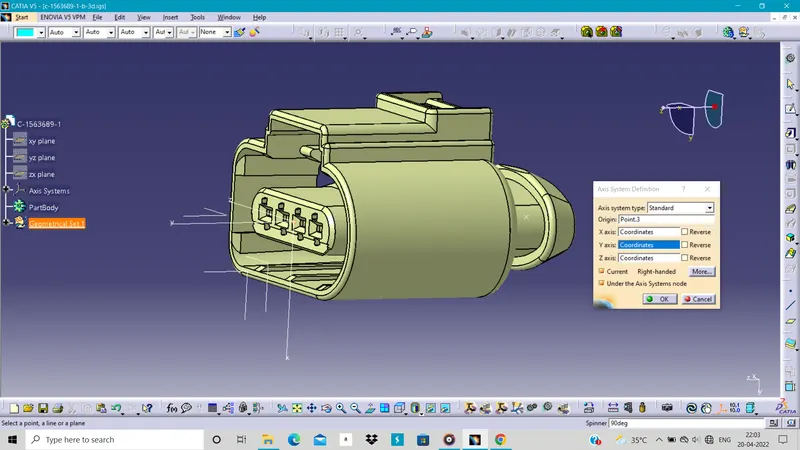
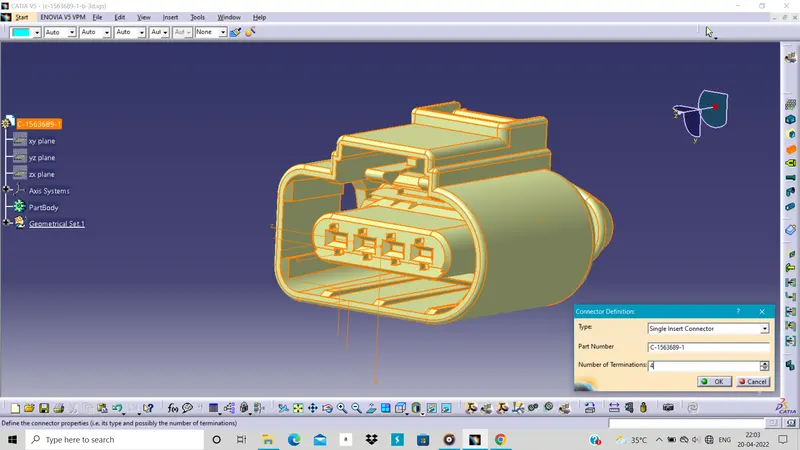
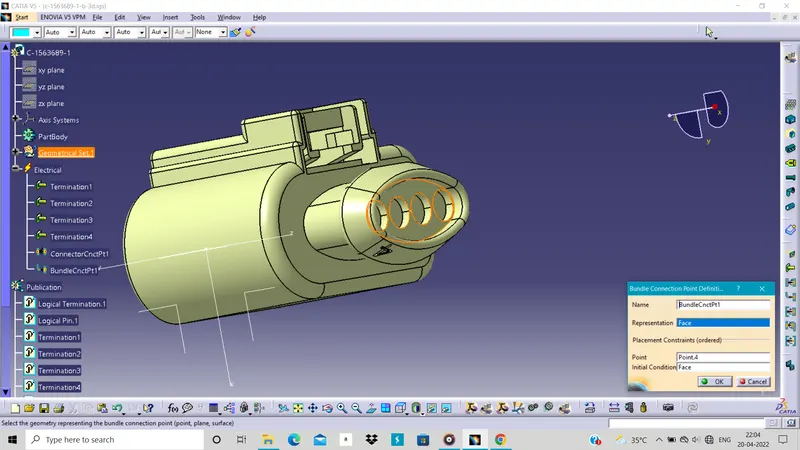
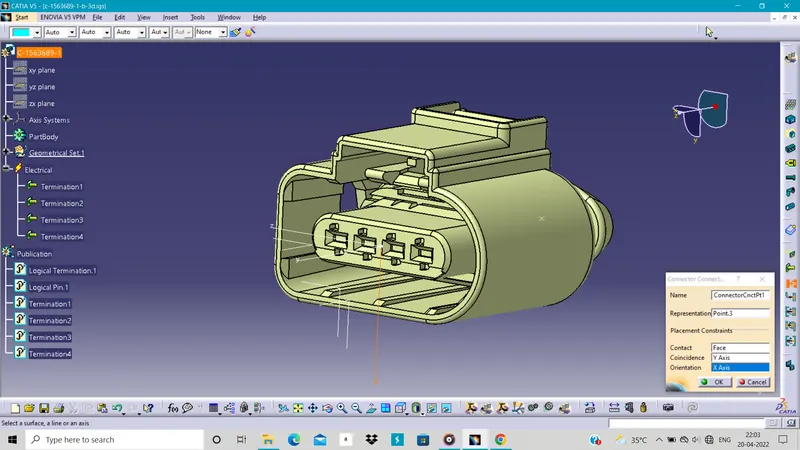
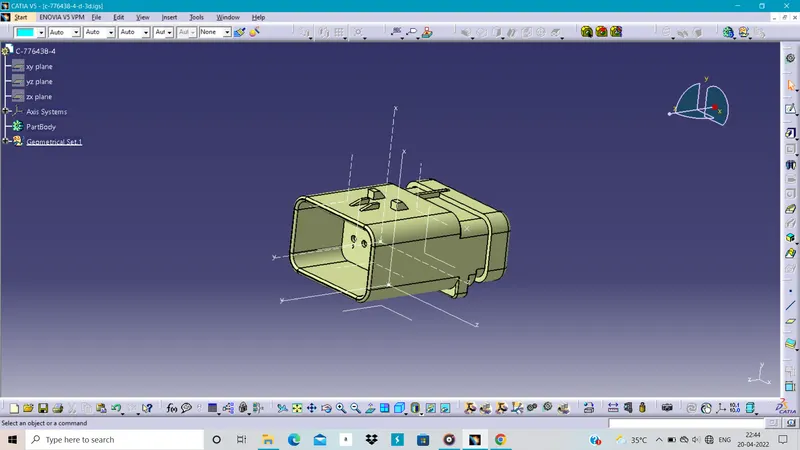
C-776438-4 :-
Housing for Male Terminals, Wire-to-Wire, 12 Position.
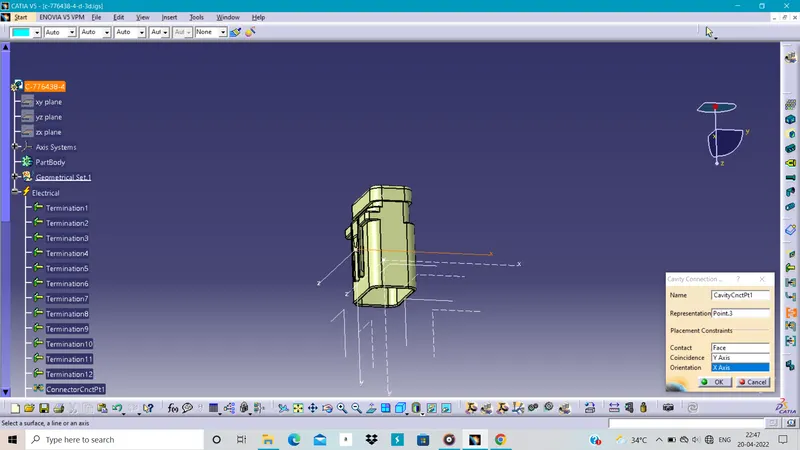
C-1924487-2 :-
It is Automotive Connector Accessories, Mounting Clips, Wire-to-Wire which is used to connect above connector on it.
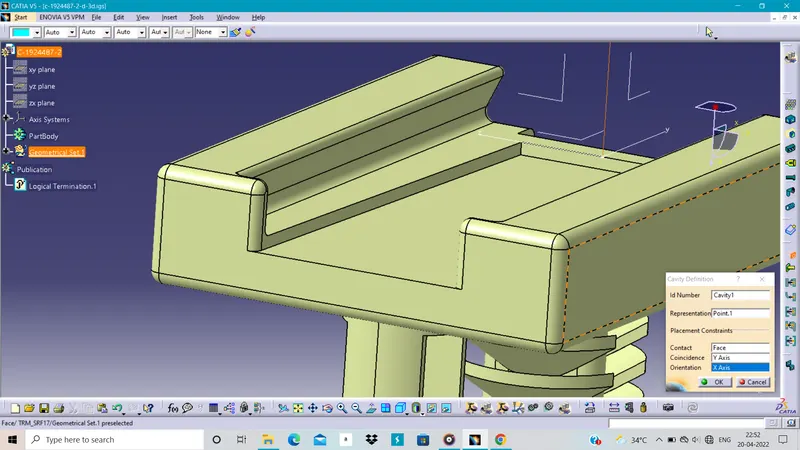
In this way this both connector are define as electrical part .
We also have to define the supporting part such as :-
P clamp :-
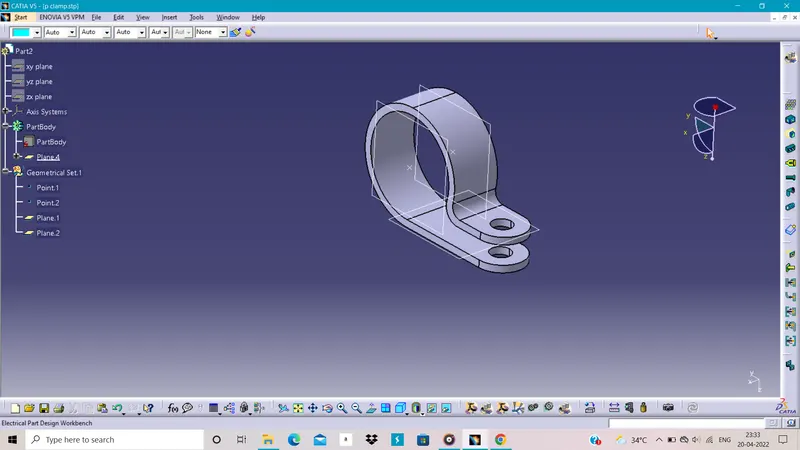
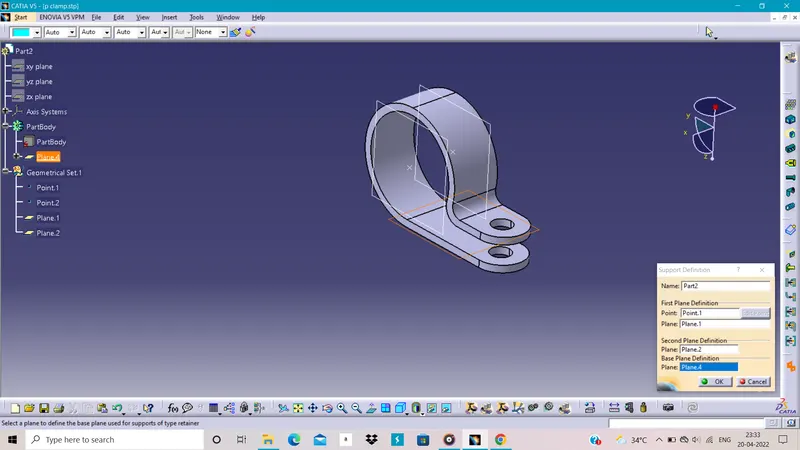
Fir Tree clip :-
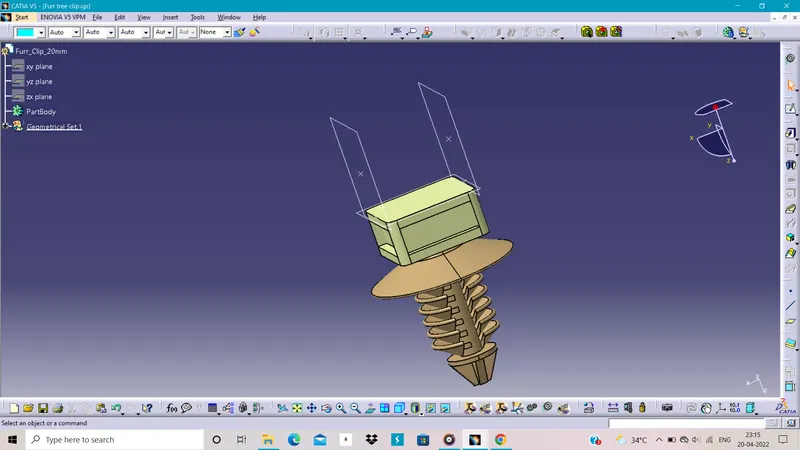
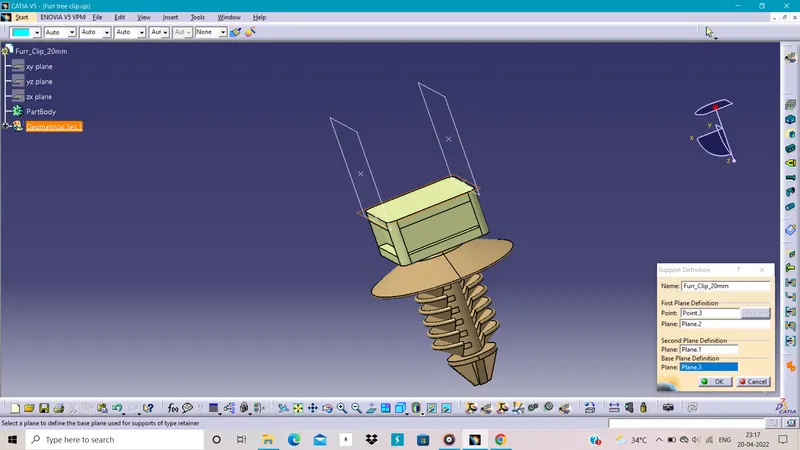
In this way we define the connectors and other parts/elements of routing harness.
Make the new product file and add new product for geometrical bundle then add or extract the back door and start the routing on it :-
Fix the connectors and clips by our need to make routing proper and its direction as we fixed in follow :-
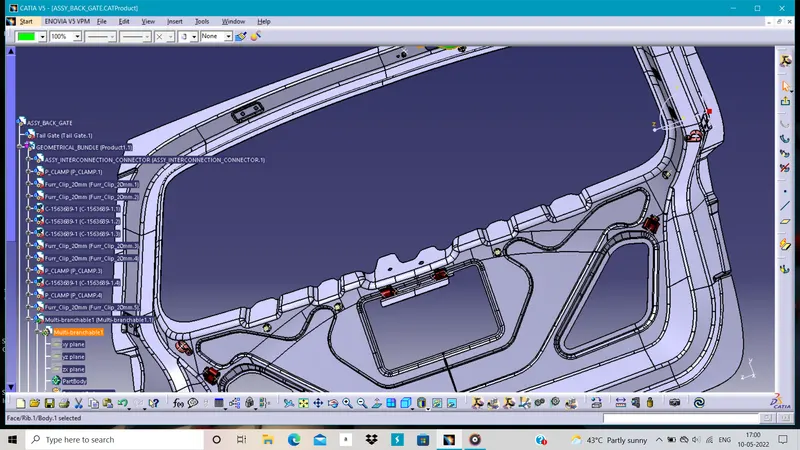
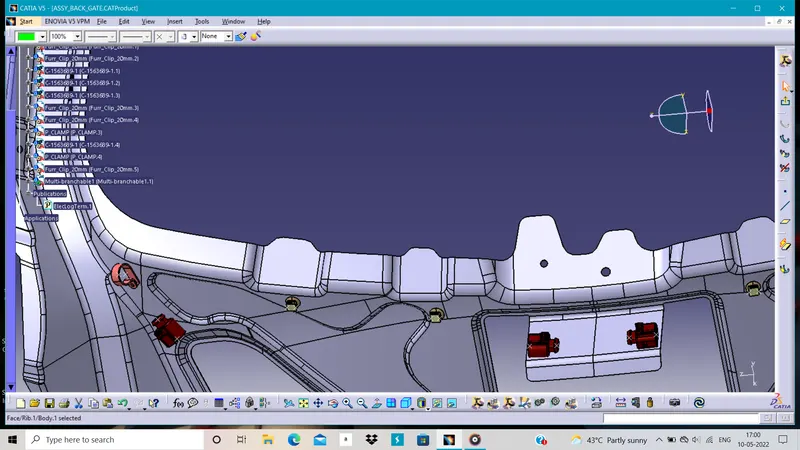
After fixing the all connectors we can do routing on the part or body .
For start the routing we have to start from the INTERCONNECTION_CONNECTOR and then rout the harness step by step up to the end connector.
Point to be noted :-
1. We have give the proper diameter.
2. Bending ratio as 1.4 to all the bundle segments.
3. If we need slag then give some slag but it should be proper.
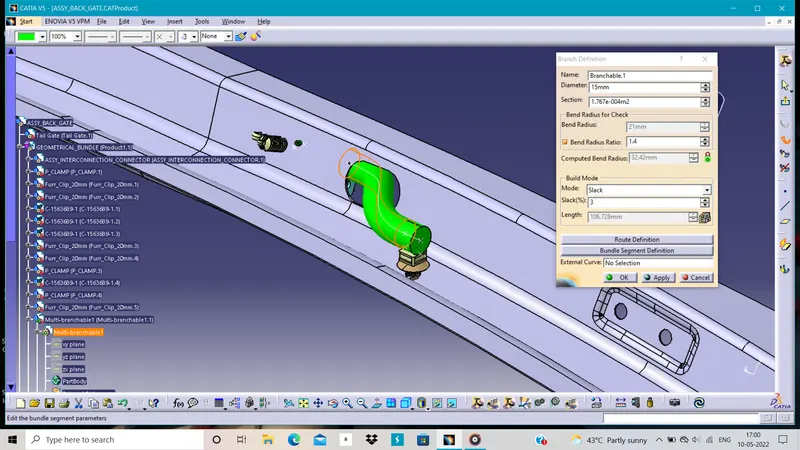
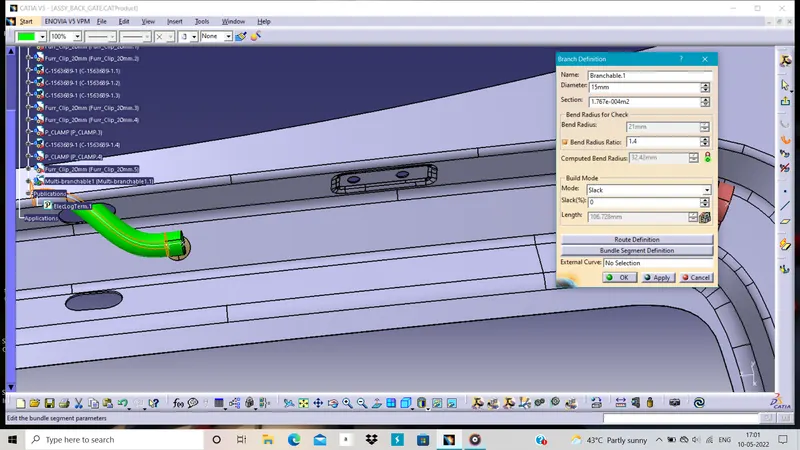
Then we have to go next element.
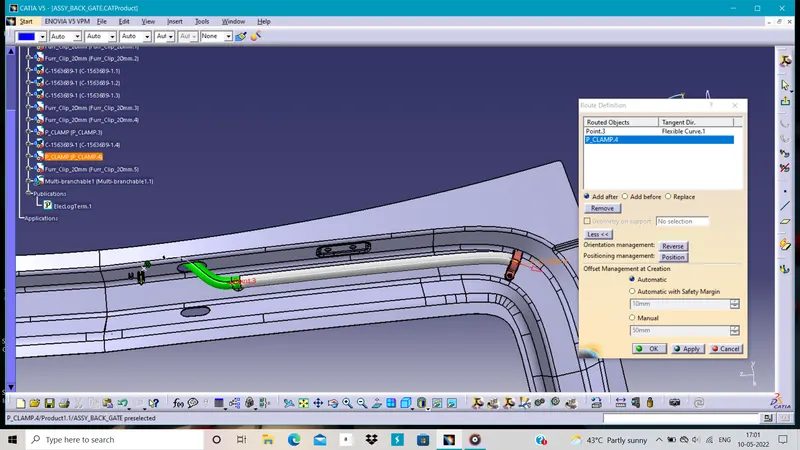
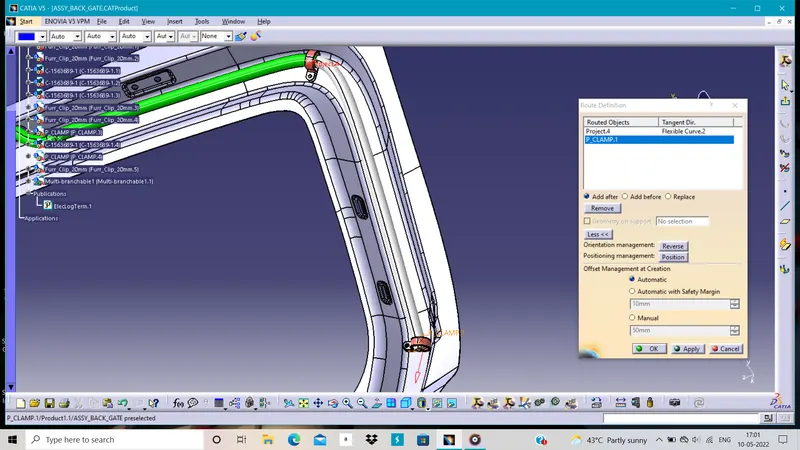
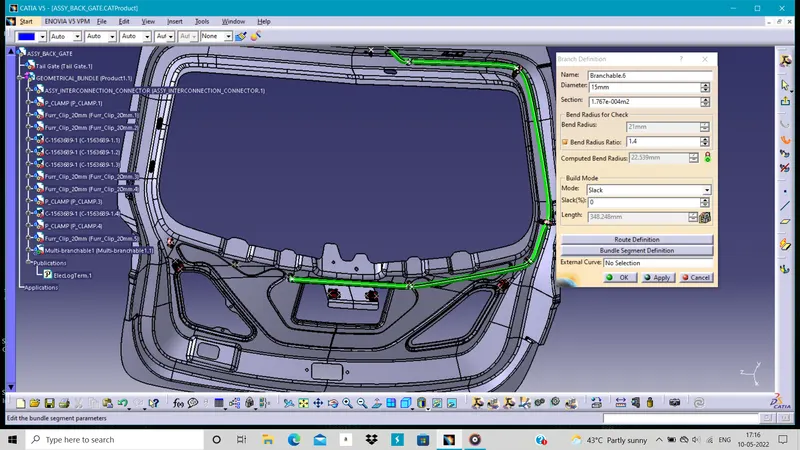
We dont need the same diameter to all harness point so we can change as we need or which suit it.
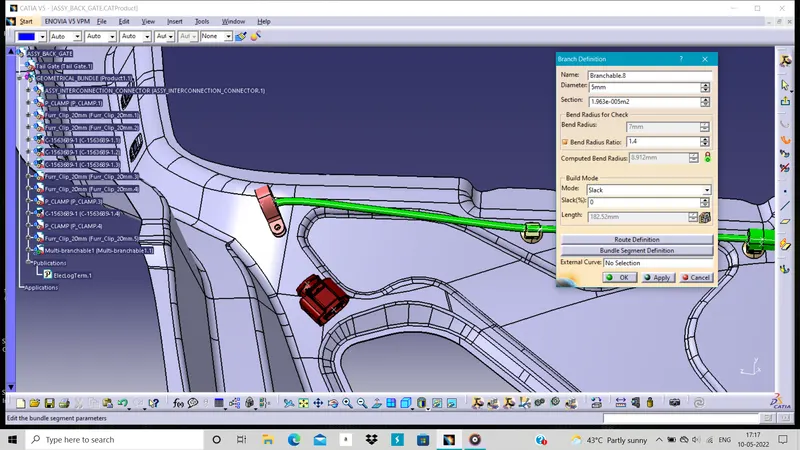
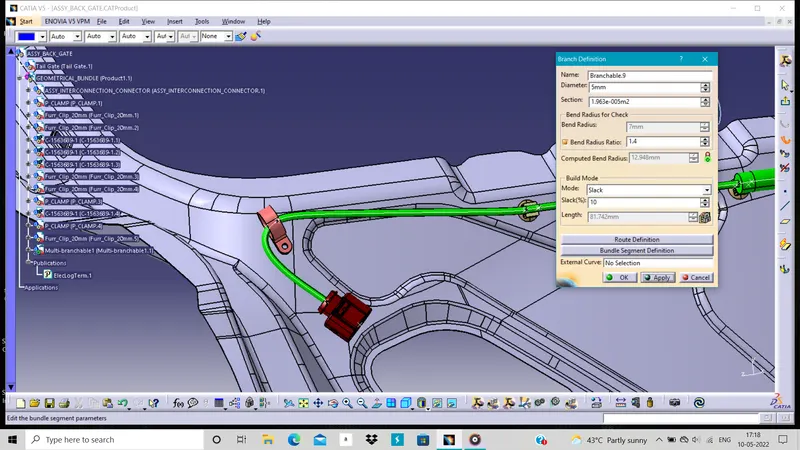
For making complete routing in the harness we have add the break point in it . So that we can rout the other bundle segment in it as follow :-
Here we need the two break point in it and rout the bundle from it as proper diameter and bending ratio.
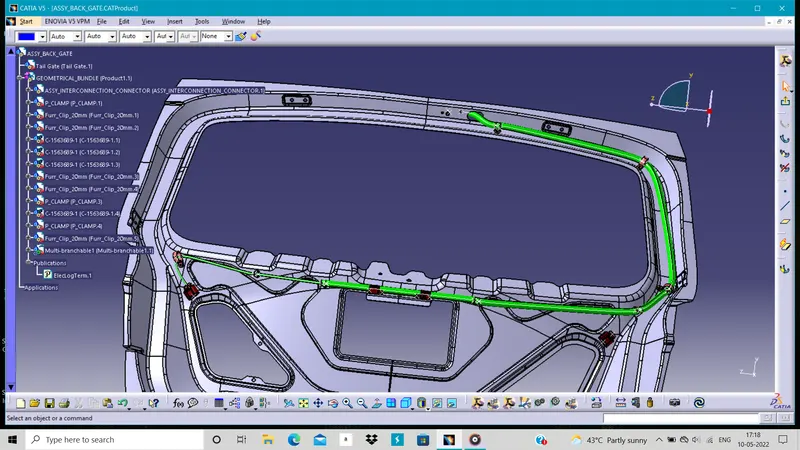
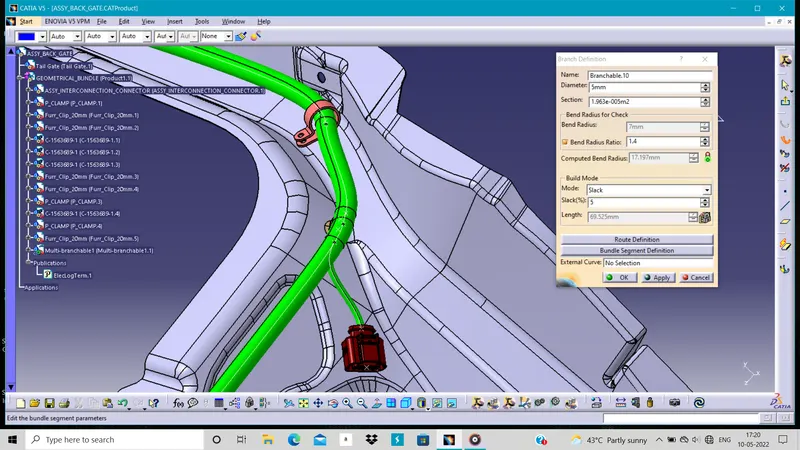
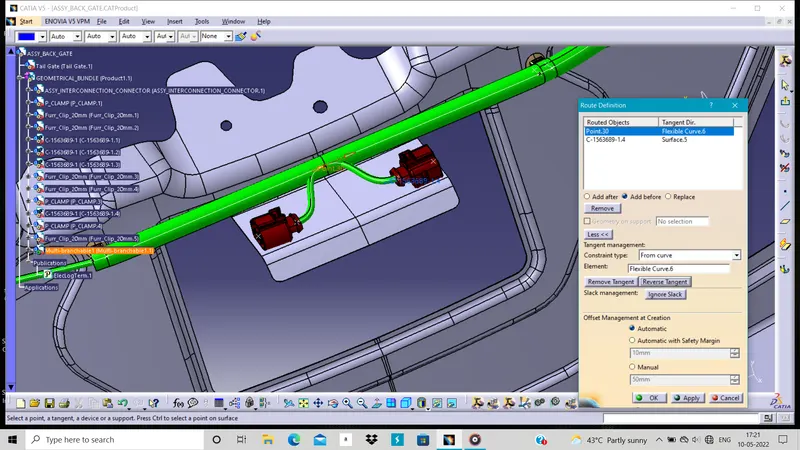
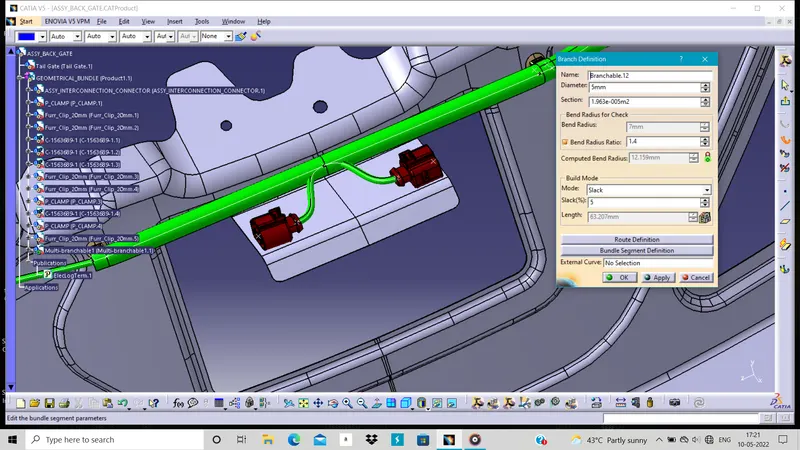
In this way our routing is done on the back-gate.
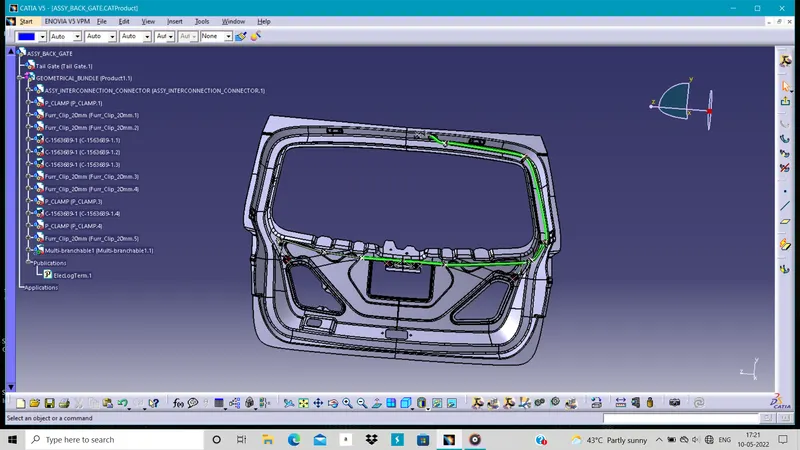
To protect the harness bundle segment from the water and sharp edges of the part we have to use the corrugated tube or cotton tape and we need to note that bundle segment is less than the corrugated tube :-
Here we use the corrugated tube of 17mm and 10mm diameter.
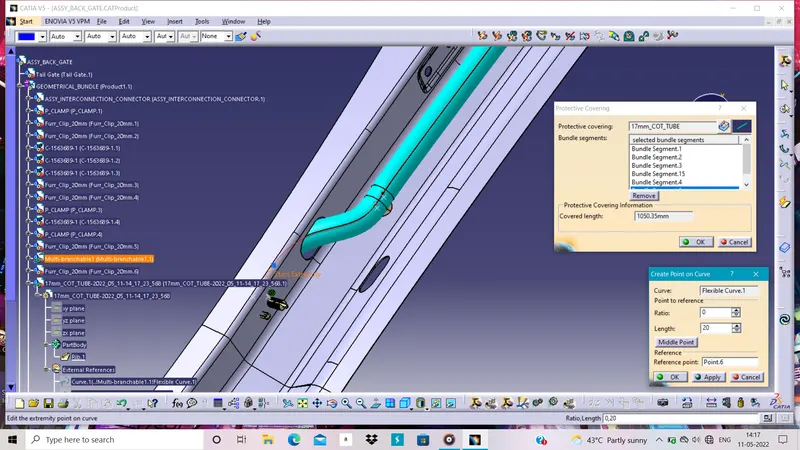
we have give some space from start point and end point so it give us connection point in it.
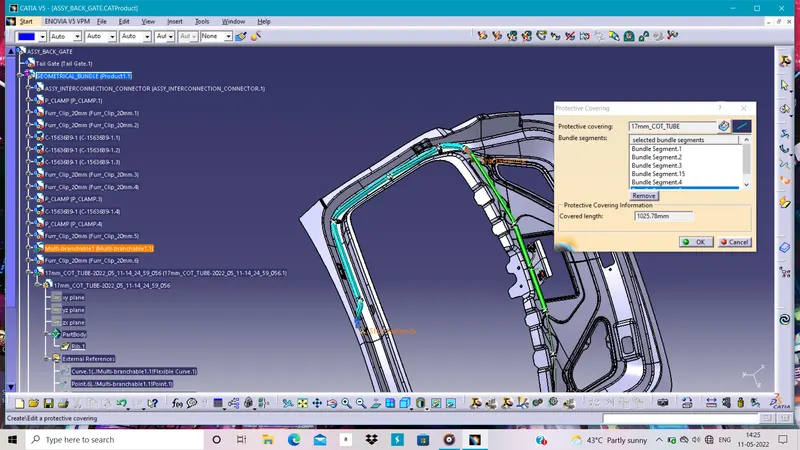
we also use the different diameter as follow:-
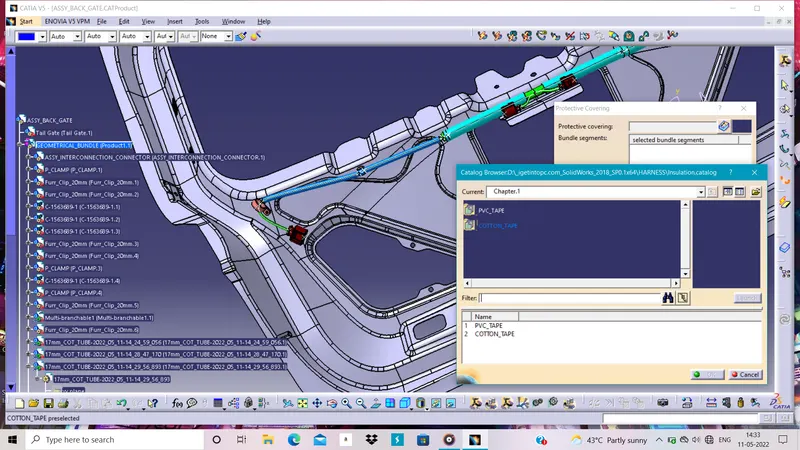
If we think as we need the protect the harness from the temperature so we can also use cotton tape as insulation.
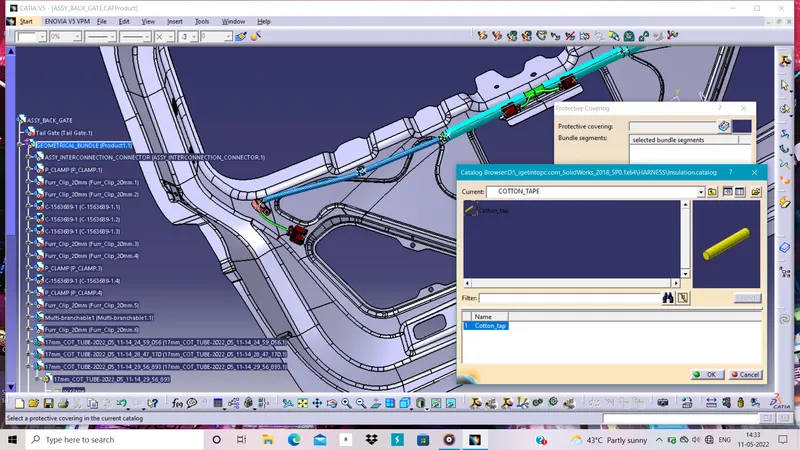
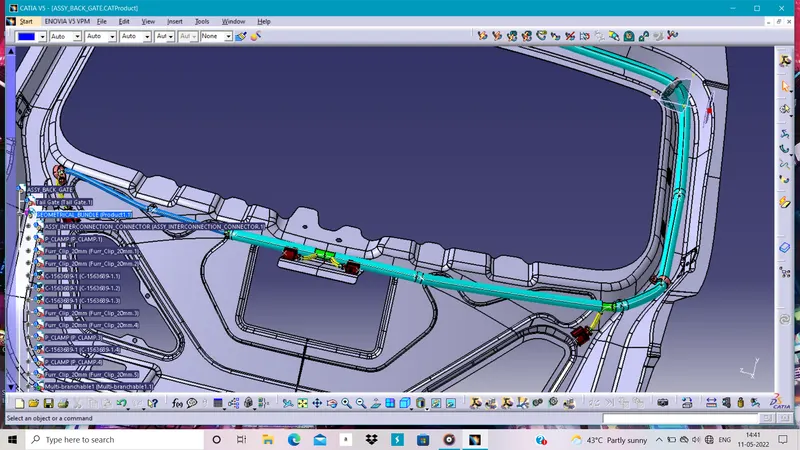
In this way our hole routing is done with protective covering and seeing all safety margin of harness routing.
We have to check the bundle conectivity before flattening the harness.
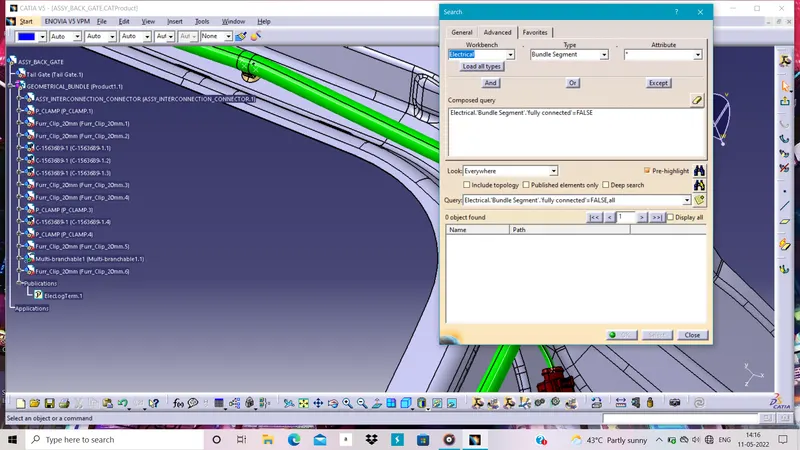
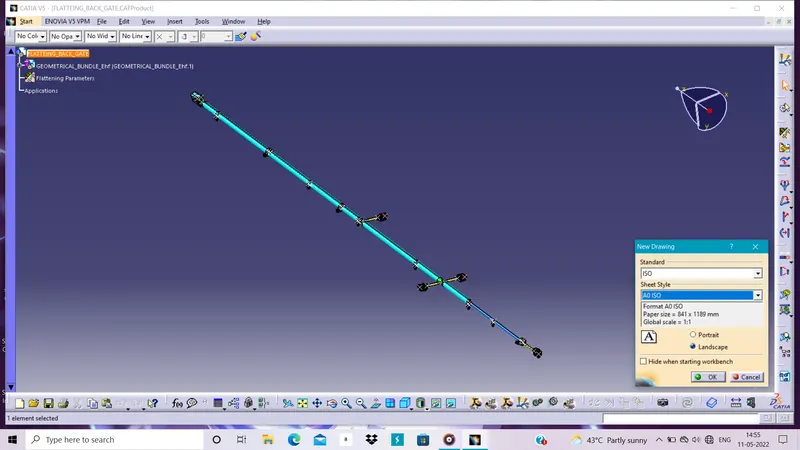
Then we can go for the harness flattening so we have to make new product file and then go to the flattening workbench and define the flattening parameters and extract the geometrical bundle file from the harness routing of back door file.
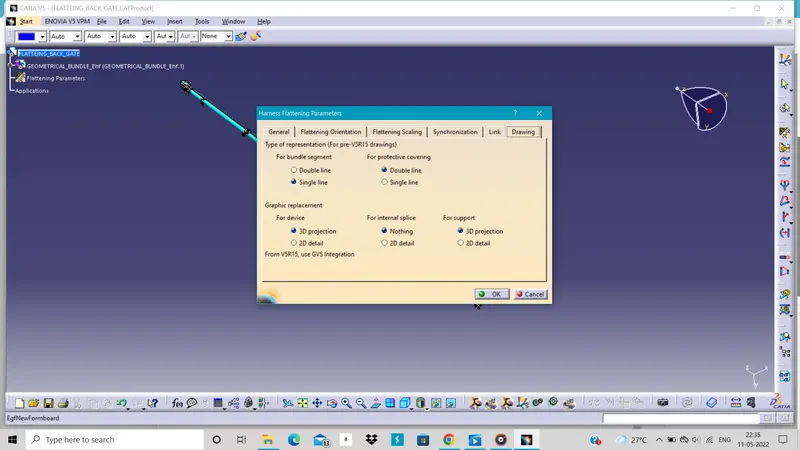
Define the parameters we can go for flattening along the plane or face .
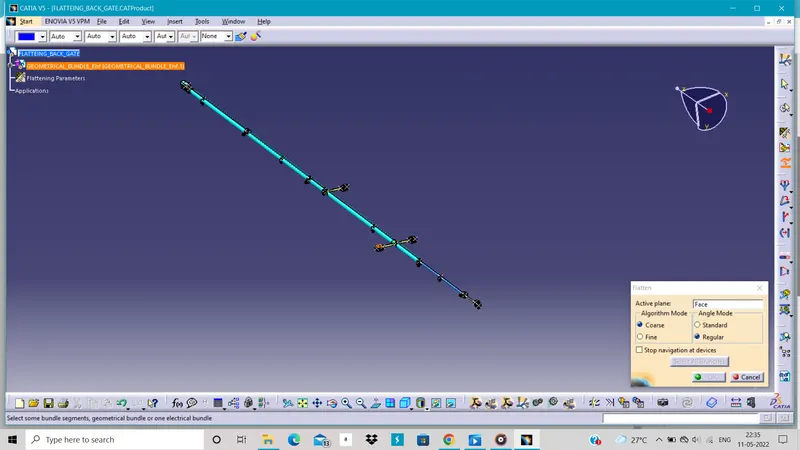
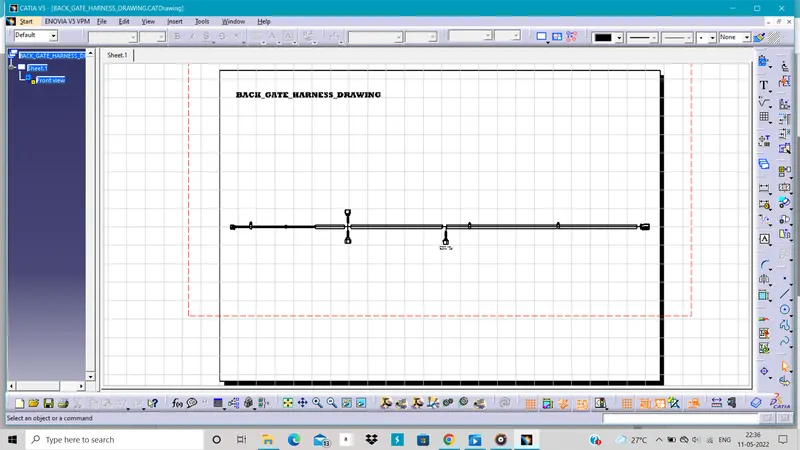
After flattening the harness we can go for its 2d view or drawing of harness on sheet. For that we have to make new drawing file and take the front view and select the flattening file any face or plane so that we can get proper view of it as we need or getting hole view og harness.
we have change some parameters or properties in it.
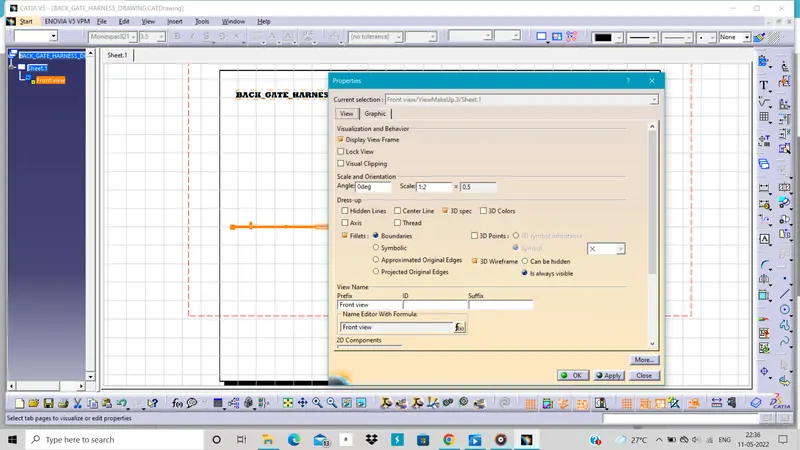 .
.
we also use same colors as we use in 3D view of it by change parameters as follow:-
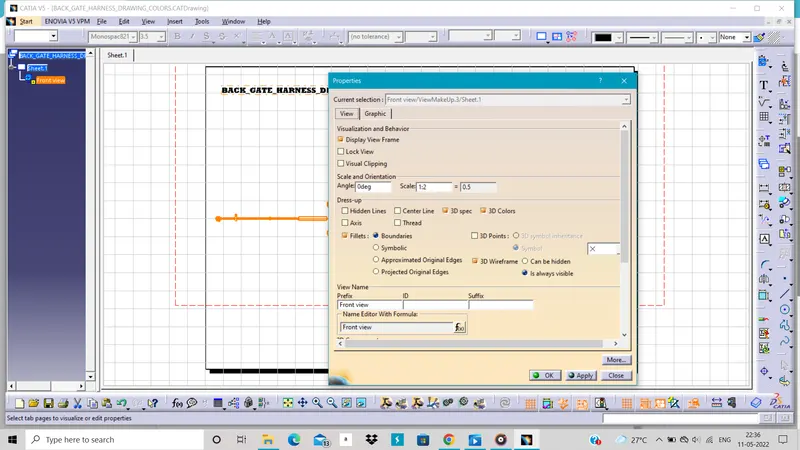
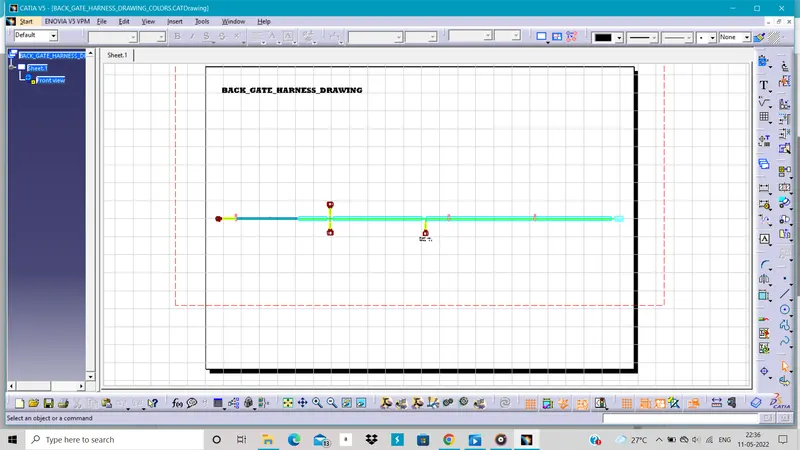
In this our harness routing , flattening and flatten drawing is done for back door.