Meshing and Providing connections for a front suspension Assembly in ANSA
Aim - The aim of this Project is to Mesh an Assembly consisting of different parts via Volume and Mid surface meshing after cleaning their geometry and connecting them with the appropriate connections.
Procedure:
Step 1: Import the model and check for errors like Crack and triple cones and single cones and clear them you can find the errors and clear them using the Check manager and also via Manually. Before checking you can select the whole model and apply a uniform perimeter and macro length of 1mm so that we can see the Model clearly.
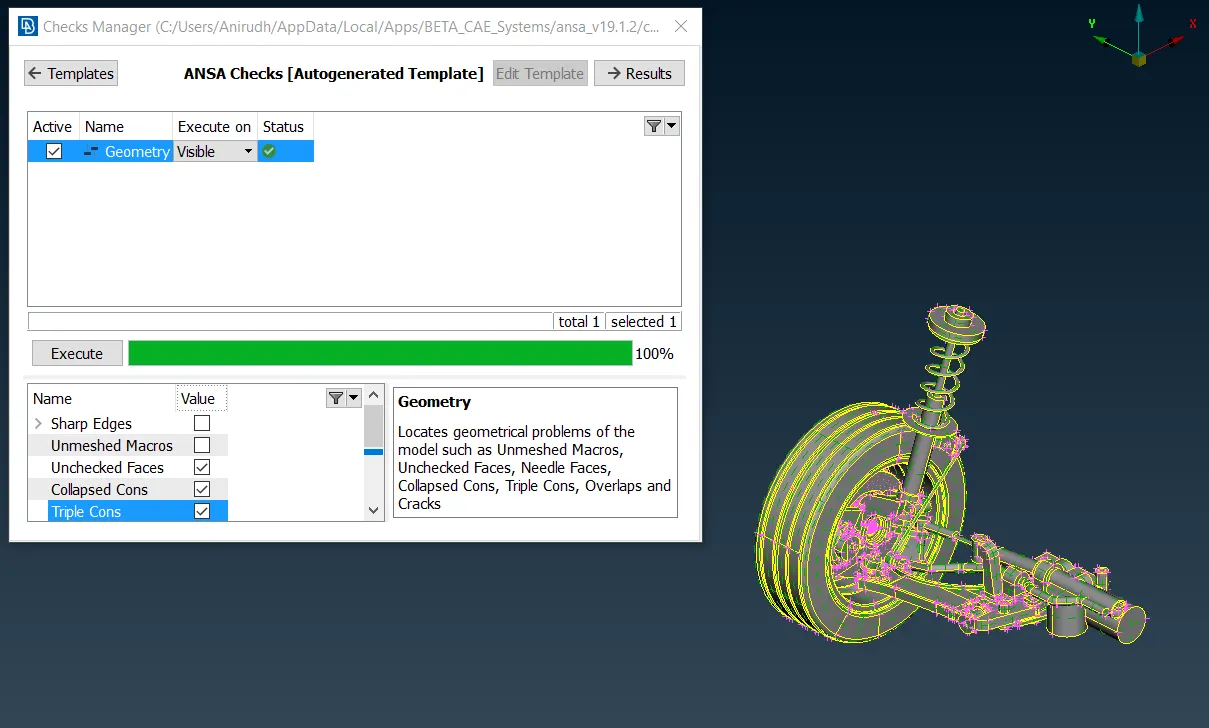
Step 2: Once the Geometry has been cleared we can look into each individual component and choose the components that need a volume mesh and components that need a Mid surface mesh. Parts with thickness less than 6mm are meshed by extracting a mid surface and other parts with thickness more than 6mm have meshed via tetra mesh.
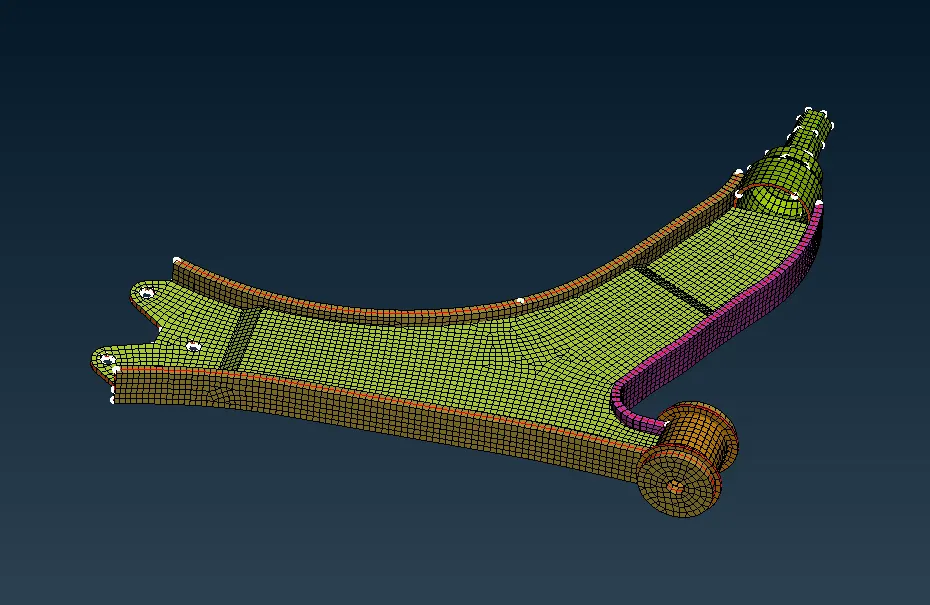
Step 3: The below part is a varying thickness part but the maximum thickness is less than 6mm and so the mid surface has been extracted and the part is meshed according to the Quality criteria. And each of its walls is given different Pid having their respective thickness. You can see how the part looks after the shell as solid has been applied.
Step 4: Most of the parts have Meshed via tetra mesh as their thickness is more than 6mm. The Ortho trias has been used in curve region and normal trias in flat regions. Once the mesh is applied to the surface of the part the volume is generated and made sure that the Tetra collapse is less than 0.2 for the respective parts.
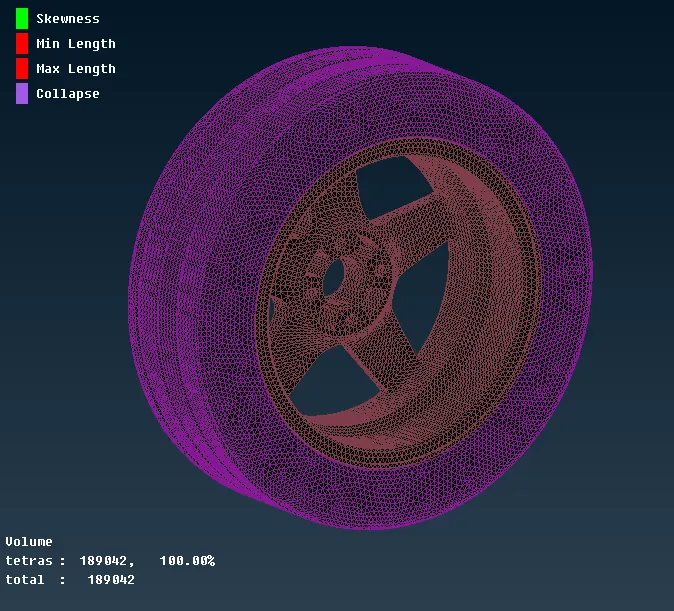
But in some regions to capture the geometry we can neglect the collapse in tetra elements.
Step 5: The Spring is Modelled as a CBAR element as it is an easier way to represent the Spring or we should mesh them in Hexa mesh which will be complex and will increase the computational time. Once the CBAR element is created we can provide the dia of the spring so that the element may accurately represent the spring.
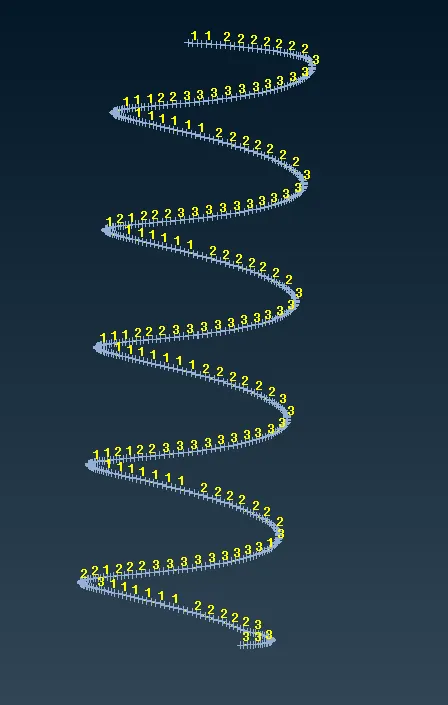
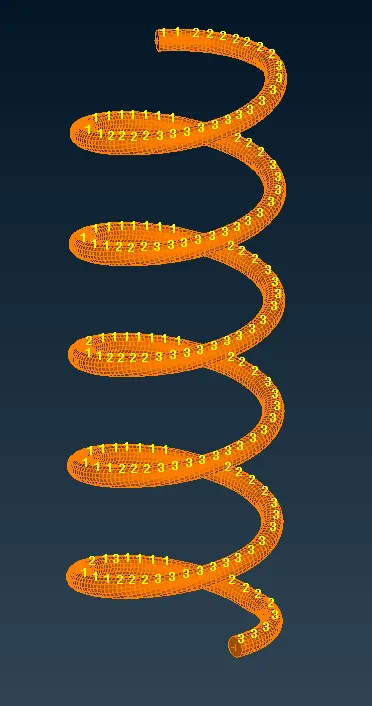
Step 6: Once all the parts are meshed and are separated to individual PID's we can start providing the connections. As it is a suspension assembly most of the parts are bolted while some parts are welded.
Step 7: The bolted parts are connected using a combination of Multi-node RBE2 and a Two node RBE2.
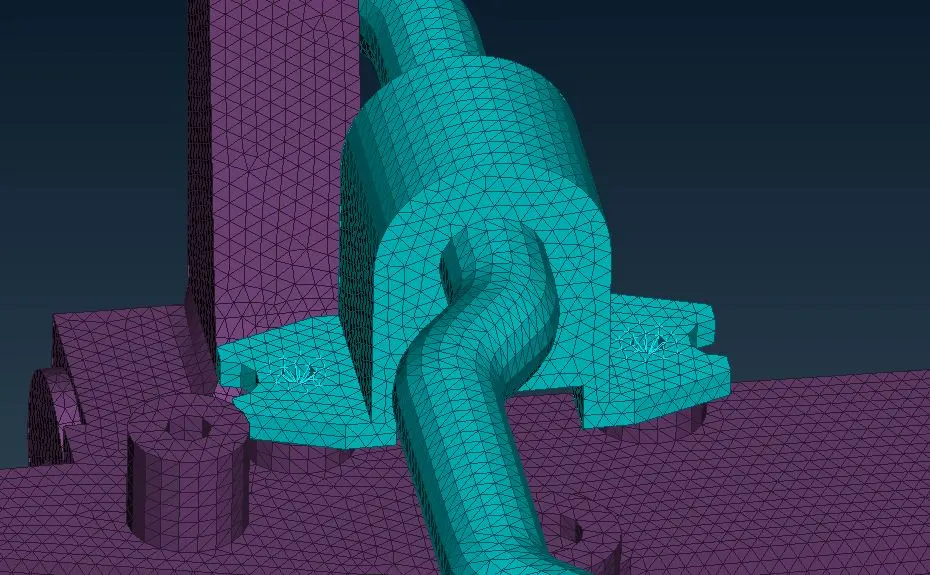
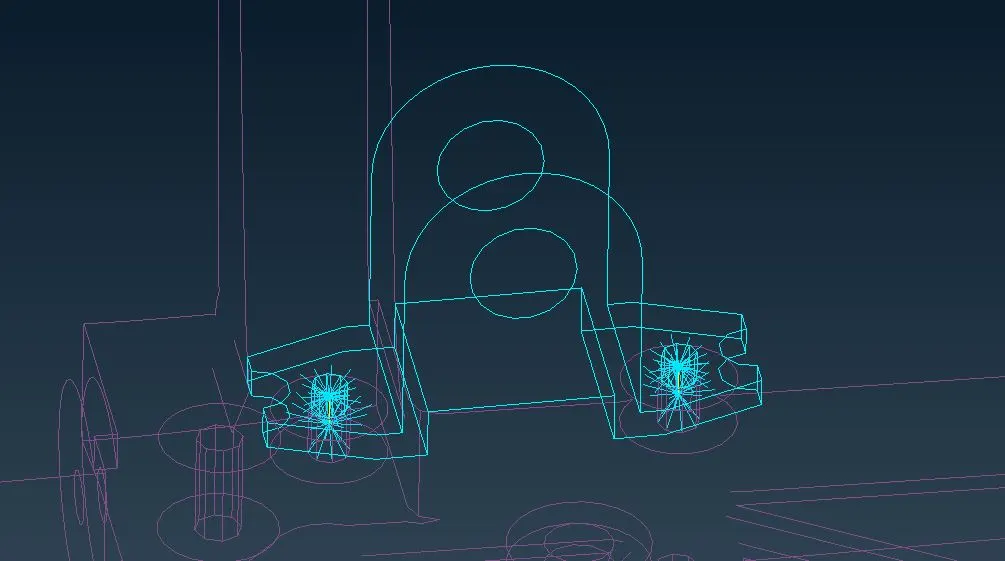
You can see from the above images that the two holes are separately constrained using a Multi-node RBE2 and those connections are connected using a Two node Rbe2. All the areas that will be bolted are represented in this manner.
Step 8: The Below sheet metal part is connected to the rod using a weld and since the surfaces are parallel an Overlap shell weld is formed there.
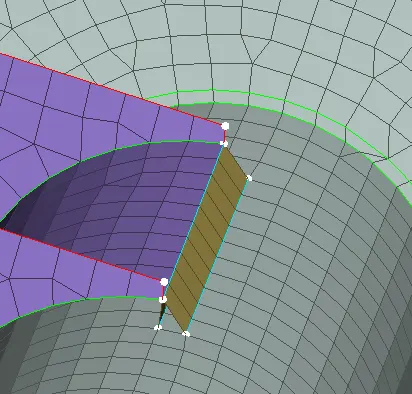
Step 9:The Suspension spring is set there and is connected to the base using a Multi-Node RBE2 as you can see in the below image.
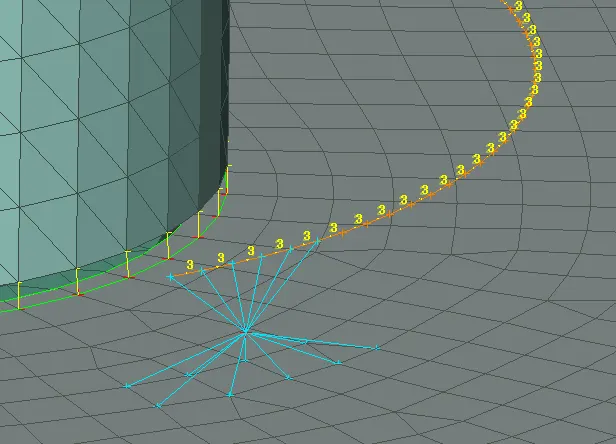
And in some places were a rigid connection is needed we can provide a Two node RBE2 as shown in the above images. Hence we will have to follow the above steps to completely constrain the Assembly.
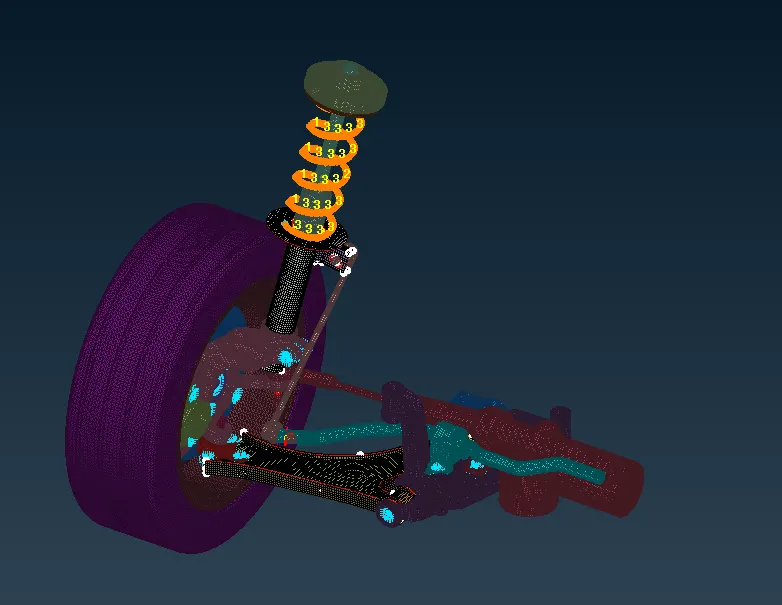
Here is an image of the completely meshed and constrained Assembly.
Learning Outcomes:
- Midsurface meshing of varying thickness parts.
- Solid Tetra meshing and clearing the collapse for the given part.
- Representing the spring element as a 1-D element using CBAR.
- Connecting varying sections using Bolt and Welding connections.
- How to give a connection between a Volume mesh and a Mid surface mesh.
Conclusion: The Whole assembly has been meshed as per the given Meshing quality criteria using ANSA and the connections have been provided to each of the parts. In some areas, the connection is given based on assumptions if the Connection data was provided we could have provided a more accurate connection.
Google Drive Link of the Model: https://drive.google.com/file/d/1KmNfQ2CHNdIO-vWlPFsy4-cwWM9g2NbI/view?usp=sharing