Project 2
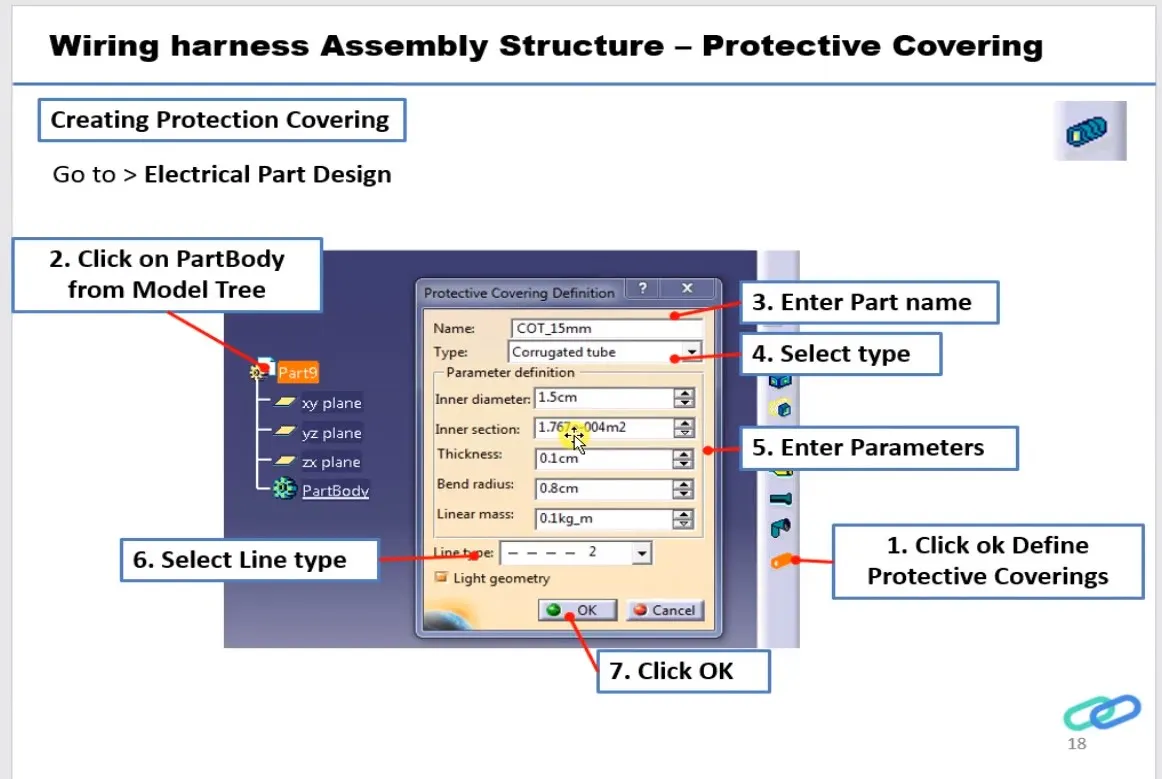
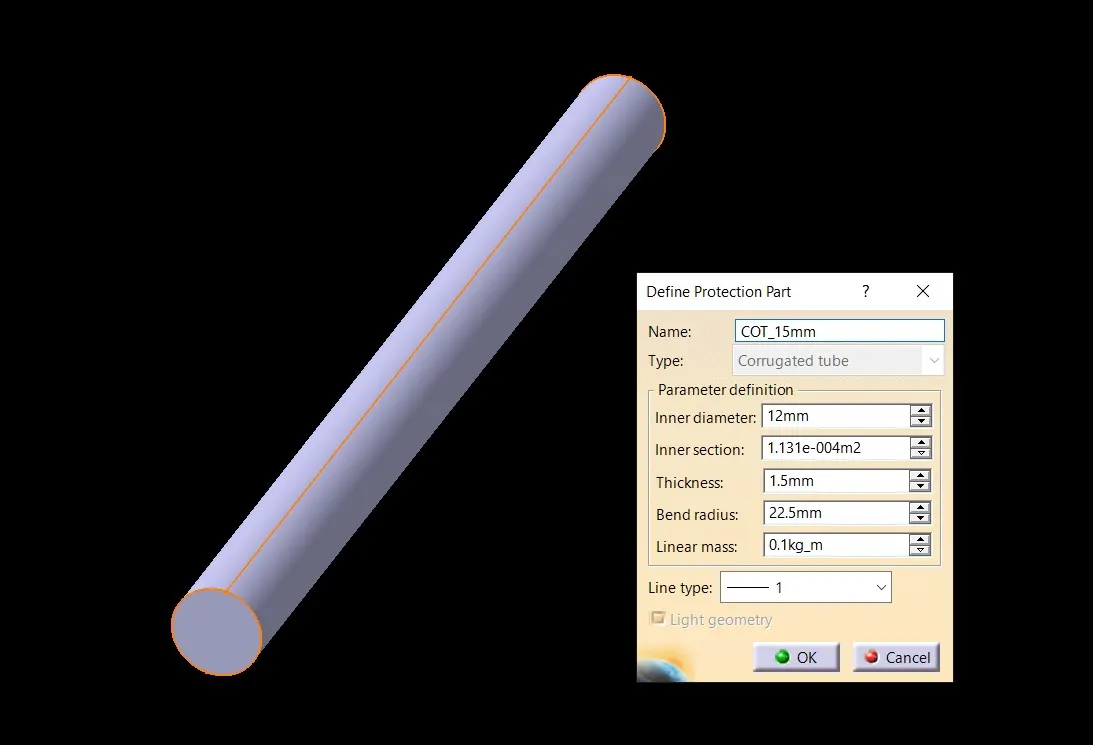
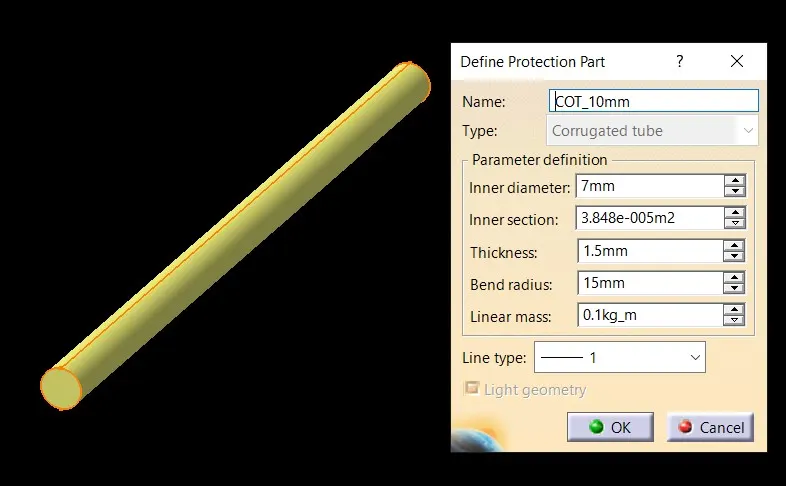
AIM:-Route the Wiring harness on given backdoor of car and Prepare flatten view drawing in CATIA V5. Apply Protection coverings as required.
DESIGN METHODOLOGY
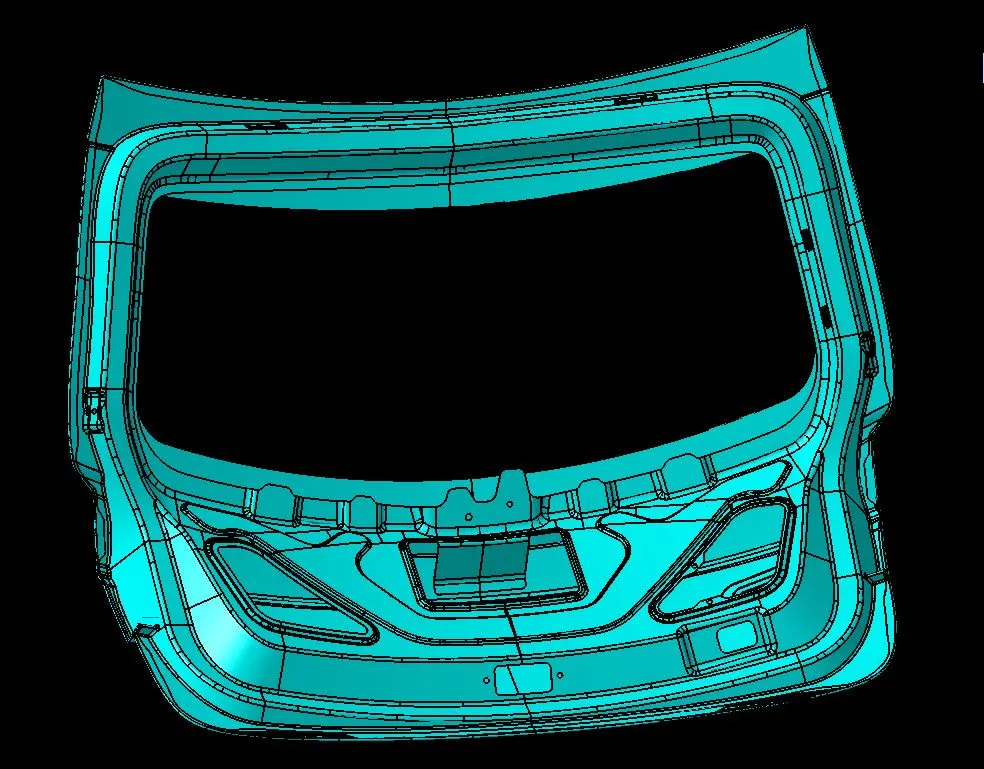
Step 1- download the given backdoor of car CAD data
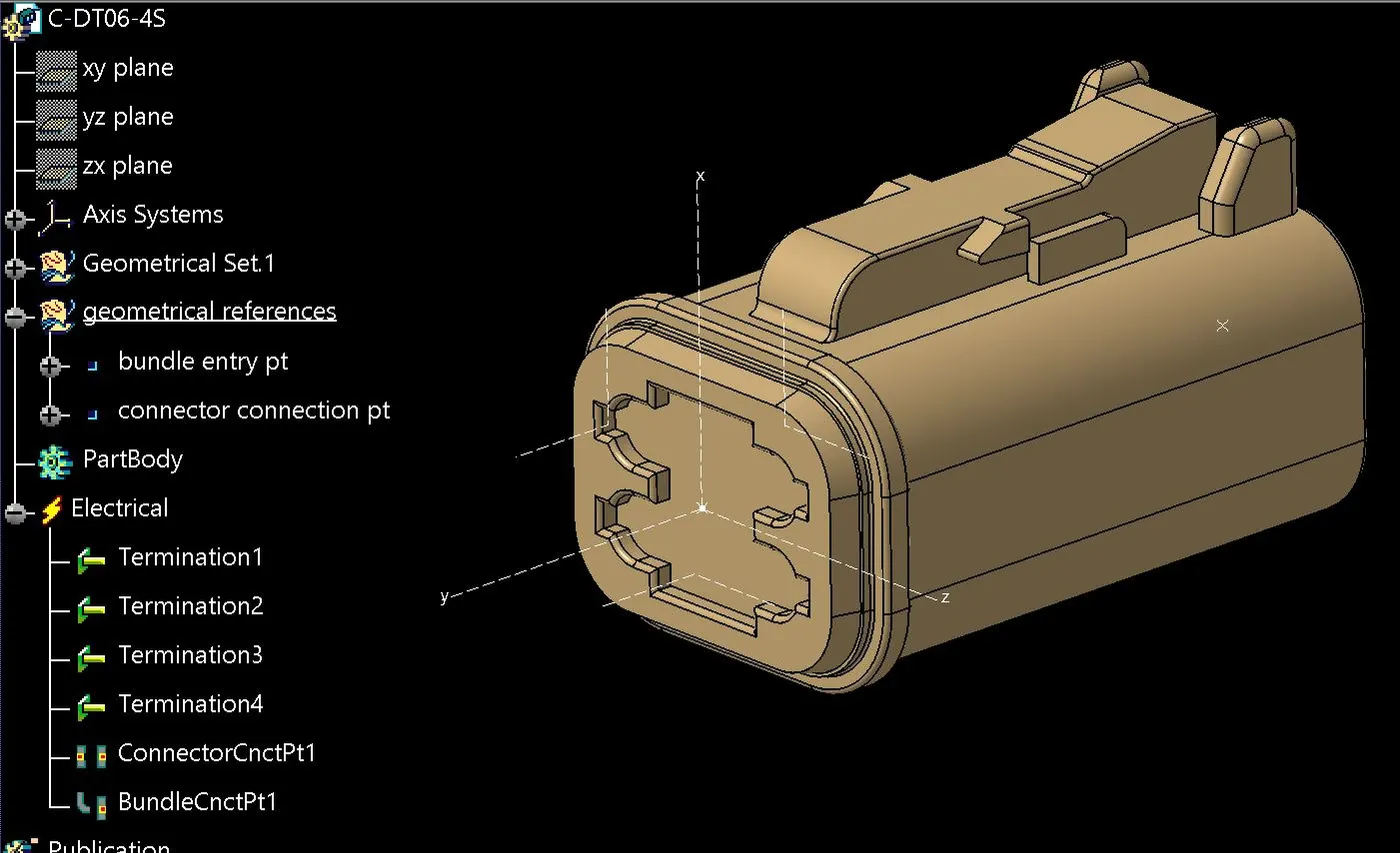
Step 2- download required connectors CAD data from the given source.convert the mechanical connectors electrically by using the electrical part design work bench by following below steps.
- First download the connectors and mounting clip from the given link source.
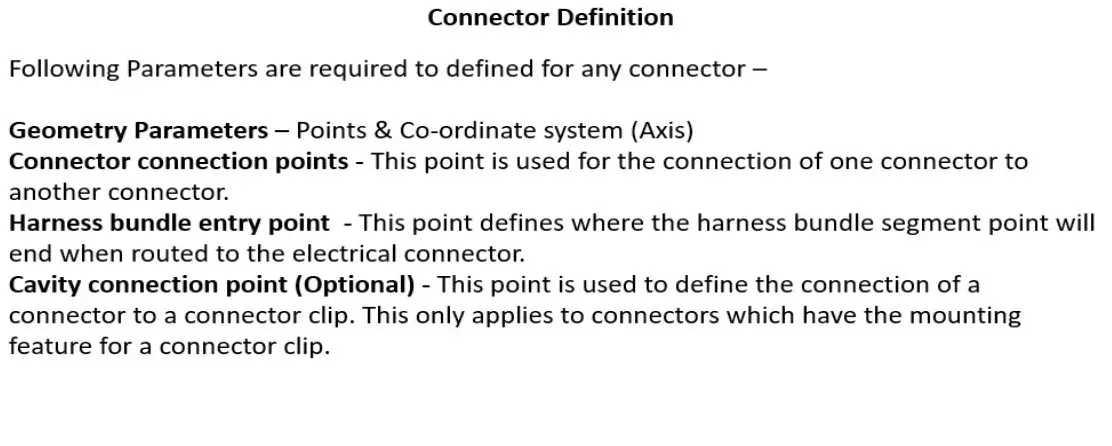
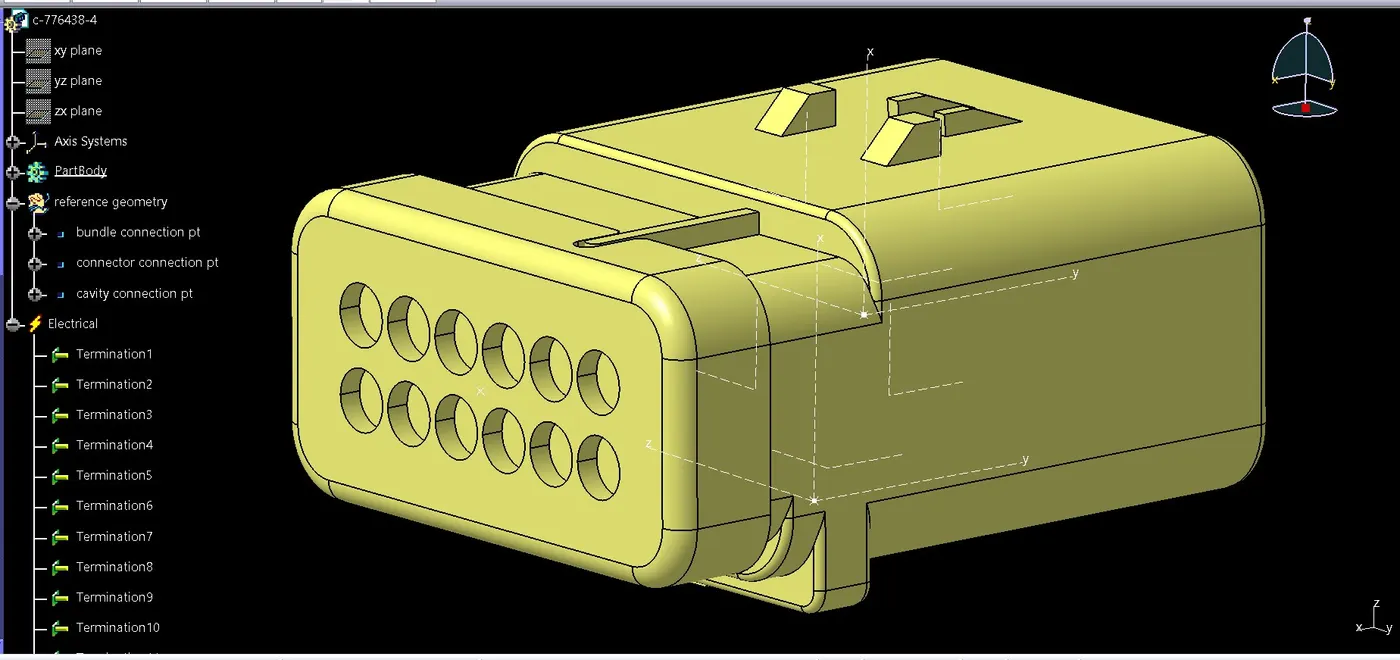
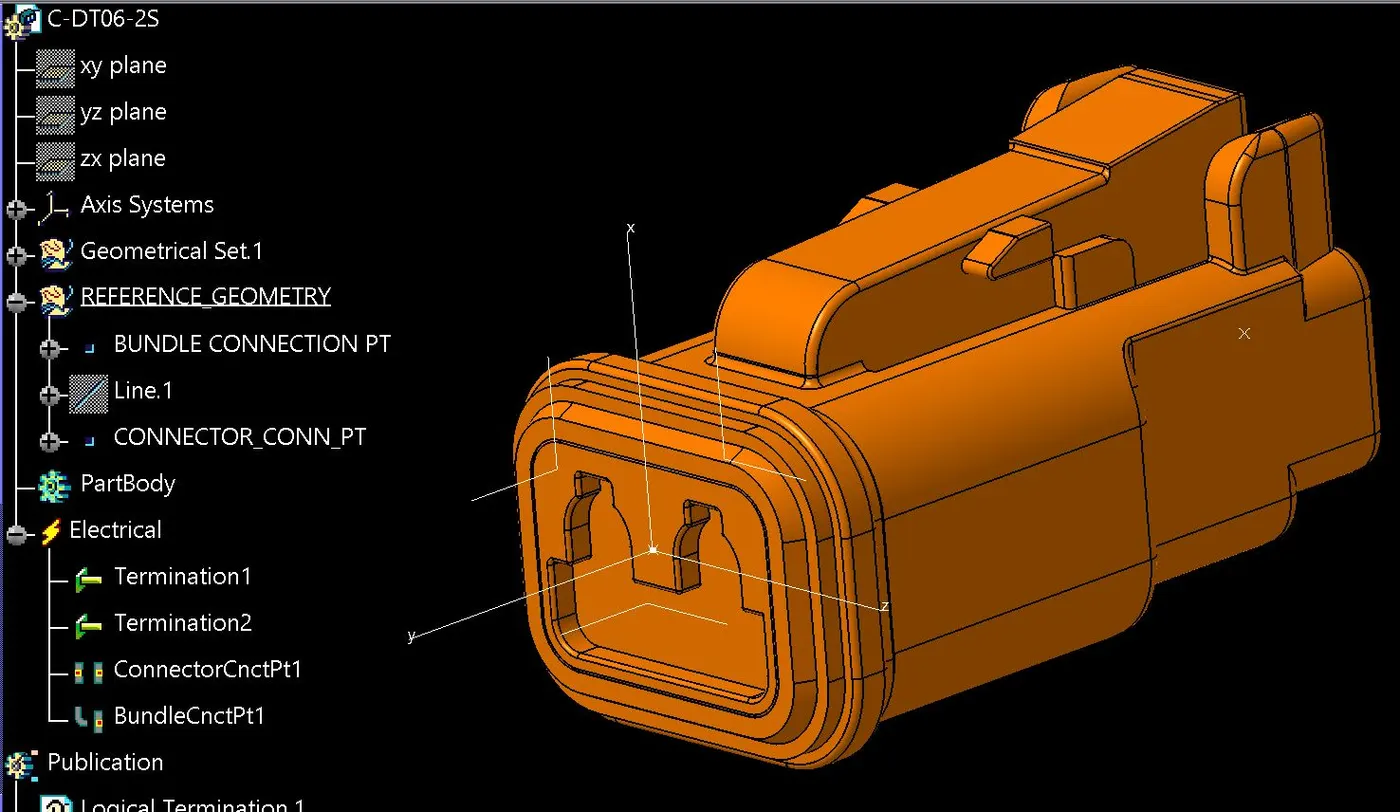
- Get into the mechanical part workbench to create required geometrical parameters. Create connector connection point and bundle connection point on the required sides of the CAD part.
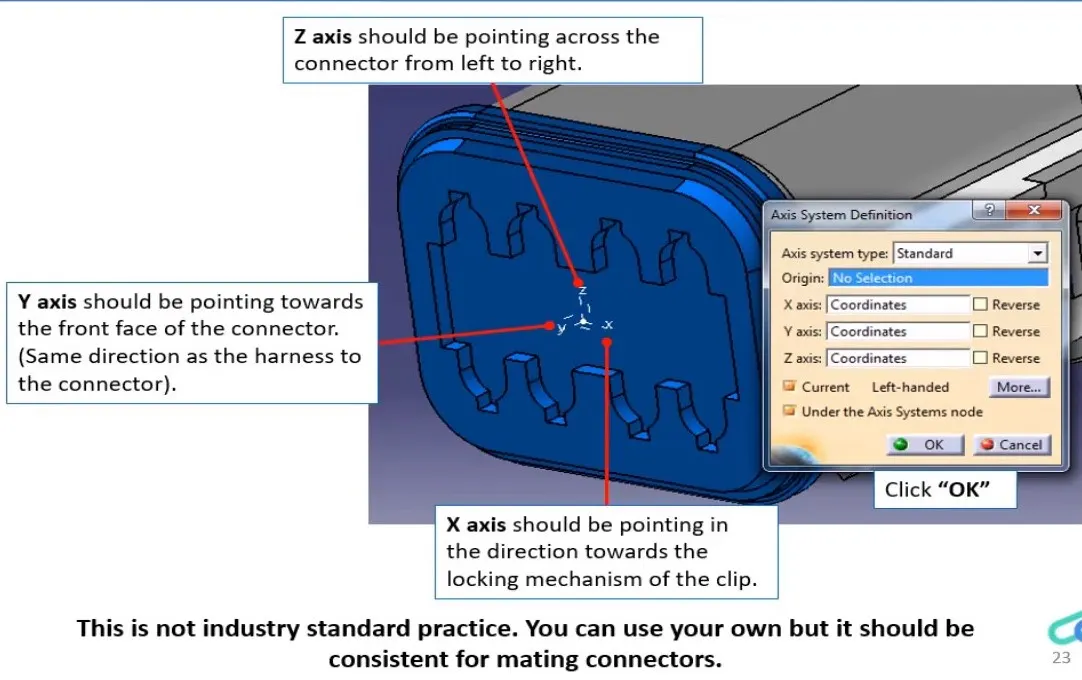
- Create axis system on the connector connection point such a way that the Y coordinate facing normal to the connector face, X coordinate facing towards the locking mechanism and Z coordinate facing to the top.
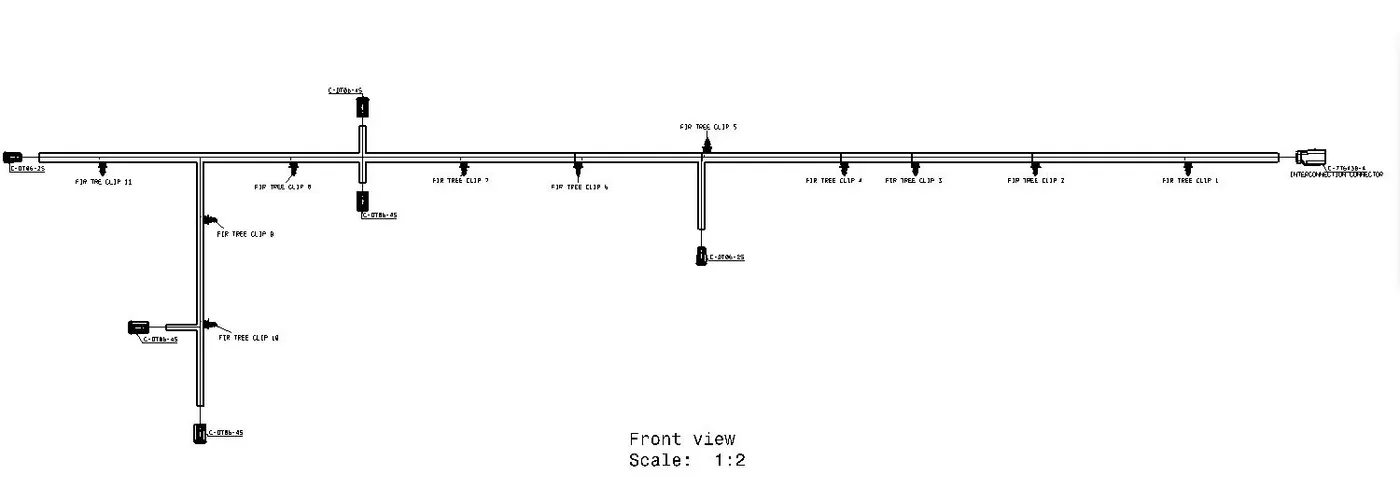
C-776438-4(INTERCONNECTION CONNECTOR)
C-DT06-2S
C-DT06-4S
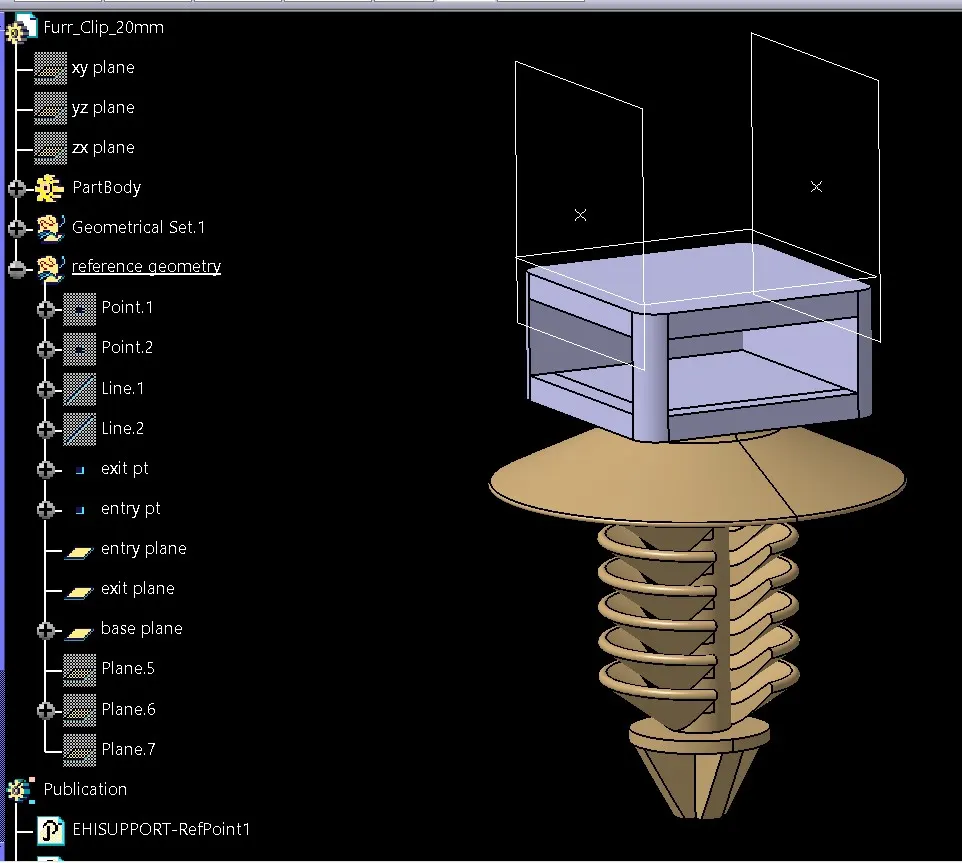
define fir tree clip as electrical part
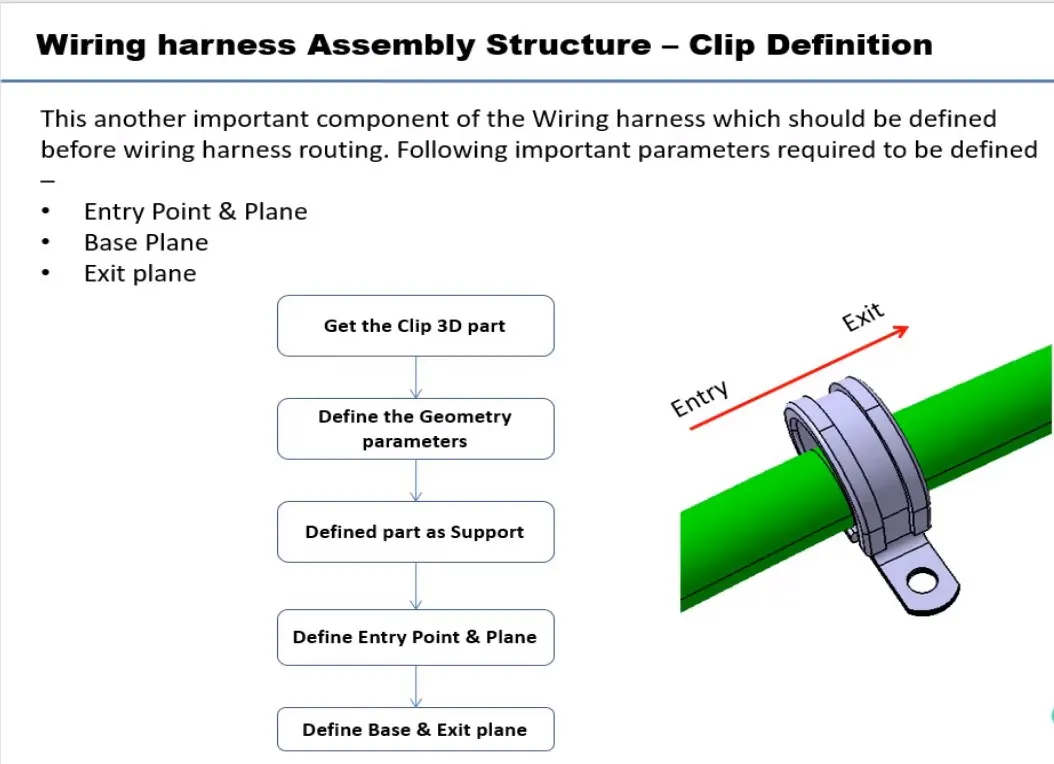
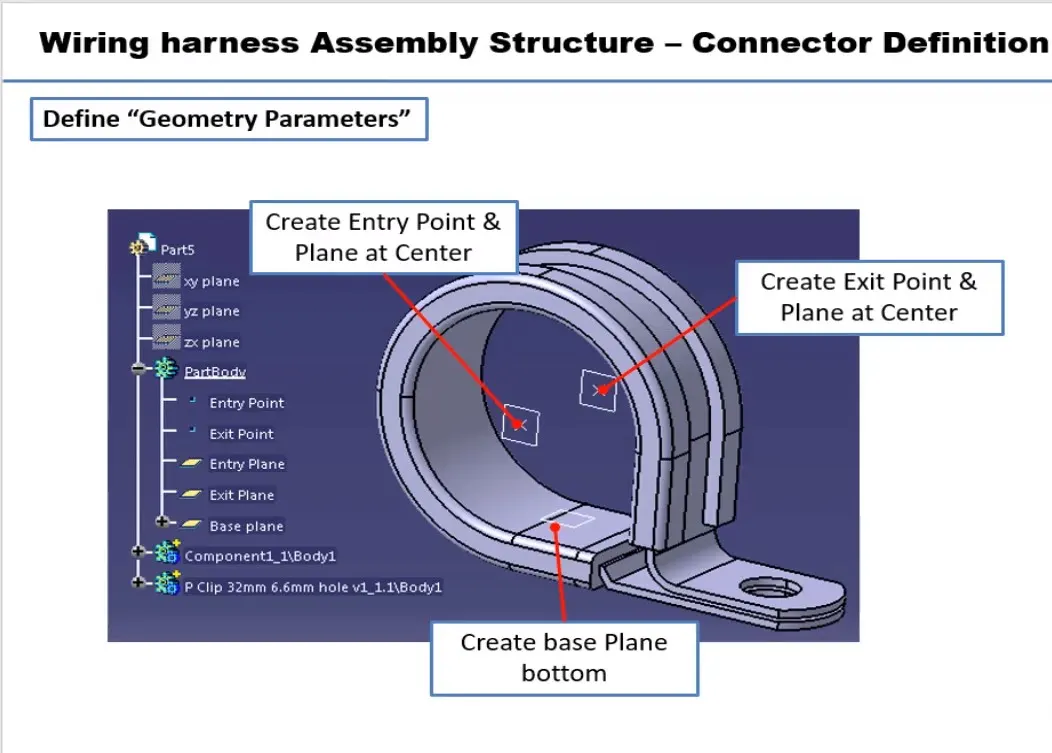
FIR TREE CLIP
STEP-3
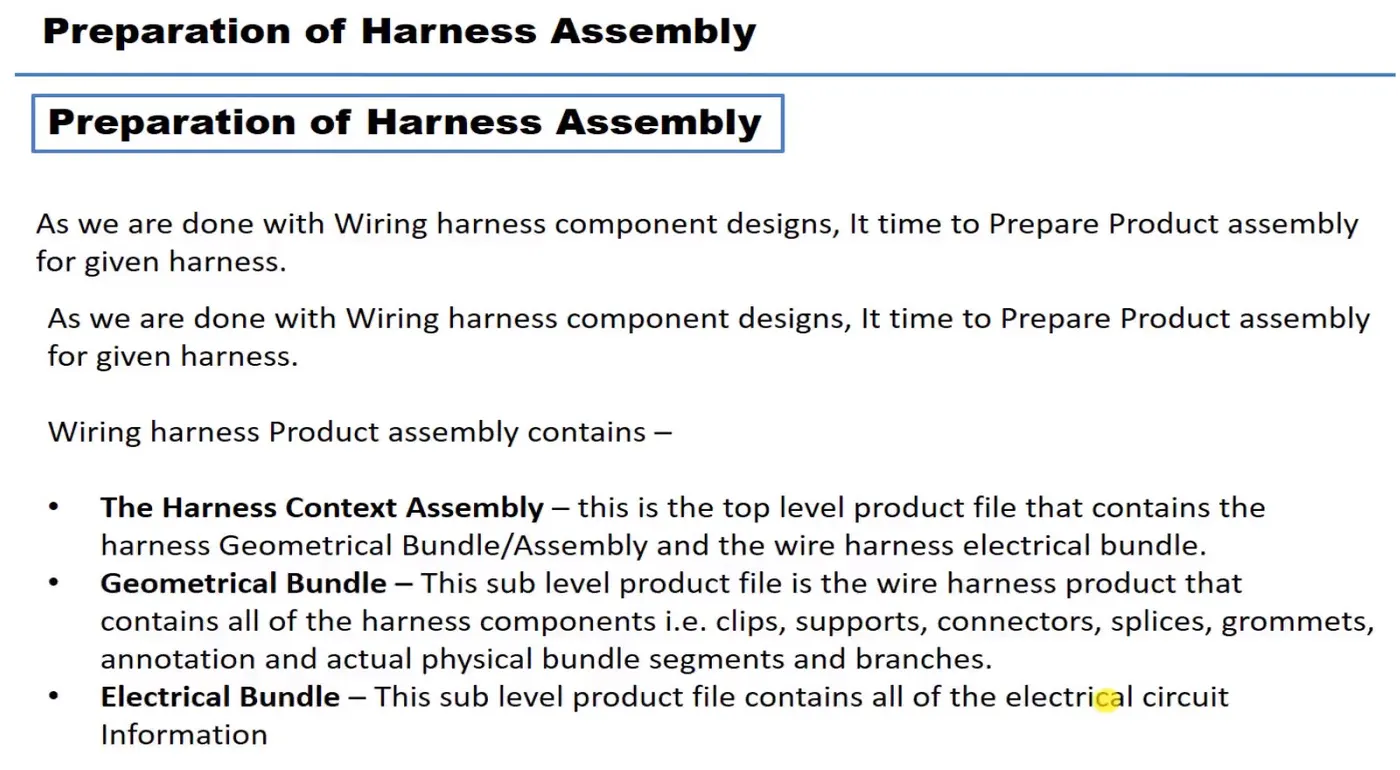
Creating the context assembly
Create a product file as BACKDOOR_WH_CONTEXT_ASSY in which insert the given backdoor CAD data
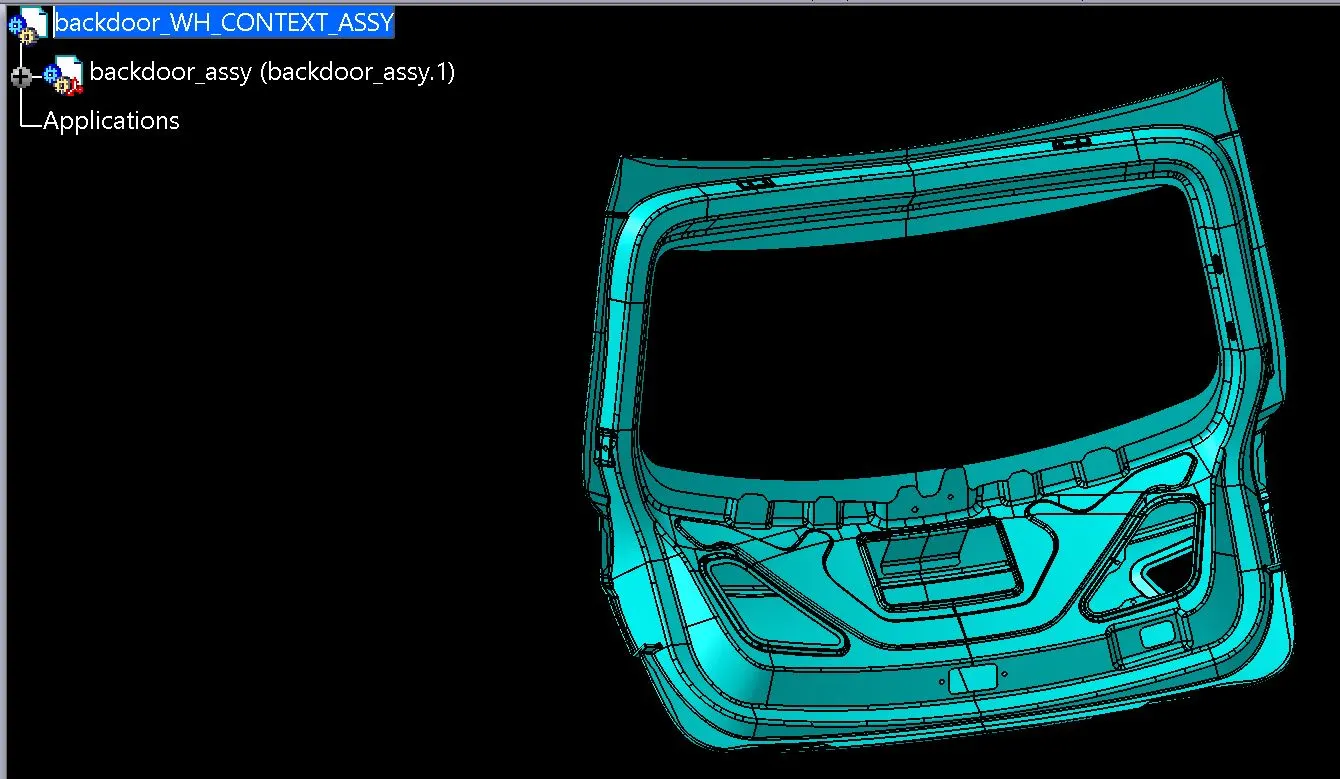
Creating geometrical bundle assembly
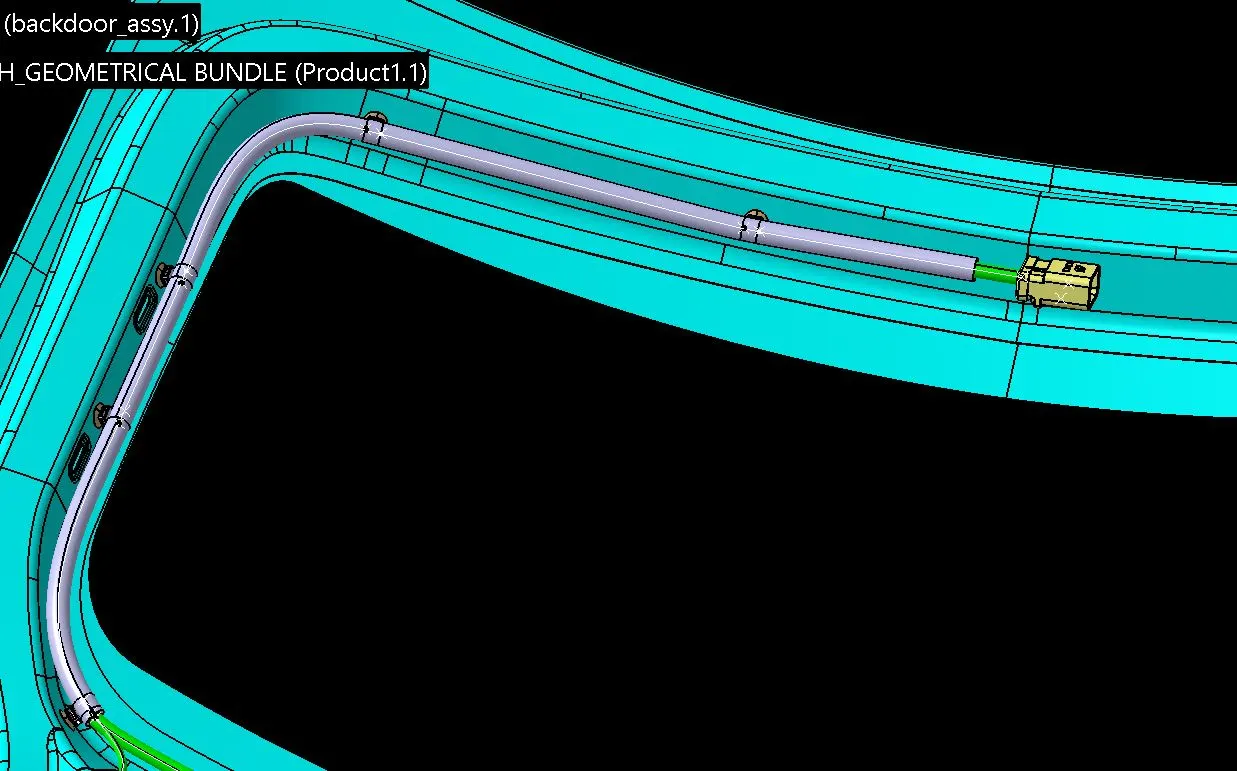
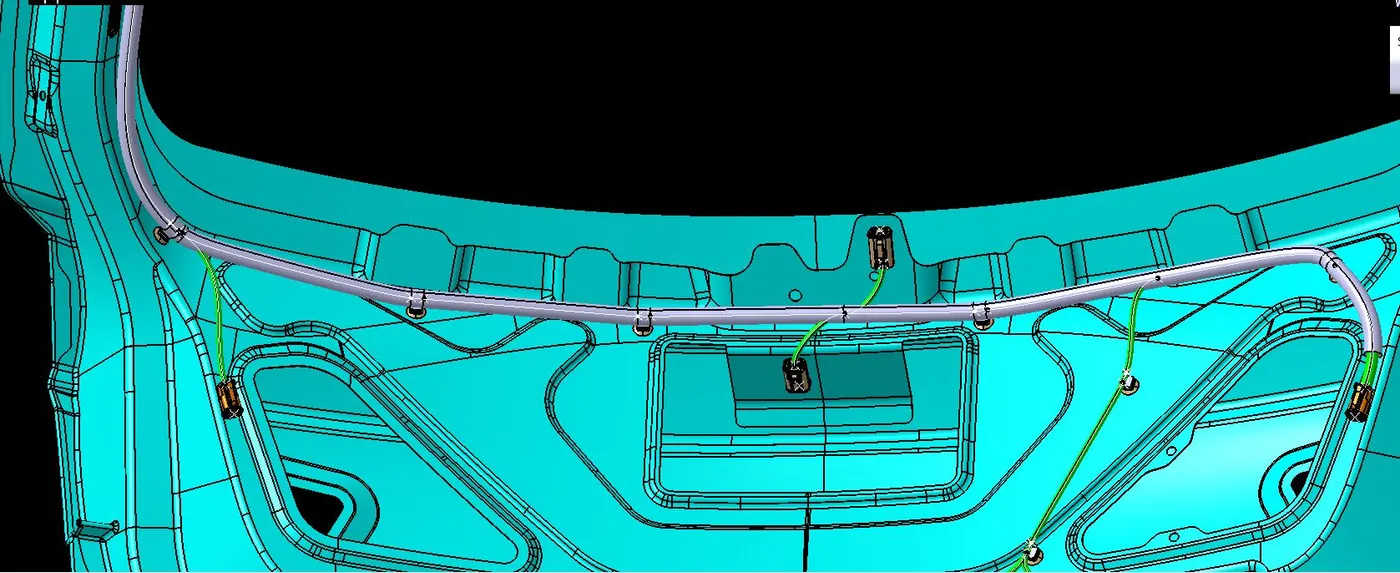
Create another product file inside context assembly as 'Backdoor_wh_Geometric Bundle' where all the connectors and clips are added to it and the final routing is a part of this product file
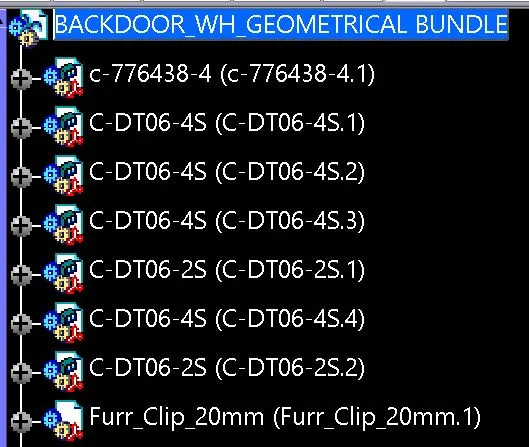
STEP-5 Positioning of connectors and clips on their desire location
In this backdoor we need to place the connectors for various purposes like:
Interconnection Connector (1)
Brake Light Connectors (2)
Number plate light Connectors (1)
Wiper Motor Connector (1)
Door Lock connector (1)
Rear camera connector (1)
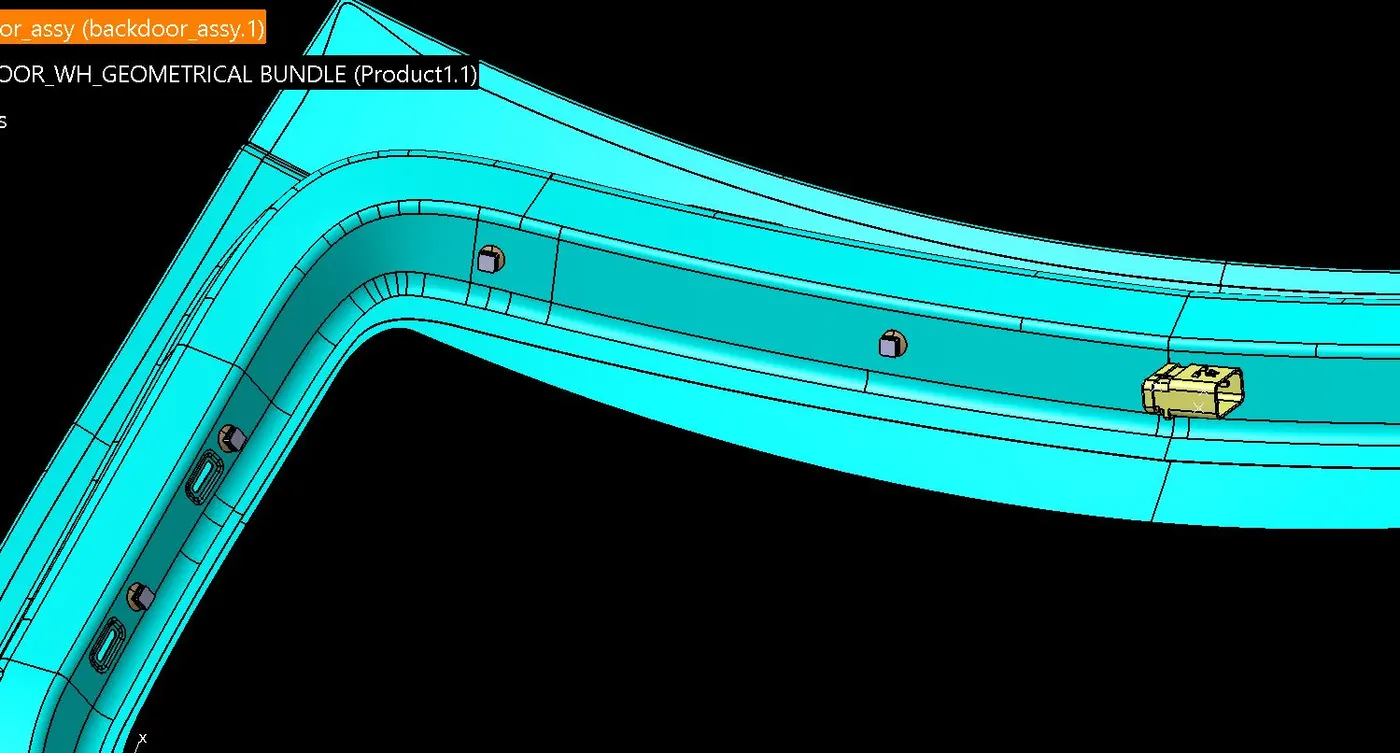
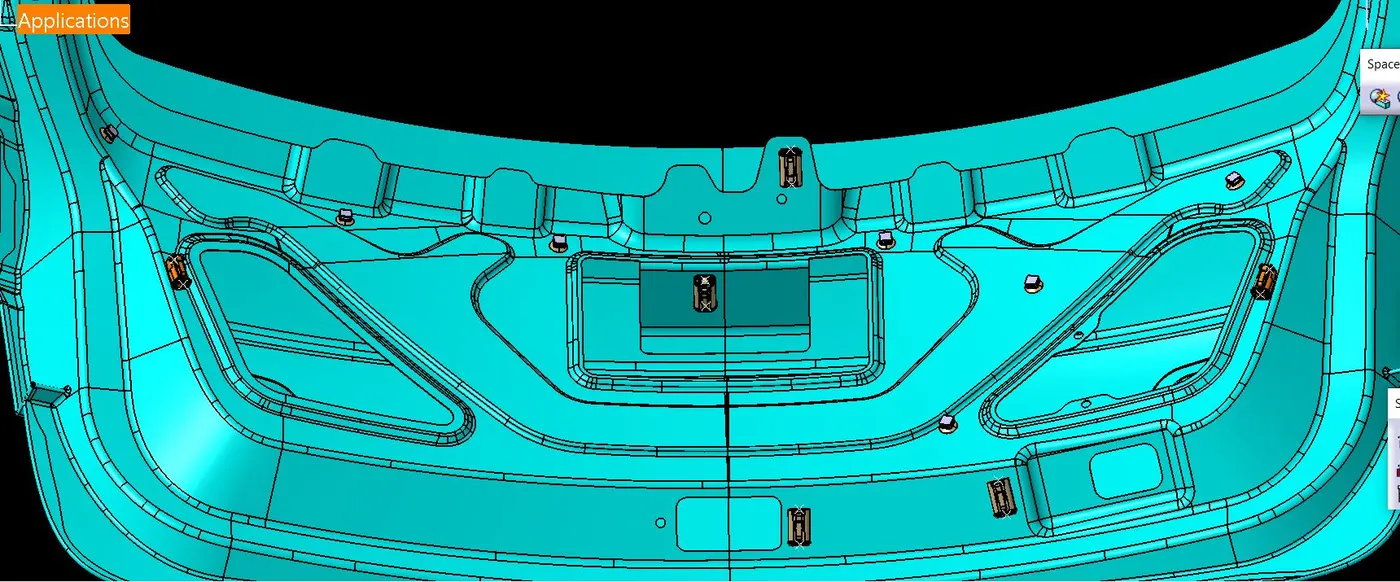
While placing the Fir tree we must keep in mind that the fir tree cannot be placed in the sealing flange of the backdoor as it will create sealing issues during assembly process and also the wire routing will not be proper
SOME IMPORTANT PACKAGING RULES TO BE CONSIDERED DURING WIRE HARNESS ROUTING AND PLACING OF THE CLIPS AND CLAMPS:
- P - Clamps, Fir tree clips and other clips can be added to the Geometric bundle as they are electrically defined and are part of the Wire harness routing and should be provided with the Wire bundle package.
- The minimum bundle length should be 50mm.
- Enough slack should be provided so that the wiring harness does not get damaged during the Engine rocking or starting condition.
- The wire harness routing should be done in such a way that it is easy in manufacturing and serviceability.
- The wire routing should be done keeping in mind the cost effectiveness of the bundle package.
- Avoid the harness routing and clipping in blind zones of the operator during the assembly and the service.
- Additional slack should be given according to the surrounding and harness bending requirements.
- Avoid giving excess slack and avoid giving slacks wherever not necessary.
- Provide proper slack at end connectors so that there will be no tension on the wire bundle.
- Avoid sharp edges on the sheet metal parts and if it is not possible then provide protection parts to prevent damage of the wire bundle.
- The minimum distance between two straight connection points should be 200mm.
- The minimum distance between clip and the nearest branching point should be 25mm.
- The minimum distance between two breakout points should be 50mm.
- Limit the number of branches from a single branch point to 4.
- provide separate branch points for separate connectors to ensure Poka-Yoke.
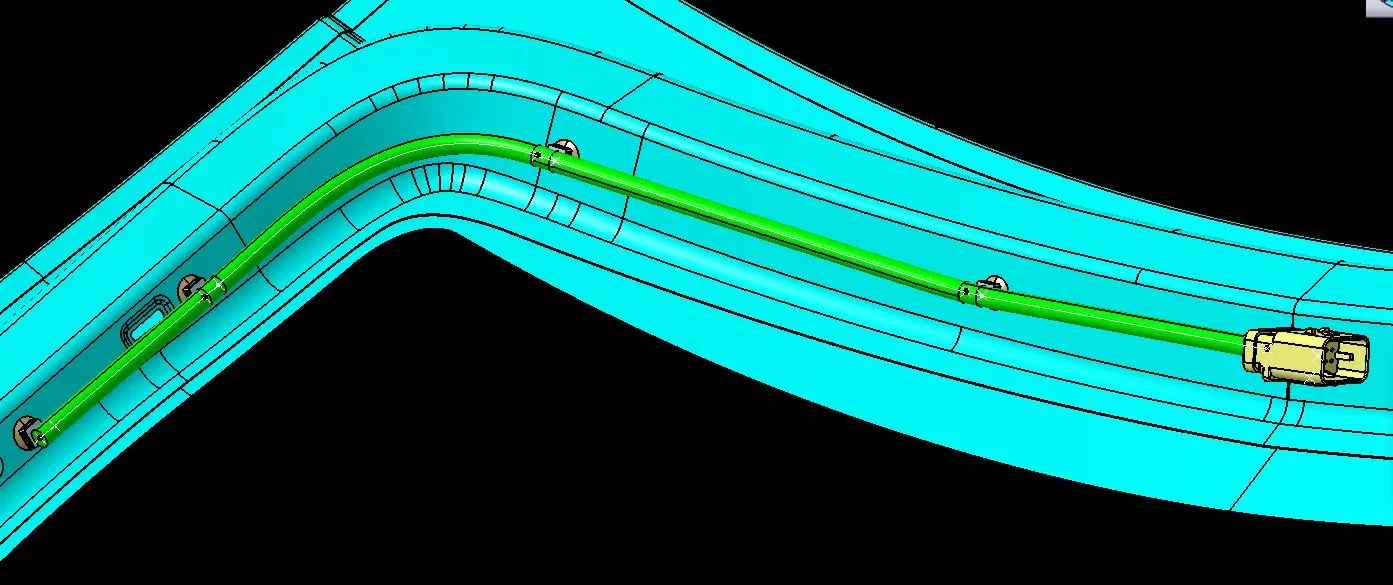
Keeping all the above packaging rules we can start the routing of the wire and provide clipping and clamping wherever necessary during the routing process.
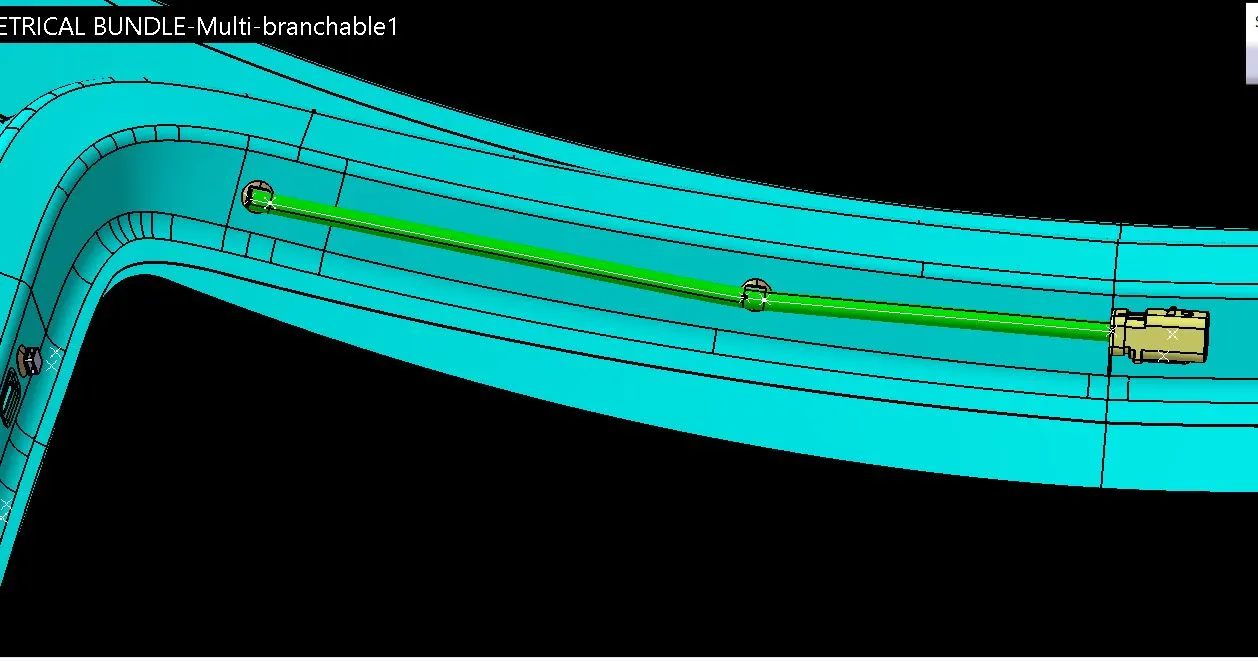
STEP-6 first we need to switch into the electrical harness assembly workbench and Geometrical bundle product file should be electrically defined using the Define Geometrical bundle option
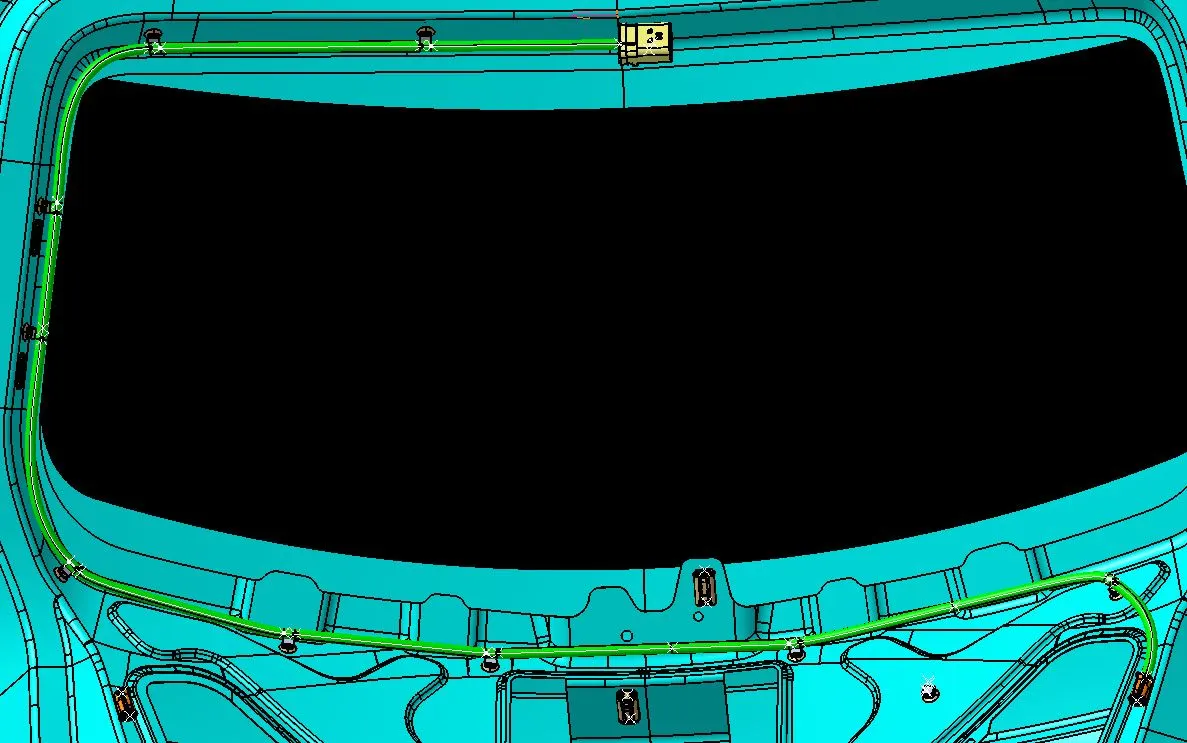
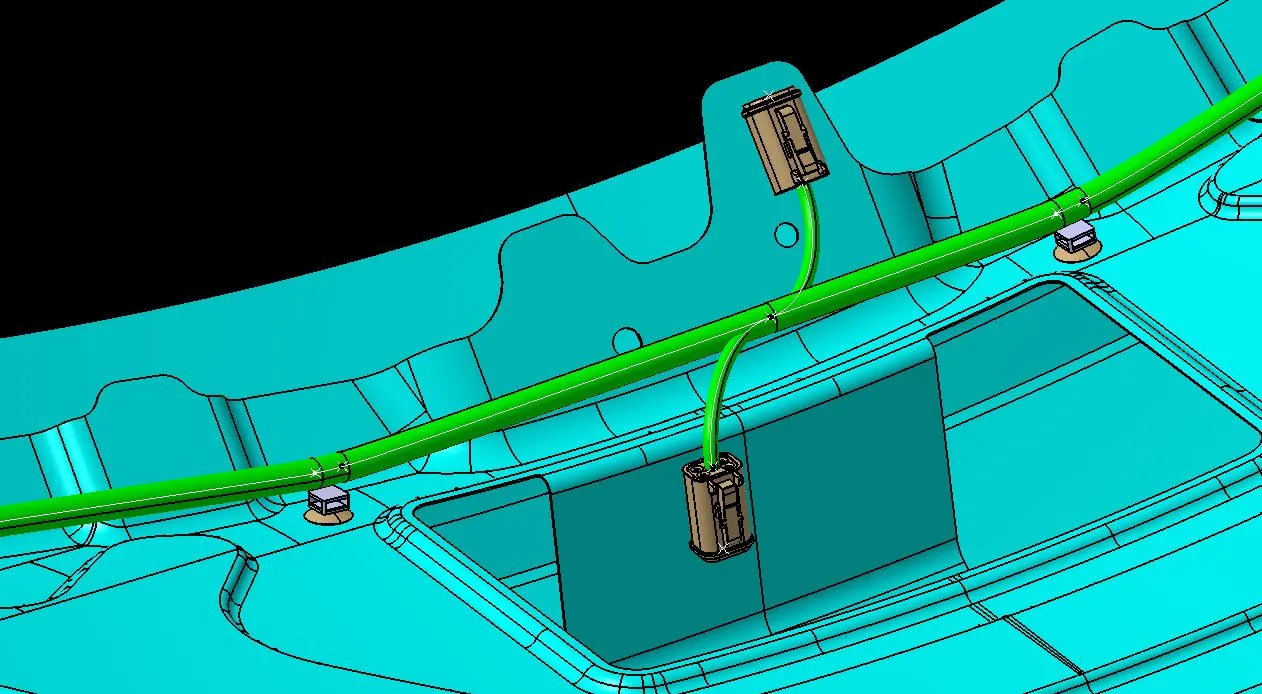
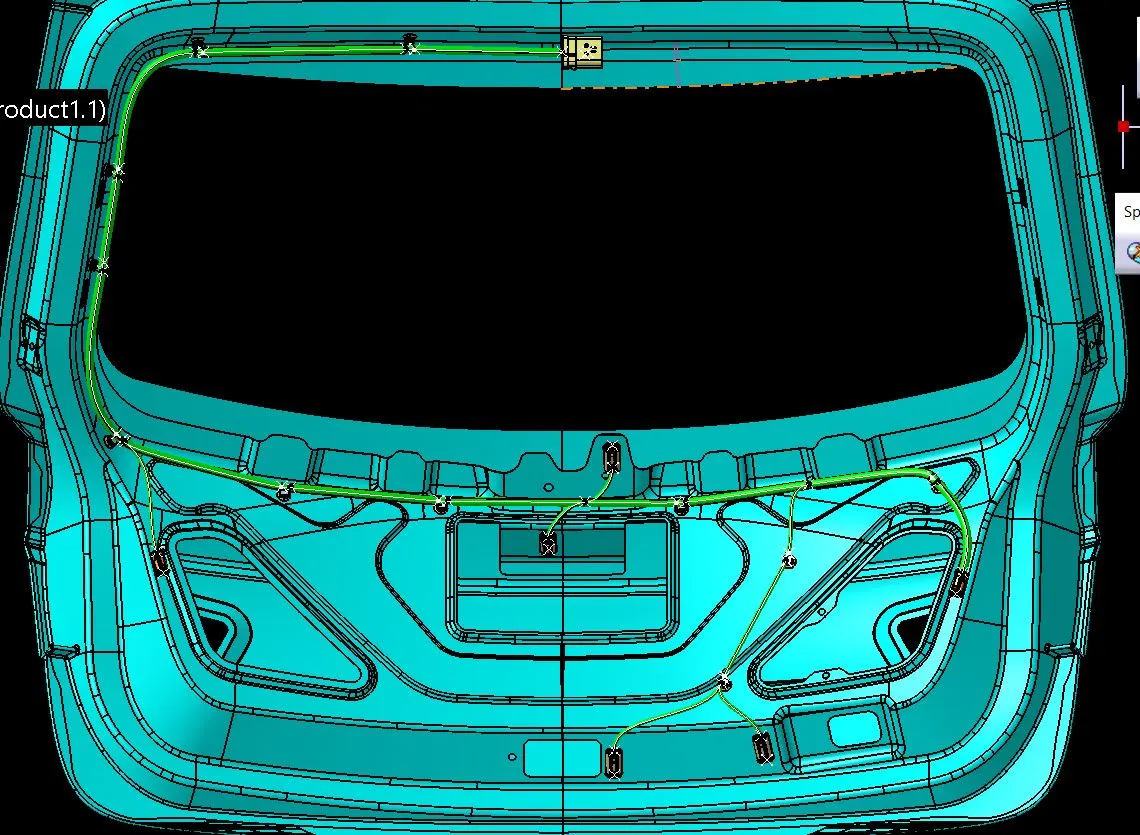
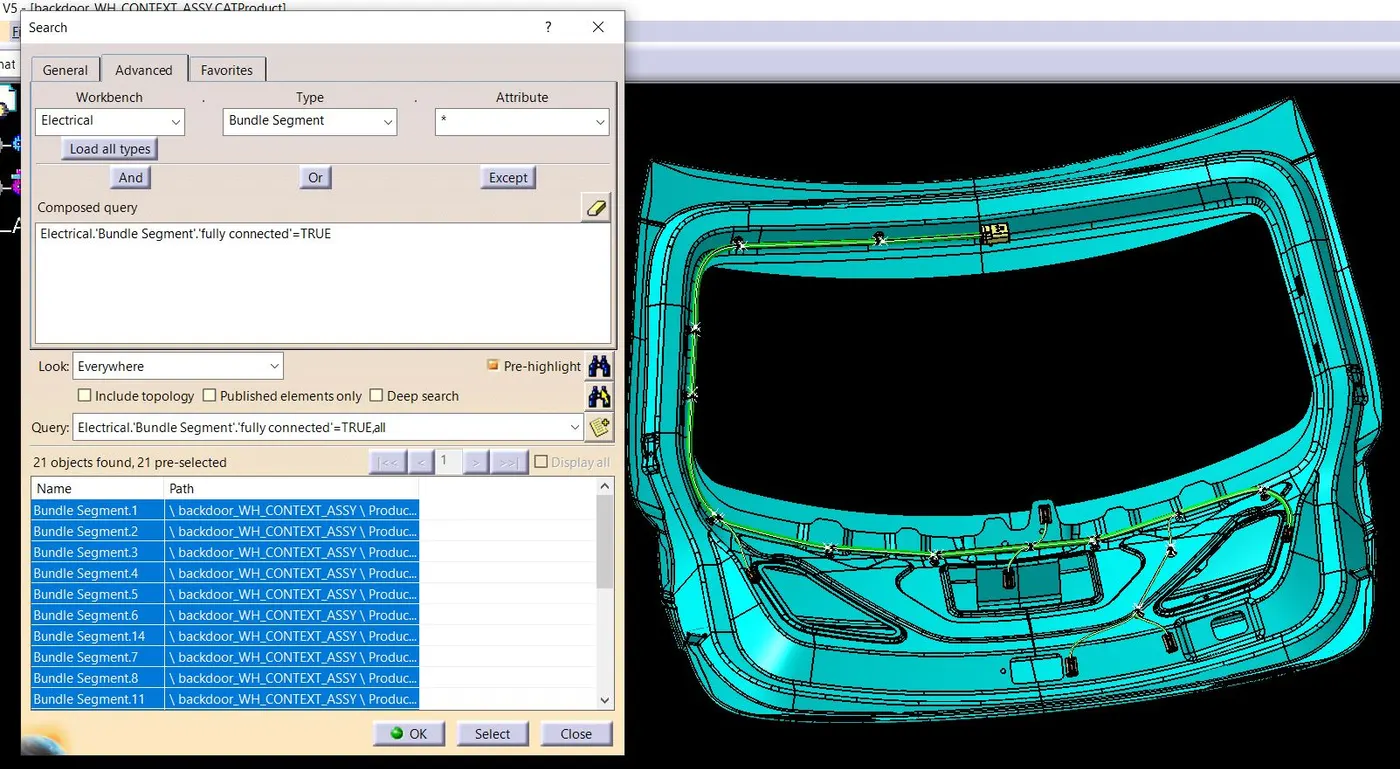
STEP-7 BUNDLE CONTINUITY CHECK
We need to ensure that the entire bundle is fully connected.
Go to edit and then click on search command.
Go to advanced
Select workbench as electrical, type as bundle segment and attribute as Fully connected
The select result should be as TRUE or FALSE and the click search to see the connectivity analysis result
FALSE VALUE
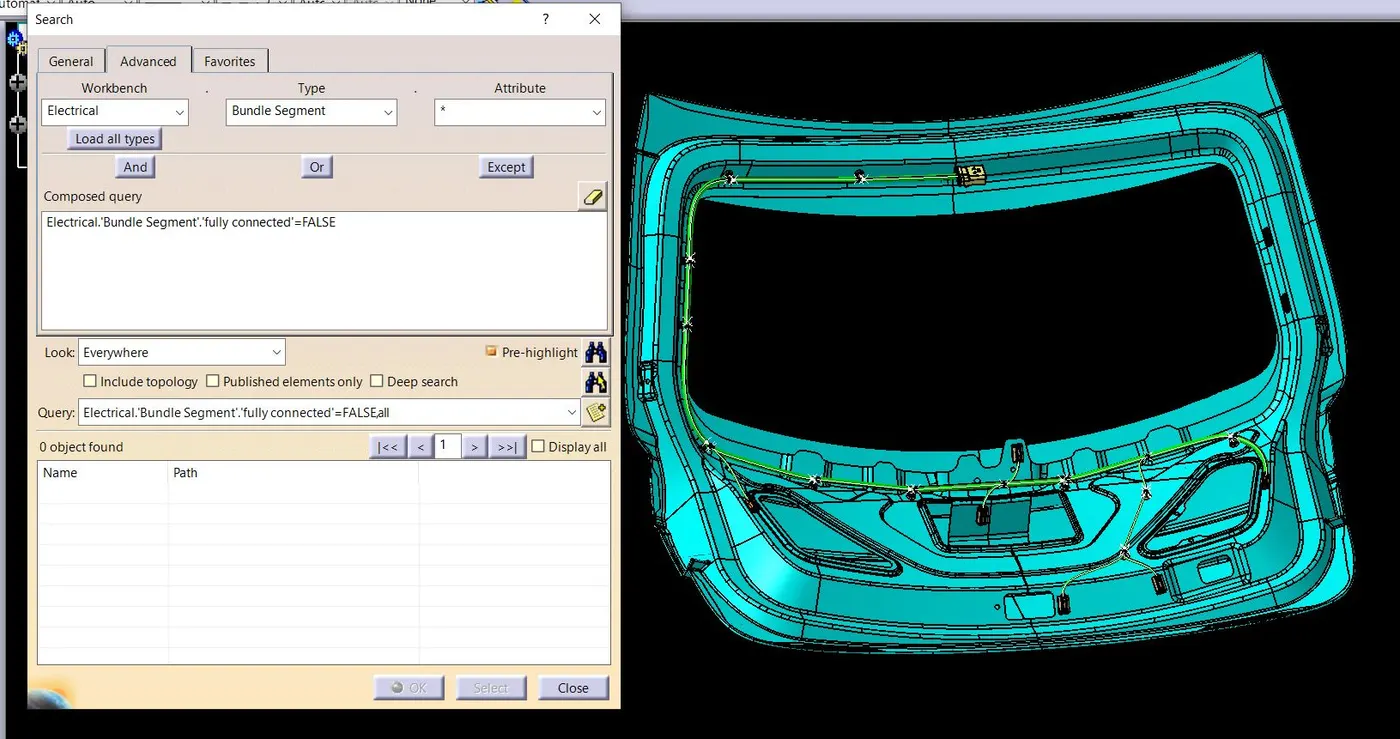
TRUE VALUE
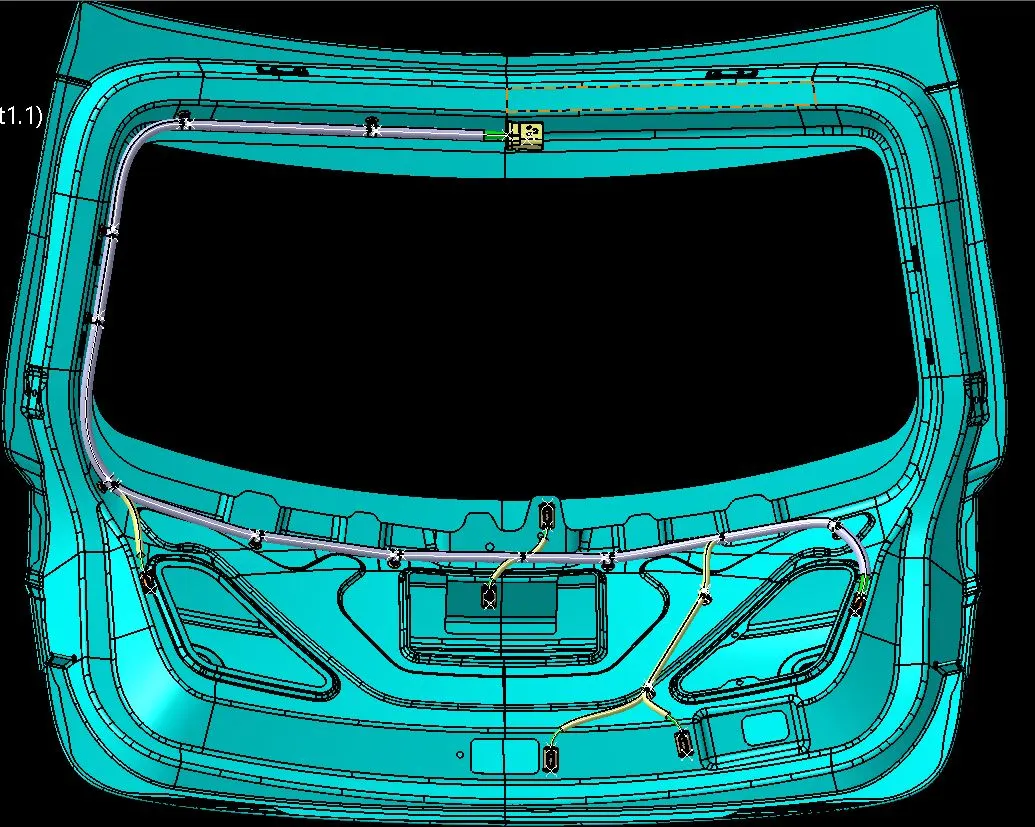
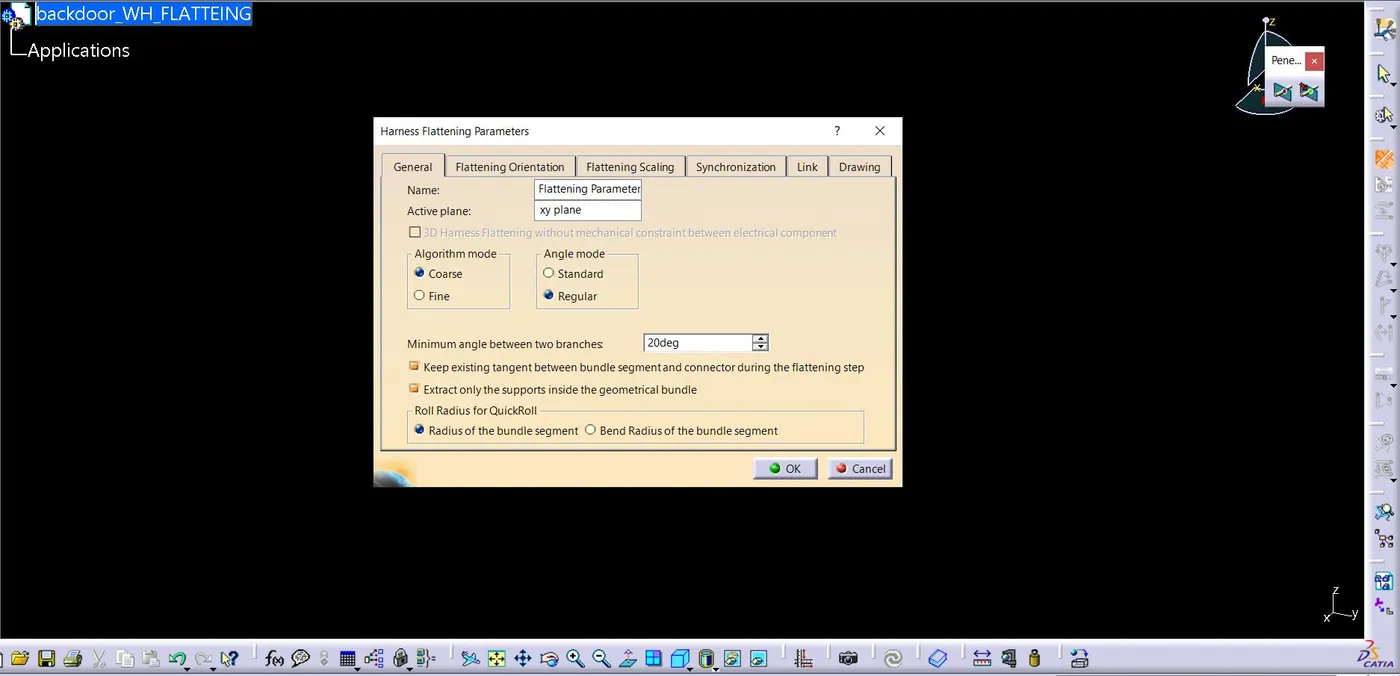
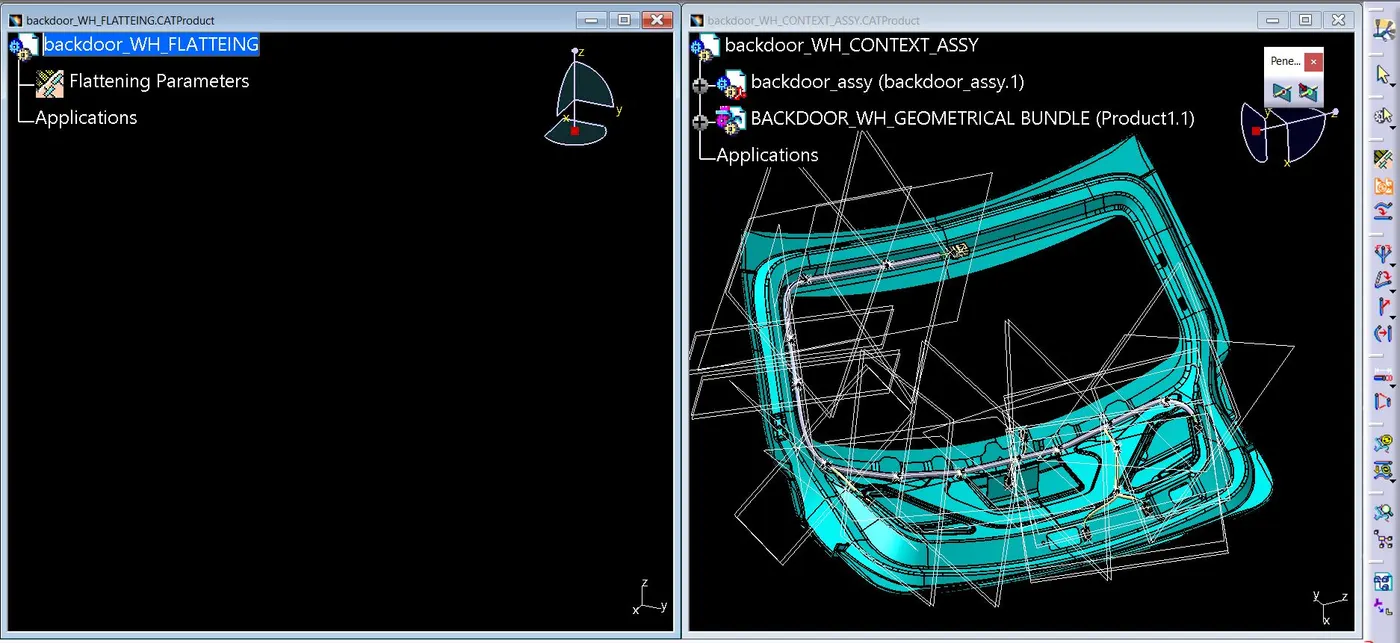
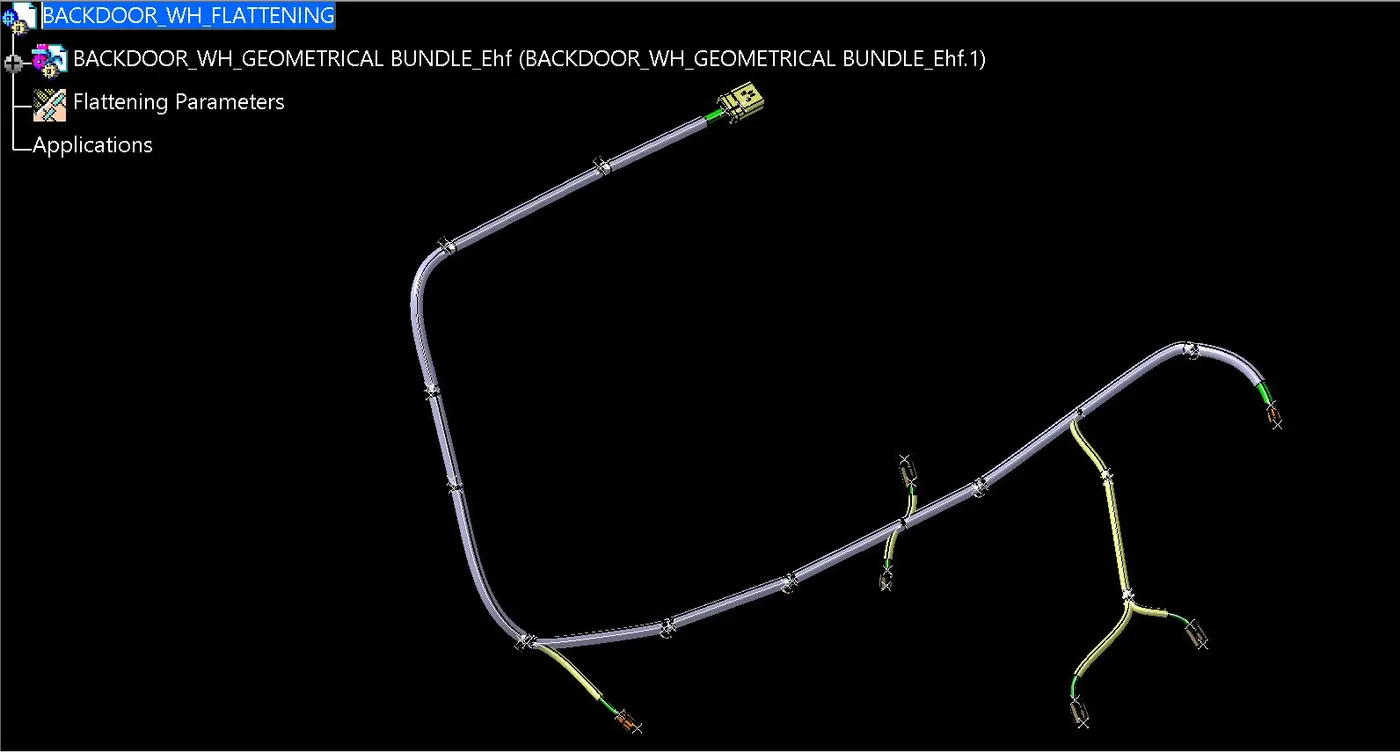
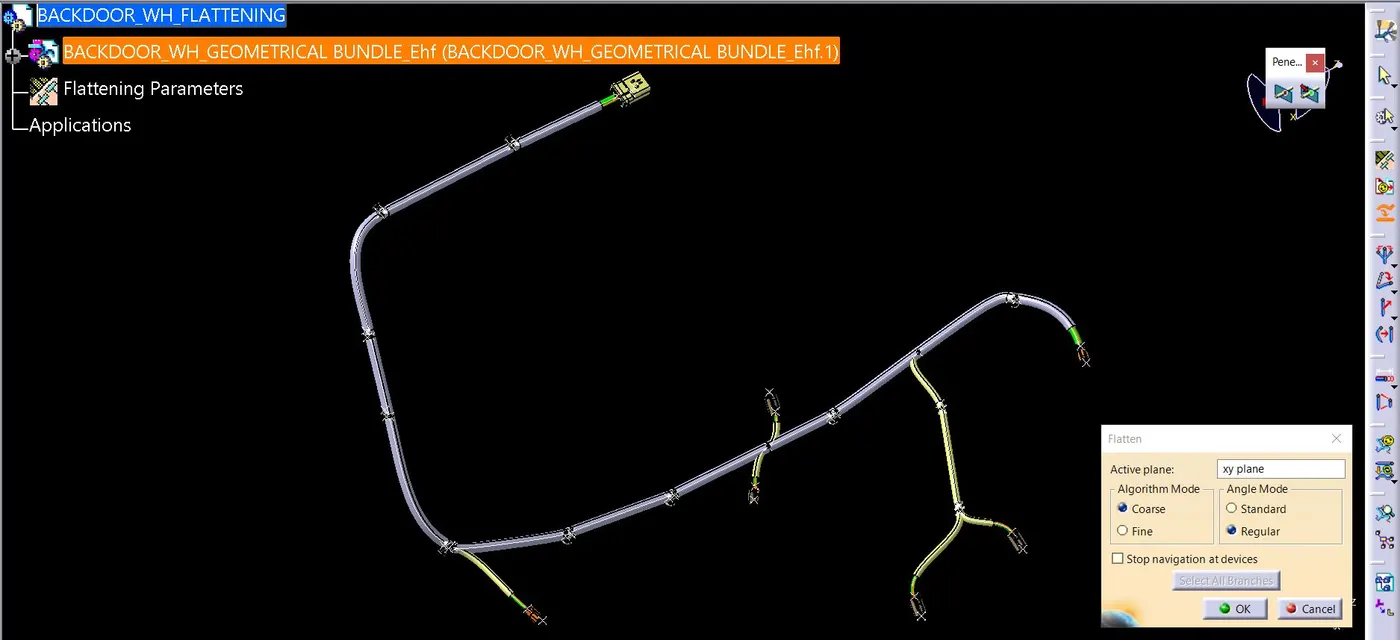
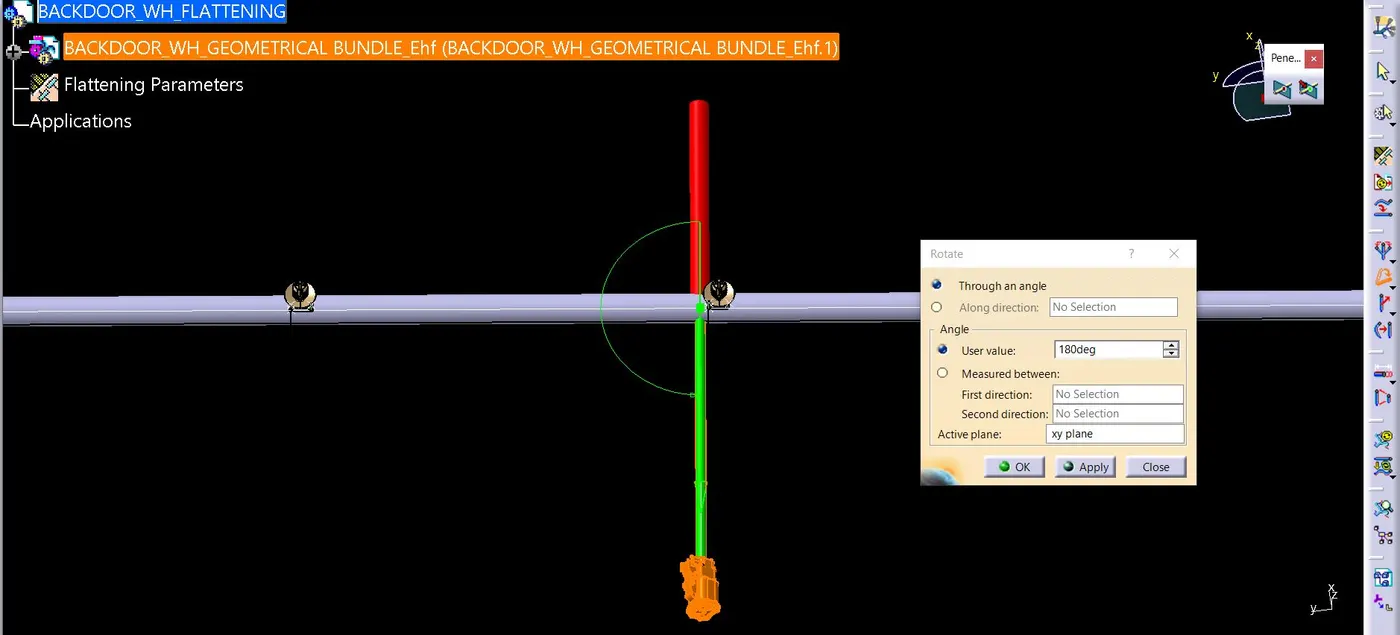
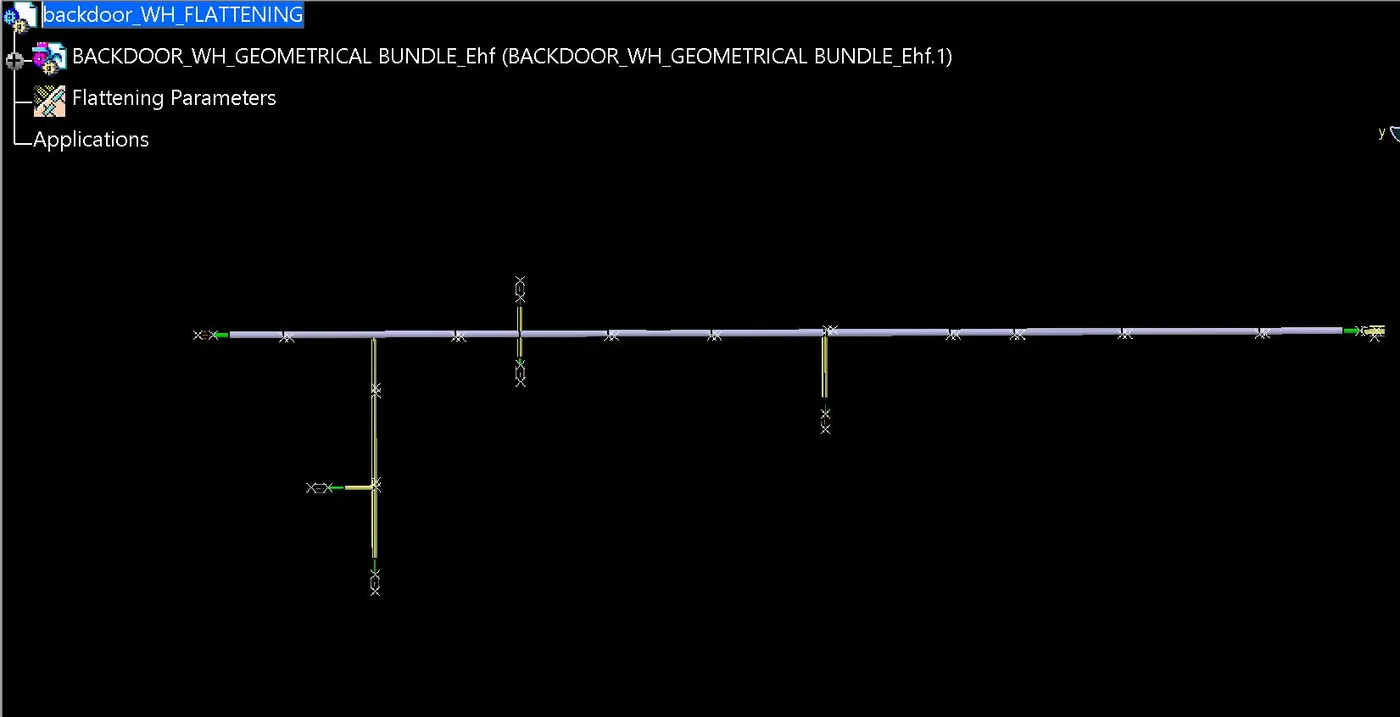
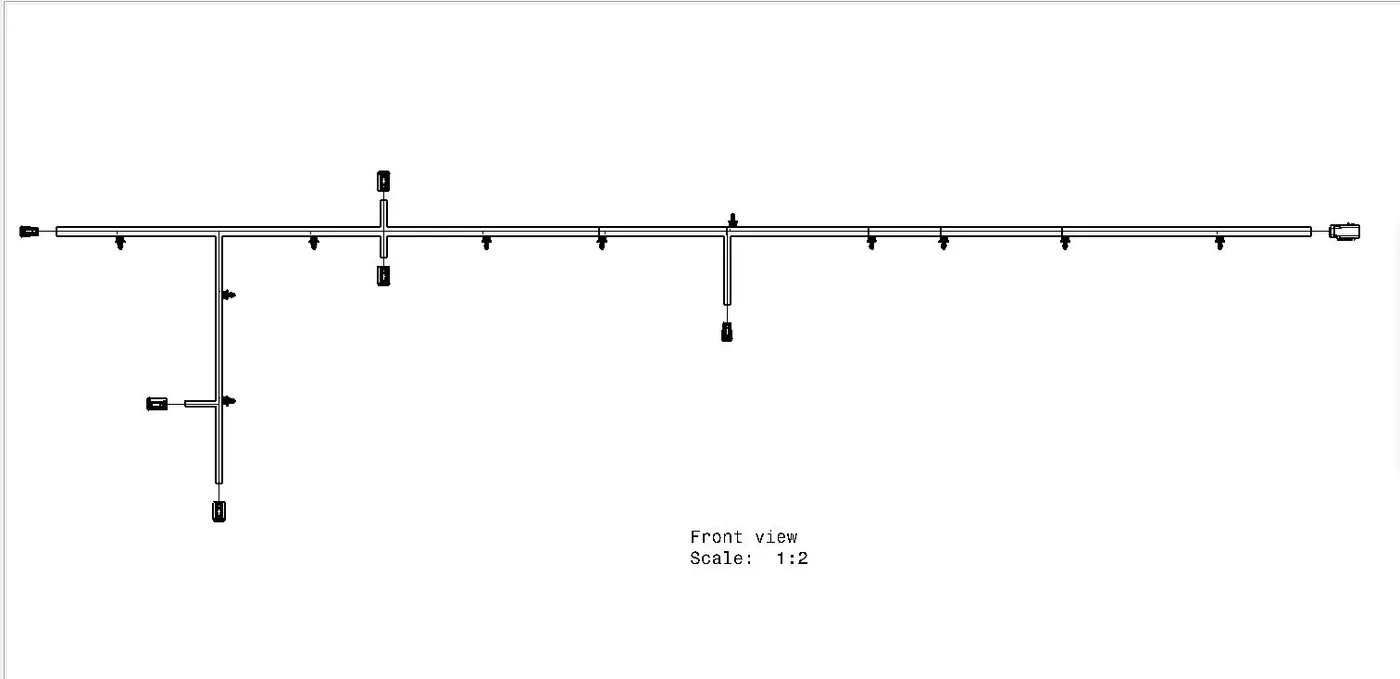
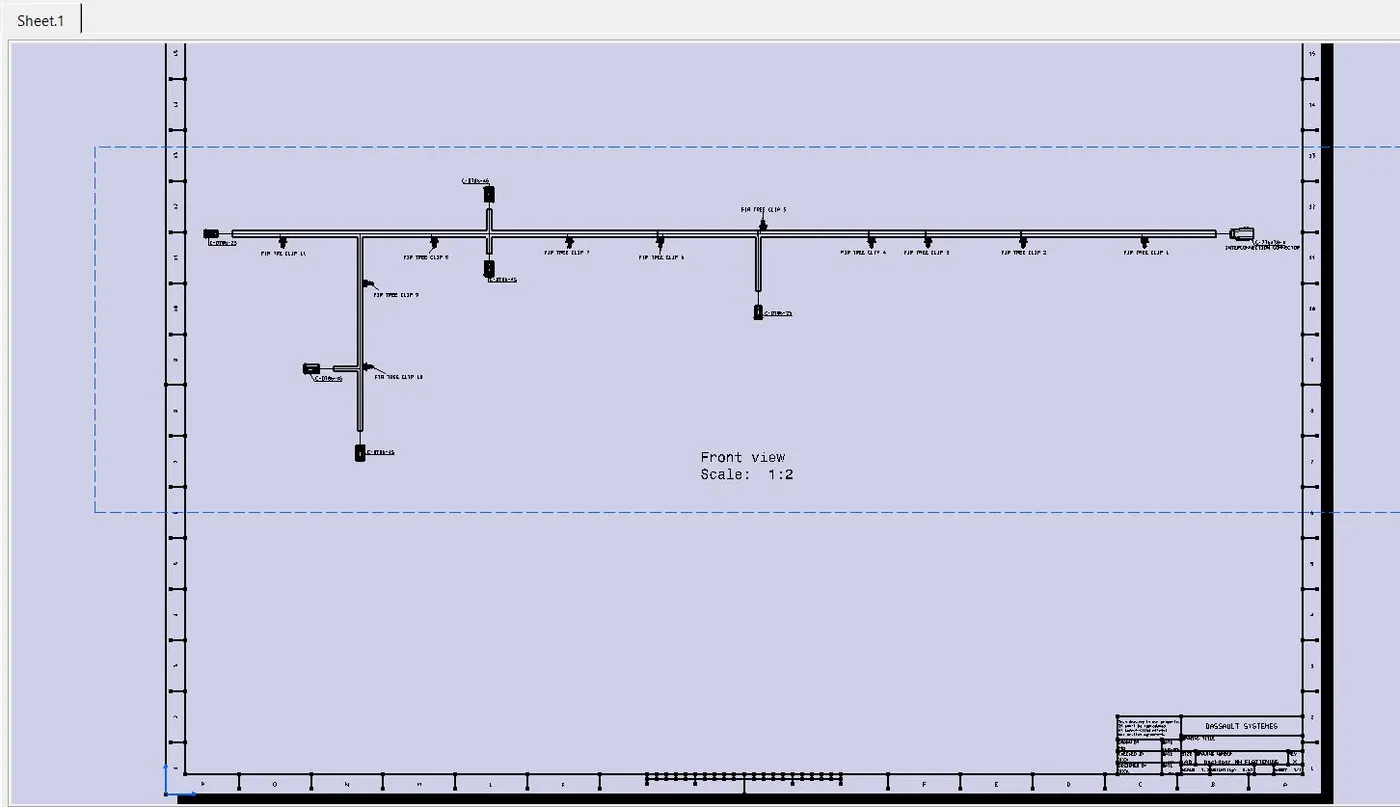
After the wire bundle is flattened in the respective product file and workbench it can be represented in the drawing sheet.
STEP-10 REPRESENTATION OF THE FLATTENED WIRE IN THE DRAWING SHEET: