Project 2
Wiring Harness Routing for Tailgate
Step 1
Electrically Define all the Connectors, Clips and clamps thats going to be used, and add it to the catalog browser.
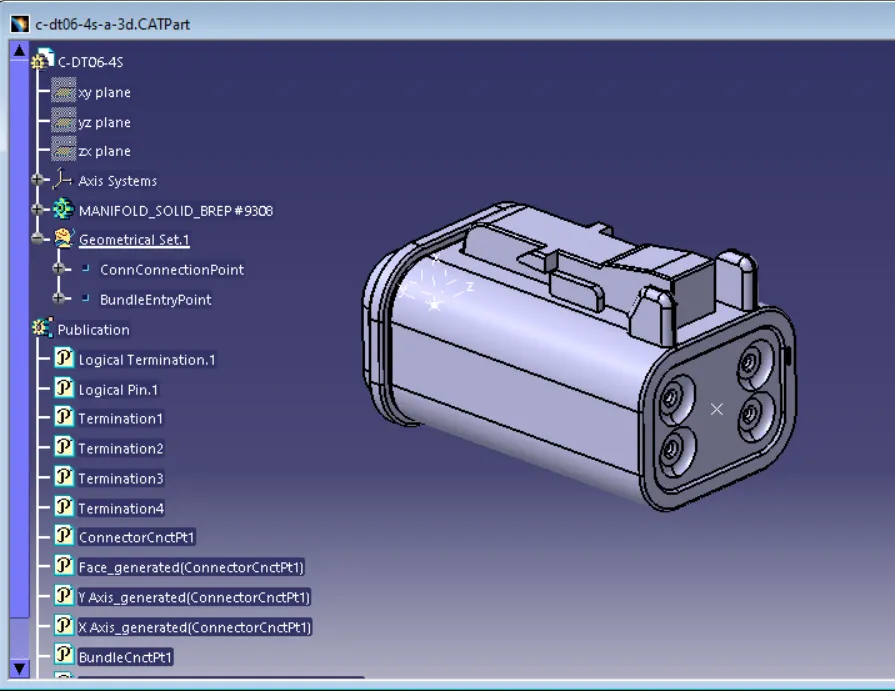
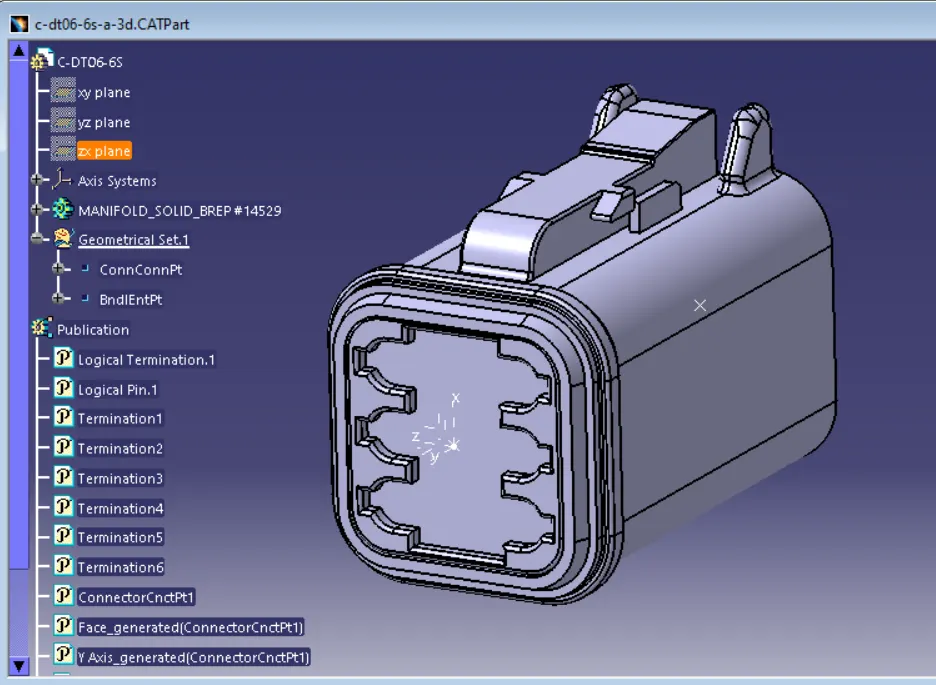
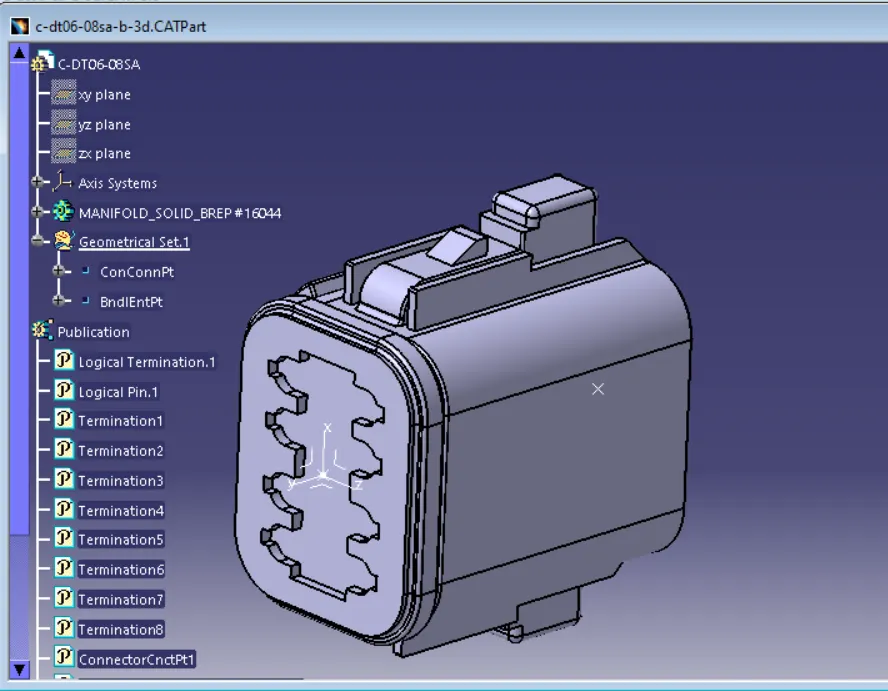
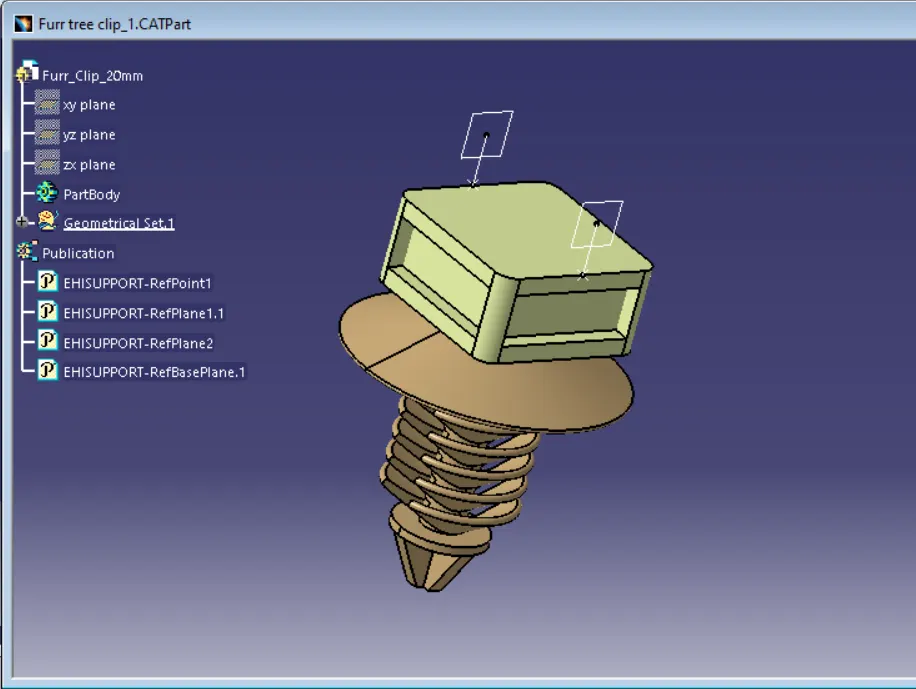
Step 2
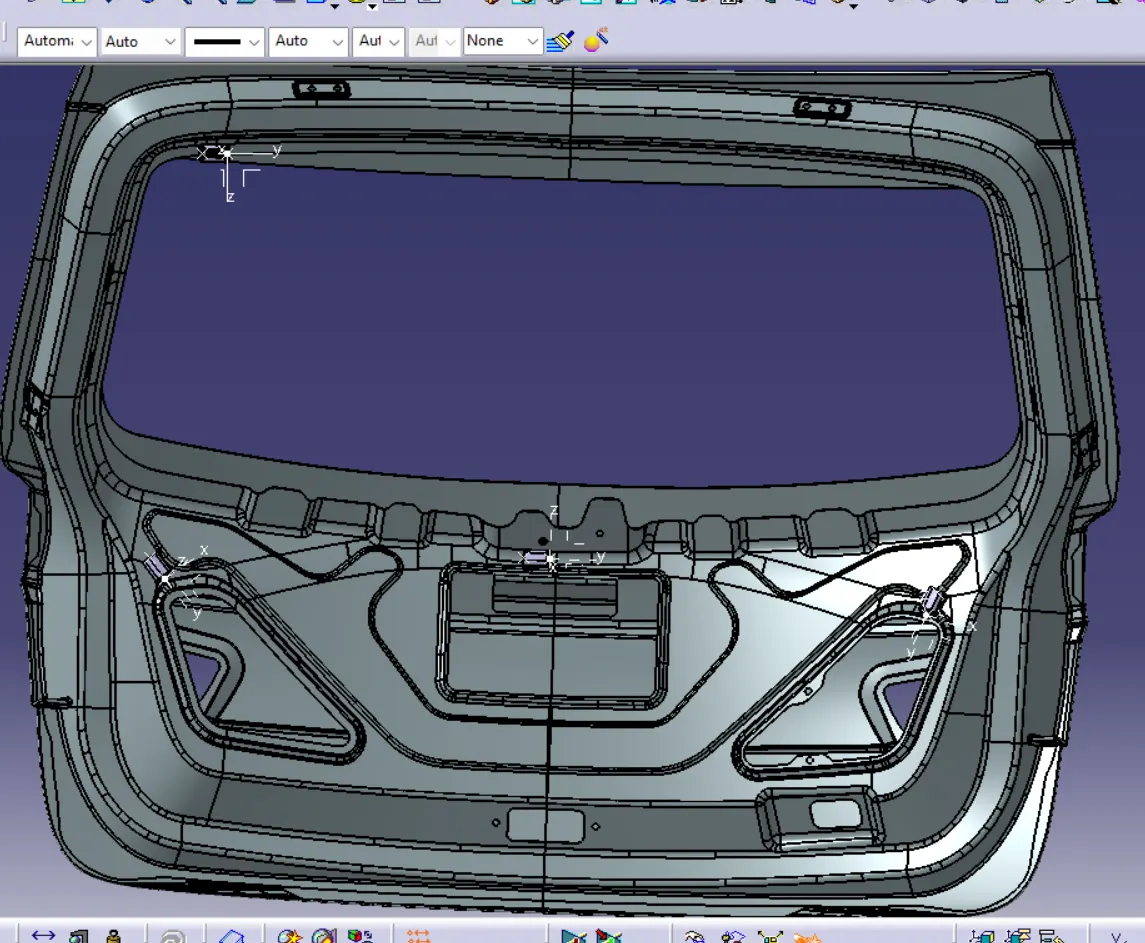
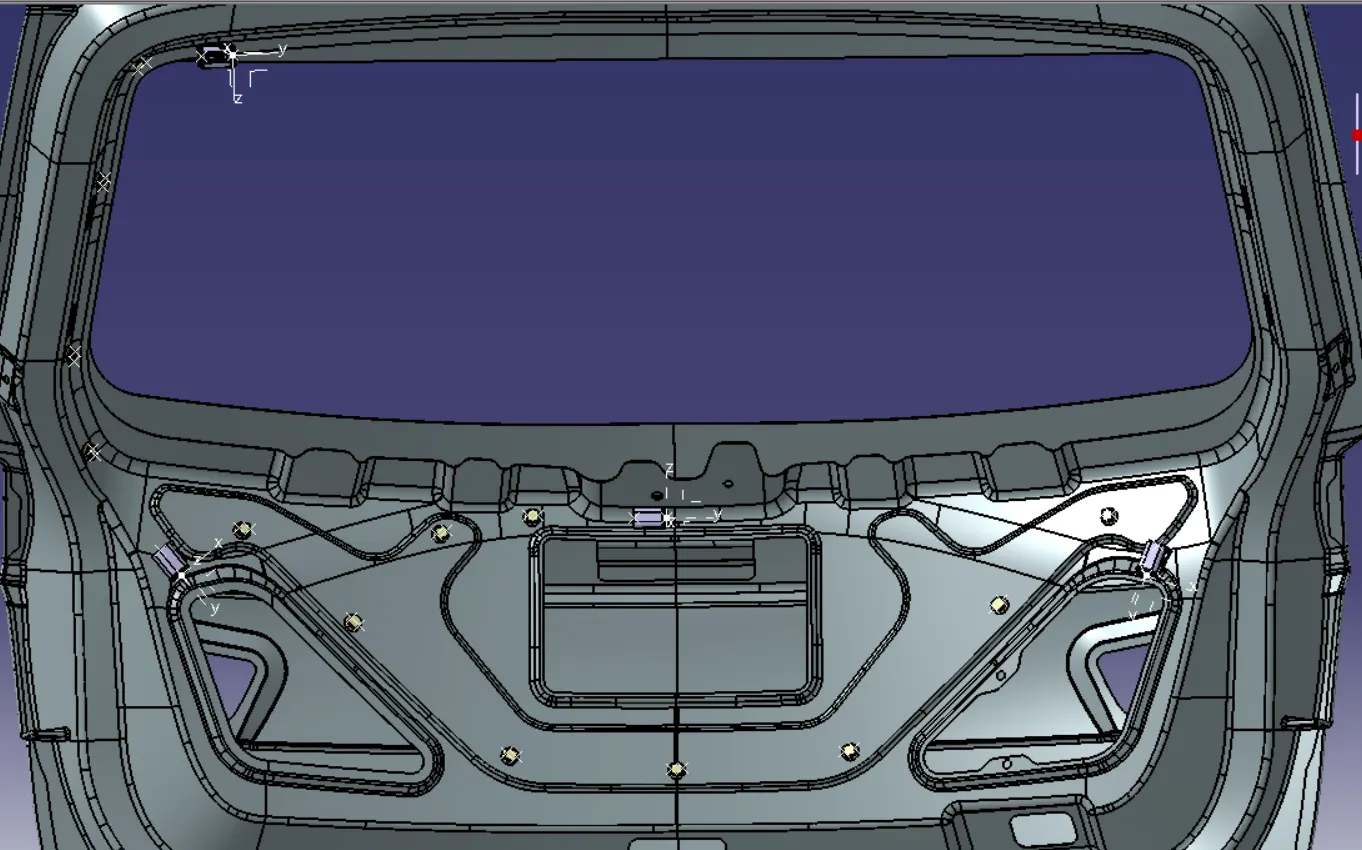
Place all the required connectors, clips and clamps into the wiring harness assembly and position it accordingly.
Step 3
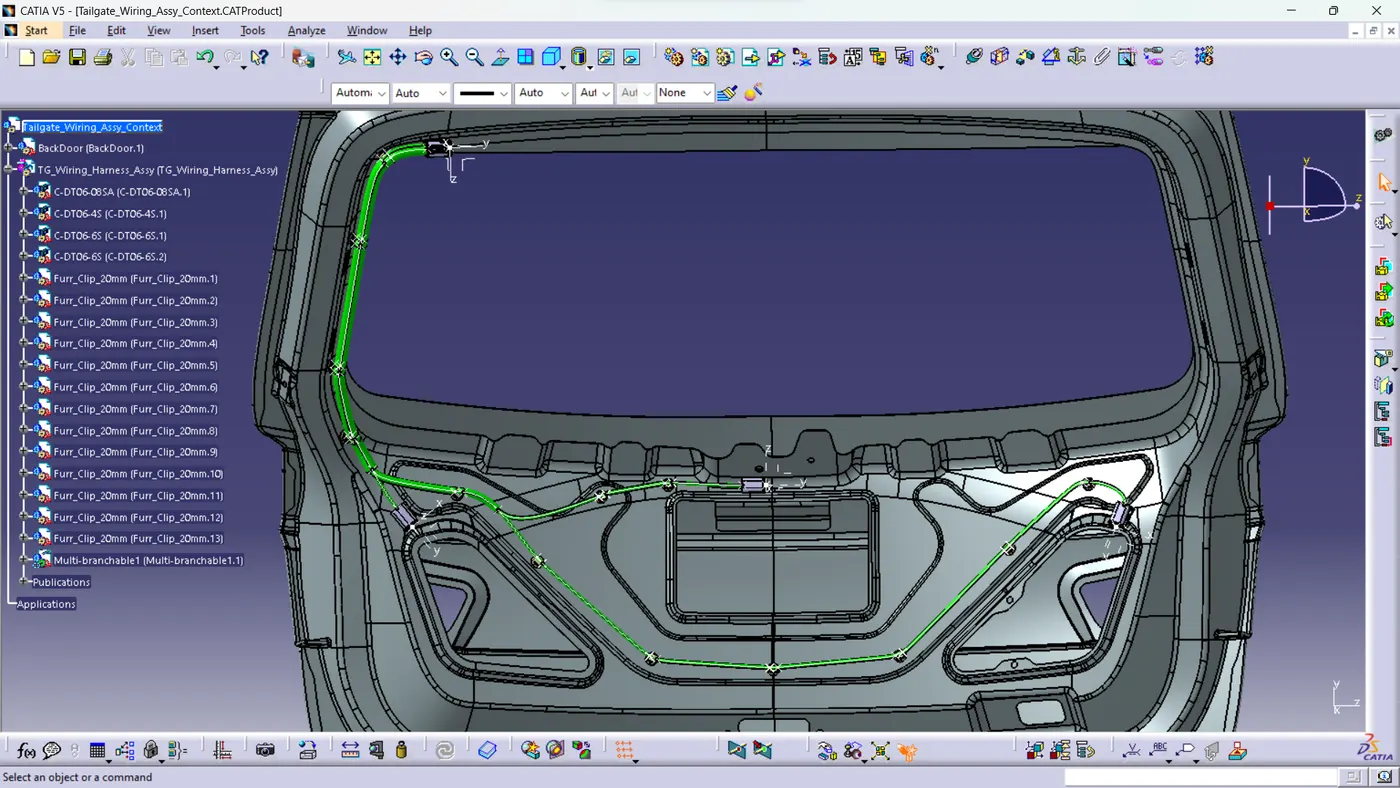
Routing
Step 4
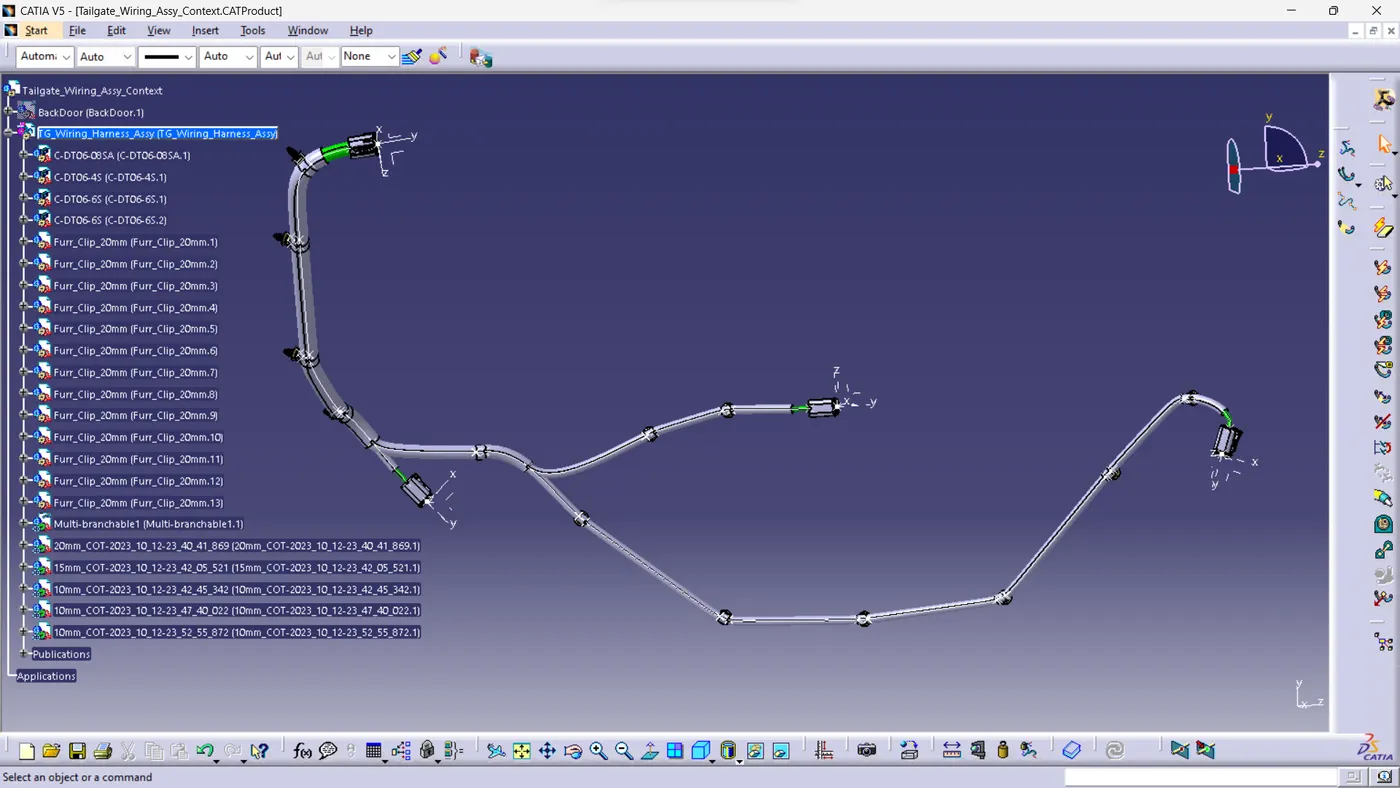
Addd Protective Covering
Step 5
Check Bundle Continuity
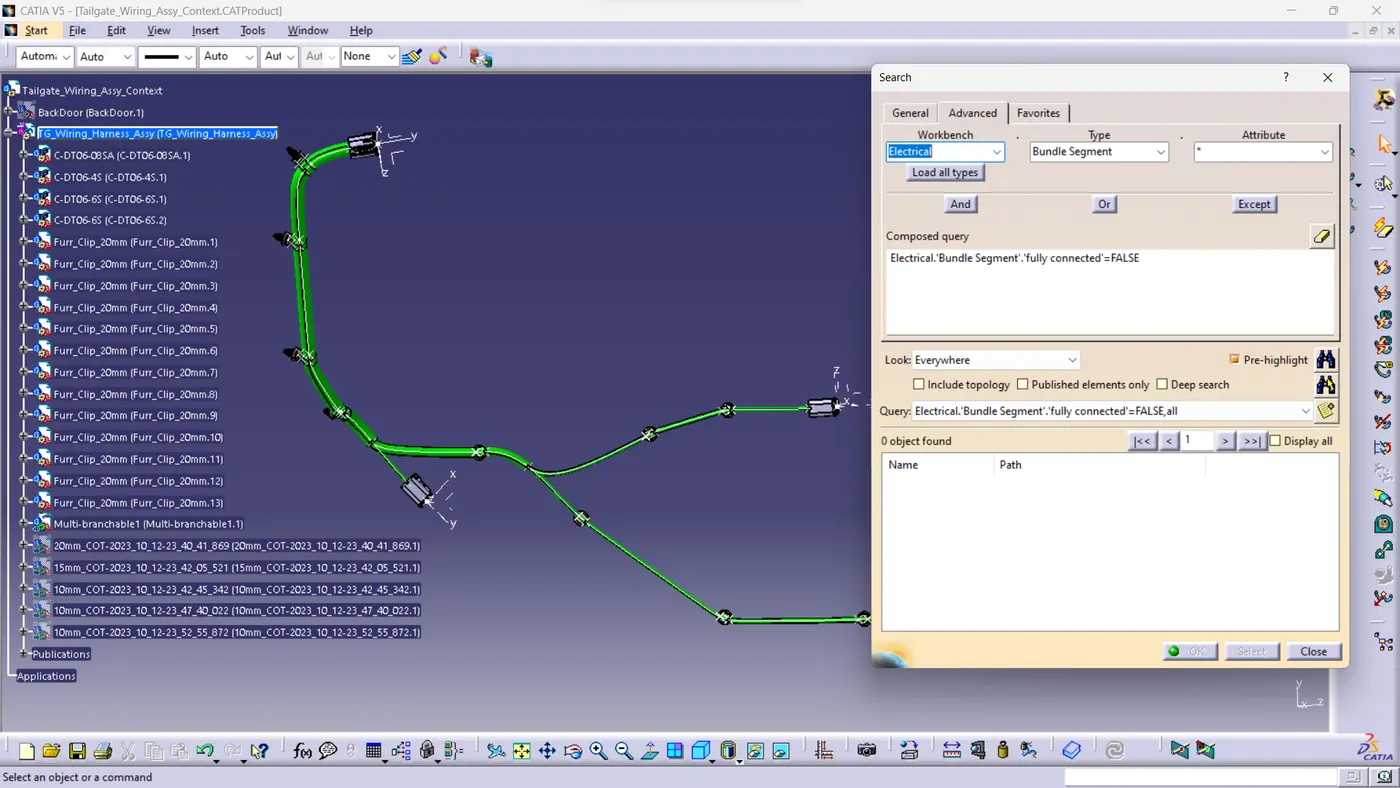
Step 6
Flatten the bundle routing
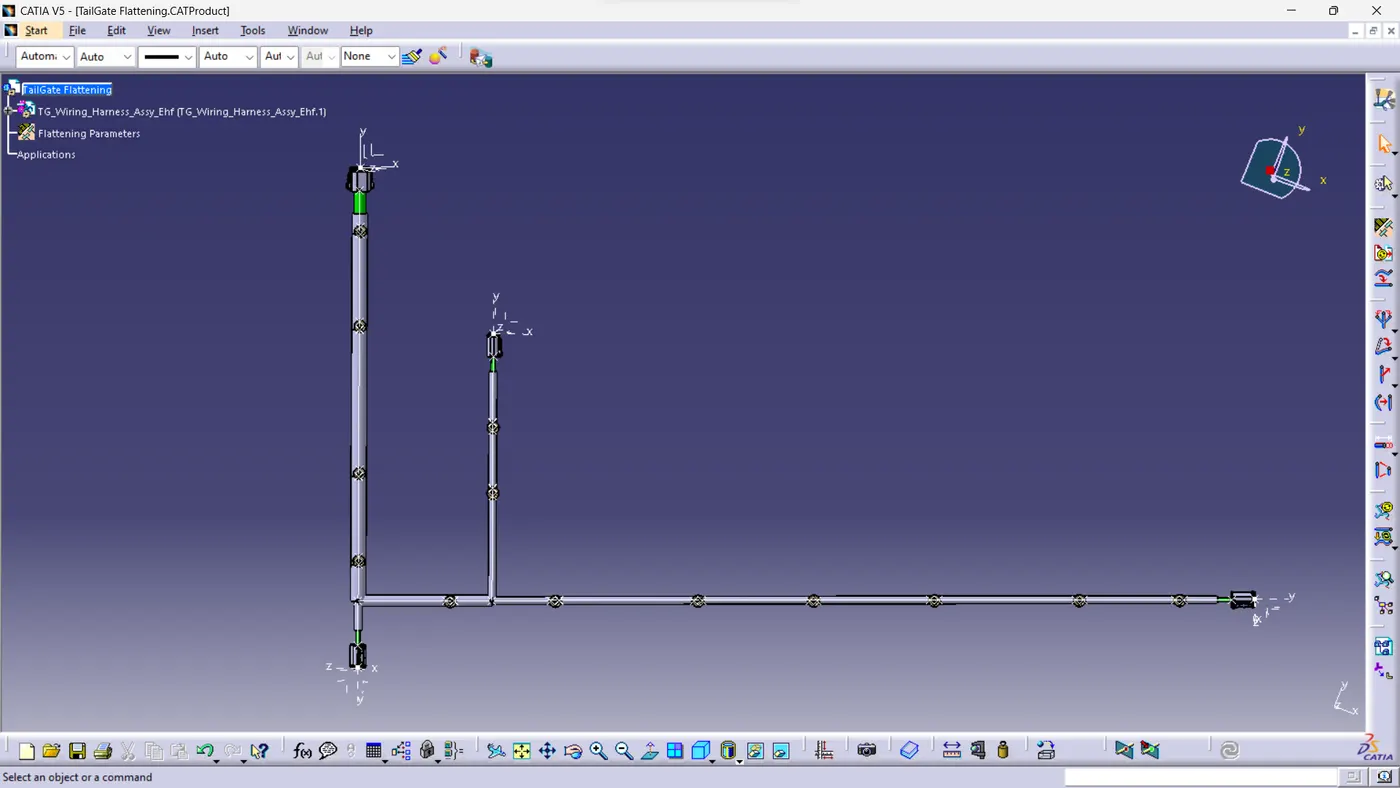
Step 7
Create Drawing File
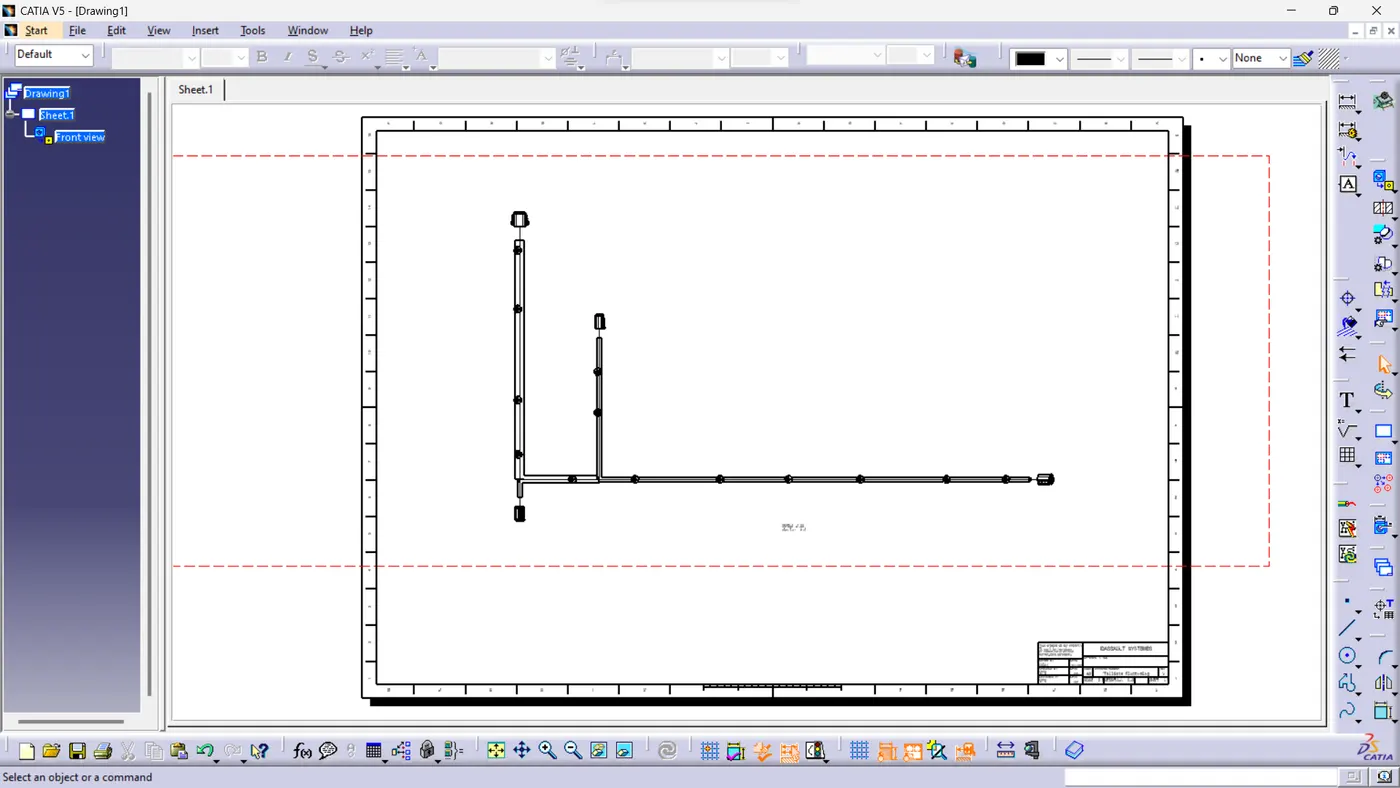
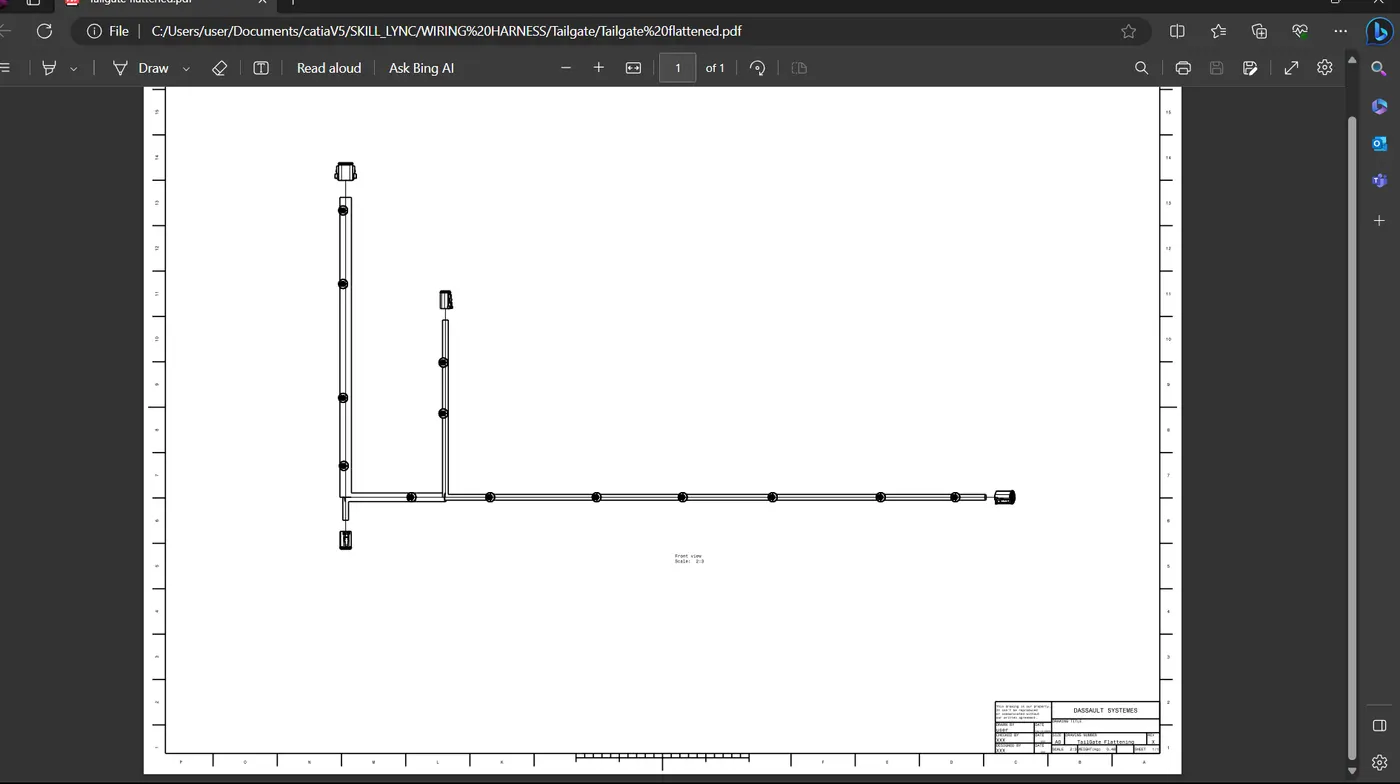
The following assumptions were made when designing the wiring harness:
-
The wiring harness should be easy to manufacture, install, remove, and maintain.
-
The wiring harness should not be routed through small structural holes or openings to minimize chafing and handling during installation.
-
The wiring harness should not be routed or clipped in blind zones or hard-to-reach areas during harness assembly or service.
-
Additional slack should be provided if needed, according to the surrounding and harness bending requirements. For this project, a slack value between 1-5% is used.
-
It should be ensured that there is no case of fouling while designing the wiring harness in the CAD environment. Additional cups/clamps may be used to avoid fouling.
-
The wiring harness should not be routed near sharp edges, or else the harness should be protected.
-
Enough mounting equipment, such as clips and clamps, should be provided.
-
The branch length should be greater than 50mm.
-
The minimum distance between the clip and the branch point should be at least 25mm.
-
The minimum distance between the two branch points should be at least 50mm.
-
The wiring harness should be easy to assemble and easy to access.
-
Clips/clamps used for the wiring harness should be readily available in the market to avoid extra costs for custom mounting solutions.
Given Below the link for the zip file
https://drive.google.com/file/d/1sVWq1tJPt_PzwkaI7WLsTBRnMvKAPzz3/view?usp=sharing