Project 2
Aim:
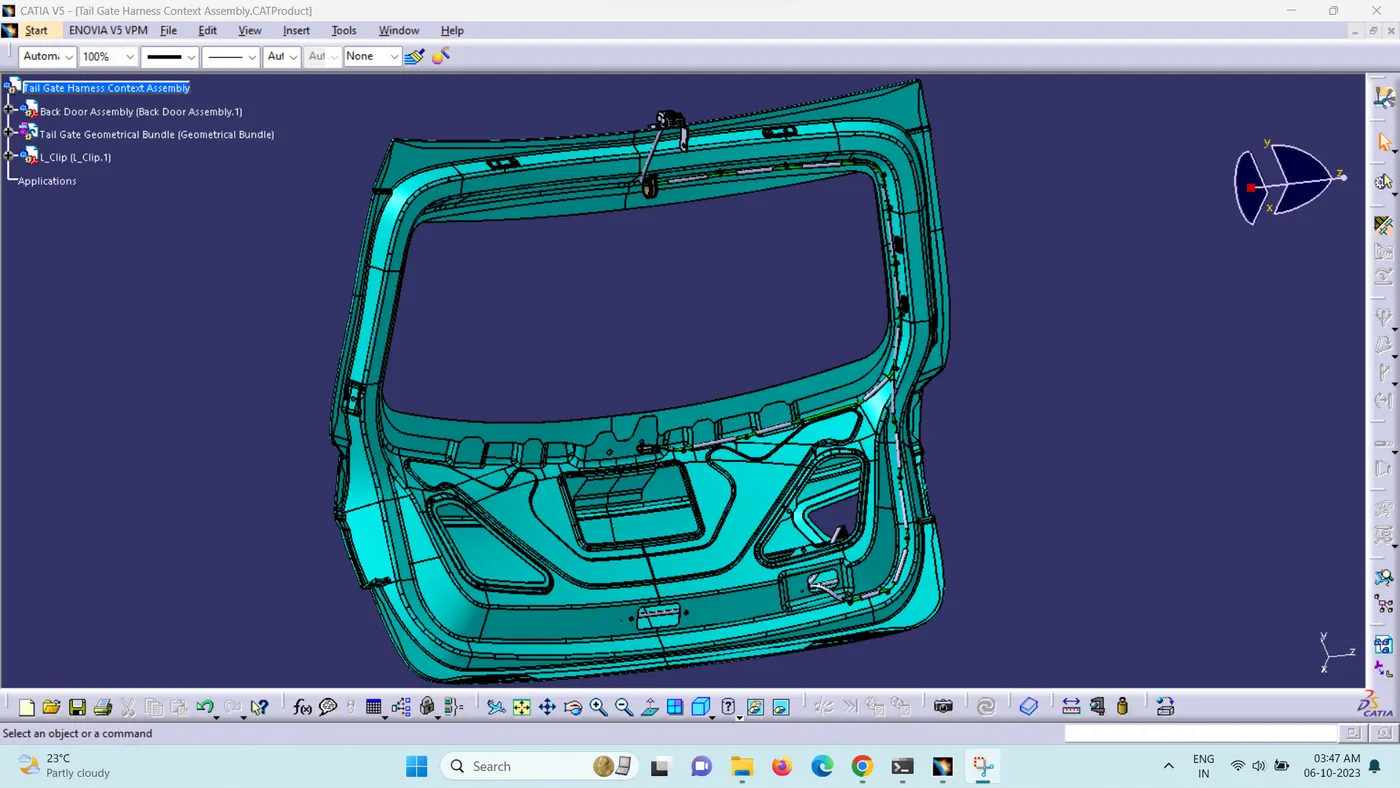
Route the Wiring harness on Given car body and Prepare flatten view drawing in CATIA V5. Application of all Packaging rules, Industry best practices studied in this course shall be demonstrated in design. Apply Protection coverings as required.
Available connector 3D data can be used, or you can download the connectors from www.te.com
Prepare & Submit all necessary reports like clearance, Clipping/Clamping selection, Harness fixing requirements, Harness continuity, Assumptions if any along with CATIA 3D data.
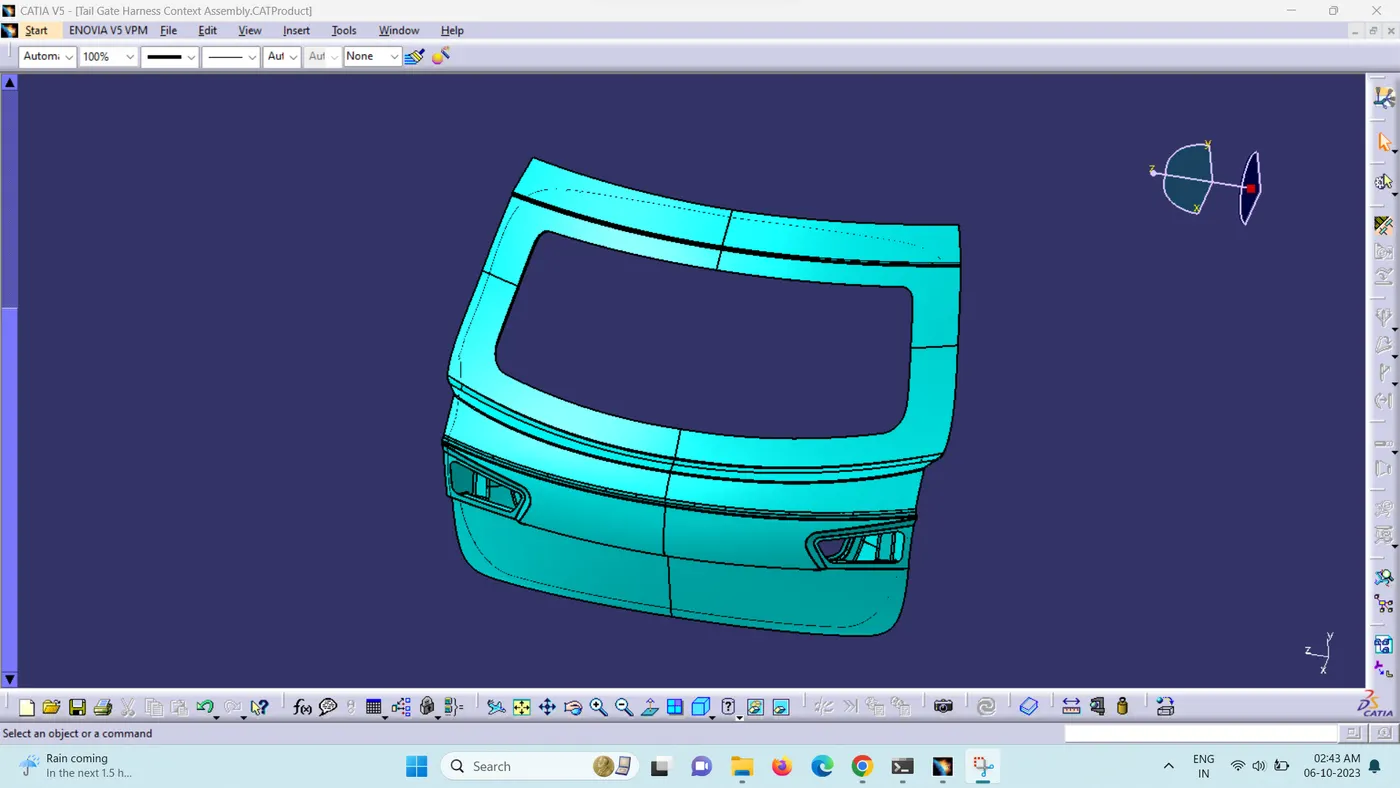
Back Door is also known as a "Hatch," a "Tailgate," a "Trunk-lid," or a "Boot-door." It is the rearmost part of the vehicle and gives access to the trunk. It has mounts for tail lamps, hinges, wiper motors, gas stays, etc.
Functions of the Backdoor:
-
It houses the tail lamp assembly, the wiper motor, and other parts like parking sensors and a rear-view camera, etc.
-
It has windshield glass, which improves visibility from behind.
-
It guards against damage to the passengers and luggage.
-
It serves as a point of entry and exit for passengers and luggage.
Types of Backdoor
-
1.Top mounted (Tailgate/Hatch Doors)
Tailgates: These are hinged on top and rotate about a horizontal axis.
Hatch doors are a common type of rear cargo door notable for their upward opening motion. Because the opening can include portions of the roof, it provides a wider opening for smaller vehicles. Keeping the door up and out of the way also helps when moving cargo into and out of the vehicle.

-
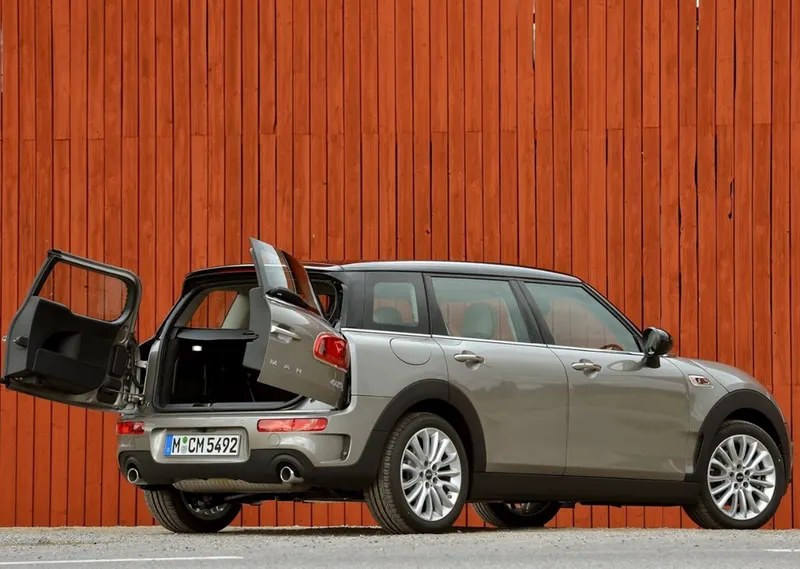
2.Side mounted (Barn Doors)
Barn Doors - These are hinged on the side of the van and rotate about a vertical point.
Barn Doors: Barn Doors is common sight on vans, SUVs, and other large vehicles. Some are similar to conventional car doors and have a set of hinges on one side. Others feature two doors that open at the centre, especially on larger commercial vans.
-
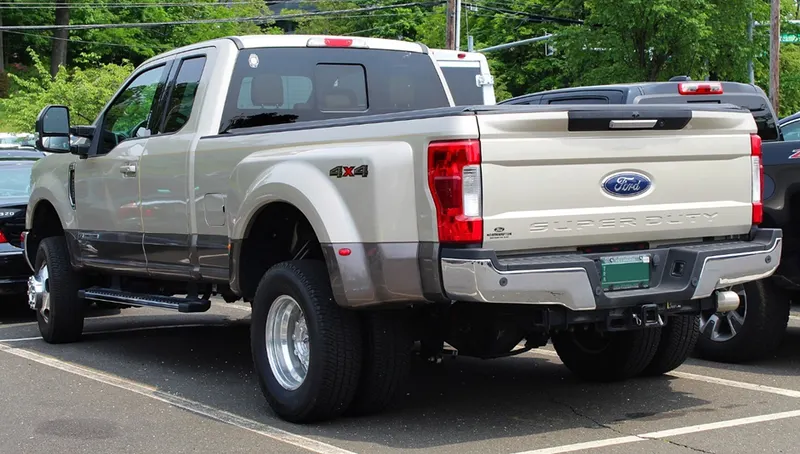
3.Bottom mounted
Estate cars, pickup trucks, and some premium SUVs use bottom type or split type backdoor systems. They are the most convenient types of backdoors, with the bottom split serving as a support or perhaps a table for tourists.
Ensure the following points while creating the wiring harness to apply all packaging rules and industry best practices.
- Provide clips/clamps as per the requirement.
- Ensure that there are no instances of wires tangling while designing the wire harness. Additional clips/clamps may be used to prevent tangling.
- Allow for additional slack if needed. A 5-10% slack is deemed sufficient.
- Avoid routing over bolts and bolted joints to prevent puncturing of the harness.
- Avoid routing on sharp edges; otherwise, provide protection for the harness.
- Adhere to the clearance distance and keep the harness away from components generating heat.
- Provide protection as needed according to the surrounding temperature.
- Refrain from providing direct support for the harness on fuel lines routed in the engine.
- Utilize plastic guiding channels if necessary.
- Ensure that the branch length is greater than 50mm.
- Maintain a minimum distance of at least 50mm between two branch points.
- Maintain a minimum distance of at least 25mm between a clip and a branch point.
- Minimize the use of sheet metal brackets on the engine. Utilize available threaded bosses on the engine or request them as needed.
- The wiring harness should be designed for easy assembly and accessibility.
- When using dummy connectors, ensure that the positions defined are practical. Bundle diameters and other placements should be accurately defined for the wire harness routing.
- In cases where the packaging area is too confined and numerous packaging constraints are present, consider creating a harness channel. This can be used to route and effectively protect the wire harness.
STEP 1 - Creating context assembly
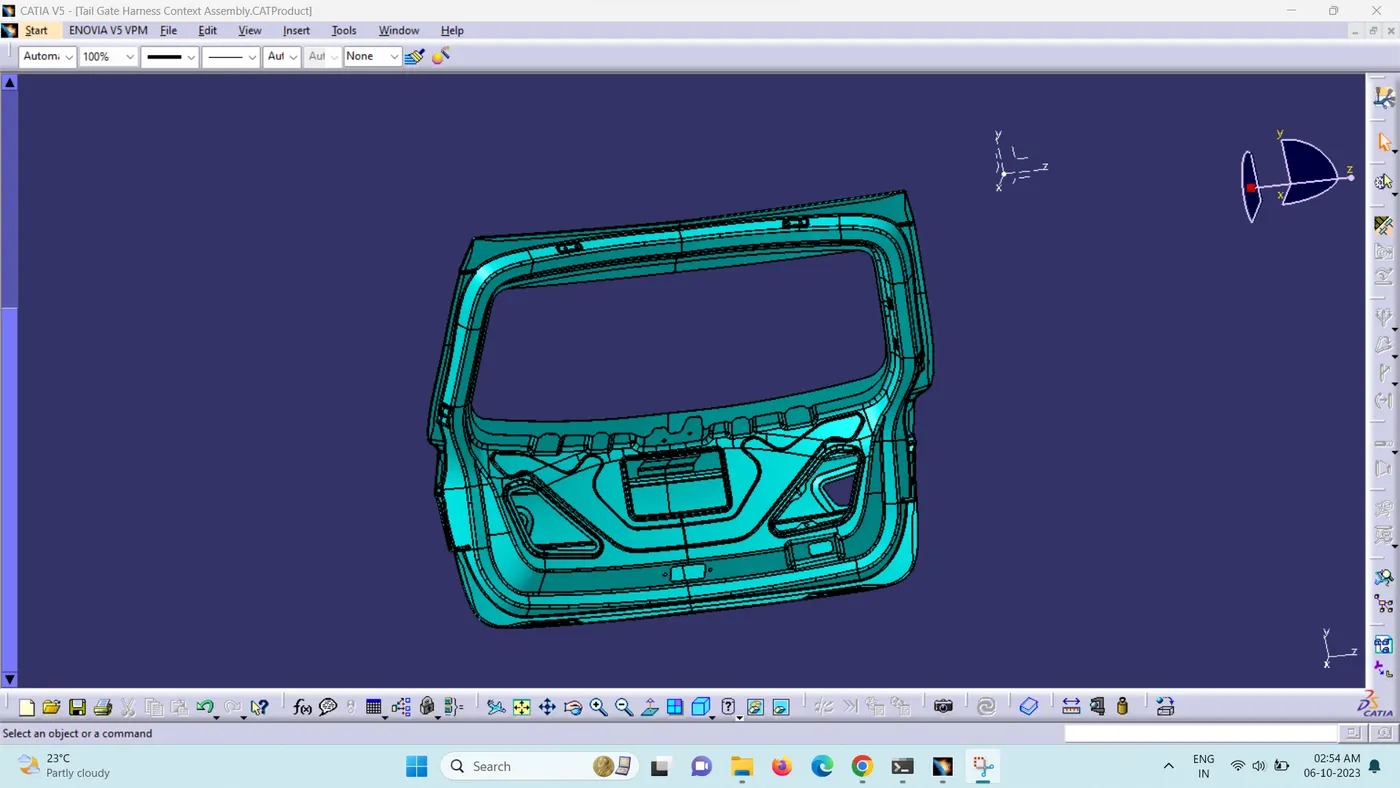
Open the Backdoor assembly in the Catia making an assembly product file.
STEP 2 - Defining connectors electrically
Choosing right components for the wire harness routing. Here we are using the components for backdoor upper and lower lights, wiper motor, sensors and defogging equipment.
The connectors used are first electrically defined and then added to the Catia model.
1. Interconnection connector
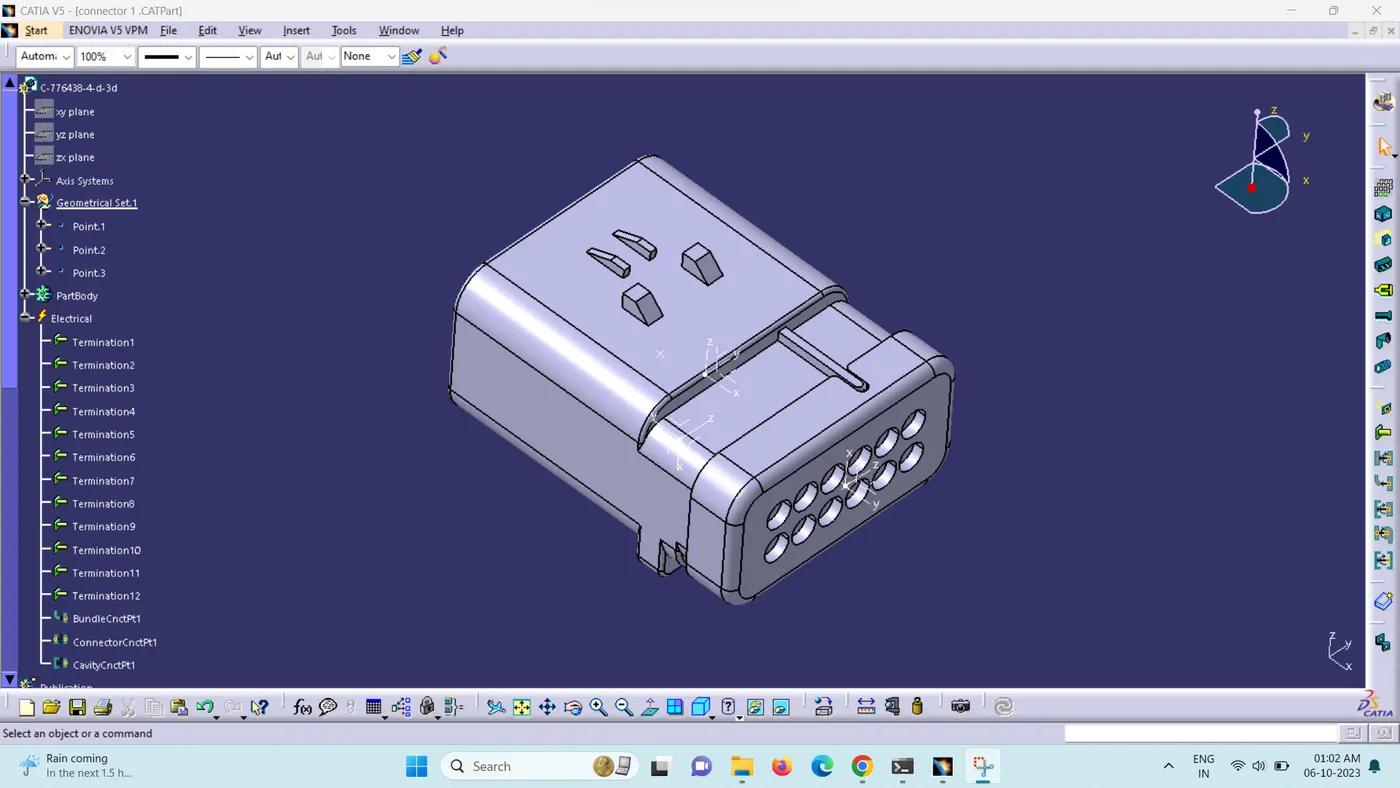
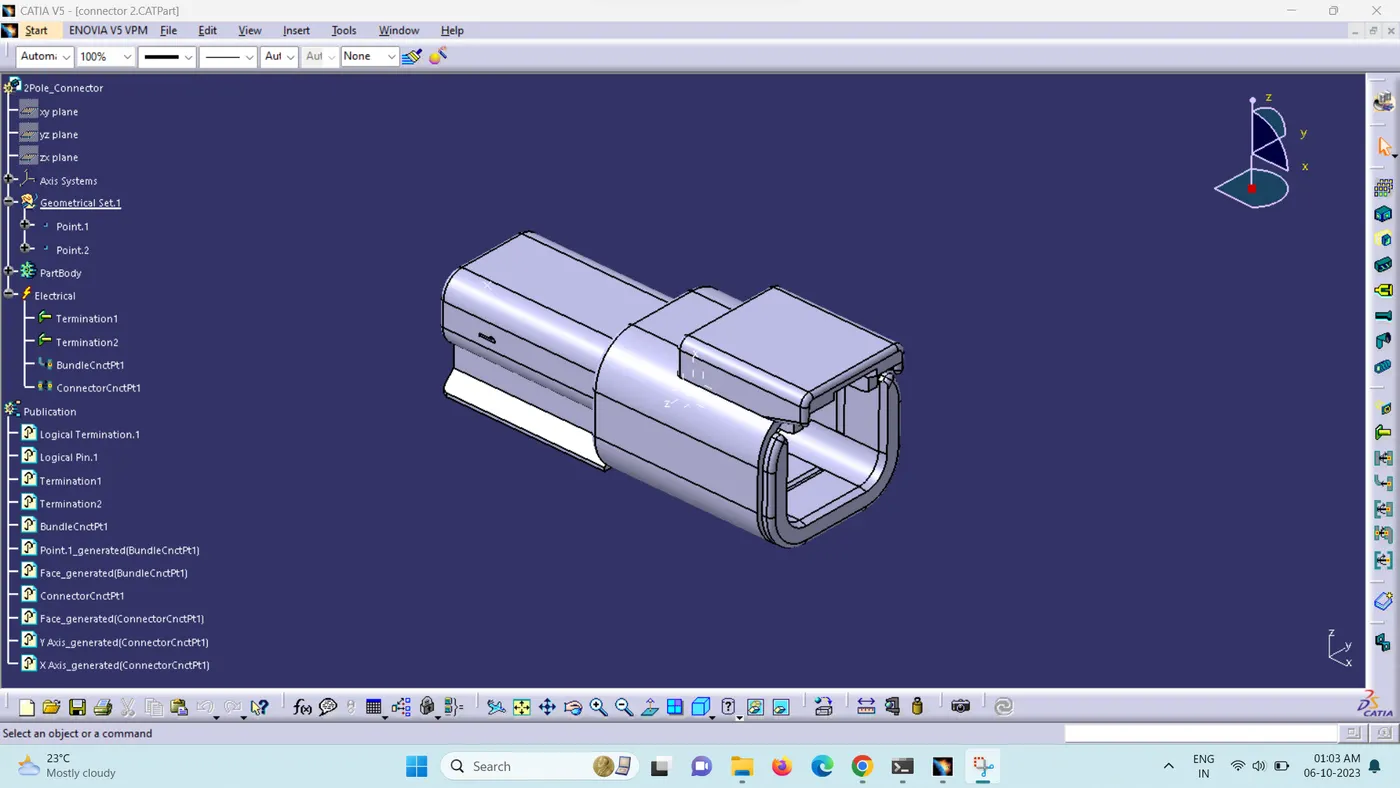
2. 2 pole connector used for light, sensors, Viper motor.
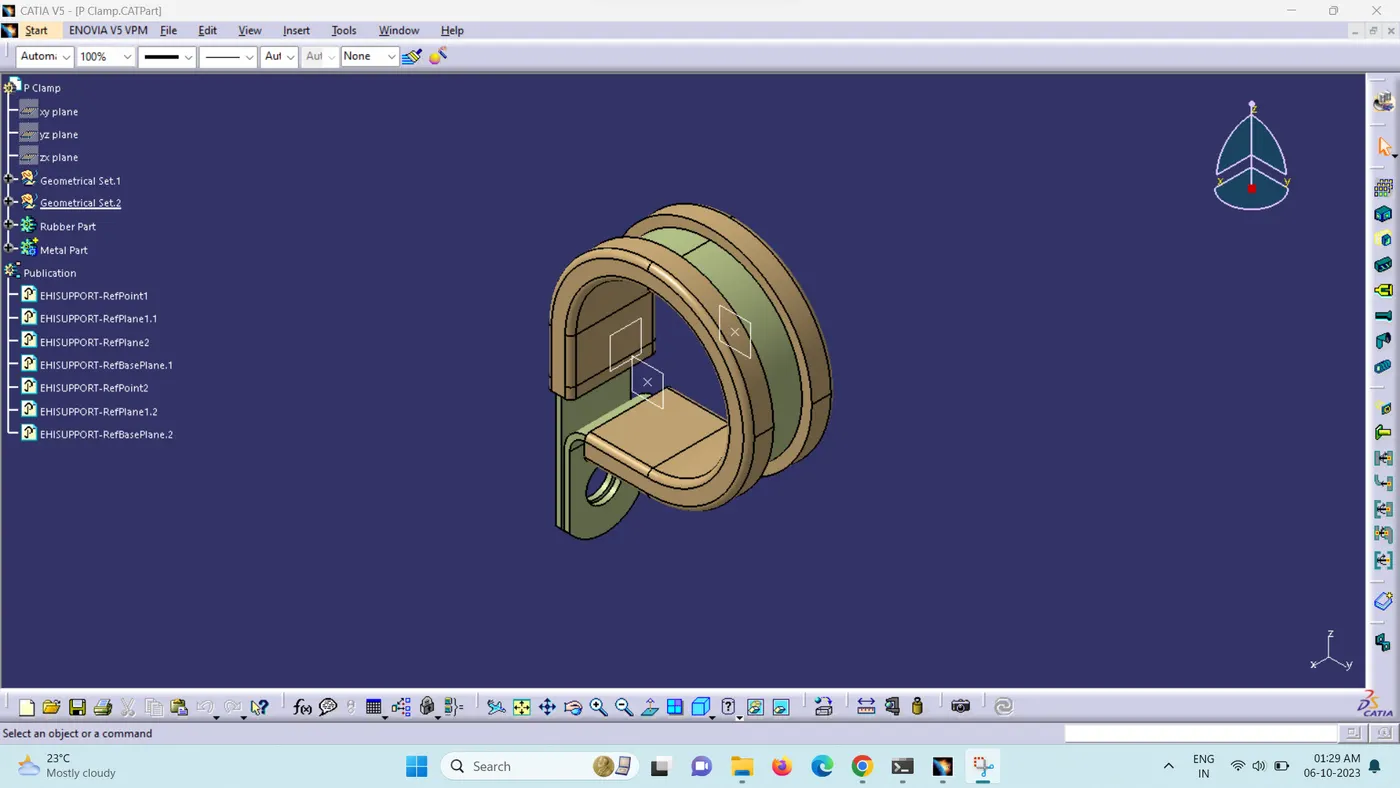
3. Clip and clamp are used to set the location of wire
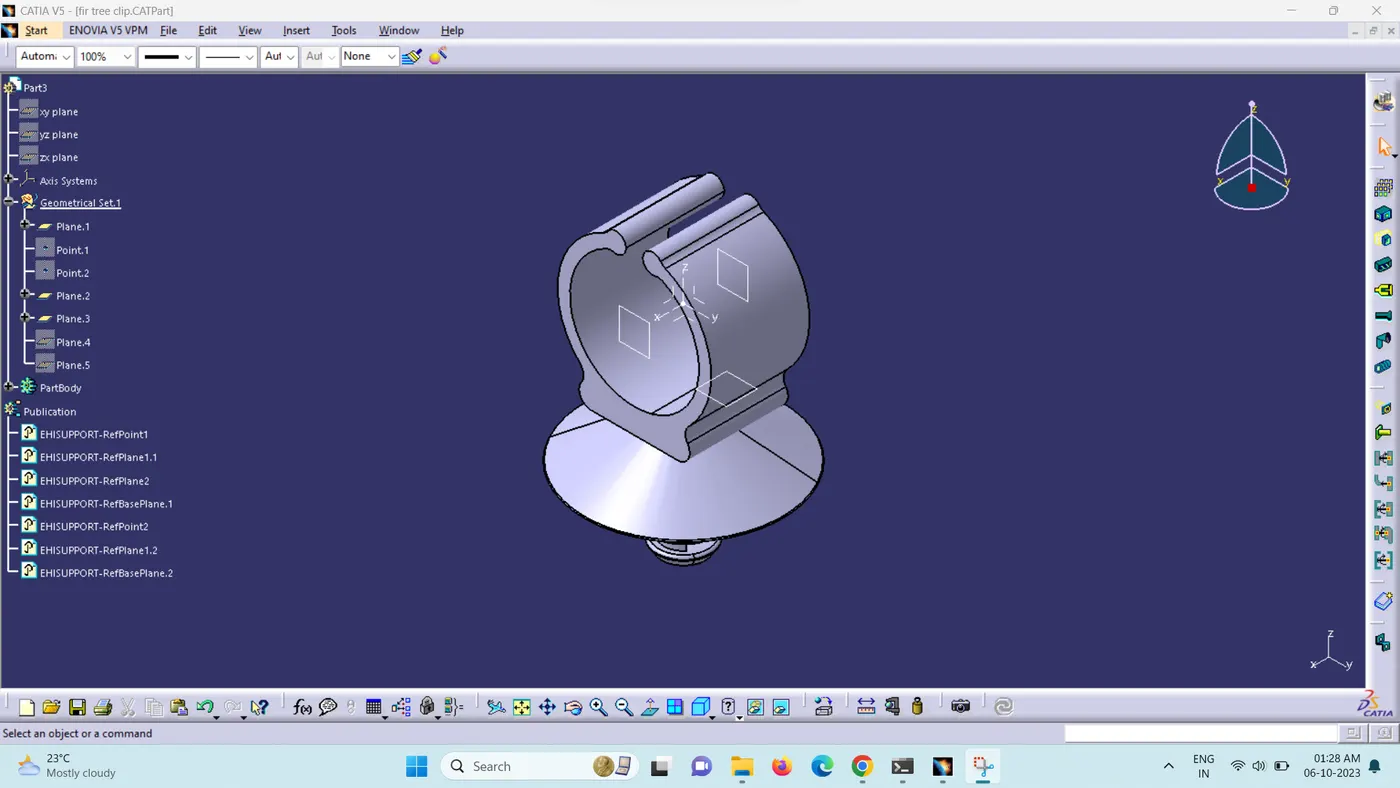
STEP 3 - Adding connectors and necessary support parts
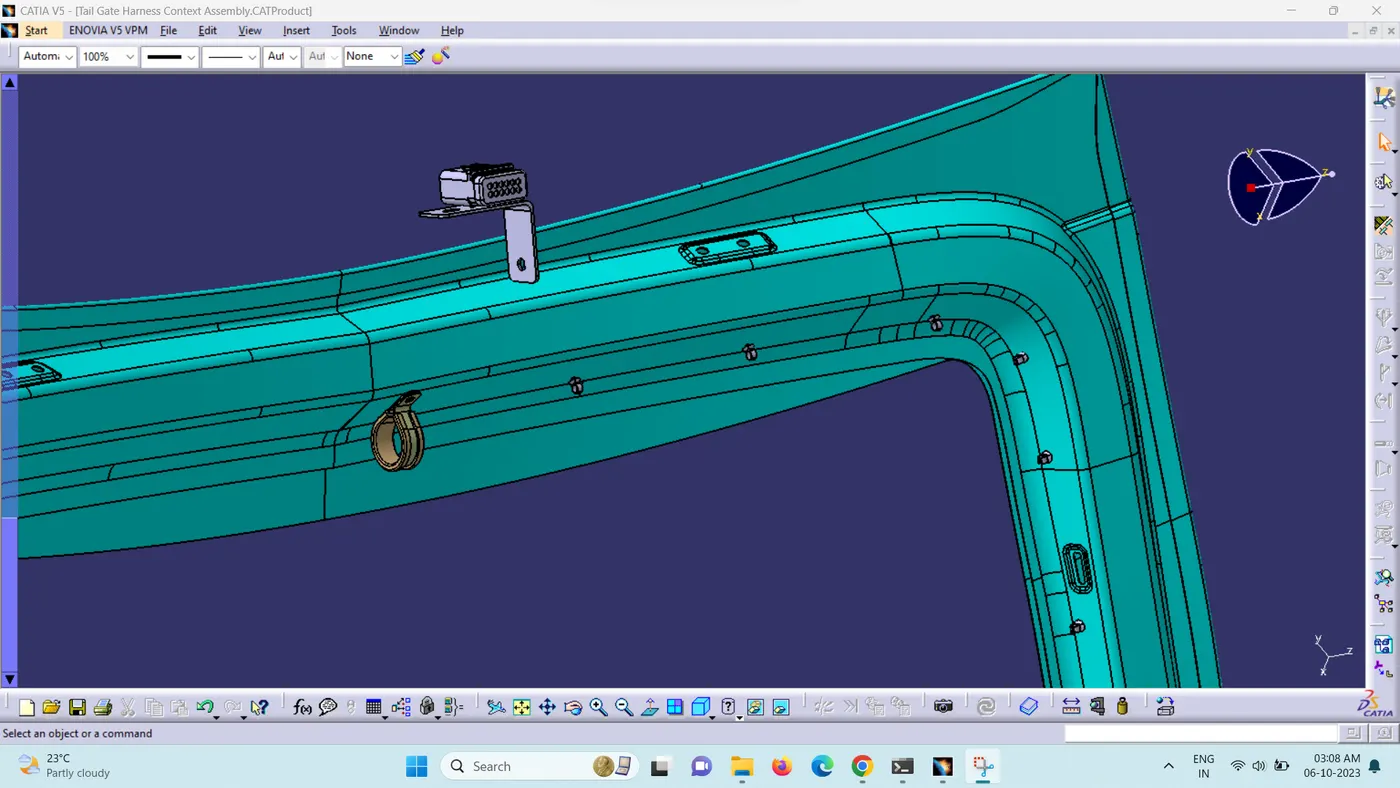
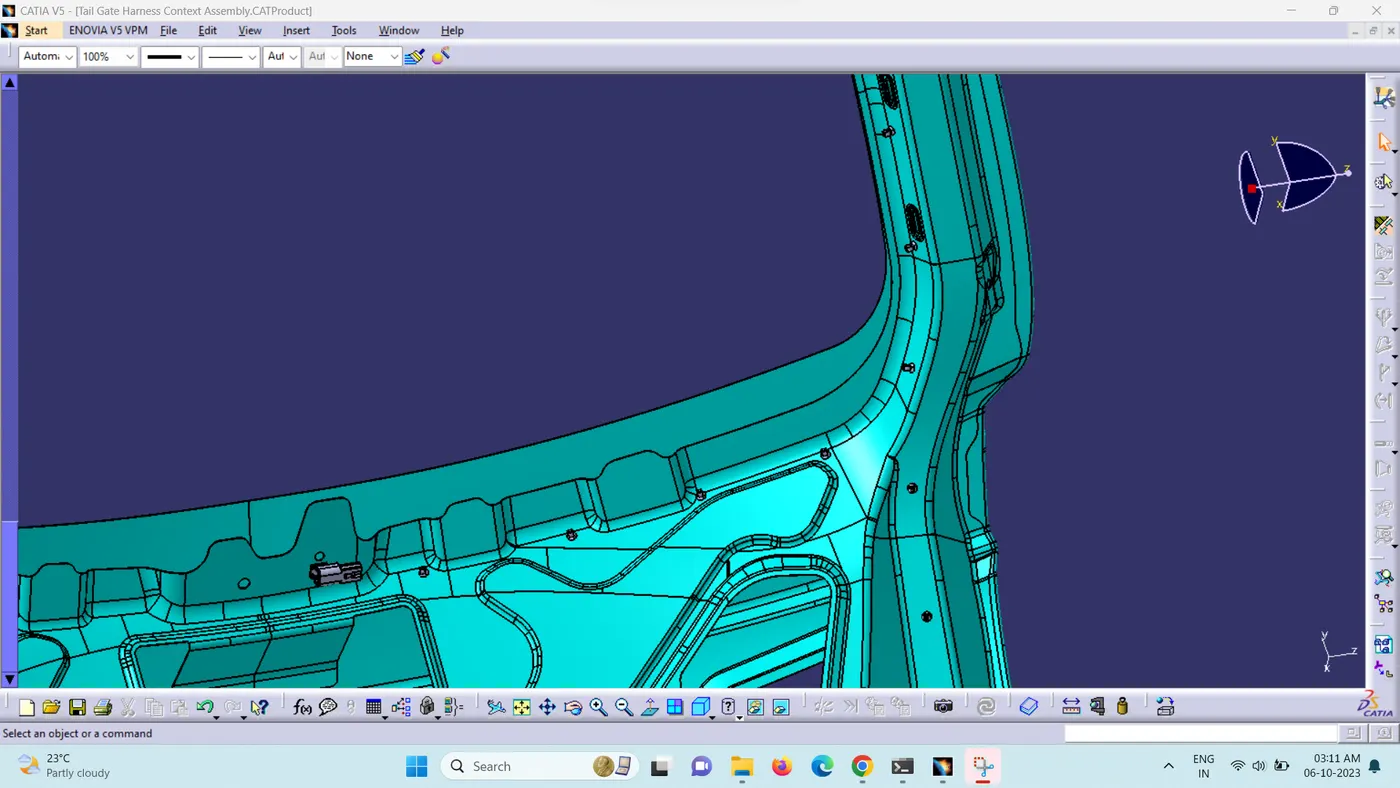
Opening the connectors and support parta in Catia and using the snap and smart move and positioning the connectors and supports.
Initially we will position the connectors and then position the support parts inorder to start routing.
STEP 4 - Bundle routing
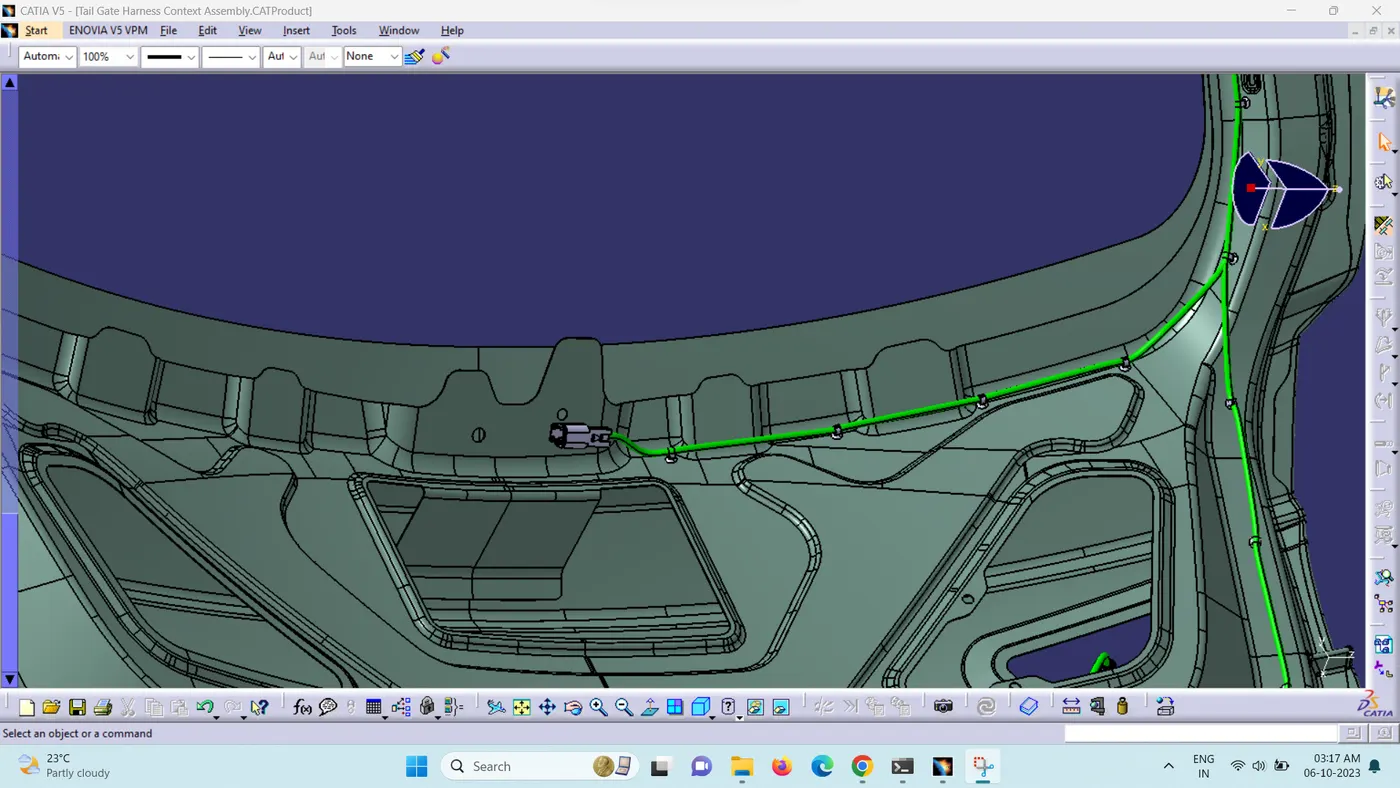
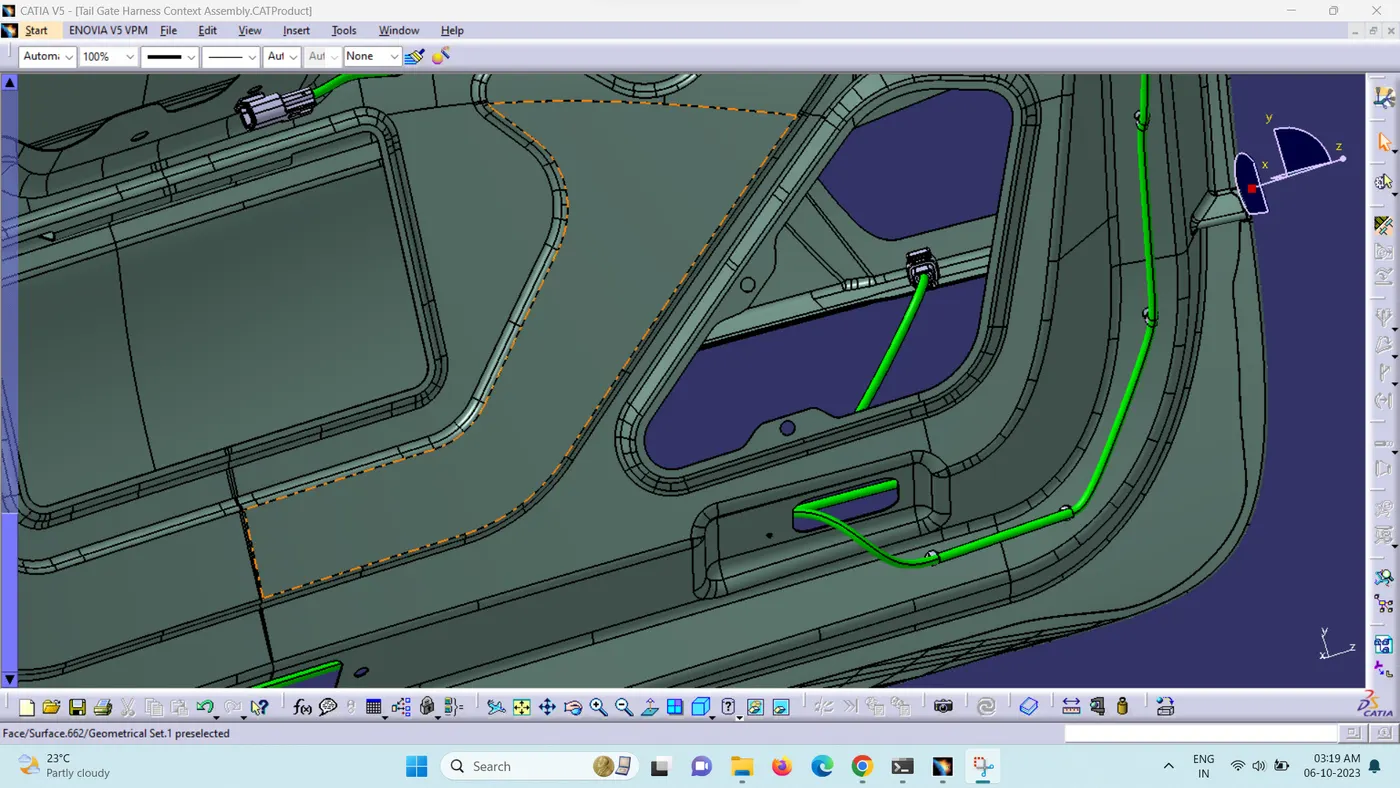
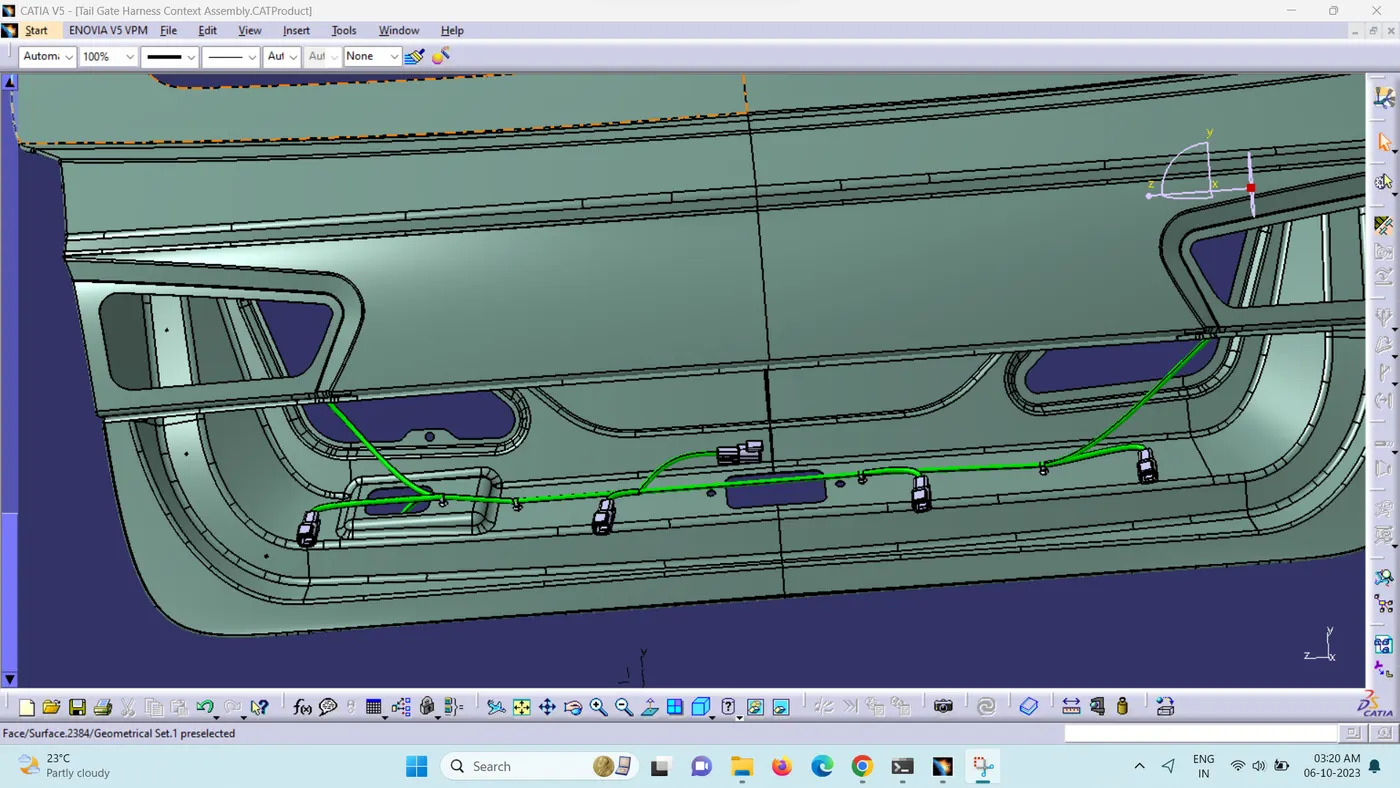
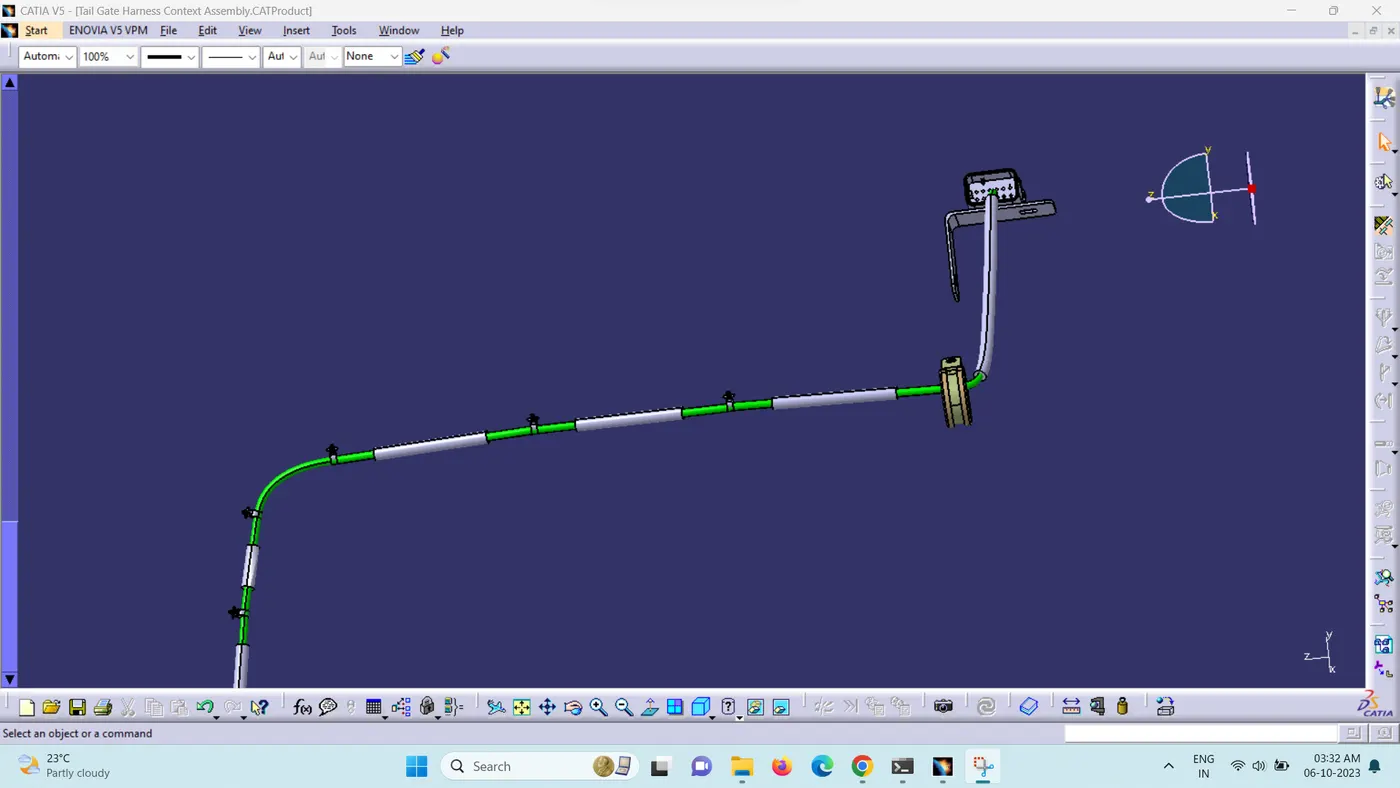
The routing starts with interconnection connector placed on the L clip it is continuously routed to the following supports. The major routing supports used here are the p clams and fur tree.
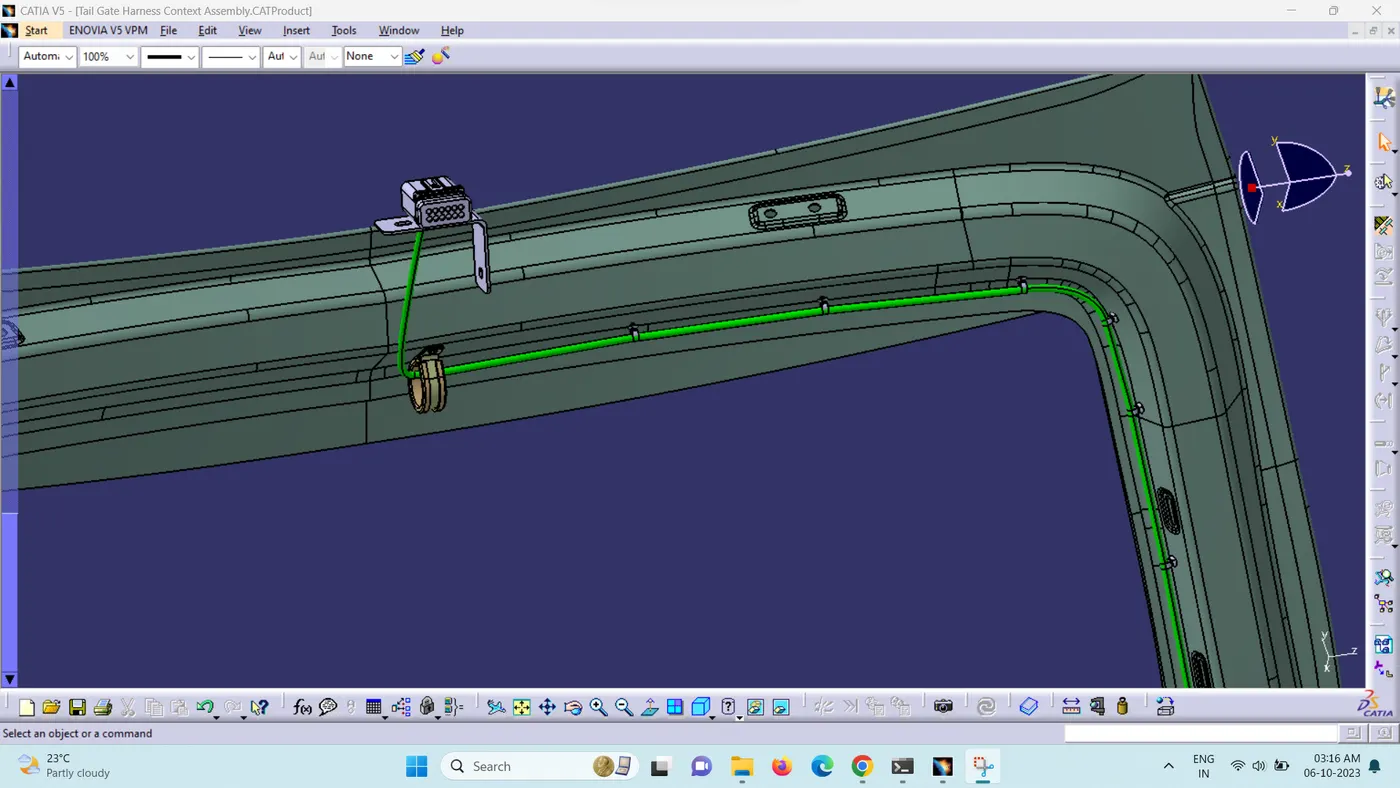
Wiper Motor Connector
Back Light Connectors
Sensors and other Connectors
STEP 5 - Bundle continuity check
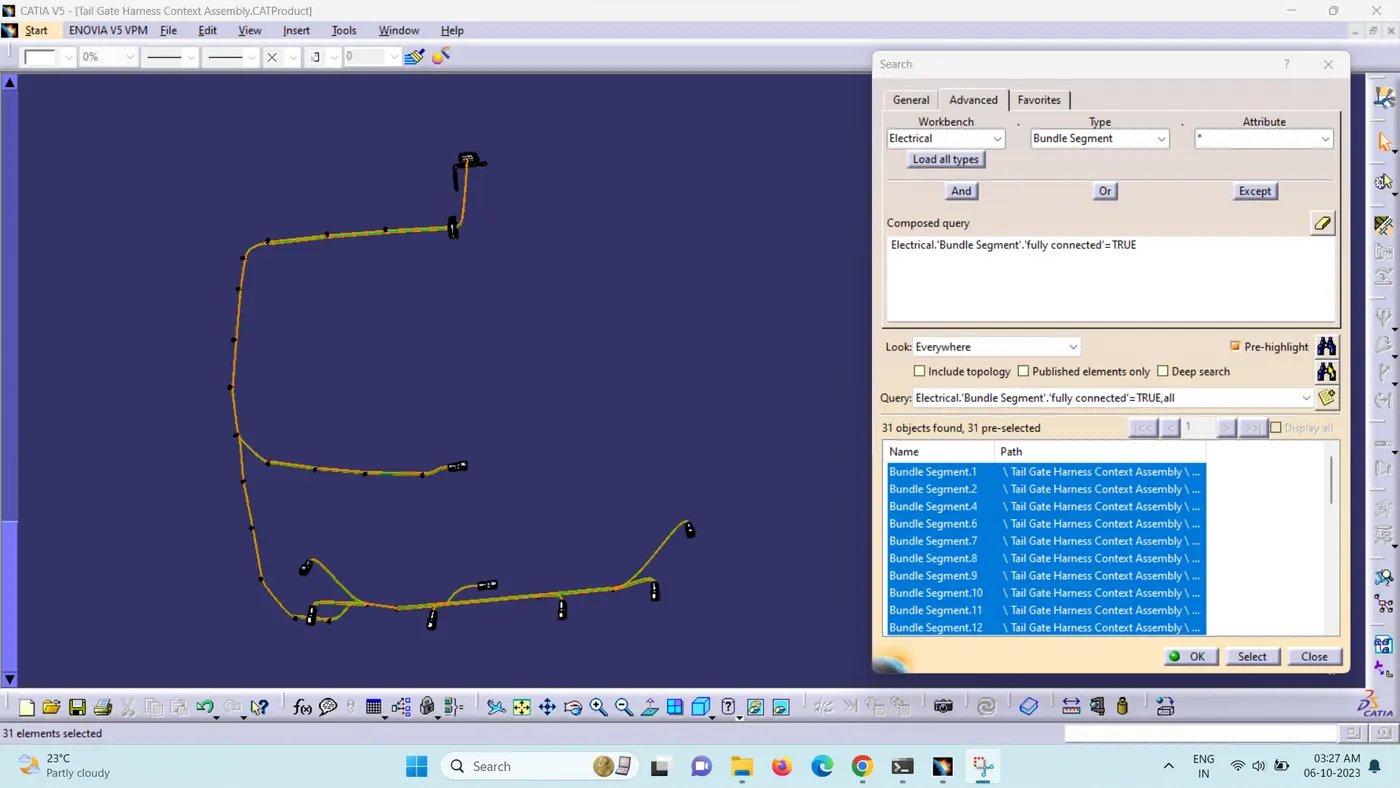
- In this step, first, we need to ensure that 'multi-branchable' is selected. Then, navigate to Edit > Search > Advanced > Workbench-Electrical > Type-Bundle Segment > Attribute-Fully Connected.
-
Selecting the 'True' option will display all the connected bundle segments, while selecting 'False' will show all the non-connected bundle segments.
-
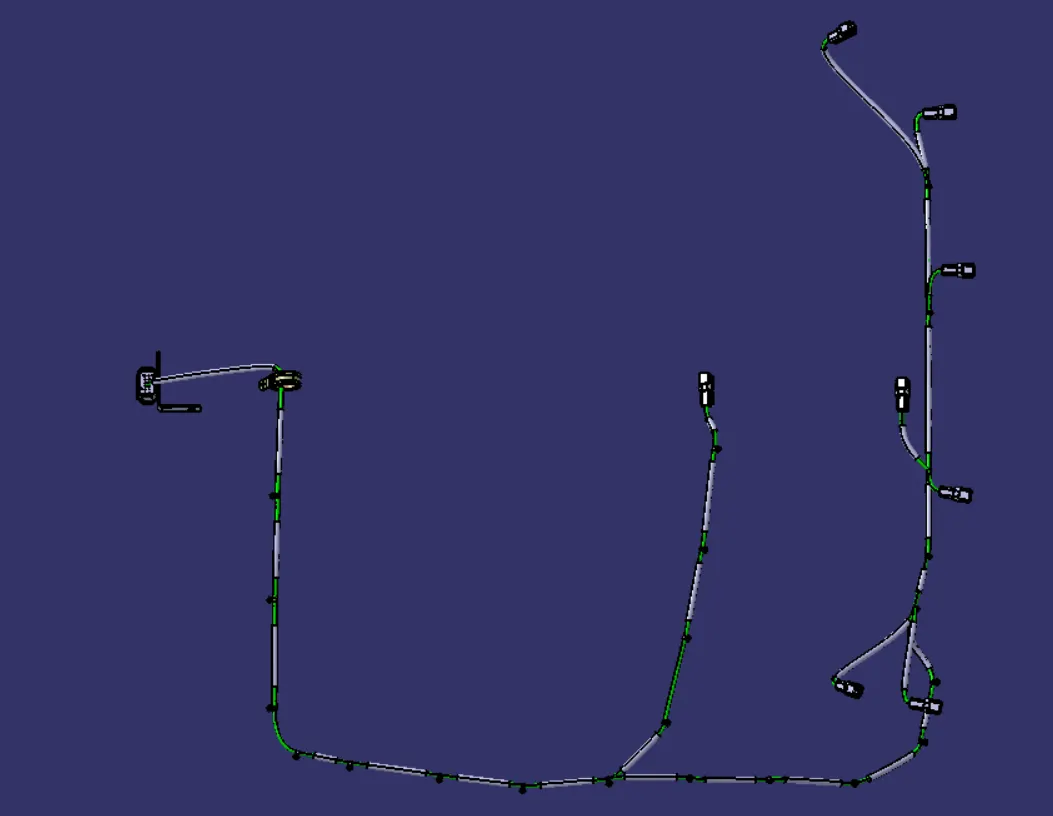
For this task, we have chosen the 'True' option and conducted the search. As seen in the figure below, all the bundle segments are highlighted, confirming that they are electrically connected.
STEP 6 - Adding protective covering to the harness bundle
Using the protection covering tool, we safeguard all the bundles. We have established a cataloge and incorporated a 6.5mm diameter protection cover. We ensure there is a gap from both the end and start extremities.
STEP 7 - Create flatten view
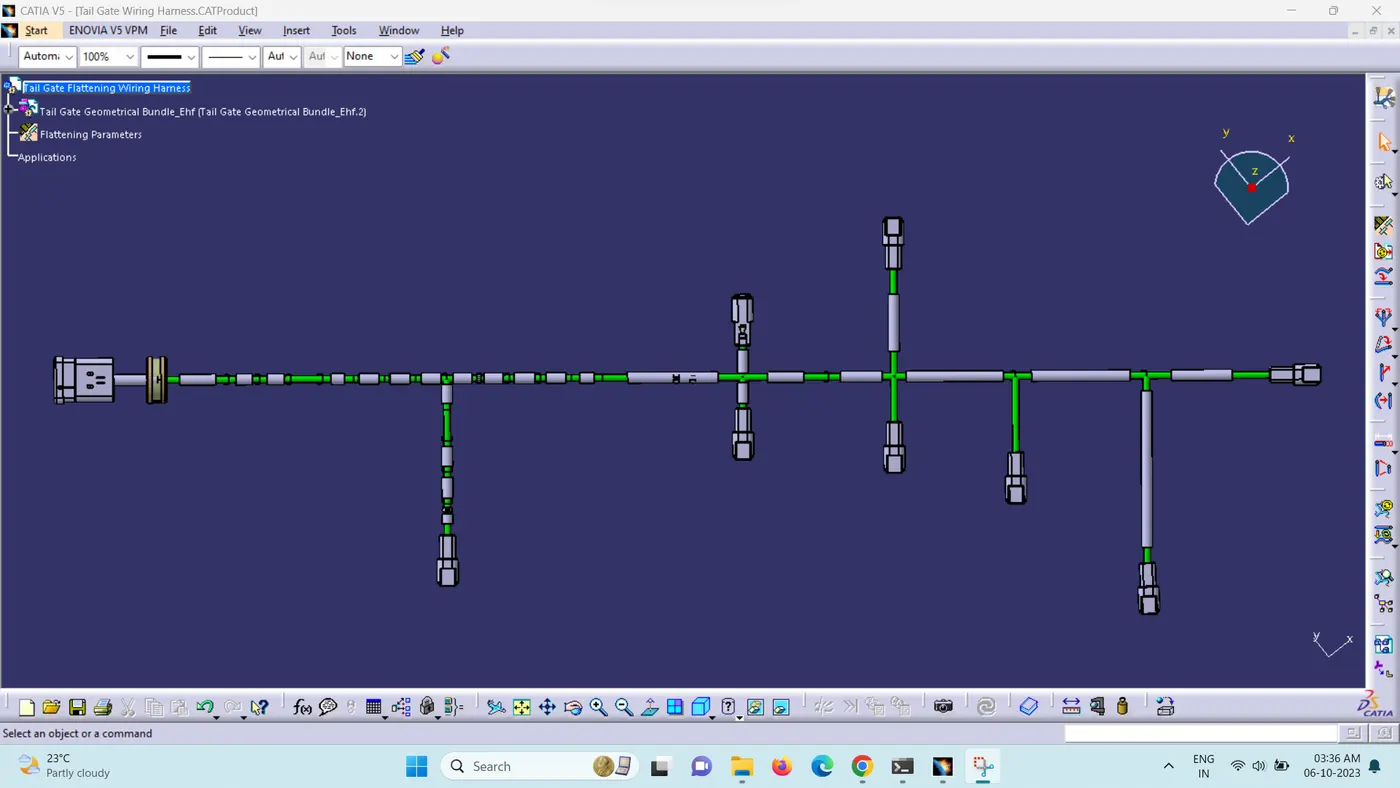
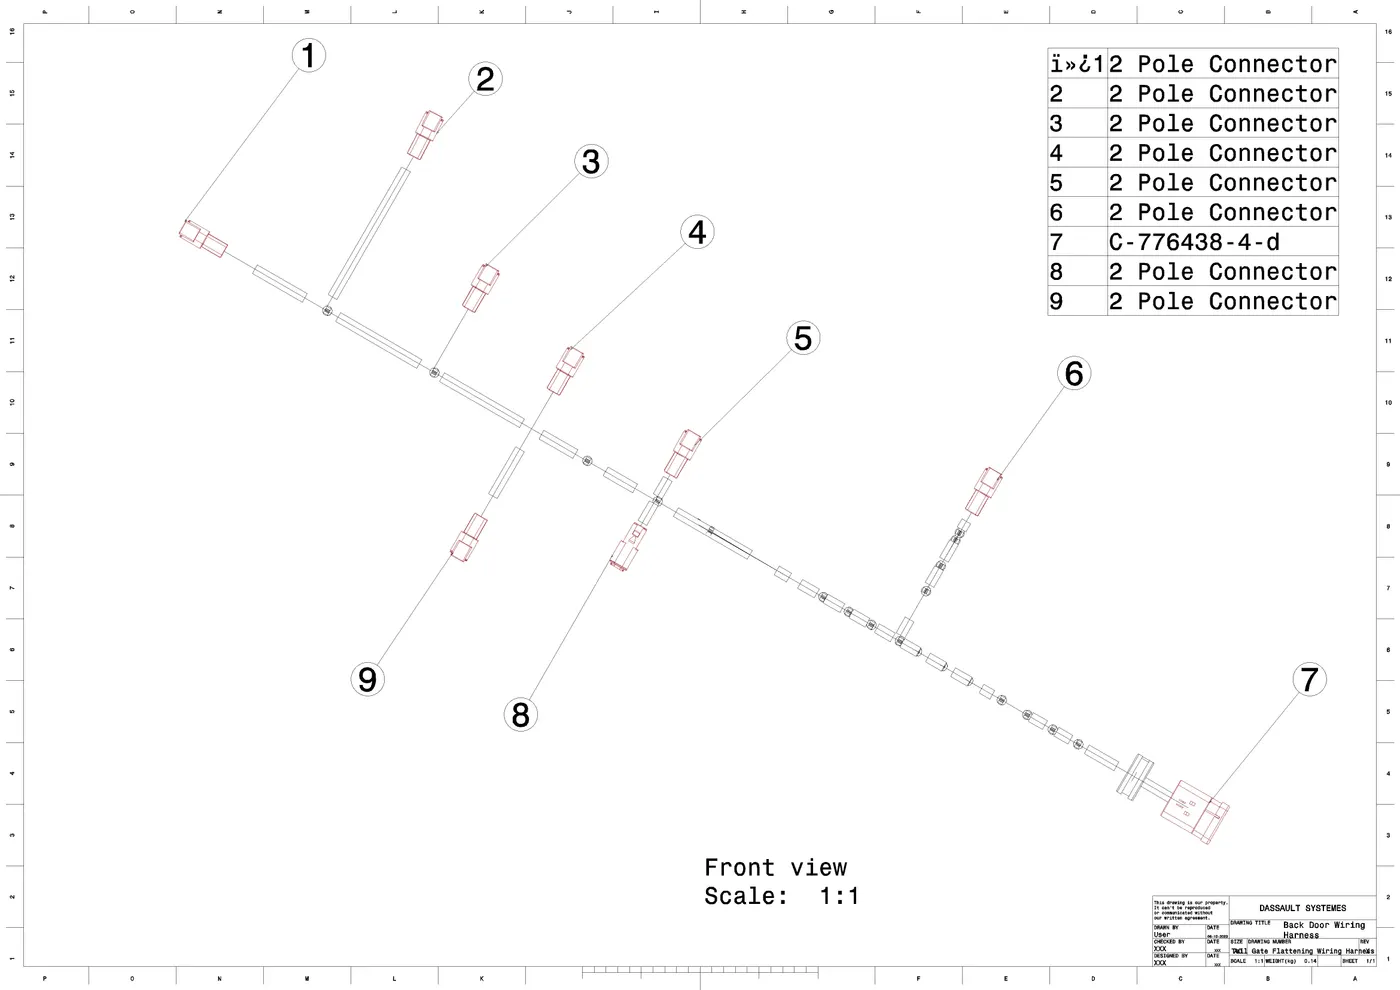
Now we open a new product file for the Electrical harness Flattening. Here we save the already made geometrical bundle segment and we extract the geometrical bundle to flatten harness by apply flattening parameters we flatten the geometrical bundle.
Conclusion - Routing of the wiring harness for the car Backdoor assembly has been successfully done and prepared flatten-view drawing in Catia V5 as per the design requirements.