Project 2
CAR BACKDOOR WIRING HARNESS AND PROCEDURE:
Download the CAD data from a given source.
INTRODUCTION
A wire harness, also commonly referred to as a wiring harness, is an exterior sheath used to cover some types of electronic wires. Generally, wiring harnesses are made of thermoplastic or thermoset materials that can help protect the cables from the environment.
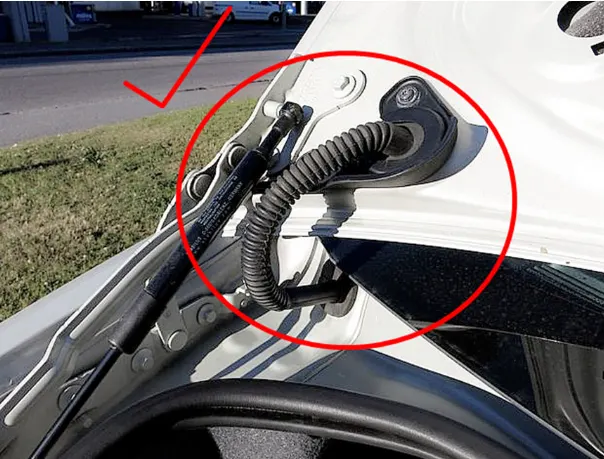
- In the Given cad data, the car's back door wires are placed inside of the embossed region for the safety of water entry to the wire makes electrical disturbance.
- use of grommets to avoid the water entry
USED CONNECTORS:
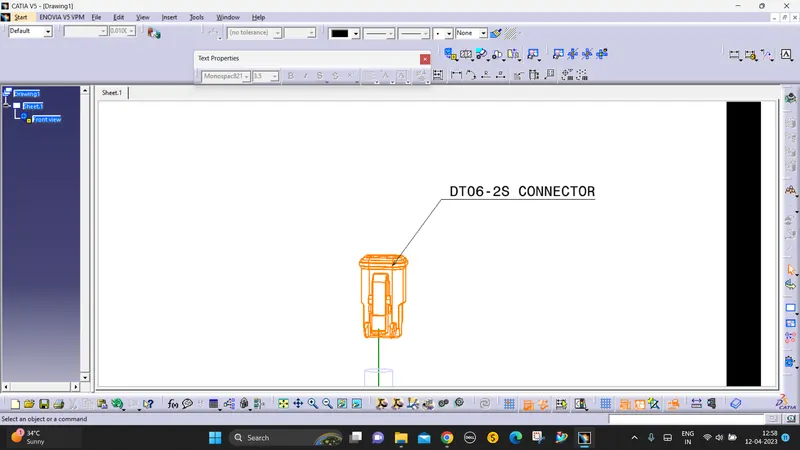
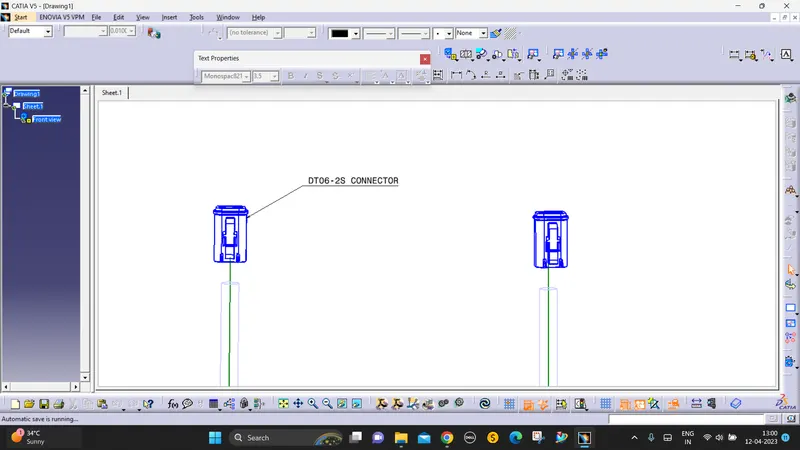
- DT06-2S(Danger light, Wiper motor, camera, indicating lights, and tail lights rear.)
- DT06-4S(FOR SENSORS)
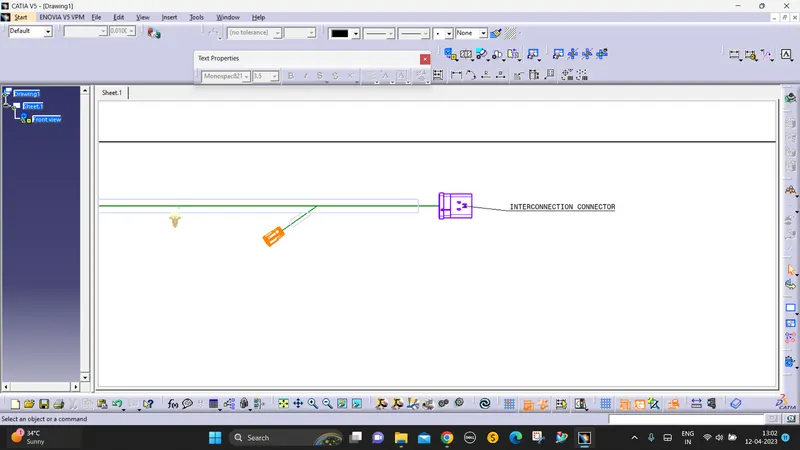
- INTERCONNECTION CONNECTOR(connects to the passengers compartment top roofs)
STEPS TO DEFINE 3D CONNECTORS AS ELECTRICAL CONNECTORS:
- Download the igs file on the TE website and open it in Catia v5.
- save the file as CATPART and store it in the catalog.
- Then open in electrical part design
- Define part as a connector
- Define bundle connection point
- Define connector connection point
- Define cavity connection point
DEFINE CONNECTORS:
In the mechanical part design place points and axis in the part design.
the x-axis should be in the locking position
y-axis should be in the path(coincides)
then use define as a connector command to define it in the EPD(ELECTRICAL PART DESIGN)
then enter how many terminals are there (ex:8).
DEFINE BUNDLE CONNECTION POINT:
the wire connecting part is a bundle entry connection.
The Point is placed before the mechanical part design that is used as a bundle connection point.
the point is placed in the middle of the face on the bundle entry side.
then define it using the bundle connection point command.
CONNECTOR CONNECTION POINT:
The point and axis that is placed in the mating point is the connector connection point.
then define it using the connector connection point command.
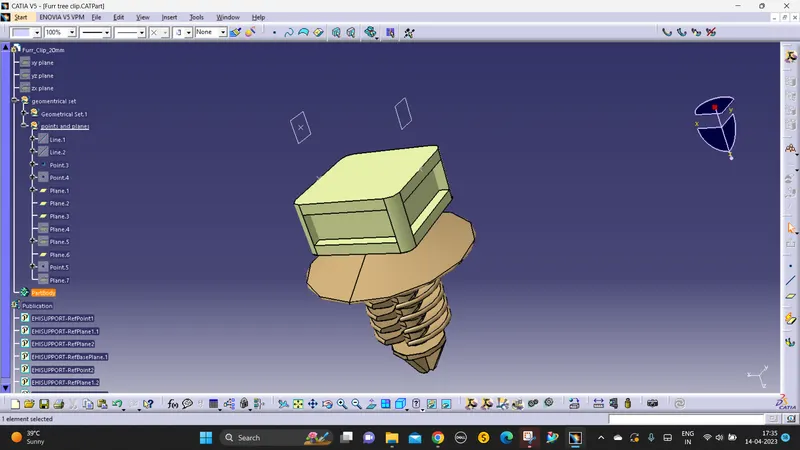
CLIP DEFINITION:
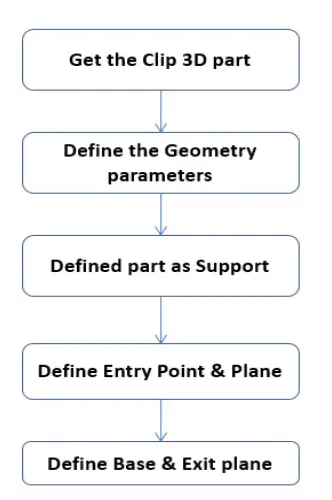 P clamps or p clips as they are also known are designed to bundle and clamp the wires.
STEPS:
1.download the 3D data and open in catia v5 software.
2. In part design points and planes are placed.
3. Then open EPD(Electrical part design) and define as support.
4. give the entry and exit points and planes.
Creating the Main Assembly:
Context assembly is nothing but the product file which contains the engine 3D-CAD data and the engine harness geometrical bundle.
Here the geometrical bundle product contains all the connectors and other mounting equipment, clips, and clamps which are electrically defined for the assembly.
Creating the Main Assembly:
Context assembly is nothing but the product file which contains the engine 3D-CAD data and the engine harness geometrical bundle.
Here the geometrical bundle product contains all the connectors and other mounting equipment, clips, and clamps which are electrically defined for the assembly.
POSITIONING THE CONNECTORS:
placing the interconnection connector to the top of the hinge region of the car's back door.
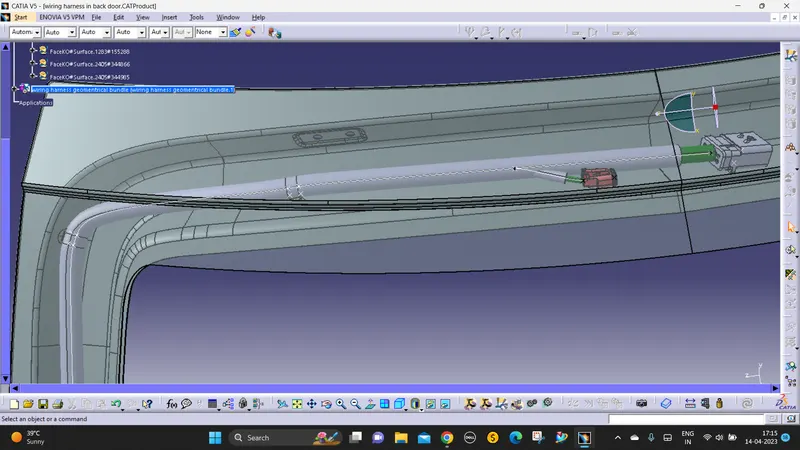
Then position all the connectors in the component's(devices) path using the manipulation commands and move commands.
Harness routing and packaging
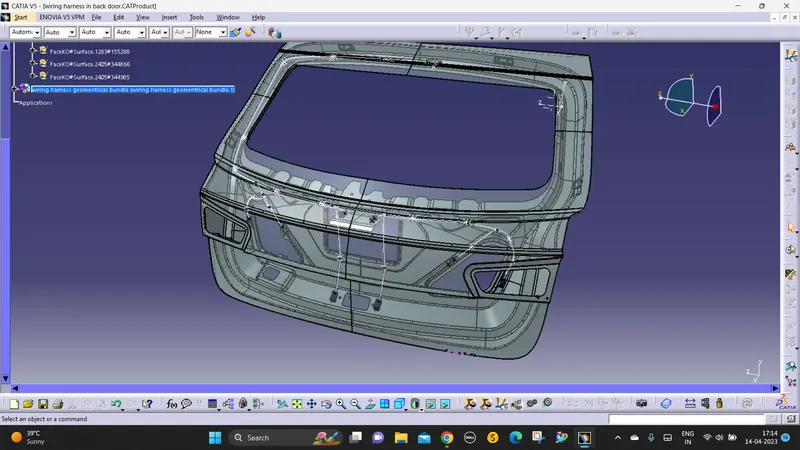
- The available connectors are added to the geometrical bundle and properly positioned onto the car's back door.
- Using the multibranchable command to route the wire to the positioned connectors using route connection.
- Then the bend Radius is 1.4.
- Use the correct tangent to route the wires to the positioned connectors.
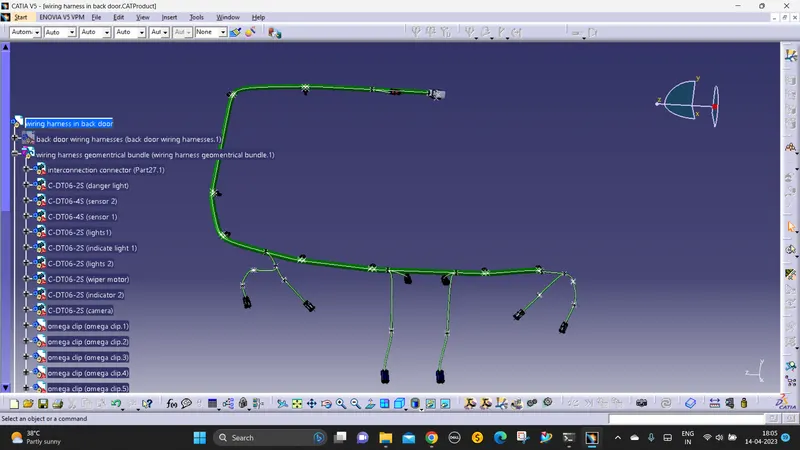
After the routing is completed we need to add a protective covering.
- Before adding protective covering we need to check the bundle segment
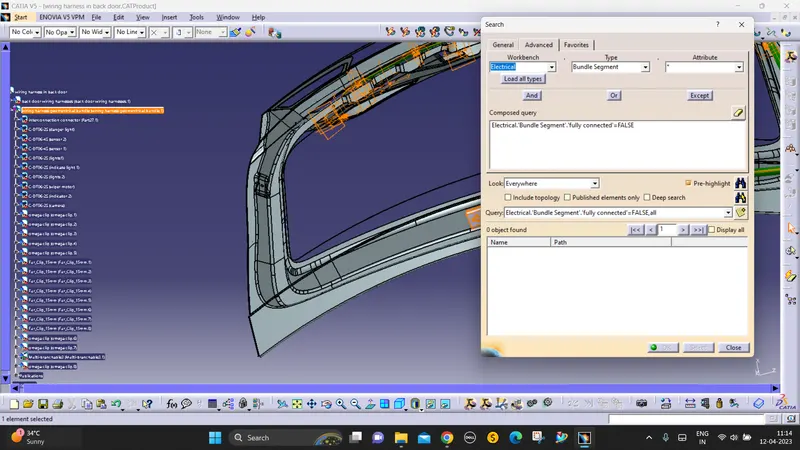
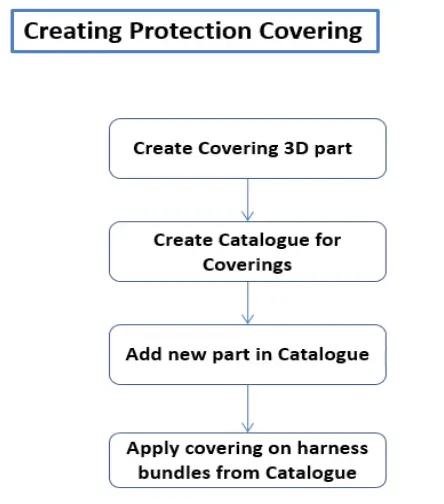
- Add protective coverings on the wiring harness to protect the wiring from high temperatures. protective covering created by using the define protection part command in the electrical part design workbench. Select a part, and define the parameters as per the requirement.
- The created corrugated tube can be added to the catalog by store device command and selecting the catalog file created for protective covering. then appropriate protective covering was added to the bundle segments.
-
The plastic materials used and their temperature resistance for the cot tubes.
CREATE CORRUGATED TUBES:
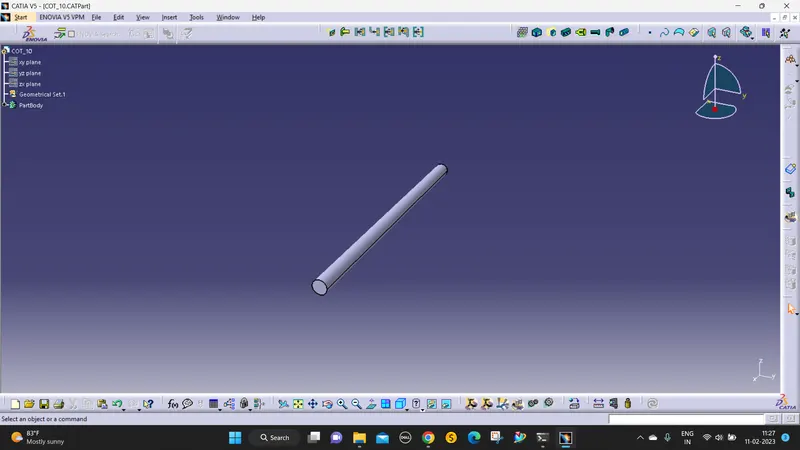
 CORRUGATED TUBES are the cot tubes. It is used to protect the wires and it is an insulated tube.
Steps:
1. open a new part file
2. Go to EPD and select the Define protection part and select the part body.
3. Then give the ID and BEND RADIUS 1.5*ID.
4. Then give ok cot tubes are ready.
catalog creation :
- the new part - catalog document - add family - give name - type - select Conduit - save.
- Open part to add catalog - store device command - select catalog - family - SLITCOT_TUBES - ok.
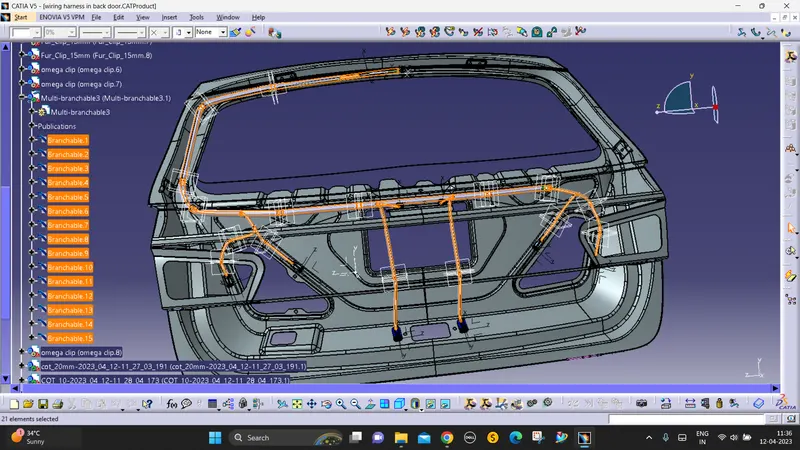
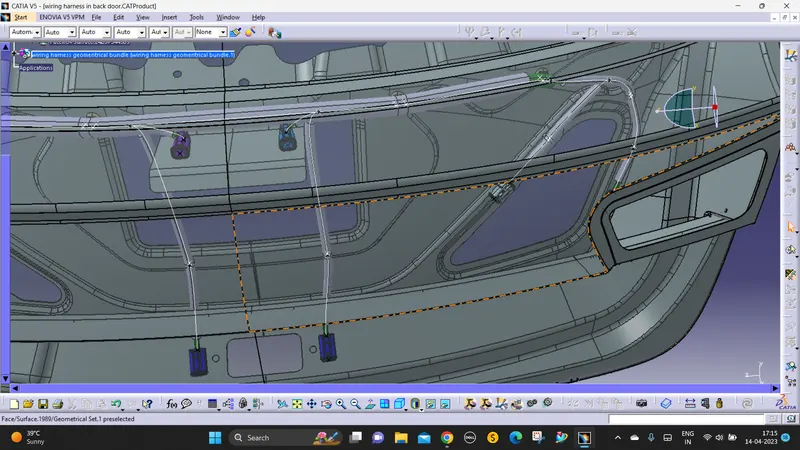
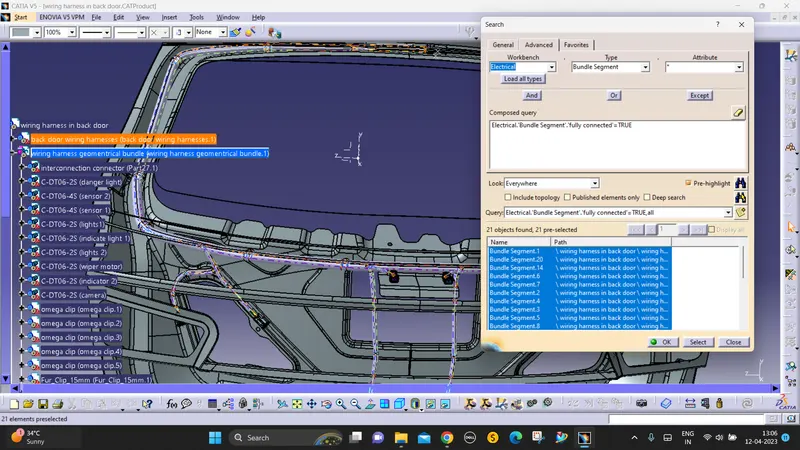
design criteria followed to route the wiring harness
- Wiring harness routed by considering the factors of ease in manufacturing, accessibility, easy removal, and easy maintenance of attached equipment and routing harness.
- The wiring harness should be routed in such a way that it is easy to assemble on a vehicle.
- The wiring harness should be kept away from sharp environments like sheet metal brackets, panel edges, corners, etc.
- Avoid harness routing and clipping in the blind zone of the operator during harness installation.
- Ensure that routing meets the clearance requirements with the different surrounding parts.
- Routing shall provide enough slack for each branch to avoid additional stress on the wire and terminal crimping joints but ensure that extra slack does not cause the wiring harness to foul with surrounding parts and impact desired clearance requirements.
- Enough clamps should be provided to ensure positive clearance with the surroundings and the safety of the wiring harness.
- The use of plastic guided channels is recommended to meet the clearances in critical areas if it is difficult to achieve by the use of clamps.
- The branch length should be a minimum of 50mm.
- The minimum distance between the clip and the nearest branching point should be 25mm.
- The minimum distance between two breakouts should be 50mm.
- Limit the no. of branches from a single branch point up to 4.
- Ensure that harness protection is provided according to surrounding temperature, manufacturability, and expected reliability.
- The min. bend radius is to be 1.4.
WIRING HARNESS FLATTENING
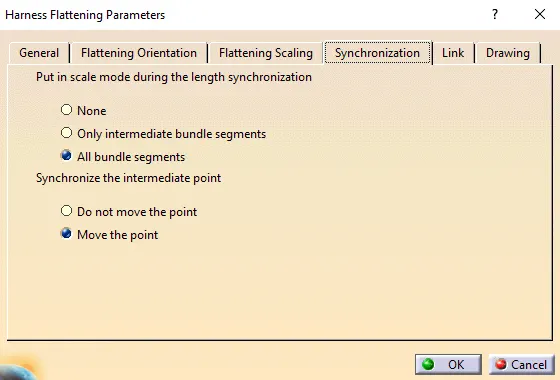
Create a new product file for flattening the wiring harness and save as in the same folder where the wiring harness is saved. Then switch to an Electrical harness flattening workbench and select harness flattening parameters and define harness flattening parameters. Before creating a flattened view, Make sure that select 'Double line' for the bundle segment and 'Double' line for protective covering.
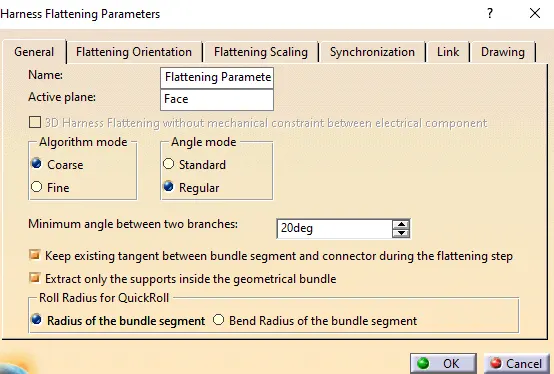
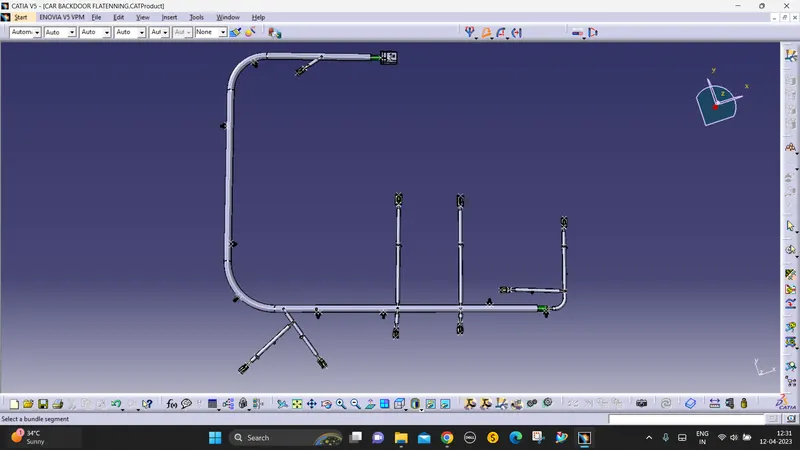
Use the flatten command, rotate, bend, and roll commands to arrange the flattened view.
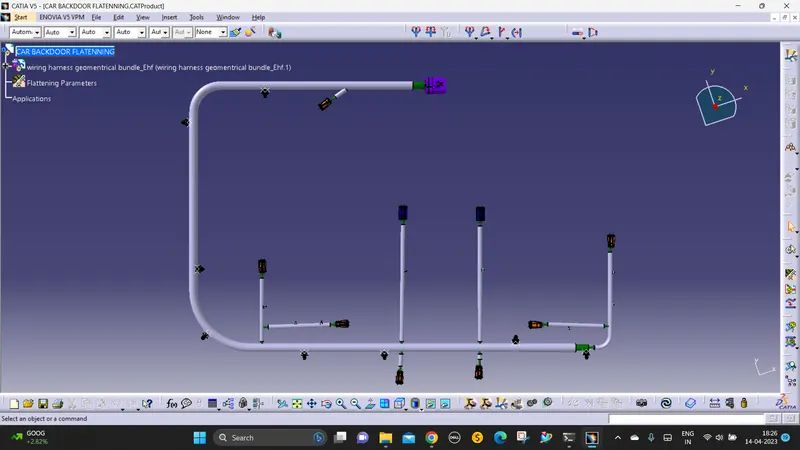
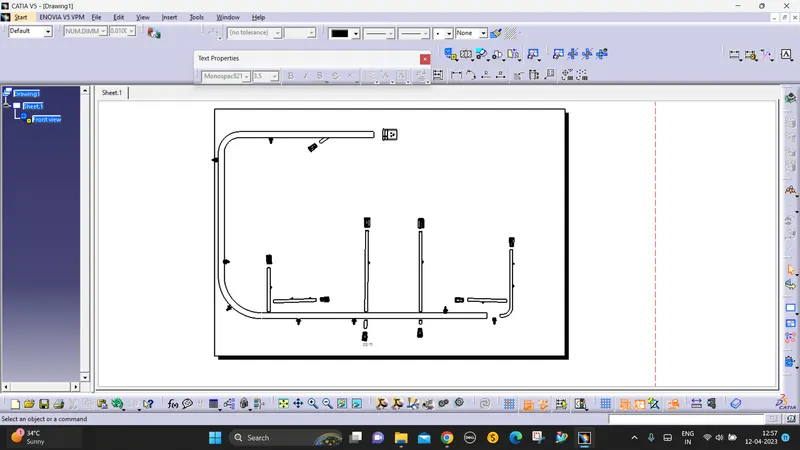
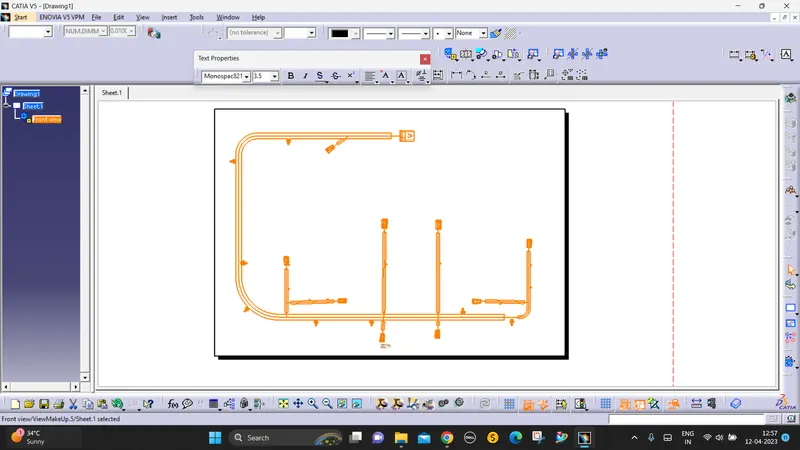
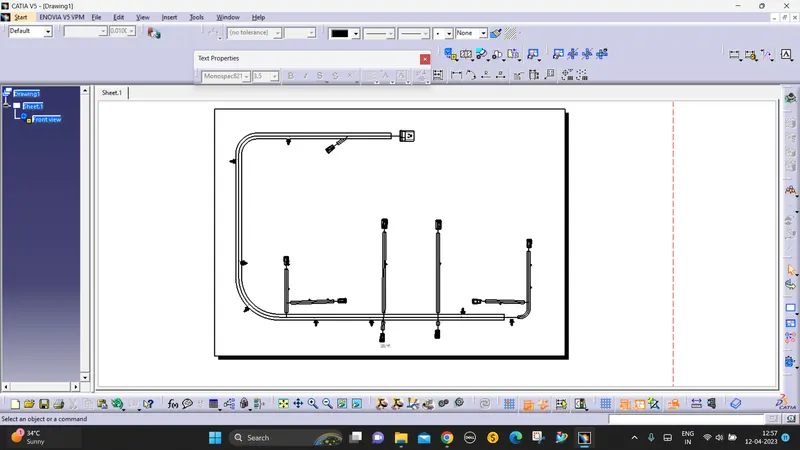
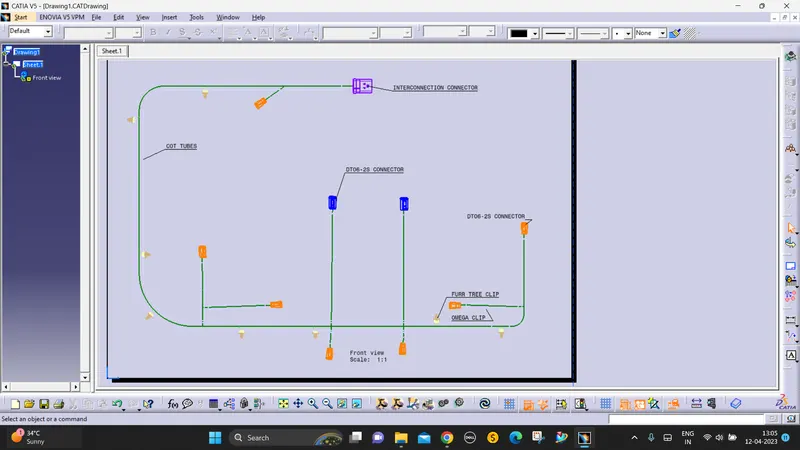
FLATTENED HARNESS VIEW IN THE DRAWING SHEET
Create a Drawing File for the flattened harness product.
- First, we need to make sure that in the flattened parameter settings bundles and protective coverings have different graphical representations which are,
Bundle Segments – Single-line representation
Protective coverings – Double line representation.
- Create a new drawing file in the drafting workbench
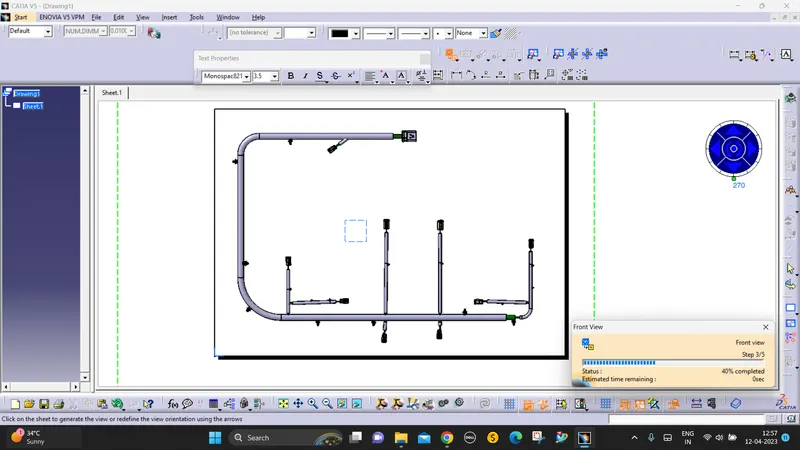
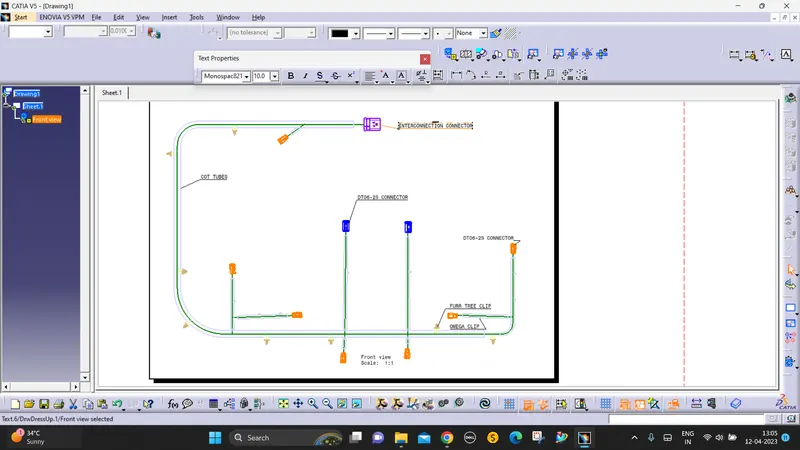
FINAL OUTPUT:
Conclusion
In this project, I successfully routed the wiring harness for the car's backdoor assembly, and the flatten-view drawing was prepared in CATIA V5. Various packaging rules and constraints were considered while routing the harness.