Project 1 - Meshing of Floor Panel
Project 1 - Meshing of Floor Panel
Aim
To Mesh the given floor panel for the given quality criteria.
Importing CAD Model
This is the geometry of the floor panel
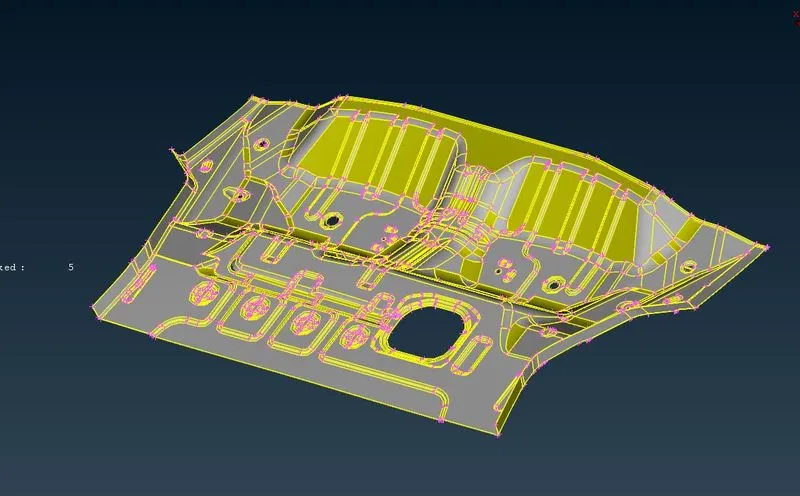
Checking for Geometry errors
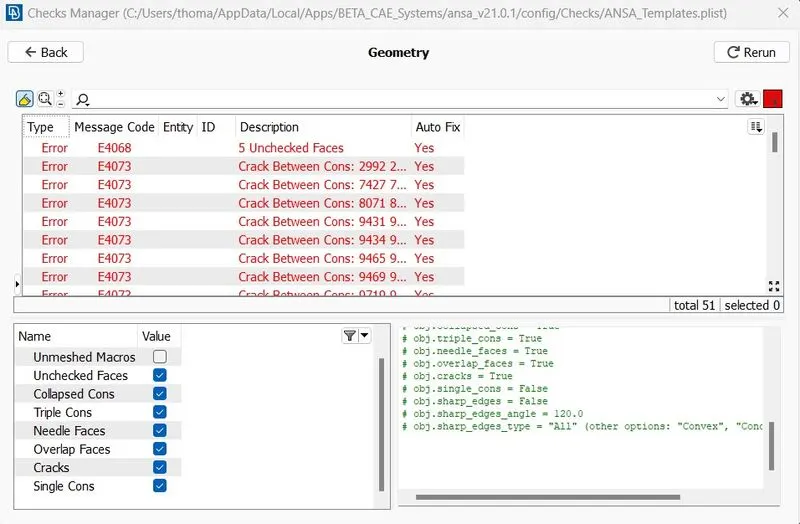
While checking for geometry, we have seen many errors, most of them are fixable, but there are some errors which should be fixed by manually.
By doing a face delete or Face Cut, we fix the errors.
Likewise we cleared all the errors and the geometry is now good to go.
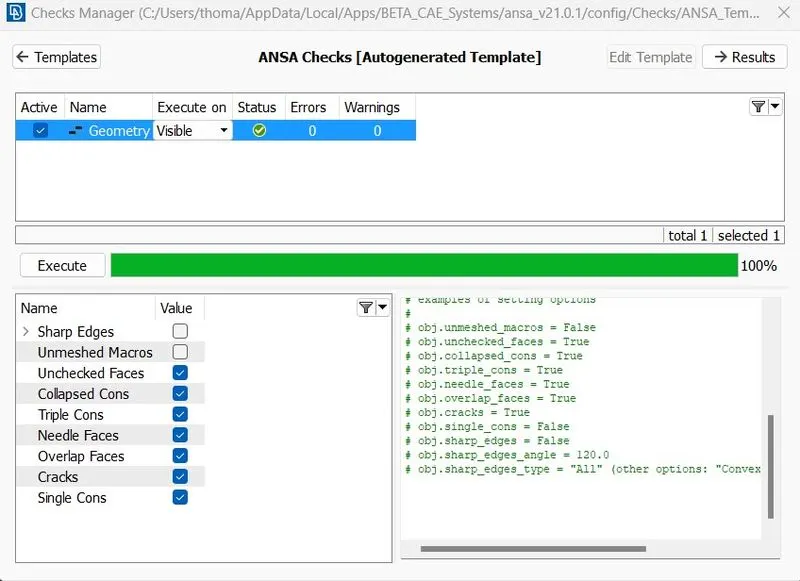
Midsurfacing
The next step is to create a midsurface for the given geometry, for that we use Midsurface > Skin option and selected the whole geometry and assign the thickness for the Midsurface and its done.
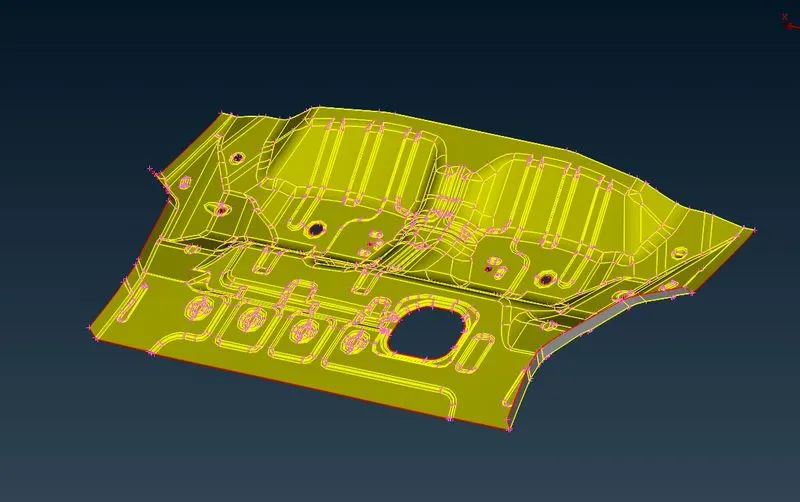
Now, before meshing we need to assign the quality criteria as given in the question.
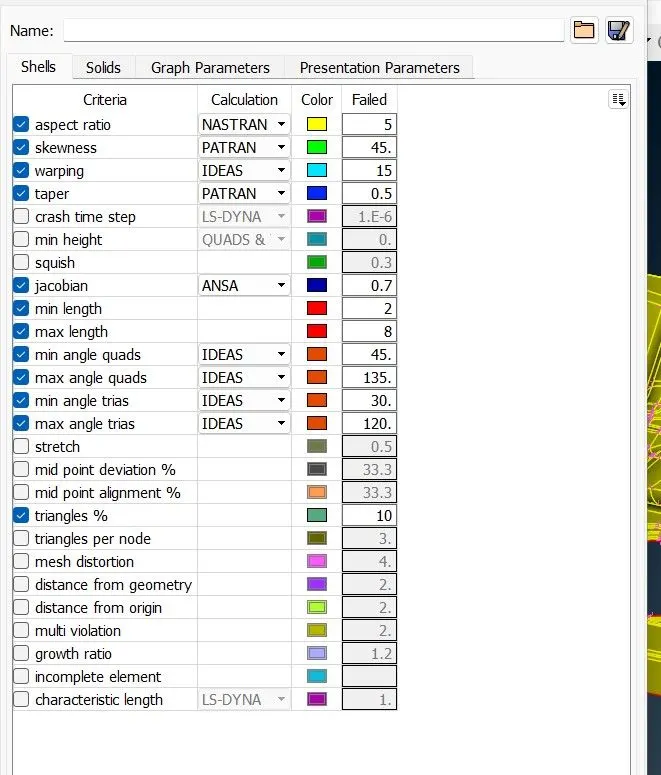
Assigning values on the Mesh Parameters
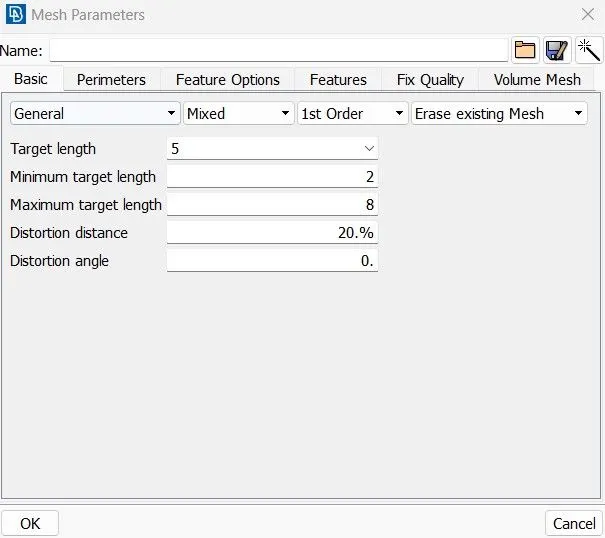
Now, under the Mesh tab, Perimeter > Length , set the value as 5, similarly, we do assign the same values for the macros as well.
Before meshing, we delete all the unwanted cuts and hot points.
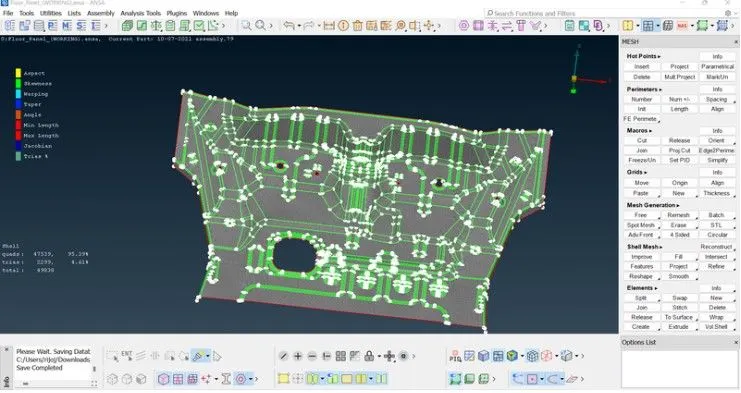
Now, the Meshing is done using the Batch mesh option.
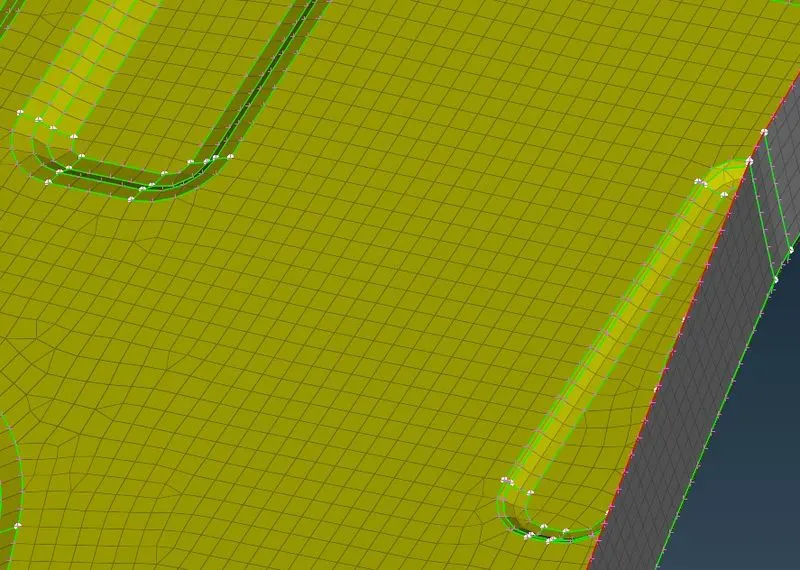
all the errors and mesh issues are cleared by using Elements > Split option, Element > Swap option, Shell Mesh > Reconstruct, Shell Mesh > Smooth Option
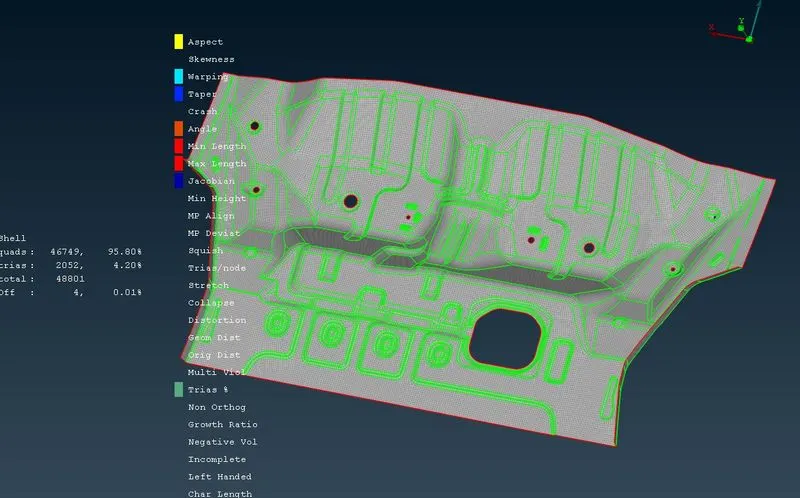
Thank You