Project 1 Mechanical design of battery pack
Prepare a detailed battery pack drawing along with its enclosure. State your assumptions
Battery pack capacity: 18 kWh
Cell: ANR26650M1-B
Cell Description
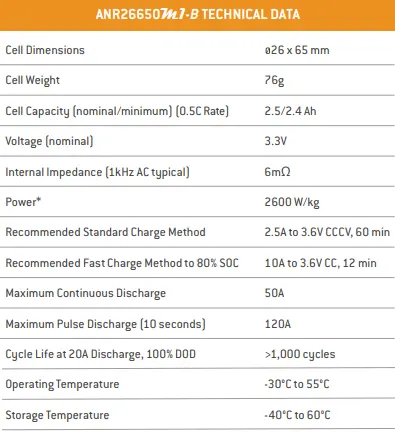
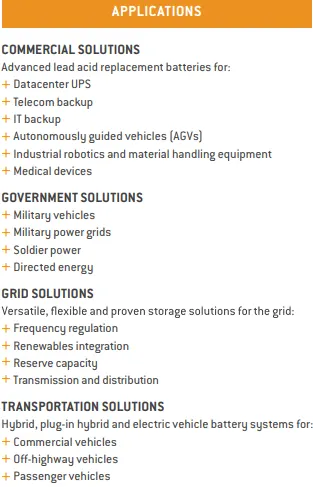
Calculation
Nominal Voltage of a cell= 3.3V
Nominal Capacity of a cell= 2.5Ah
Cell Energy Capacity is the product of Nominal Voltage and Capacity.
Energy Capacity of a cell= 3.3 x 2.5 = 8.25Wh
Taking a module of 3 Series and 5 Parallel
The voltage output from the module is 3 x 3.3V = 9.9V
The Capacity of the module is 5 x 2.5Ah = 12.5Ah
Hence we have the module of 9.9V and 12.5Ah
Let us assume we have to make a battery pack of 48V.
To meet the required voltage the modules must be connected
Number of Modules in Series required = 48/9.8 = 4.845 ≈ 5 modules
To get a Battery Capacity of 18000Wh
The Energy capacity required is 18000/48 = 375Ah
We know each module has a 12.5Ah capacity
Number of modules required to be connected in Parallel = 375/12.5 = 30 Modules
Thus we must have a battery pack of 30 Parallel modules and 5 Series modules, each module containing 3 Series and 5 Parallel Modules.
Validation
Capacity = 5 series modules x 30 Parallel modules x ( 3 Series cells x 3.3V) x (5 Parallel cells x 2.5Ah)
We get the pack capacity as 18562.5Wh
The additional energy can be used to compensate for the losses in the battery due to external environmental conditions.
The margin can be designed according to the type of application, and in a controlled environment, this margin remains small.
Mechanical Design
Step 1: Selection of ANR26650M1-B cells
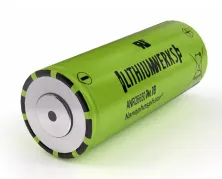
The ANR26650M1-B is the next generation of A123 Systems’ pioneering 26650 cylindrical cell, now with greater power and energy density and lower impedance. This versatile lithium ion cell is suitable for a wide variety of applications and system designs. Proven performance in the toughest conditions, combining durability, reliability, and safety, the ANR26650 cell offers an excellent combination of price-performance.
Nanophosphate® battery technology
Nanophosphate® battery technology offers stable chemistry, faster charging, consistent output, excellent cycle life and superior cost performance. It provides the foundation for safe systems while meeting the most demanding customer requirements. Multiple layers of protection are employed at the chemistry, cell, and system level to achieve an energy storage solution with superior safety and abuse tolerance compared to metal oxide lithium-ion chemistries
Benefits
- Cycle Life at 1C/1C, 100% DOD, > 4000 cycles
- Safety: Excellent abuse tolerance and environmentally friendly
- Life: Excellent calendar life, 10X cycle life vs. conventional lithium-ion
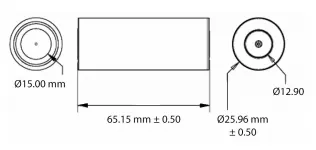
Dimensions
Step 2: Choosing the Right Battery Strips
To make the battery pack, we have to connect the 18650 cells together by means of Nickel strips or thick wire. Generally, Nickel strips are widely used for this. In general two types of nickel, strips are available in the market: nickel-plated steel strips and pure nickel strips. I will suggest buying a pure nickel. It is a little bit costlier than nickel-plated steel, but it has much lower resistance. Low resistance means, less heat generation during the charging and discharging, which leads to longer useful battery life. Nickel strips come with different dimensions and lengths. Choose the strips according to the current rating.
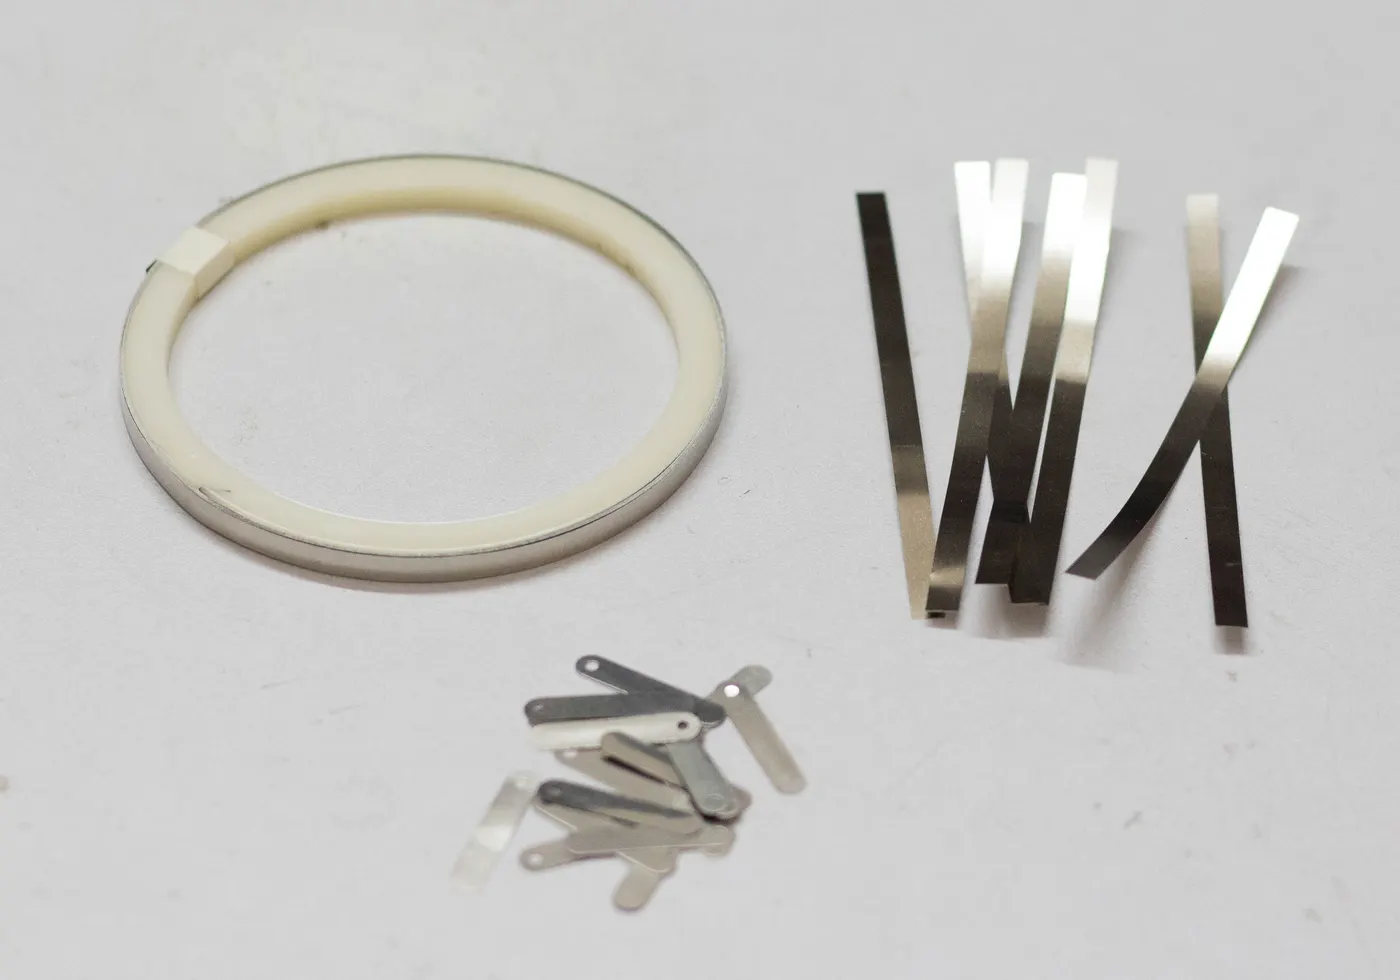
Step 3: Spot Welding or Soldering
We have two options two connect the 18650 cells together: 1. Soldering 2. Spot Welding
The best choice is always Spot welding, but Spot Welder is much costlier than a good quality Soldering Iron.
Soldering :
We should know why Spot welding is preferred over soldering, the problem with soldering is that we apply a lot of heat to the cell and it doesn’t dissipate very quickly. This enhances the chemical reaction in the cell which damages the cell's performance. Ultimately we will lose some capacity and life of the cells.
But if we are not interested to buy a costly Spot Welder, we can solder the nickel tabs to the cell by following some precaution and tricks :
1. To minimize the contact time of our soldering iron on the cell, make sure the surface is scuffed up sufficiently and we use plenty of flux to allow for fast solder flow.
2. It is better to have a good quality high wattage ( min 80W ) iron with good thermal capacity so it can deliver the heat to the joint quickly so we don't have to hold the iron to the battery for ages and let the heat seep into it, causing damage to the battery.
Spot Welding :
The reason we spot weld because it securely joins the cells together without adding much heat to them. There are two grades of spot welders currently available in the market: hobby grade and professional grade. A decent hobby-grade Spot welder costs around $200 to $300, whereas a good professional grade may cost around ten times more.
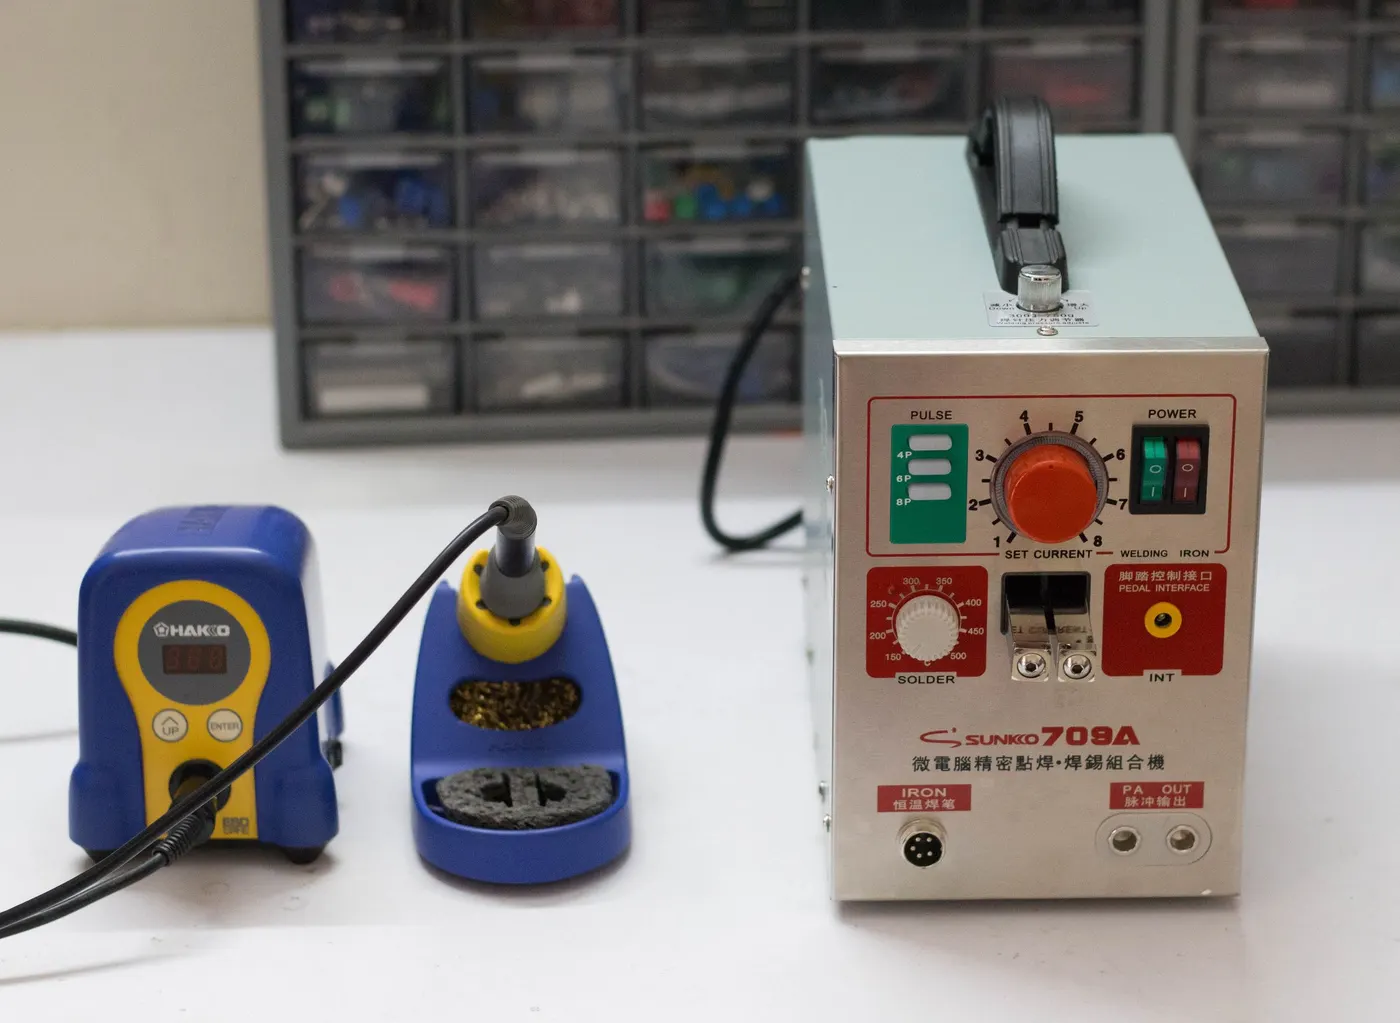
Step 4: Checking the Cell Voltage
Before connecting the cells in parallel, first, check the individual cell voltages. For paralleling the cells, the voltage of each cell should be near to each other, otherwise, a high amount of current will flow from the cell with a higher voltage to the cell with a lower voltage. This can damage the cells and even result in fire on rare occasions.
If you are using brand new cells, the cell voltage is near 3.2 V to 3.4 V, you can join them together without worrying much. But if you are going to use an old laptop battery, be sure the cell's voltage is nearly the same, otherwise, charge the cells to the same voltage level by using a good Li-Ion Battery Charger.
Step 5: Battery Pack Capacity and Voltage
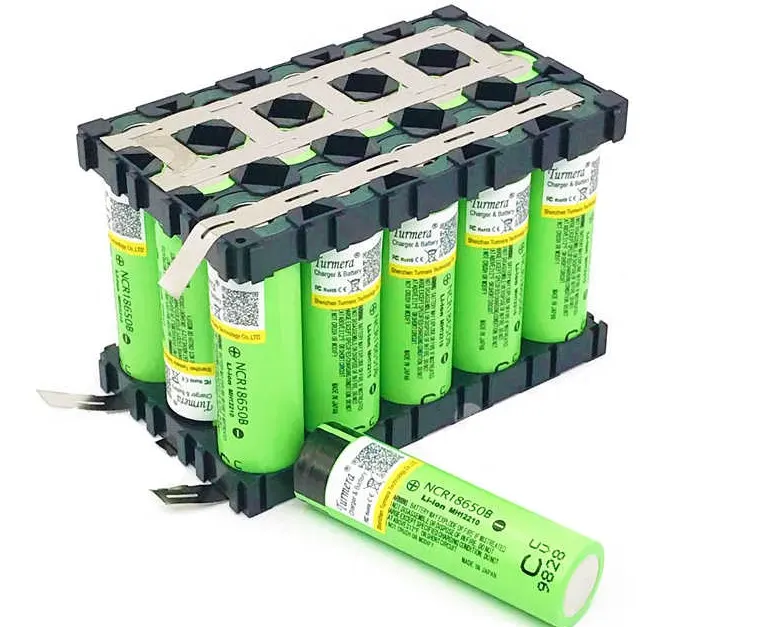
We have already calculated the number of cells required. First, we have to integrate cells for a module. We know a module consists of 3 series and 5 Parallel cells. The place holder helps us to arrange the cells in the module properly. Strips are placed such a way that the module is connected with 3 series cells and 5 Parallel cells.
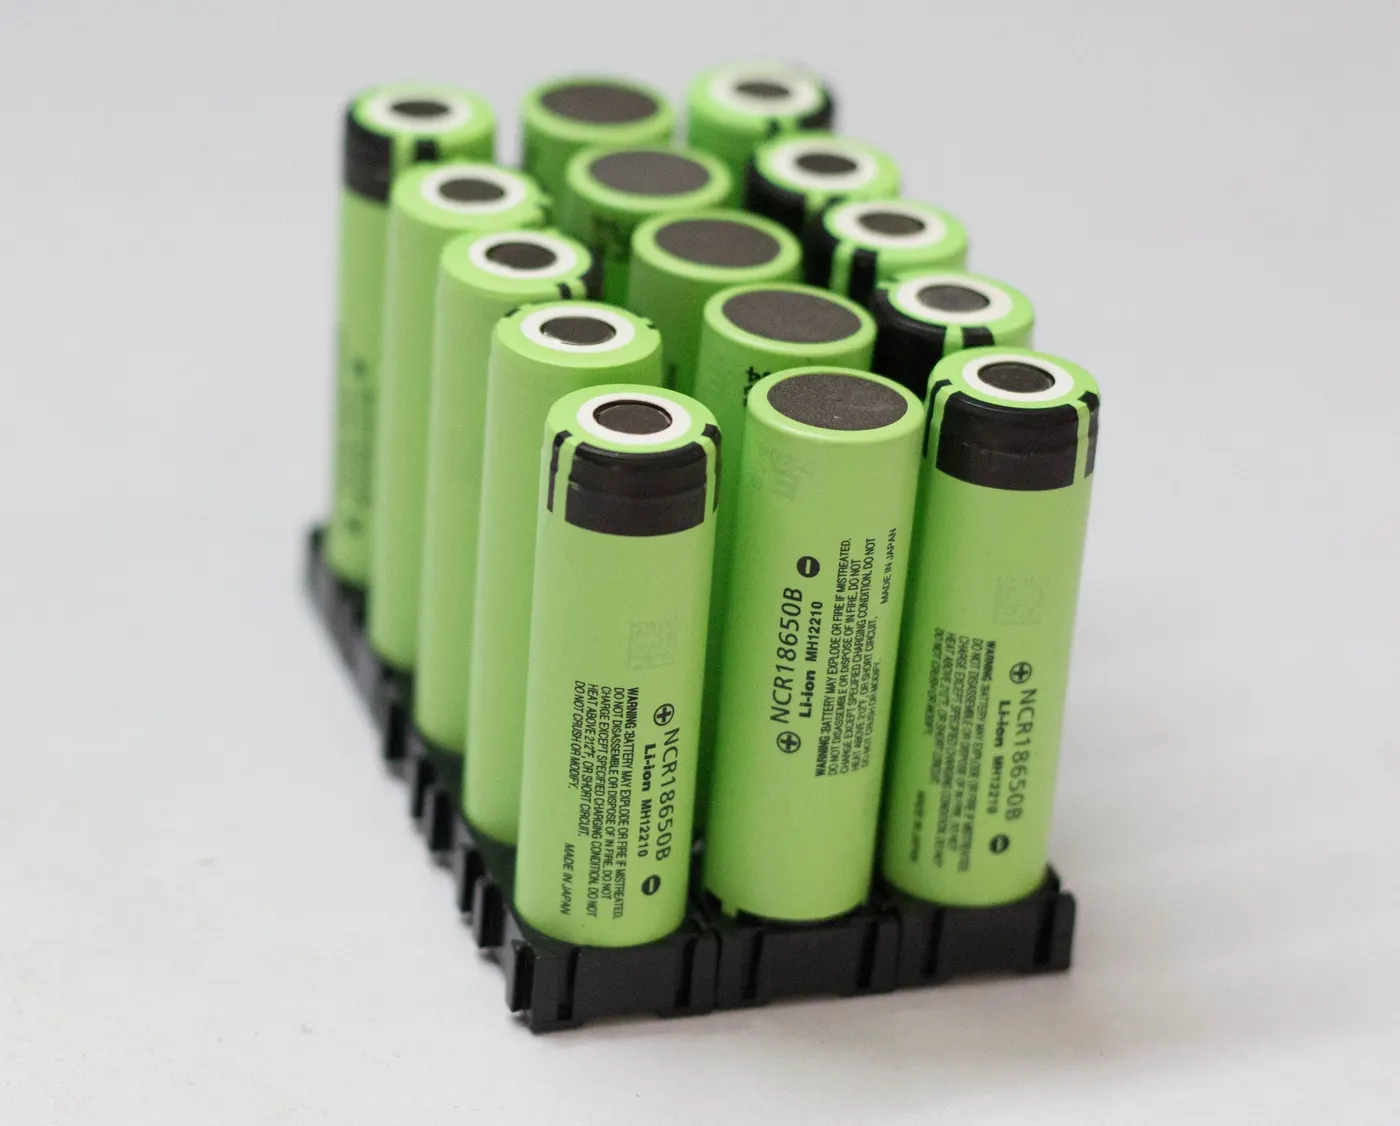
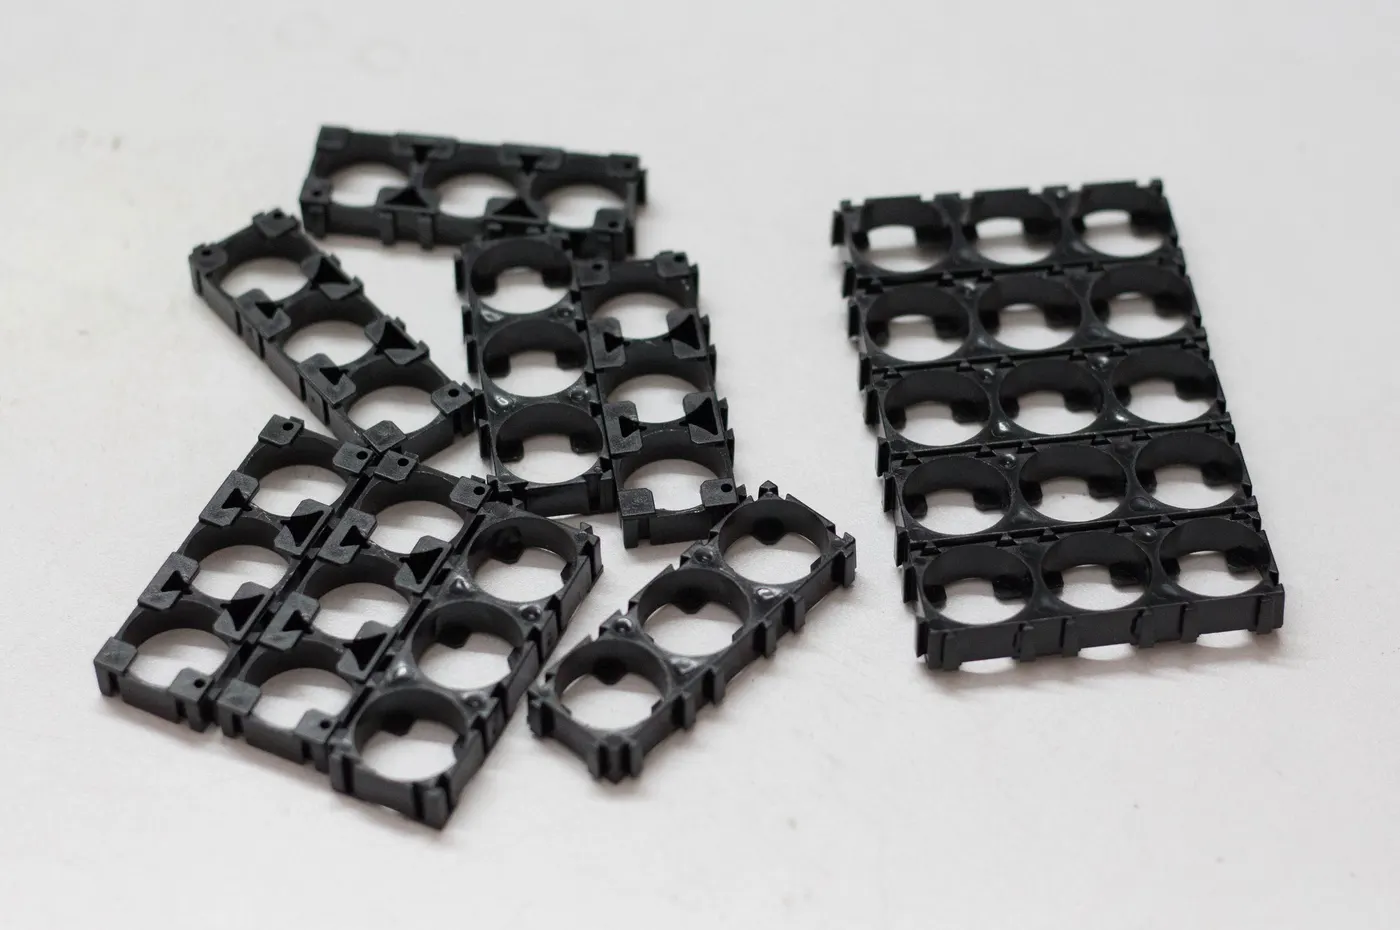
Step 6:Spot Weld the Nickel Strips
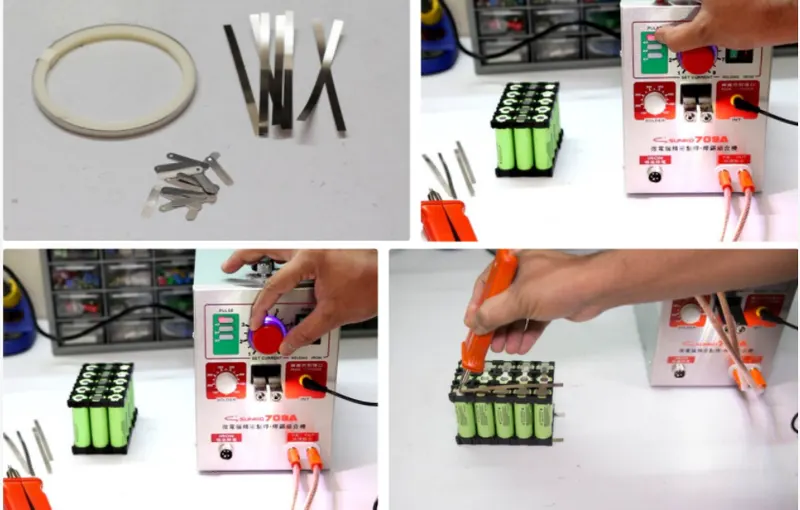
Now it is time to know the procedure for using the Spot Welder. The Spot welder has three welding choices: fixed welding head, fixed welding head with foot switch, movable spot welding pen with the footswitch. I prefer to use the second option. Before welding, you have to prepare the nickel strips and welder.
Weld the Battery Strips :
This spot welder can be used to weld the pure nickel as well as nickel-plated steel strips. You have to adjust the welder pulse and current knob according to the thickness of the nickel strips.
For 0.15 mm nickel strips, press the pulse knob 4P and current knob to 4-5. Similarly for 0.2 mm nickel strip, press the pulse knob 4P,6P, and current knob to 7-8. Make sure the welding pen is compressed with the nickel strip and battery terminal, then press the footswitch. You will notice a small spark and two-dot mark on the strip.
Successful Welding :
You can check the weld quality by pulling on the nickel strip. If it doesn’t come off with hand pressure or requires a lot of strength, then it’s a good weld. If you can easily peel it off, then you have to increase the current.
Repeat this process for making 150 such modules.
Step 7: Adding the BMS
A battery management system (BMS) is an electronic system that manages a lithium battery pack and the main functionalities are
1. Monitors all of the parallel groups in the battery pack and disconnect it from the input power source when fully charged ( near 4.2V )
2. Balance all the cells voltage equally
3. Doesn't allow the pack from over-discharged.
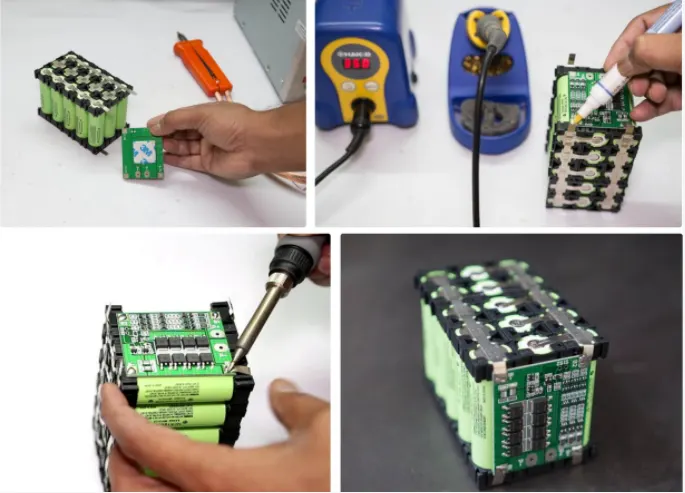
Step 8: Final Assembly
Now we have to connect all the modules together. Modules are connected with 5 Series and 30 Parallel configurations.
A Master BMS is also connected for the battery pack as a whole so that the individual BMS of modules will serve as slave BMS.
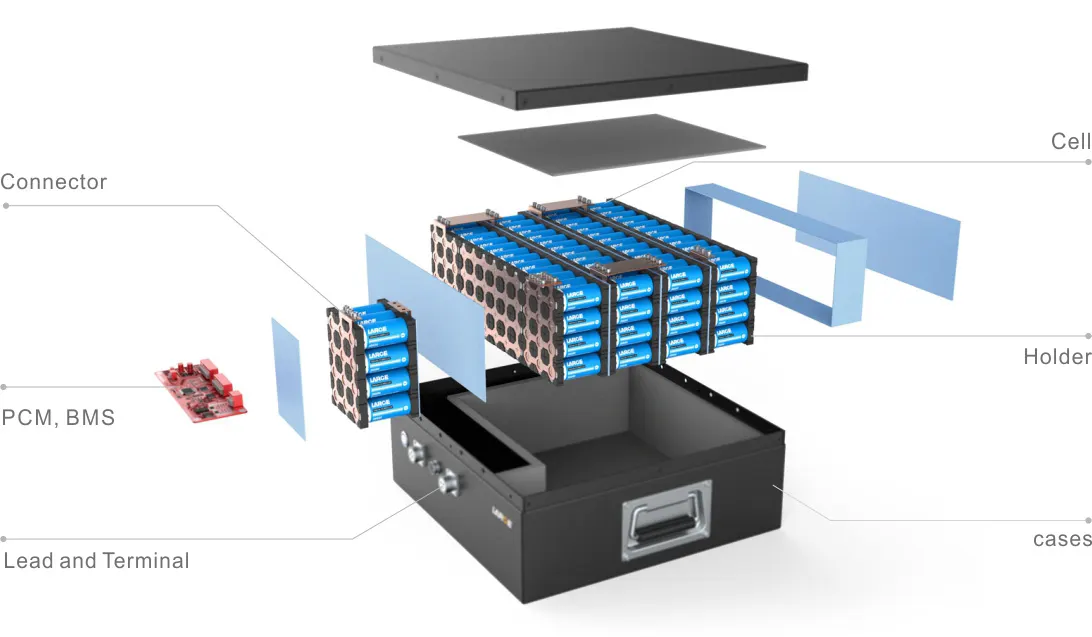
CONCLUSION
A battery pack has been designed using ANR26650M1-B cylindrical cells by calculating the number of cells. battery voltage and capacity. The steps of battery pack installation have been explained in detail. The different types of battery holders. thermal management and the latest enclosures have been explained. The required size of the battery pack also has been calculated.