Project 1- Creating your own OpenFOAM solver
Aim: To create a own customized solver, implement and execute it on Cavity tutorial in OpenFoam. This solver solves for a scalar field that is set in the domain.
Solver Description:
Use the icoFoam solver in the applications/solvers/incompressible/icoFoam directory to create your own solver - scalarFoam
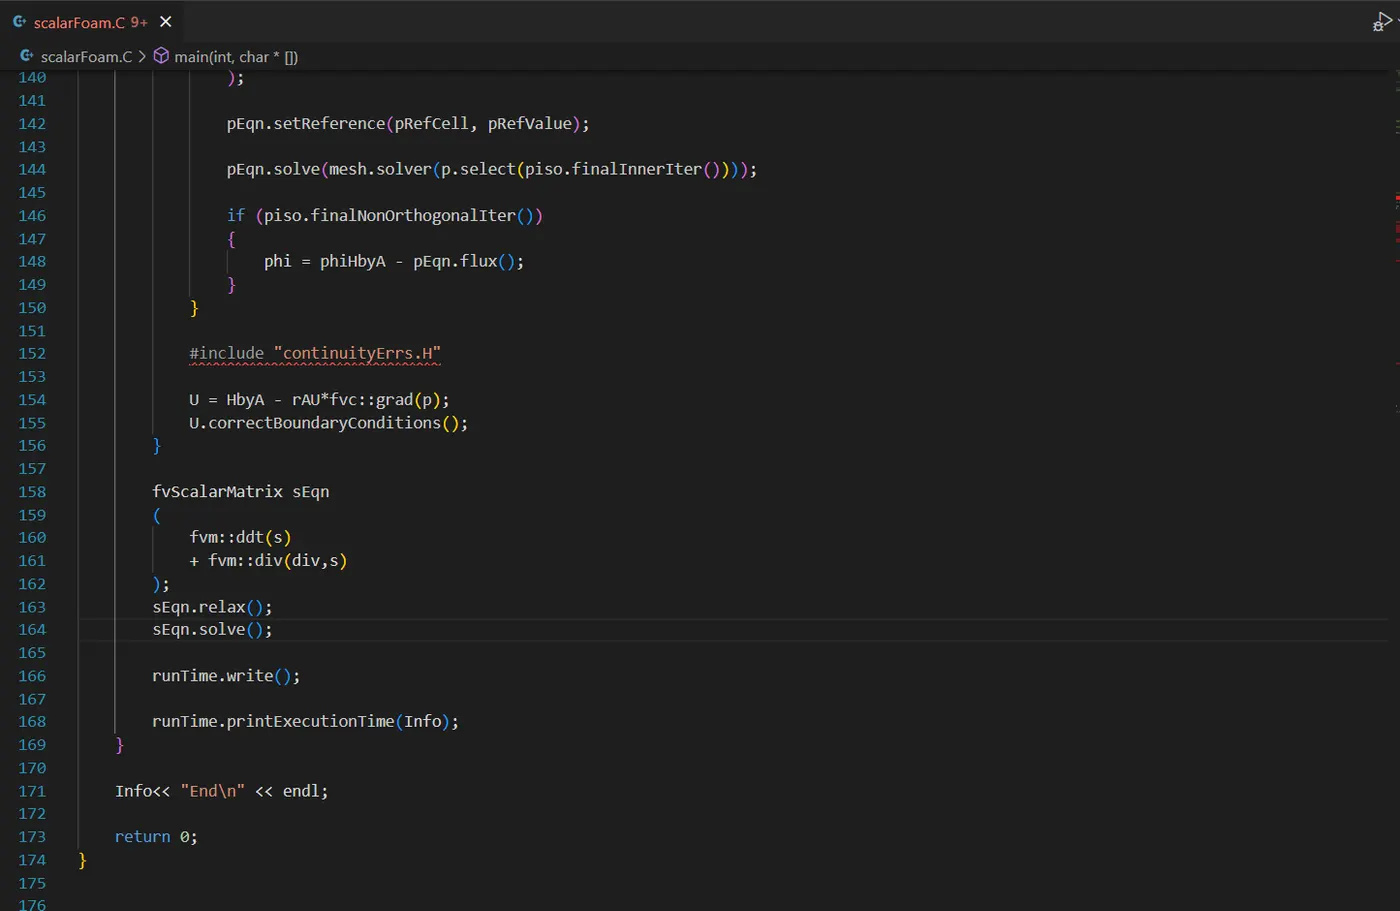
The scalar transport equation is defined as:
∂s/∂t + ∇.(Us) = 0
where s is the scalar quantity being transported by the velocity u.
Procedure:
- Start by navigating to the Solvers folder in OpenFoam by typing 'sol' shortcut for the solver folder. Then navigate to 'incompressible' folder solvers folder and then copy the whole icoFoam solver from there to your appropraite directory.

- Now we have to make all the necessary changes that are required to successfully run our own customized solver. First we have to change the name of icoFoam.C to scalarFoam.C also we have to change the name of the Application that is mentioned inside this scalarFoam.C file and we can also edit the Description according to our solver work.
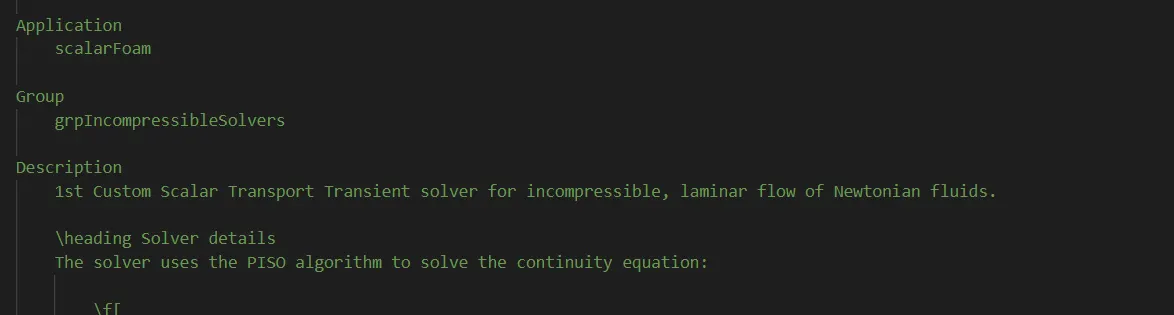
- As you go on making changes it is a good practice to keep a track of your changes, so initialize the Git for the Project and start adding and commiting your files in this way it will be easy to keep track of changes.
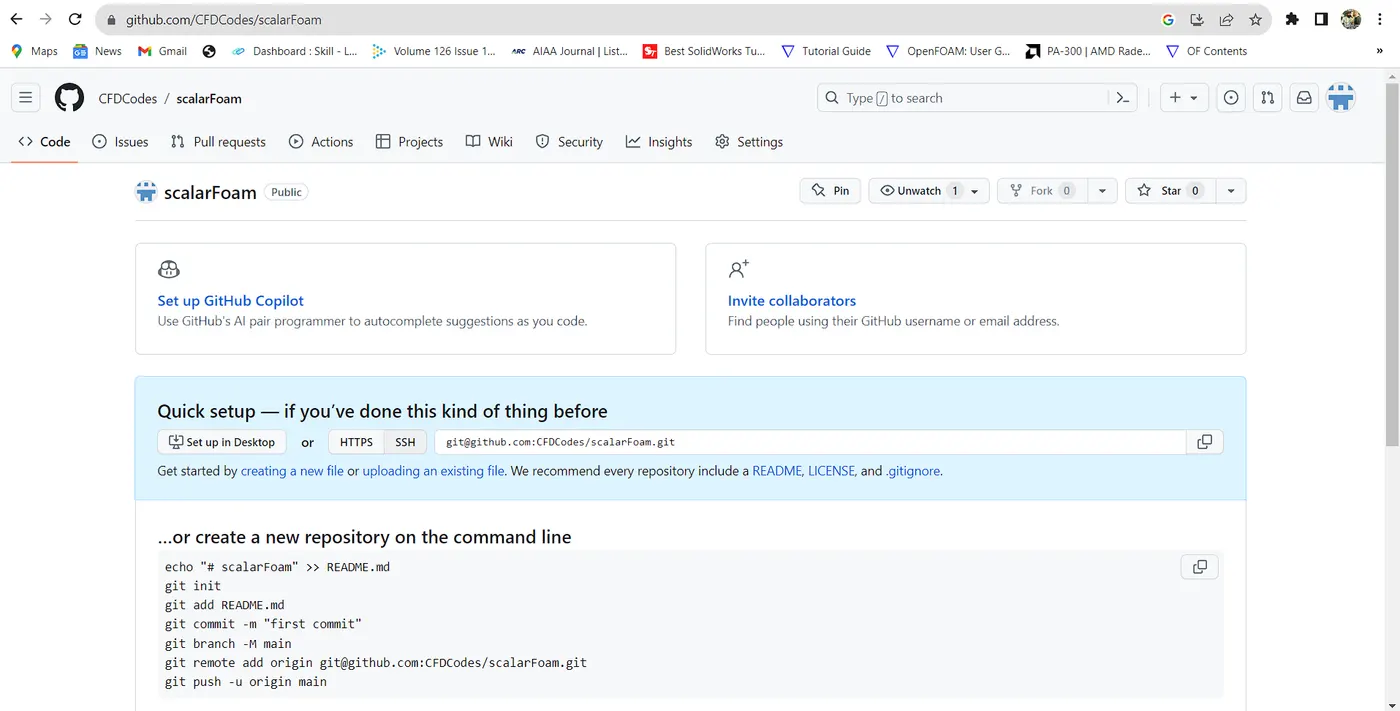
- First initialize the git by staying in the root directory and type this command 'git init' this will initalize a git repo on your local device.
- Then add the files that has to staging area that has to be Version Control and when you are satisfied with the changes then commit them by providing a proper commit message.

- Now to push this commited changes to the GitHub repo create a scalarFoam repo in GitHub and push the changes using the HTTPS or SSH links, by writing the command push -u origin
- Now we will add our equation of solving the scalar in the scalarFoam.C in the last
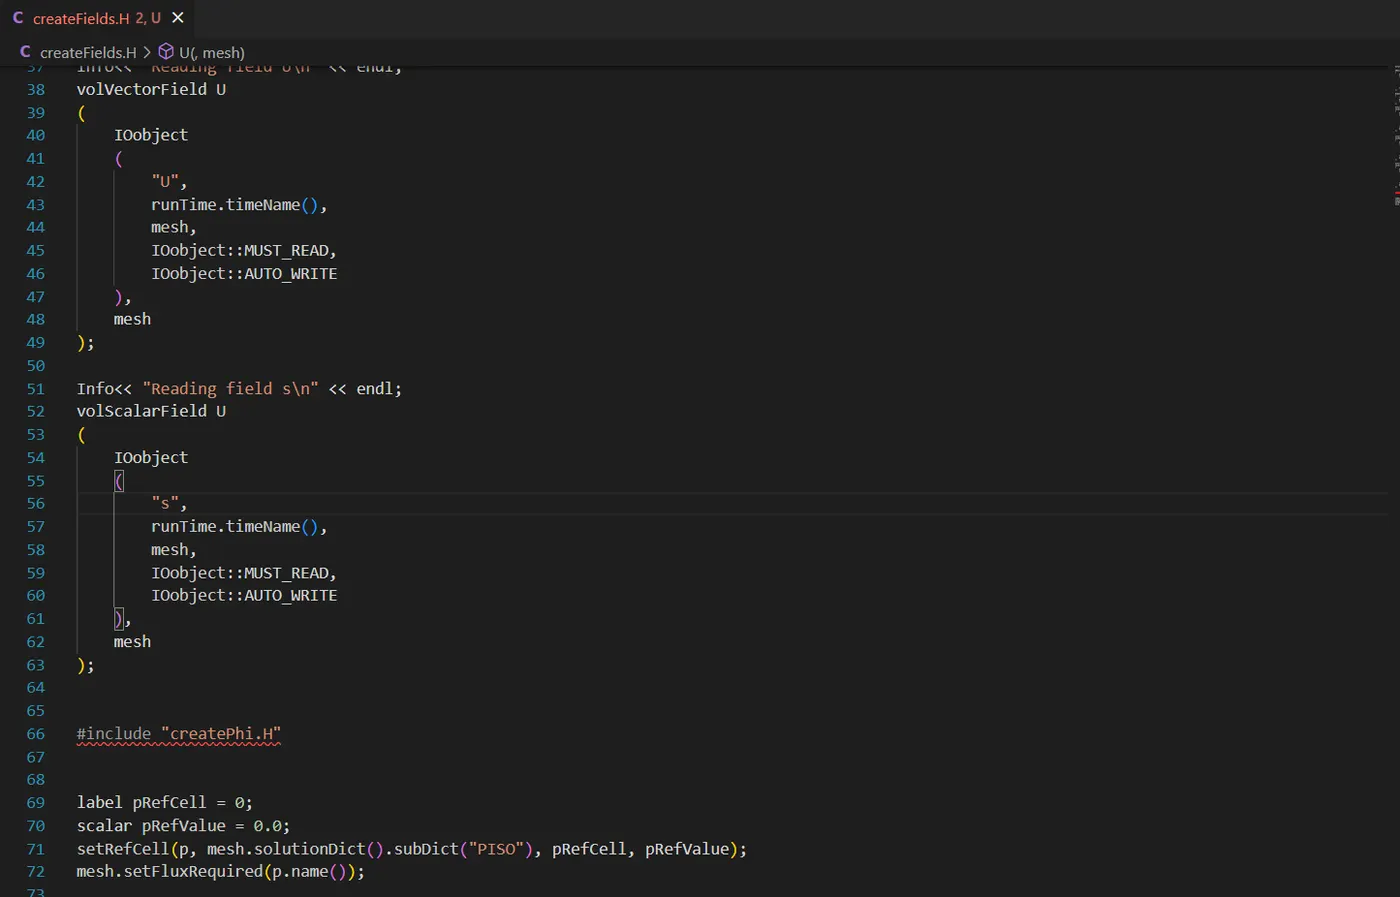
- Now we have to create our scalar field this process can be done in the createFields.H file. This file is used in creating the fields for the simulation like U, p so here we will create our scalar 's' field. As we have learned in the lecture we will use the volScalarField class to create the 's' and will use the IOobject to initialize it and mention its name, in which objectRegistry to find as it is mentioned in below image.
- Also we have to make changes in the Make/files folder and setting the excutable name to scalarFoam and EXE address to User_APPBIN
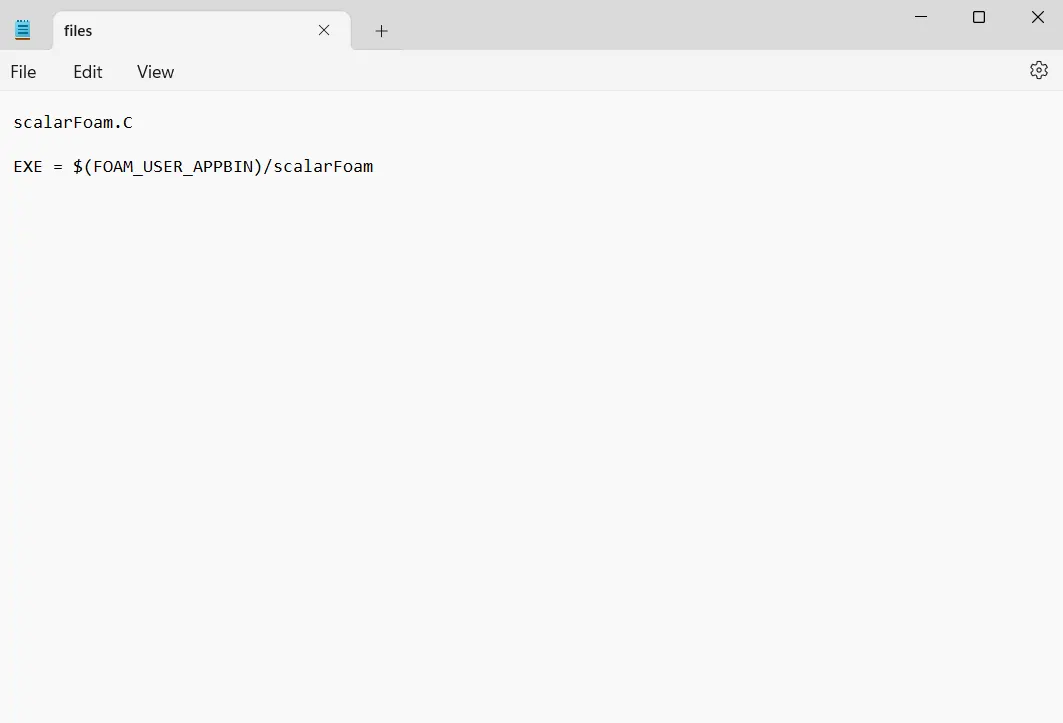
- All the changes are made in the solver, changed the source code that will solve for the scalar introduced, created the scalar field if you want you can also create the dimension values for the scalar field I have not shown that part and finally making changes in the Make/files. Also keep adding and committing the changes and pushing to GitHub repo.
- As all the neccessary changes are made we have to compile the solver source code so that all the new changes are compiled too. To compile the source code navigate to the scalarFoam solver directory and run the 'wmake' command.
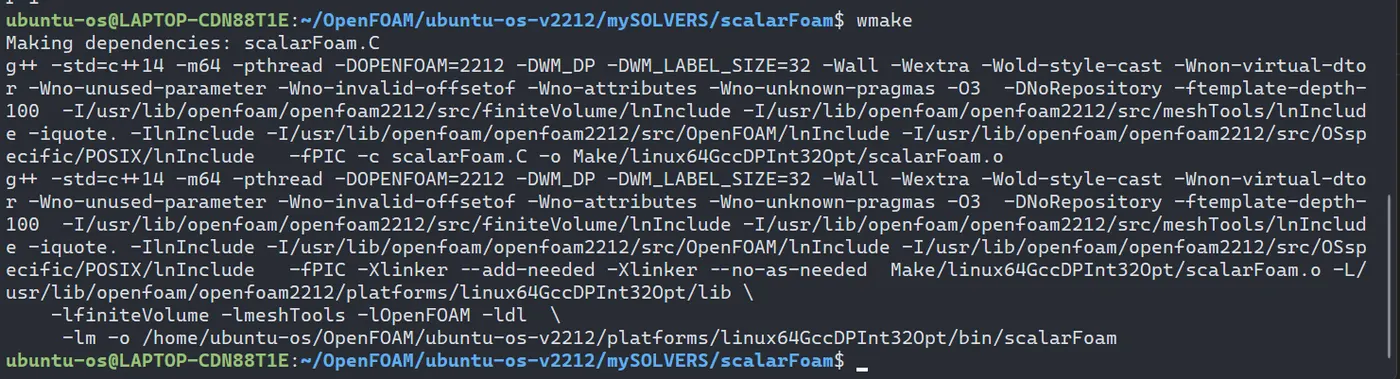
- Now its time to test our solver, copy the Cavity tutorial from the tutorials/incompressible/icoFoam/Cavity directory to you run directory and change the name to scalarCavity.
- Now this file has to be modified so that it matches with the solver. The changes:
- We have to create a 0/s folder that will represent the boundary conditions and the internalField value for the scalar property. To do this copy the 'p' file and name it as 's' and make the appropriate changes in it as shown in the image
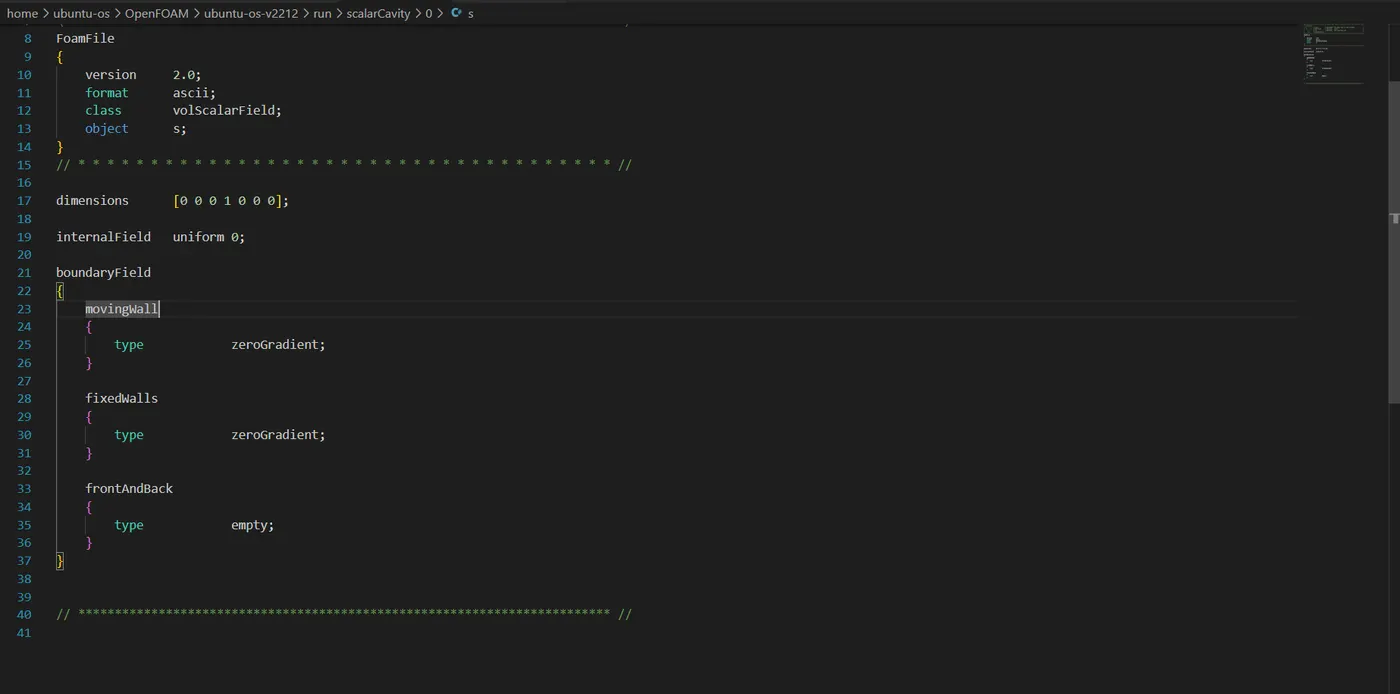
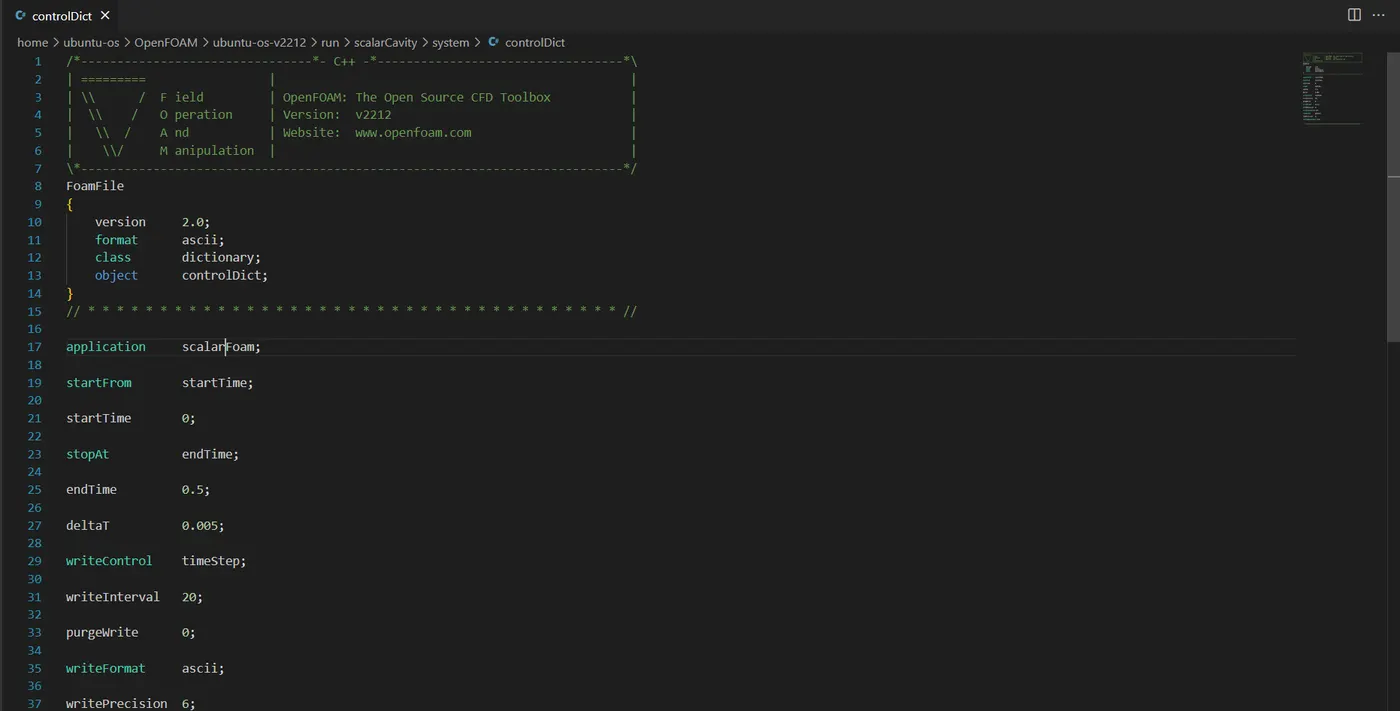
- The most important changes has to be done in the controlDict file as there we have to change the name of the solver or otherwise scalarFoam solver will not work on the tutorial
- After this we have to make changes in the fvSolution and fvSchemes. Where in fvSolution we have to specify the solvers for the scalar field and in the fvScheme we have to mention the descritization schemes for the scalar in here I have used the upwind scheme for discretization as shown in the image
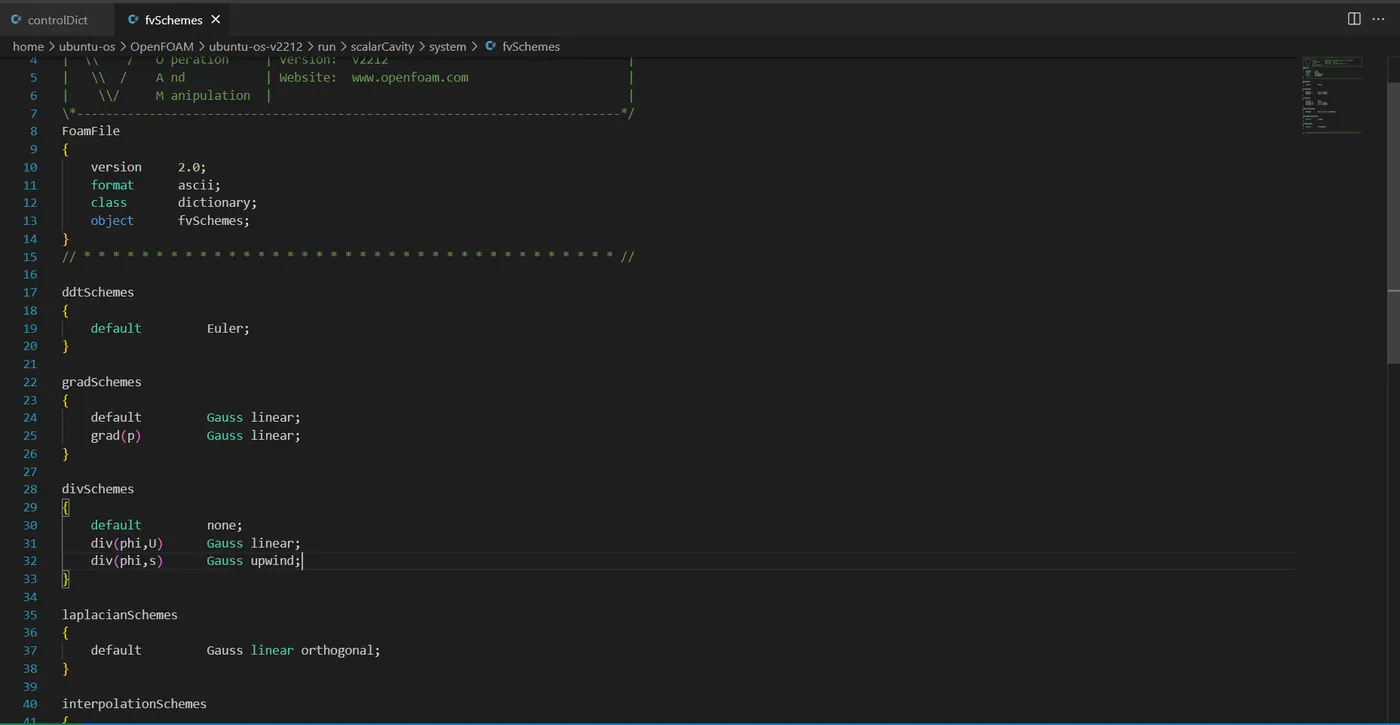 fvSchemes
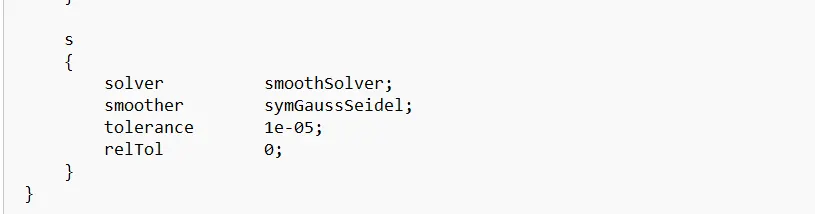 fvSolution copied from the U fvSolutions.
 - For the initial conditions for the scalar can be set by the setFieldsDict file, this is usefull in providing the initial conditons for the scalar.
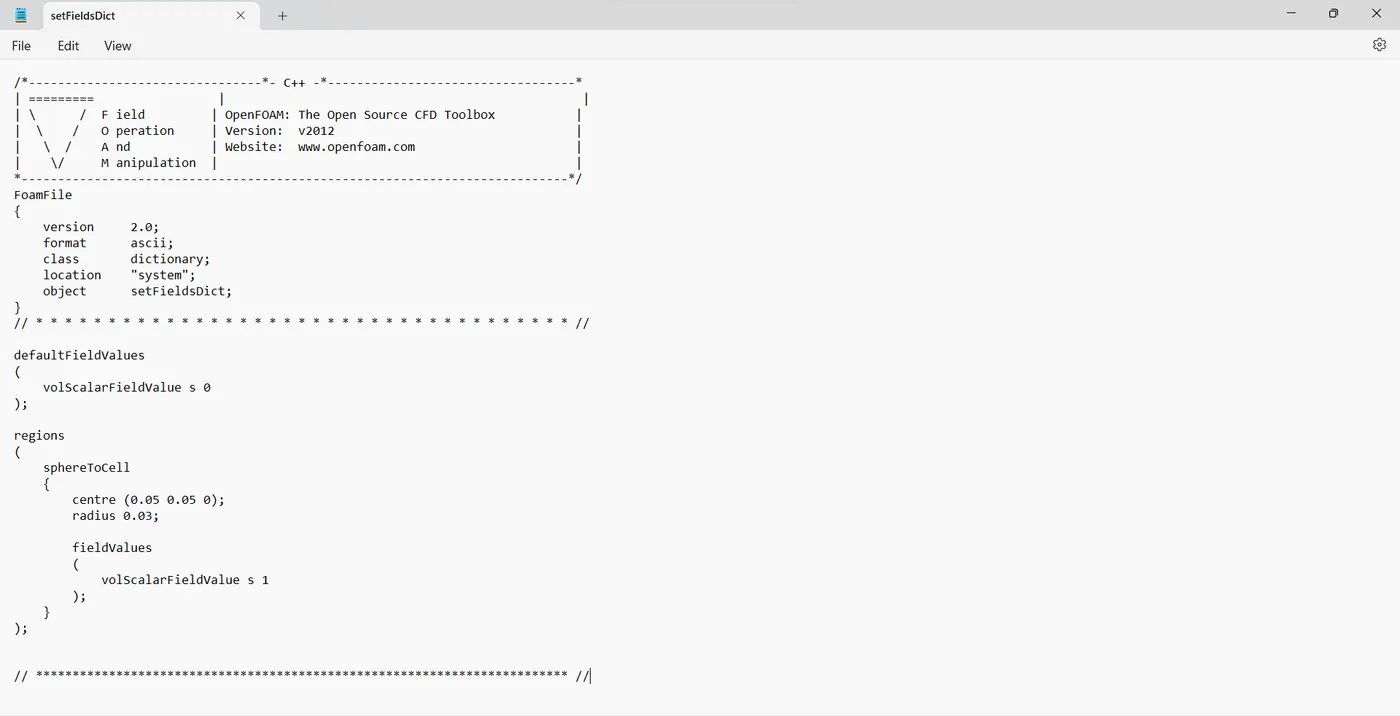 the scalar is set to sphere set in the center of the domain.
 - As all things are done it time to generate the mesh and solve the tutorial. Commands to solve the tutorial:
blockMesh
checkMesh
setFields
scalarFoam
touch XYZ.foam
- We have to create a 0/s folder that will represent the boundary conditions and the internalField value for the scalar property. To do this copy the 'p' file and name it as 's' and make the appropriate changes in it as shown in the image
Results:
- at 0.1s
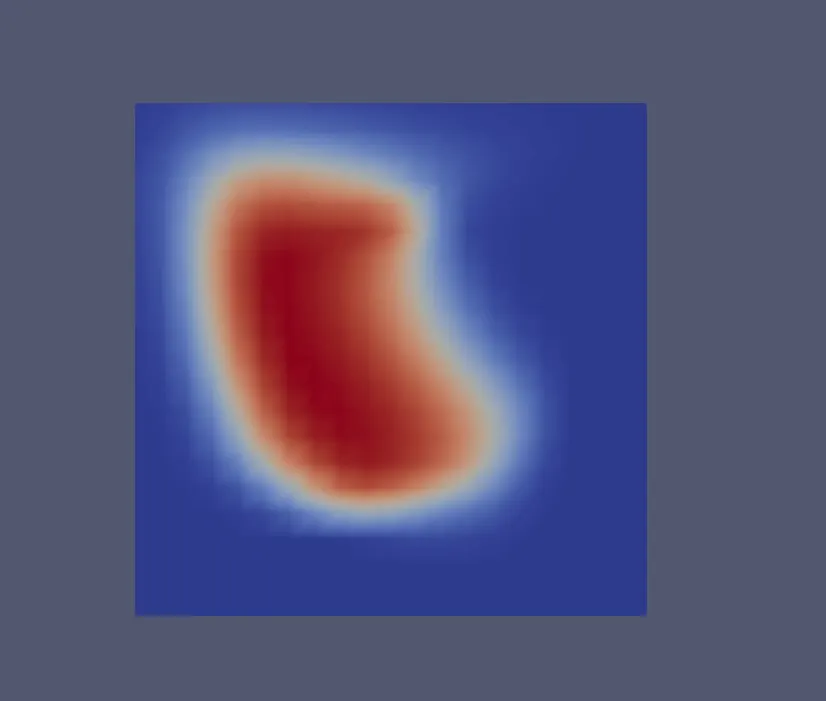
- at 0.2s
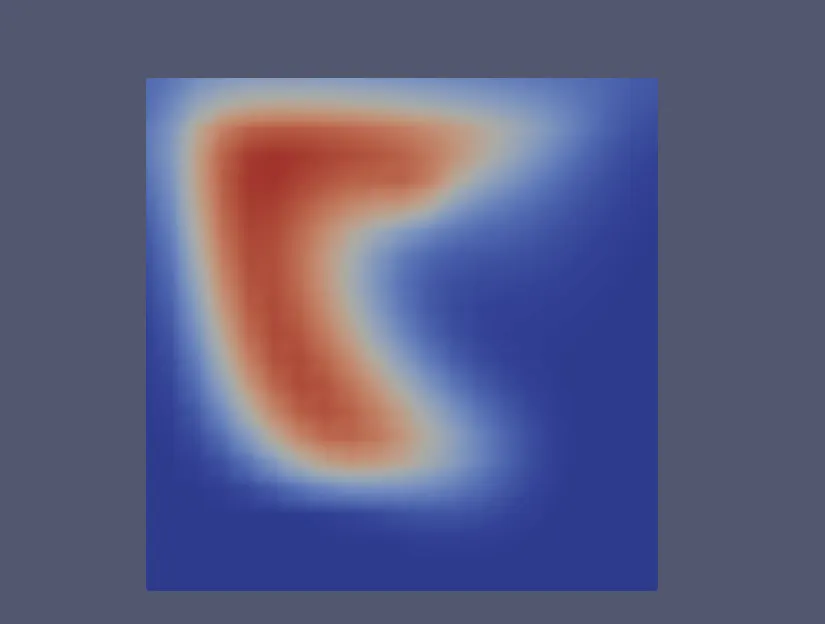
- at 0.3s
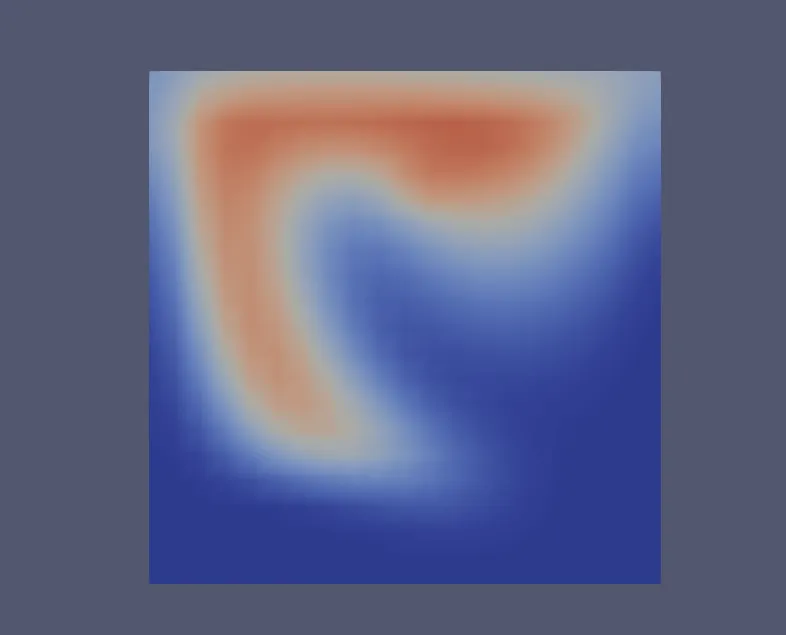
- at 0.5s
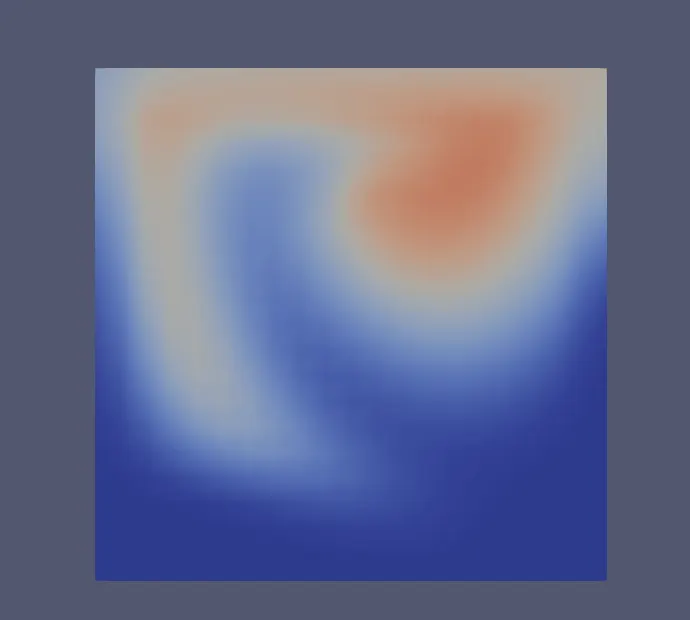
- at 0.6s
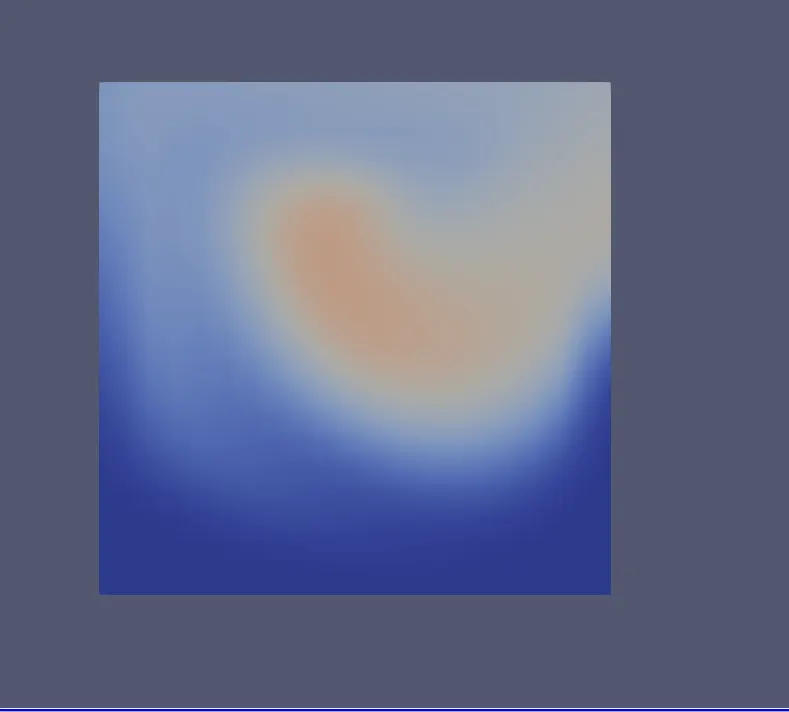
Conclusion: Customized scalarFoam solver is created successfully by copying the icoFoam solver and making appropraite changes in the source code and all the neccessary files that account for executing the solver creating the fields in the solver and as well as in the tutorial code. The solver is also test on a tutorial and the results are shown as well. By doing this the understanding of the solver and the code and its structure in OpenFoam is clear. The changes done are Version Controlled and pushed to the GitHub repo the link to this repo https://github.com/CFDCodes/scalarFoam.git