Project 1 : CFD Meshing for Tesla Cyber Truck
Aim/Objective
To perform the surface mesh of the Tesla Cybertruck and the Wind tunnel for it's CFD simulation application.
Procedure
The following steps are to be followed step-by-step:-
Step 1) Check and the solve error for the geometry/topo of the cybertruck
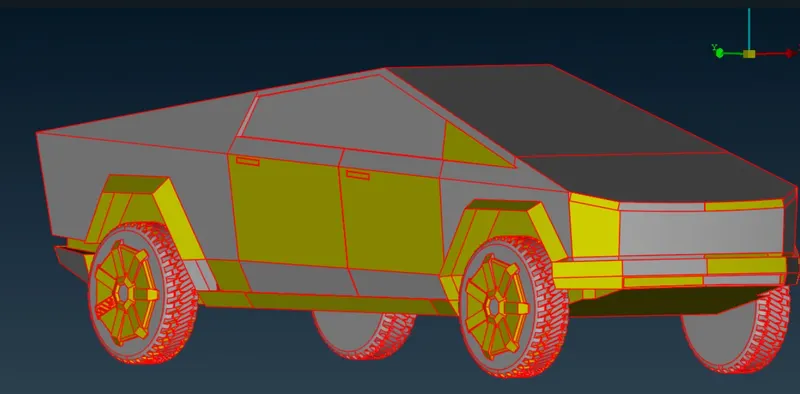
1.1) Perform TOPO on the car to see all single cones.
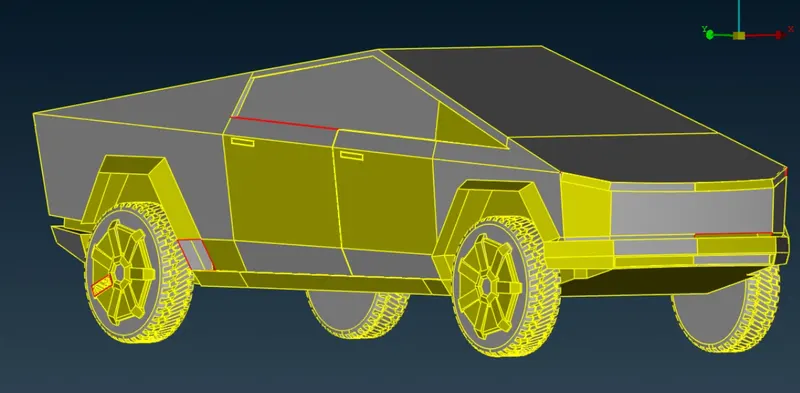
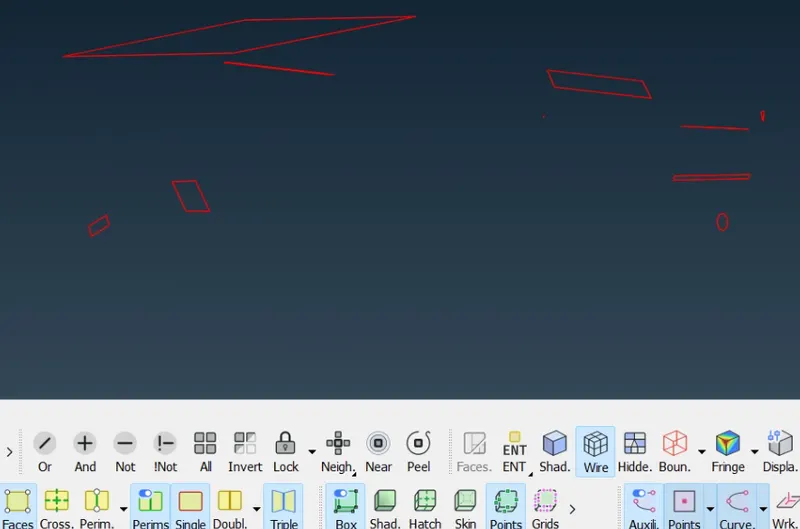 1.2) Check all single cones and see the best solution available for it's new face
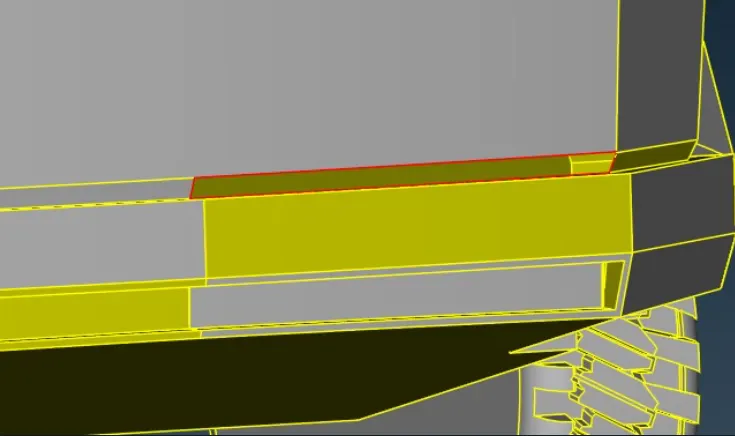
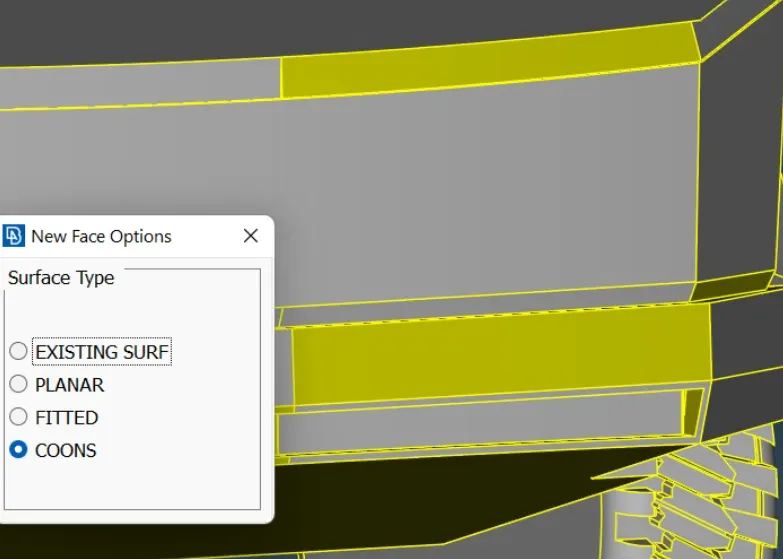
1.3) Fill and solve all single cones present in the car by taking part-by-part individually.
1.4) Check for and crack,overlaper or needle face and solve it with help of features like:-
- Extend (face)
- Paste (cons)
- Undelete (face)
- Cut (face)
- Project cut (face) for cutting at 90degree
- Con2cons (curves)
- Fine (Auxilaries)
Before
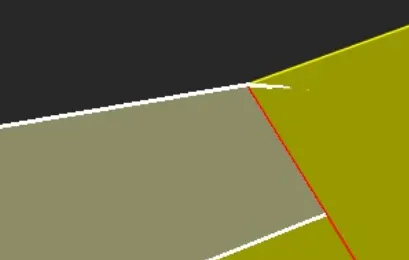
After
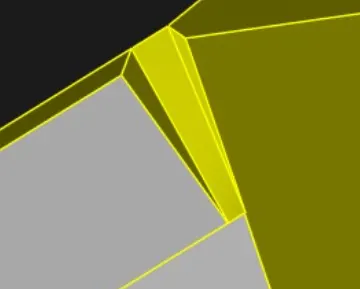
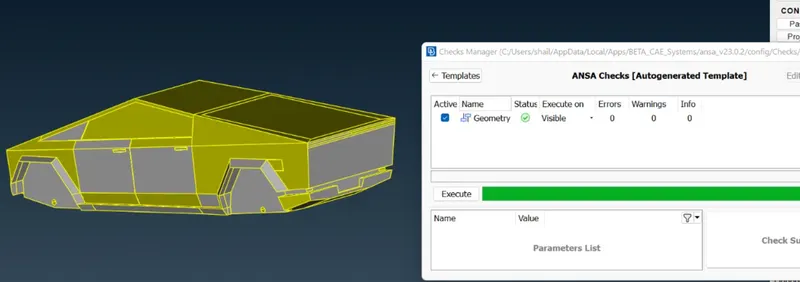
1.5) Repeat the process until the geometry check shows correct status.
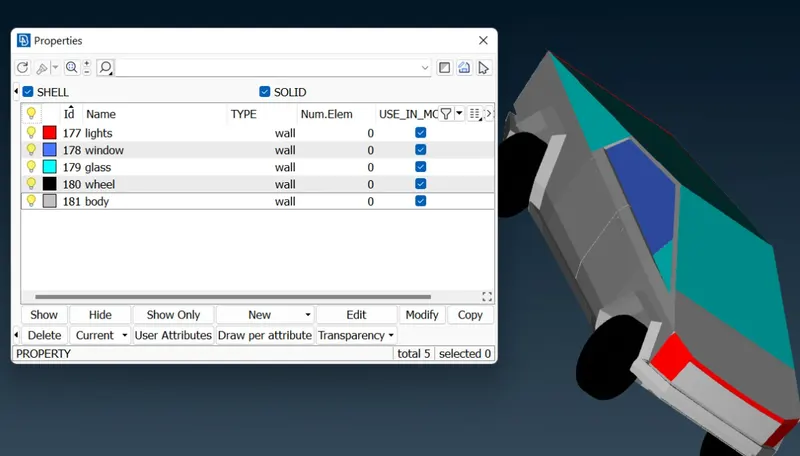
Step2 Assign Suitable PID's to all components
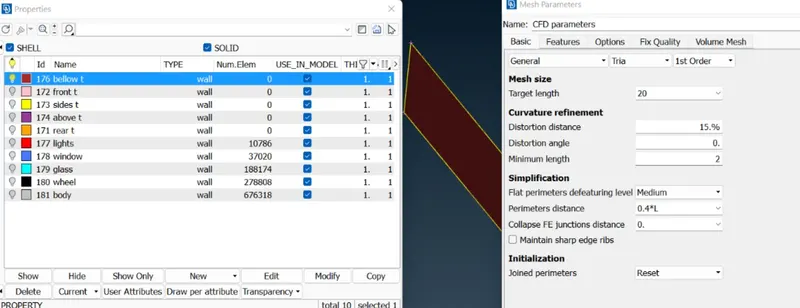
2.1) Rename and apply the pid as mentioned below
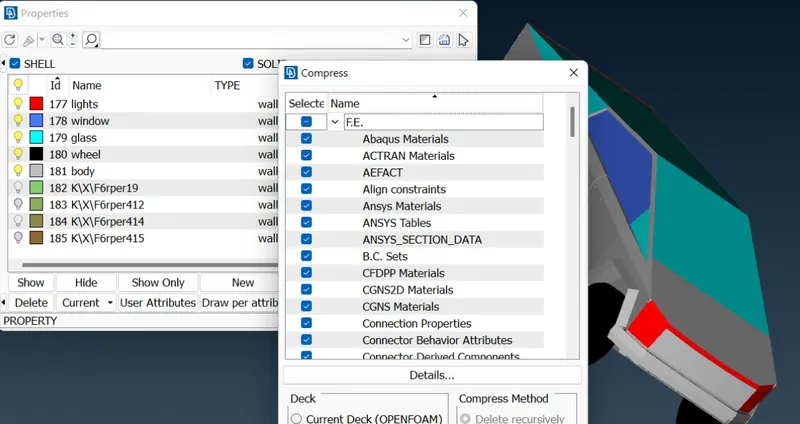
2.2) Compress the pids that are of no use
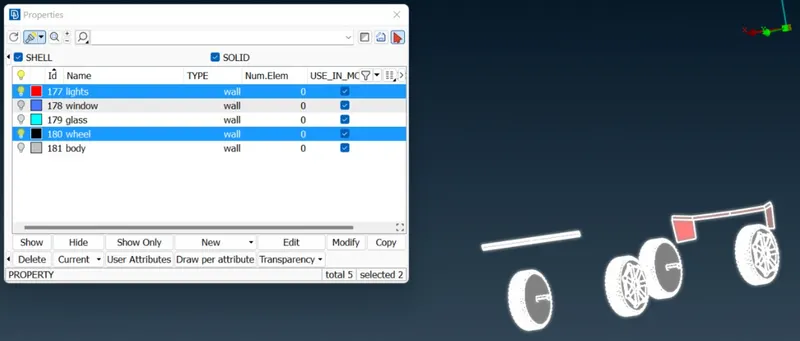
Step 3 Perform Surface Meshing
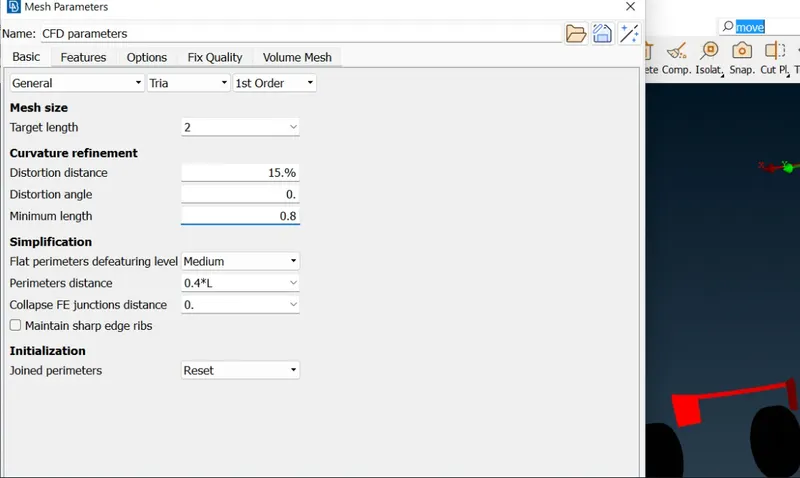
3.1) Perform S mesh by selecting 1 PID at 1 time according to the mesh length as given in challenge
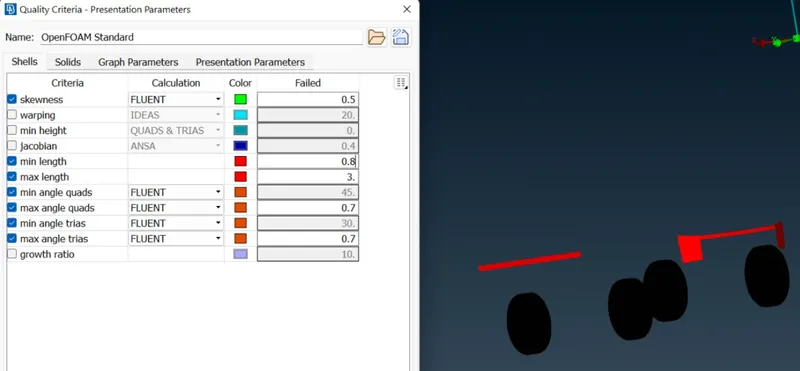
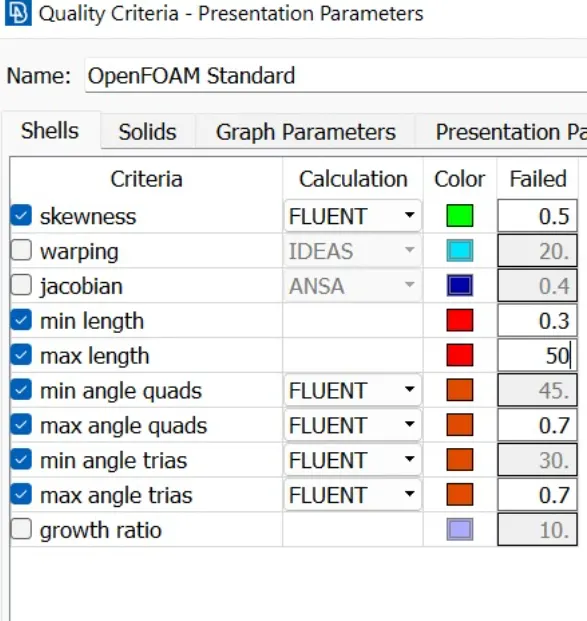
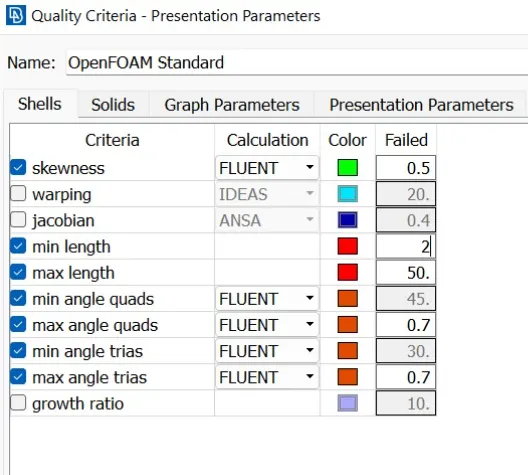
3.2 ) Give the Quality criteria to them as suitable for each PID
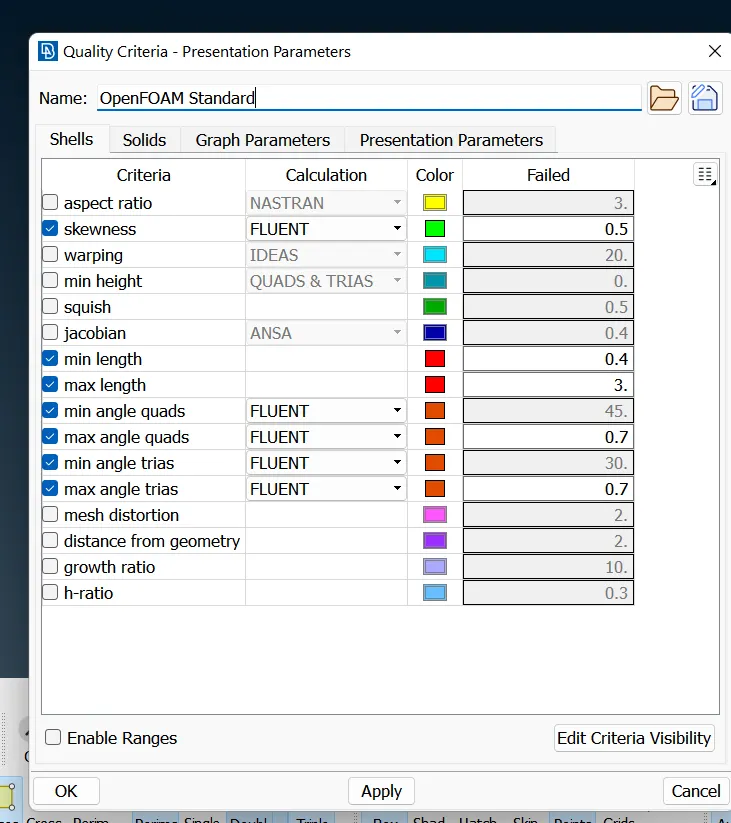
control the given parameters from EDIT CRITERIA VISIBILITY available below.
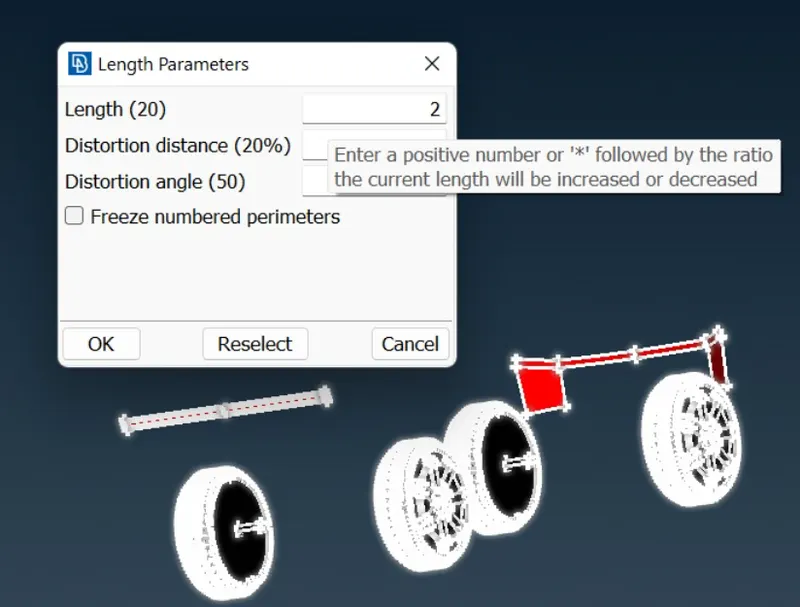
3.3) Decide the target length to be given to all the PIDs
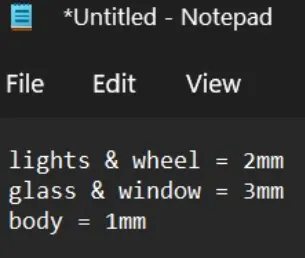
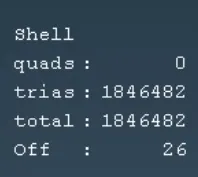
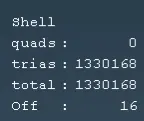
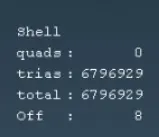
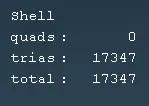
3.4) Perform meshing until all surfaces are meshed
1. Windows & Glass (2mm)
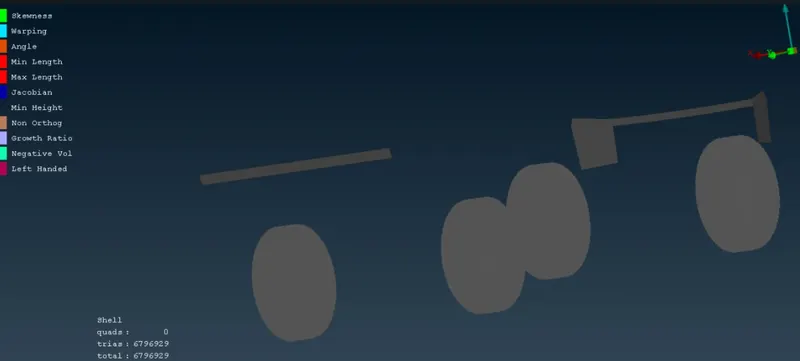
2. Wheel + lights (1mm)
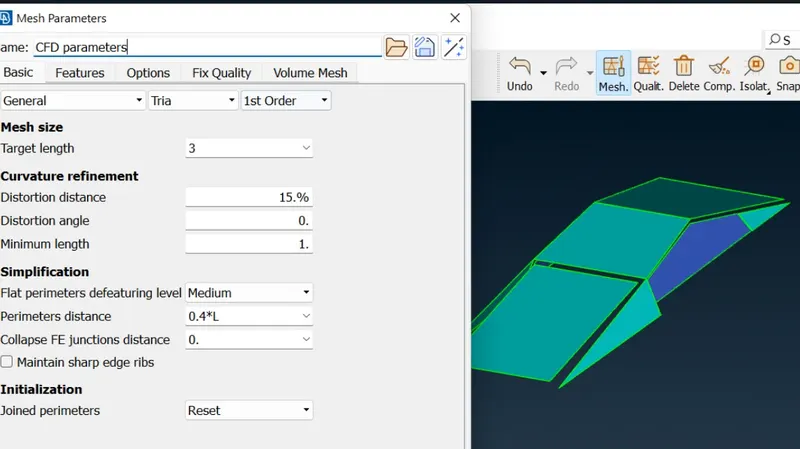
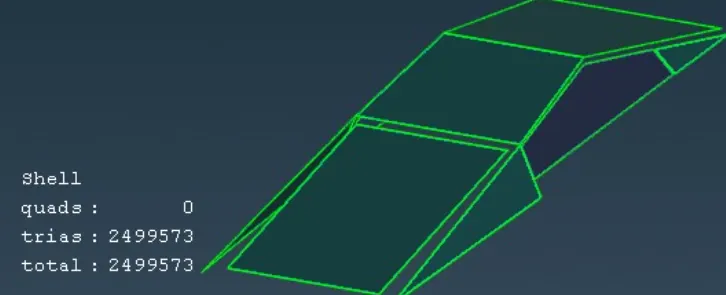
3. Body (1mm)
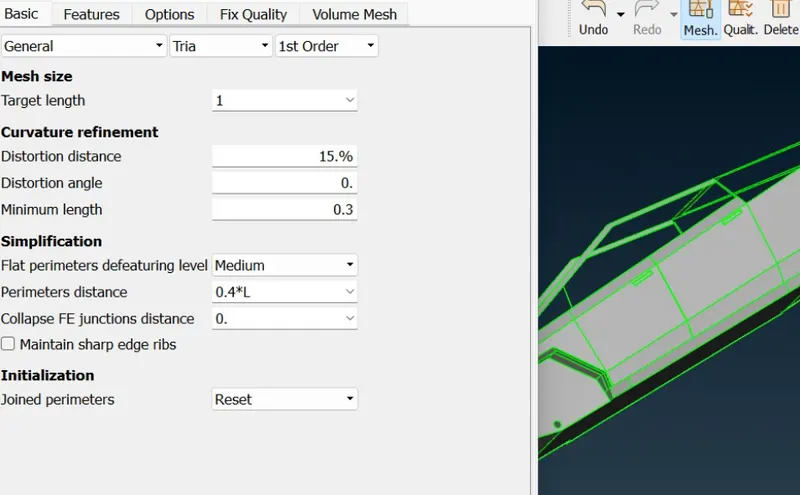
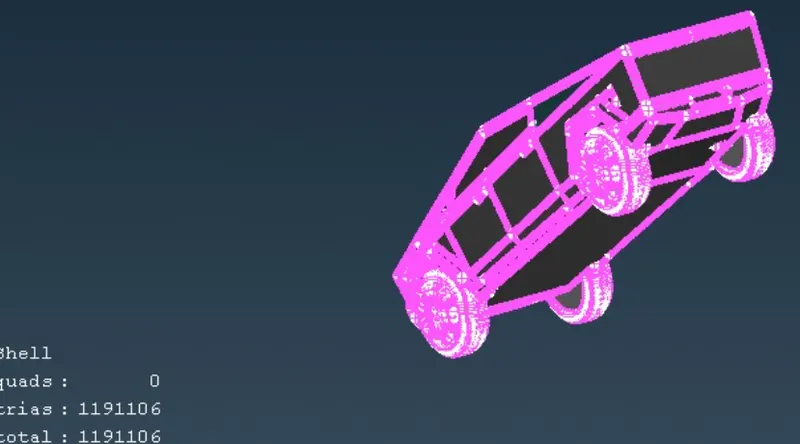
3.5) All components are meshed
Step 4) If error shows because of small mesh length than min limit, solve the error by features like:-
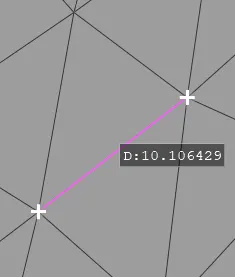
4.1) Measure the distance between 2 cons with help of hard points on it and meaasure tool.
4.2) Use features to solve errors:-
- Move grid
- Delete Face
- Smooth
- Split grid
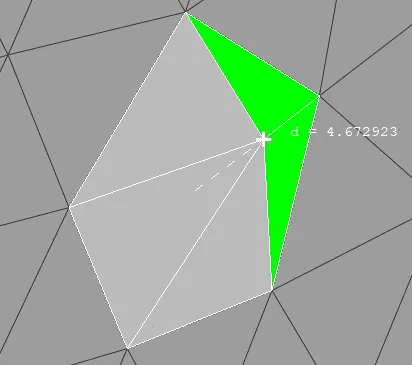
4.3) Remesh the element and bring the off-elements to 0
Step 5) Make wind tunnel
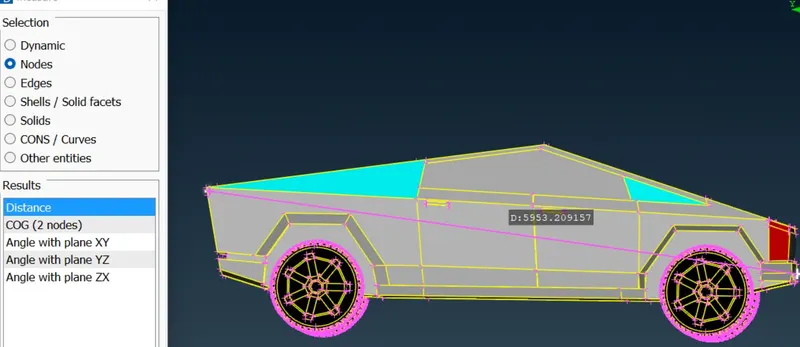
5.1) Measure the length of the car = x = 6000
5.2) We will use the following empirical values for tunnel construction:-
Below distance = 750mm (in our case)
Above dist = 3x
Front Distence = 4x
Rear distence = 6x
Side dist = x
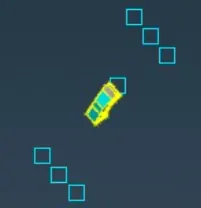
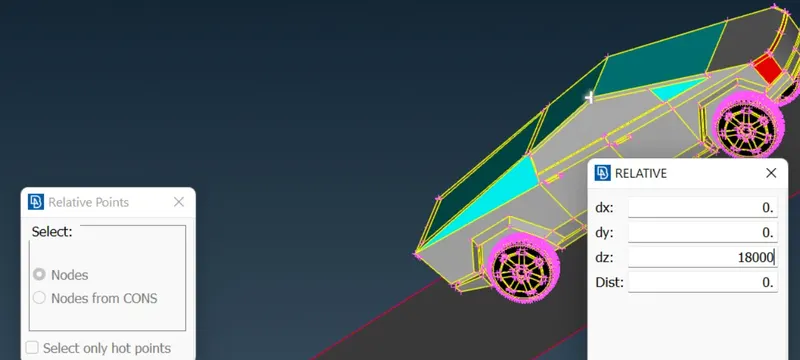
5.3) Create a point 700mm below the lowest node of base from
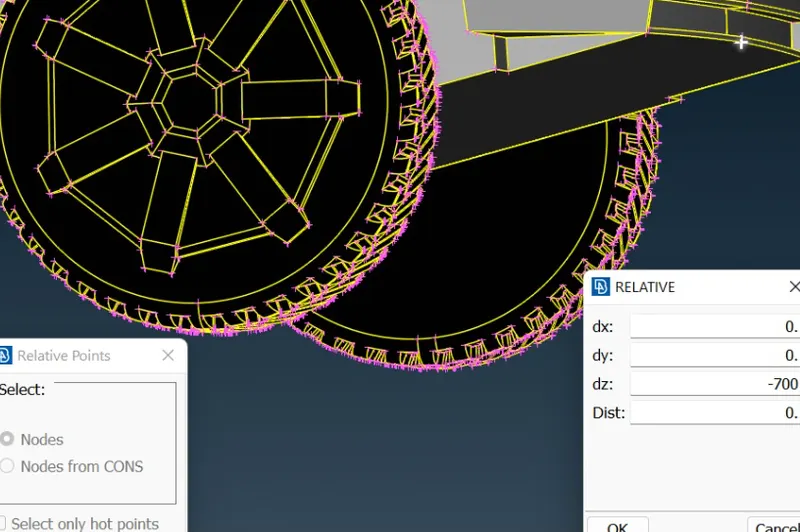
Do it with help of cordinate system on top
5.4) Creates more points on it's front and rear and on their sides with help empirical values
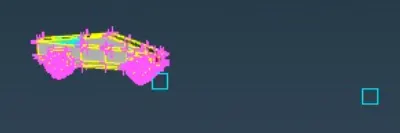
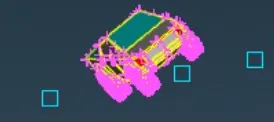
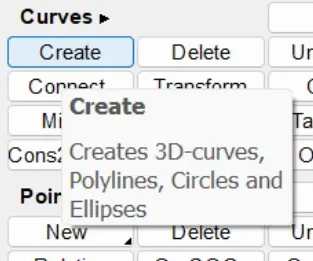
5.5) Join the points with help of create curve
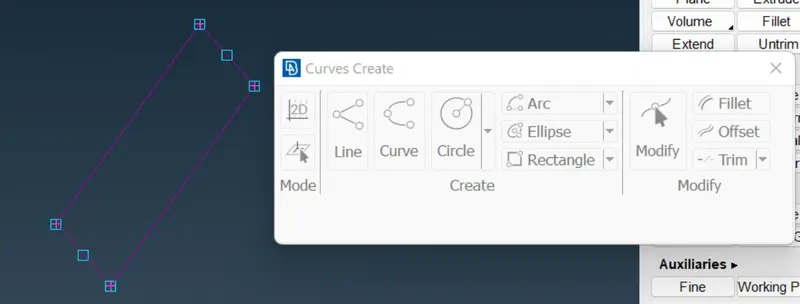
5.6) Make a face out of it
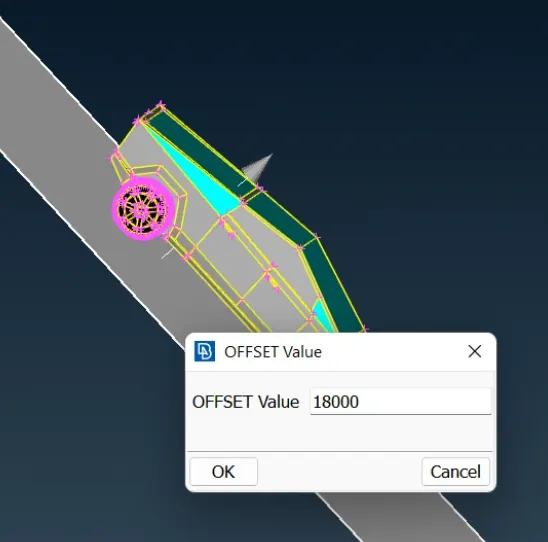
5.7) Make all faces with help of offset and new face tool
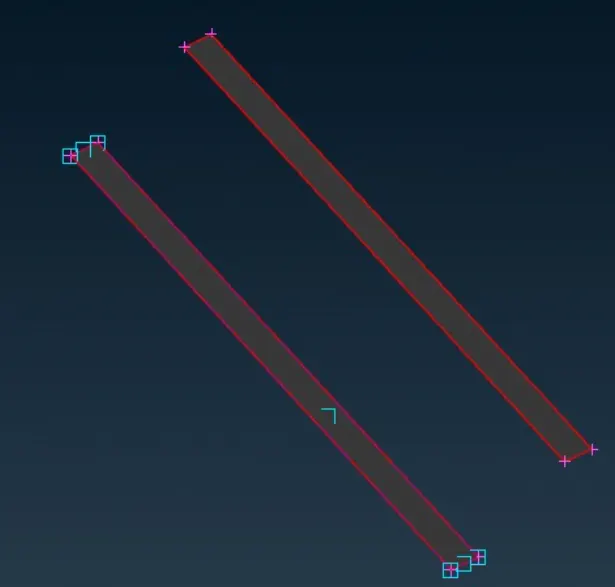
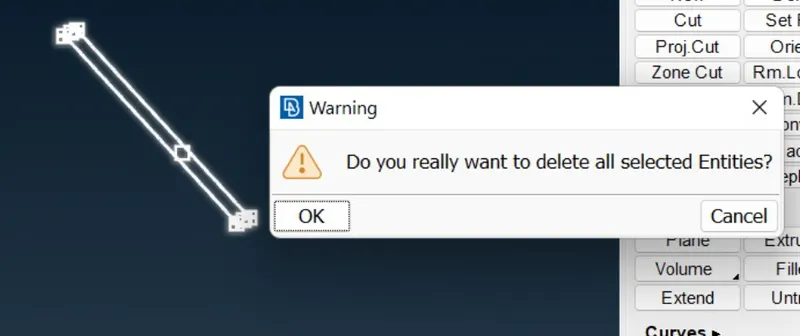
5.8) Delete the points and curves after use
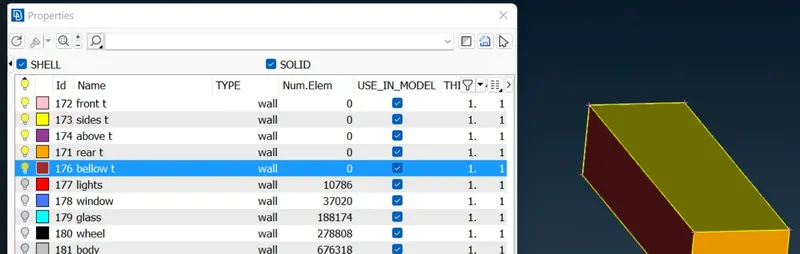
5.6) Assign PIDs to all tunnel faces
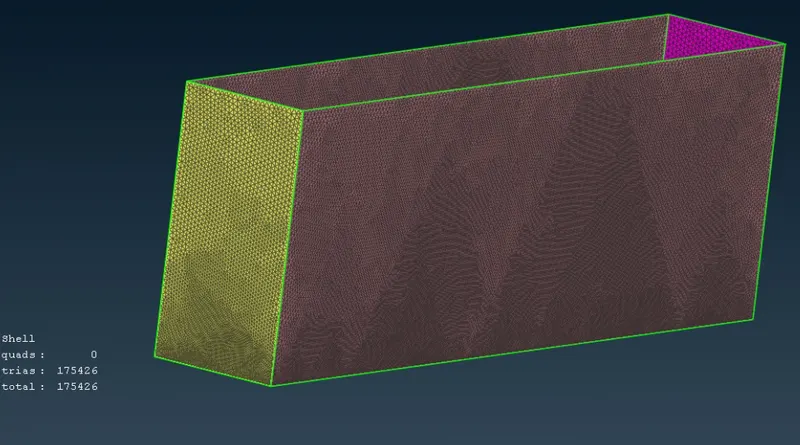
Step 6) Surface mesh the tunnel
6.1) Mesh the above and below faces of 100 and 20mm respectively
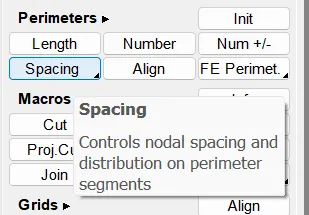
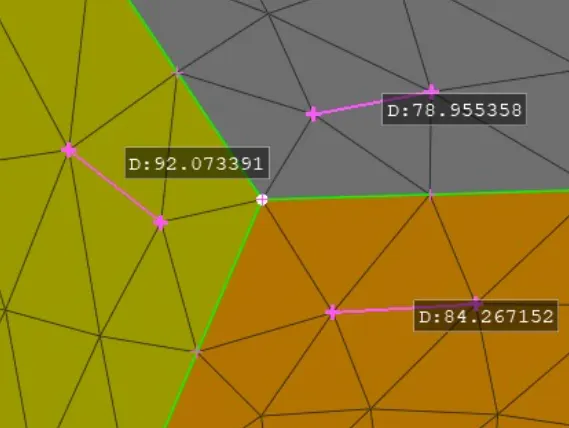
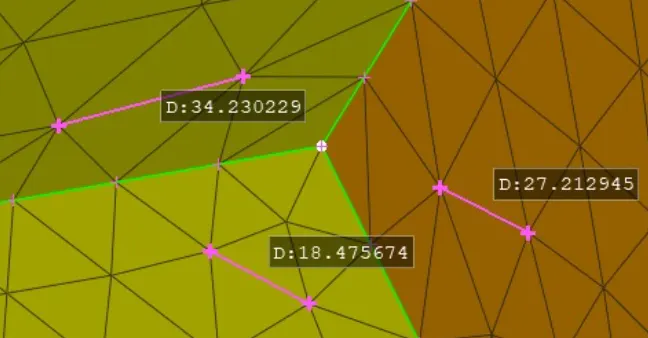
6.2) to mesh the other faces follow following steps:-
1.Choose this
- Choose all 4 cones along with checking data and direction
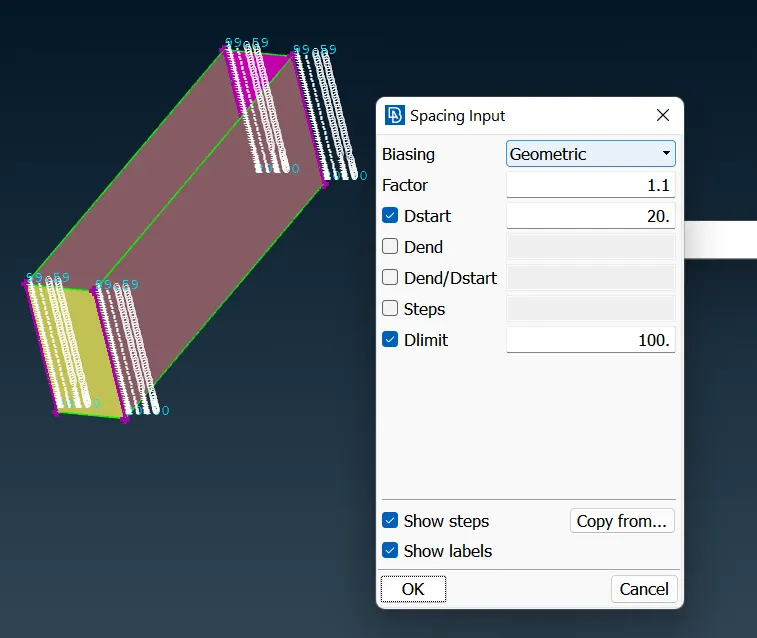
- Top point will be approx 100
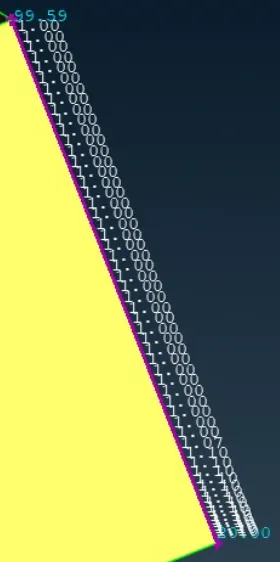
- Spot Mesh it finaly
- At above corner
- At below corner
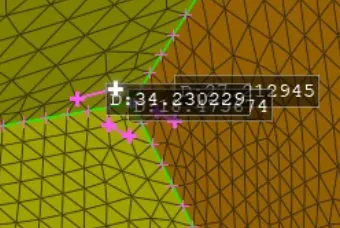
- Meshing of all the 4 sides is done
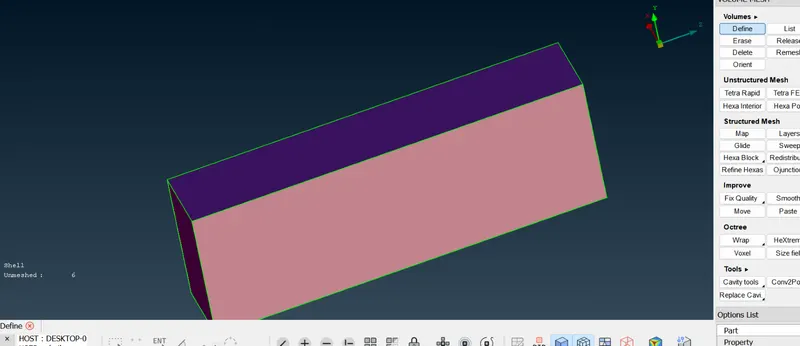
6.3) Check the final meshed for geo errors
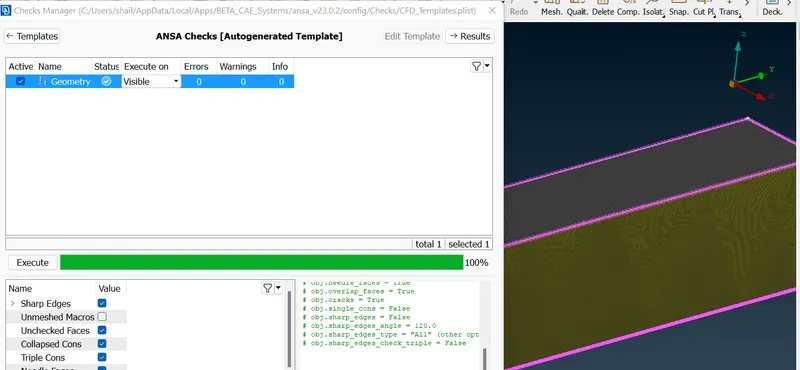
Step 7) Time for Volumetric meshing
7.1) GO to V Mesh < Define < Whole db
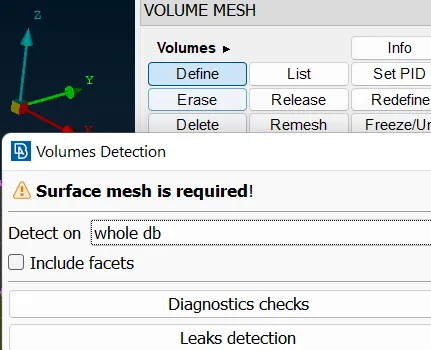
7.2) Diagnose the model for any errors
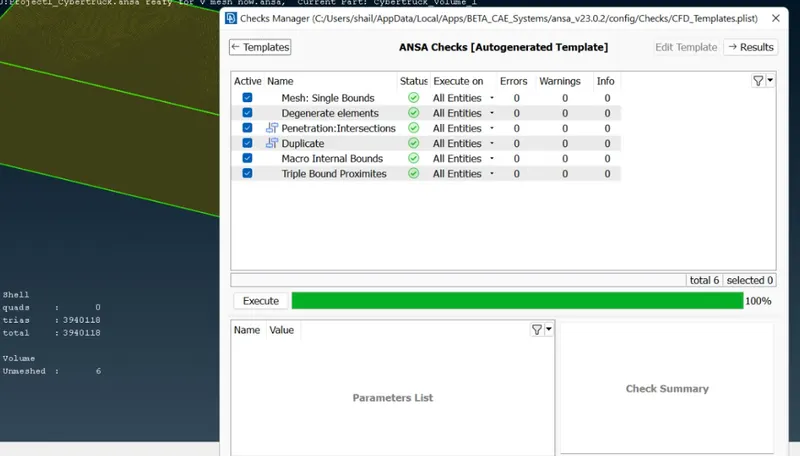
7.3) Total 6 volumes must have detected
1. car body
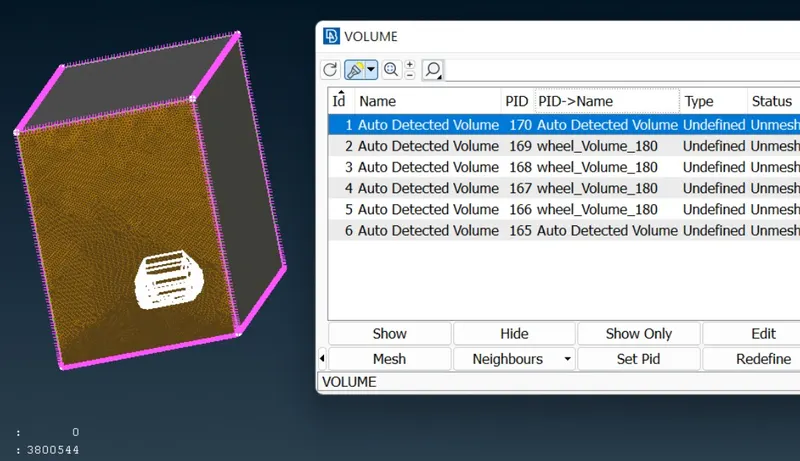
2. Wheels x 4
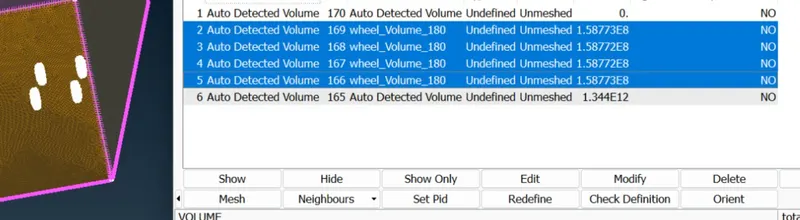
3. Interface volume of tunneland car
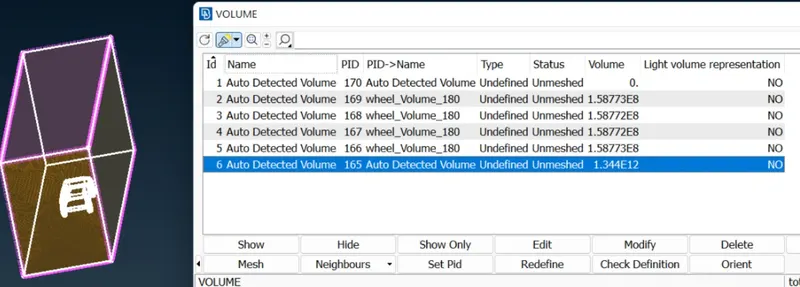
7.3) Delete all except the last one, where the fluid will interfere with car
7.4) Remesh the last one with 'tetra CFD', THIS IS GOING TO TO TAKE WHOLE 2 DAYS IN PROCESSING.
(My laptop is not able to process V meshing)
Learning Outcomes
We learnt how to perform the crucial prerequisit of wind tunnel (CFD) simulation.
Result
After the V Mesh was able to perform, we could see that the space of interfarance b/w car and tunnel is been able to be defined in tetra form.
Conclusion
Cfd simulations can be easily performed by following these steps.