Project 1 : CFD Meshing for Tesla Cyber Truck
Aim -
For the given model of tesla's Cyber truck, check and solve all geometrical errors and Assign appropriate PIDs. Perform meshing with the suitable Target length and element Quality criteria and also create a wind tunnel and perform volumetric mesh.
Objective -
We can decide the target lengths for the different parts of a PID's on our own.
Meshing Wind tunnel volume with tetra elements.
All the 2D elements(Trias) in our model should clear the quality criteria (i.e. Off elements should be zero).
Model -
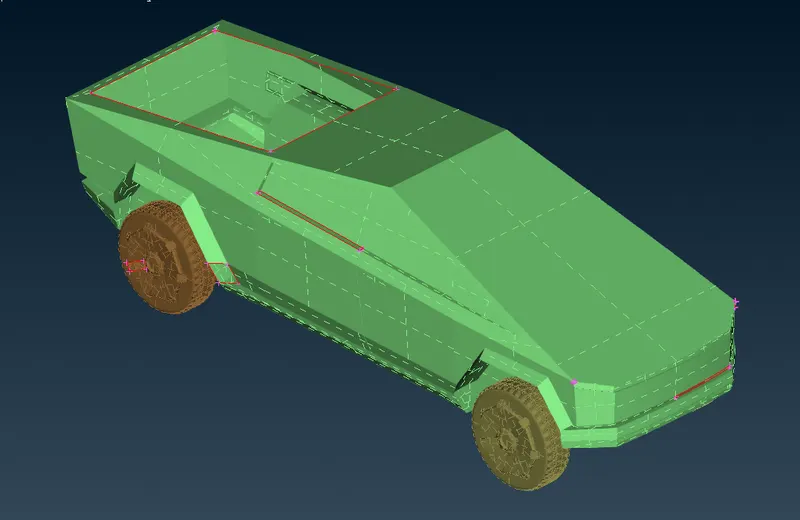
Procedure -
Step 1 -
- Upload the ANSA file onto screen to perform topo/clean and meshing on the later stages.
- Go to mesh and choose length and enter 1 mm under perimeters to smoothen the sharp curves of the car and give it a fine look.
- Since the car is symmetric from the middle to any end, we can delete one-side of the car and perform the necessary operations on the car and use symmetry option to produce the complete car.
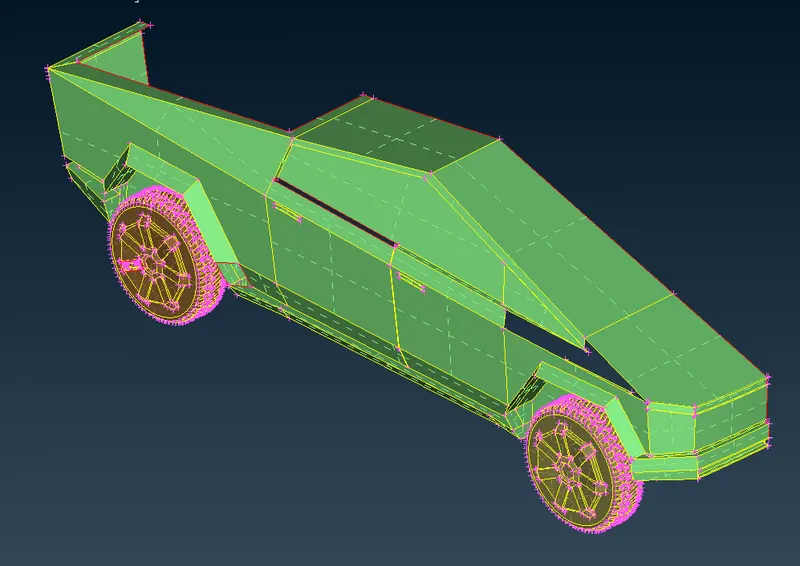
We can now start with the topo clean-up by removing the single and unnecessary triple cons shown below.
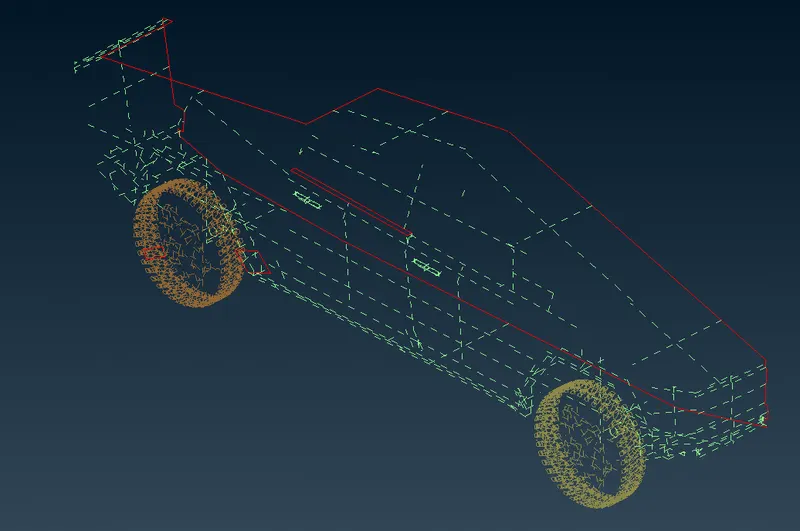
After checking and performing topo-clean up for the entire half car model. We need to perform geometry checks to check for any error or warnning, which is not good for the geometry, therefore we need to perform checks and clean the geometry accordingly.
Final cleaned model -
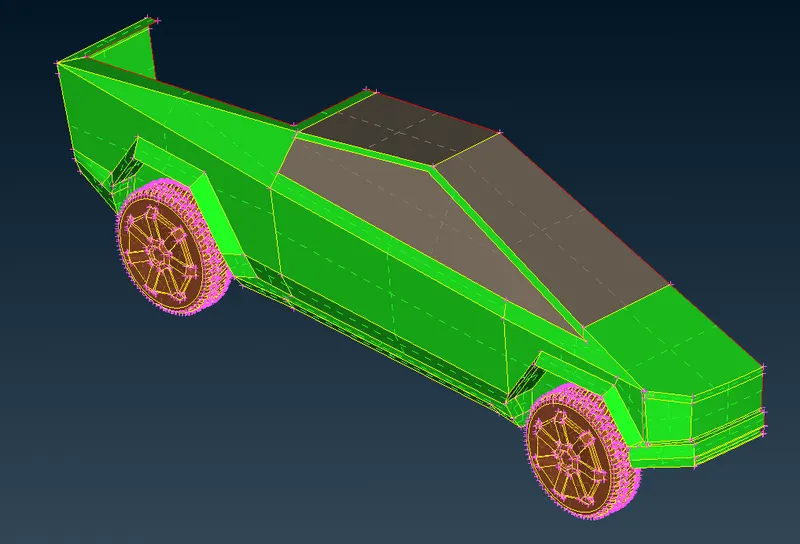
Step 2 -
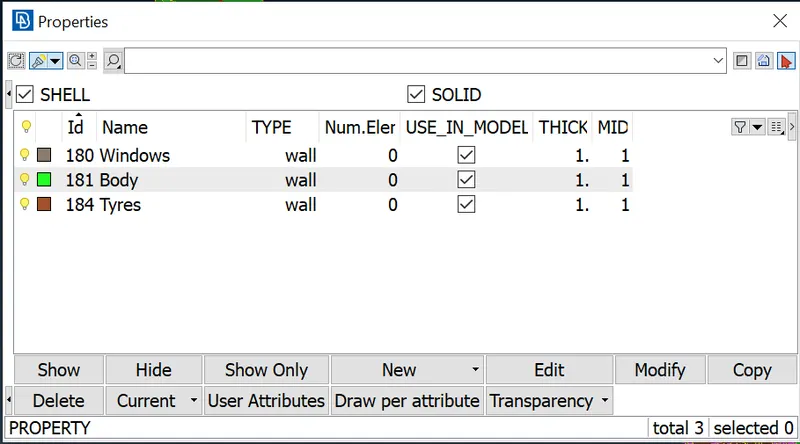
In this next step we'll divide the single PID model into several different PID in order to mesh the model more accurately and easily.
To create a new PID we'll open the PID manager, we'll add new PID by clicking on the "NEW" option present at the bottom options and under "NEW" option we'll select "Shell parameters".
PID List -
Step 3 -
Now we move to mesh mode from topo mode in order to mesh the given model.
The first thing we need to do is open the mesh parameters from the top option list and input the target length for the selected PID.
The target length for different PIDs is listed below
- Body - 4 mm
- Window - 4 mm
- Tyres - 4mm
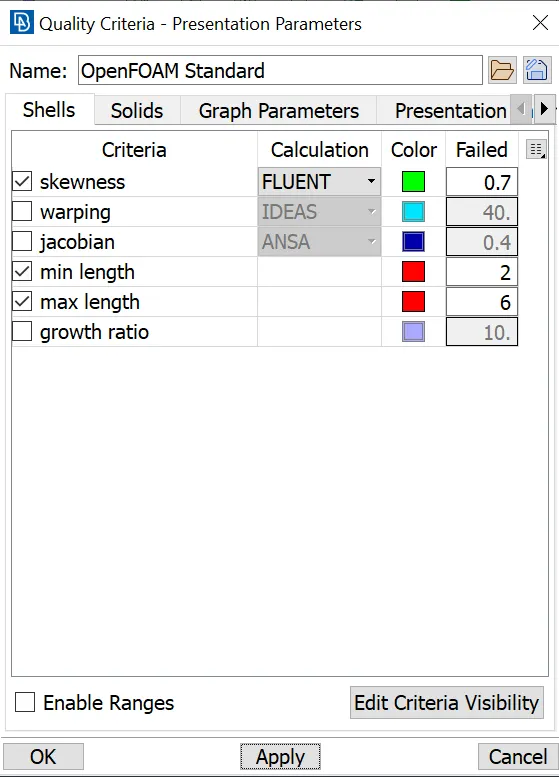
Quality Criteria for 2mm target length -
Above mentioned meshed elements –
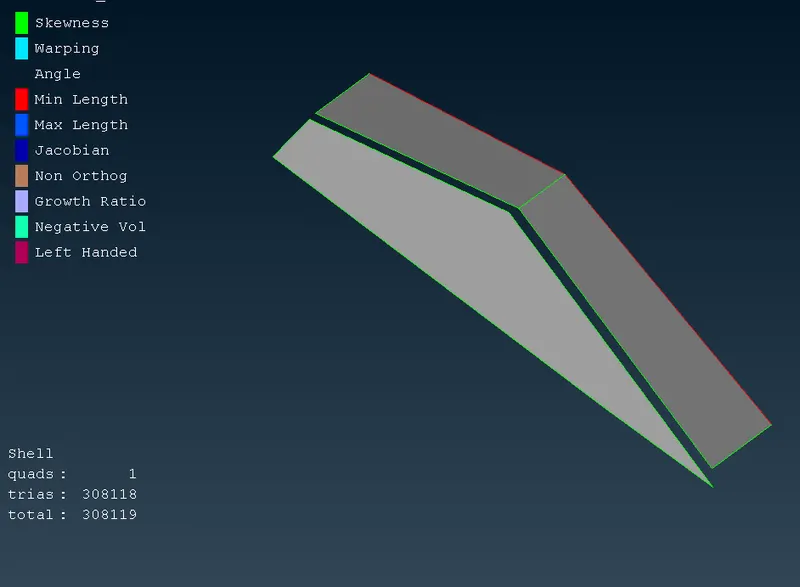
Window -
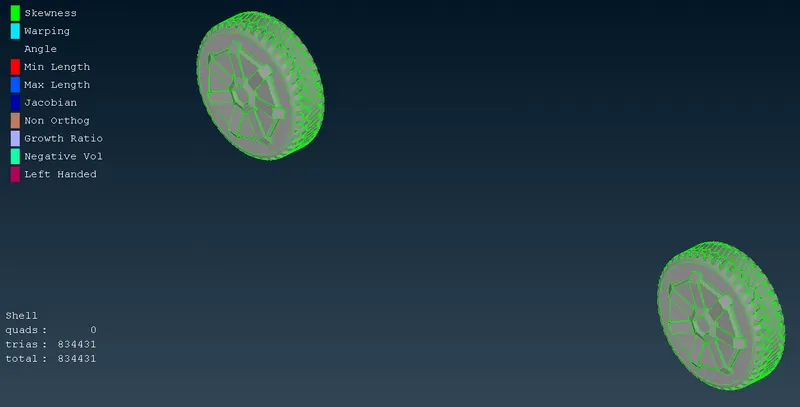
Tyres -
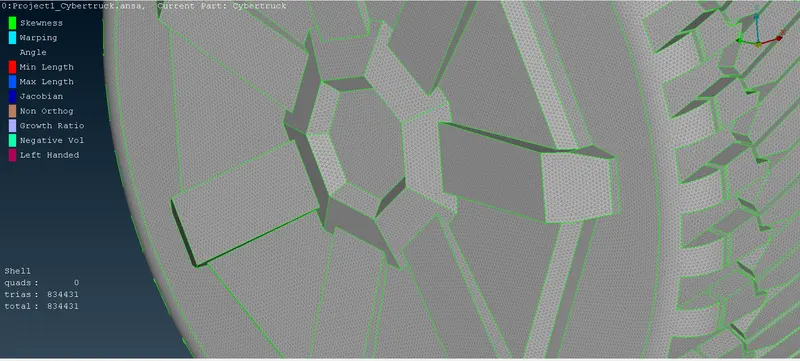
Body -
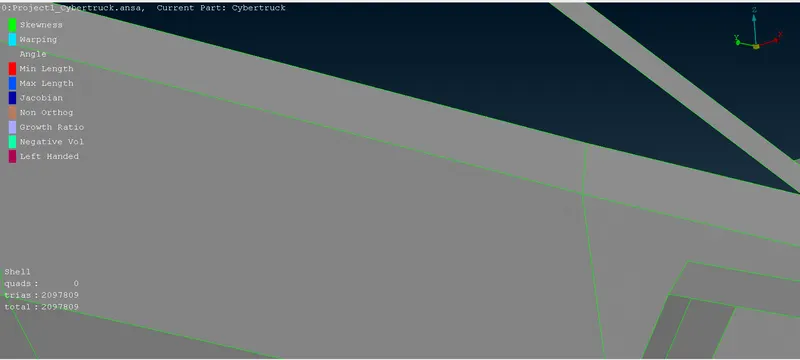
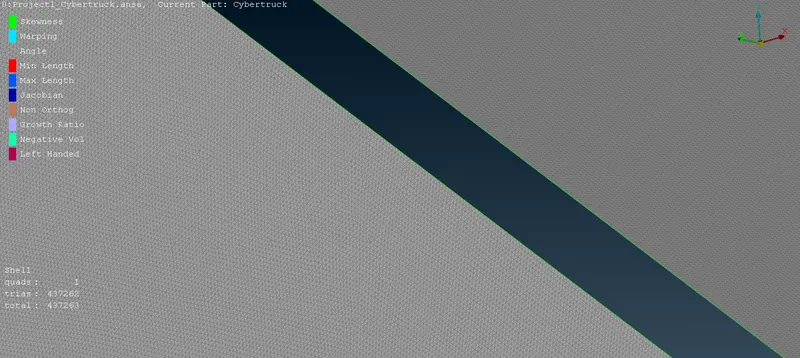
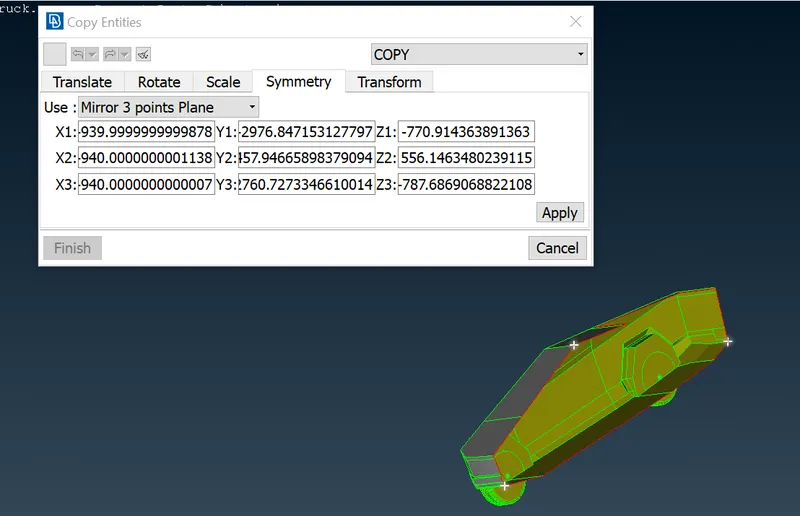
Now as we're done with everything, we can mirror this half in order to get the full car. We'll use the "Transform" option and copy this half as shown below.
Transform -
Complete car -
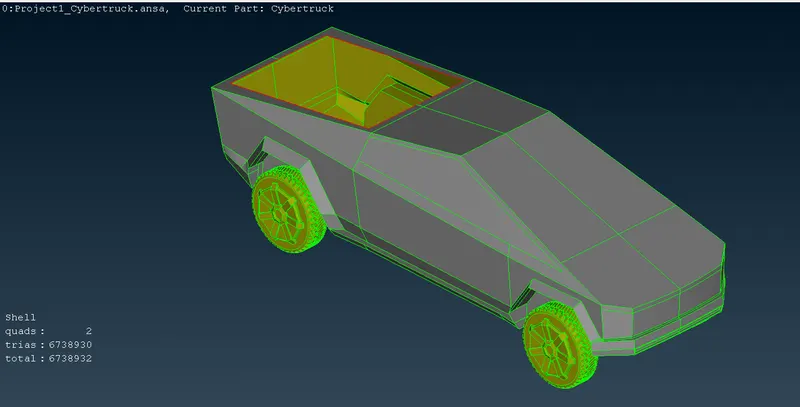
Now we'll have to create an enclosure around the car so that we can do the wind tunnel simulation. We'll create the enclosure by following the steps mentioned below.
1.) We'll first create three points as shown below with their dimensions.
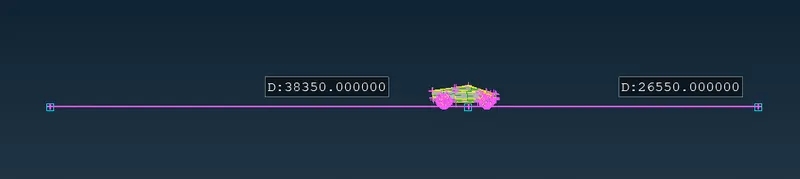
2.) We'll offset these points in both the direction so that we can create a surface as sown below.
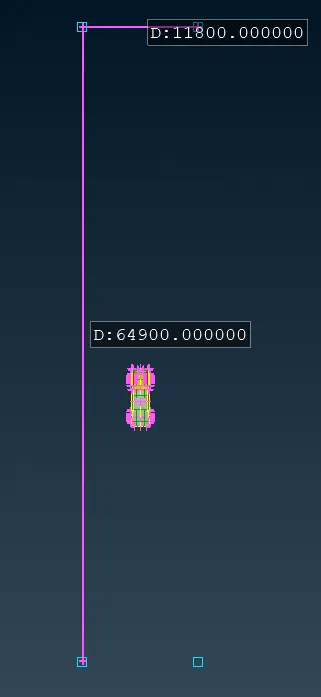
3 We'll create a surface using these points and then offest it to get the top surface also.
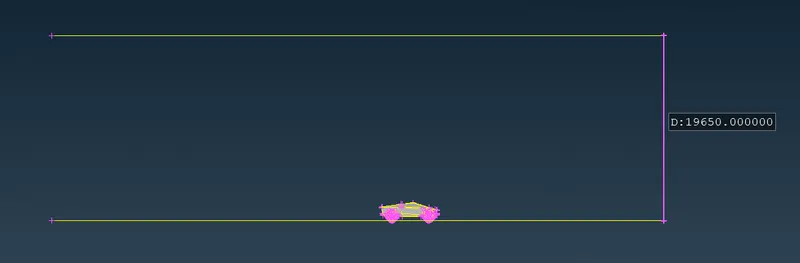
4.) We'll now close all the sides and our enclosure will be ready.
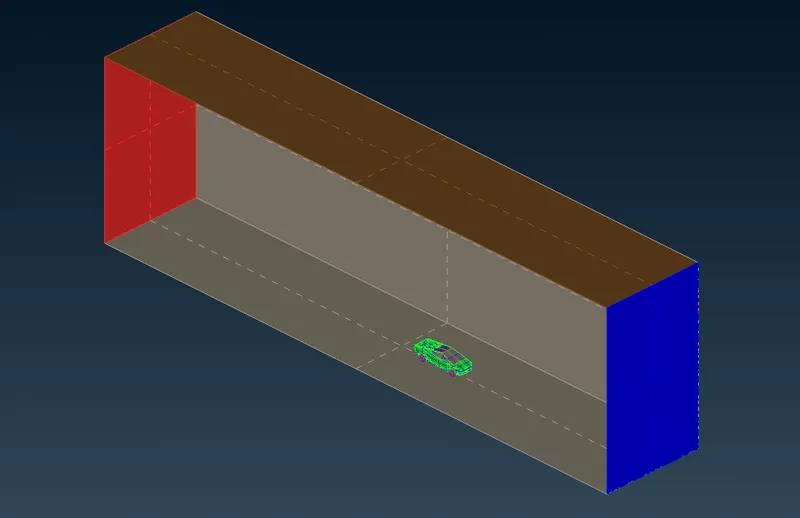
PID List -
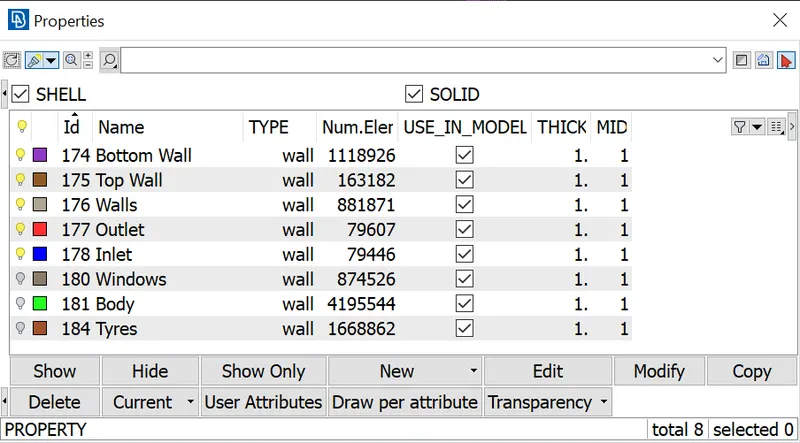
Now we'll move on to mesh the enclosure with different specified target lengths.
Top surface target length - 100mm
Bottom surface target length - 40mm
and for the front, back and side surfaces well use the "spacing" option in order to get varying target length that starts from bottom surface with 40mm target length and will go till top surface with 100mm target length as shown below.
Generated Mesh -
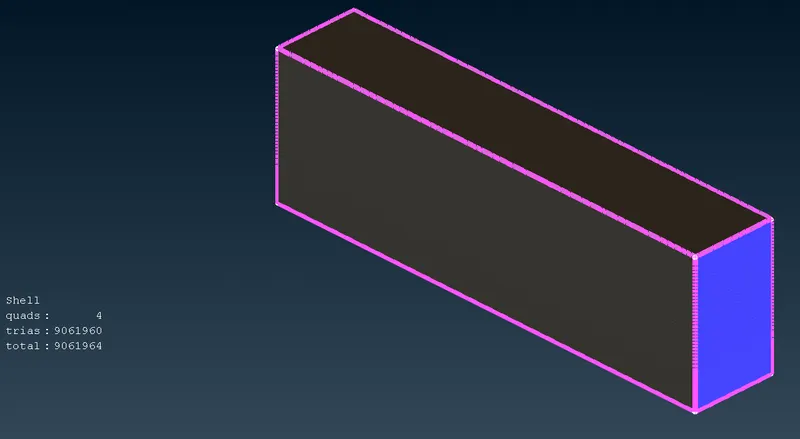
ANSA model link -
https://drive.google.com/file/d/1Lri6DDxp09LoNCr3WnTW1TCWQdQKCRsB/view?usp=share_link