Project 1 : CFD Meshing for Tesla Cyber Truck
AIM:
To do a topo cleanup for the given cyber truck and do surface mesh over it.
the wind tunnel meshing is done over it.
we are to follow the week 4 challenge guidelines.
so its completely our choice in defining the PIDs for the truck and the target length too can be done as we have made for the week 4 challenge.
....................................................................................................................................................................................................................................................................................................................................................
TOPO CLEANUP:
PROCEDURE:
The given model is well aligned when compared to the week 4 challenge.
the error corrections are similar, but the cleanup is better than week 4.
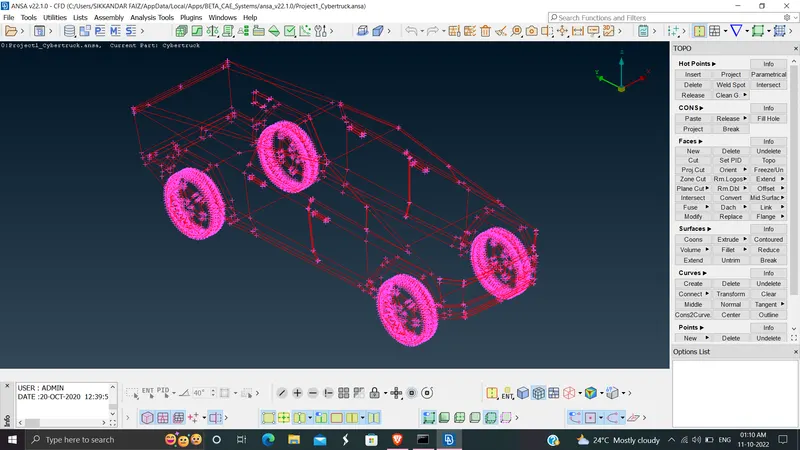
at first the errors seem much, inorder to correct such we need to hit topo of the whole model. its a must to do topo hit to every model we get since it can solve many a errors on a click.
the errors seem to be corrected well
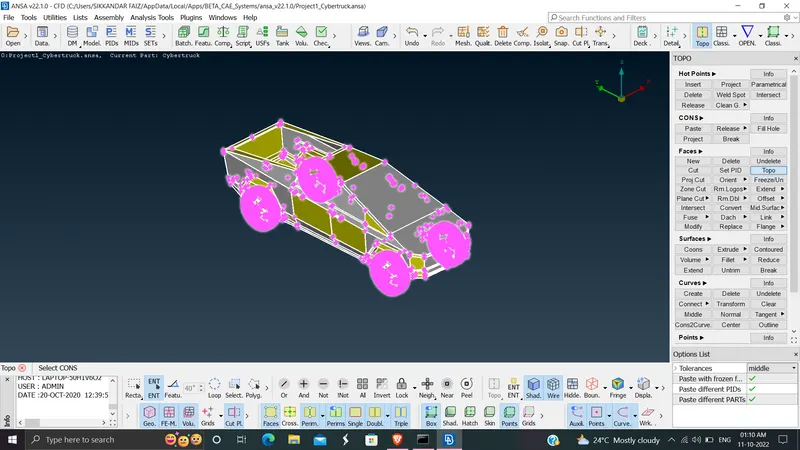
the given body part is divided into two for easy error correction.
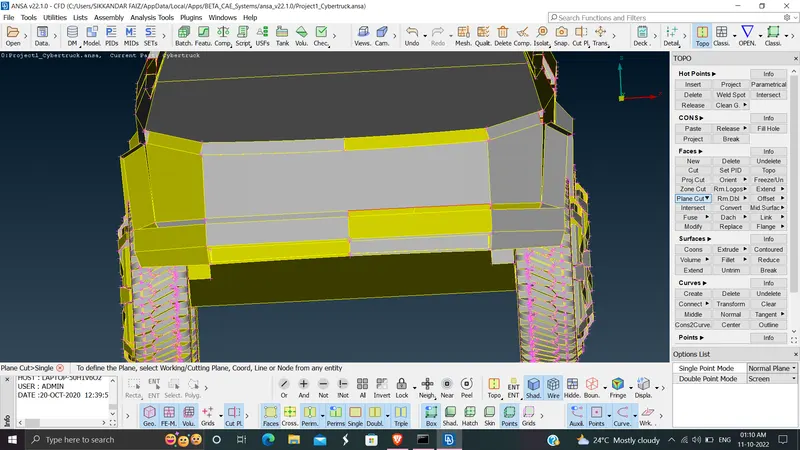
the plane cut tool is better in acquiring the perfect cut of the geometry.
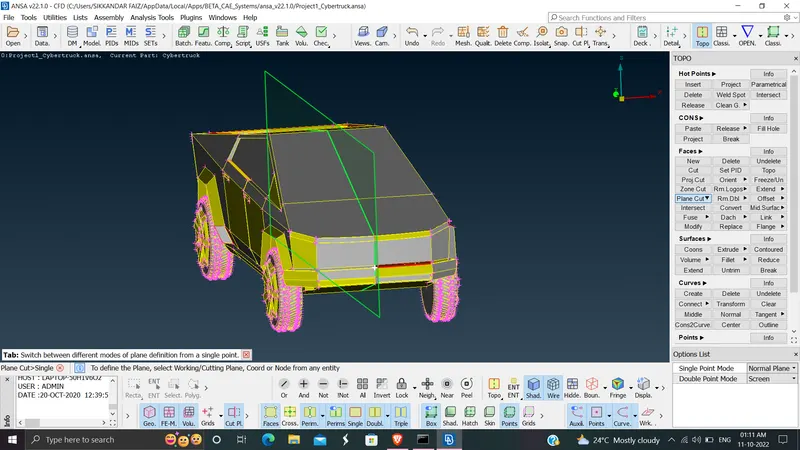
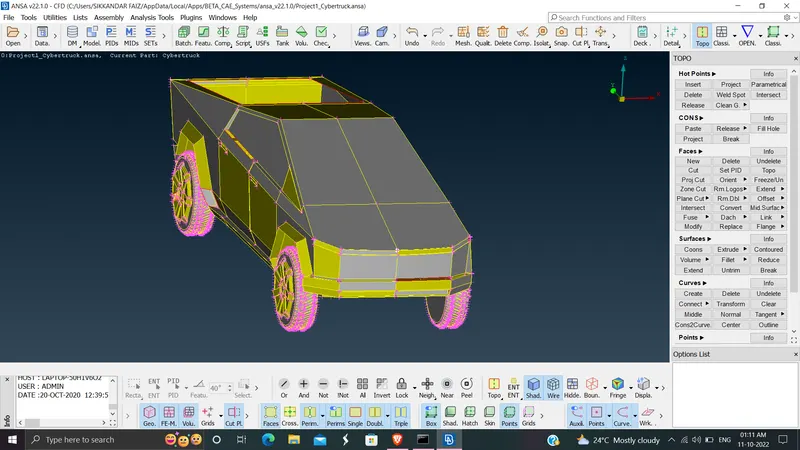
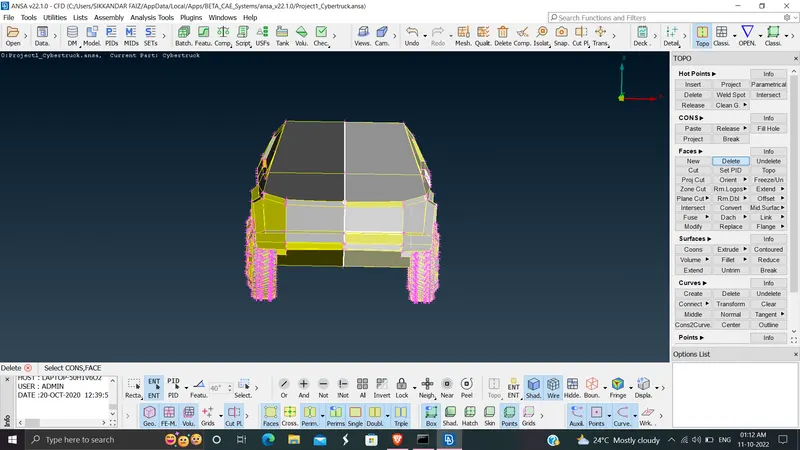
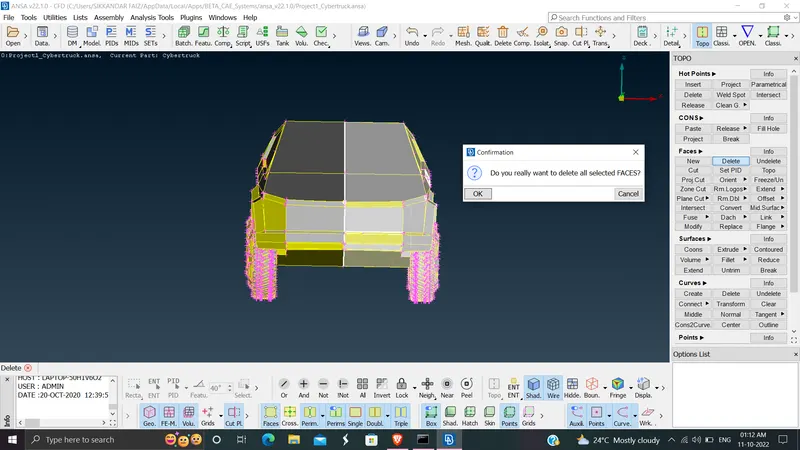
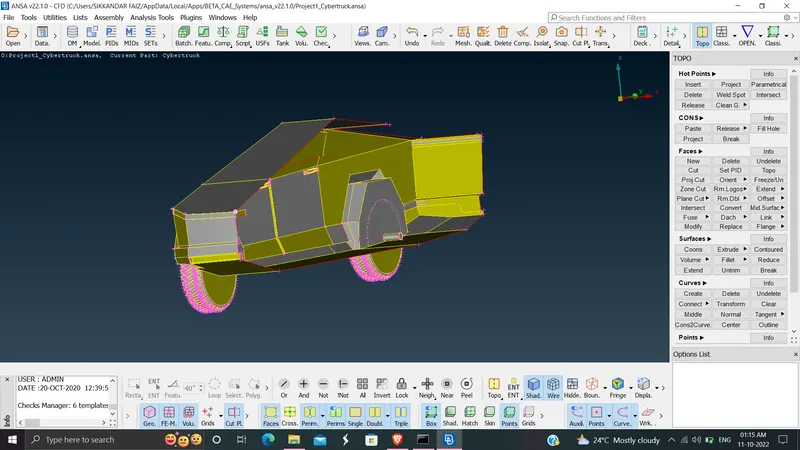
the cut is easy in mirroring the other part once after doing the corrections.
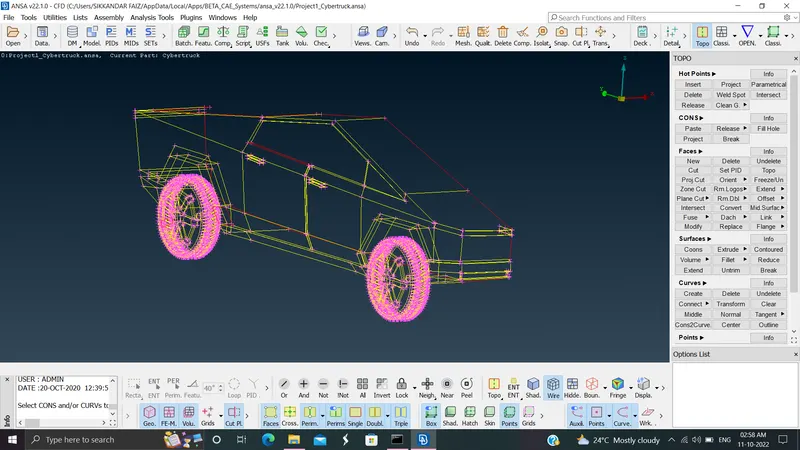
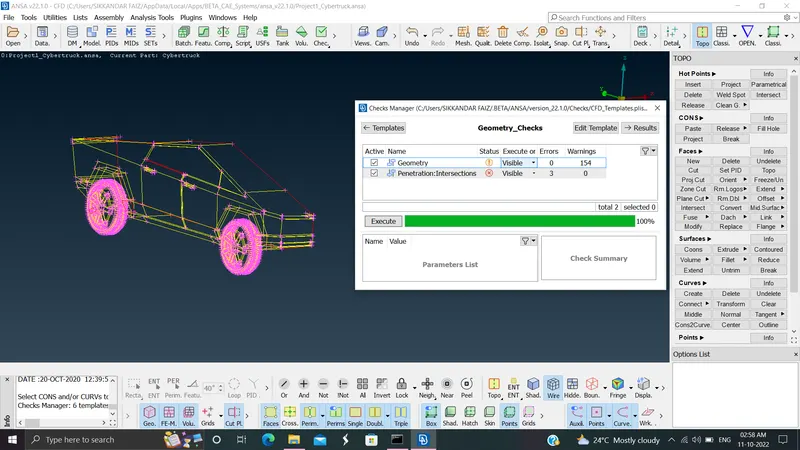
there seems to be many single,triple cons in the checks manager and that is because of the cut we made and there seems to be some major intersection errors, which has to be well checked.
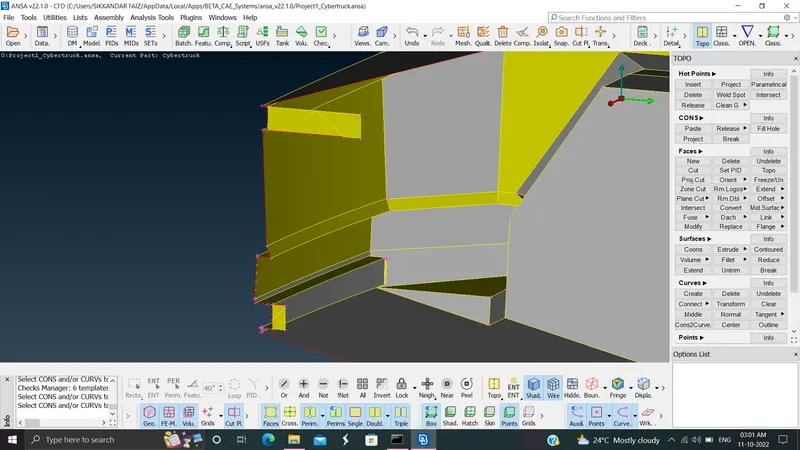
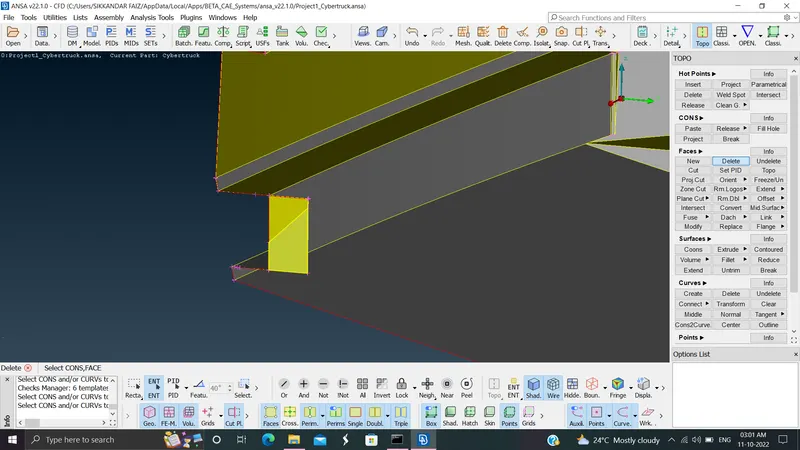
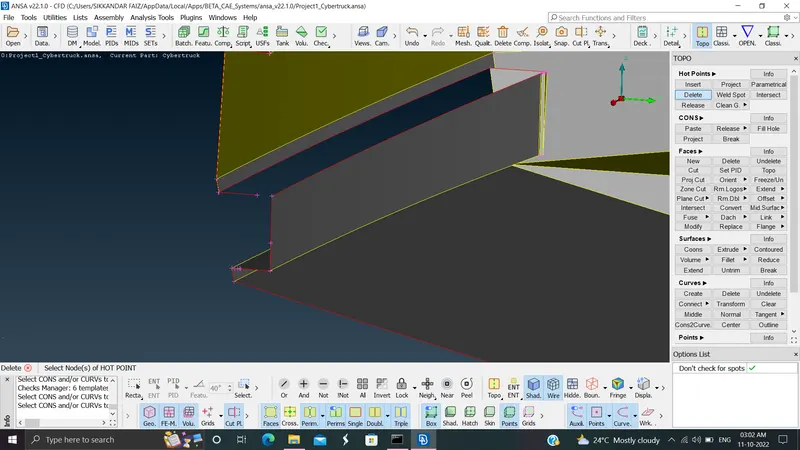
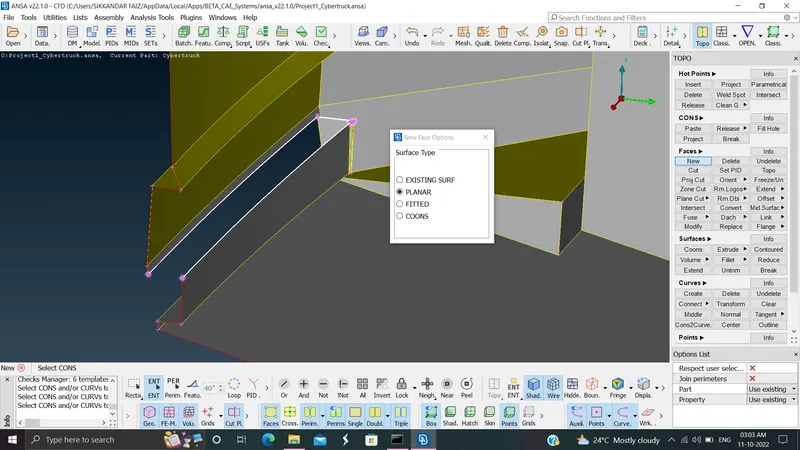
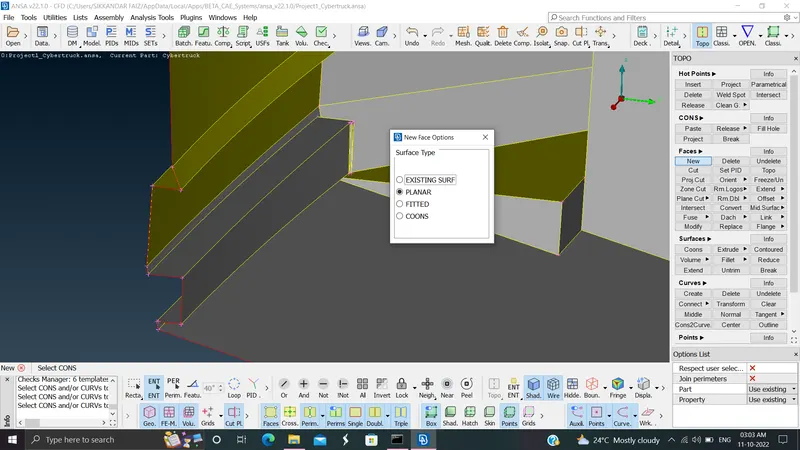
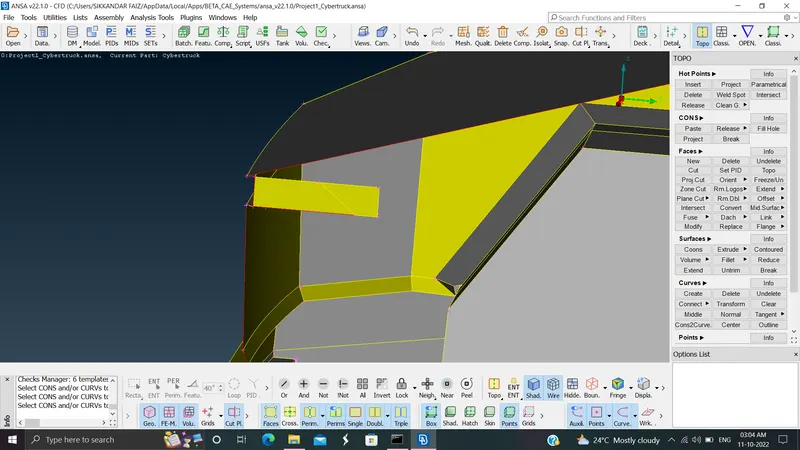
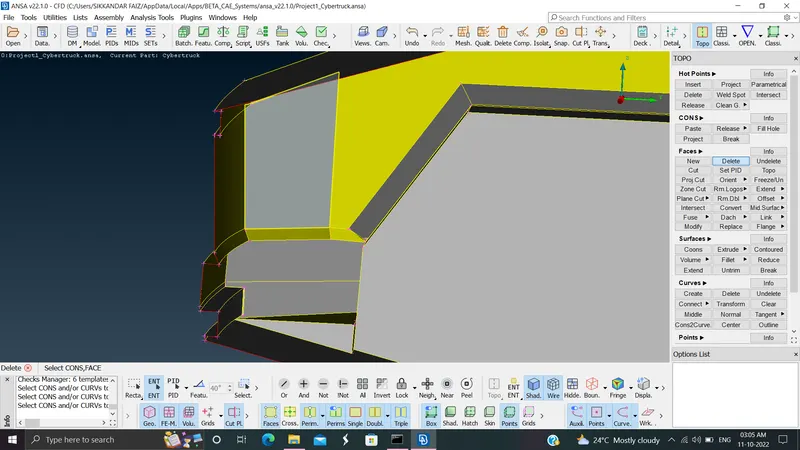
some of the error that is the geometric corrections are corrected and glimpse of it is shown below in the pictures:
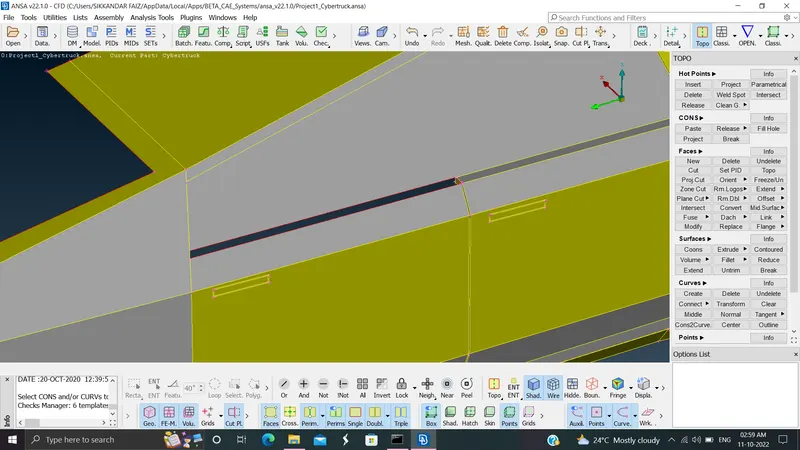
the door side error is corrected with the help of faces tool and fillhole tool, these seems to do majority of the cleanup in the whole model.
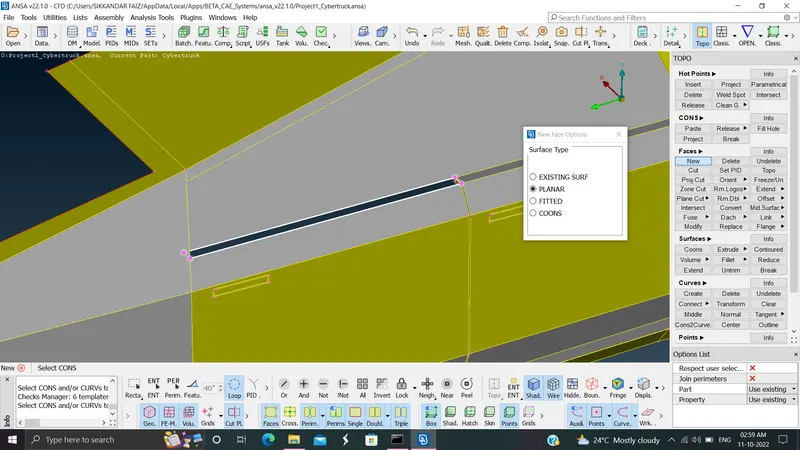
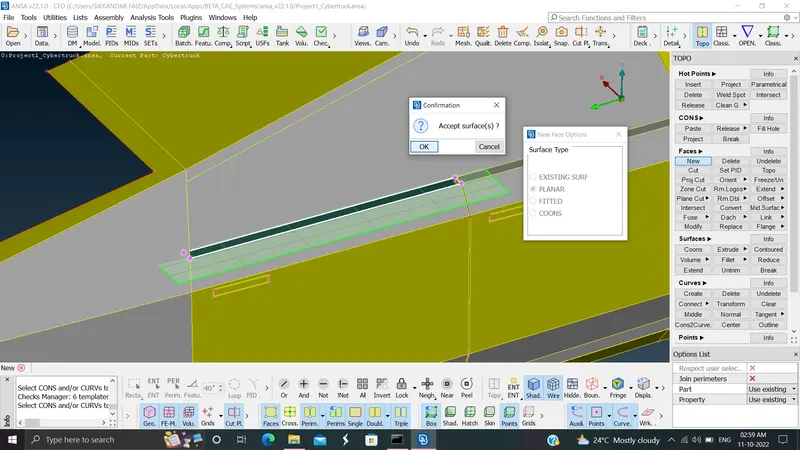
the error beneath the door,
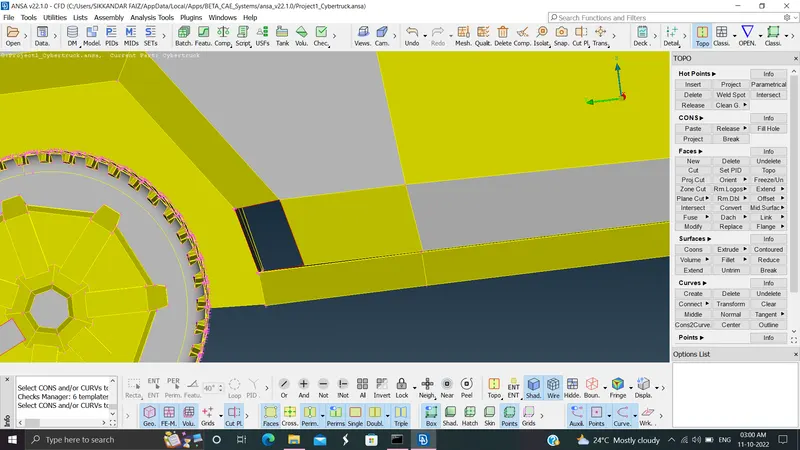
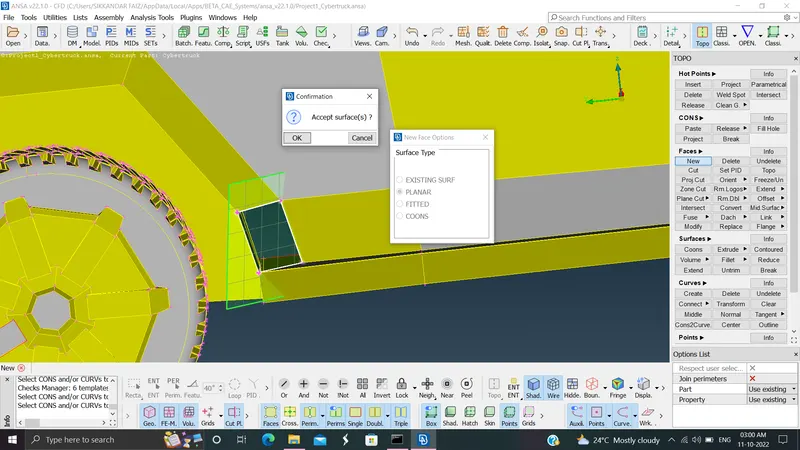
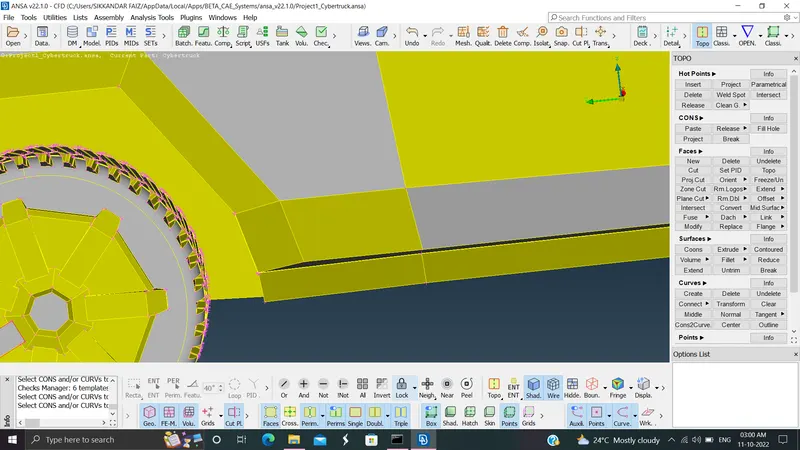
the front part contains many unrequired faces and it is corrected for the right result.
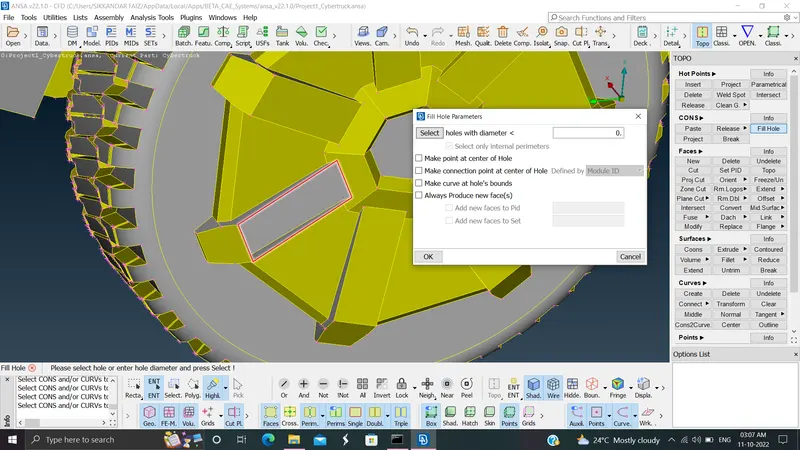
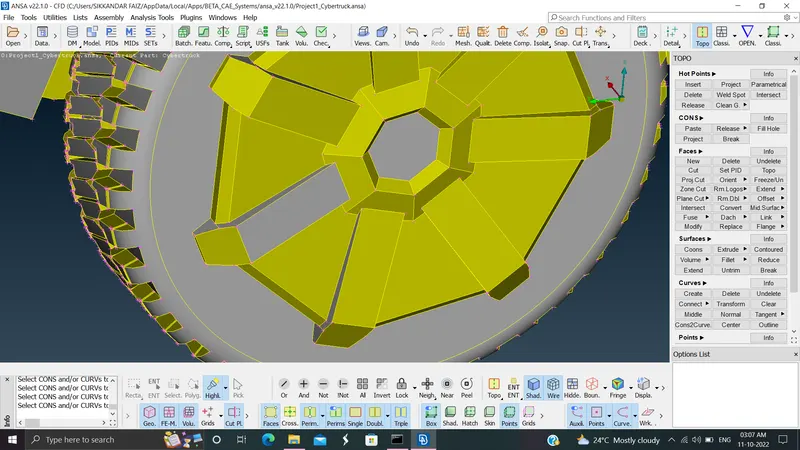
going back again checking, we can see a face missing in the wheel.
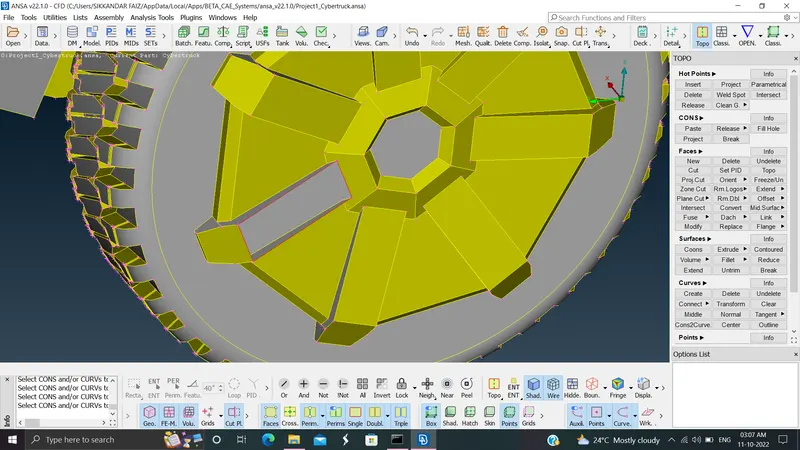
similar to the previous method, we can use fillhole or faces tool.
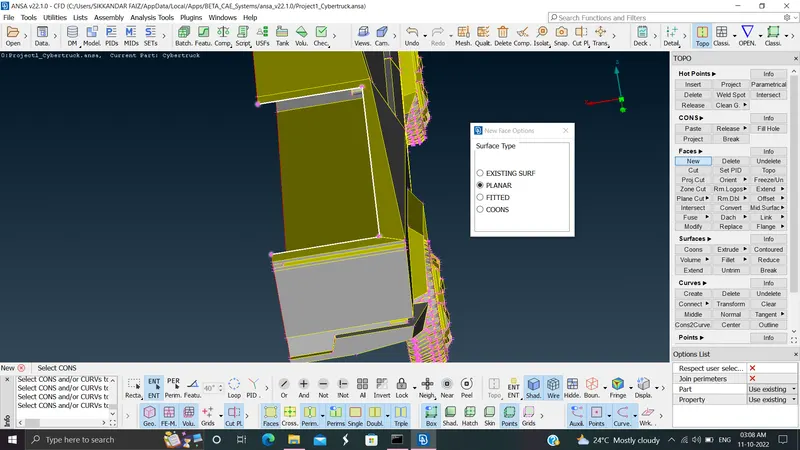
the boot has no cover over it, so we are making a lid to conceal the inner volume.
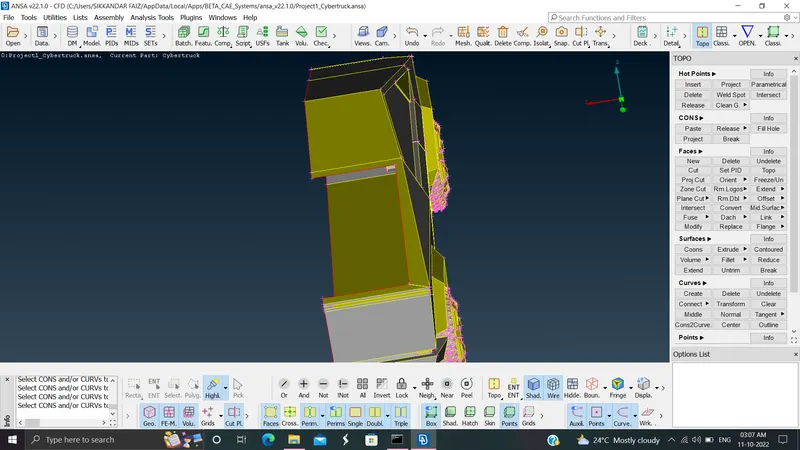
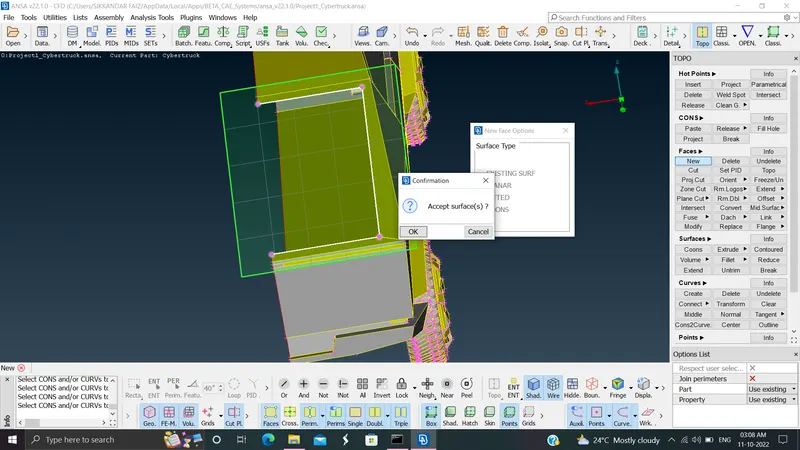
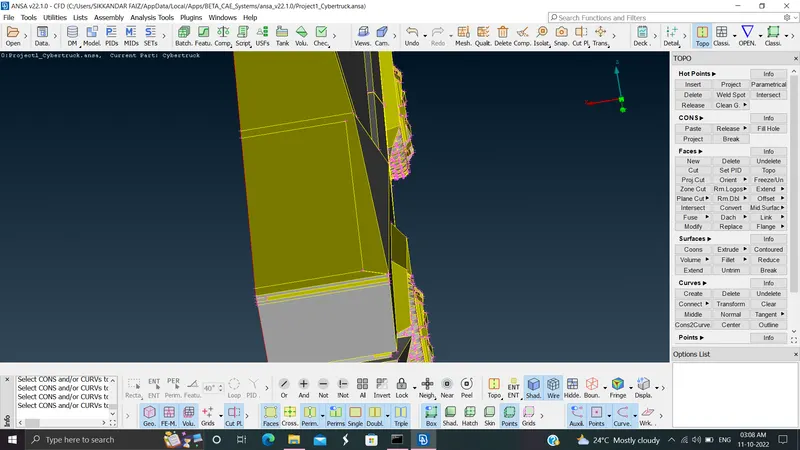
the front end gave some geometrical errors, we are to make few tweaks to it.
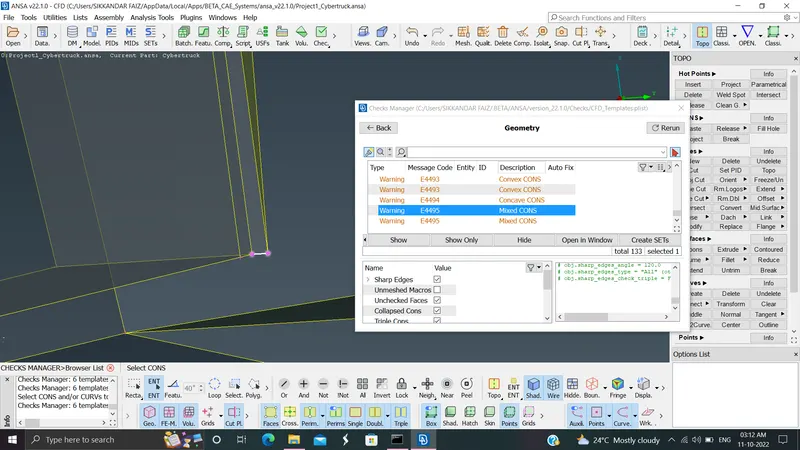
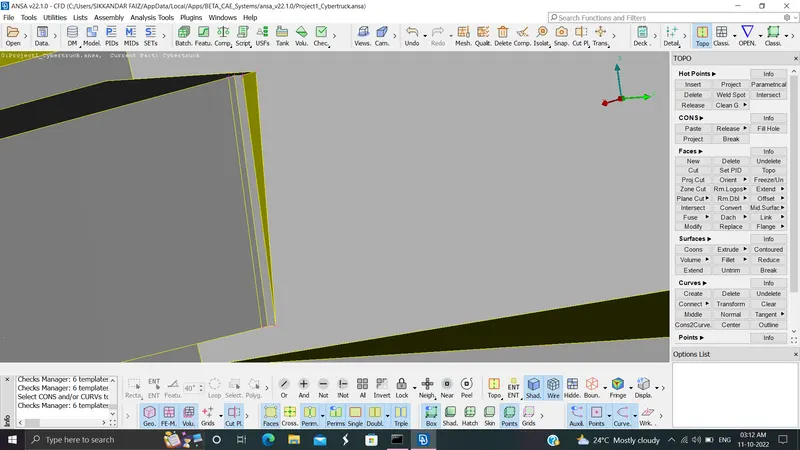
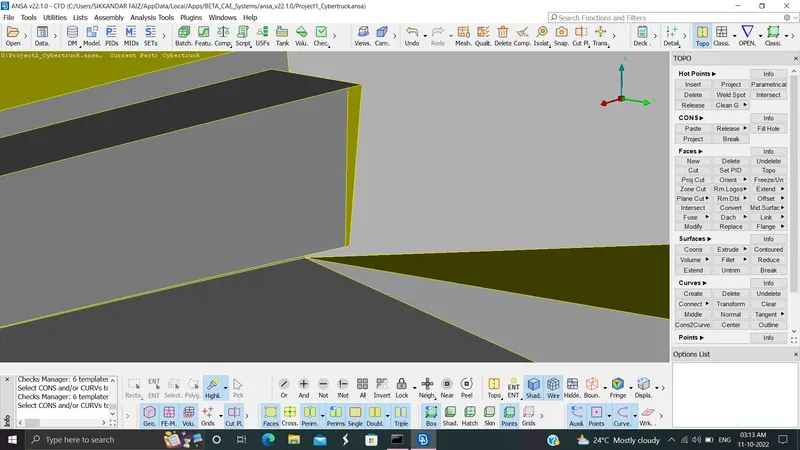
once after completing the single and concave cones corrections we can still find some, they are uncorrectable because of the shape of the geometry.
the single cons will be solved once after doing the other face mirroring.
and the concave cons and mixed cons are dur to the curved surfaces and they are uncorrectable.
we then can find three intersection errors that are solved as follows:
one in the front part,
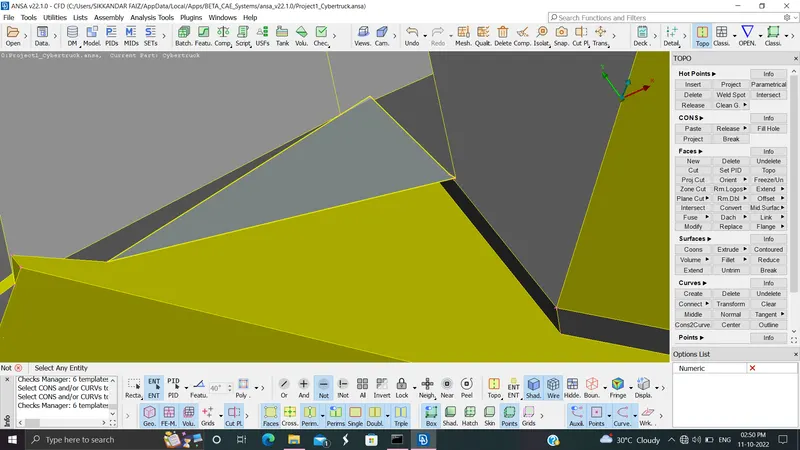
correcting:
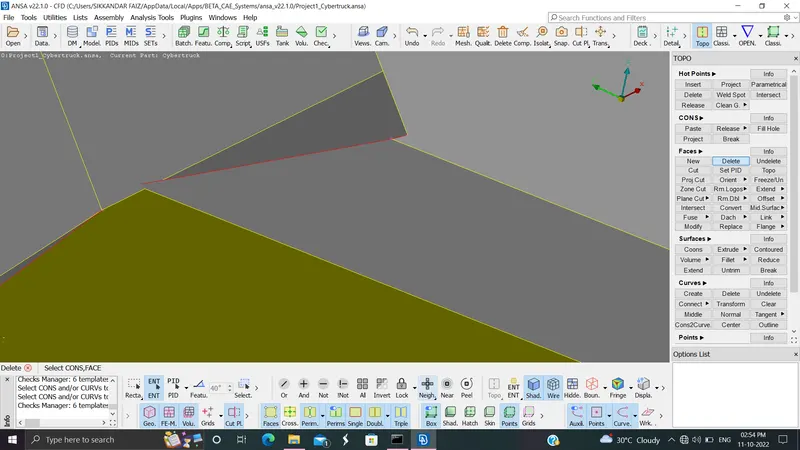
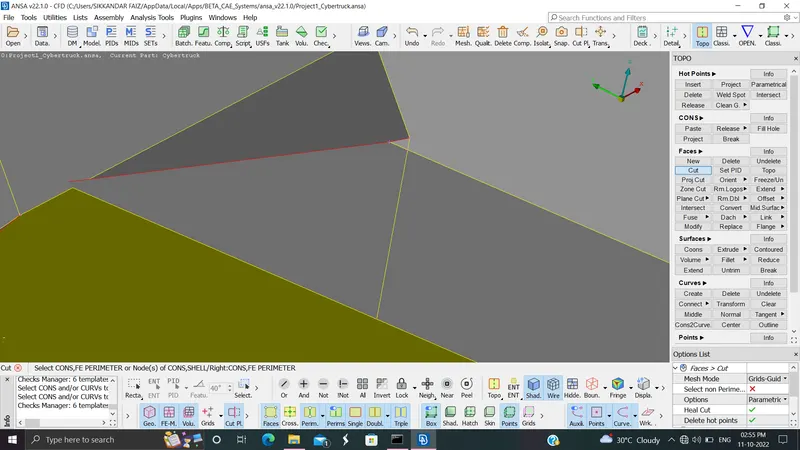
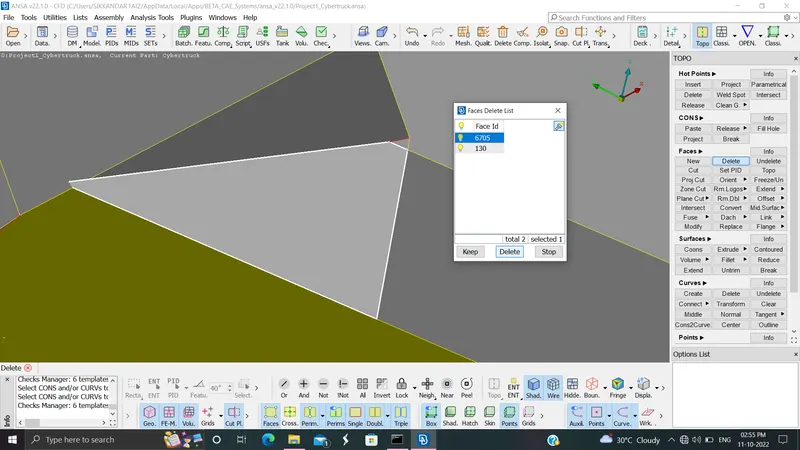
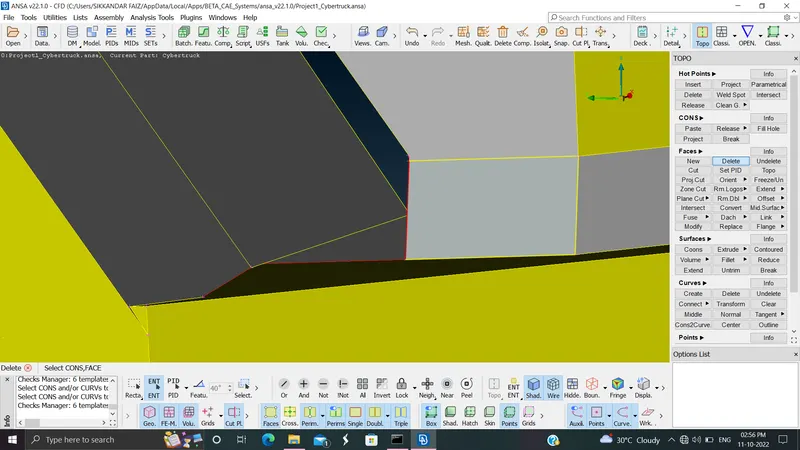
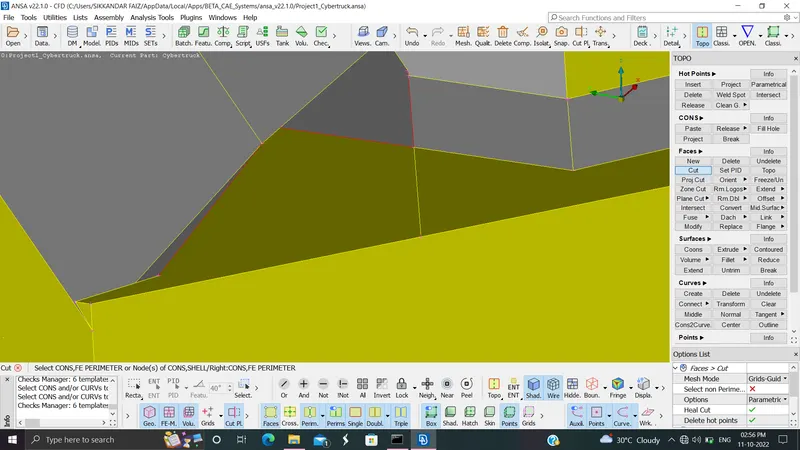
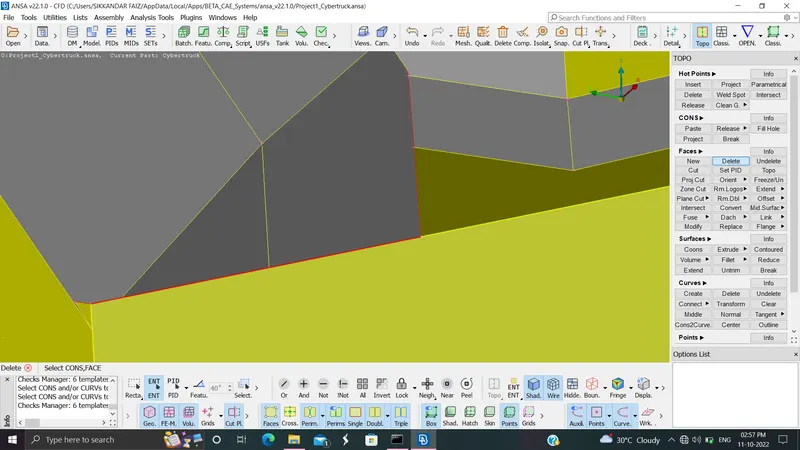
the faces are deleted so we can make new faces that wont create any new intersections.
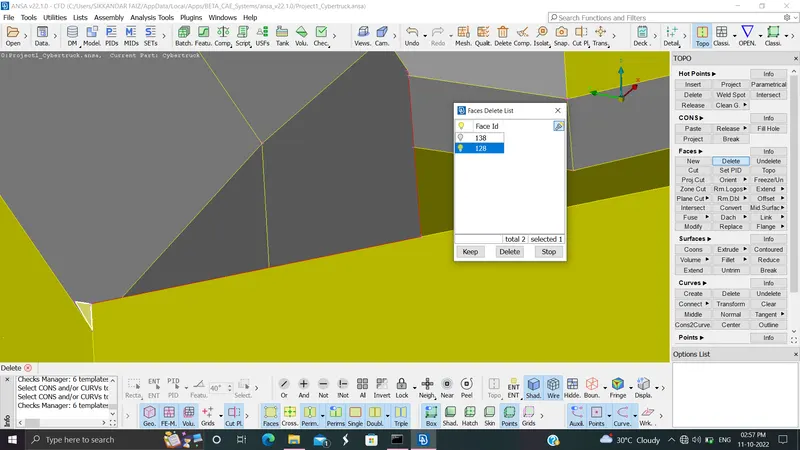
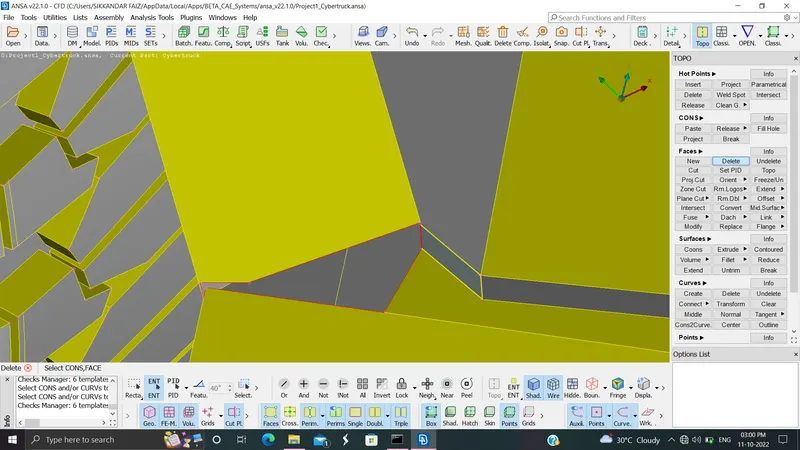
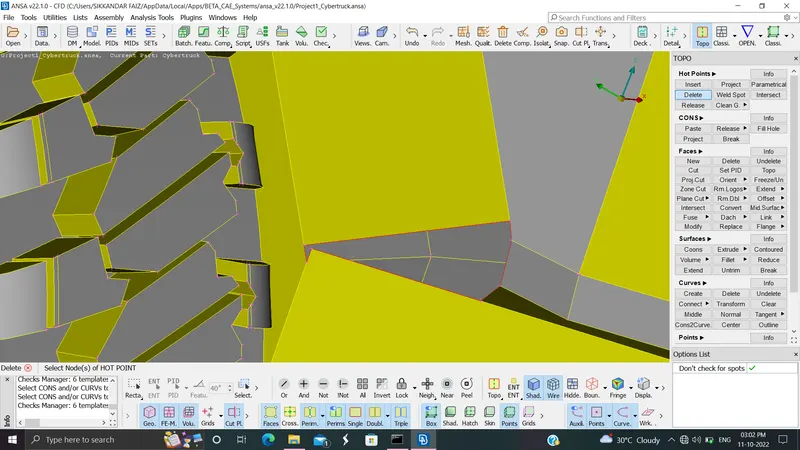
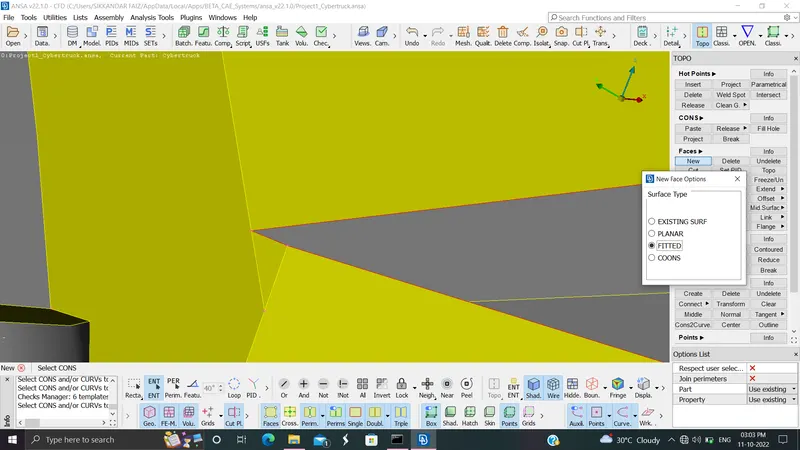
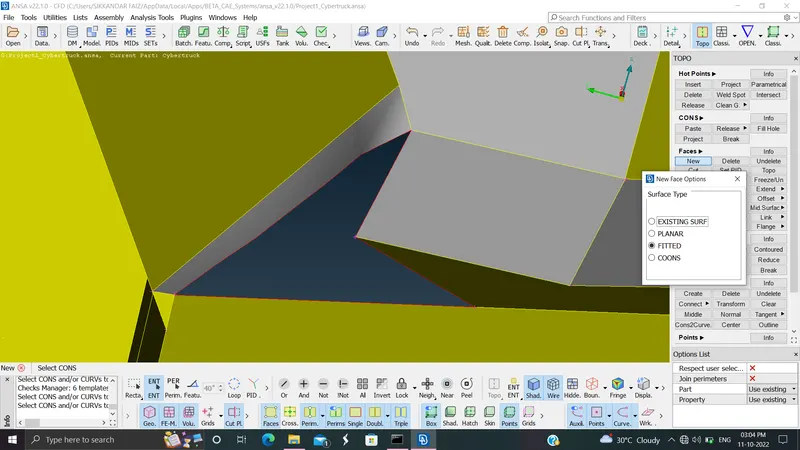
and the filling of the parts are done.
completing it we will get two errors in the wheel section.
when we hide a wheel face, we can seem some overlaping of faces in the rod that protrudes through the cover part of the wheel.
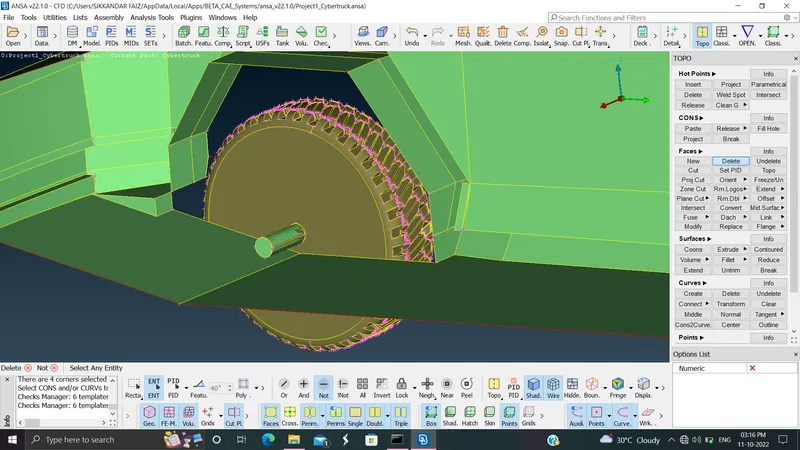
we need to delete one face to avoid intersection error,
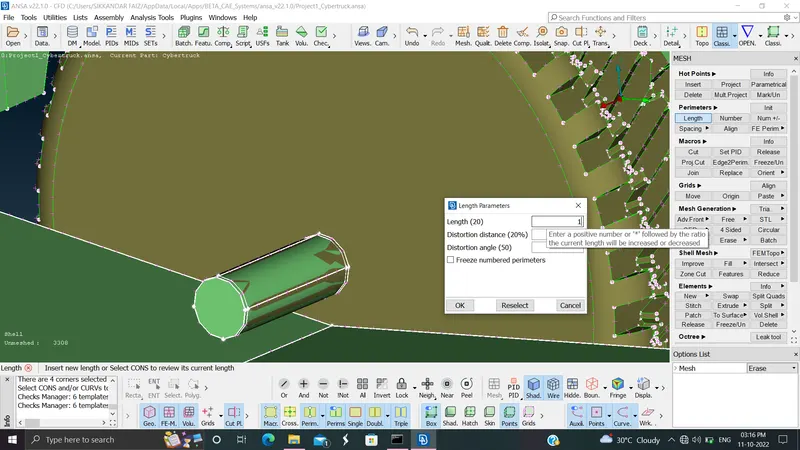
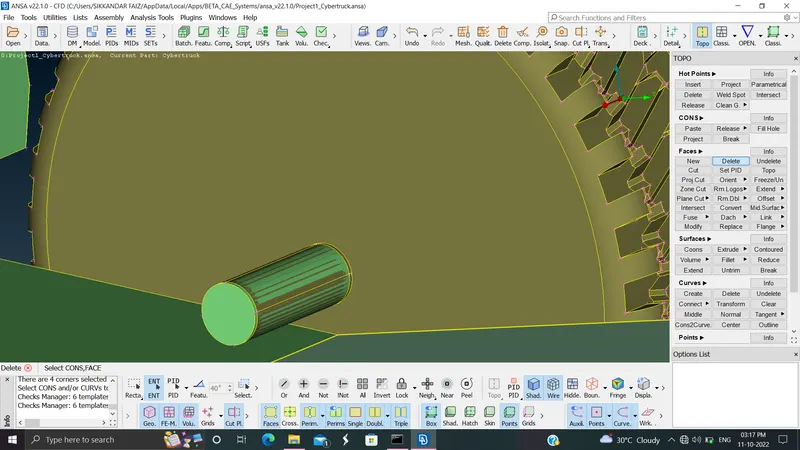
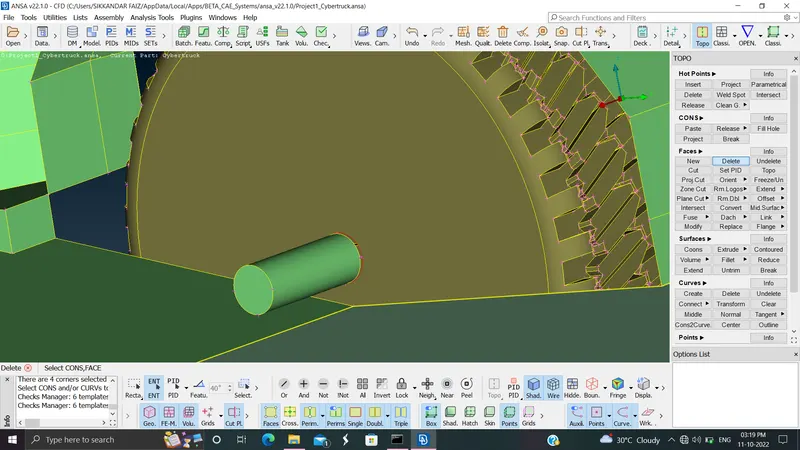
we can use fillhole option to remove the single cons.
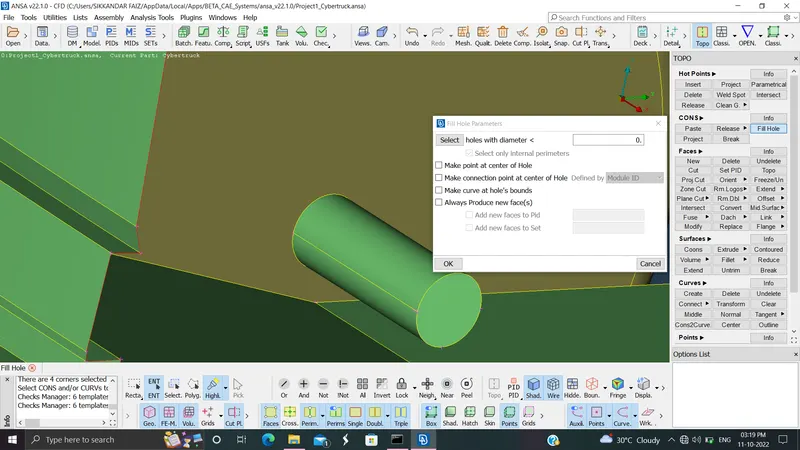
similarly the other wheel part can be corrected.
we can see only the avoidable errors which will be gone when the other face is fixed.
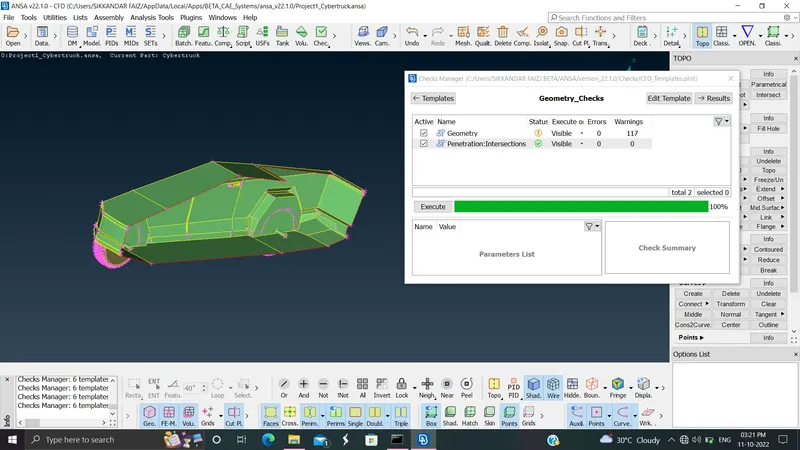
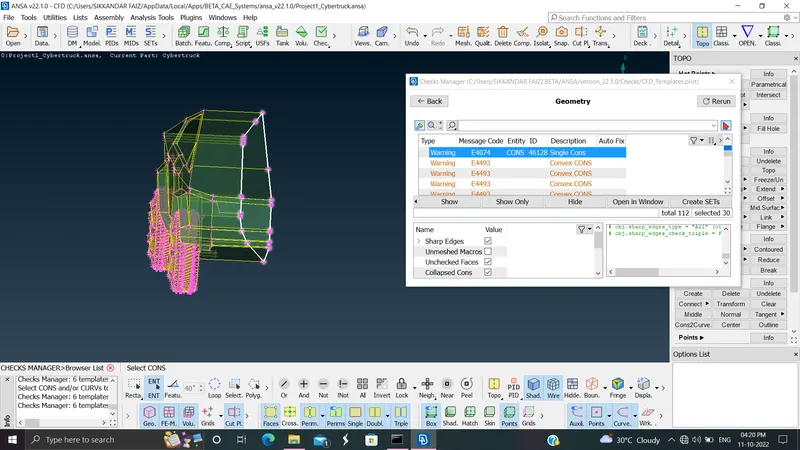
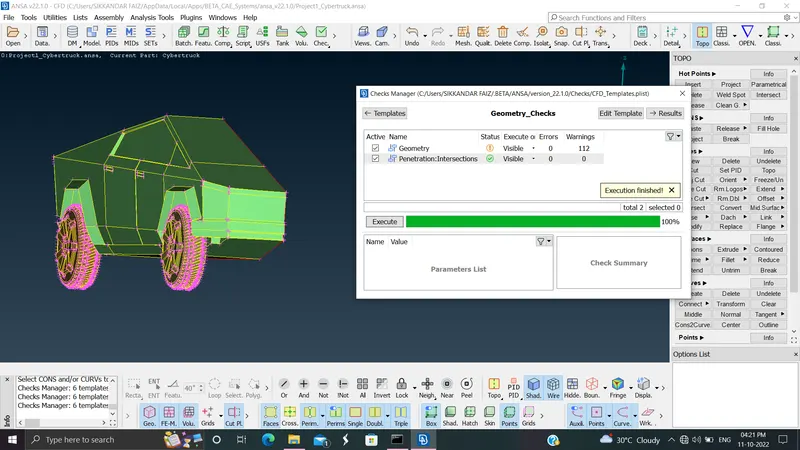
once completing all the topo cleanup we then move onto assigning the property identification for each components of the vehicle.
.................................................................................................................................................................................................................................................................................................................................................
the PIDs are assigned as follows:
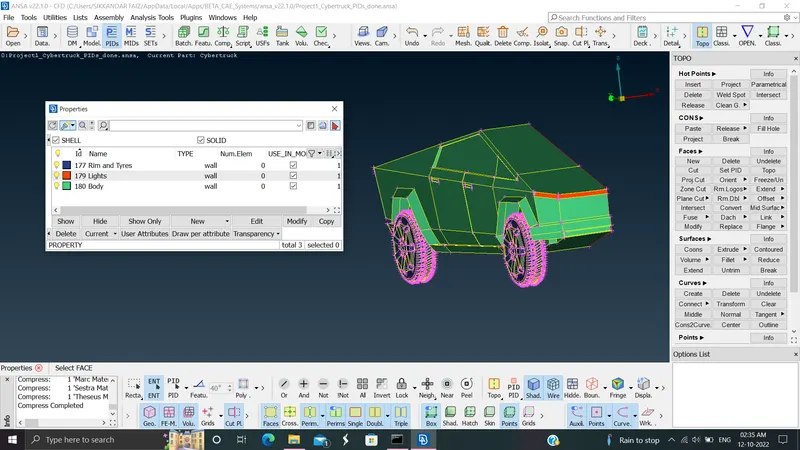
we are to mesh it according to the week 4 challenge.
TARGET LENGTH:
Body: 3 mm.
Lights: 4 mm.
Rims and Tyres: 2 mm
the quality parameters are done before starting to mesh the parts.
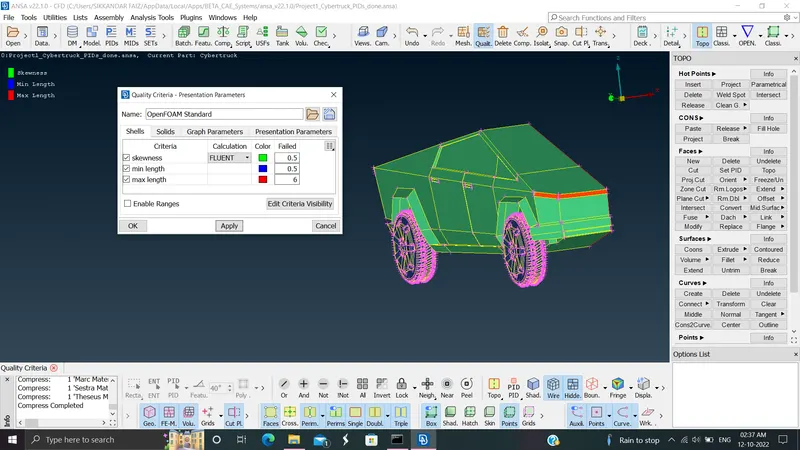
....................................................................................................................................................................................................................................................................................................................................................
MESHING OF THE PIDs:
the Rims and Tyres are meshed with a min and max target length of 1.9 and 2.1 mm inorder to achieve 2 mm mesh.
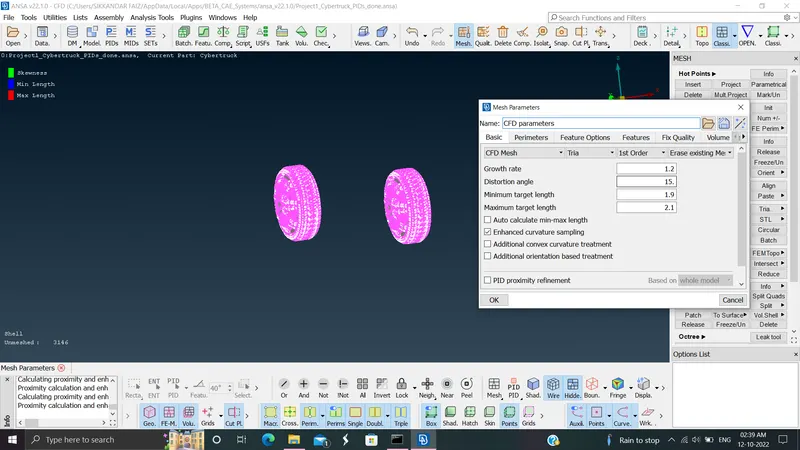
some of the tria elements seem to go off the quality parameters, they are reconstructed or reshaped depending on the number of deformed tria elements. when less elements we can manually correct them.
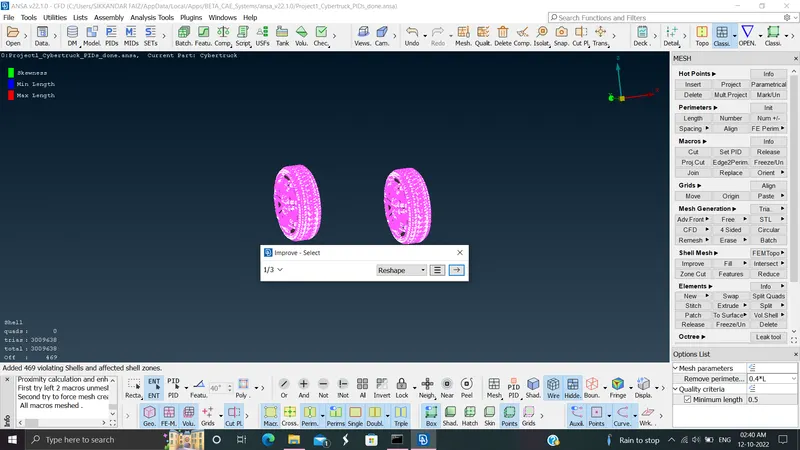
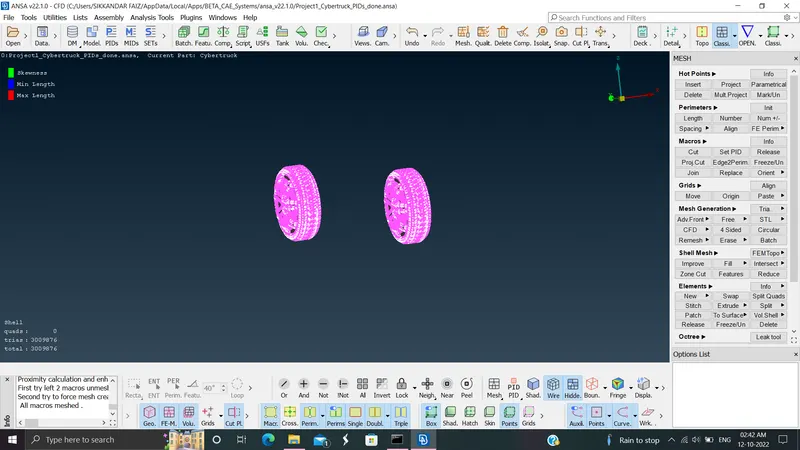
once completed we need to freeze it since we are going to mesh all the nearby parts with different target lengths.
the lights:
we are making a min and max target lengths of 3.9 and 4.1 mm to achieve a target length of 4 mm.
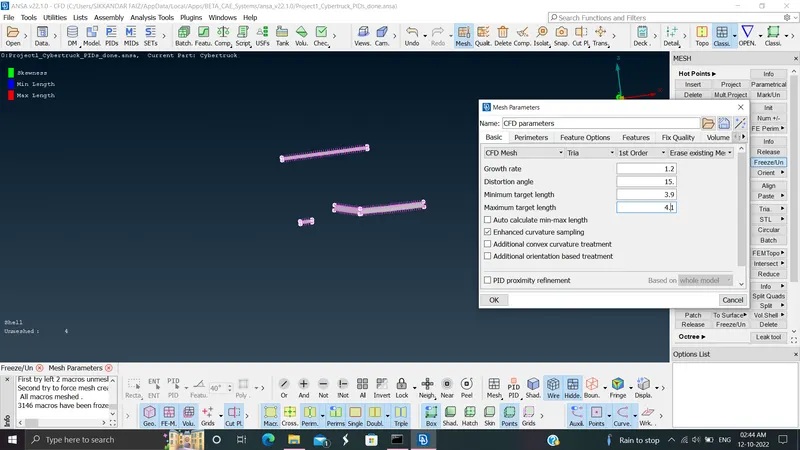
the body:
we are making a min and max target lengths of 2.9 and 3.1 mm to achieve a target length of 3 mm.
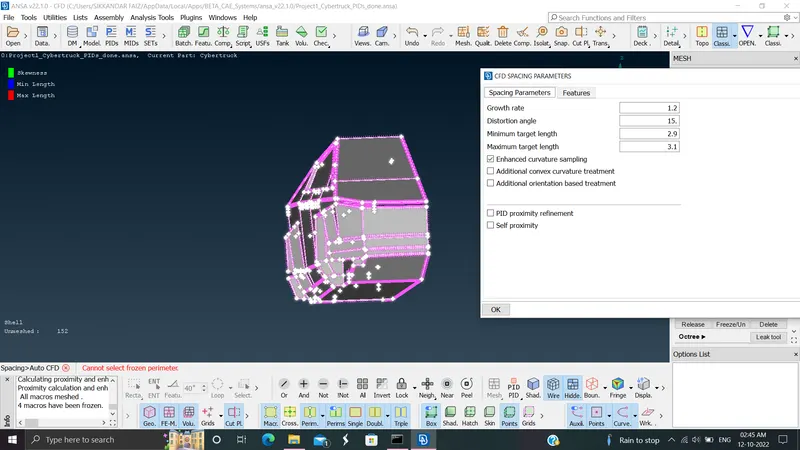
the error elements are corrected accordingly.
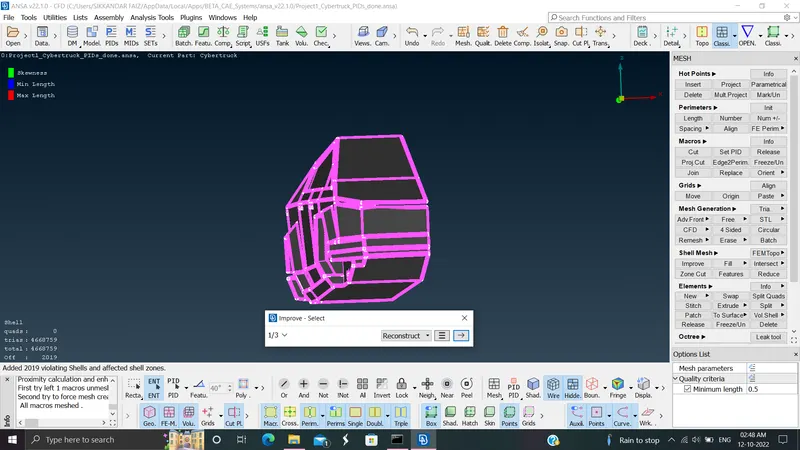
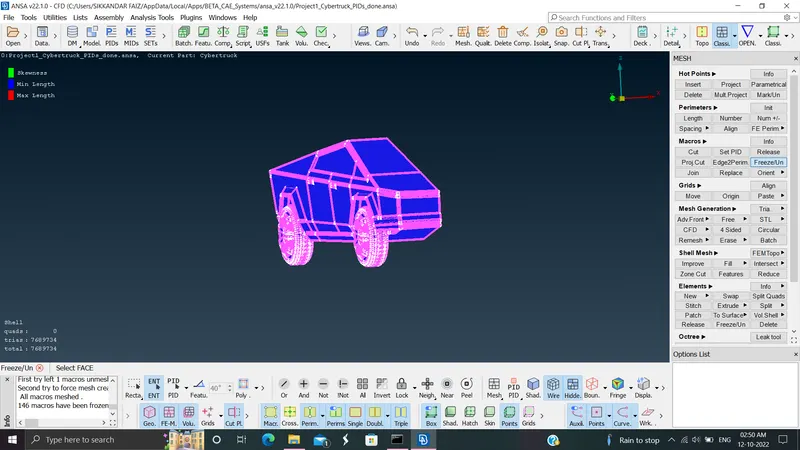
once completing we need to unfreeze the model for making the other half using the transform option.
the transform helps in making the other half fixed, completing the total look of a car.
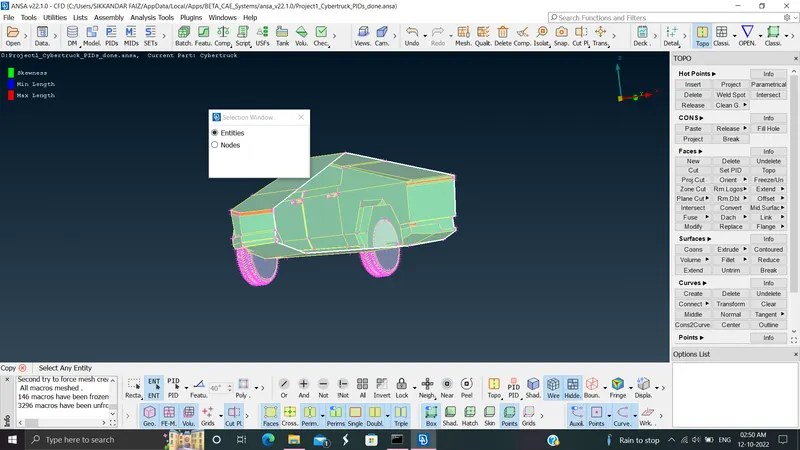
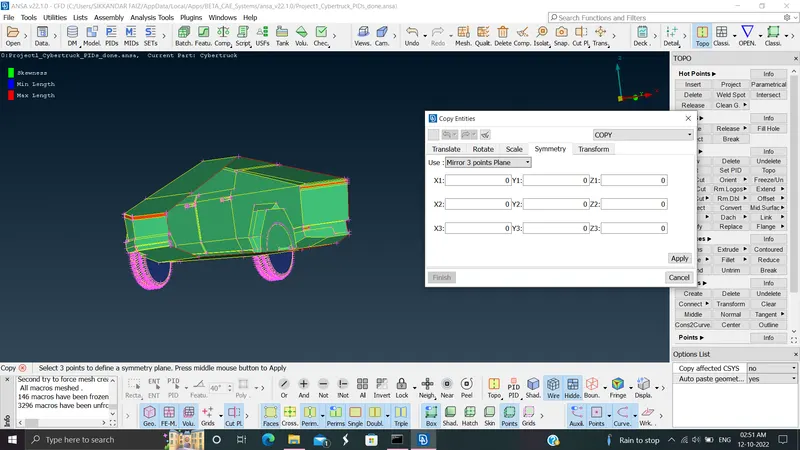
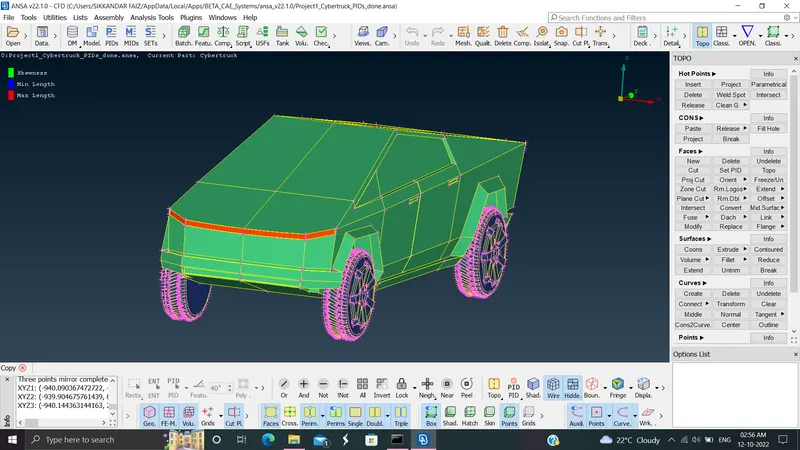
once after merging we did find some red cons or single cons, they are then corrected which made mesh elements to fade in some parts. these faded meshes are meshed back in with the help of free cfd tool.
.................................................................................................................................................................................................................................................................................................................................................
WIND TUNNEL MESHING:
once complete meshing of the car is done it is then made to be in a wind tunnel. the tunnel is meshed too.
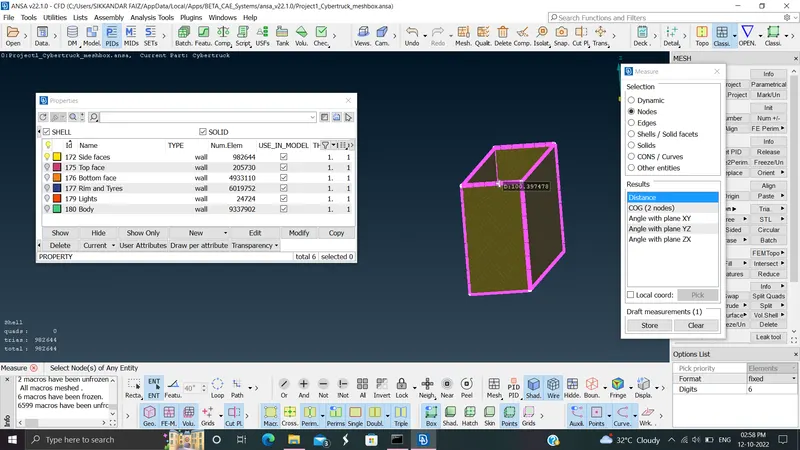
the tunnel is made with the help of points-relative tool, but first we need to know the dimensions of the model of the car.
the total length of the car is found to be:
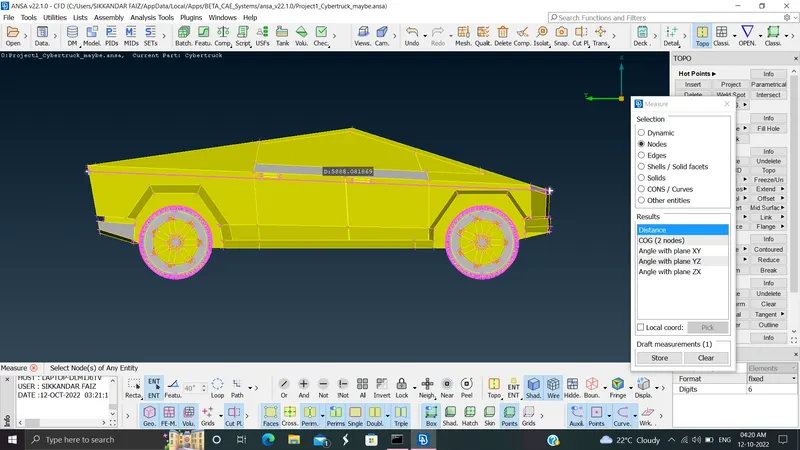
5888.08 we take this measurement close to 5900 mm.
the total length of the car is 5900 mm.
let total length of car be x.
we need to make a box type closing around the car, so we need to make one face of the box at a distance of 4x from the front of the car.
and the bottom of the car should not touch the box, so we are making a point below the car's center at a distance x, which is 5900 mm.
so from that point we are to make a point at the front of car at a distance 4*5900 + the middle part to the front of car(2950).
which is equal to 26550 mm.
similarly behind thhe car is at 6x,
6*5900+2950 = 38350 mm.
now to the both side of the car the point should be at a distance of x from the sides of the car.
so, 5900 + distance from center of car to side of car(1015)
6915 mm
we are making two points to the left and right of the front and behind points.
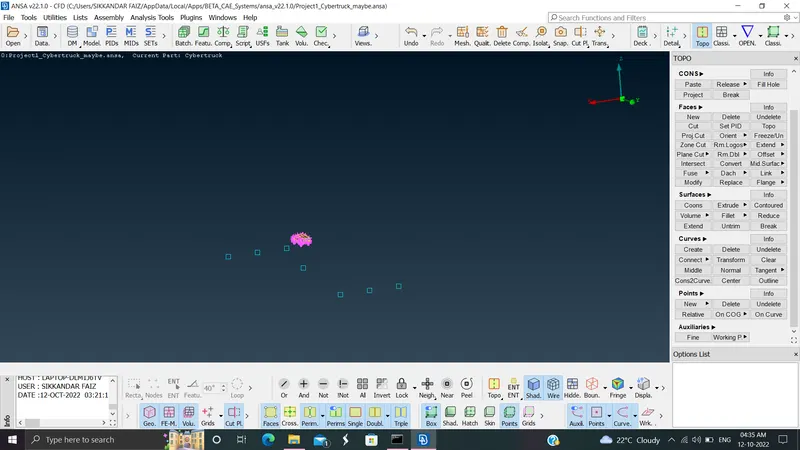
these points can be easily connected with the help of the curves and faces tool.
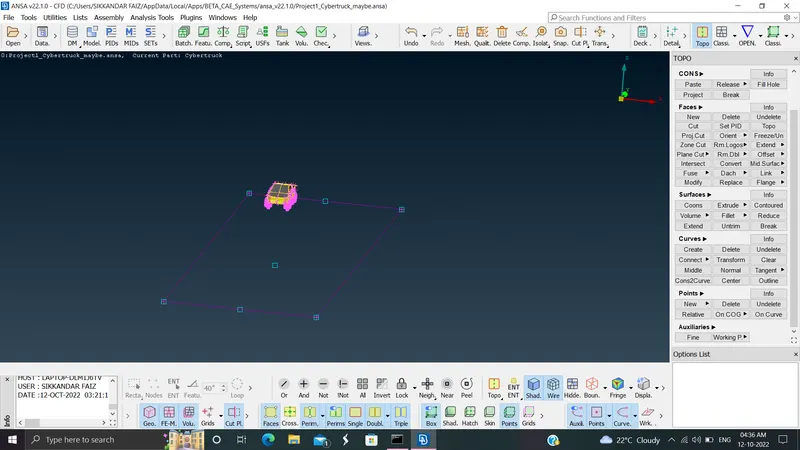
once completed creating a bottom face, we need to do a top face too. where the offset tool comes to use. the top face is at a distance of 3x from the top of the car.
so,
3*5900+the distance between the bottom face center point to the car bottom and the distance from there to the top of the car.
which is 25100 mm.
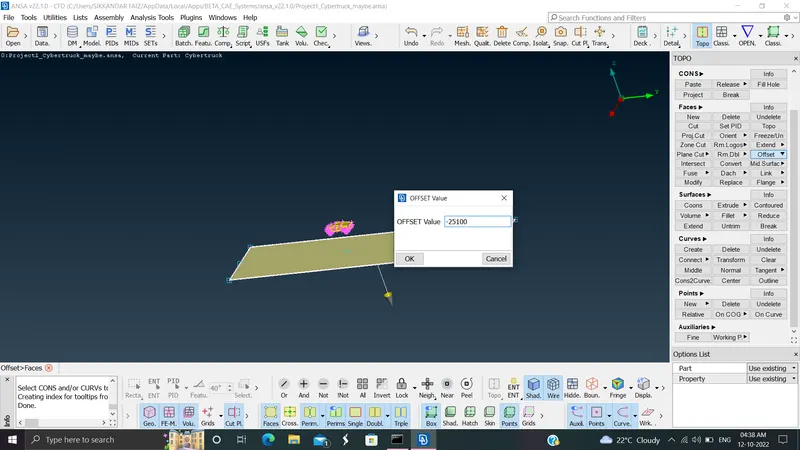
once after creating the top and bottom face
we need to mesh them.
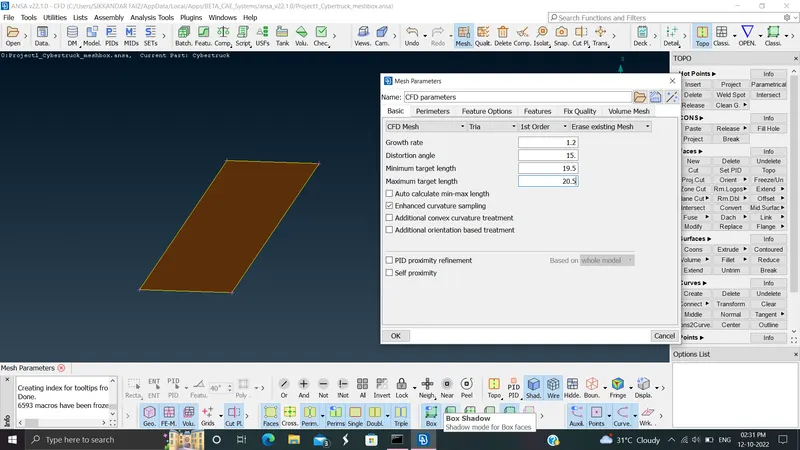
the bottom face is meshed with target length of 20 mm
we are choosing 19.5 and 20.5 as min and max target lengths for the 20 mm mesh.
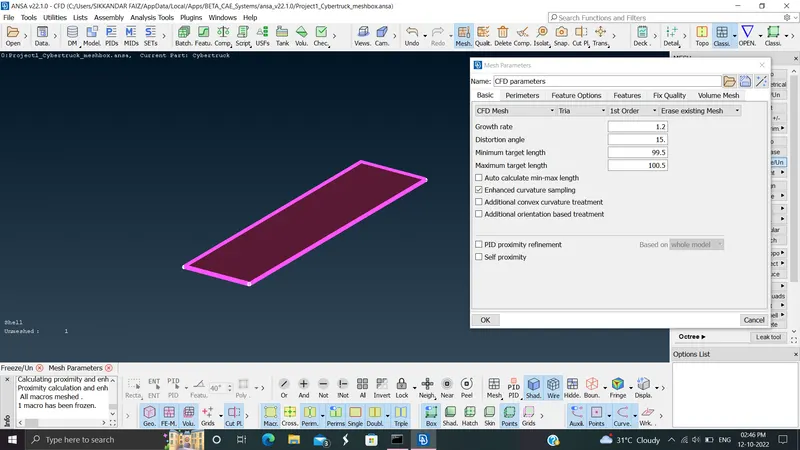
similarly we are choosing 99.5 and 100.5 as min and max target lengths for top face.
taking reference to both the surfaces we need to create side faces.
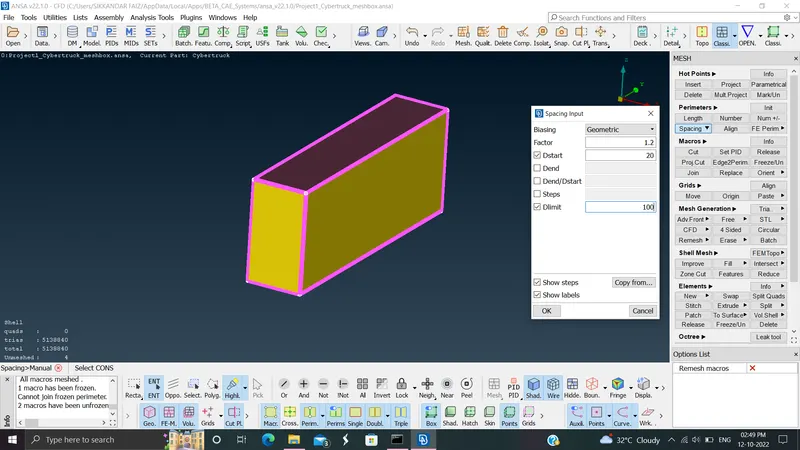
the side faces has to be meshed in a manner that the mesh has to gradually emerge from a 20 mm target length in the bottom to 100 mm in the top.
we here use the manual spacing, choosing 20 and 100 in the Dstart and Dlimit.
and then the sides of the box or tunnel giving it the direction.
and then clicking onto the cfd mesh.
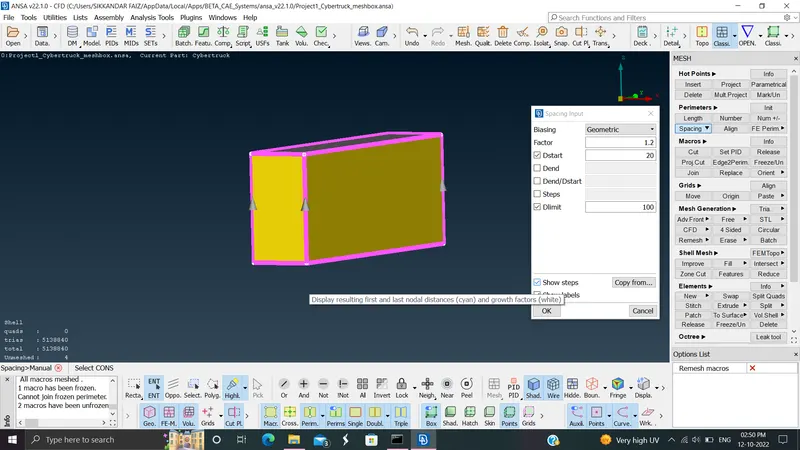
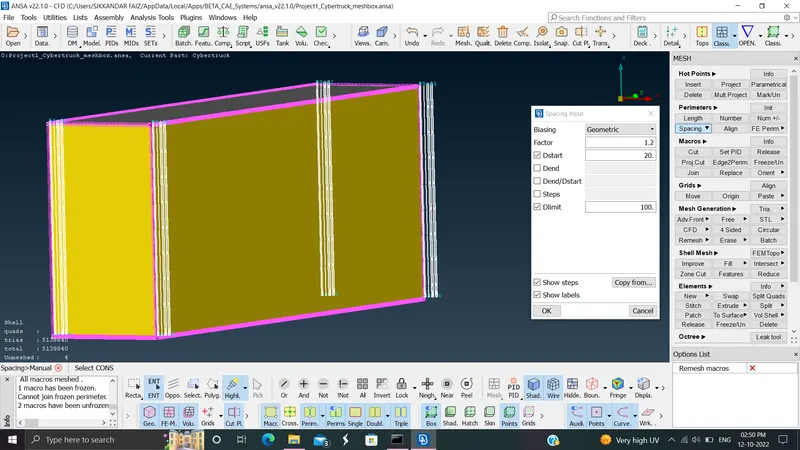
the meshing of the tesla model along with the tunnel is done.
the mesh length of all the parts meshed are given below as a picture:
THE BODY:
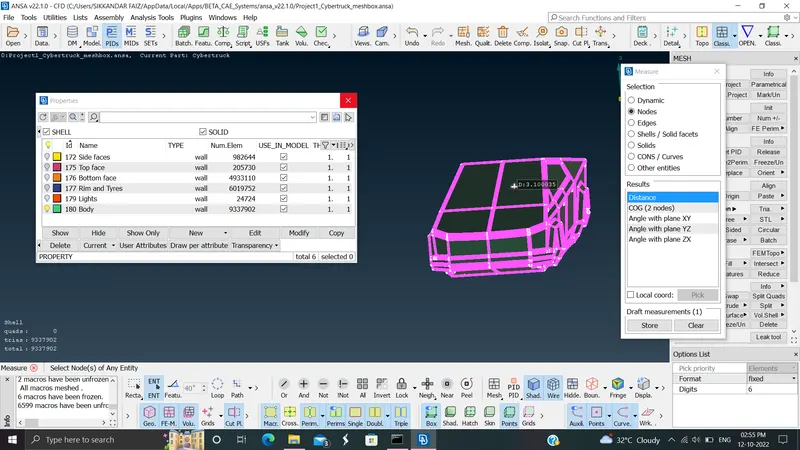
3 mm.
THE LIGHTS:
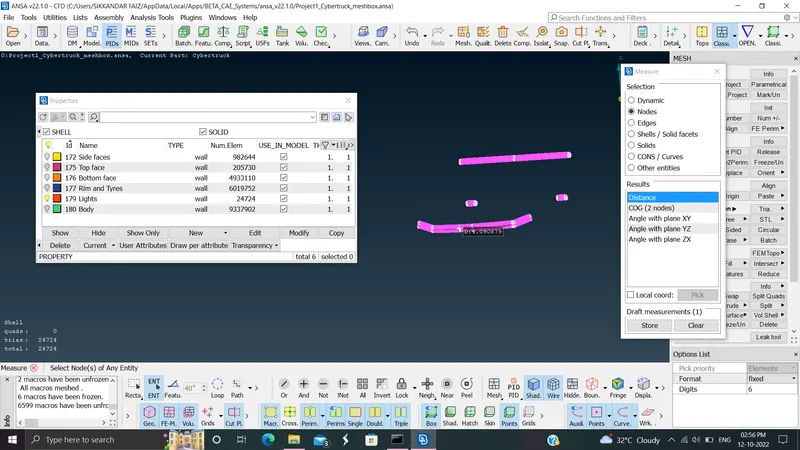
4 mm.
RIM AND TYRES:
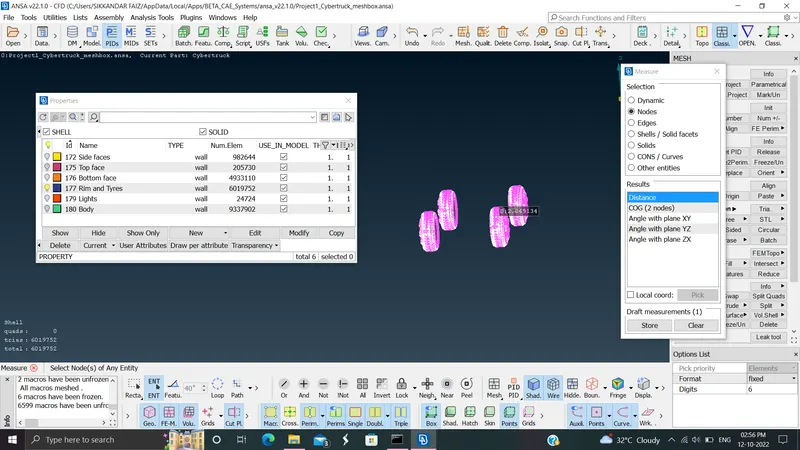
2 mm.
BOTTOM FACE:
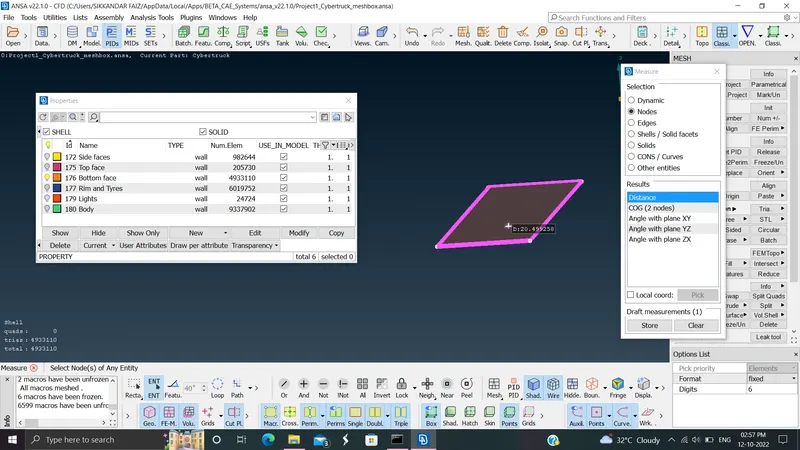
20 mm.
TOP FACE:
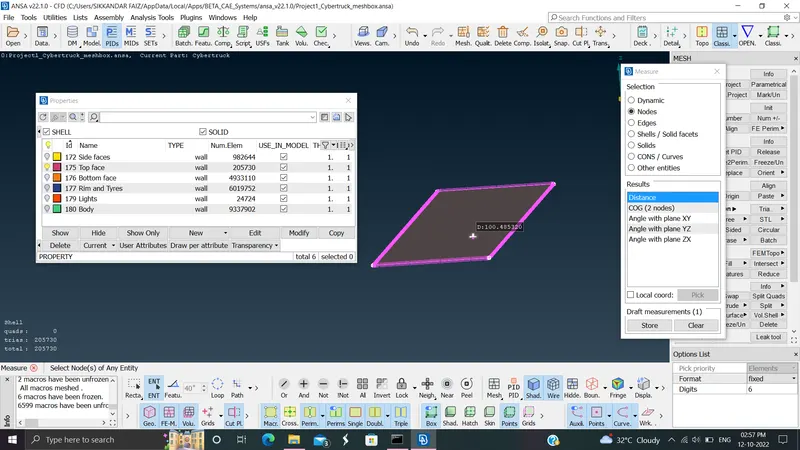
100 mm.
SIDE FACES:
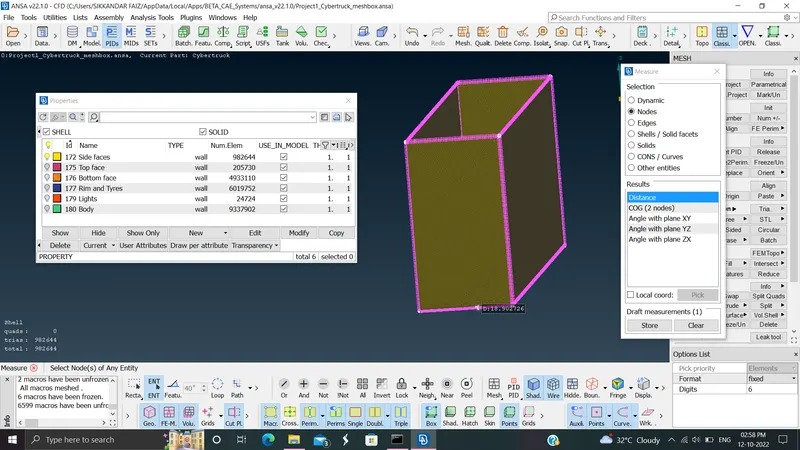
from 20 mm to 100 mm.
.....................................................................................................................................................................................................................................................................................................................................................
RESULT:
the meshing of the cyber truck is done with the target lengths as stated above. the way of meshing is similar to the week 4 challenge.
wind tunnel meshing is done too.
CONCLUSION:
hope the given results satisfy the requirements of the project.
LINK:https://drive.google.com/file/d/1-CZ6mPDrL6wB-8V9wp95fZ2uyHT-DeZp/view?usp=sharing
....................................................................................................................................................................................................................................................................................................................................................