Project 1
Mayur Vispute
Project- Wire Harness Routing on Engine
Abstract - In this project we are going to bundle route on engine and for this we have to follow some steps,
- All Electrical component we have to defined electrically for eg., Connectors, Clips, Bottom channel.
- Study of Engine CAD file.
- Position all connectors on their position.
- Also position clip and clamps for routing.
- Now routing start.
- Check Connectivity.
- After routing create flattening product for that.
- And last Create drawing for that.
Step 1- Electrical Component defined Electrically.
Connectors-
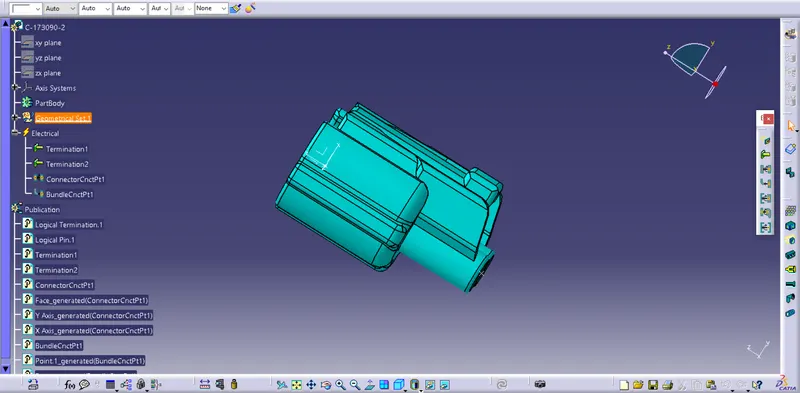
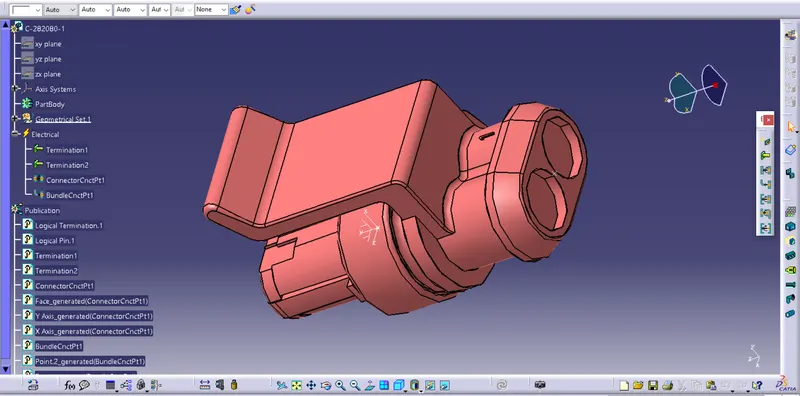
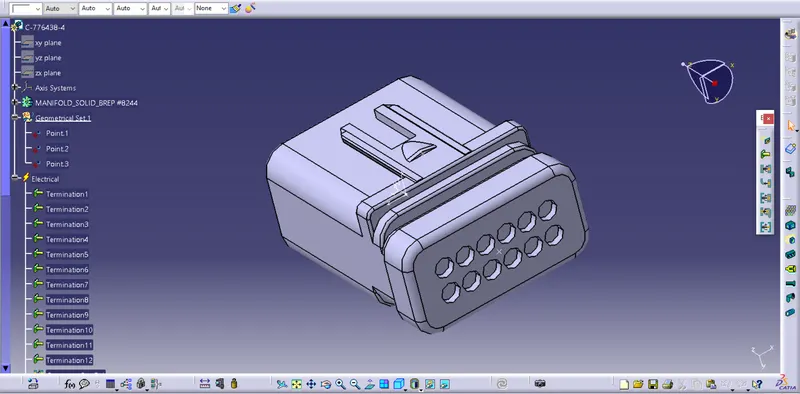
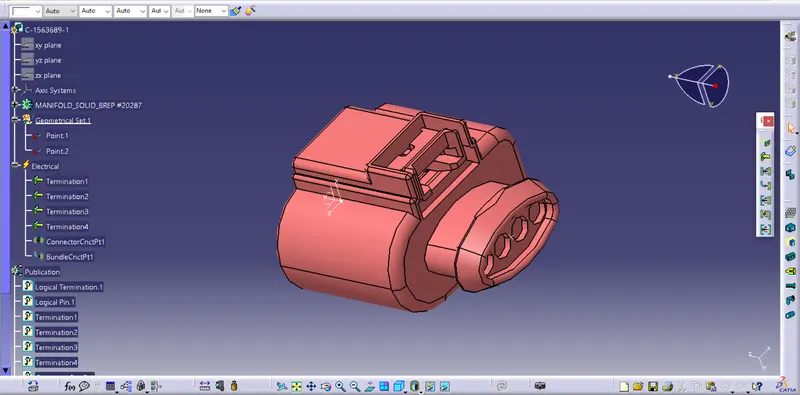
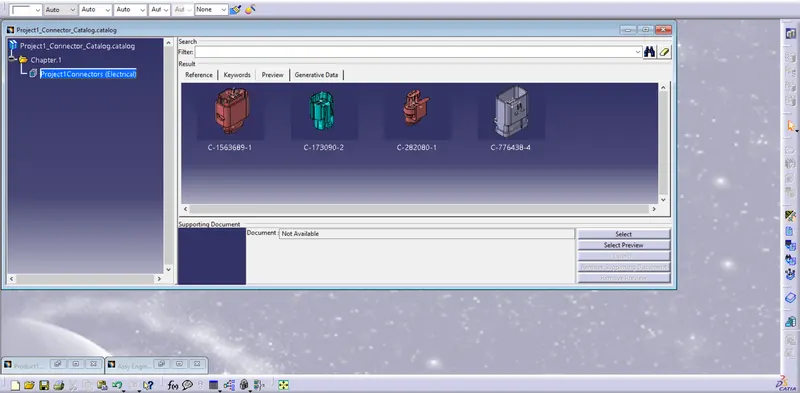
In this project we used four types of connector.
1) Connector-173090
2) Connector-282080
3) Connector-776438
4) Connector-1563689
Connector Catalog-
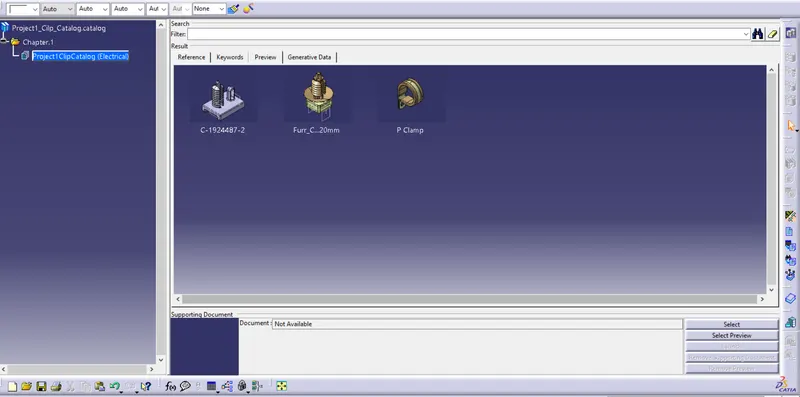
Clip & Clamps-
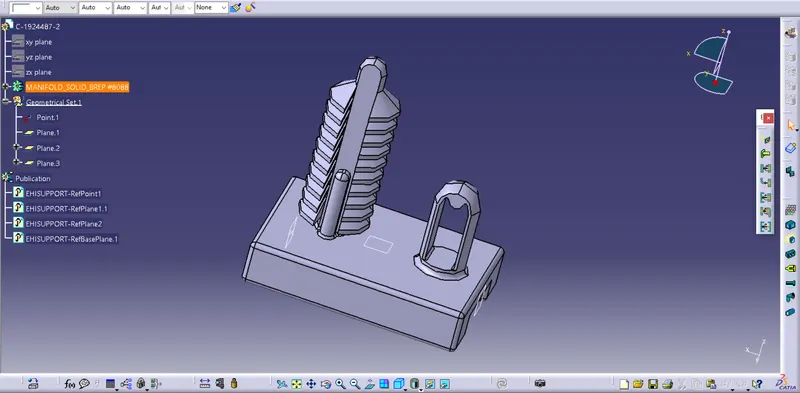
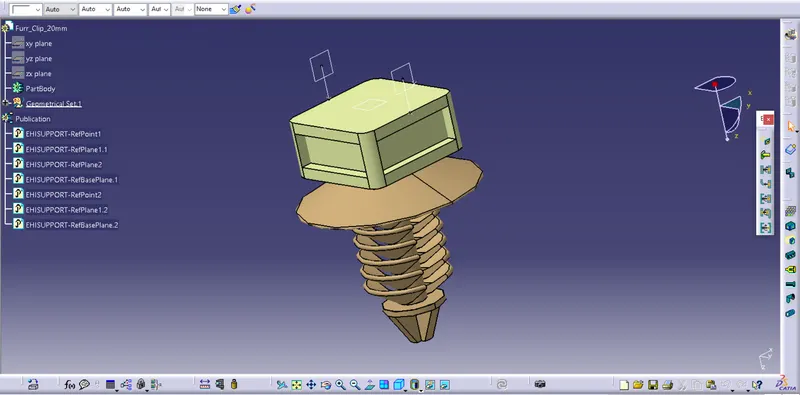
In this project we used Three types of Clip & Clamps.
1) Clip-1924487
2) Clip-Furr Tree Clip
3) Clamp-P Clamp
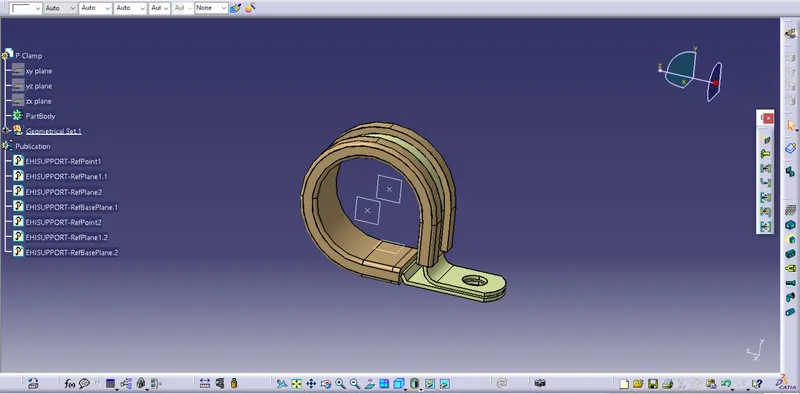
Clip/Clamp Catalog-
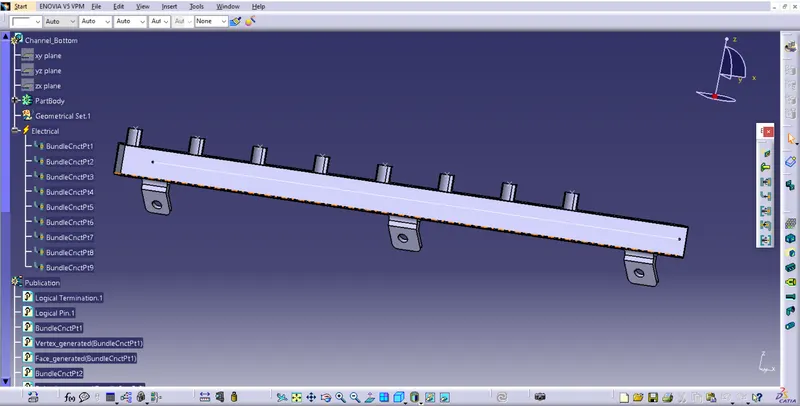
Bottom Channel-
Step 2- Study of Part (means engine) one on which we are going to do the routing.
We have to study the themal concentration on engine, means thermal mapping data we have to find. because without thermal mapping if we started routing then life of bundle near exhaust or high temperature place is very less., Thats why before routing , routing part study is very important. From this we also decide where we have to use protective covering on bundle and also where we have to use pvc channel.
Step 3- Possition the Connectors , Clips and Bottom channel on Engine & Bundle Routing on engine.
Front View
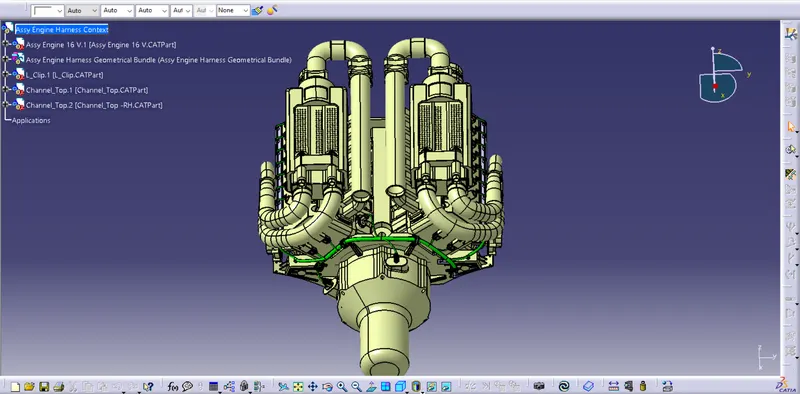
Side View
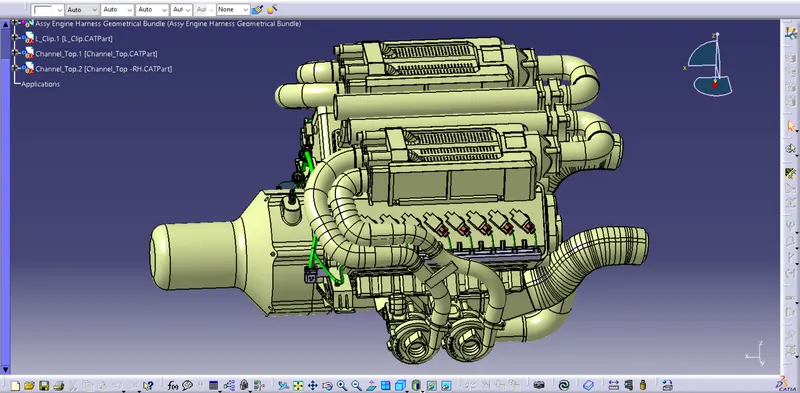
Top View
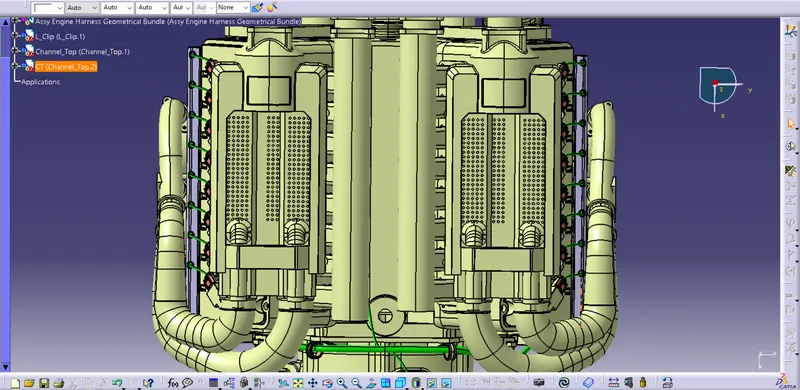
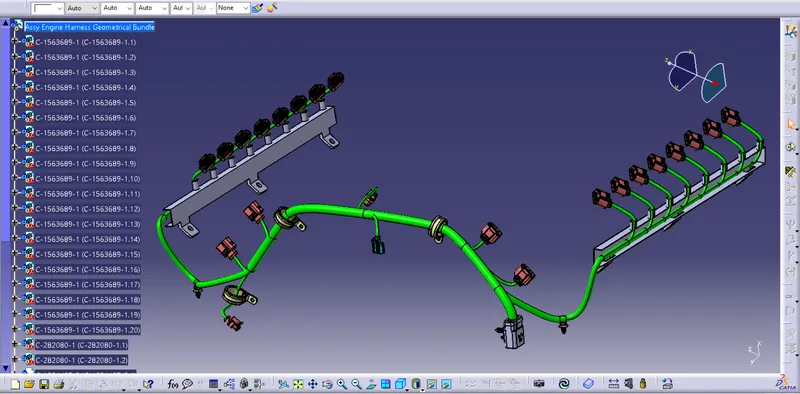
Assembly Geometrical Bundle-
Clearence , Packaging , Cliping/Clamping-
- In this routing we proper providing clearance between harness and engine with the help of using cliping and clamping.
- Proper routing clip/clamp very necessary because direct contact of wire and Heated engine is not good. For long life of wire bundle we have to take care of that things.
- Also some time we have to provide channel for routing and packaging for extra safety from hot zone.
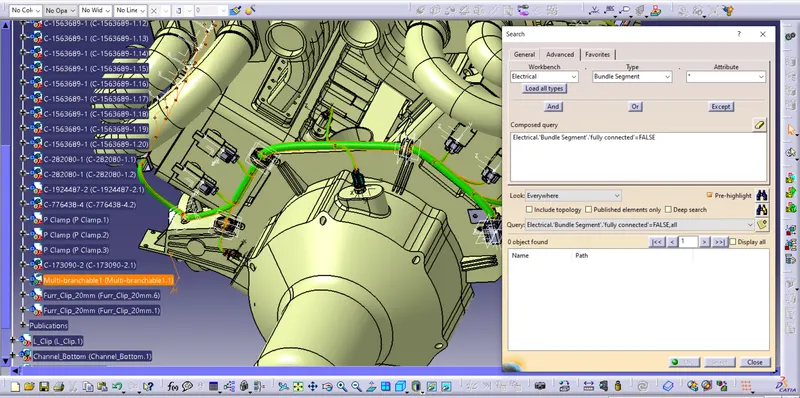
Step 4- Check Bundle Connectivity.
Before flattening Checking the bundle connectivity is necessary. From the below image we can easily say, all bundle are fully connected to each other.
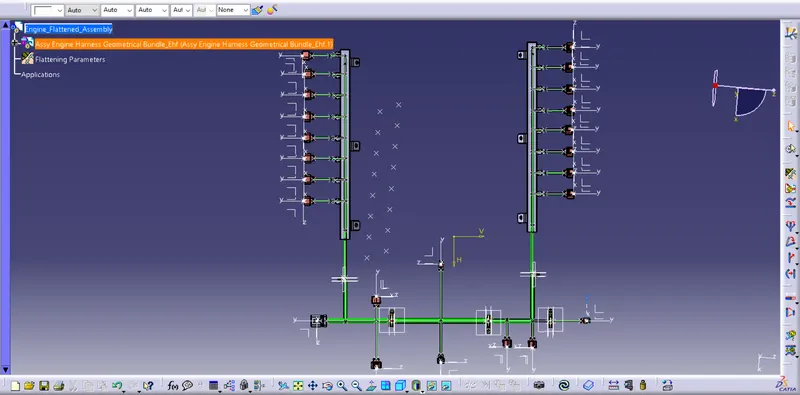
Step 5- Flattening the Geometrical Bundle
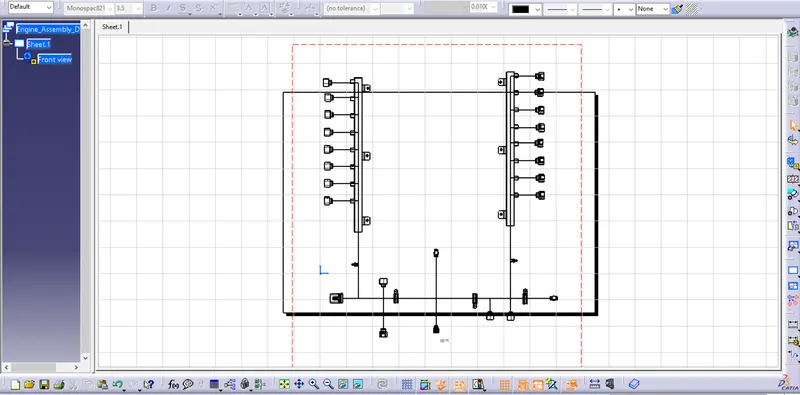
Step 6- Create Drawing
Thank You