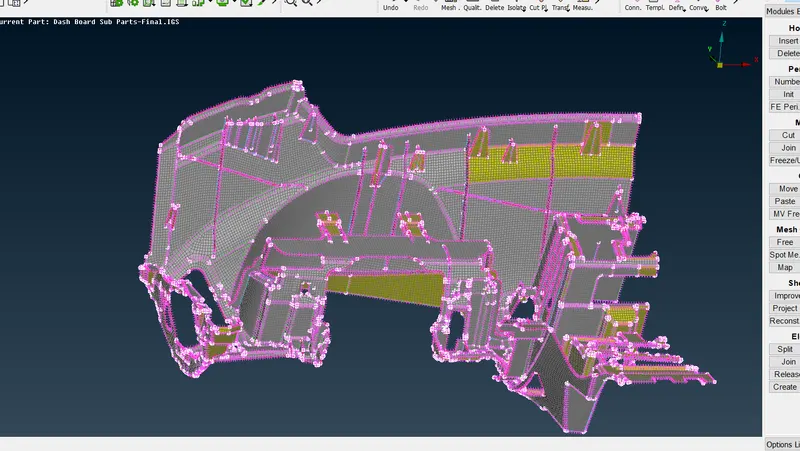
Project 1 - 2D meshing on the instrumental Panel
https://drive.google.com/file/d/14spaH7PjRsYNIkQq9ecKc-UVUU7229cW/view?usp=sharing AIM:
To check the geometrical errors and mesh flow with given quality criteria and assign thickness
PROCEDURE:
STEP 1:
The given model .
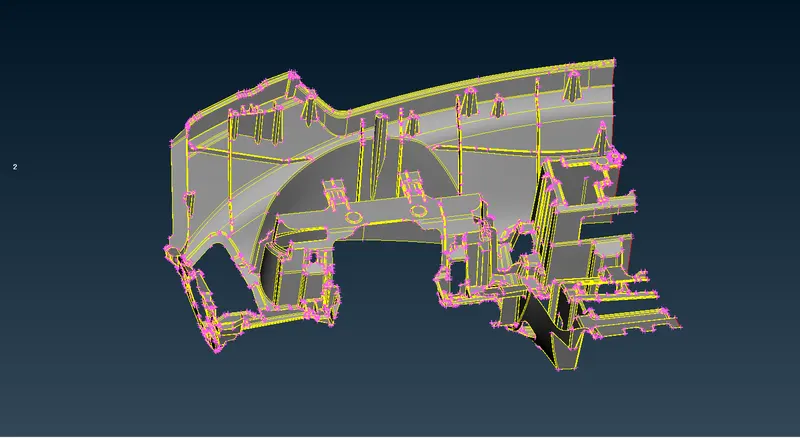
STEP 2:
Go to check manager----geometry---exceute.
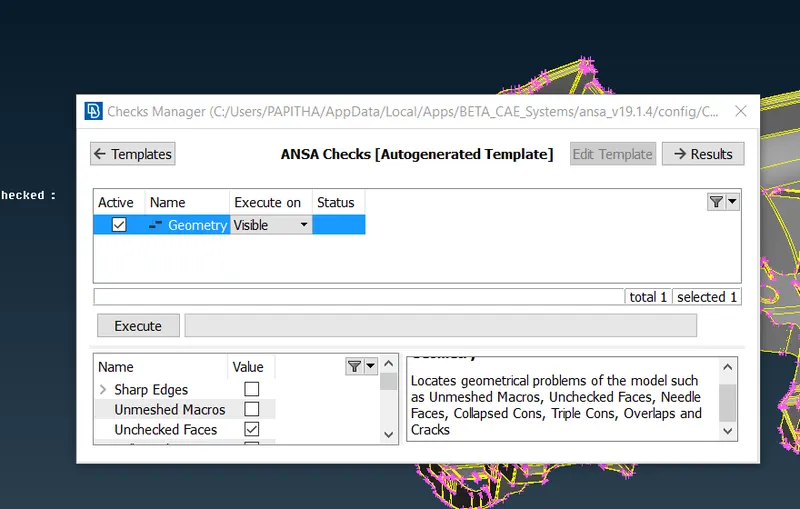
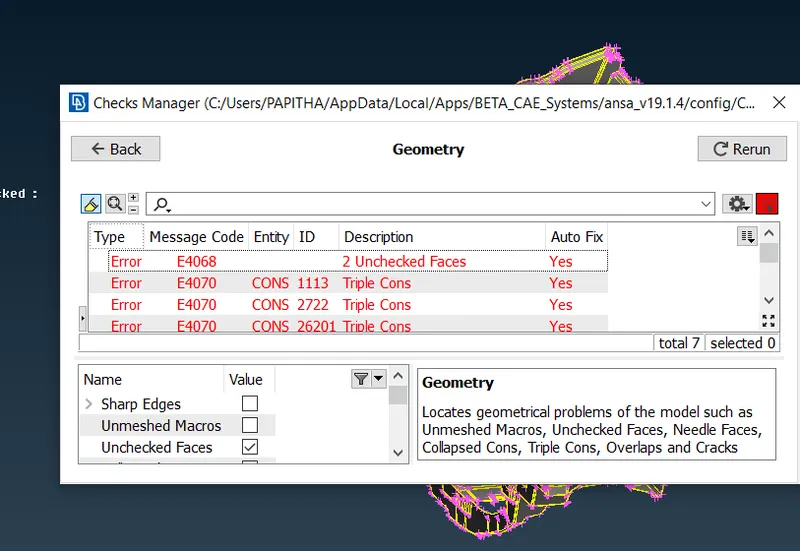
STEP 3:
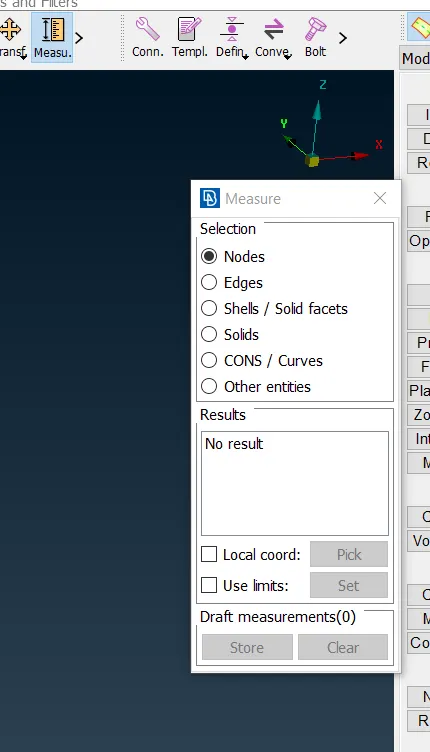
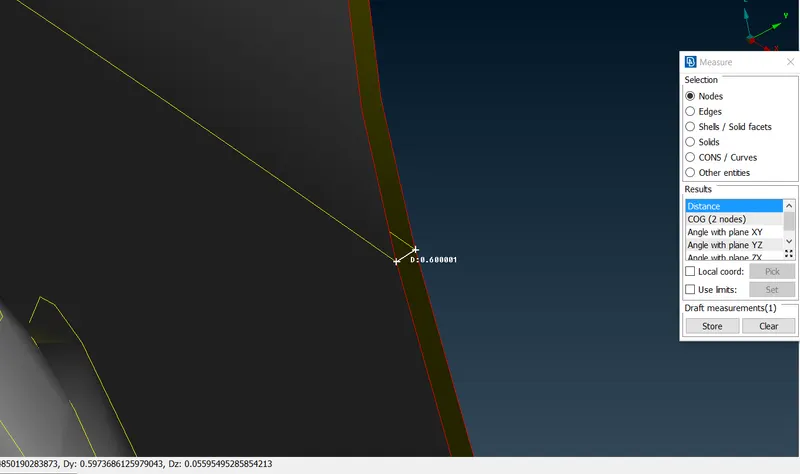
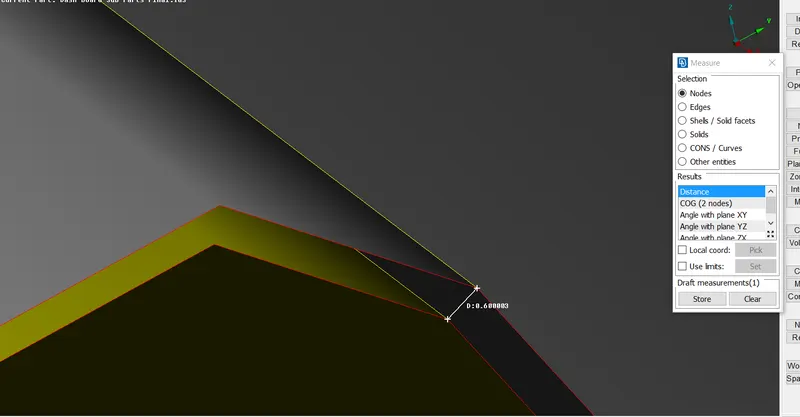
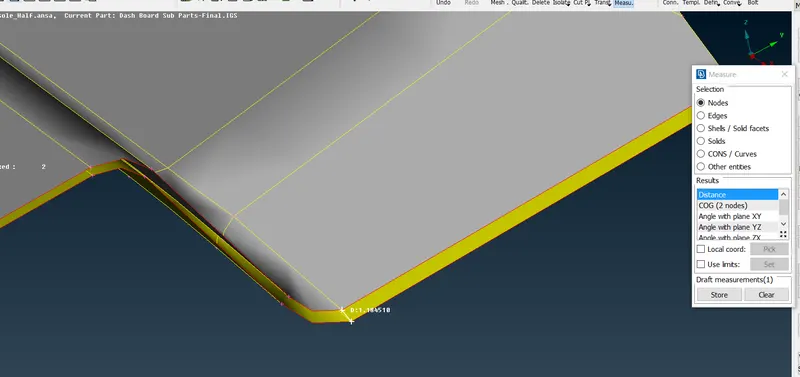
To measure the two faces of the geometry.
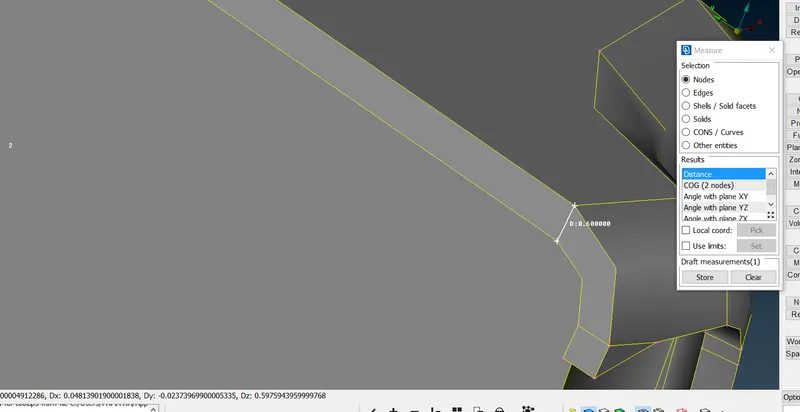
STEP 4:
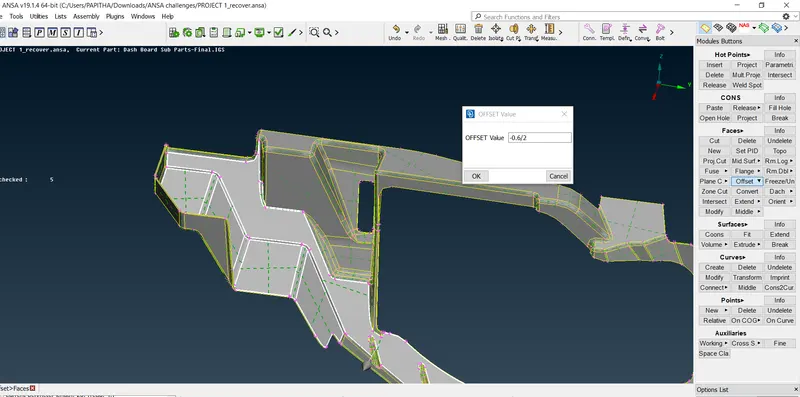
Go to faces---offset----put values----to proceed.
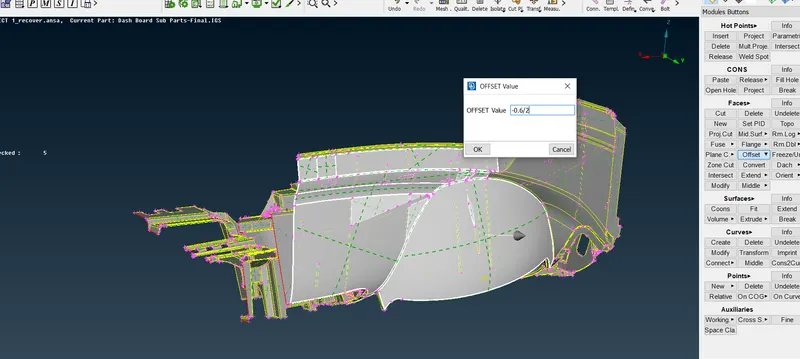
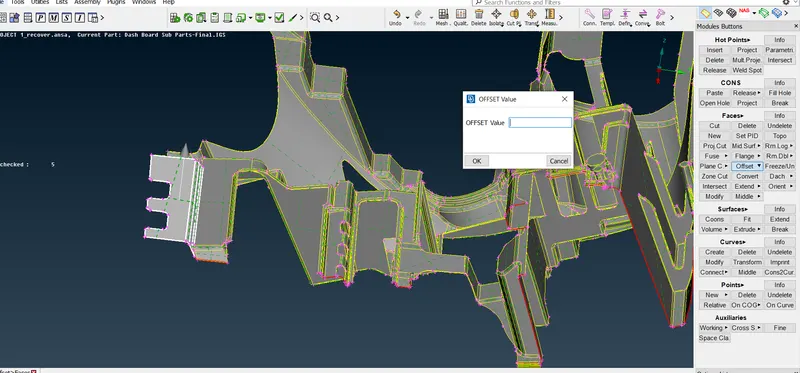
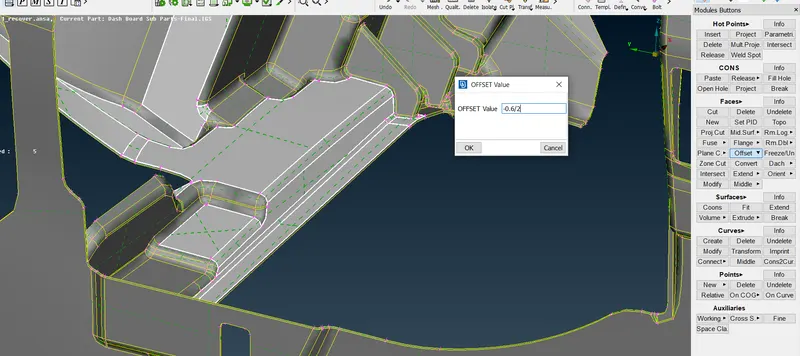
STEP 5:
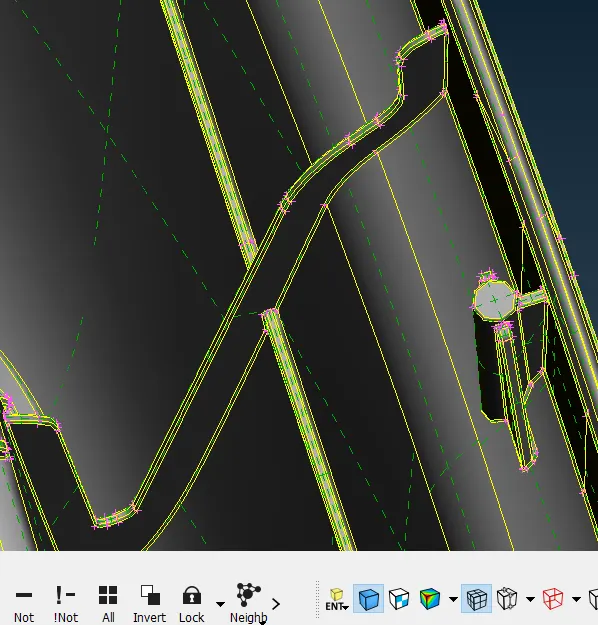
For rib area
Go to middle surface----to take mid for ribs
STEP 6:
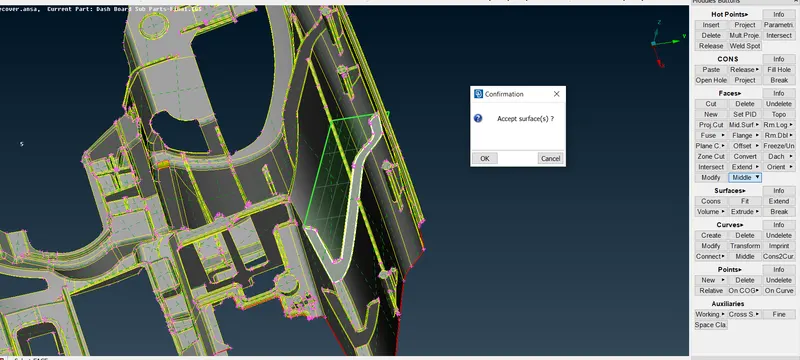
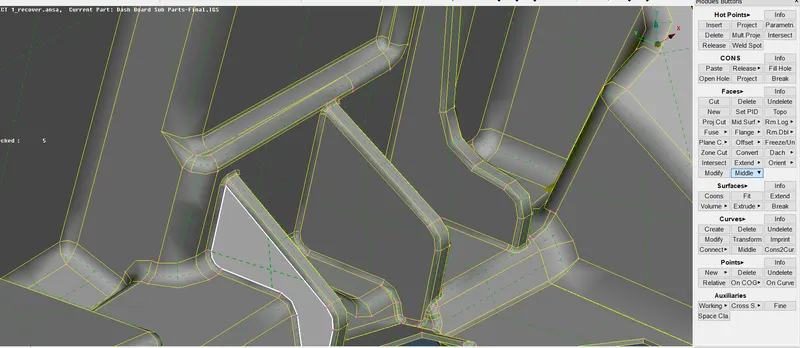
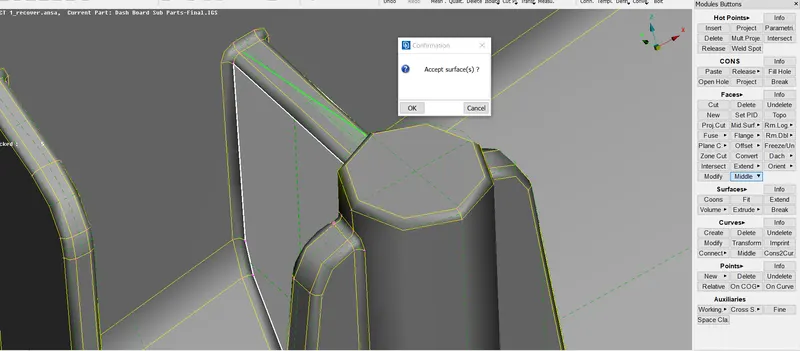
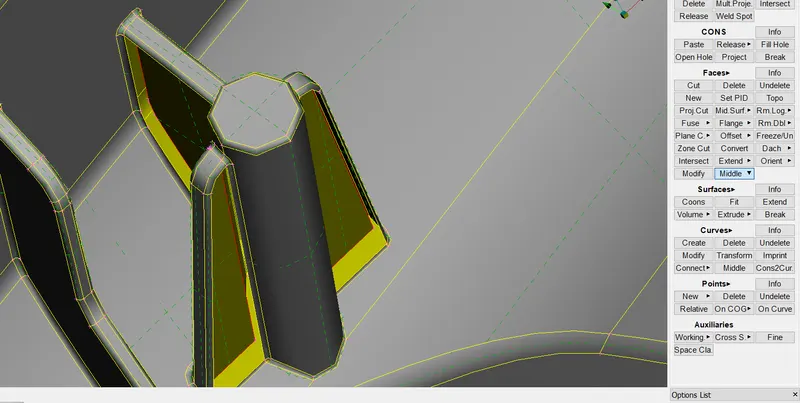
To take mid surface for dog house
Go to faces---middle surface---then mid taken
STEP 7:
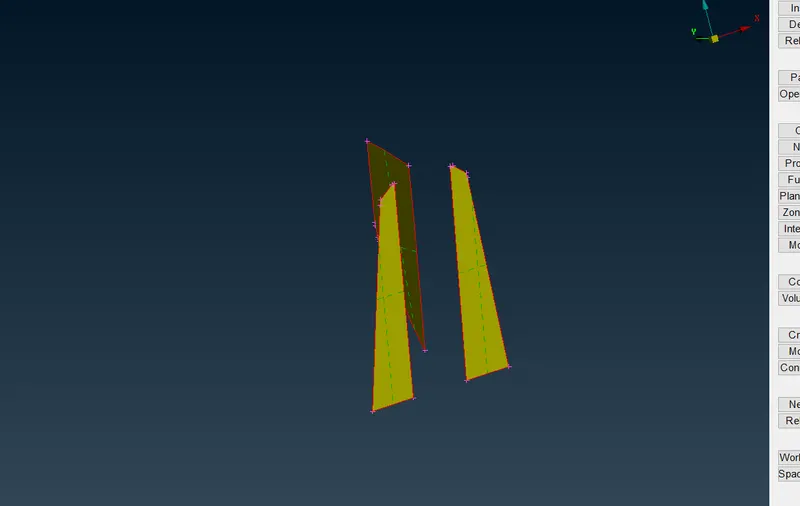
Take the doghouse mid seperate
STEP 8:
Go to faces---new----create new surface
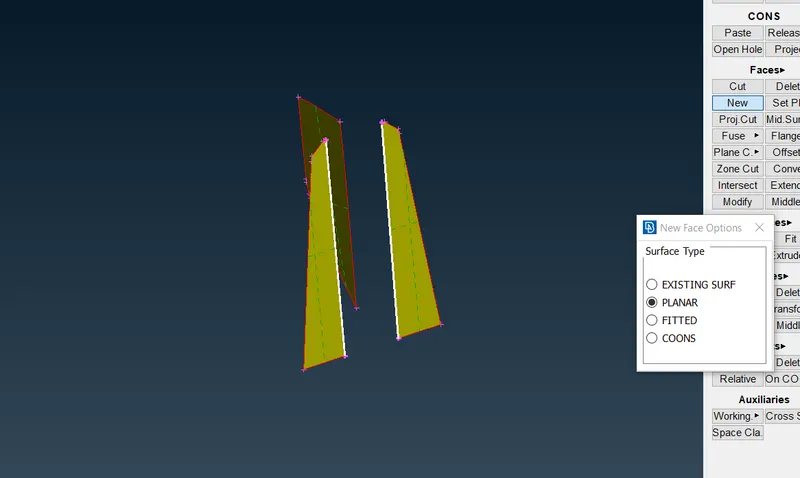
To extend it.
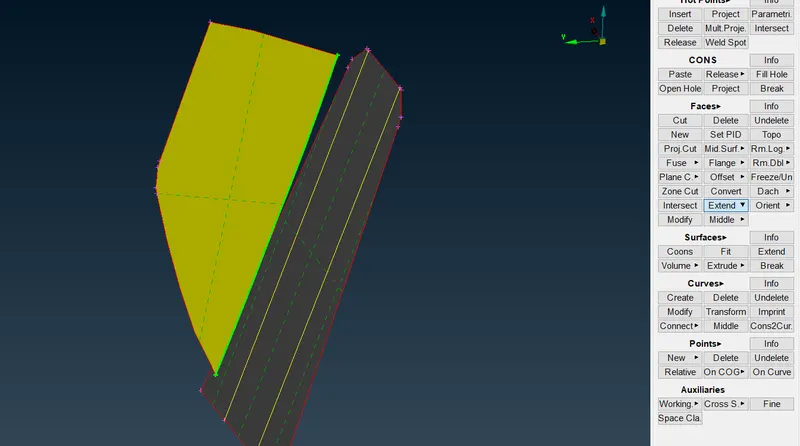
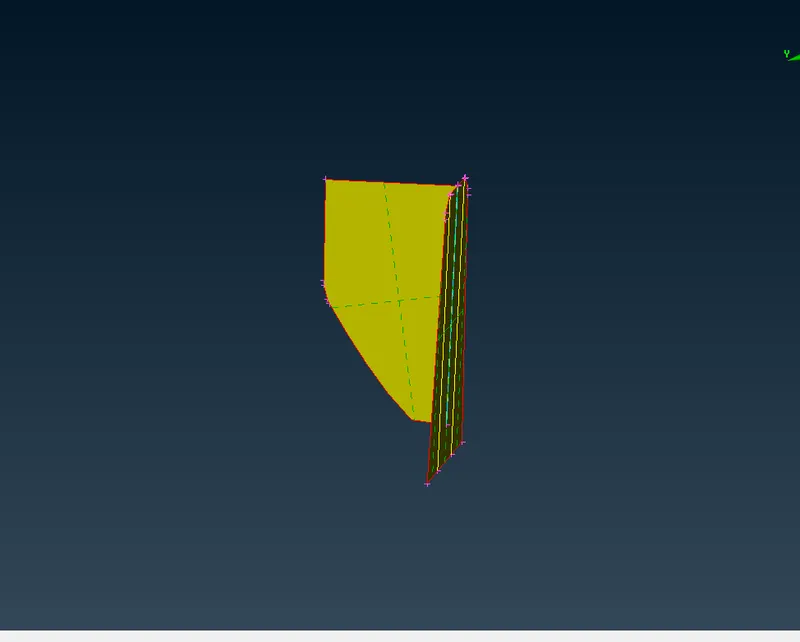
STEP 9:
The mid surface has been taken.
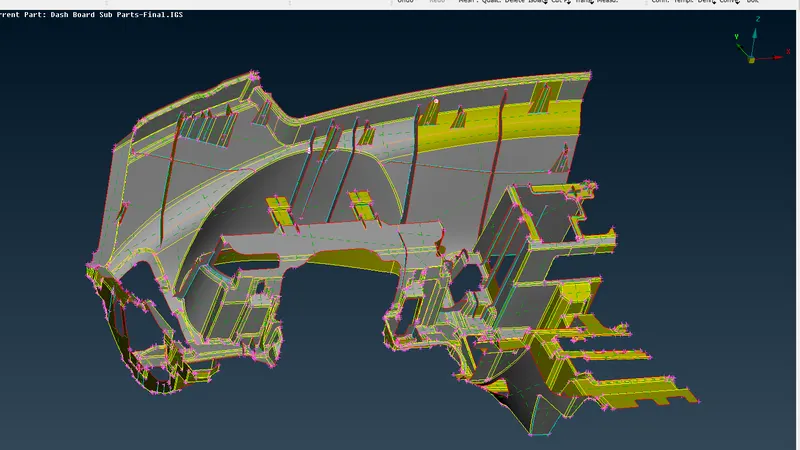
STEP 10:
Go to mesh---perimeter---length---put value
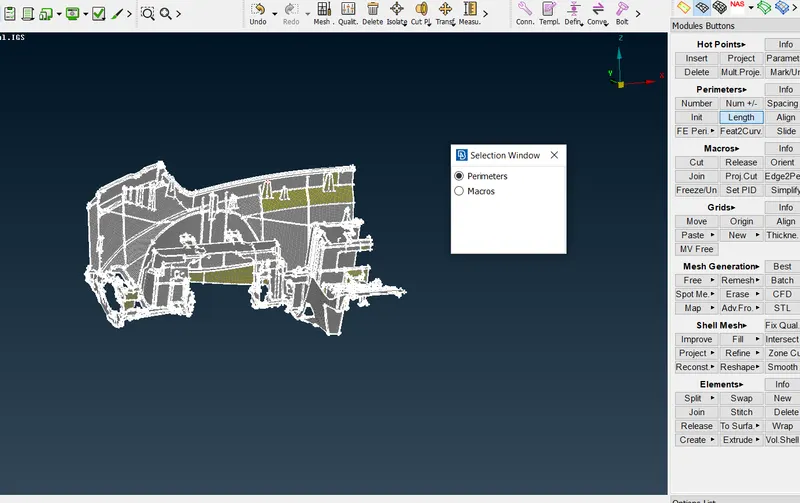
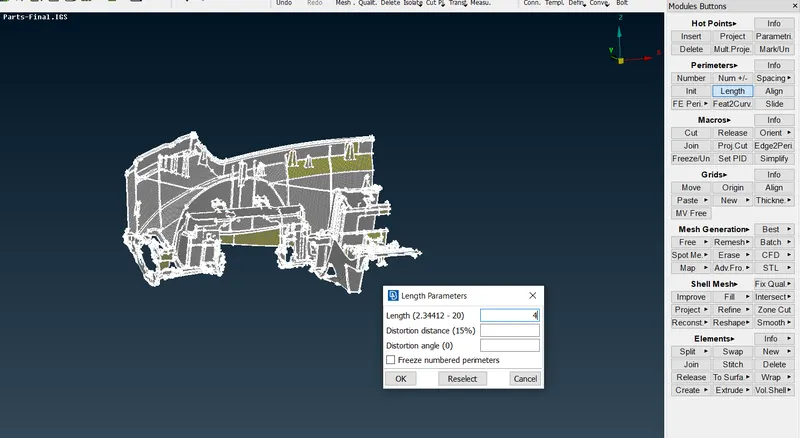
STEP 11:
The mesh parameter value has been placed.
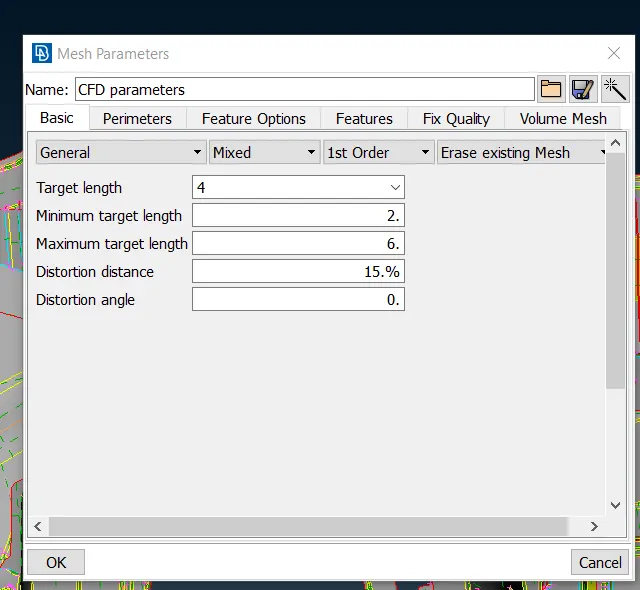
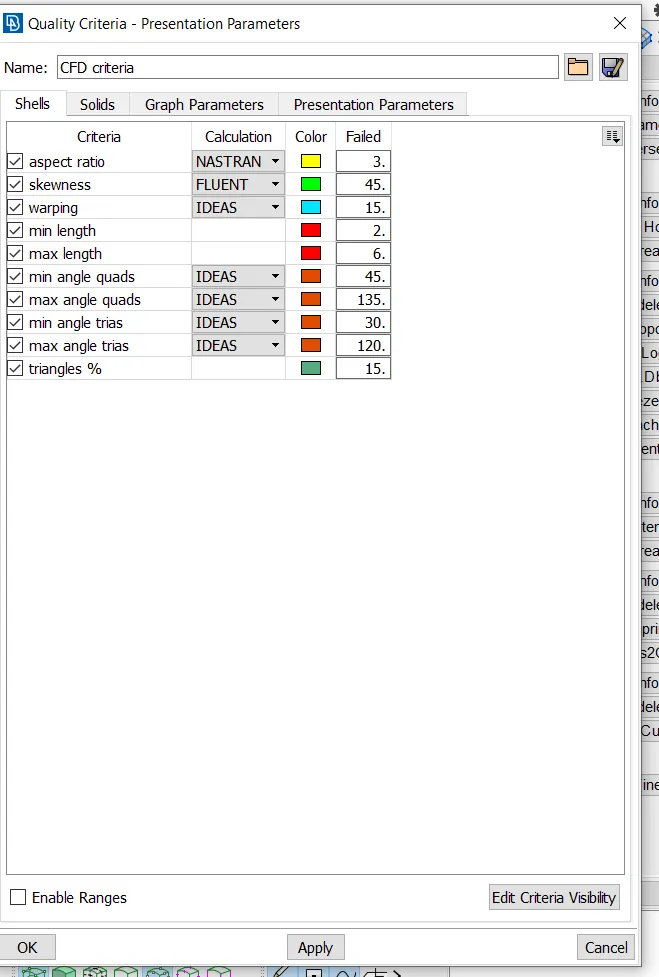
The quality criteria---the put the value
STEP 12:
Go to spot mesh---mesh the model.
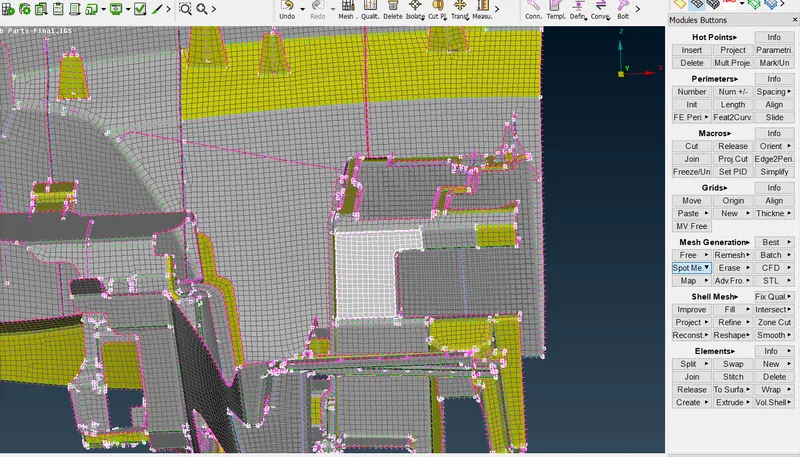
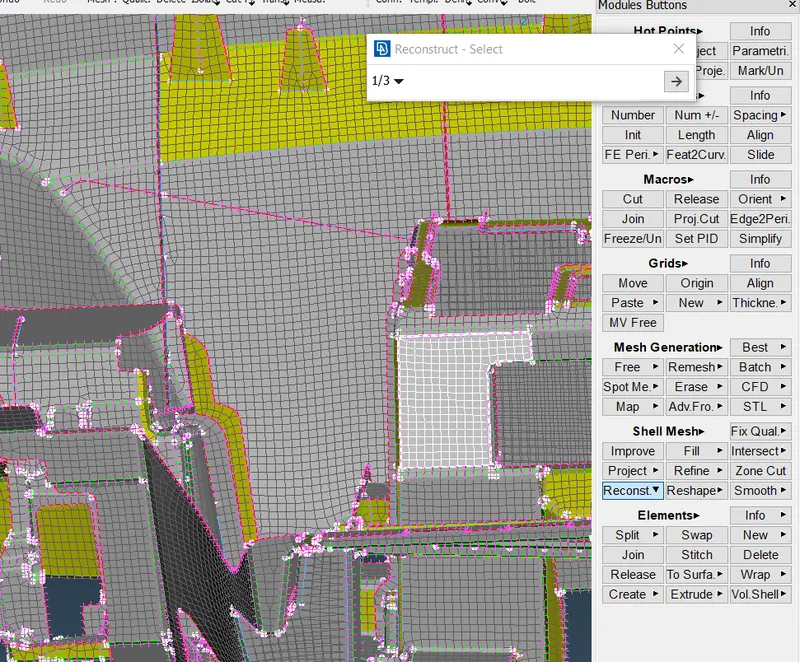
STEP 13:
To check the quality criteria errors.
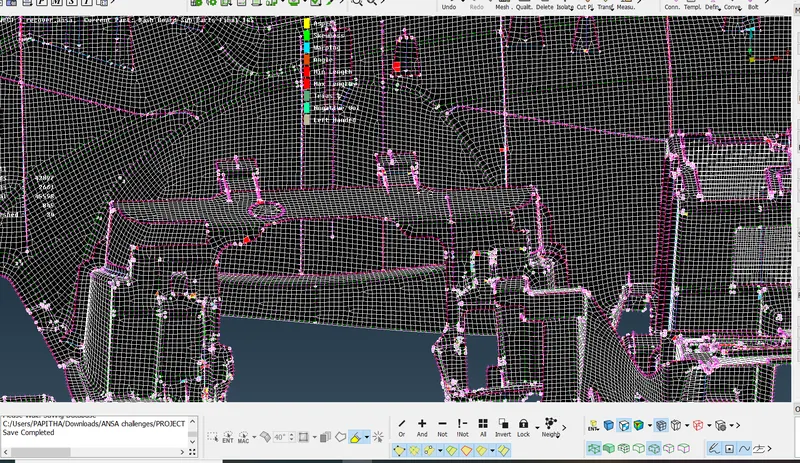
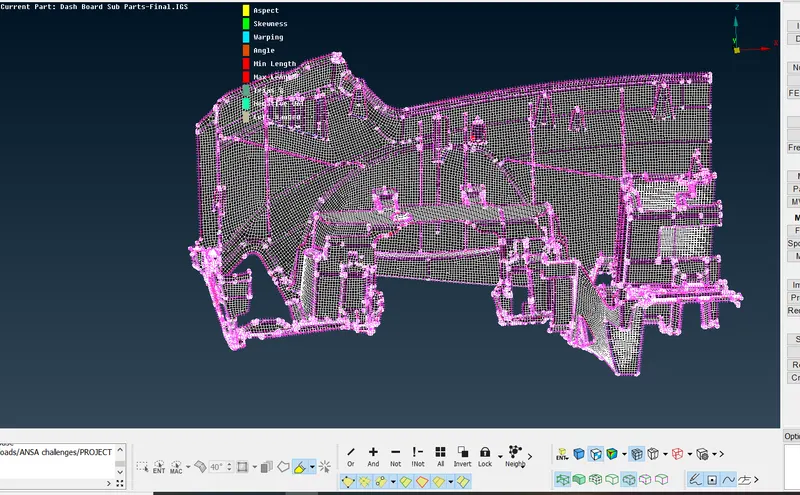
STEP 14:
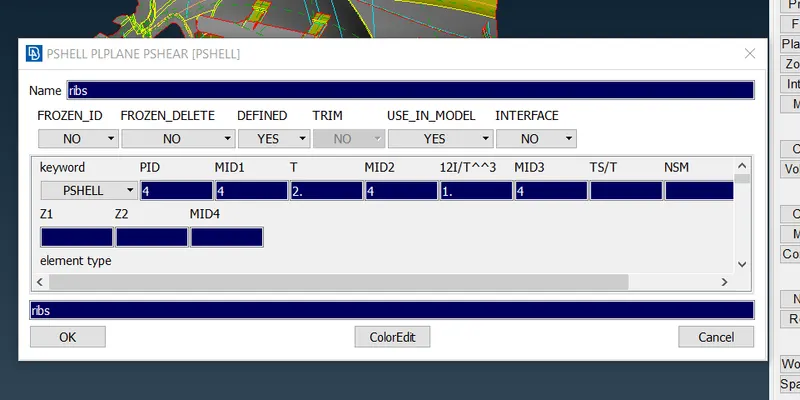
Assign thickness for the mid surface
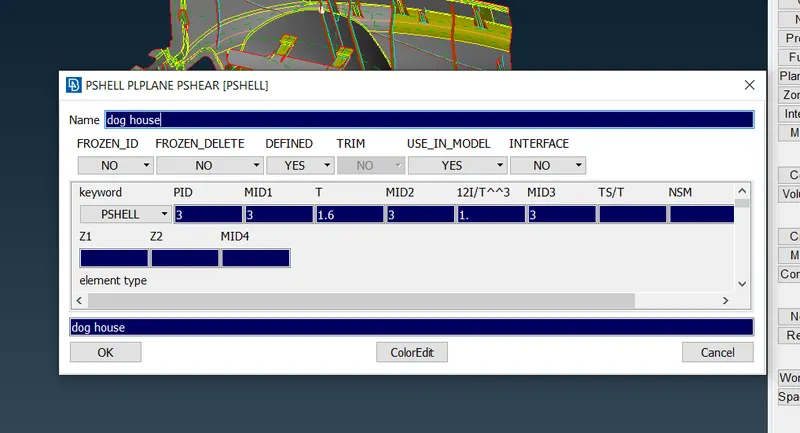
RESULT:
Hence, the mesh with proper mesh flow and quality criteria has been assigned.