Project 1 - 2D meshing on the instrumental Panel
AIM : To diploy 2D mesh for the given CAD model.
procedure :
- First,we should check the geomentrical errors in CHECKS MANAGER and fix them.
- This model IP console is aplastic component it contains varying thickness.so,try to measure the entire model and set PID for the model.
- now,mid-surface of the model should be taken using different tools at different regions according to the requirement.
step :1
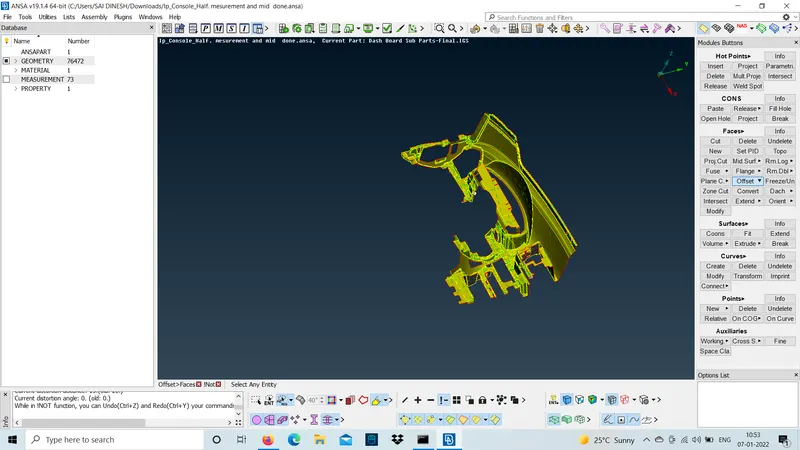
- use feature area option to offset the model.s0,that it captures the amount of area with the help of a specified feature angle.
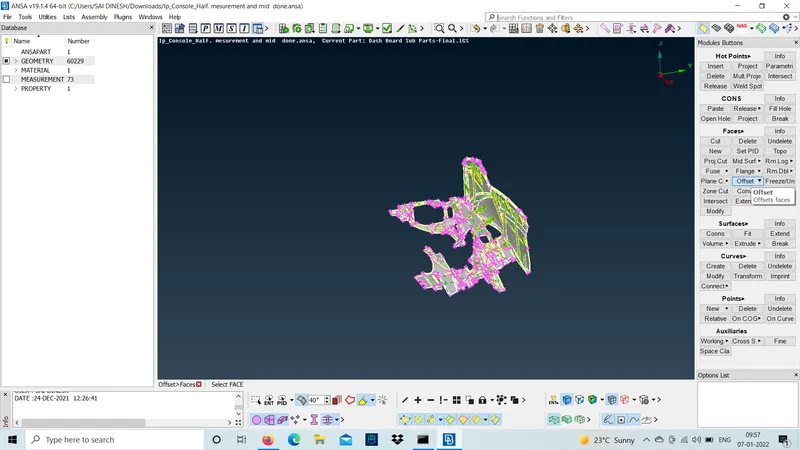
- this feature capturing option help to take mid according to the specified value.
step :2
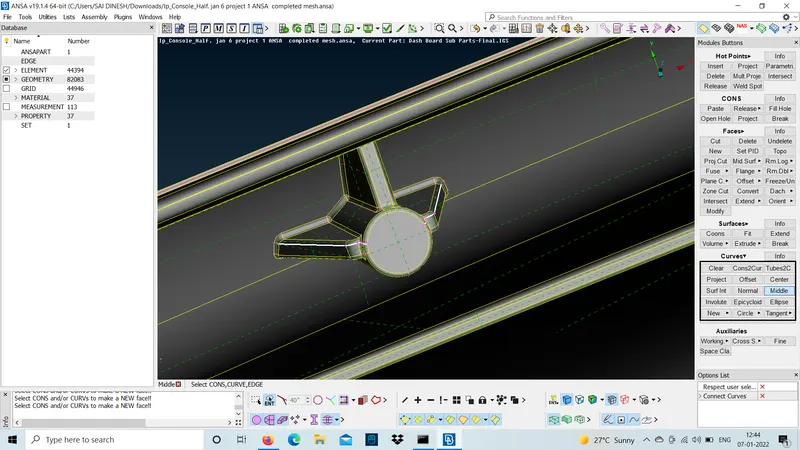
TO obtain mid-surface at this fins areas first we should create a curve at the middle.
- To create a curve middle first we should select the 1st group of line a middle click.next select the 2nd group of line and middle click.
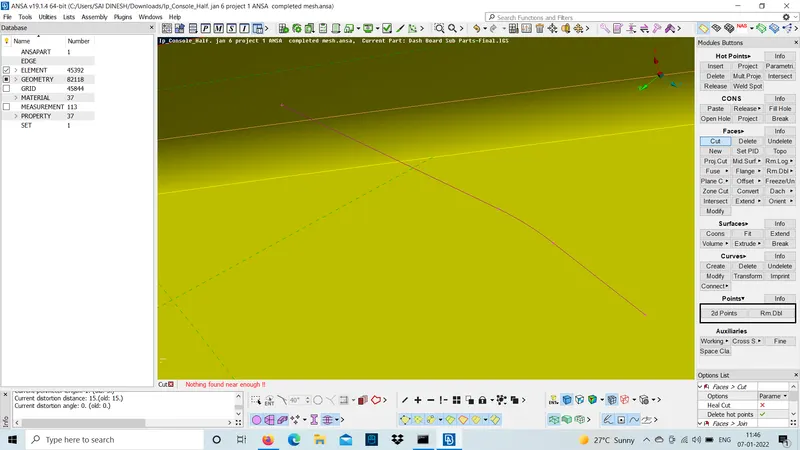
- now,project the curve to the surface .
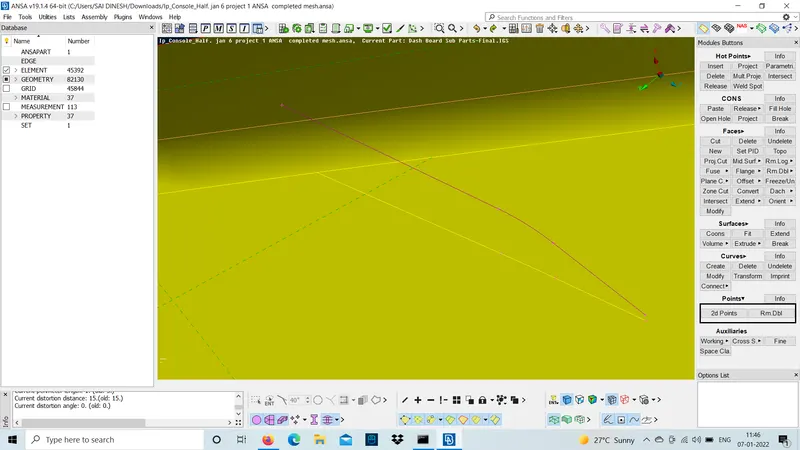
- create a new surface between the curve and the double con.
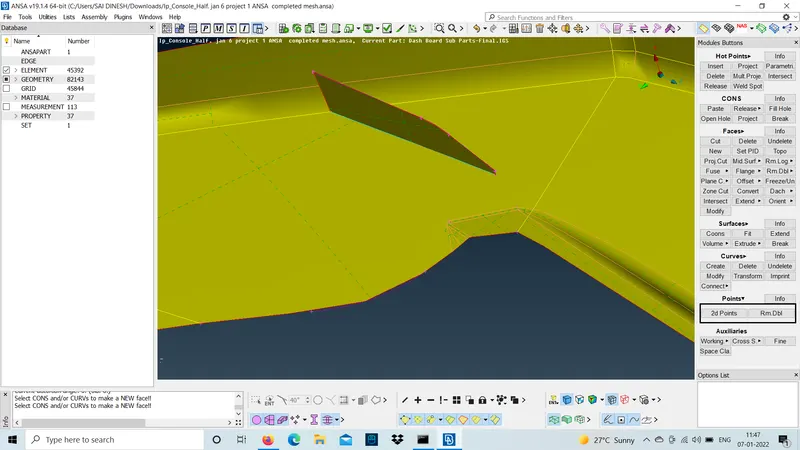
- use extend option and extend the suraface.
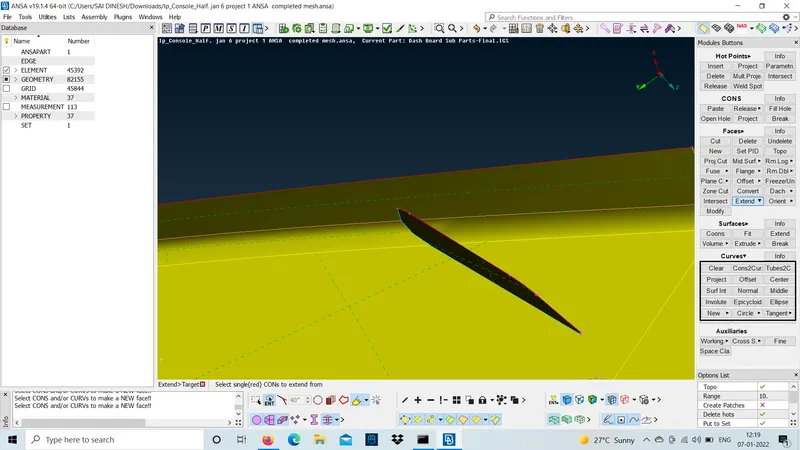
- similarly,do the same to the remaining fins by using middle option.
step : 3
- use cut option for the dog housings and join them in a way to form a curve at the middle.
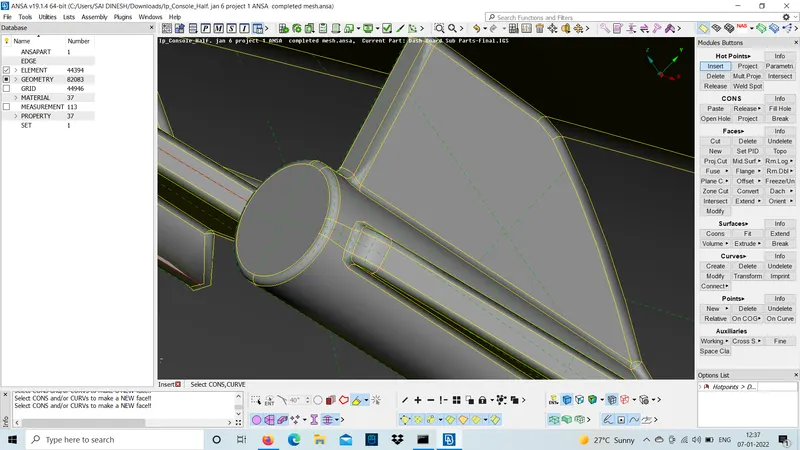
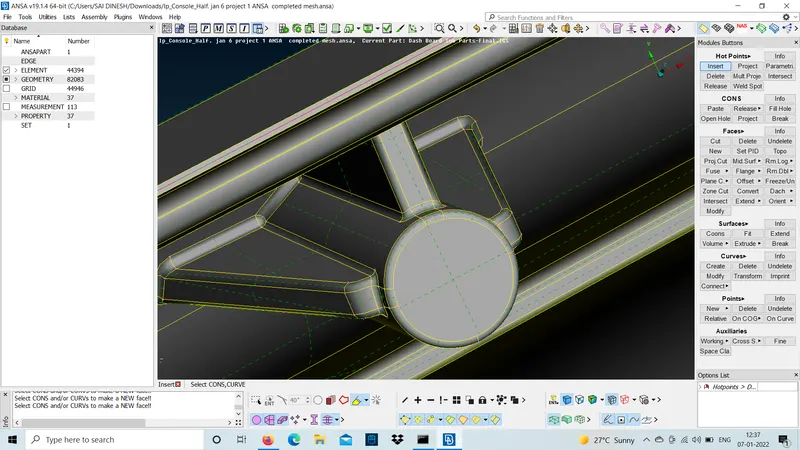
- now use curves middle option a create a curve between those two ribs.
middle curve can be created by selecting the 1st group of line and middle click.now, select 2nd group of line and middle click.
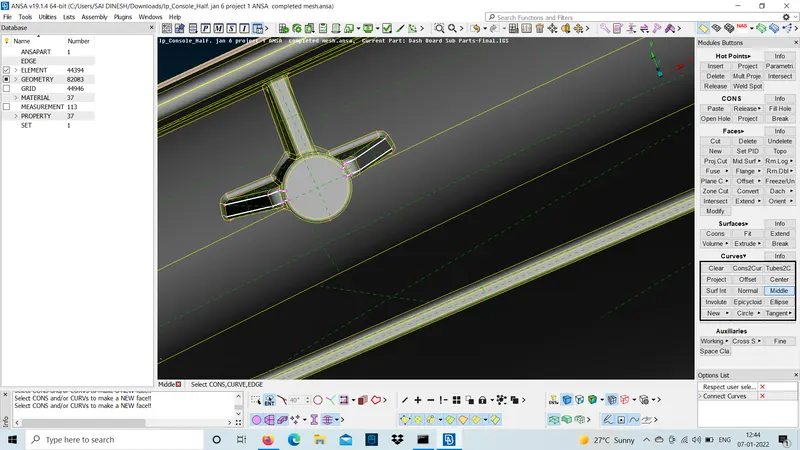
- curve will be formed at the middle of those cons and connect the curves by using connect multi .
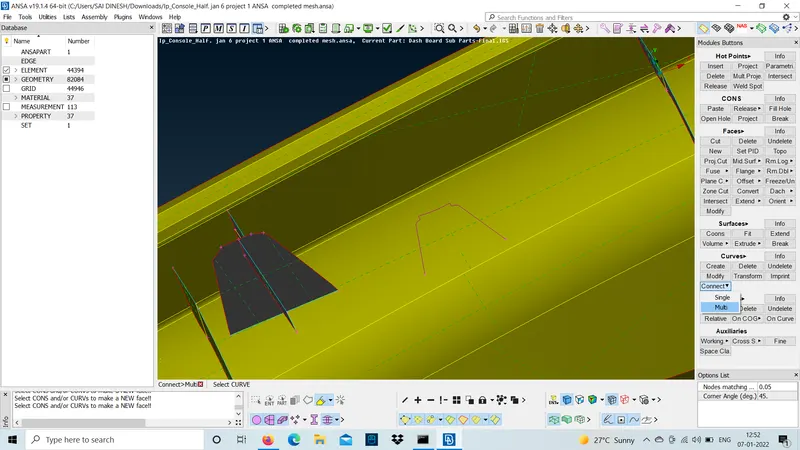
- use new option and create a new surface between the curves.
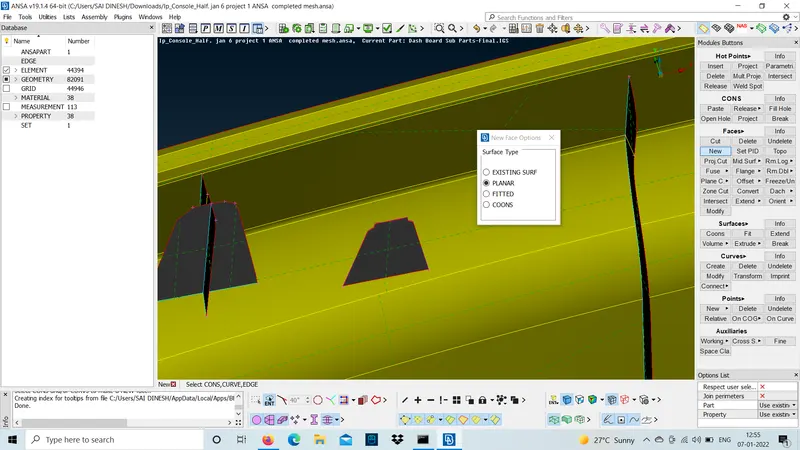
- now extend the surafce to the base surface and make sure that the mid is folllowing the CAD .we can check that by switching on the transparancy in PID mode.
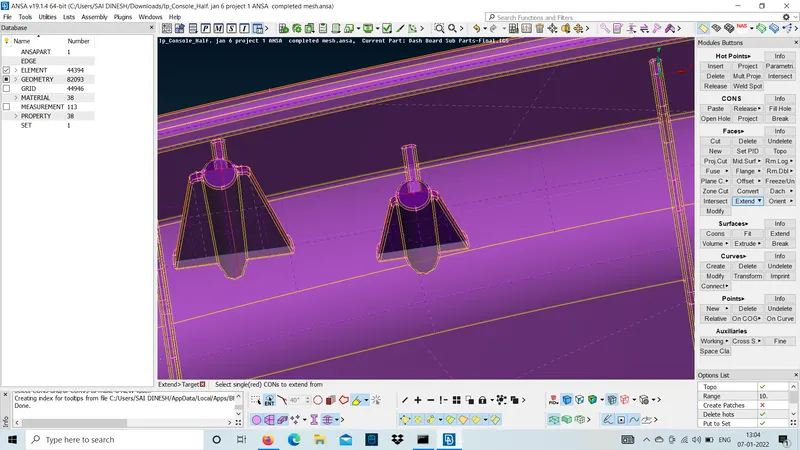
- similarly, do the same to the entire dog housing areas.
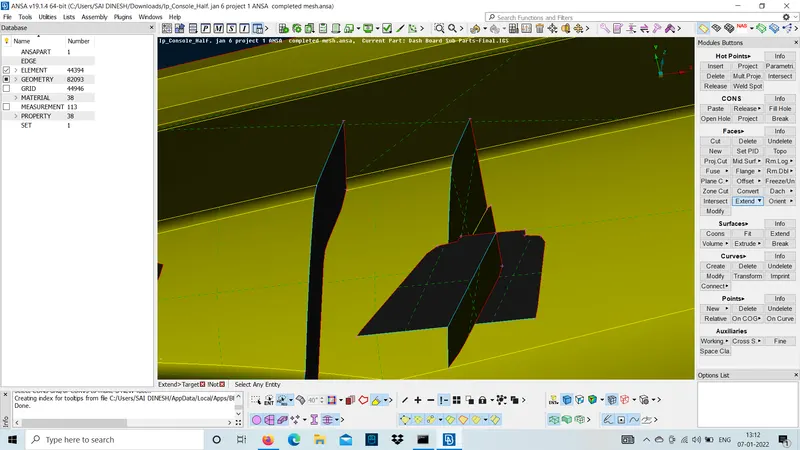
step :4
- use measure option and try to mesure the thickness of the buttons using other entities.
total thicness =3.5
base thicness=0.6
button thicness =total thickness-base thickness=3.5-0.6=1.9
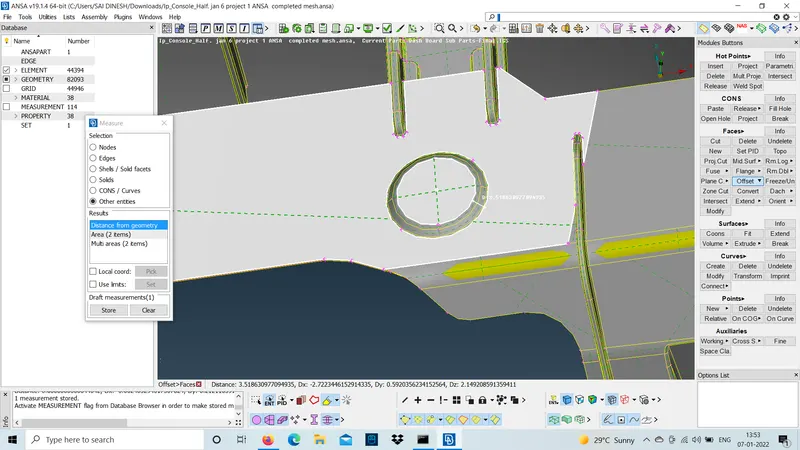
- now offset the buttons using button thicness and check the mid-surface.
offset distance =button thickness/2
=1.9/2=0.95
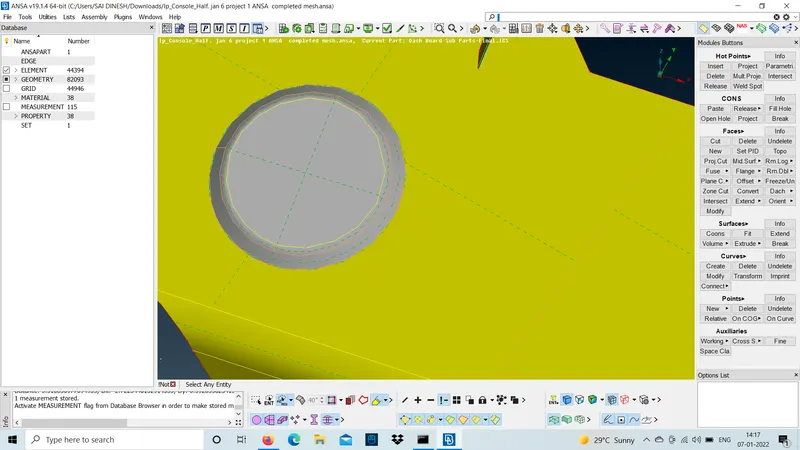
step :5
- use cut option make cuts for this dog house in such way that the mid-surface can be captured in a single shot .this dog house will show the way the modeller is thinking and way of approach.this is very simple process but first he should get an idea to carry out the model.
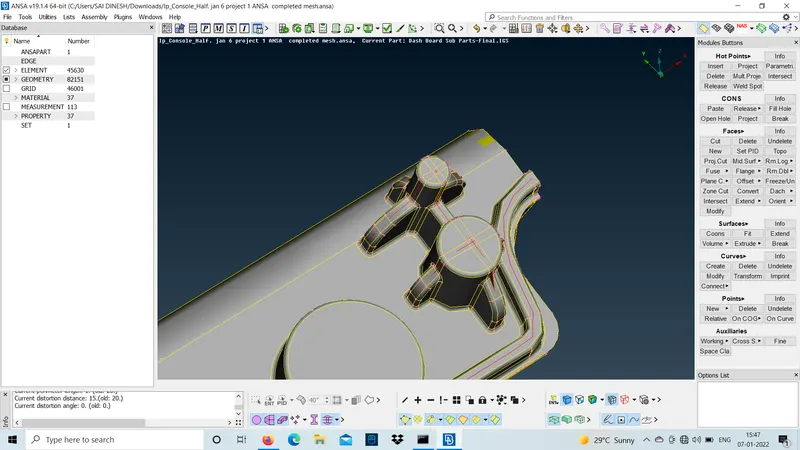
- now select those cuts by using curves middle and select the double cons to form a shape following the CAD and create a new surface .
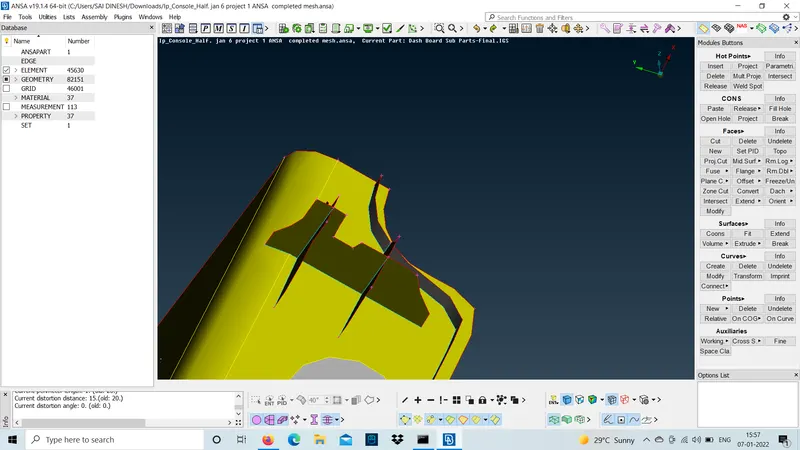
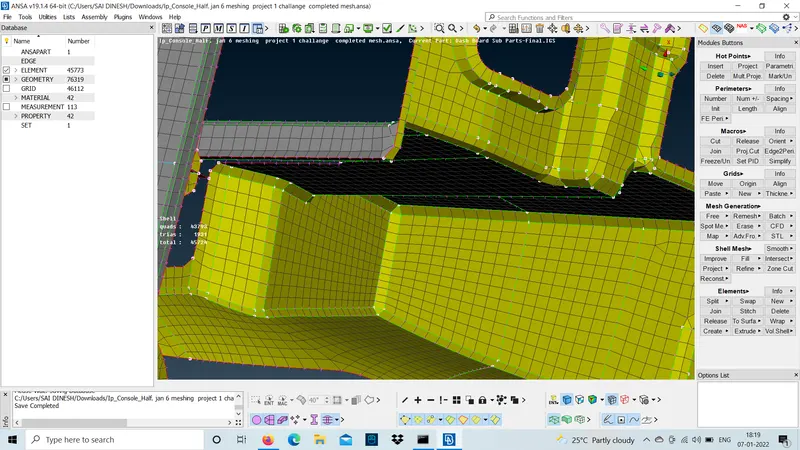
- Now,shift from topo mode to mesh mode and mesh the IP console according to the given quality criteria .it's a plastic component with lot's of curved edges and triple cons present.
- create 'N' number of cuts to the model to achieve a proper mesh flow.those triple con areas it will fail for quality criteria try to smooth at those areas.
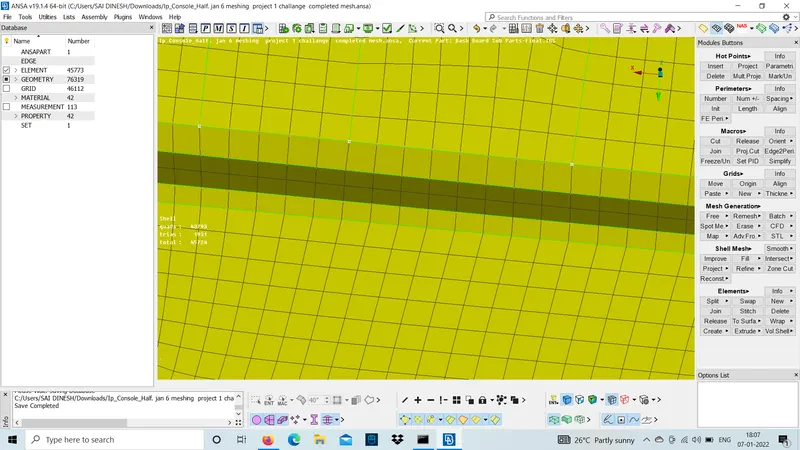
- trias should not be attached to the edges.so,in quality criteria use trias per node it will highlight at those areas and avoid them by swap and split.
- when it's converging at any point the trais will for we cannot avoid them .
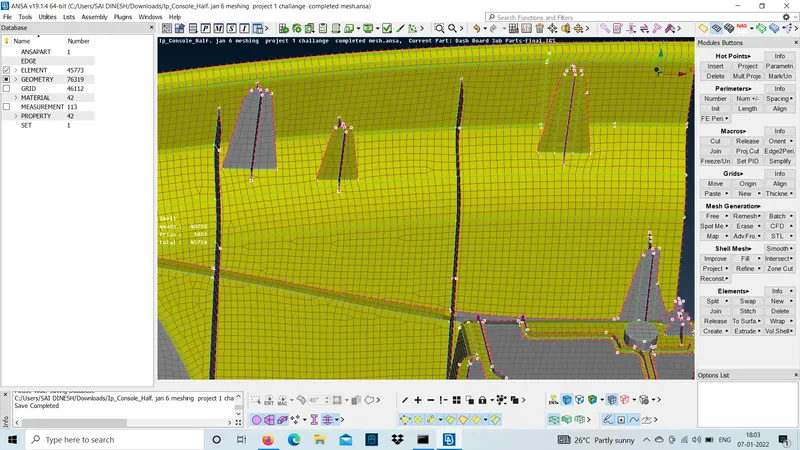
- meshing this model help us to use different tools and where to use those tools .
possible outcome :
- how to get mid-surface for complicated plastic components.
- how to achieve a proper 2D mesh flow.
- how to use different tools according to the requirememt.
Result :
The 2D meshing for the given CAD model Ip console is diployed using ANSA.
Ip console model link :
https://drive.google.com/file/d/1JcjWIpYBG6emTzdzIFaVrCbhVpCAma0u/view?usp=sharing