Project 1 - 2D meshing on the instrumental Panel
AIM: To pre-process the input panel substrate of the car. and mesh it with abiding the Quality criteria as specified.
PROCEDURE:
First the geometry clean up has to be performed by fixing the geometrical errors by using the tool checks manager and move on to mid surfacing.
now we have to extract the mid surface major part which has the uniform thickness of 0.6 using offset function in faces section of topo module.
select one side of the faces which does not have the dog houses or ribs and offset it to "-0.3" which has a thickness of 0.6
as shown below.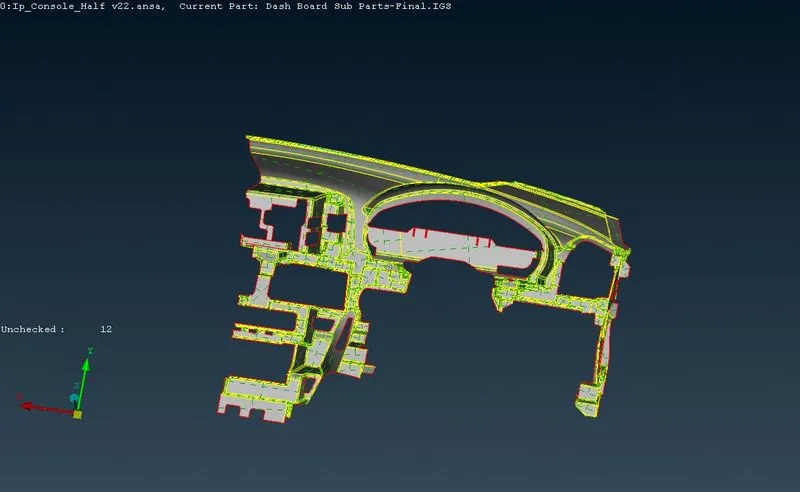
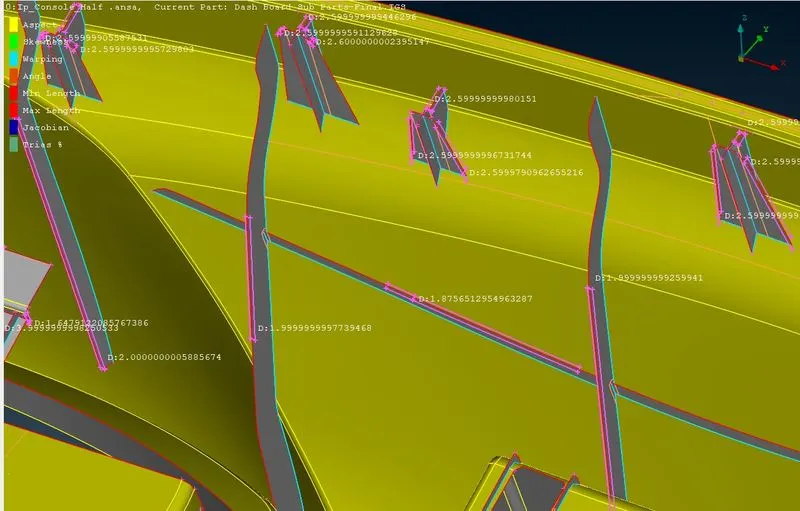
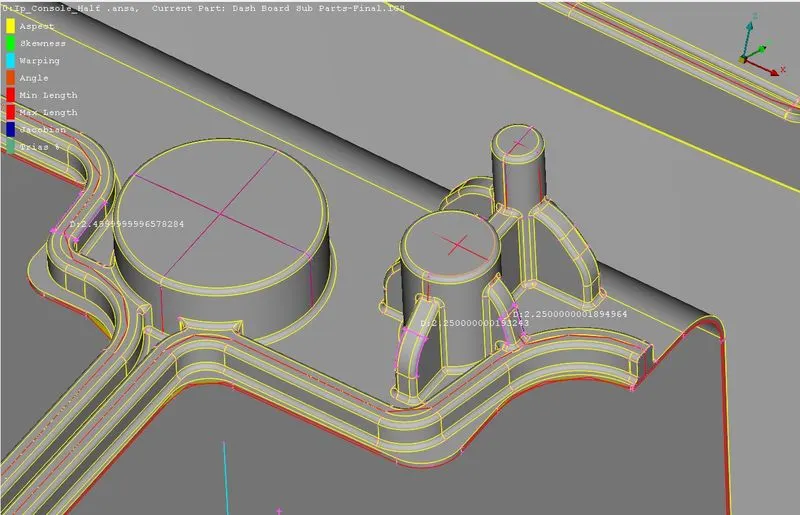
now measure thickness of ribs and other features for setting different PIDs with different thickness like below.
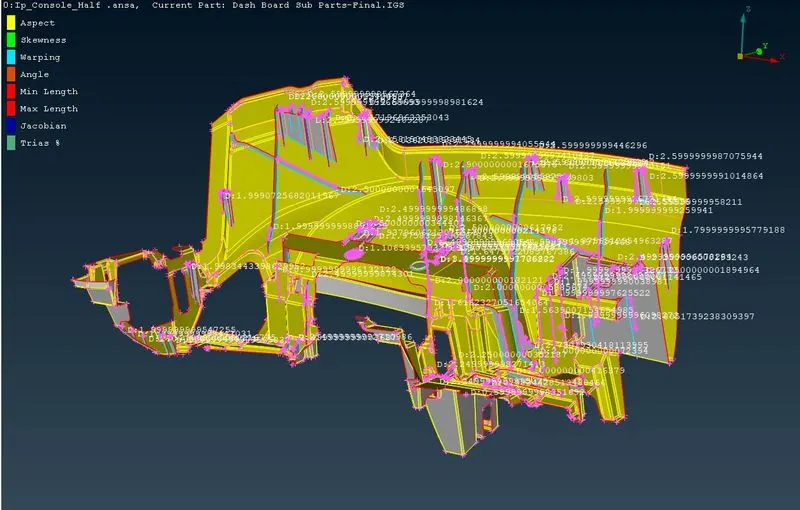
after this I have created the midsurface other feature parts which has different thickness and using functions extend, intersect, topo , middle>single etc. first create the middle surface using middle>single and extend the boundraies off the middle surface to main mid surface according to the geometry using extend option and cut out the excess part.
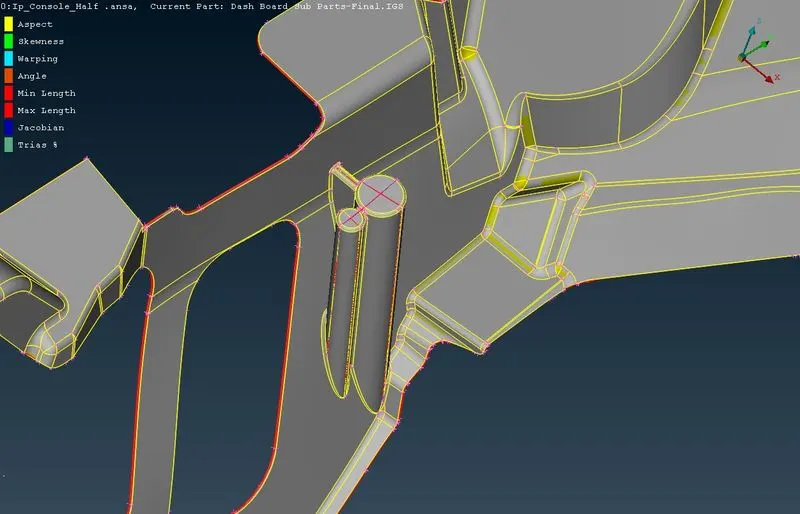
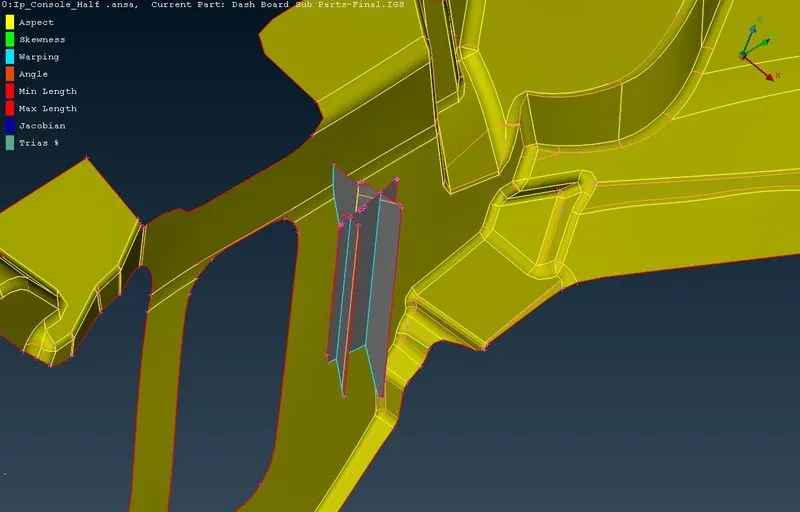
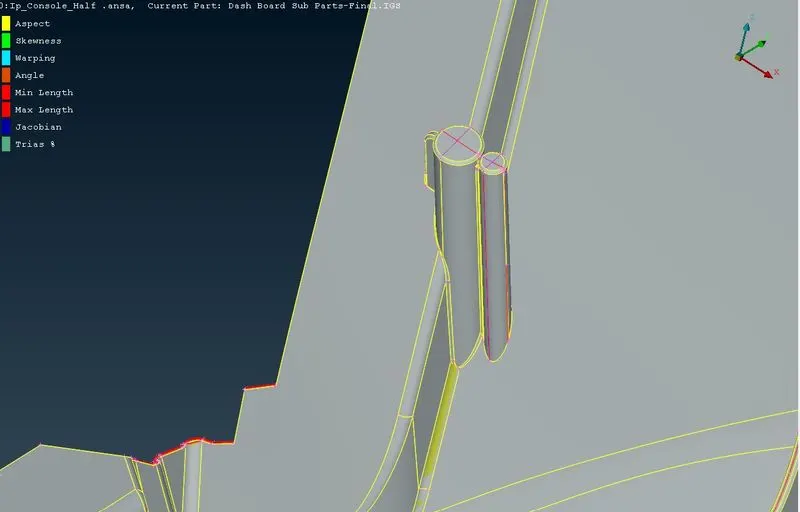
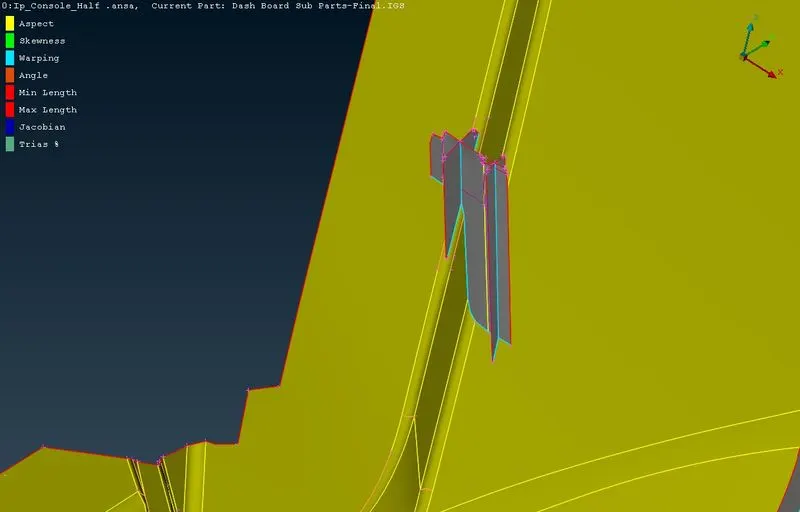
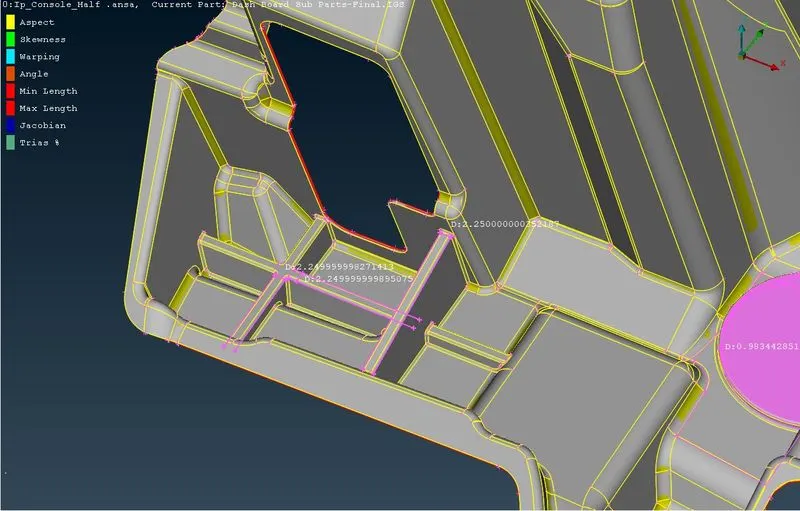
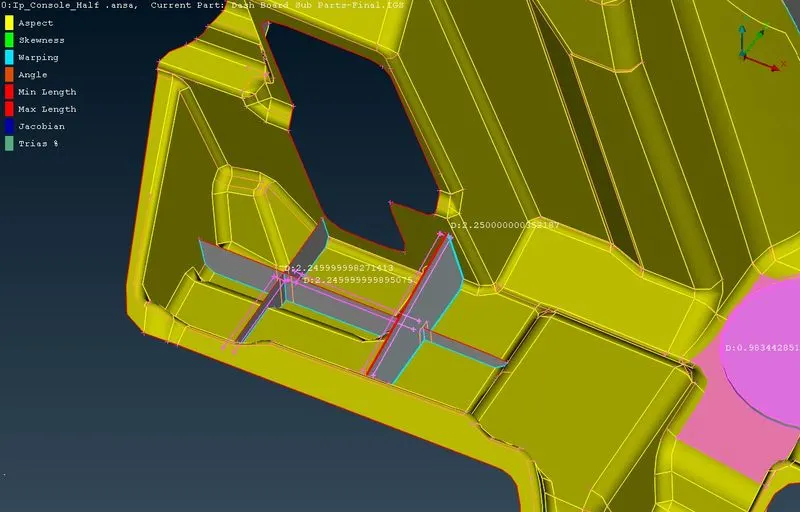
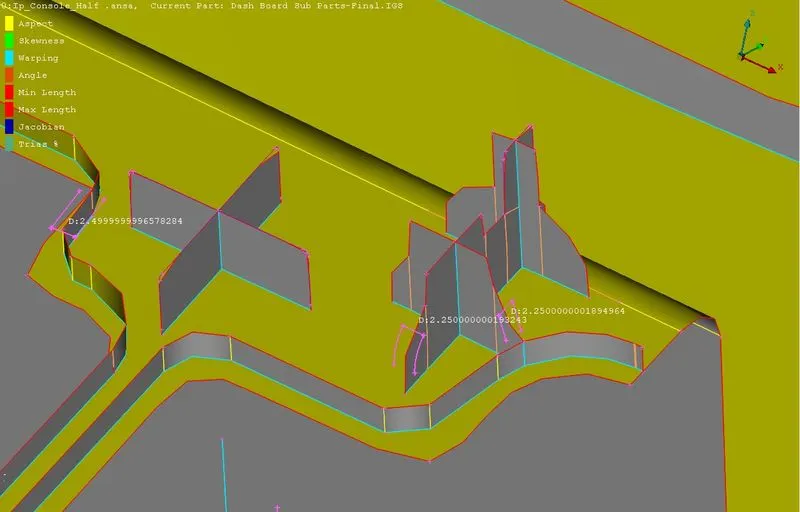
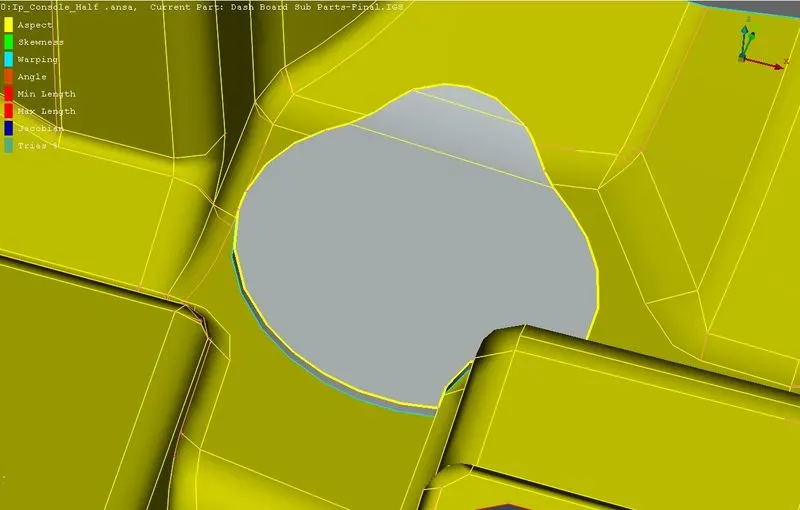
For dog houses create curves along the surfaces in cross shape using create option curves section and create surfaces using new option in faces section as shown below.
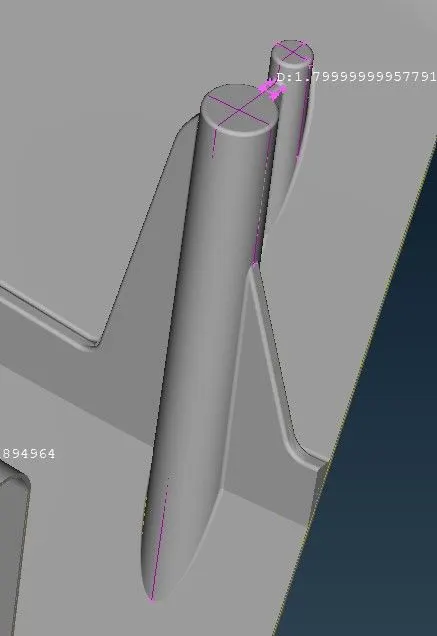
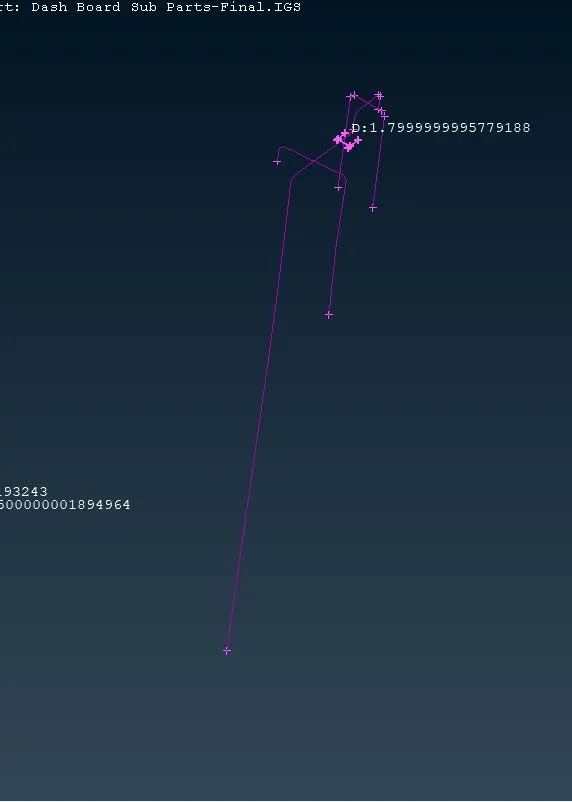
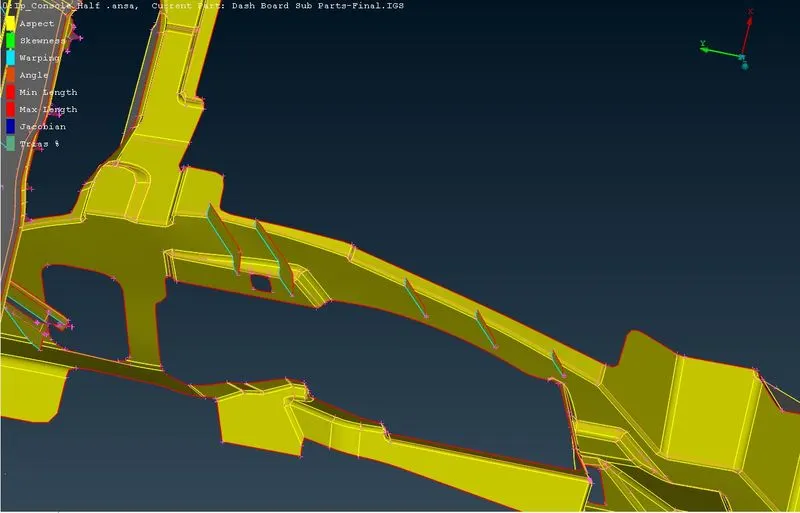
create mid surfaces and set them as different PIDs giving the appropriate thickness and fnally the mid surfaces are as shown in below.
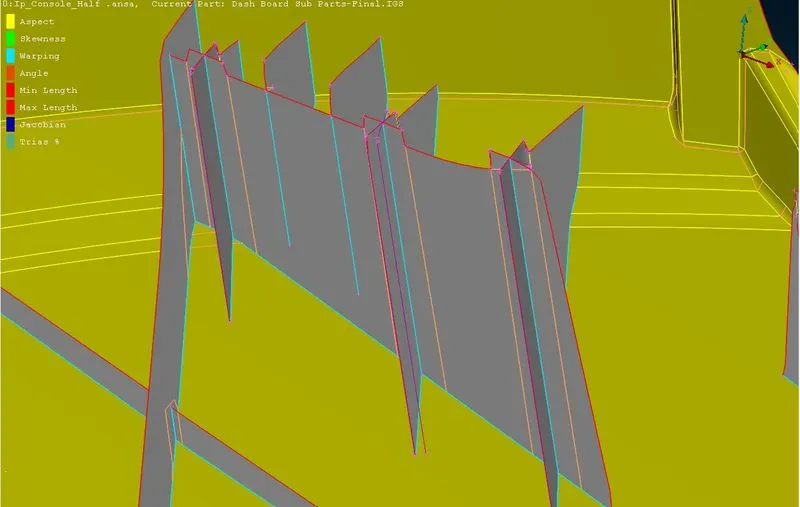
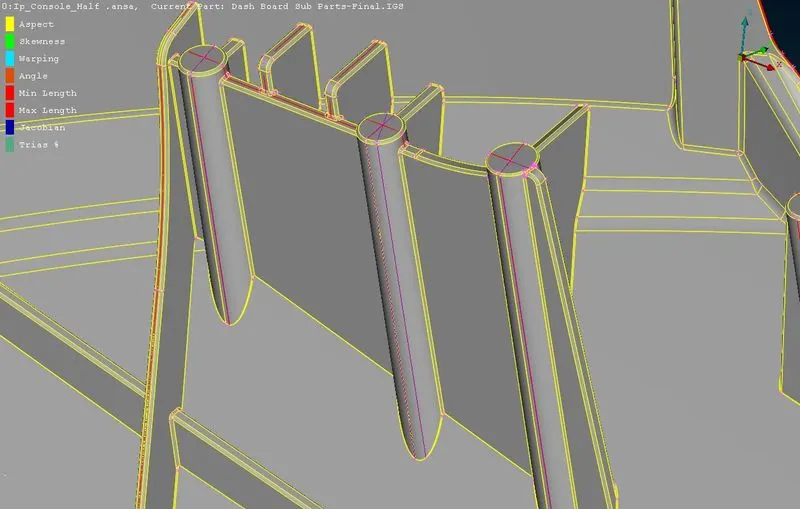
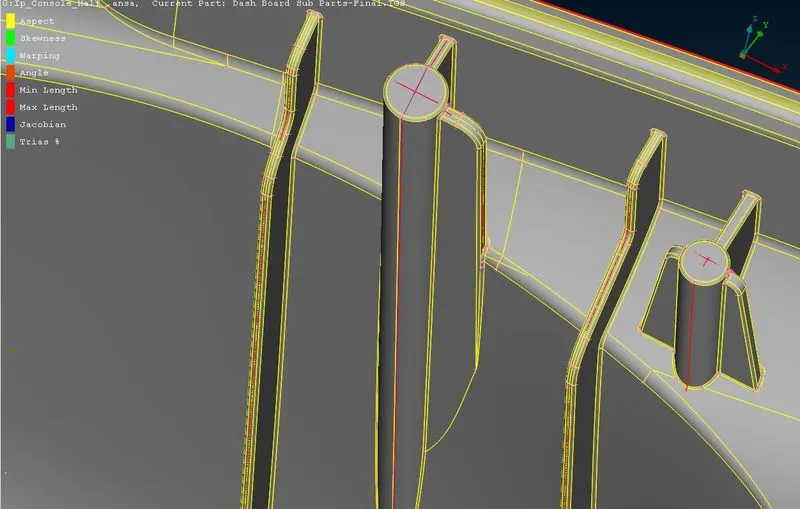
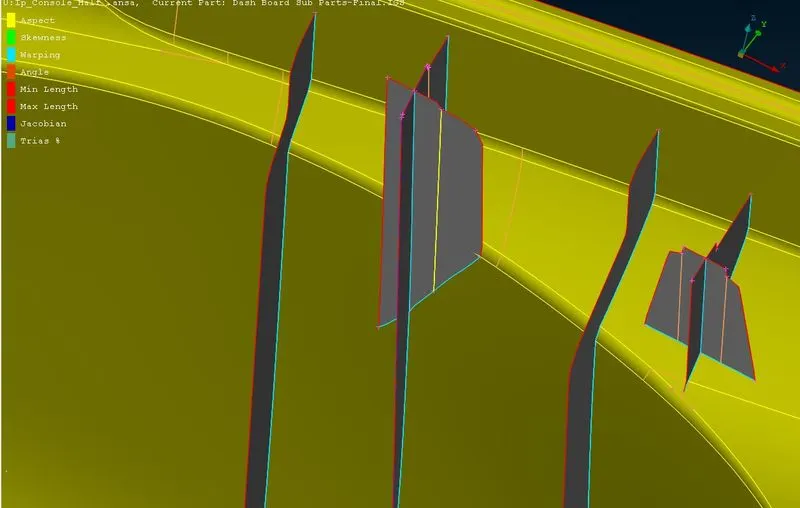
Ribs:
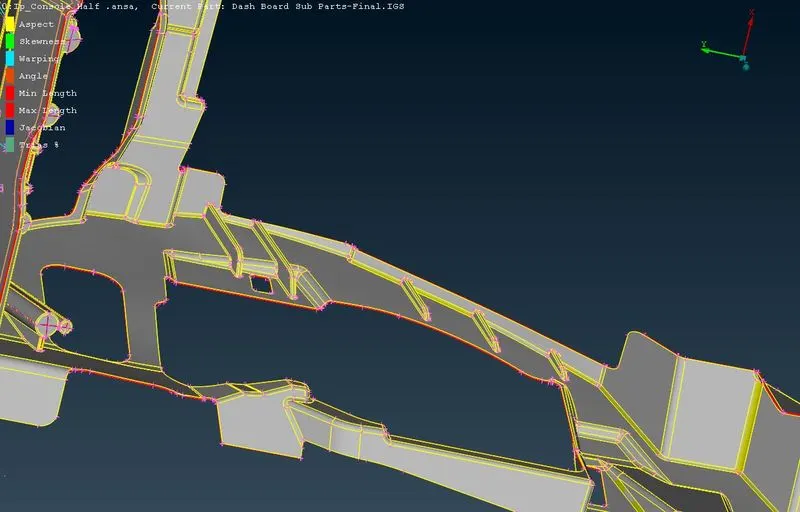
Features:
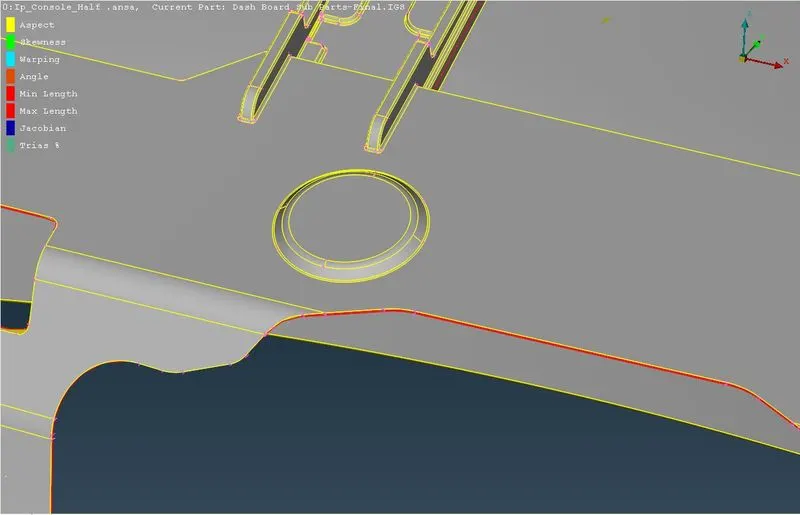
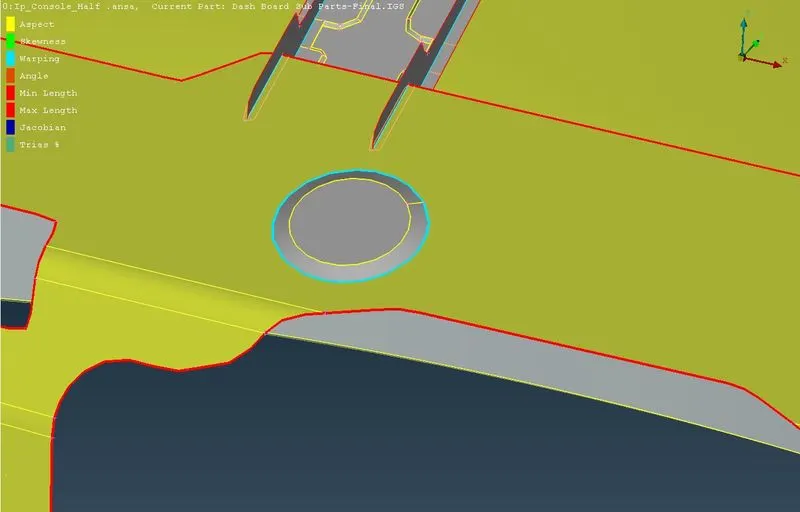
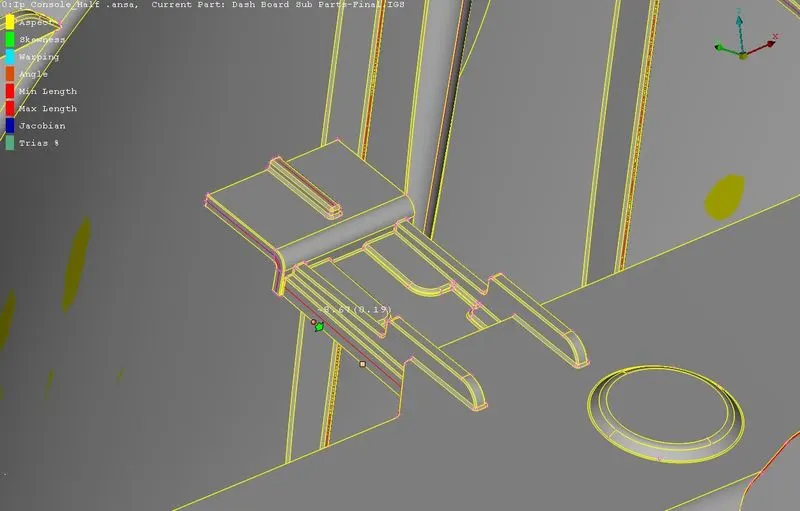
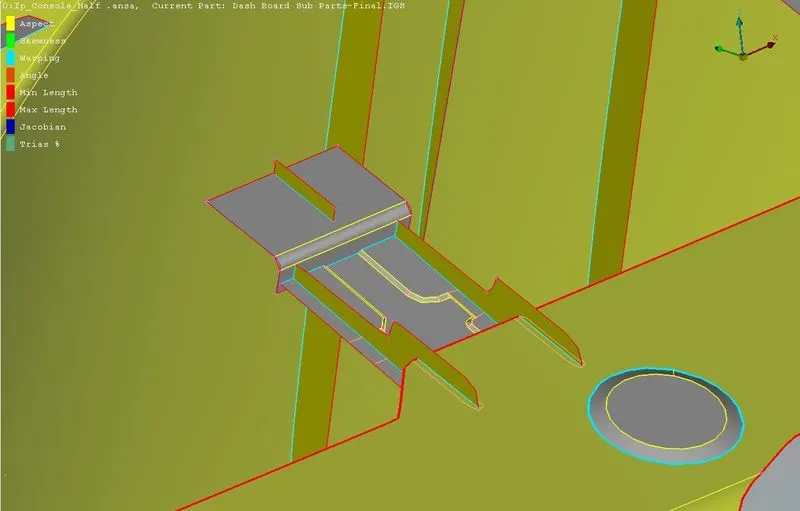
Now give mesh parameters and quality criteria as specified.
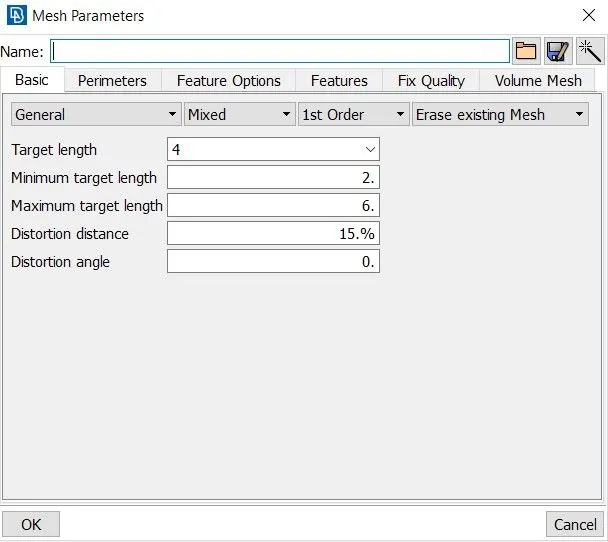
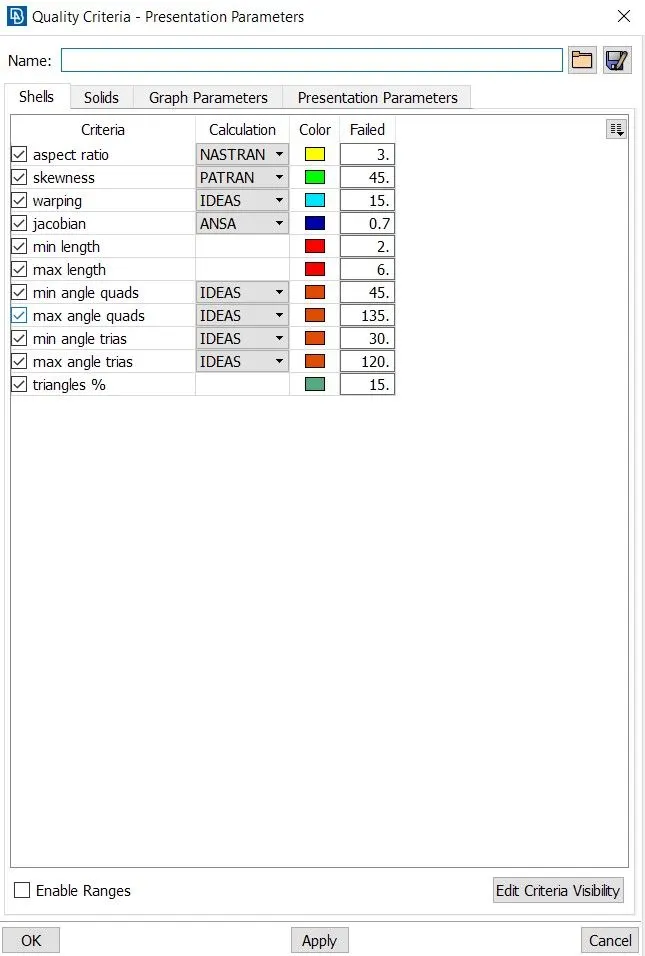
and now for meshing I am going with the batch meshing method which gives a smooth mesh flow and also catches the feature and defeaturing them appropriately.
open the batch mesh manager in the Tools bar and select the PIDs for meshing and check the mesh parameters and quality criteria are same as we've given before.
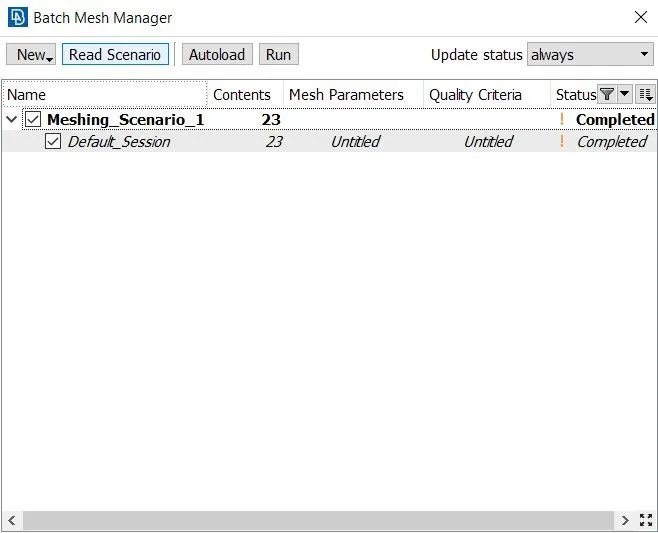
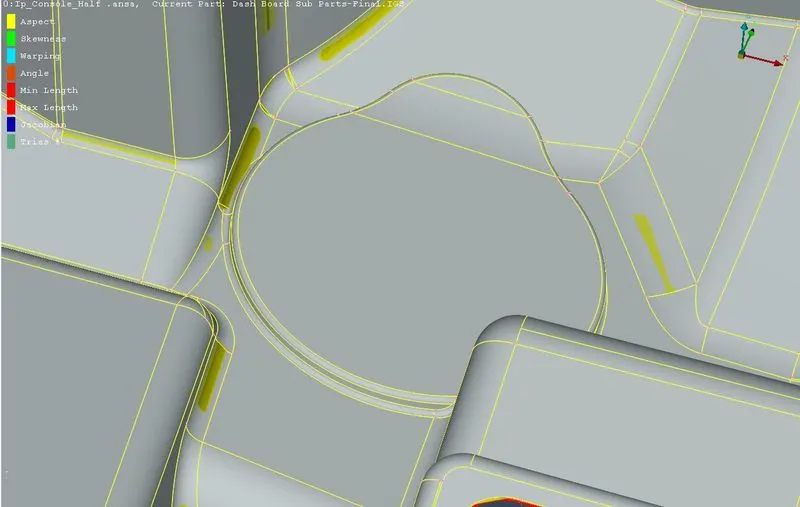
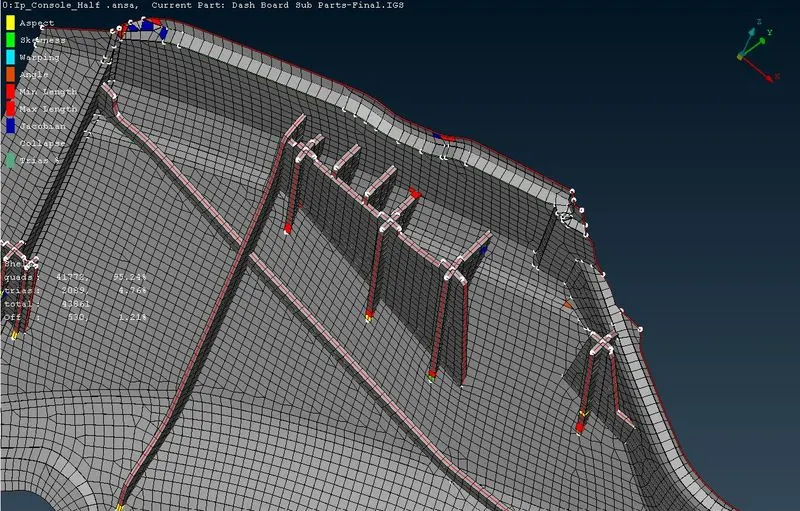
After this mesh cleanup was done using the functions split, swap, join from elements section and cut, release from macros sectioon and Num+/-, length, number from perimeters section and reconstruct and smooth from shell mesh section of mesh module. Using the mentioned functions at required area to minimize the off elements and eliminating the rotation quads, trias on free edges and opposite trias. due to complexity of geometry some off elements had to be kept in order to capture features of the product as shown below.
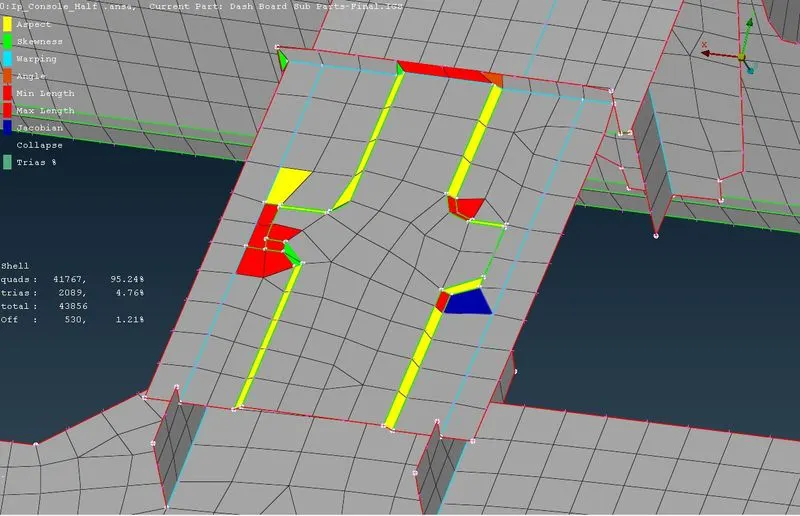
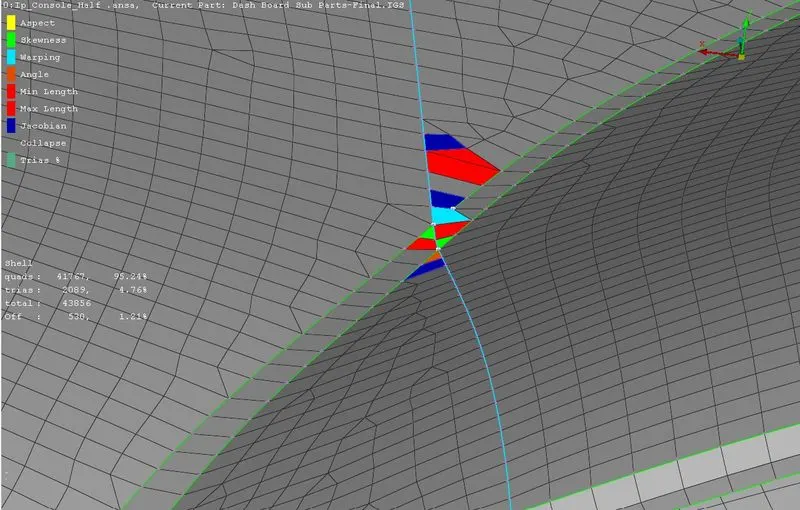
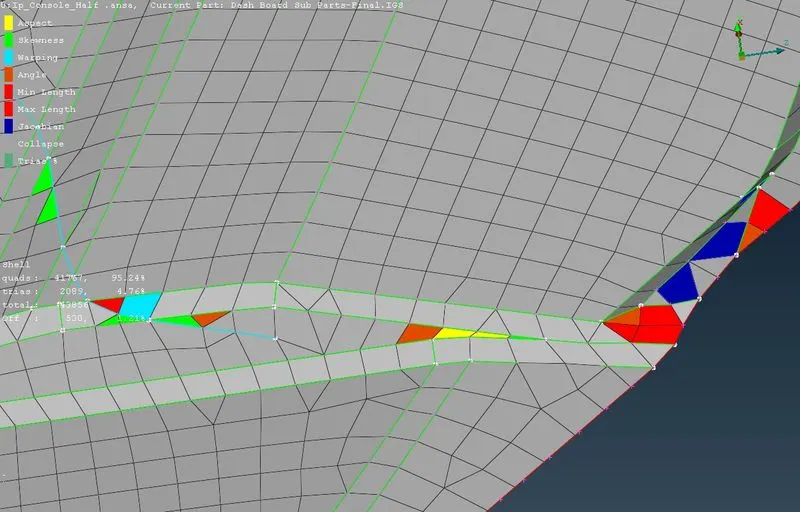
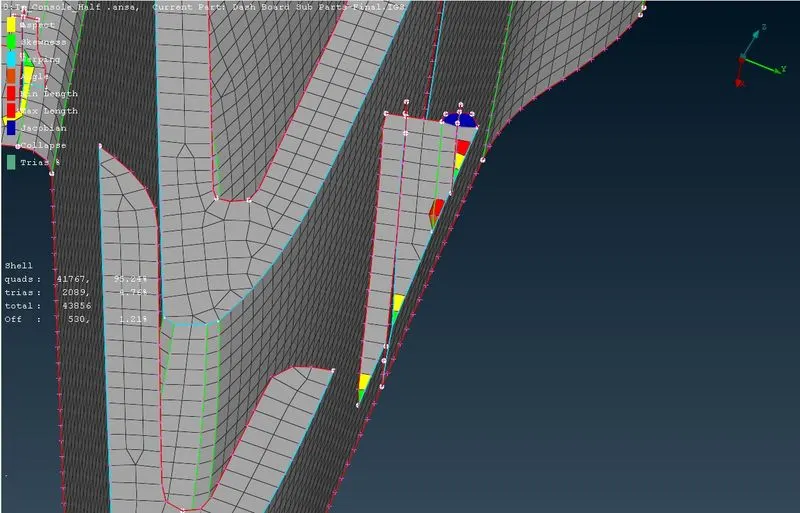
check the mesh is not going out of bounds with original CAD by enabling thickness option draw shell as solid in presentation parameters of quality criteria and compare both of them.
after the mesh is finalized release the FE element from geometry by using the function release from elements section of mesh module.
after thickness is enabled the FE element is as shown in below.
WHAT I HAVE LEARNED......
In this project I was able to learn how to mesh the IP substrate of car which is plastic sheet component with uniform thickness and some other non uniform feature like dog houses, Ribs and other miscellaneous features. and how to reduce meshing time by using batch mesh and cleanup the mesh using the methods as instructed in week 3 and week 4.
CONCLUSION:
In this project I have done the 2D meshing for the IP substrate part of the car using the lessons from week 3 and week 4 and understood which methods to use for meshing to minimize the time.